
When turning a cross stitch project into a cushion you can either keep the cross stitching fabric for the entire front (check out this ‘How to’ for turning a cross stitch project into a cushion), or if you have a smaller project/want to add a frame edging to the cushion you can add a fabric border around the edge of the cushion. You can also add a fabric border around a finished cross stitch project before framing if you want to add some fabric detail.
Fabric was from my stash and was gifted by The Craft Cotton Company.
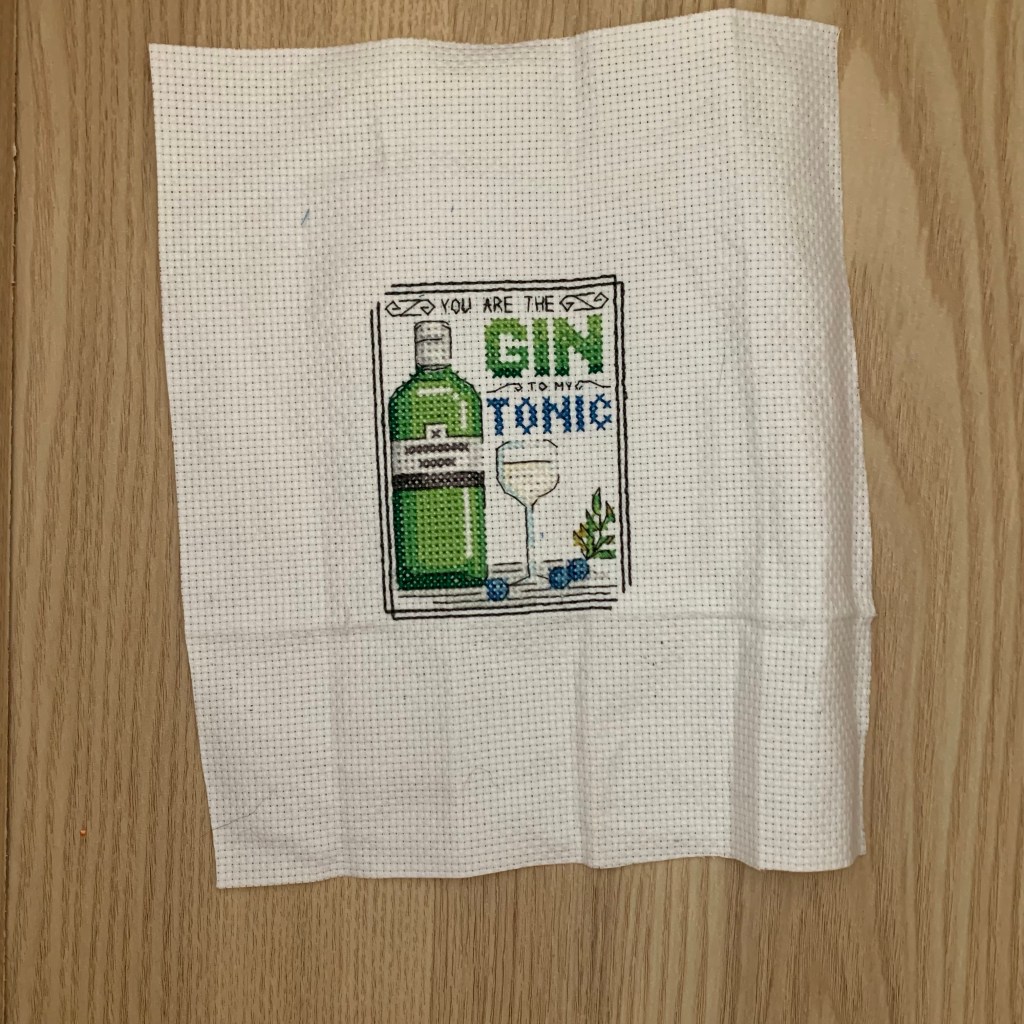
Cross stitch design was from CrossStitcher Magazine Issue 383, June 2022.
Adding a fabric border to a cross stitch project:
- Cut 4 strips of fabric that will make up the frame: Cut these to the width and length that you require (e.g. size of the cushion/frame for the length measurement, for the width this is as wide as you want the fabric edge piece to be) – these 4 strips will all need to be the same length. Add on 0.5cm seam allowance to both the length and width.
- Take one of the fabric strips and with your cross stitch project facing right side up place the fabric strip right side down on top with the raw edge of the fabric strip 0.5cm above the line you want the edge of the fabric frame to start. Sew to secure. Fold the fabric the right way.

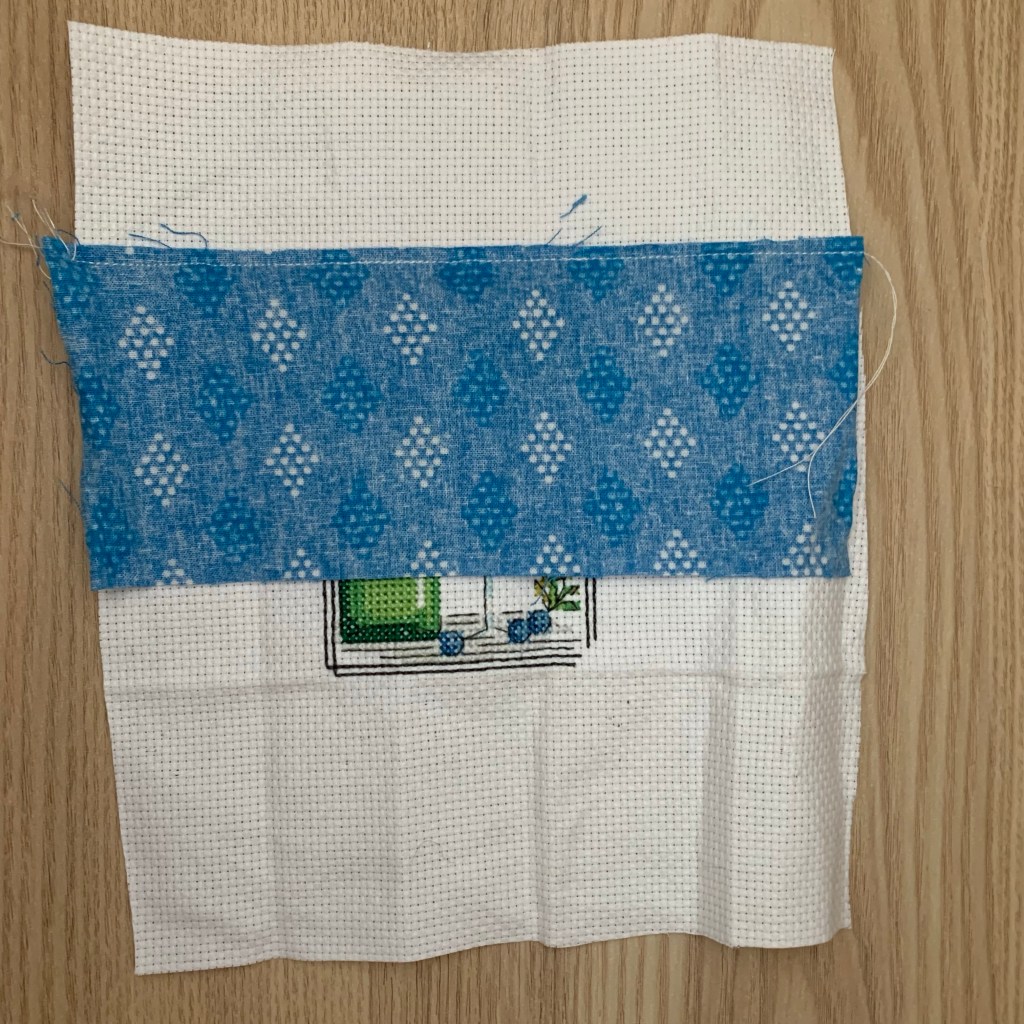

- Repeat with the next fabric strip along for the bottom of the frame.
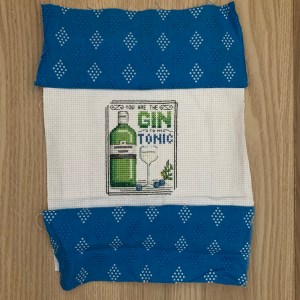
- Next take another fabric strip and place down the side of the project (over the top of the top and bottom pieces) sew to secure. Fold the fabric the right way. Repeat with the remaining side.


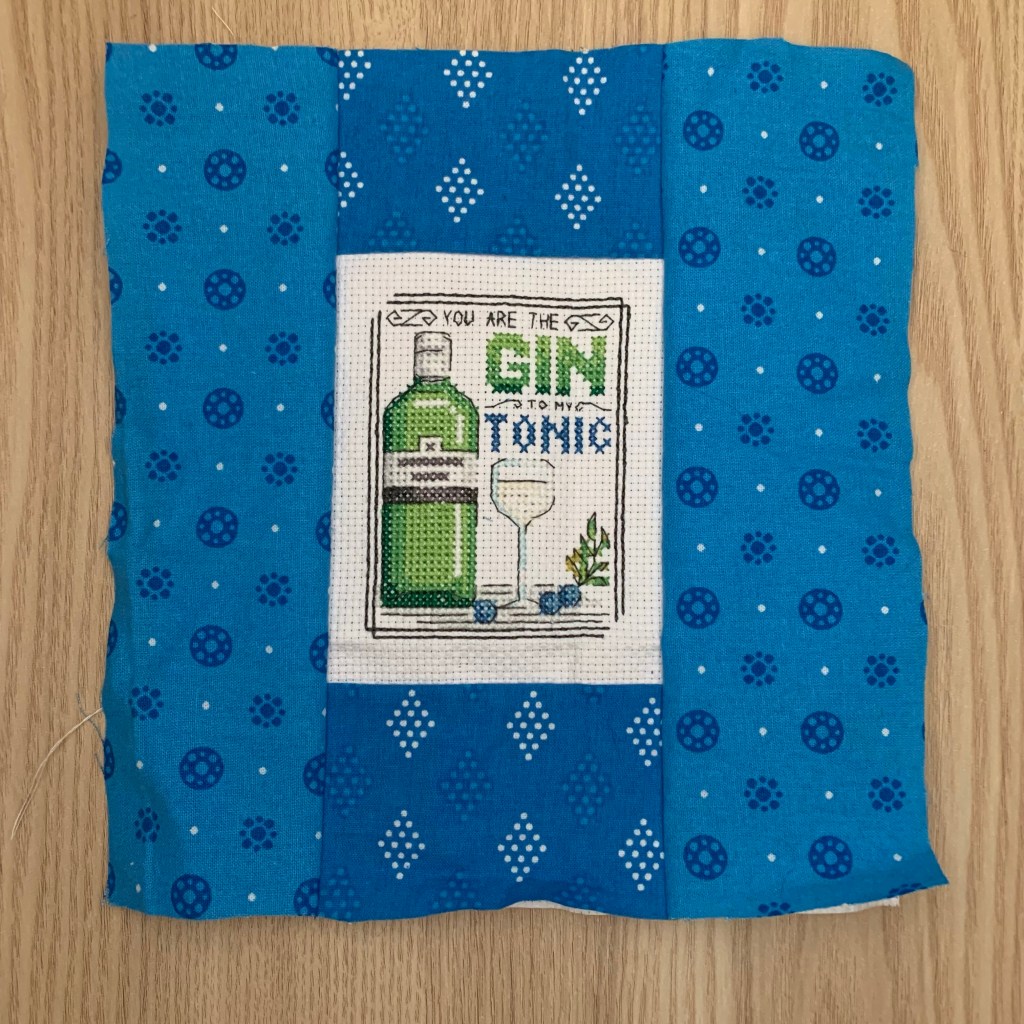
- If you are framing the picture rather than making a cushion you are now finished. If you want to turn it into a cushion follow the adding a cushion back steps below:
Adding A cushion back:
Cut two pieces of fabric for the back (measuring the width of the front piece and 10cm longer than the height). Then fold in half to make the back pieces.
Lay your cross stitch project down right side facing up and then place the two back pieces on top with the raw bottom edges of the back pieces against the raw edges of the cushion front. Sew around all four sides.
Turn out the pillow.
For more information check out this ‘How to’ guide for adding a cushion back to a cross stitch project.

Leave a reply to hookstitchsew Cancel reply