After completing a cross stitch project there are a number of different ways you can display your work. You can frame them in picture frames or embroidery hoops (check out a how to finish a cross stitch project into an embroidery hoop here). You can also add fabric frames before framing or making them into a cushion (check out a how to fabric frame a picture here).
Another way of finishing your embroidery projects is to use the entire project as a cushion front, this is great for large cross stitch projects or a project with a lot of detail which a fabric border may distract from. Once you have the cushion front completed you can sew a frame around the edge to create a little border/edging detail.
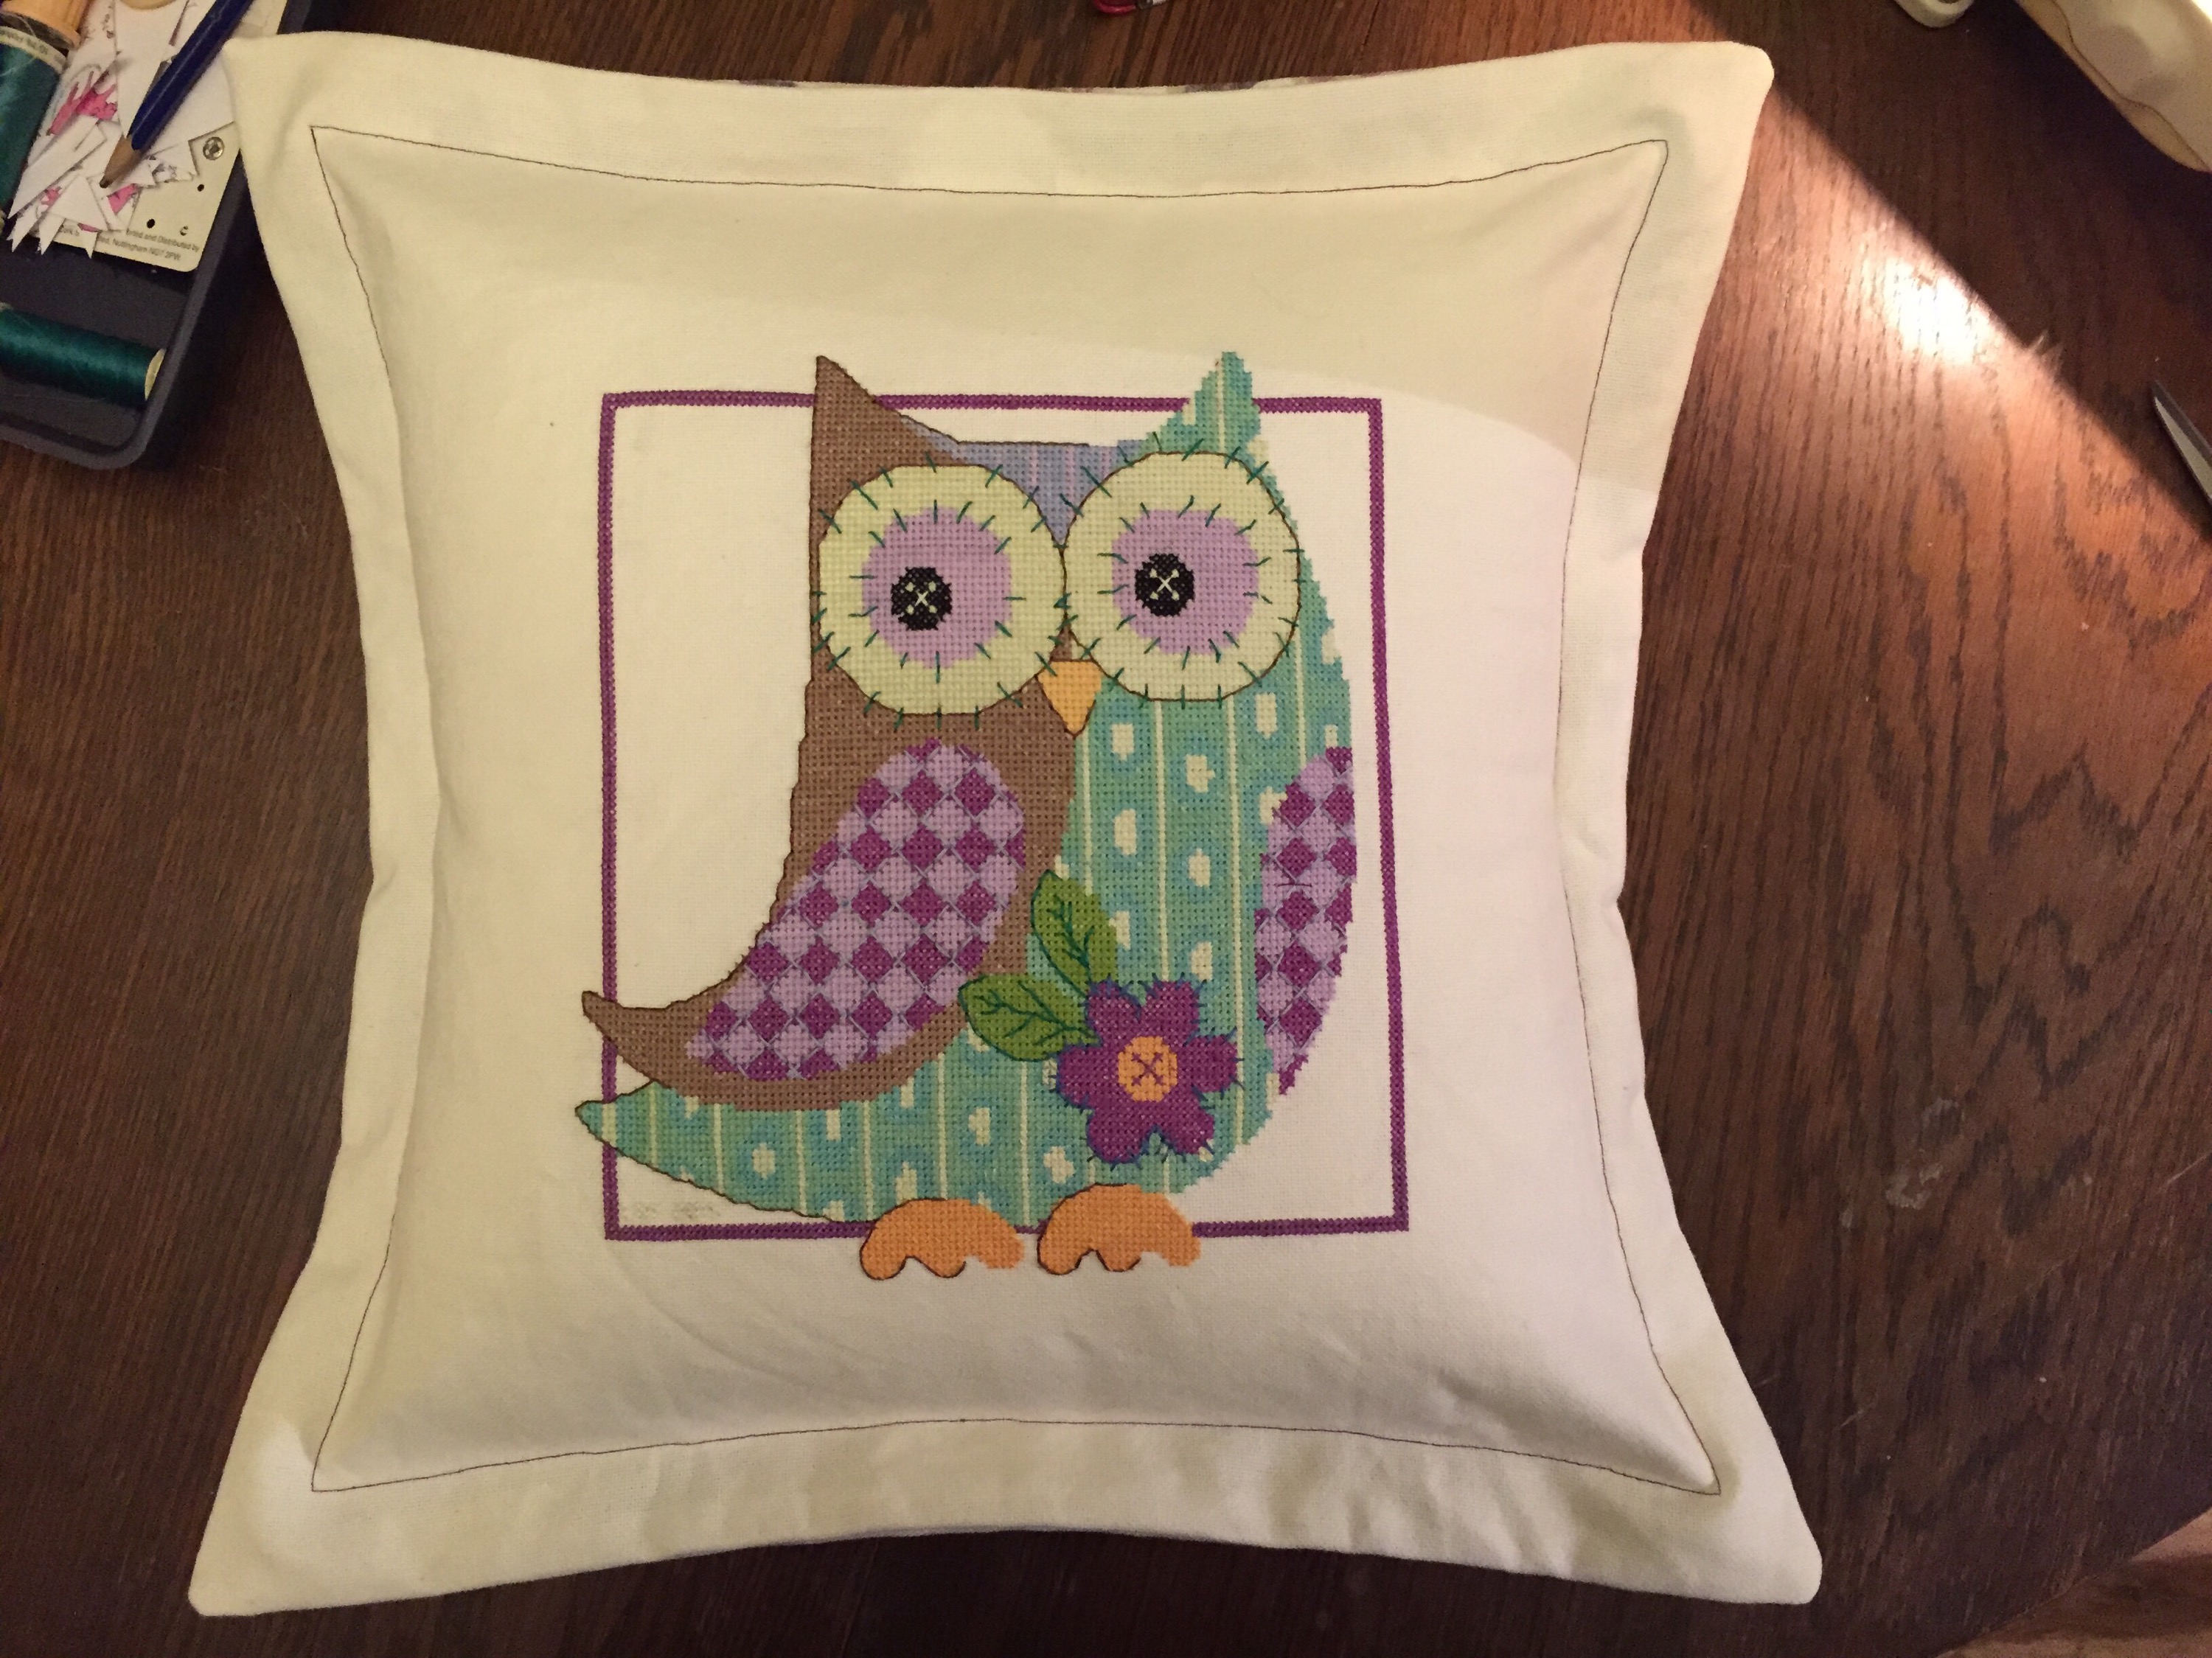
This cross stitch owl pattern was from 365 Cross Stitching Designs Volume 2.
To crate a cushion with an embroidered front follow the steps below:
How To Make A Cushion From A Cross Stitch Project:
To Make a flap back cushion:
- Cut two pieces of fabric which are the width of the cross stitch front and 10cm longer than the height. My cushion front was 45x45cm so I cut two pieces for this project I used two pieces 45x55cm.
- Fold the two pieces in half to give you two back pieces.
- Take the two folded fabric pieces and place overlapping on top of the cross stitch front.
- Sew around the edge to secure.
- Turn out the right way.
- If you want to add some extra detail to the cushion you can sew a line around the edge, I sewed a line 6cm from the edge in purple to create a border. I pinned a line 6cm from the edge to give me a guide.


Leave a comment