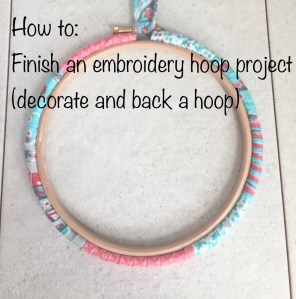
Wrapping an embroidery hoop: A perfect way to finish off completed embroidery/sewing makes when displaying them in an embroidery hoop
So you’ve got your embroidery hoop design competed it’s now time to get it in its display hoop and show it off.
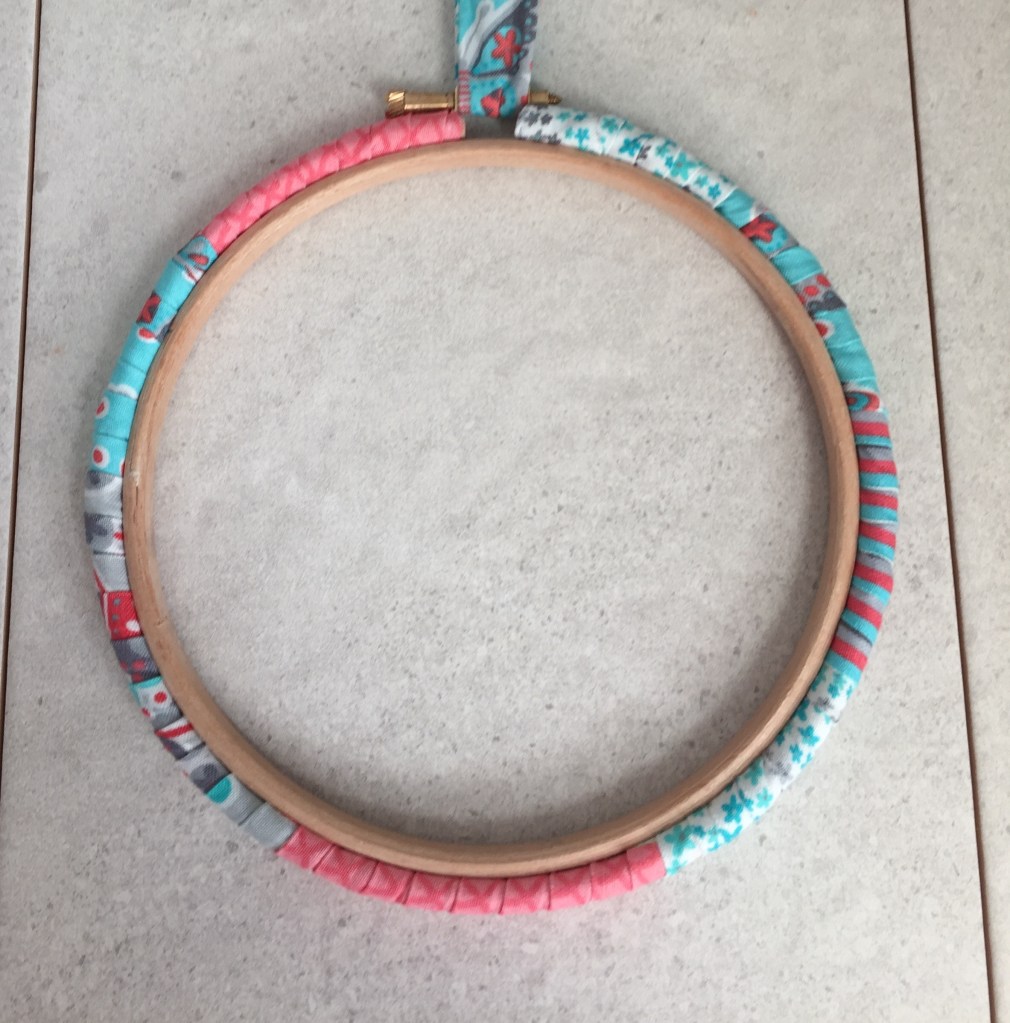
I often just leave the embroidery hoop plain or paint them to add a little more colour into the project. Another great way of decorating the hoop is to use fabric, this is also a great way of using up scrap fabrics.
And finally once your happy with you hoop it’s time to finish off the back to project it. the following ‘how to’ will show how to wrap an embroidery hoop with fabric and how to back it and create a loop ready for display.
How to – Covering/wrapping an embroidery hoop:
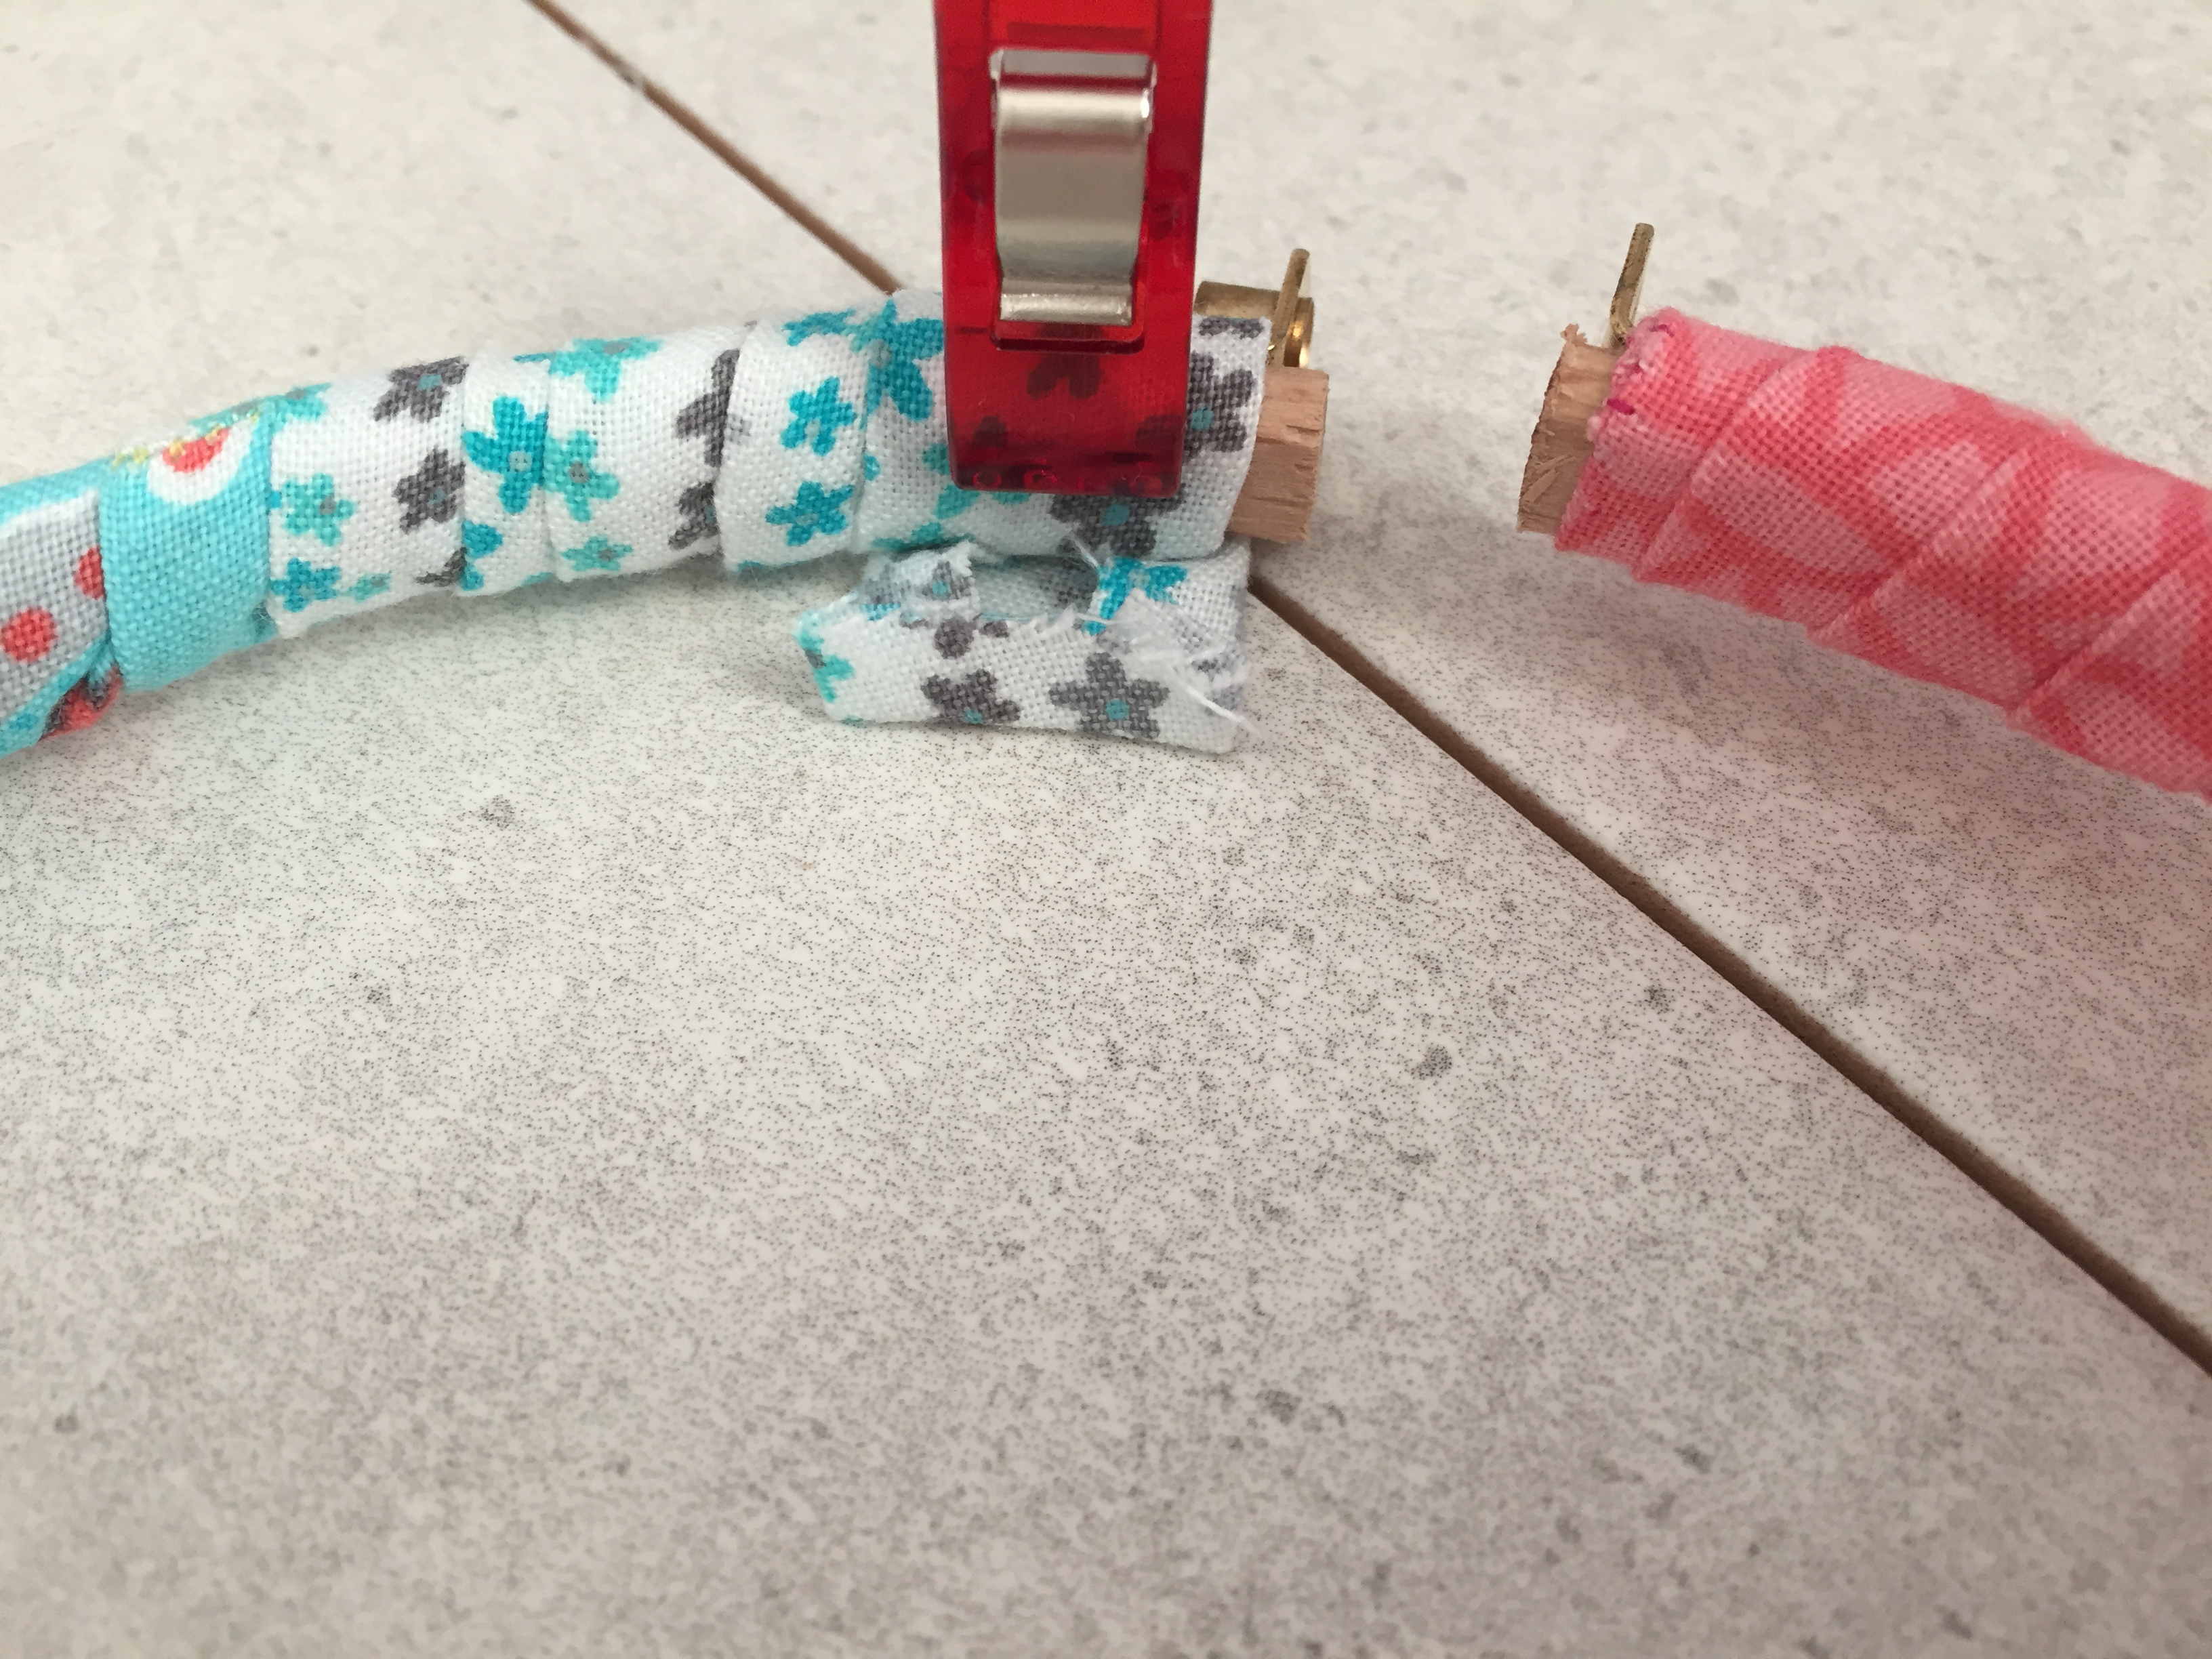
- Cut strips of fabric 4cm wide and sew them together.
- Fold the raw edges inwards and press.
- Wrap the folded fabric around the hoop using a clip to hold the start in place.
- Once the whole hoop is wrapped secure the start and end with a few stitches.

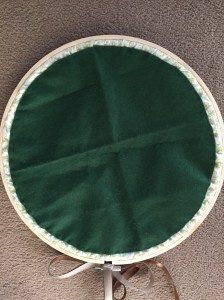
How to – Backing an embroidery hoop:
- Take your finished project and place into the hoop.
- Leaving a 5cm gap from the edge of the hoop cut away the excess fabric.
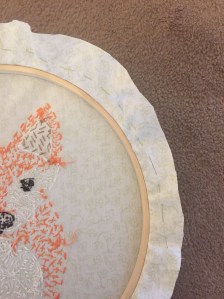
- Sew around 1cm from the edge of the fabric and pull tight to close the gap. Sew to secure.

- Cut a circle of felt big enough to cover the gap in the back of the project and sew on to cover. You can also cover the entire back of the project if you prefer.
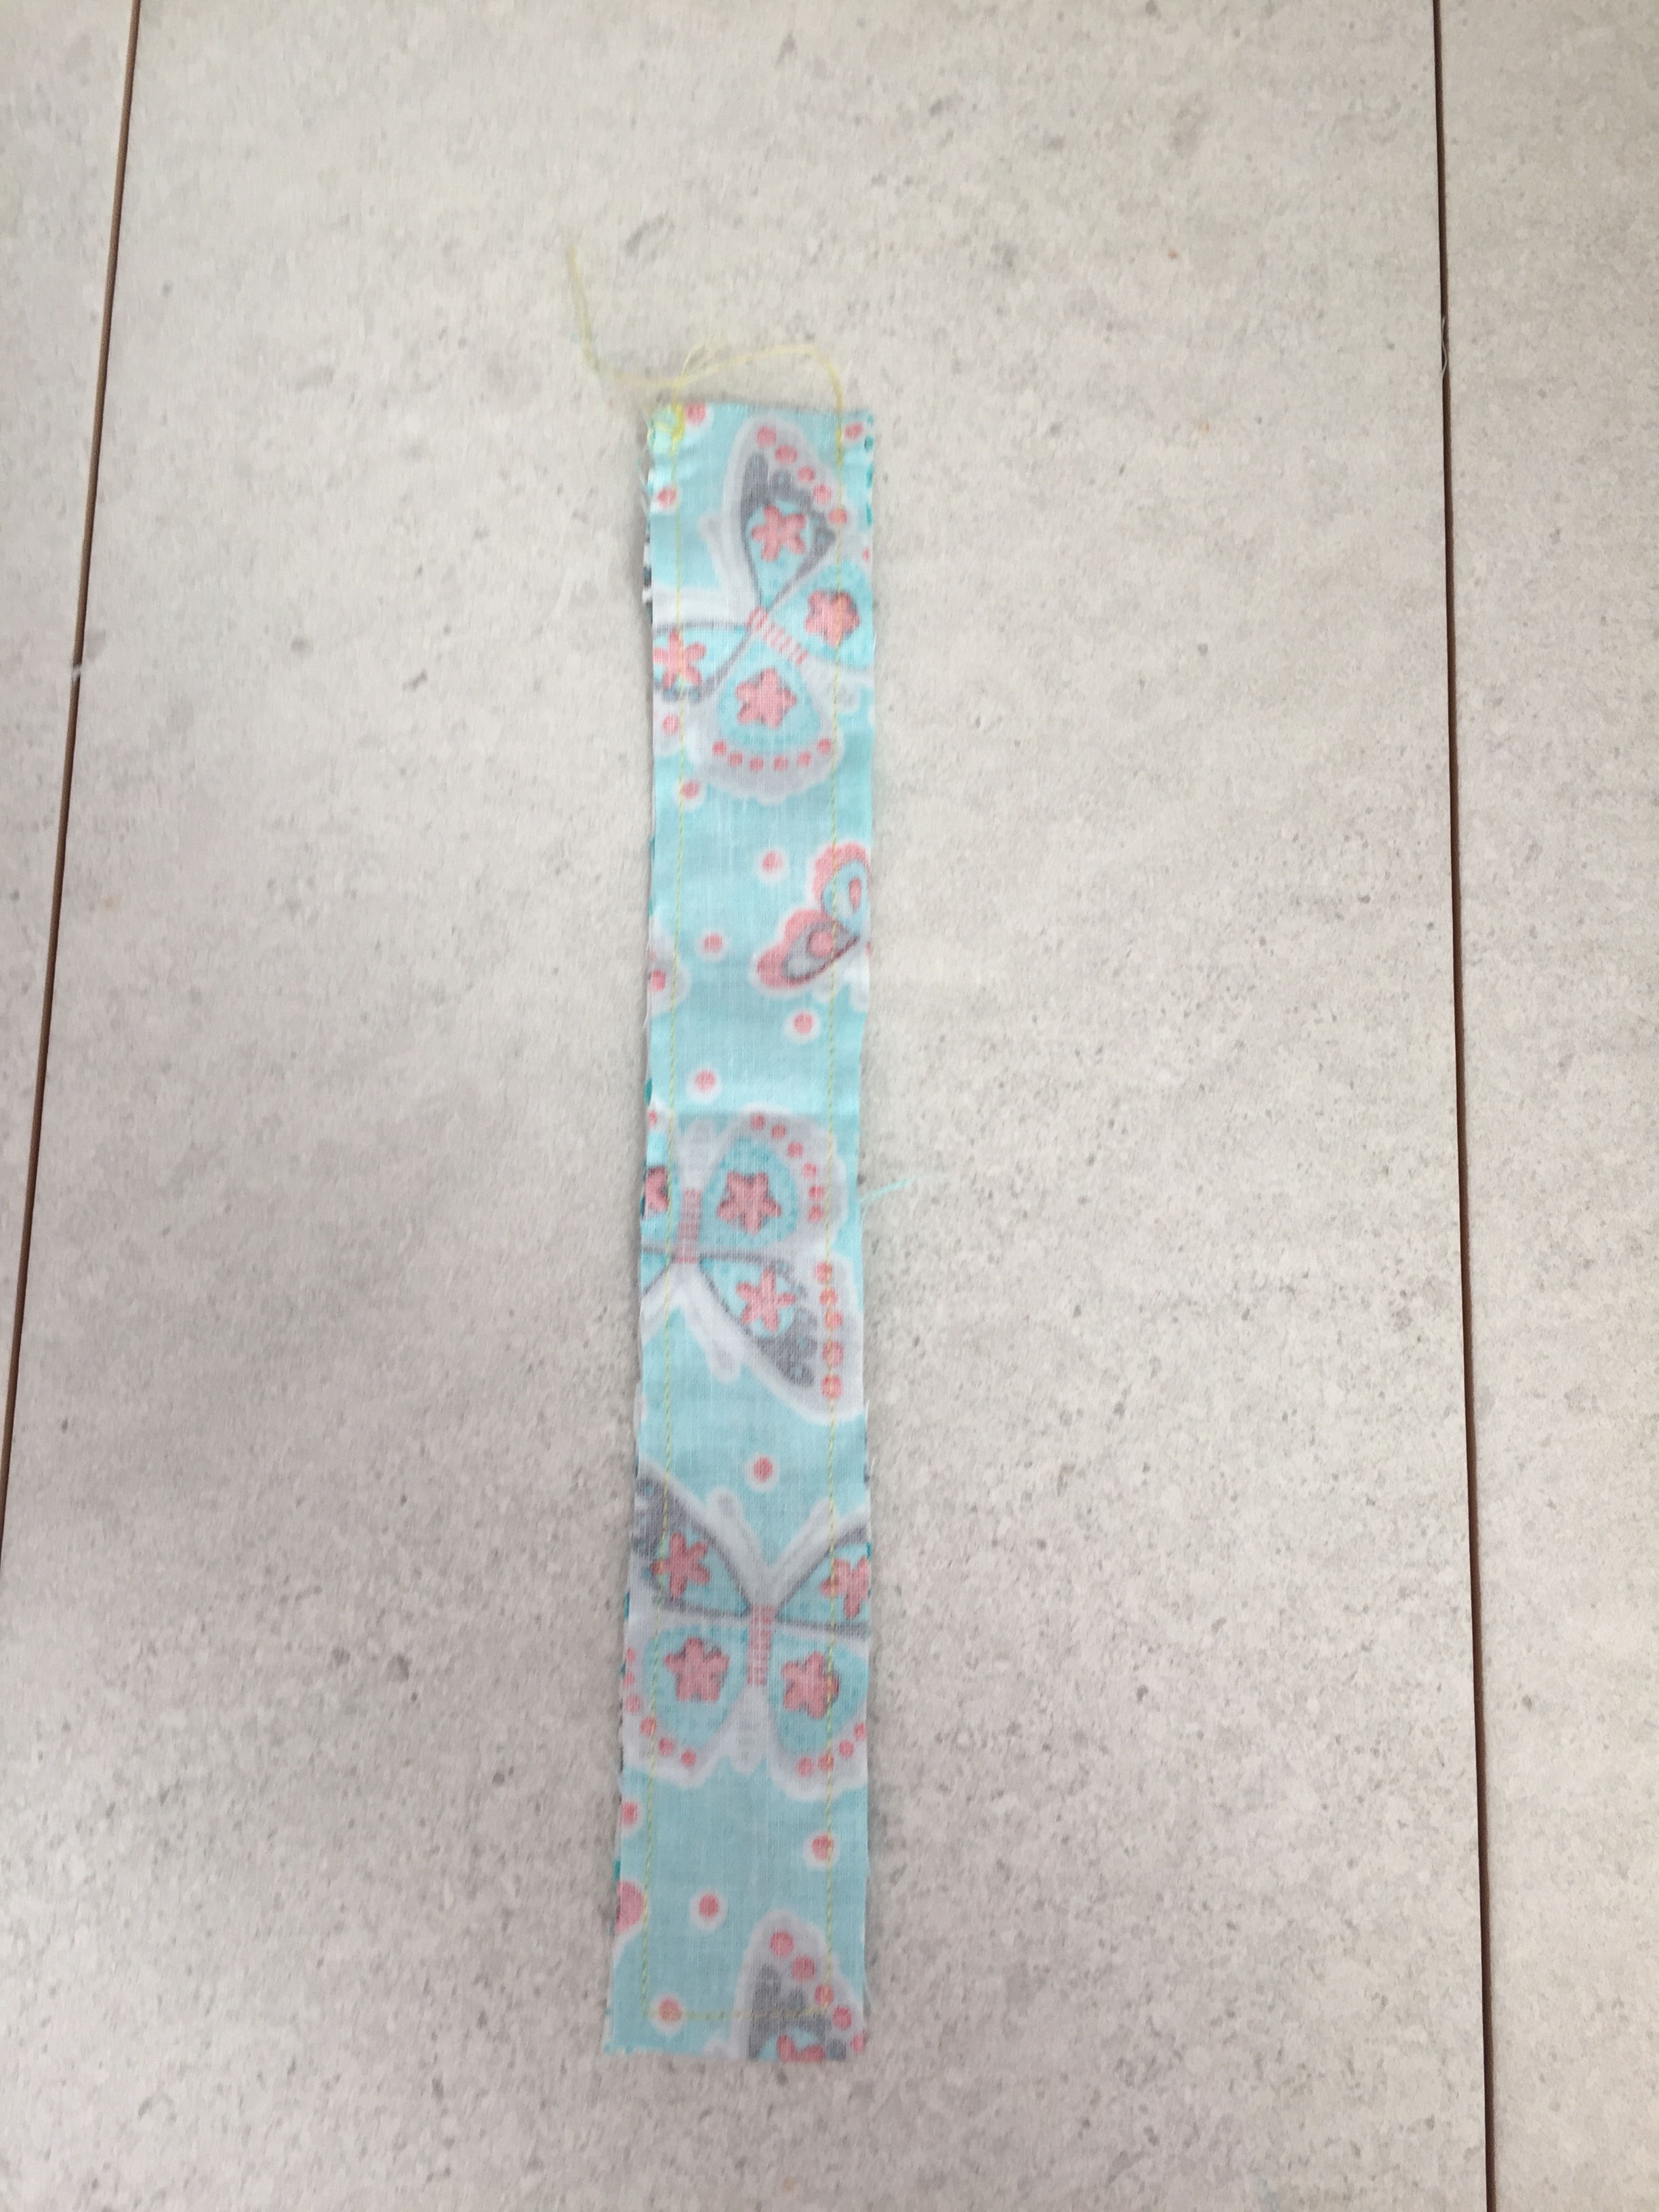
To create a display loop:
- Cut 2 strips of 20x4cm wide fabric.
- Place pieces right sides together, sew around leaving top edge unsewn, turn out the right way and slip stitch the gap closed.
- Thread the fabric strip through the metal clasp section and sew the two edges together to secure and complete the loop.


Leave a comment