
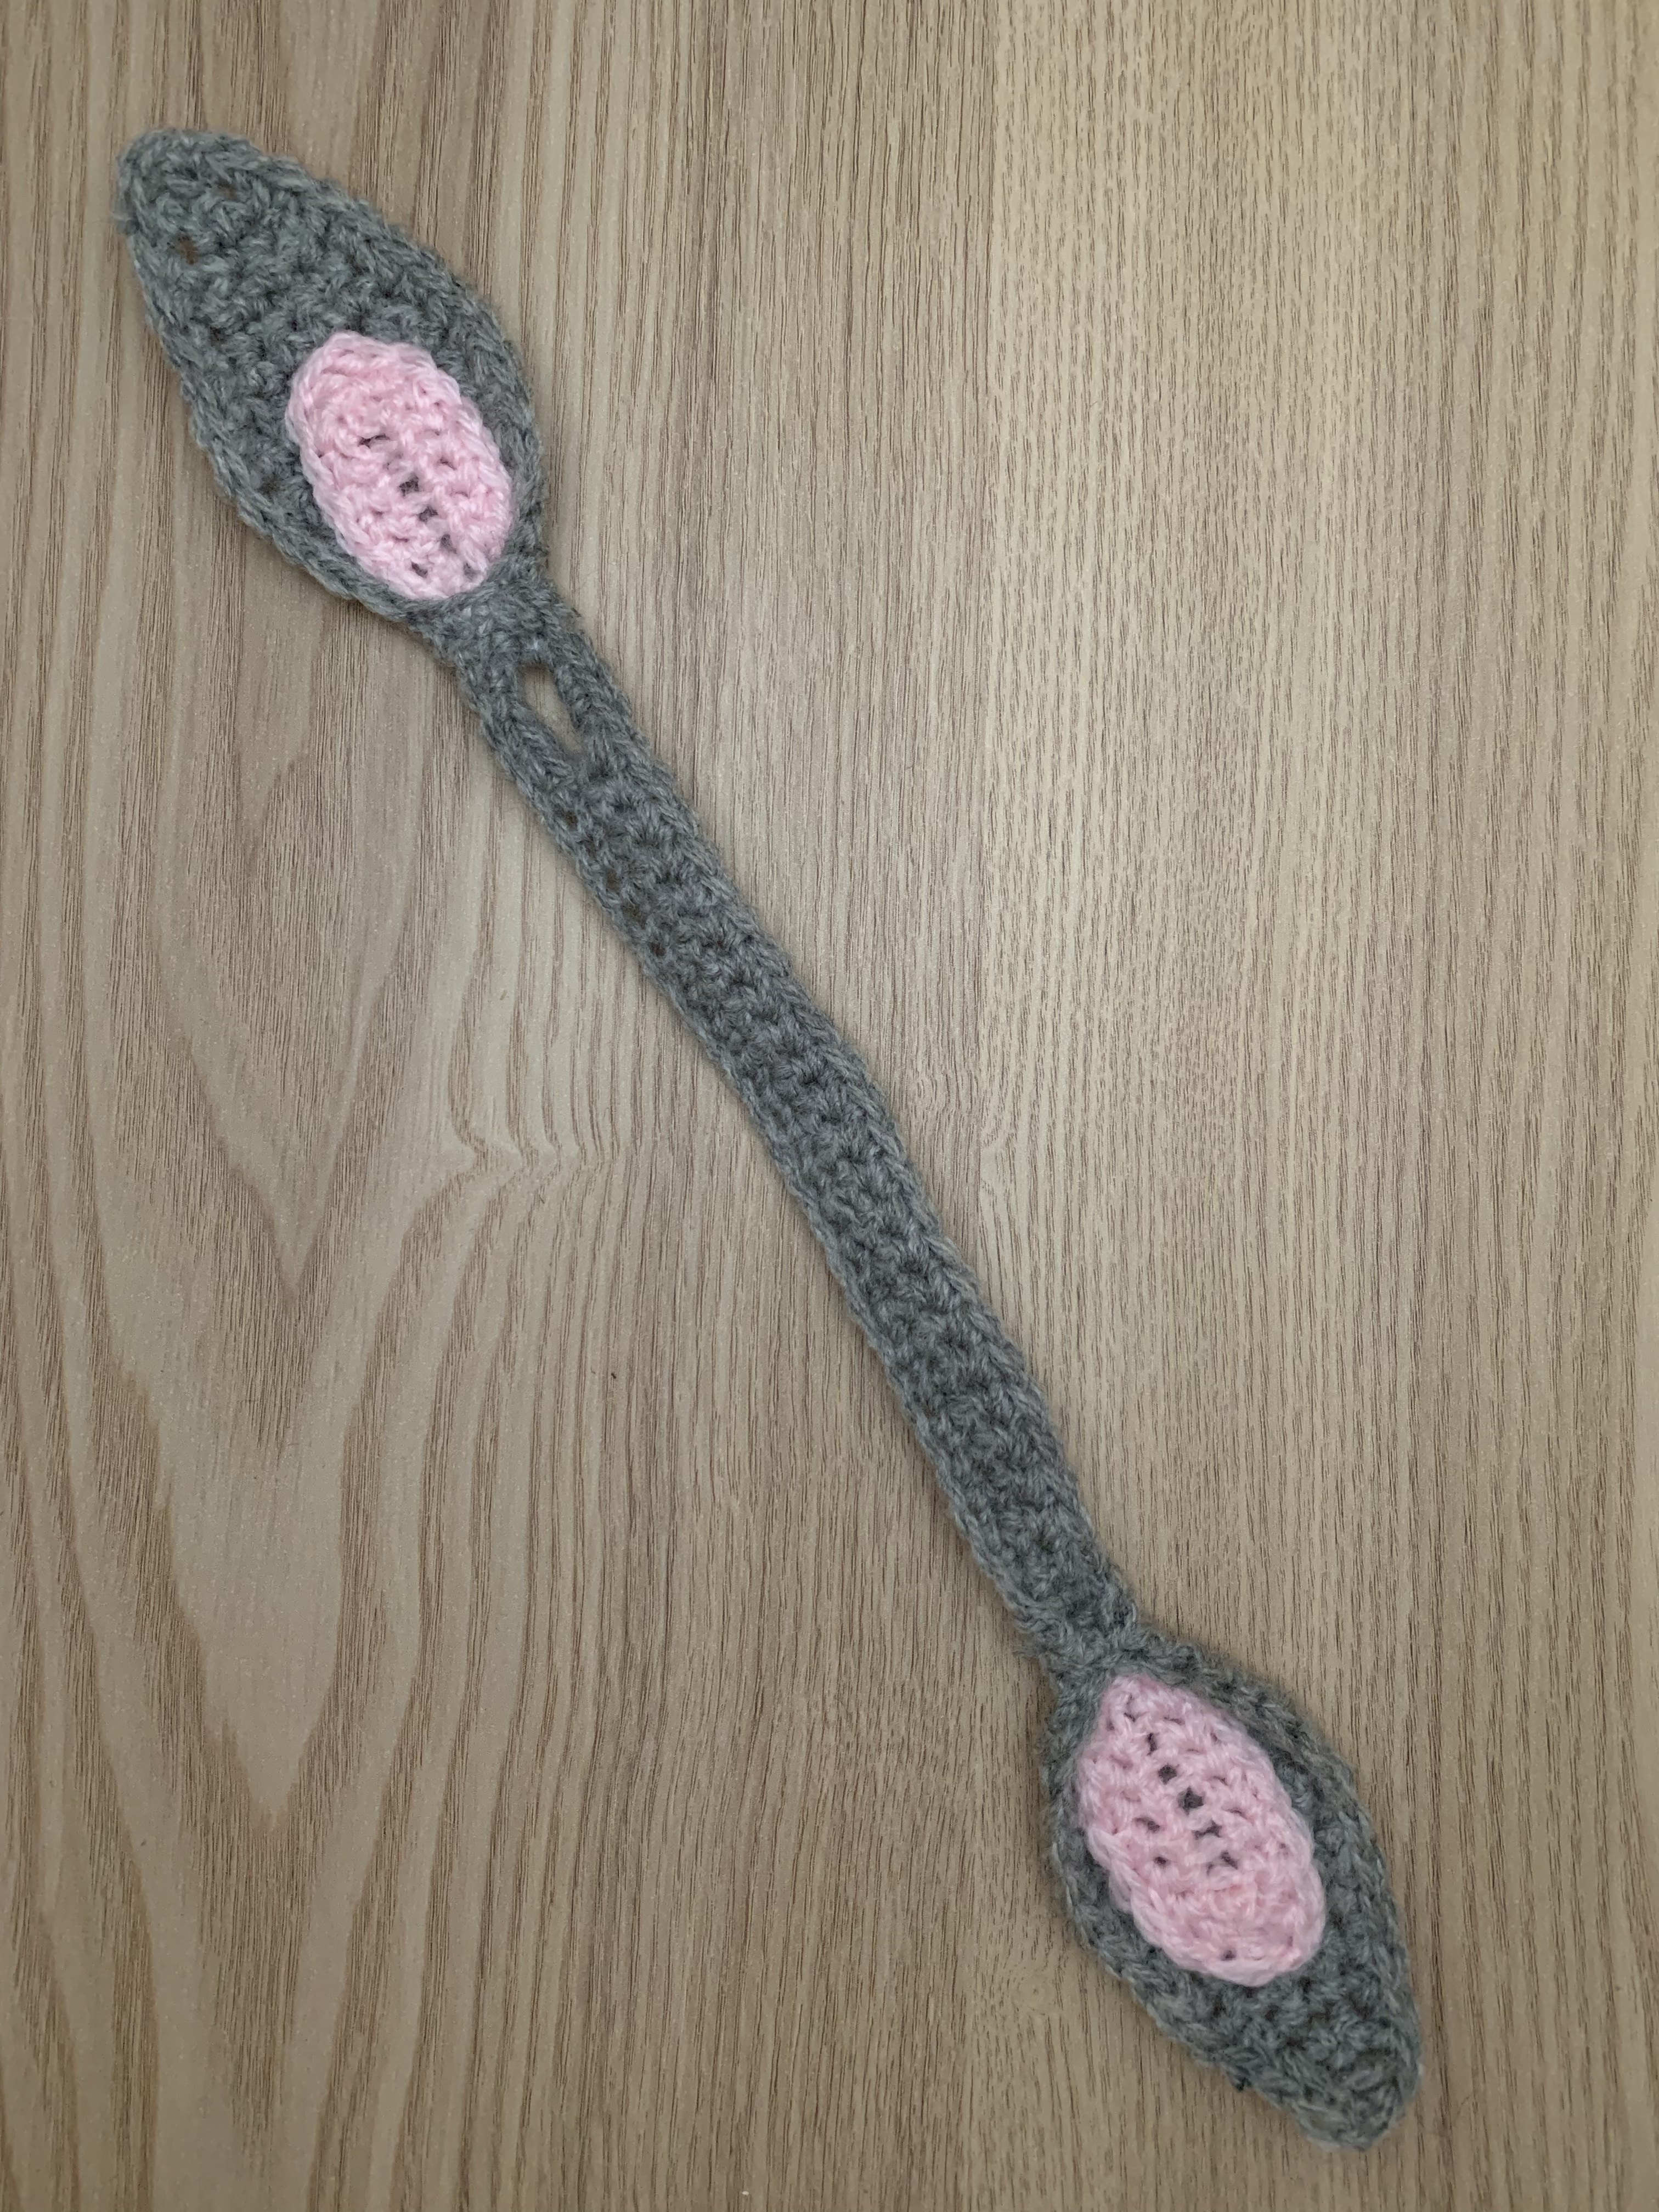
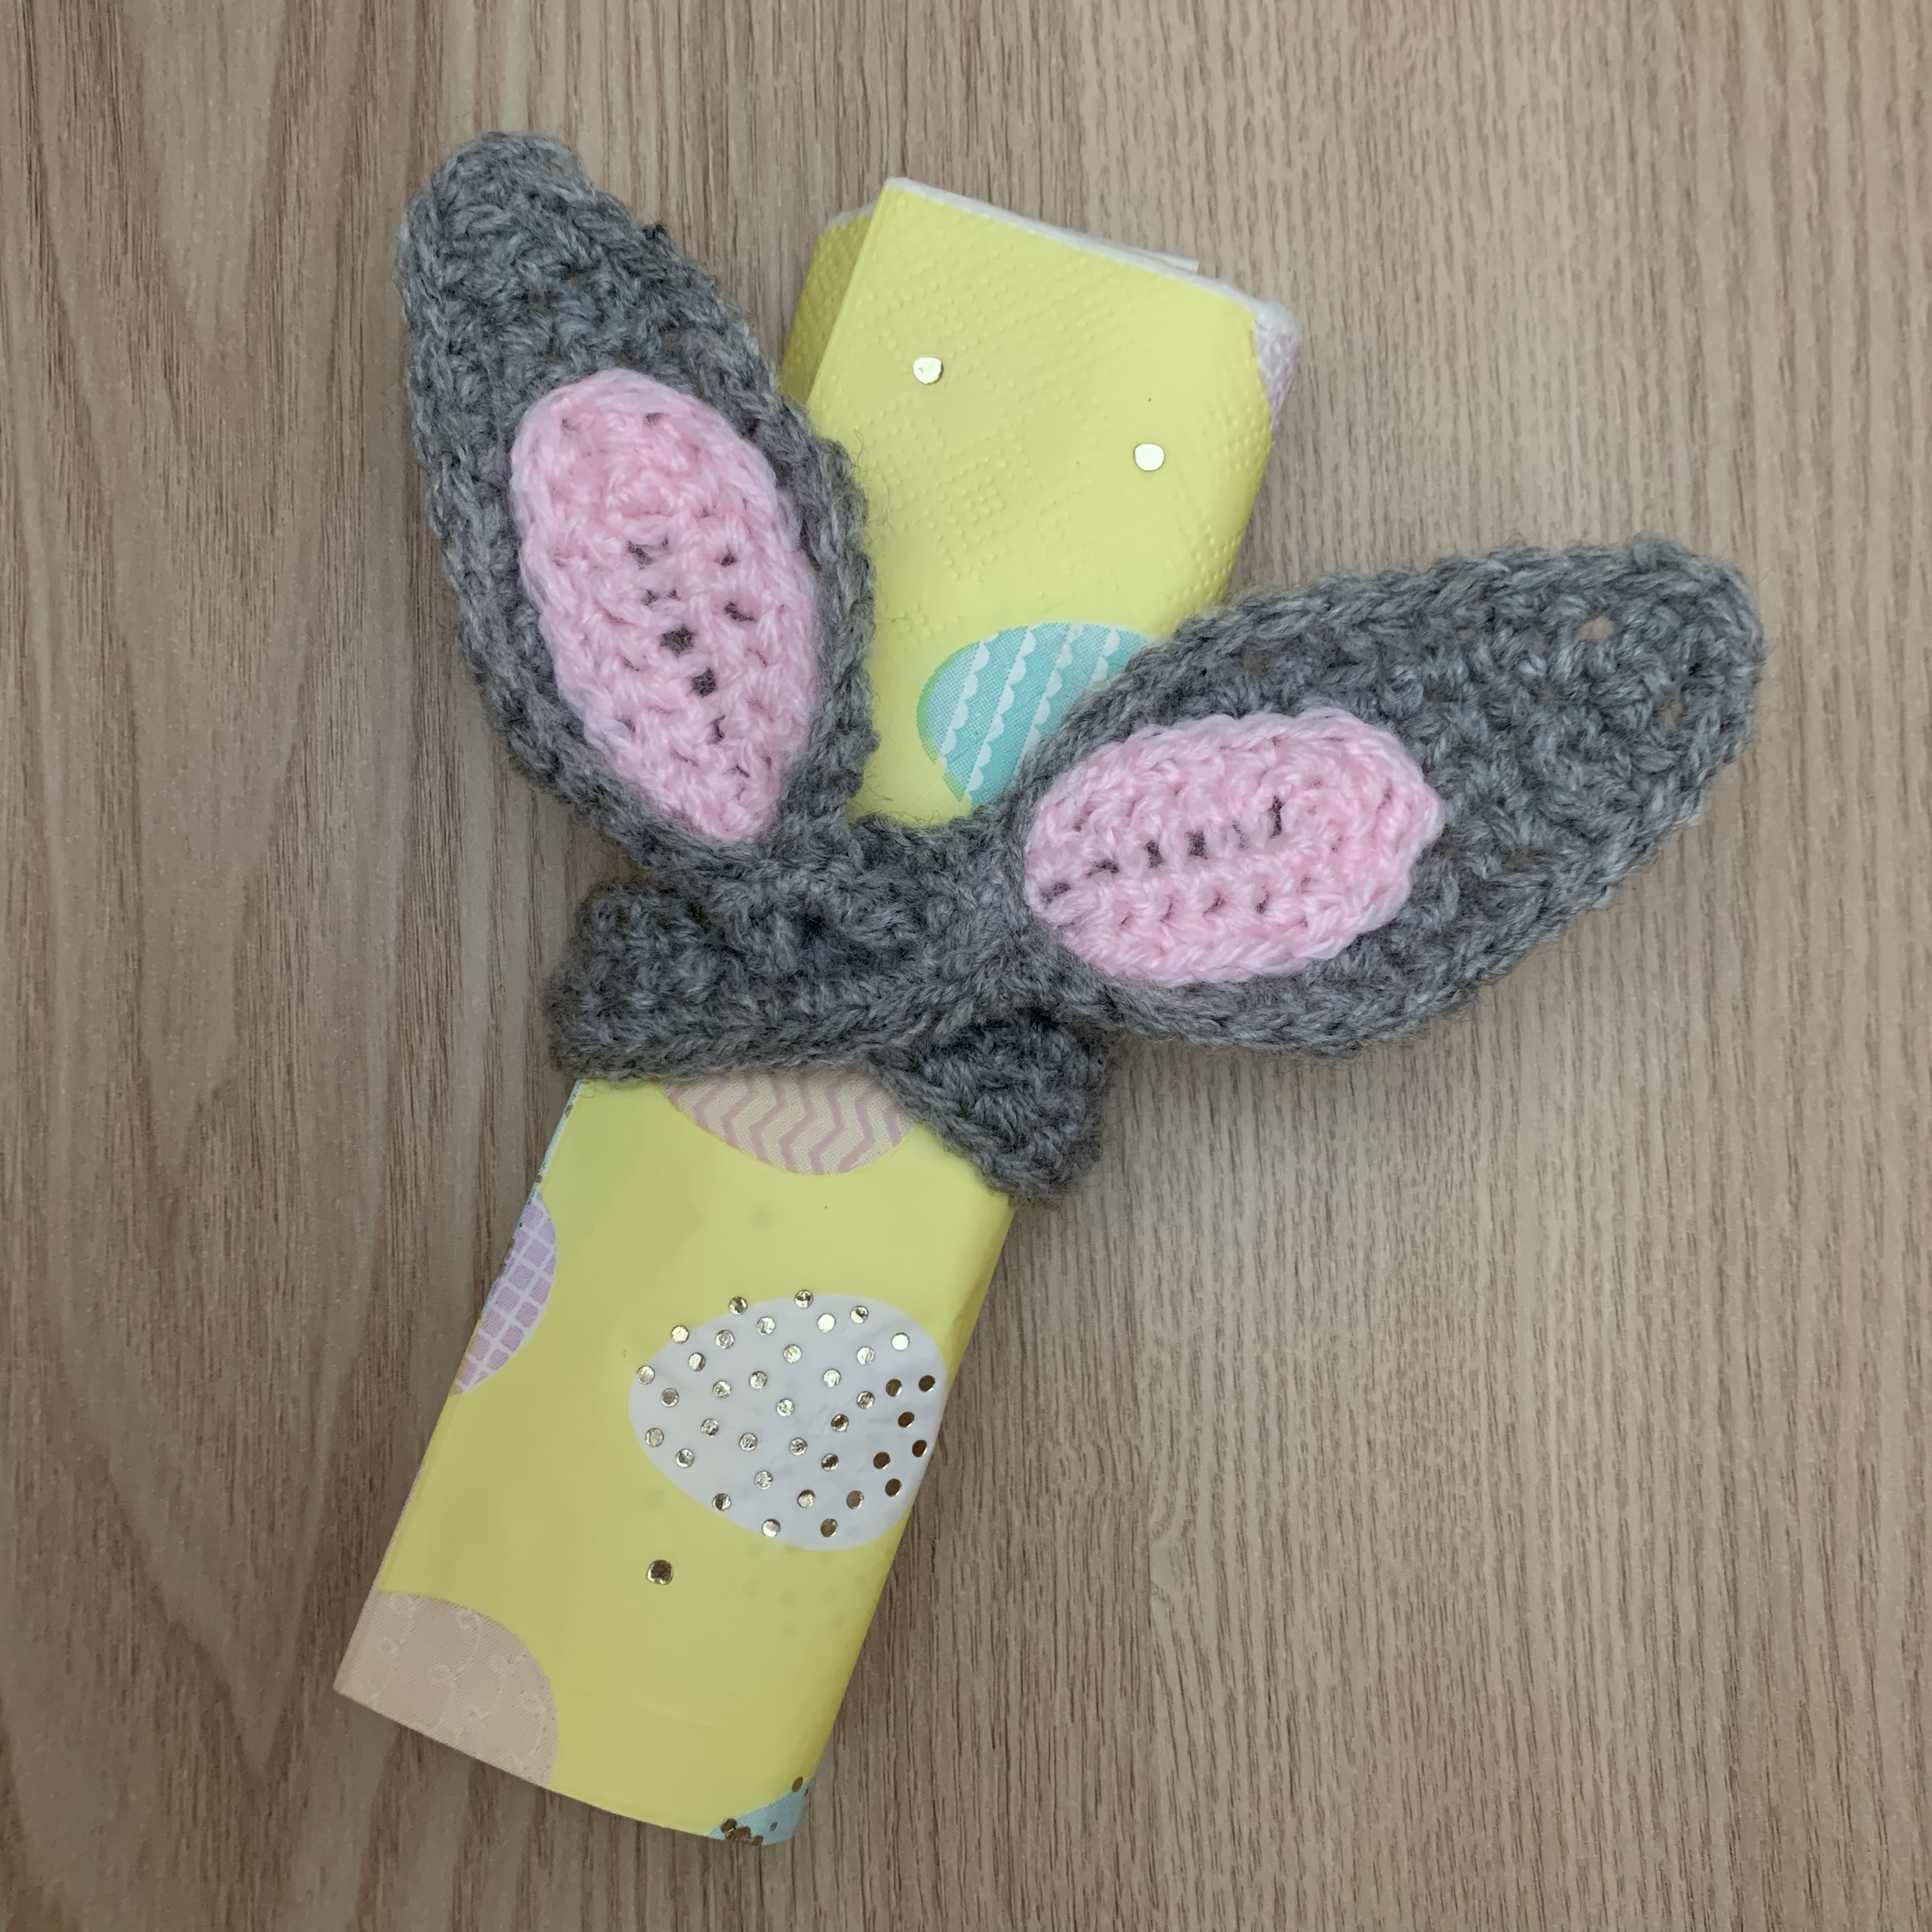
Following on from my previous Easter themed make of some crochet Easter rabbit pom poms I have continued with both the easter theme and the rabbit ear details and for this make I have used the rabbit ears to make some Easter themed napkin rings.
These would be great for an Easter lunch, they could be made in different colours or be mixed with another Easter themed napkin ring – pattern for this second Easter themed crochet napkin ring can be found here.
You could even use these to hold together rolled up easter egg hunt maps, or a few chocolate bars to make an Easter gift.
More Easter themed makes:
Crochet Rabbit Ear Napkin Rings Pattern, Part 1
Materials
- DK wool in your chosen colour for the outer ears and band section.
- DK wool in your chosen colour for the inner ears.
- 4.5cm crochet hook.
- Scissors.
- Darning needle.
Crochet Rabbit Ear Napkin Rings Pattern, Part 1
Outer Ears And Band Section
Using your chosen colour for the outer ears and band section and a 4.5cm crochet hook:
ch30, sc into 2nd ch from hook, sc along rest of the row (29).
Row 1: ch1 (doesn’t count as a stitch) sc, ch4, skip 4, sc into next stitch, sc along rest of the row.
Row 2: ch1 (doesn’t count as a stitch) 24sc, 4sc into ch4 gap, sc.
Fasten off.
At the left hand side of the band, cast on (pull up loop, ch1, sc into same stitch), sc into the end of each row of the band to give you 3 sc (3).


Row 1: ch1 (doesn’t count as a stitch) 2sc into first stitch of the row, 2sc, 2sc into next stitch (5).
Rows 2-3: ch1 (doesn’t count as a stitch) sc along row.
Row 4: ch1 (doesn’t count as a stitch) 2sc into first stitch or the row, 3sc, 2sc into next stitch (7).
Rows 5-7: ch1 (doesn’t count as a stitch) sc along row.
Row 8: ch1 (doesn’t count as a stitch) sc2tog, 3sc, sc2tog (5).
Rows 9-10: ch1 (doesn’t count as a stitch) sc along row.
Row 11: ch1 (doesn’t count as a stitch) sc2tog, sc, sc2tog (3)
Row 12: ch1 (doesn’t count as a stitch) sc along row.
Row 13: ch1 (doesn’t count as a stitch) sc2tog, sc (2).
Row 14: ch1 (doesn’t count as a stitch) sc2tog (1).
Fasten off.
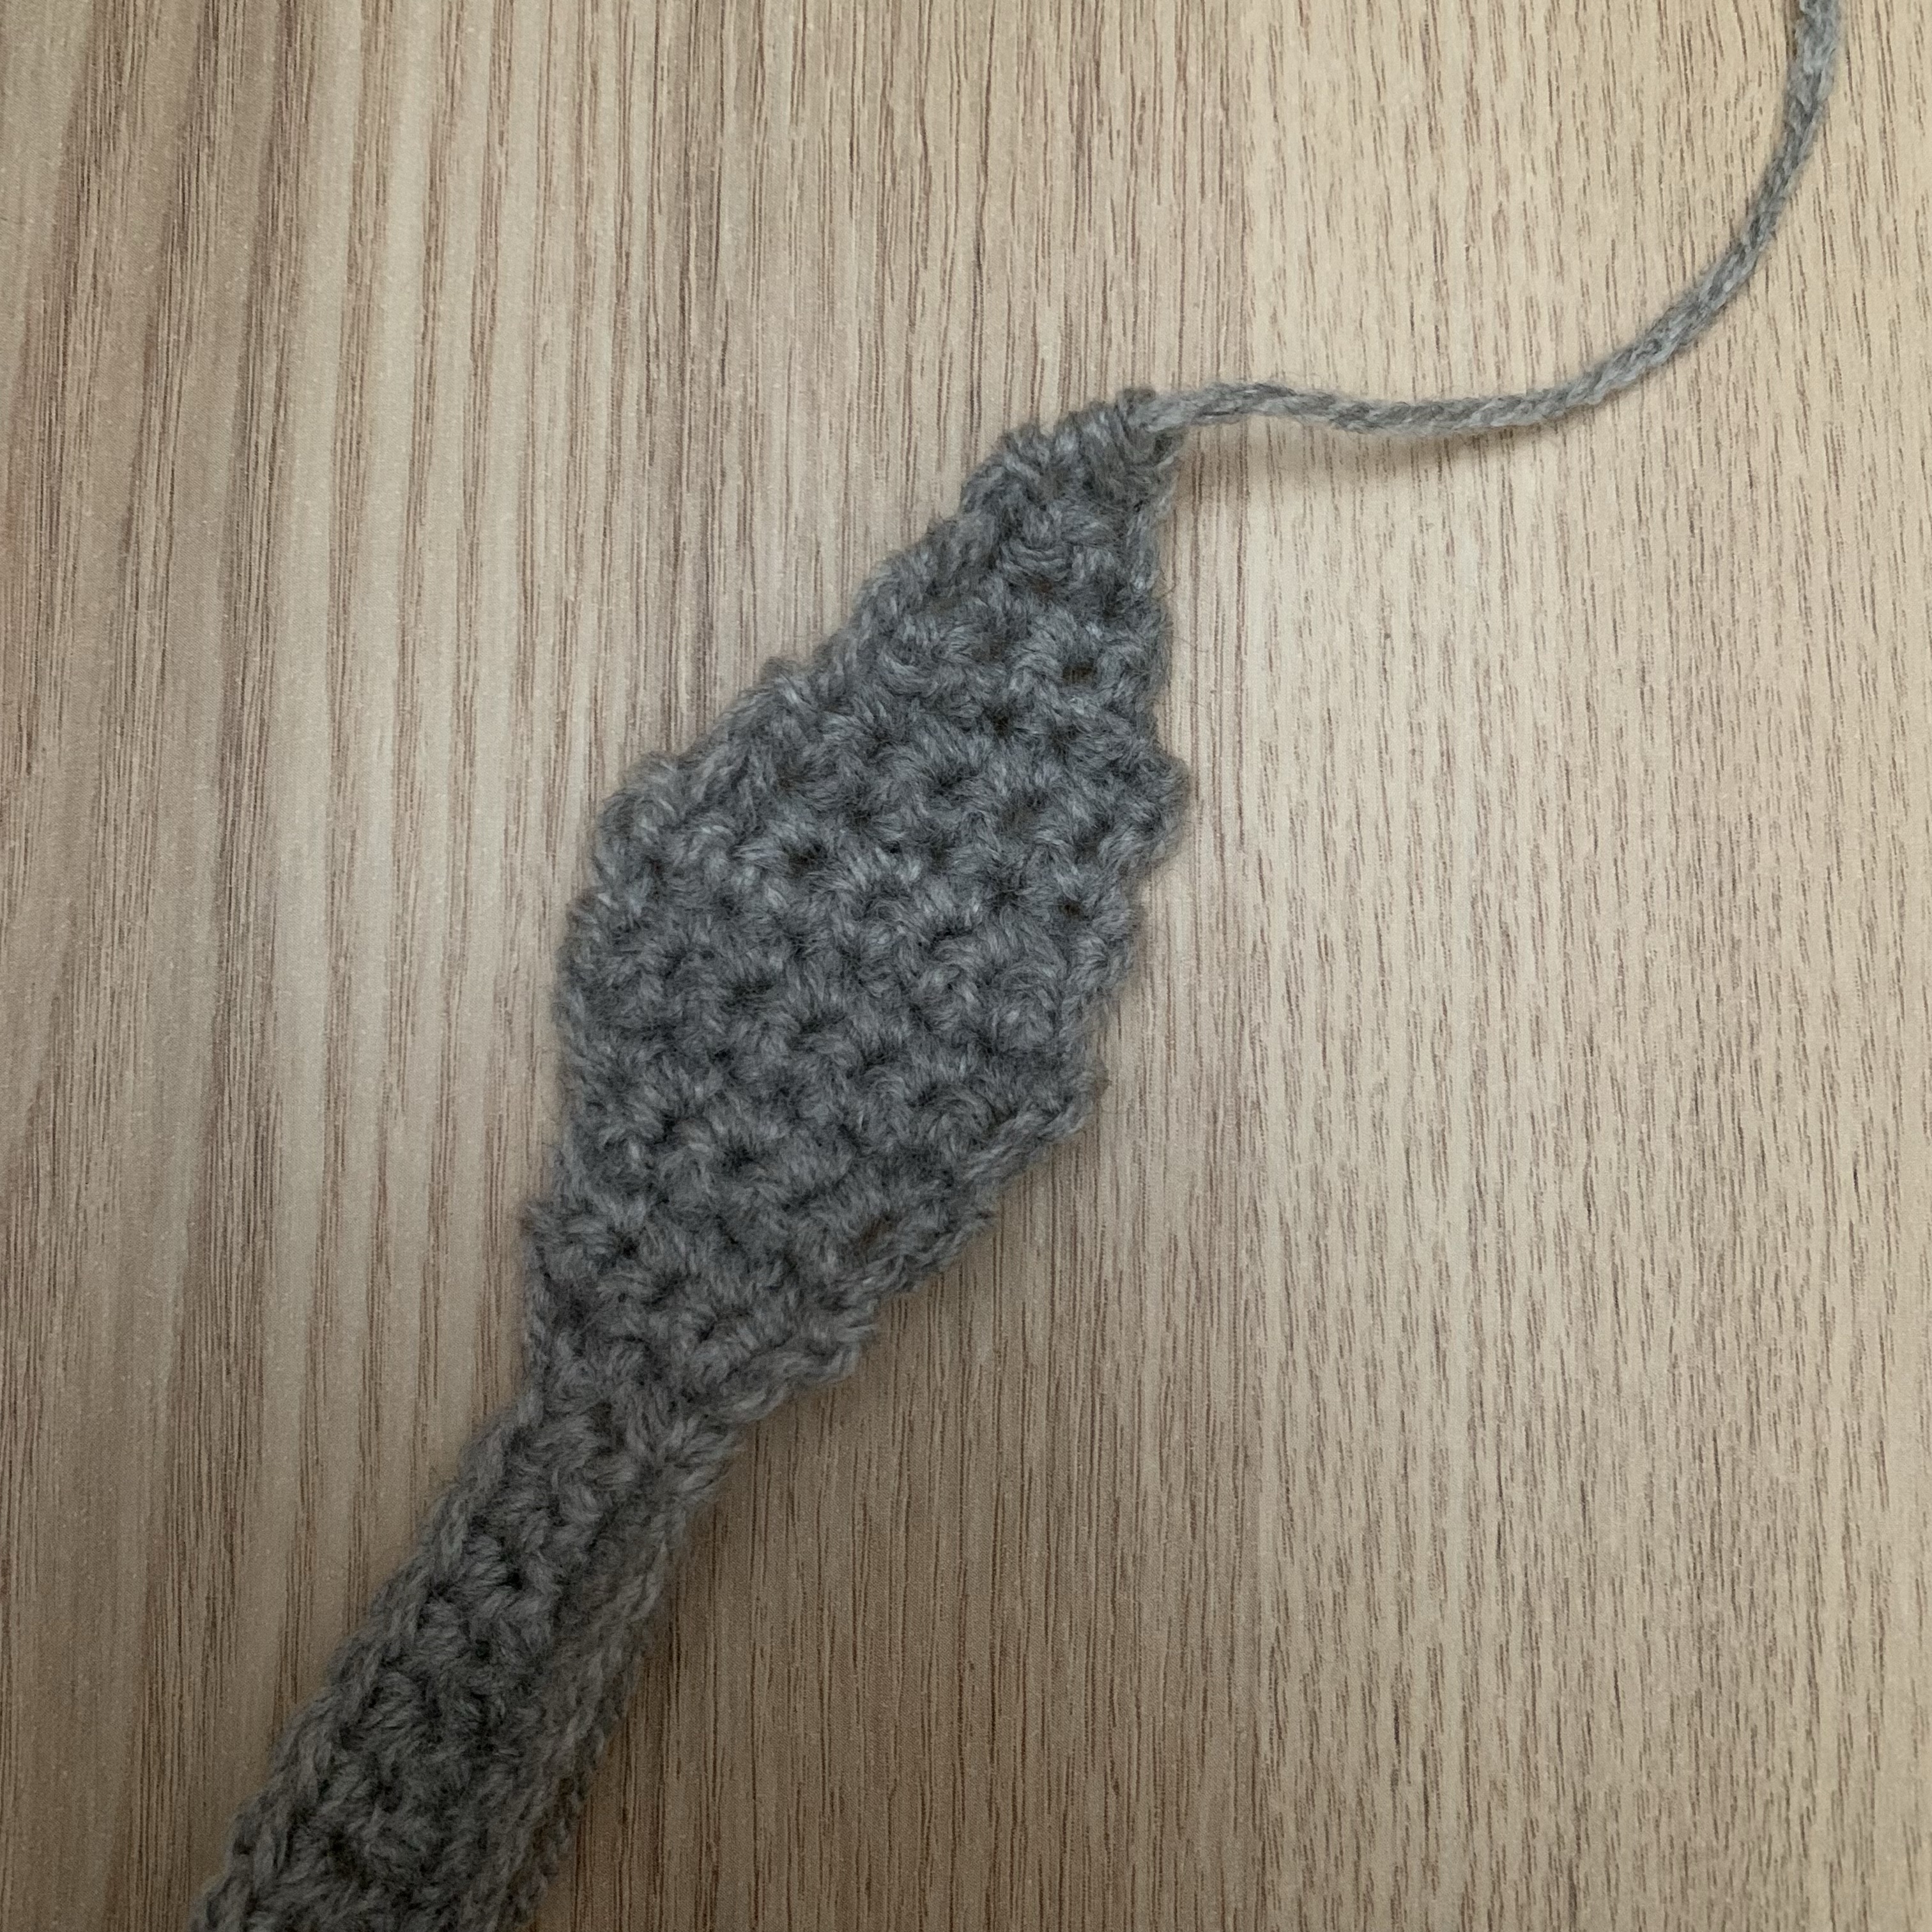
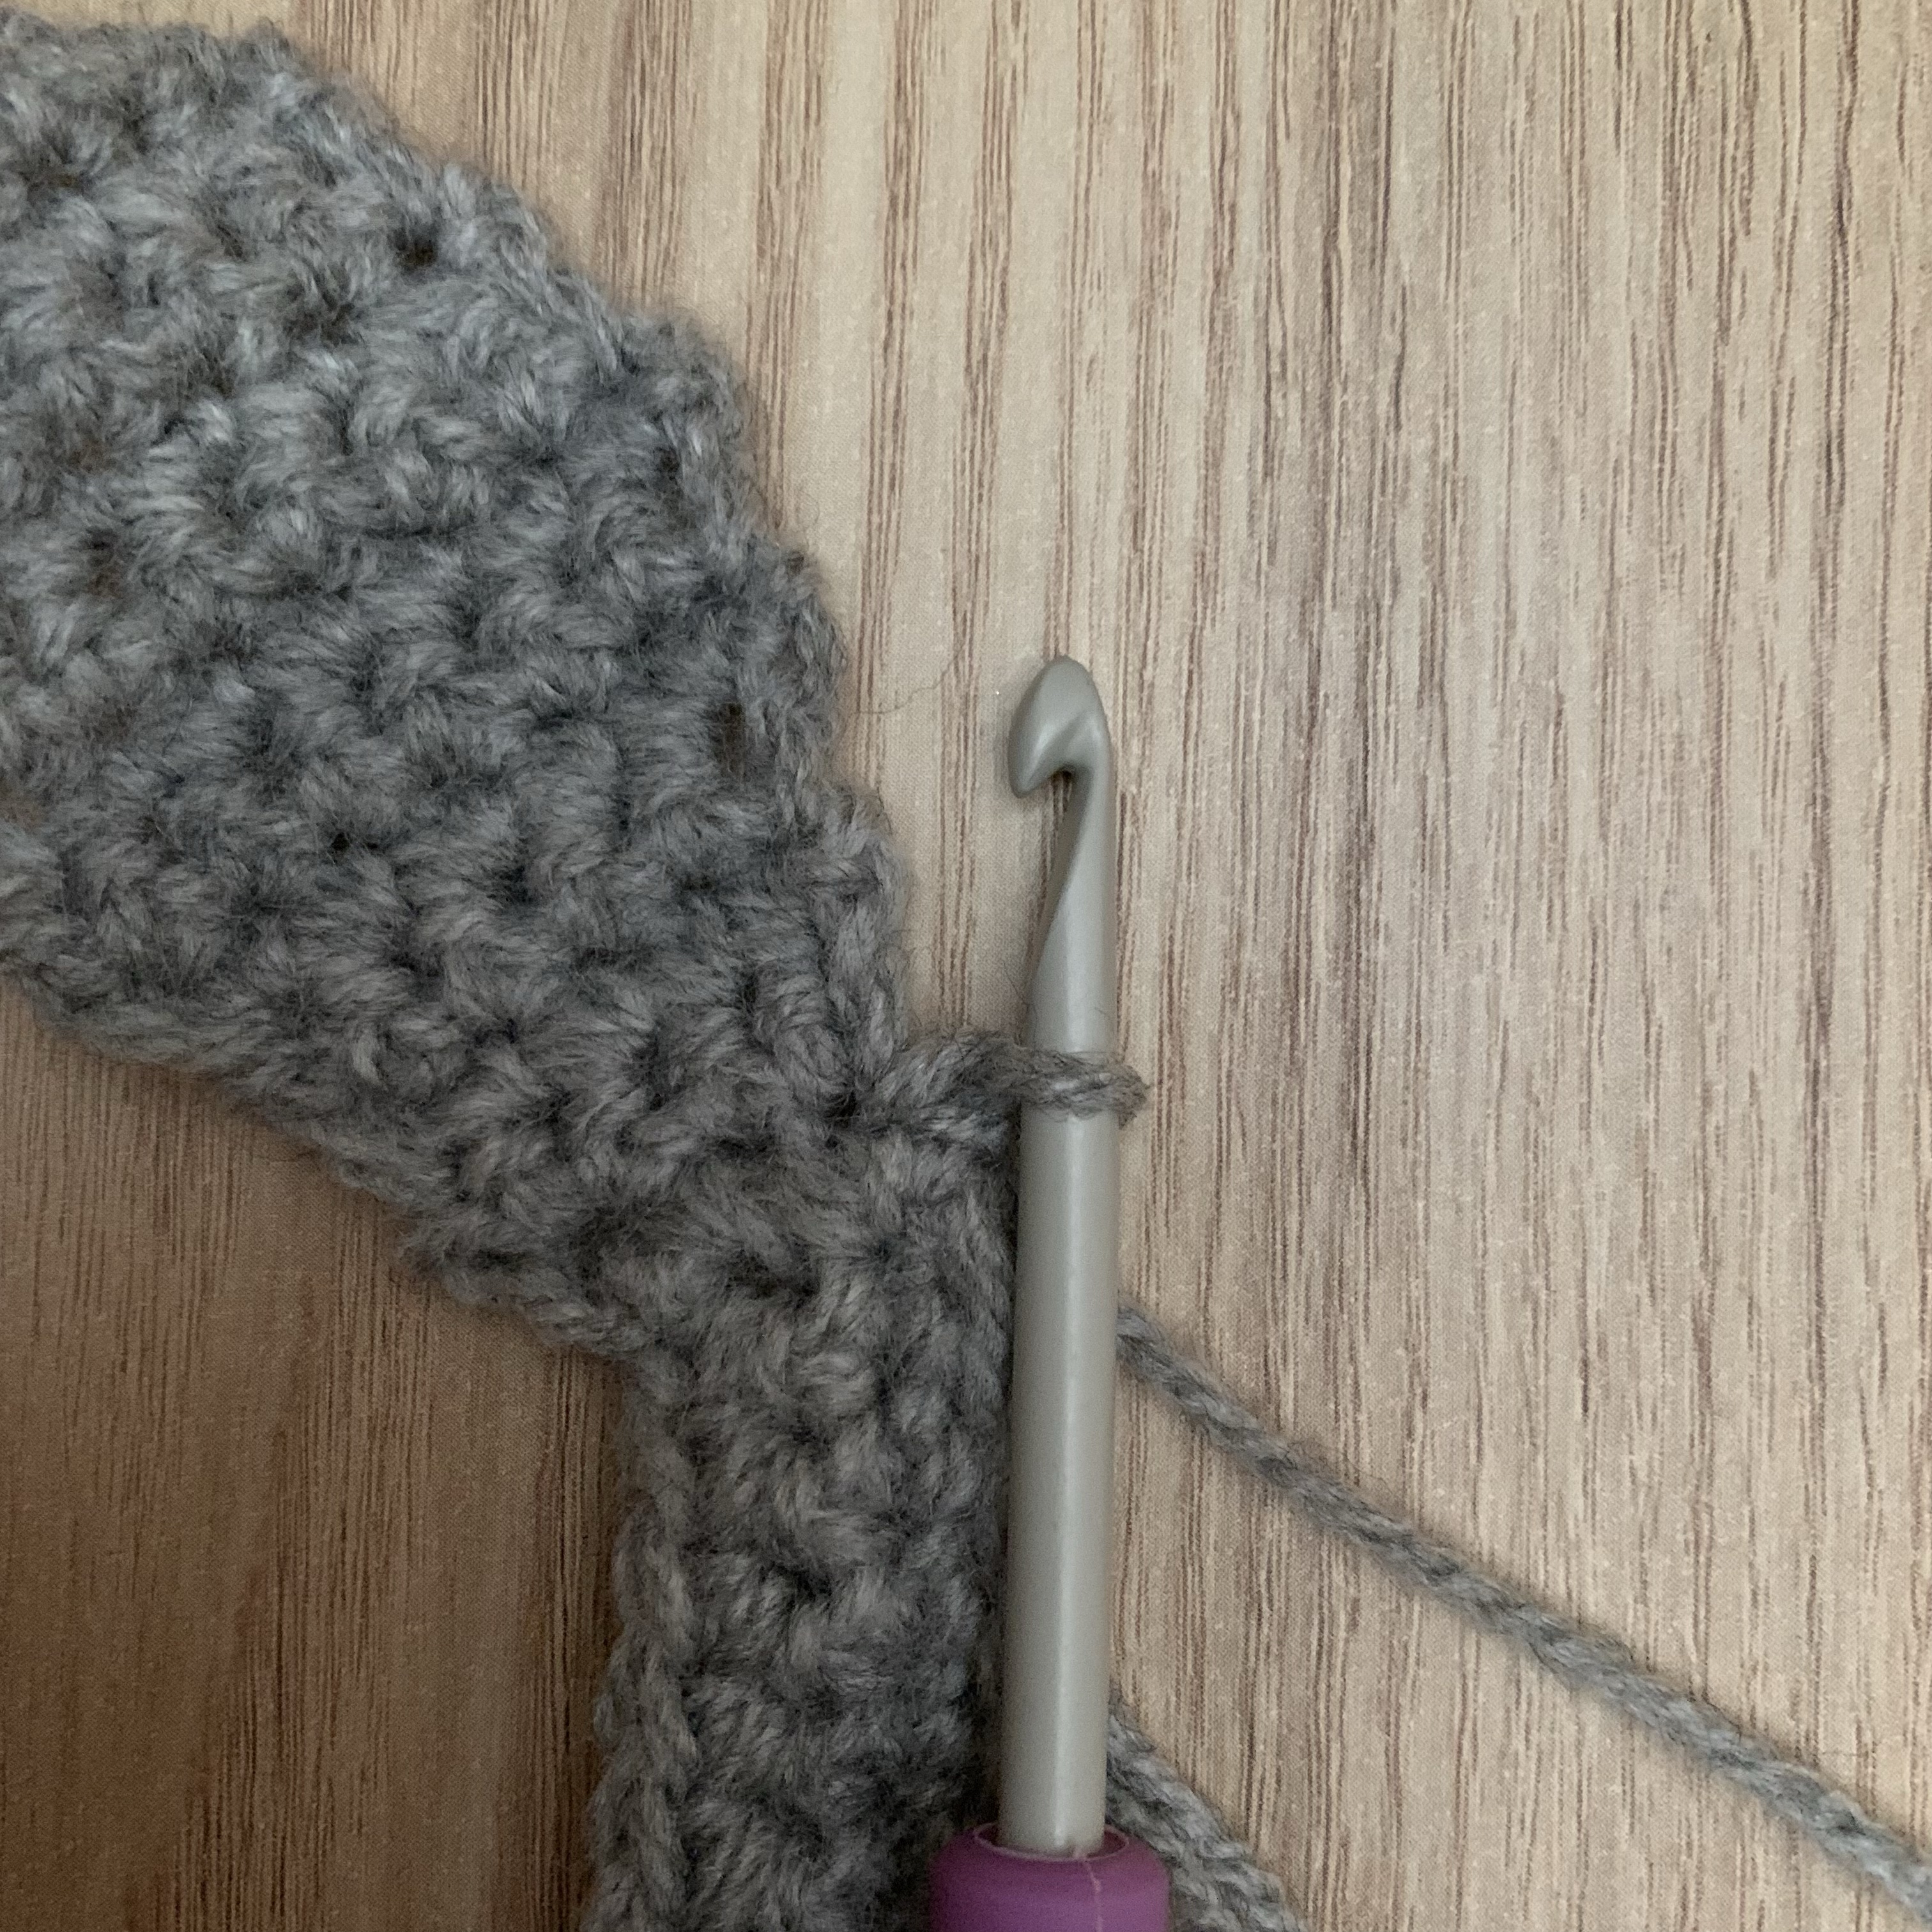
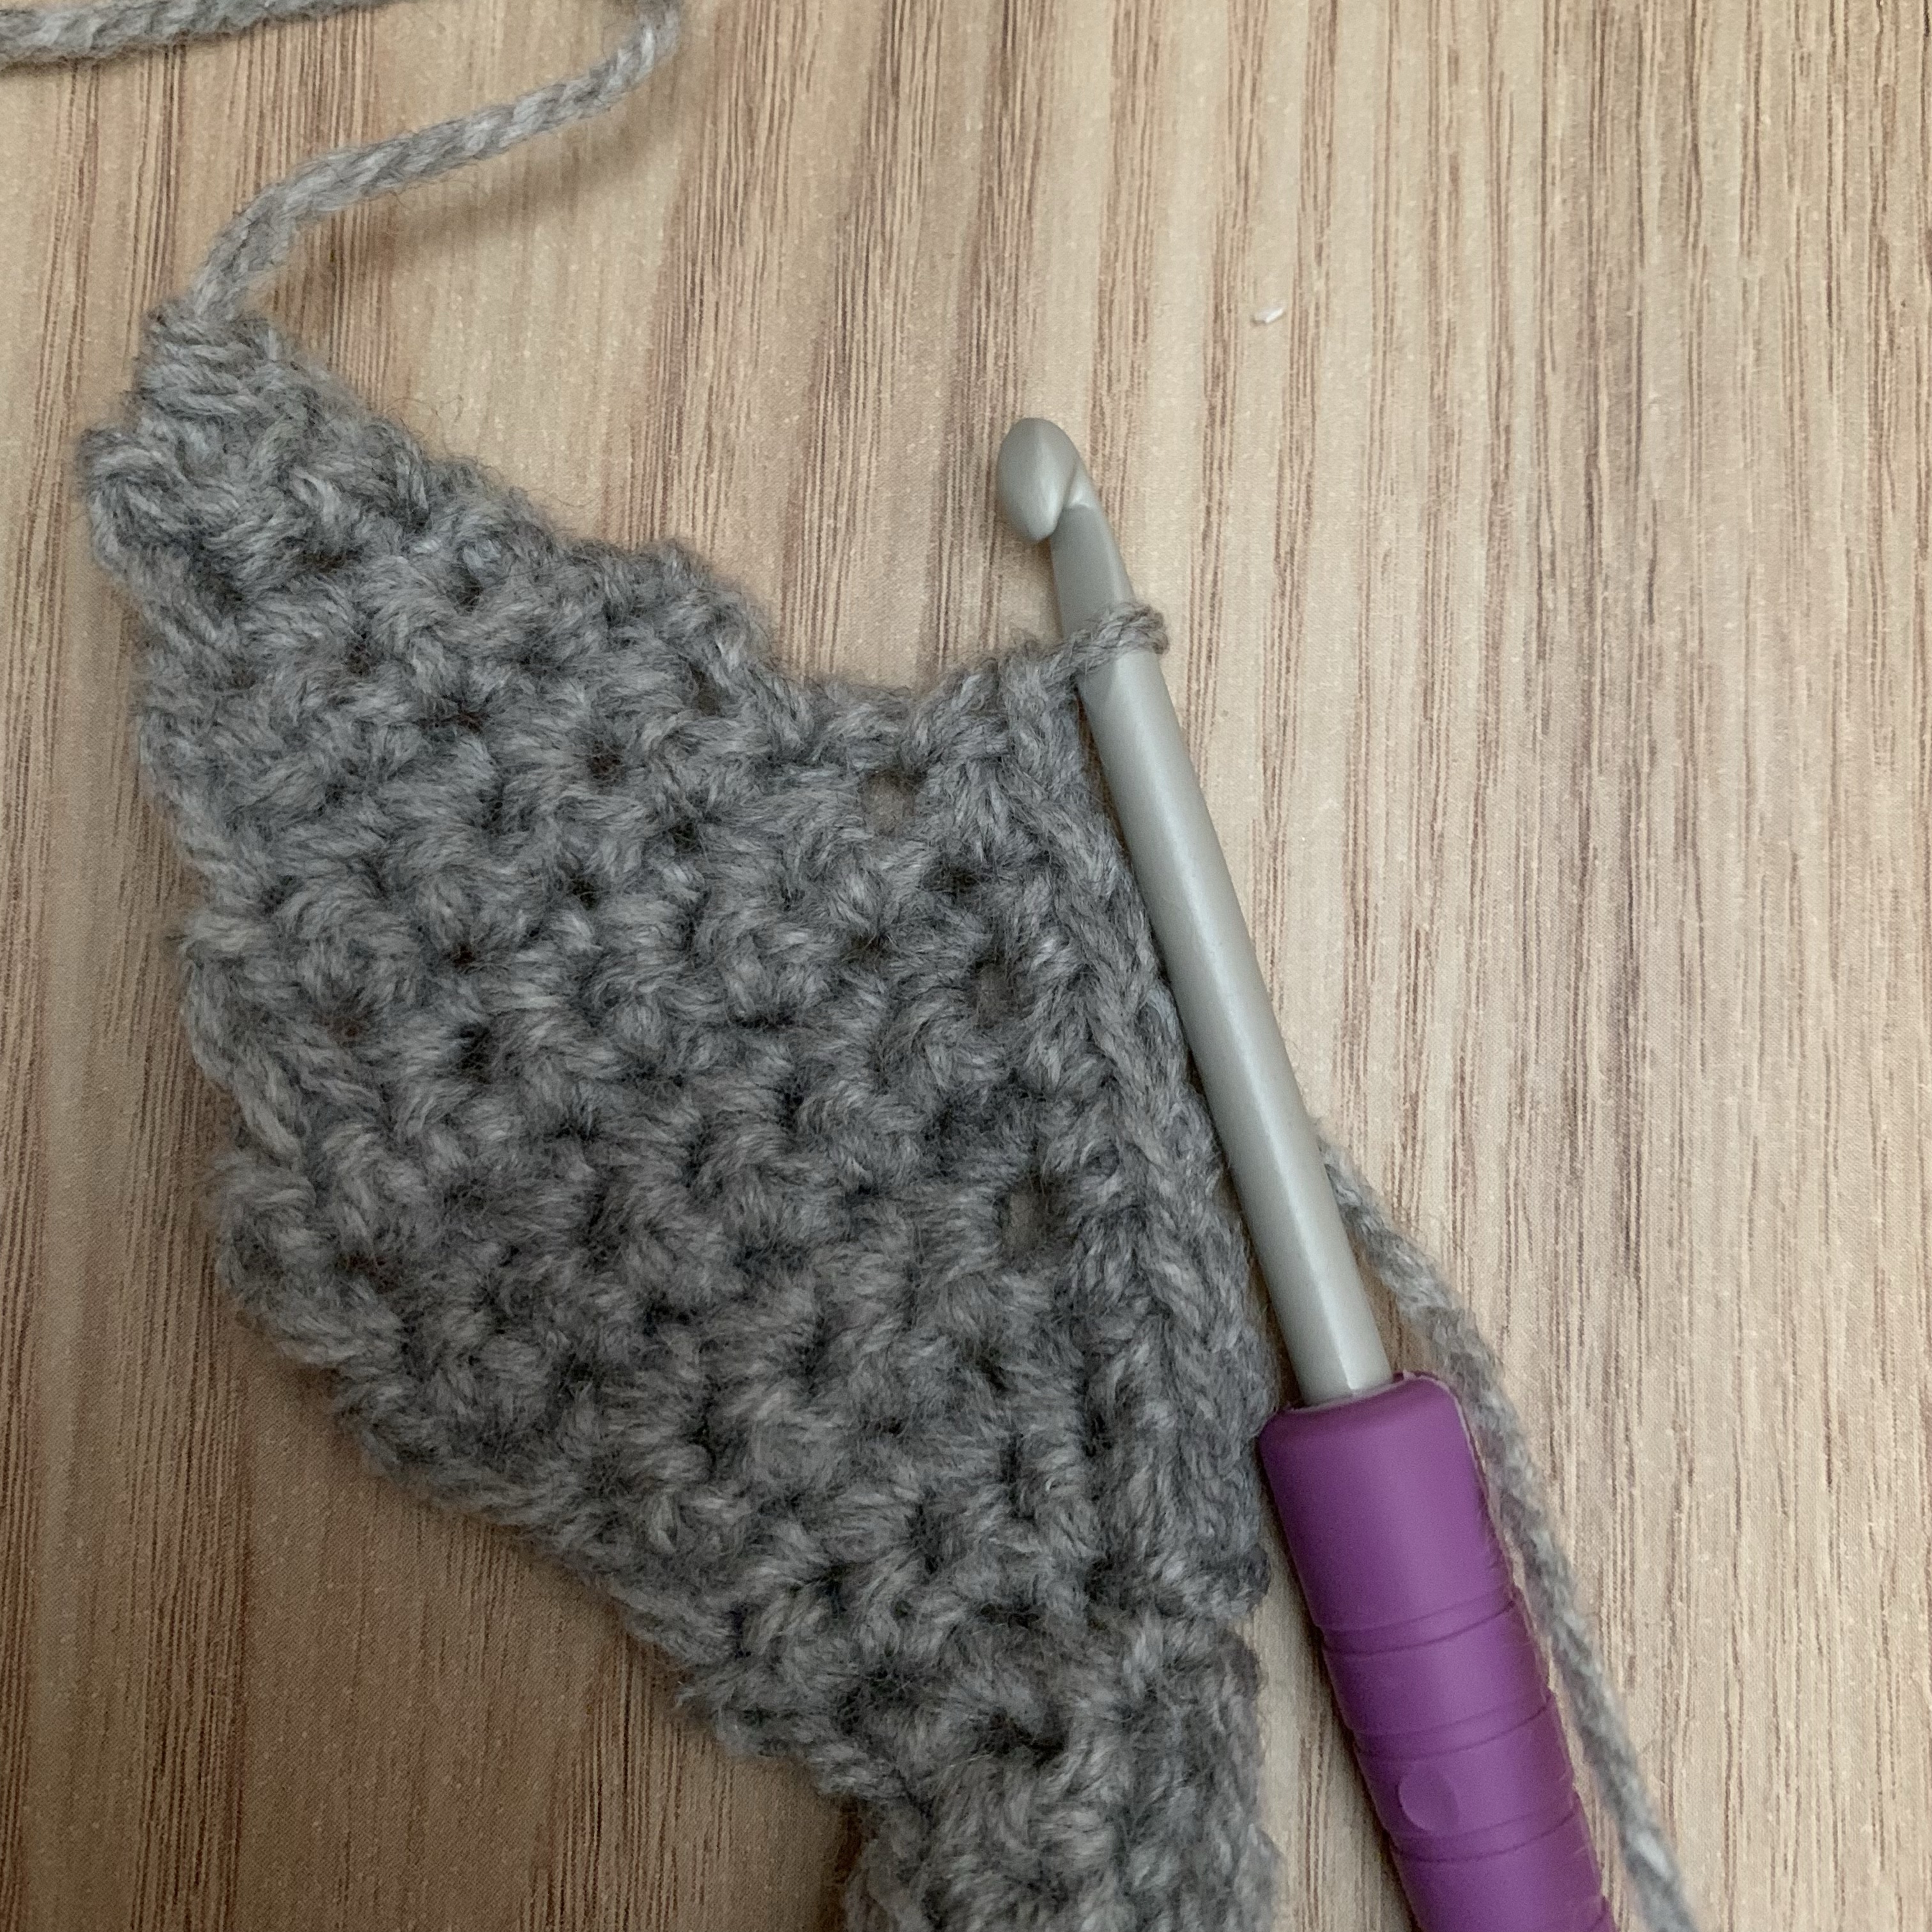
Cast on in bottom right hand side of the ear (pull up loop, ch1, sc into same stitch) sc around the edge of the rabbit ear with sc stitches going into the row ends until you reach the base of the ear at the left hand side.

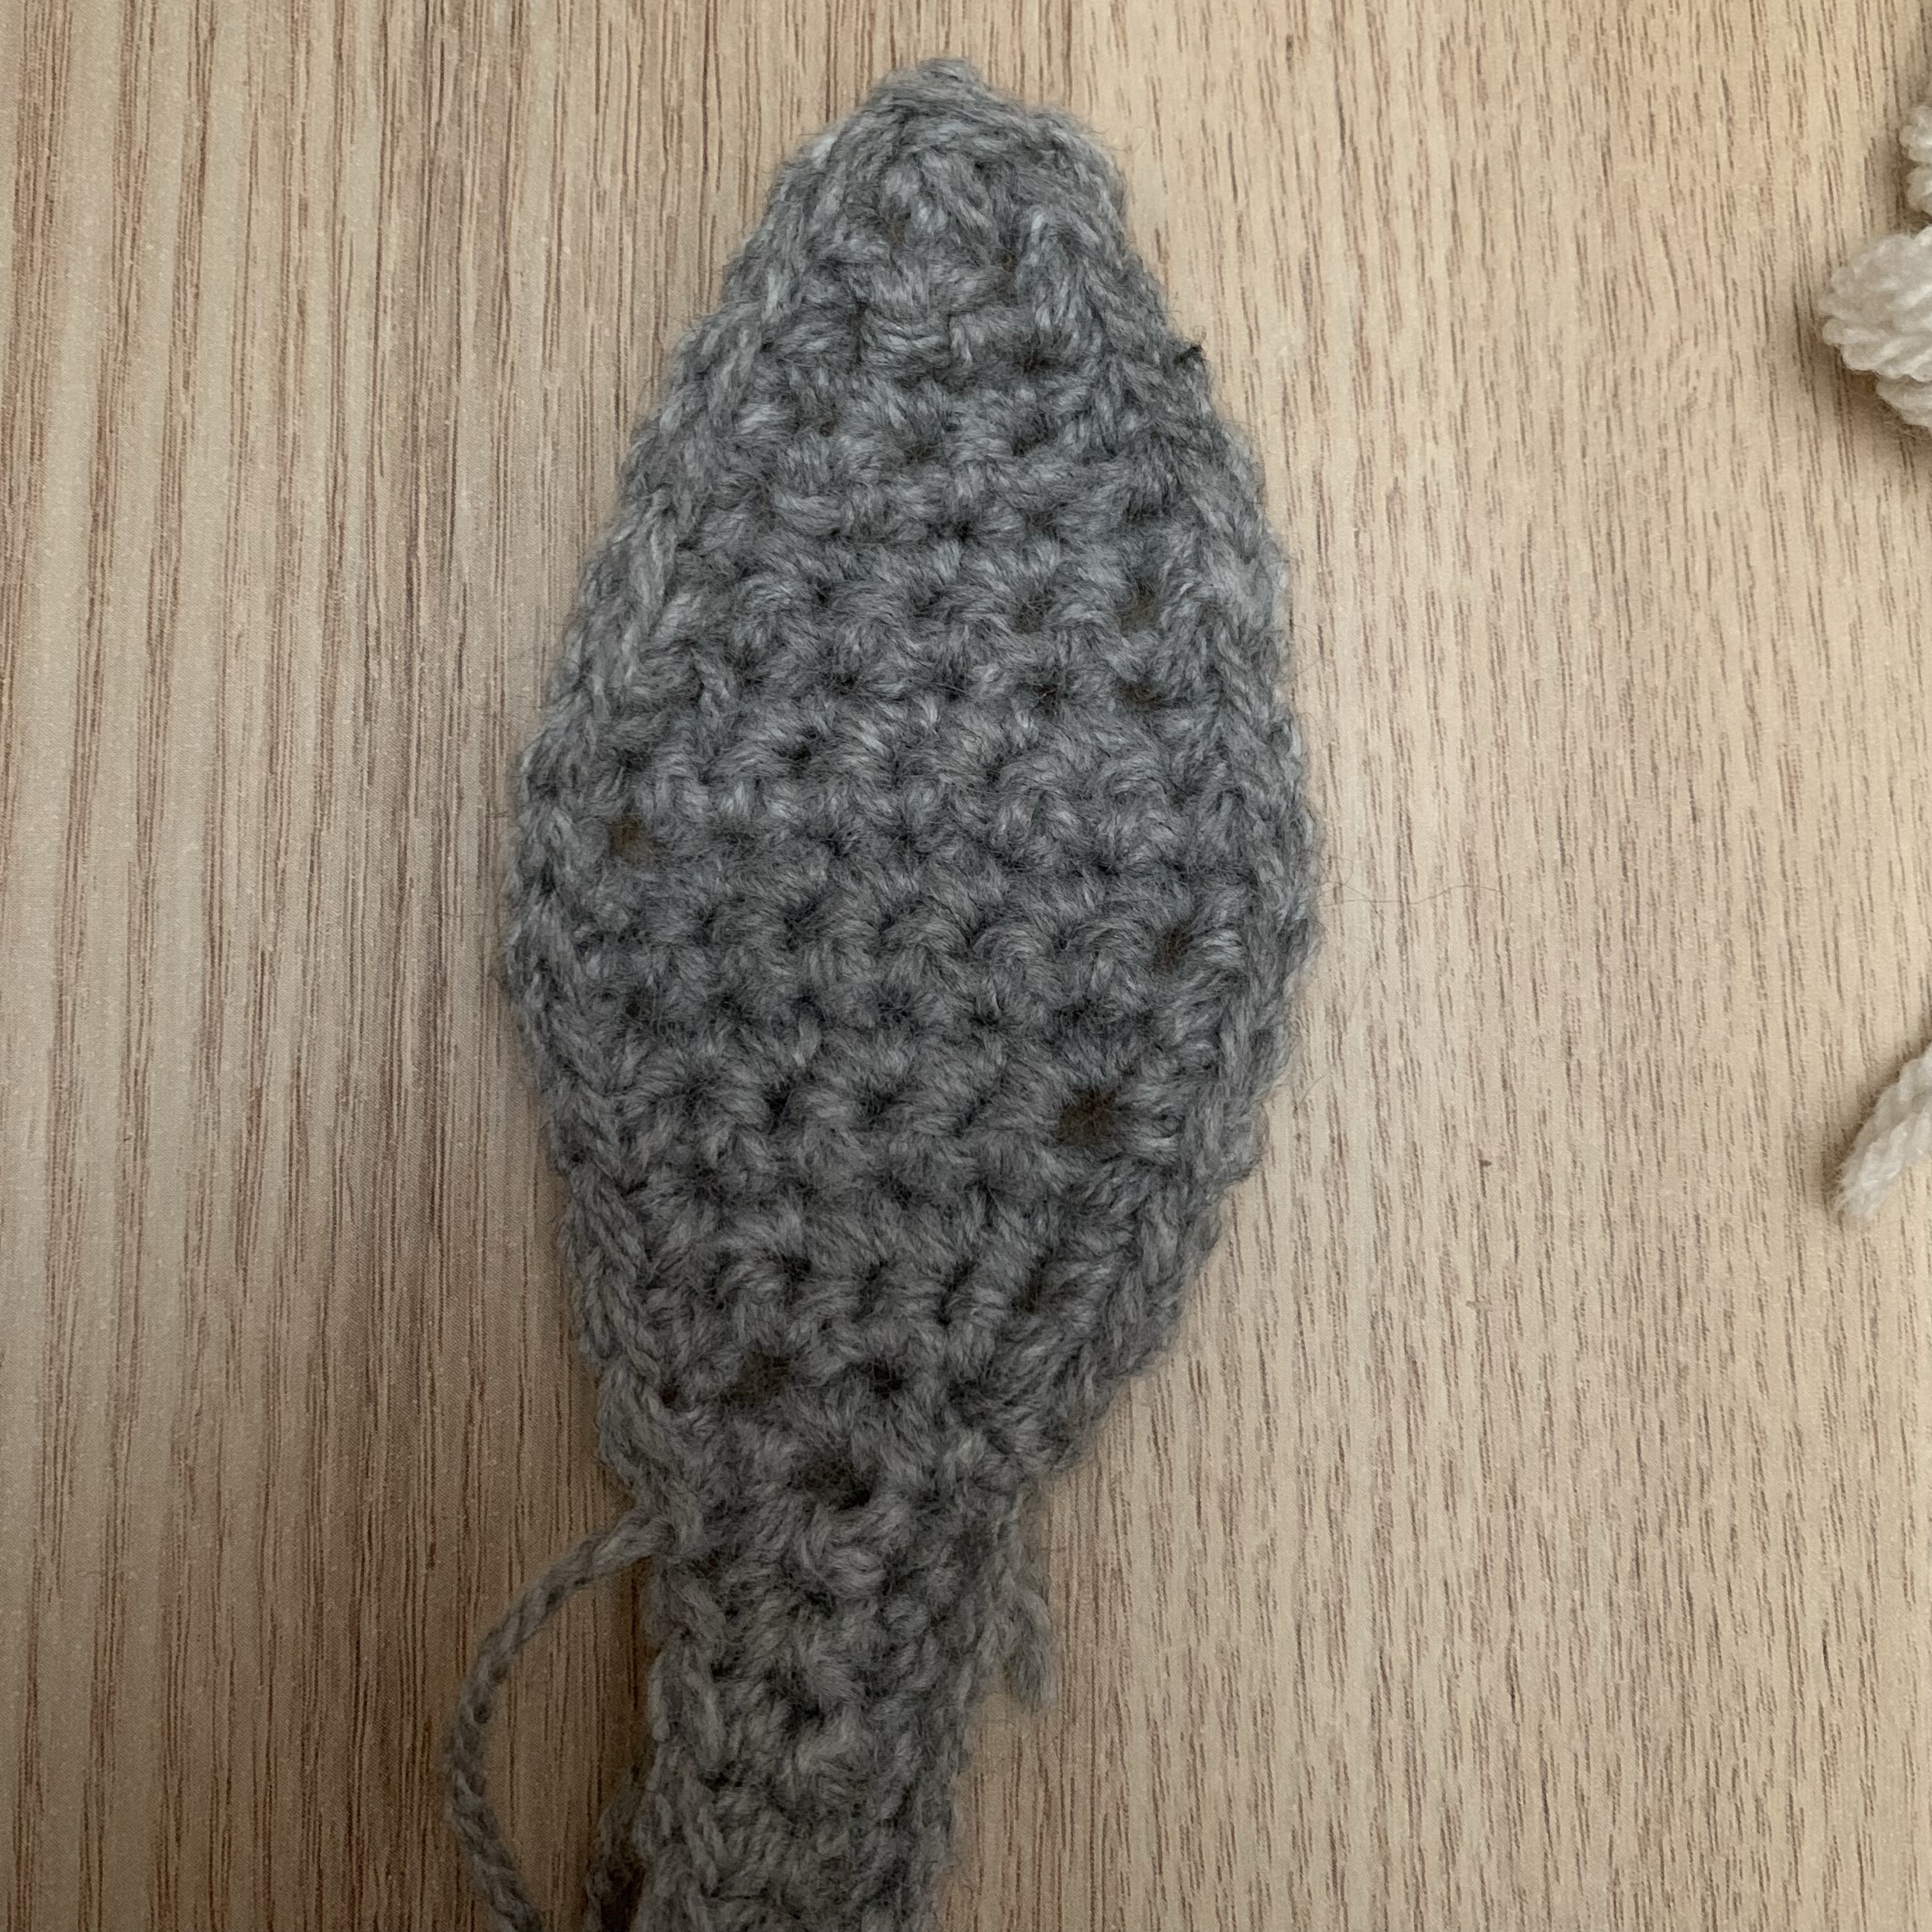
Fasten off, leaving long thread to attach.
Repeat on the right hand side of the band to form the second ear.
Inner Ears – Make 2
Using your chosen inner ear colour and a 4.5mm crochet hook:
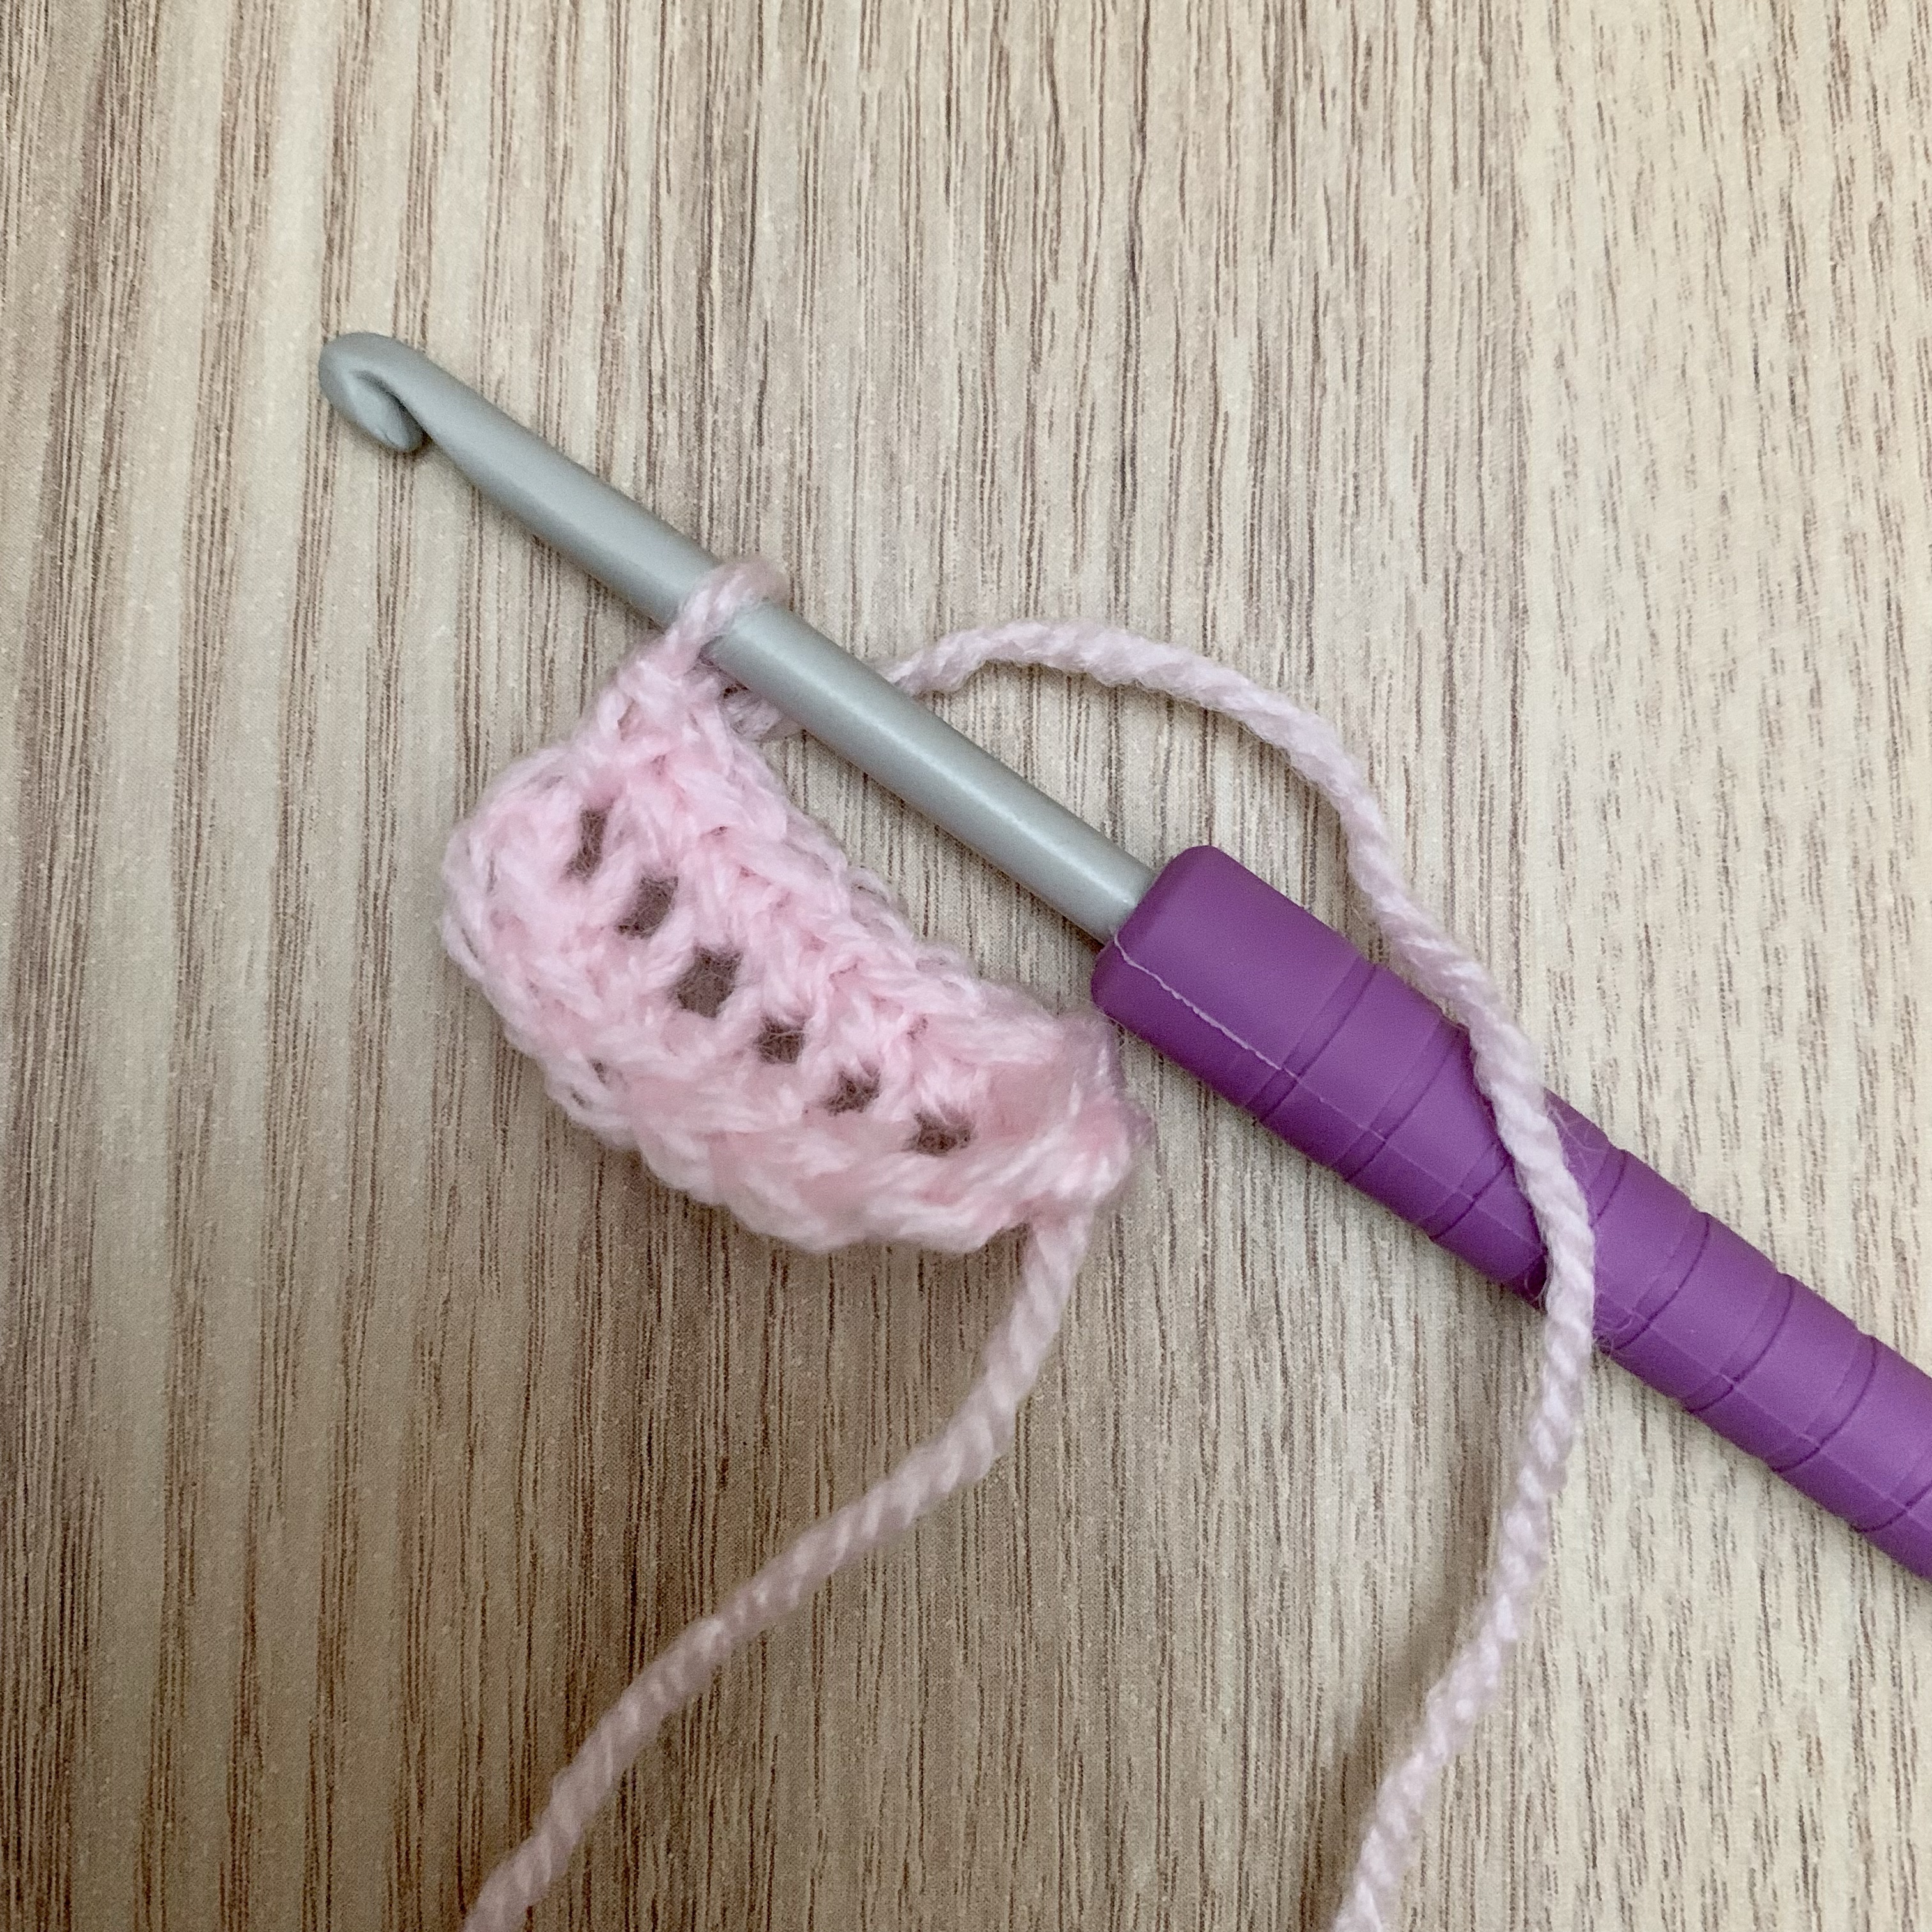
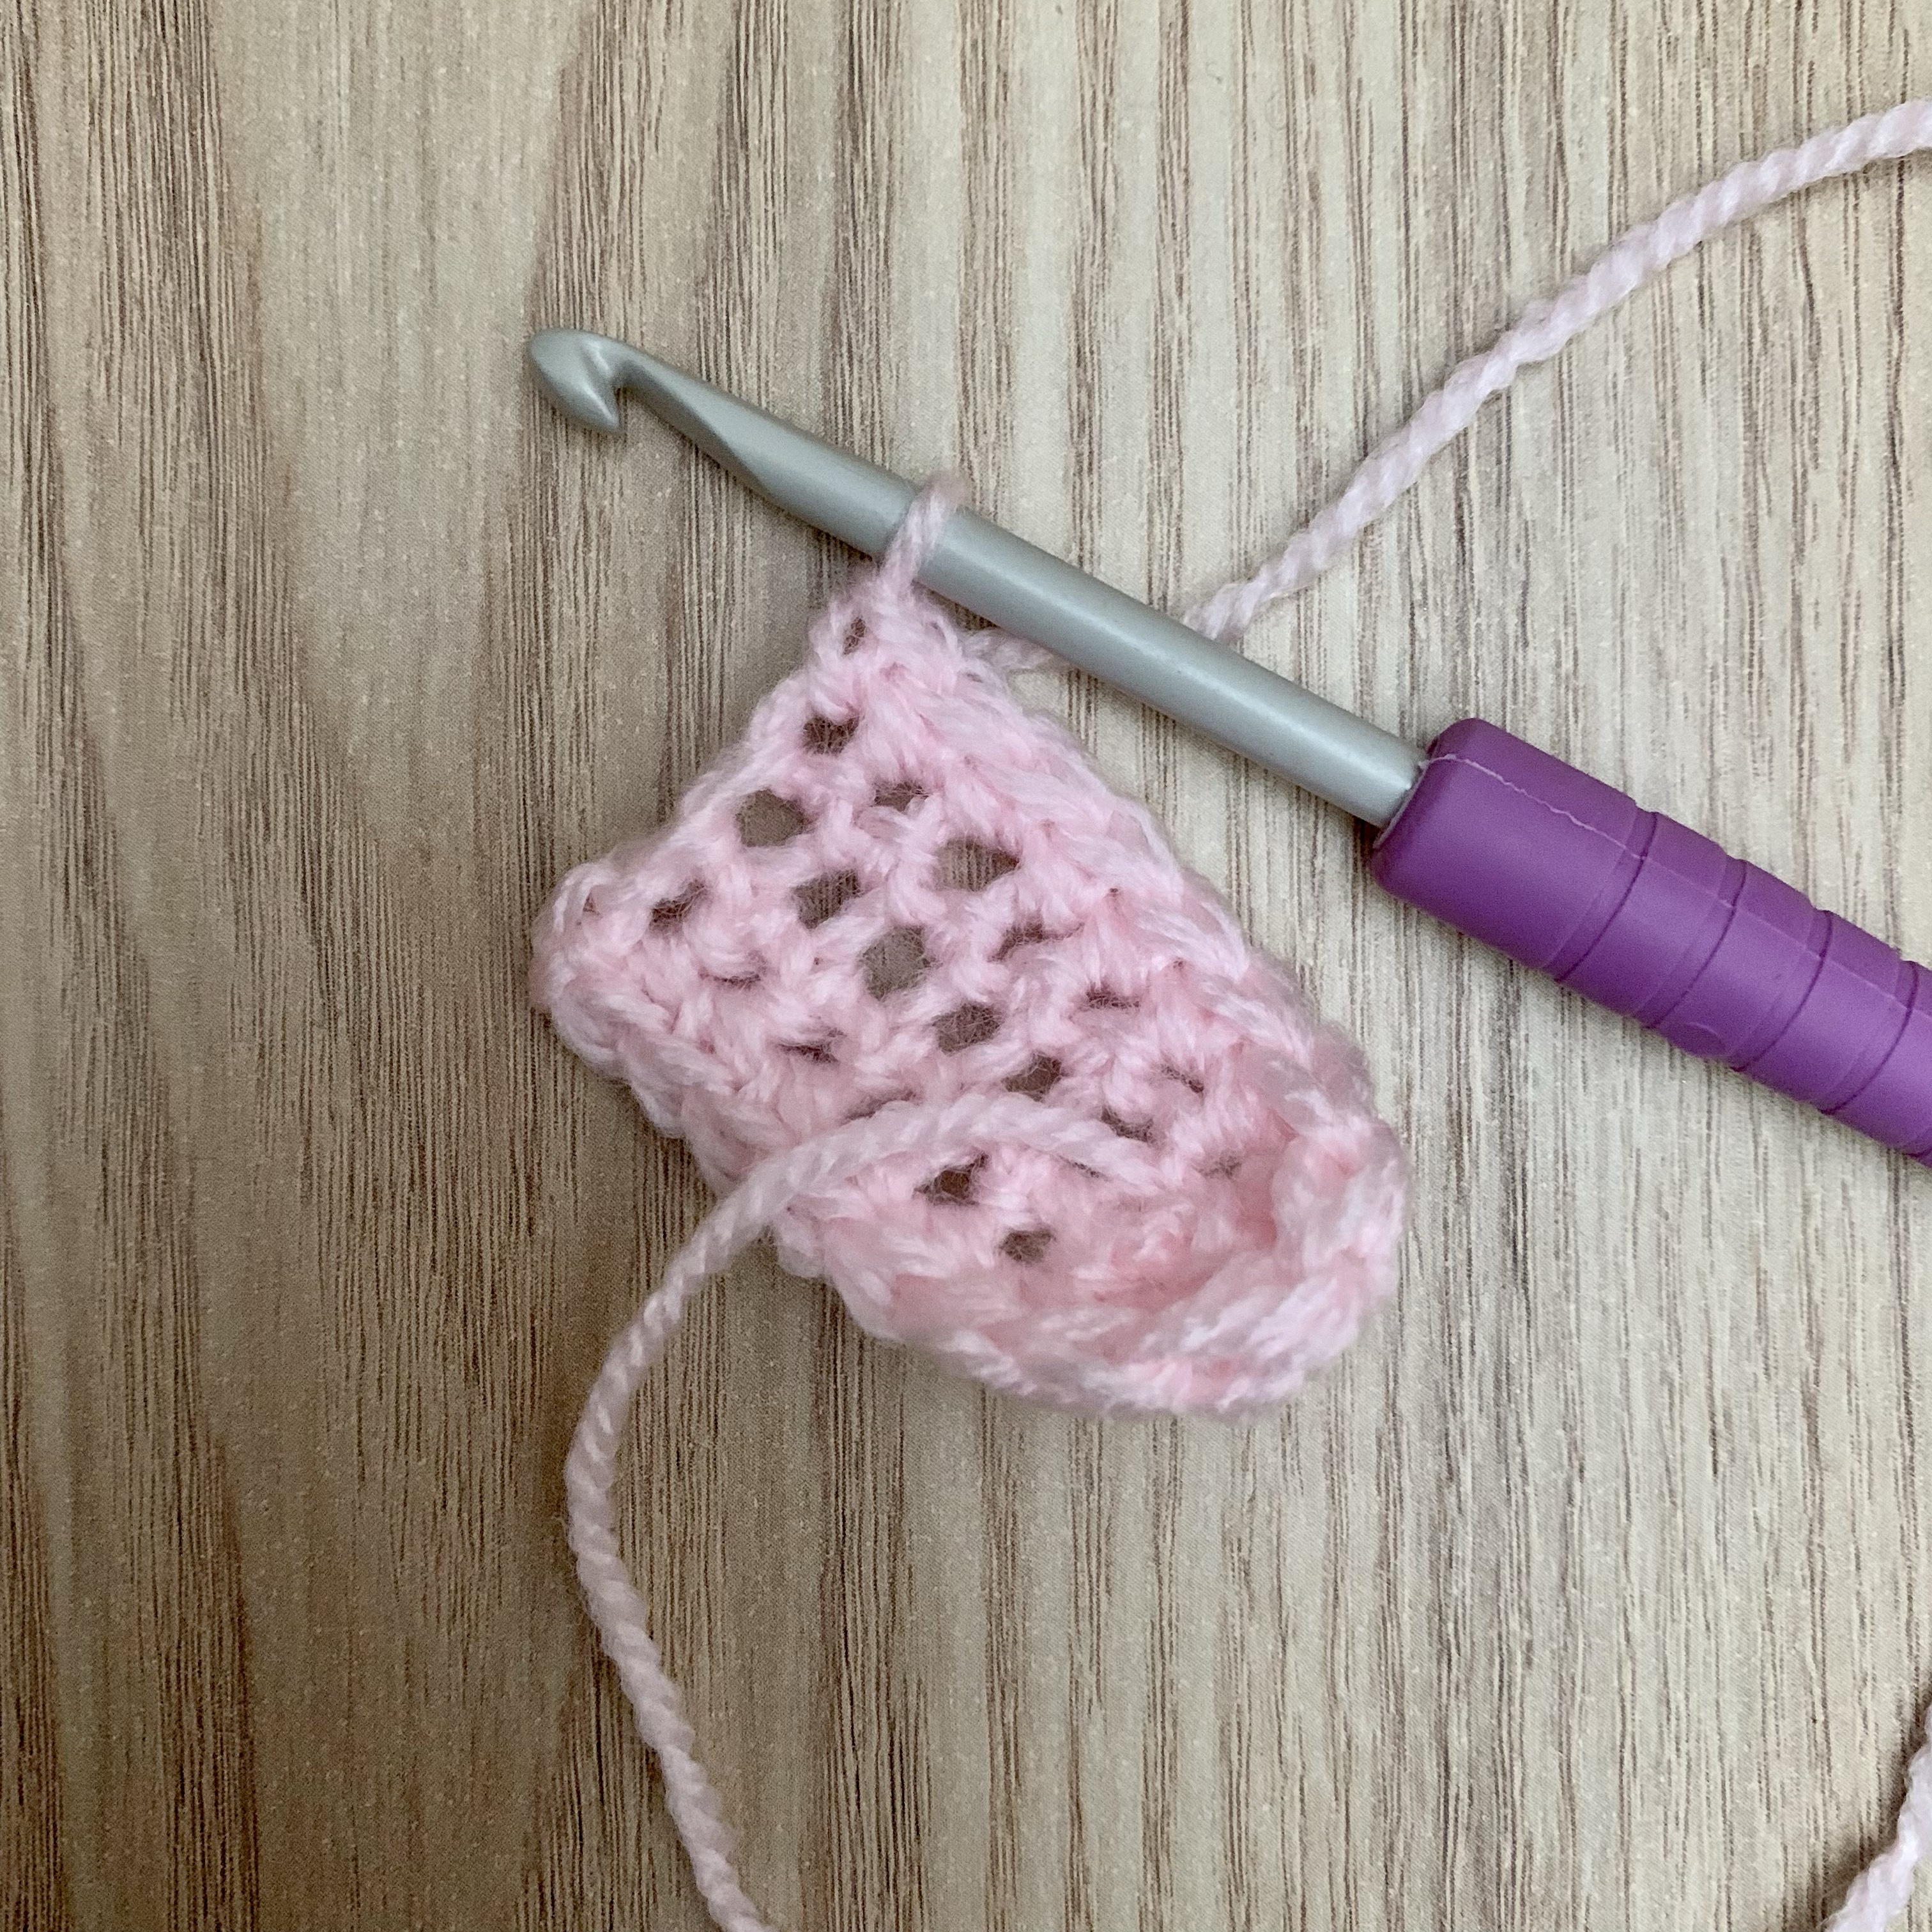
ch8, sc into 2nd ch from the hook, sc along rest of the row (7 – picture 1), sc down the other side of the ch (7 – picture 2 and 3).
Turn, ch1 (doesn’t count as a stitch – picture 4) 6sc, (htr(UK)/hdc(US), tr(UK)/dc(US)) into next stitch (picture 5), (tr(UK)/dc(US), htr(UK)/hdc(US) into next stitch, 6sc (picture 6).


Fasten off.
Assembly
- Sew the inner ear onto the outer ear.
- Fold in the bottom left and right sides of the ear so they meet in the middle and sew to secure.
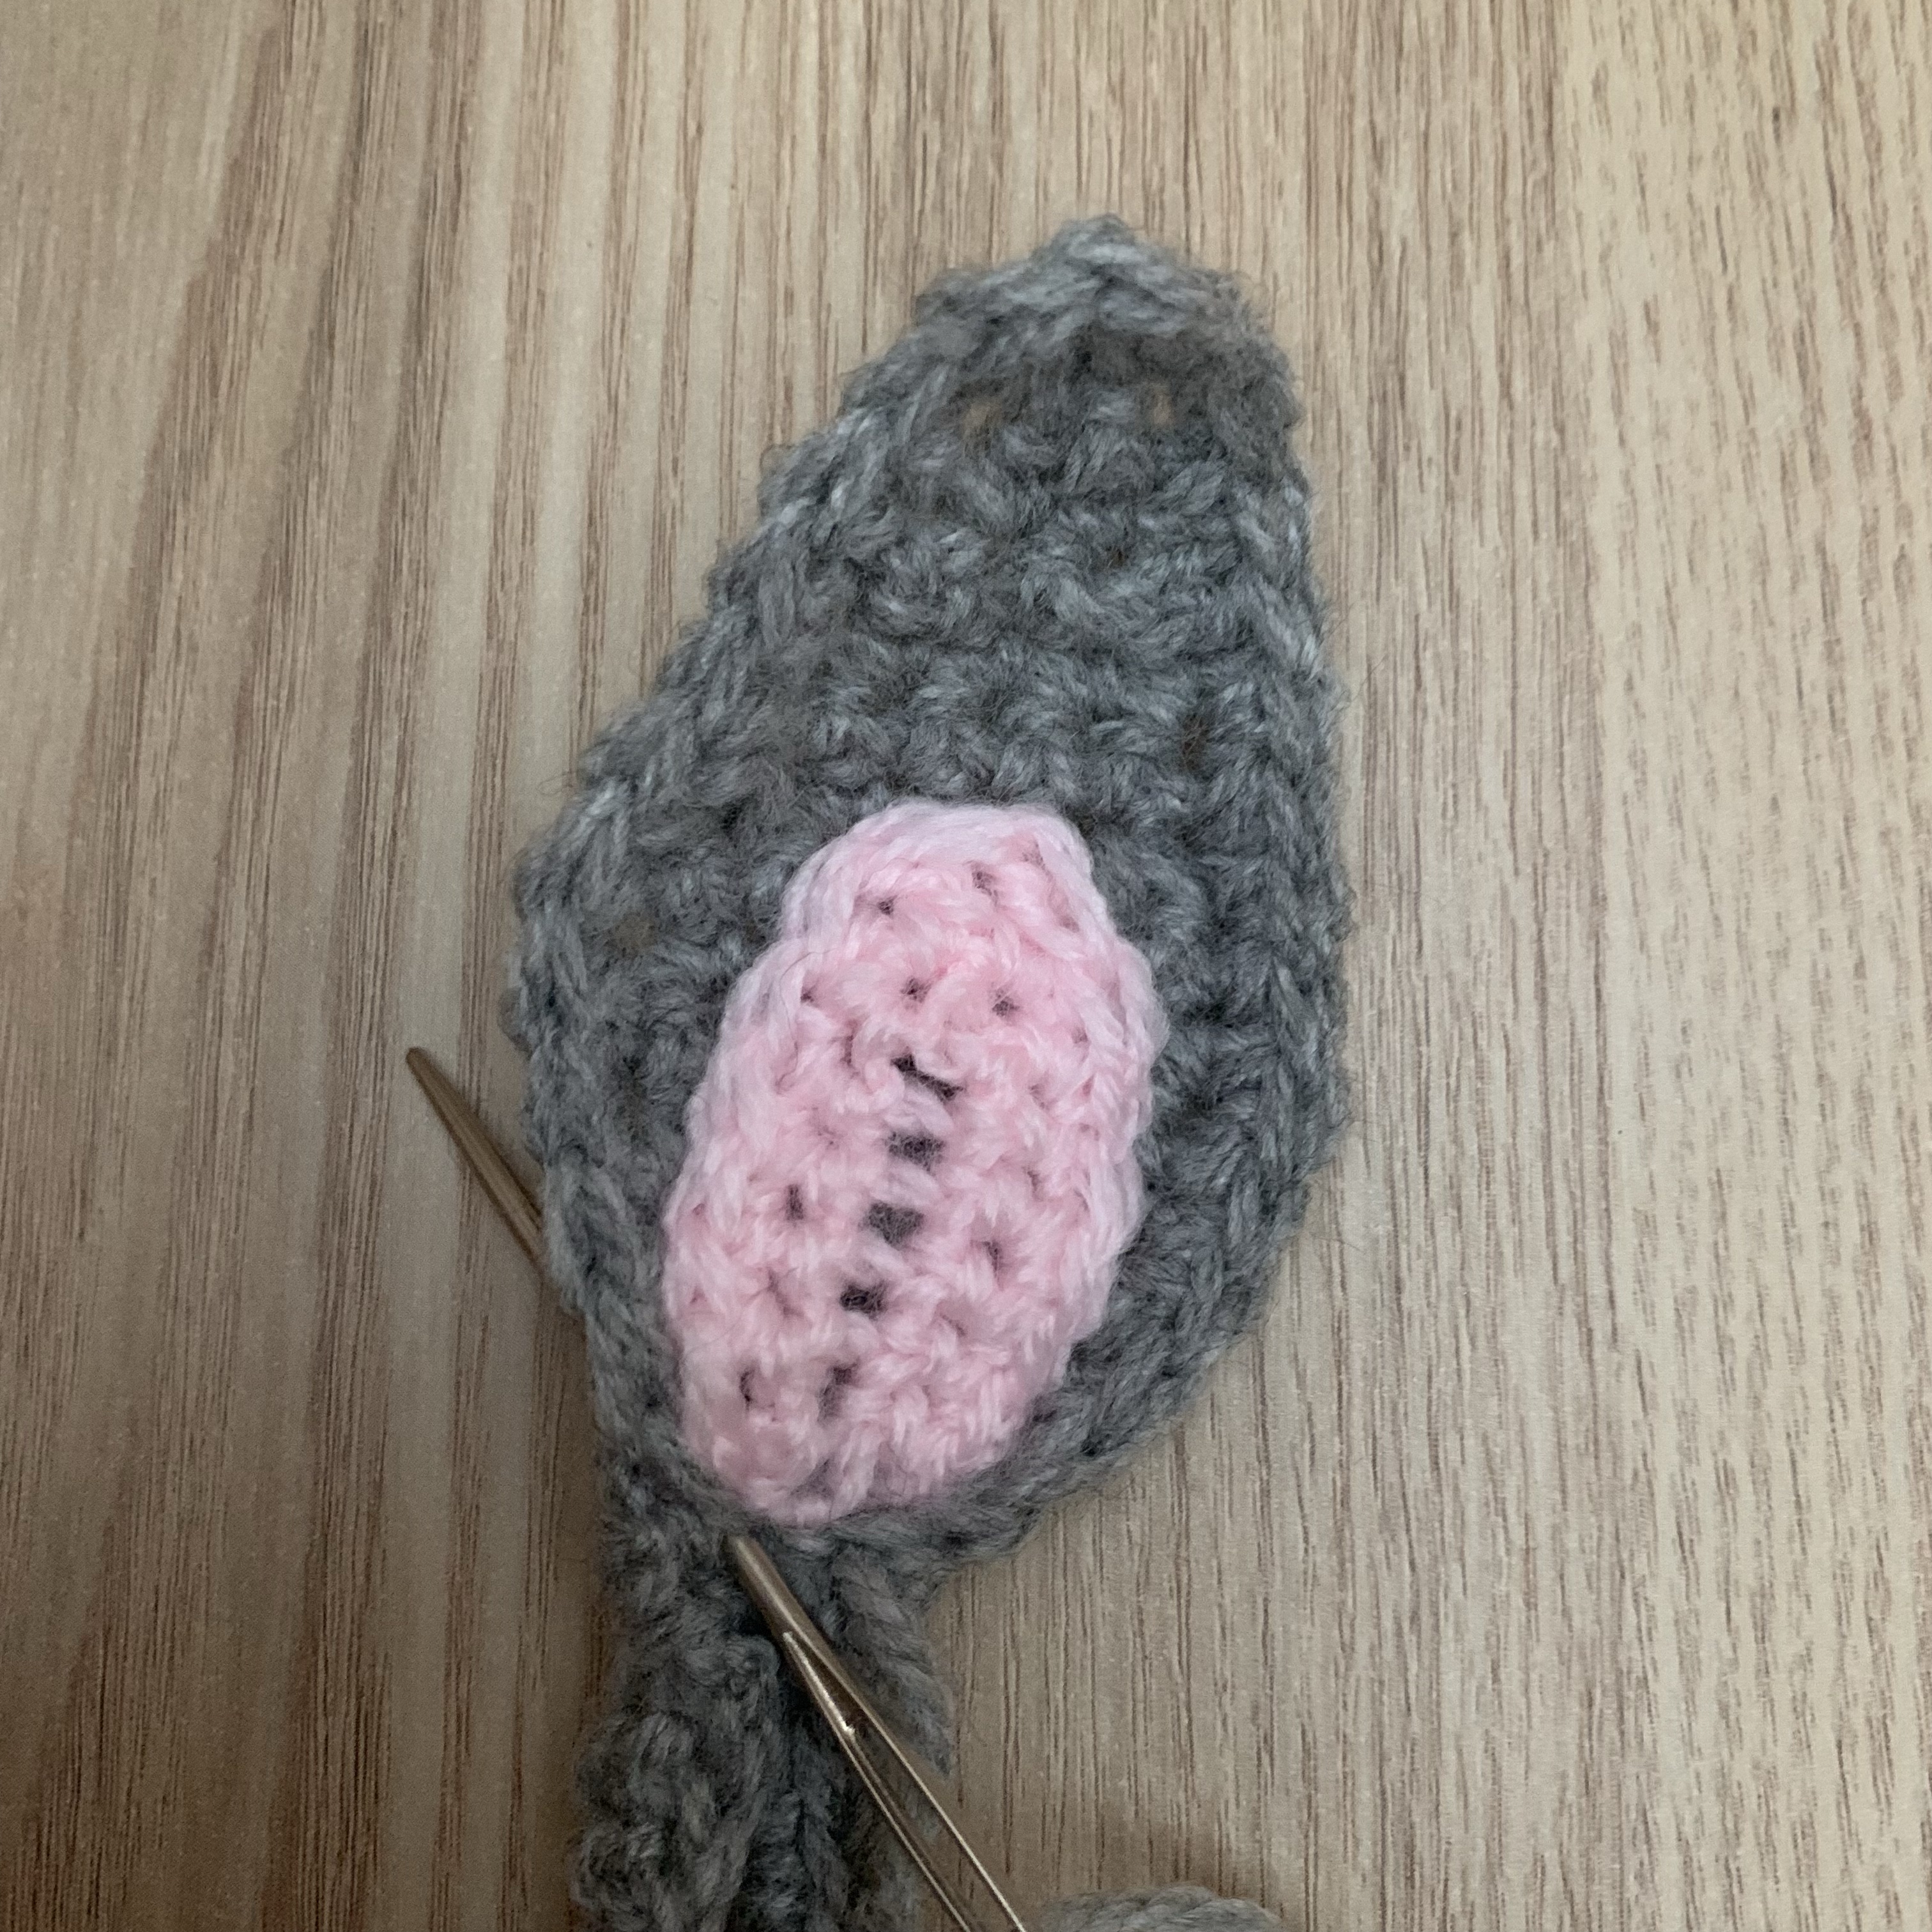
- Thread the ear through the ch4 gap to create the napkin ring.


Leave a comment