
Easter is approaching which means it is time to get started with making some easter themed decorations. First up is a a nice quick and speedy make – I always find I need some last minute gifts/decorations and this make is great for both.
Its time for some Easter themed pom poms – its been too long since I managed to get some pom poms into a make!, and the little Easter twist on these pom poms is the cute crochet rabbit ear details.
These are perfect as Easter decorations – you could make lots of them either in the same colour or all make them in different colours and have lots of individual rabbits or join them with a crochet chain/ribbon and make them into bunting, they could even be used on an Easter egg hunt for showing the way and they also make great little gifts.
Easter decorations: Pom Pom Rabbits with Crochet Ear Details
Materials
- DK Wool for the pom pom – in your chosen colour(s).
- DK Wool for the rabbit ears – in your chosen colour(s):
- Inner ear.
- Outer ear.
- 7cm pom pom maker or 2 pieces of card with a 7cm diameter.
- Darning needle.
- Scissors.
- 4.5mm crochet hook.
Easter decorations: Pom Pom Rabbits with Crochet Ear Details
Rabbit Ears – Make 2
Outer Ear
Using your chosen outer ear colour and a 4.5mm crochet hook:
ch4, sc into 2nd ch from hook, sc along rest of the row (3).
Row 1: ch1 (doesn’t count as a stitch) 2sc into first stitch of the row, 2sc, 2sc into next stitch (5).
Rows 2-3: ch1 (doesn’t count as a stitch) sc along row.
Row 4: ch1 (doesn’t count as a stitch) 2sc into first stitch or the row, 3sc, 2sc into next stitch (7).
Rows 5-7: ch1 (doesn’t count as a stitch) sc along row.
Row 8: ch1 (doesn’t count as a stitch) sc2tog, 3sc, sc2tog (5).
Rows 9-10: ch1 (doesn’t count as a stitch) sc along row.
Row 11: ch1 (doesn’t count as a stitch) sc2tog, sc, sc2tog (3)
Row 12: ch1 (doesn’t count as a stitch) sc along row.
Row 13: ch1 (doesn’t count as a stitch) sc2tog, sc (2).
Row 14: ch1 (doesn’t count as a stitch) sc2tog (1).
Fasten off.
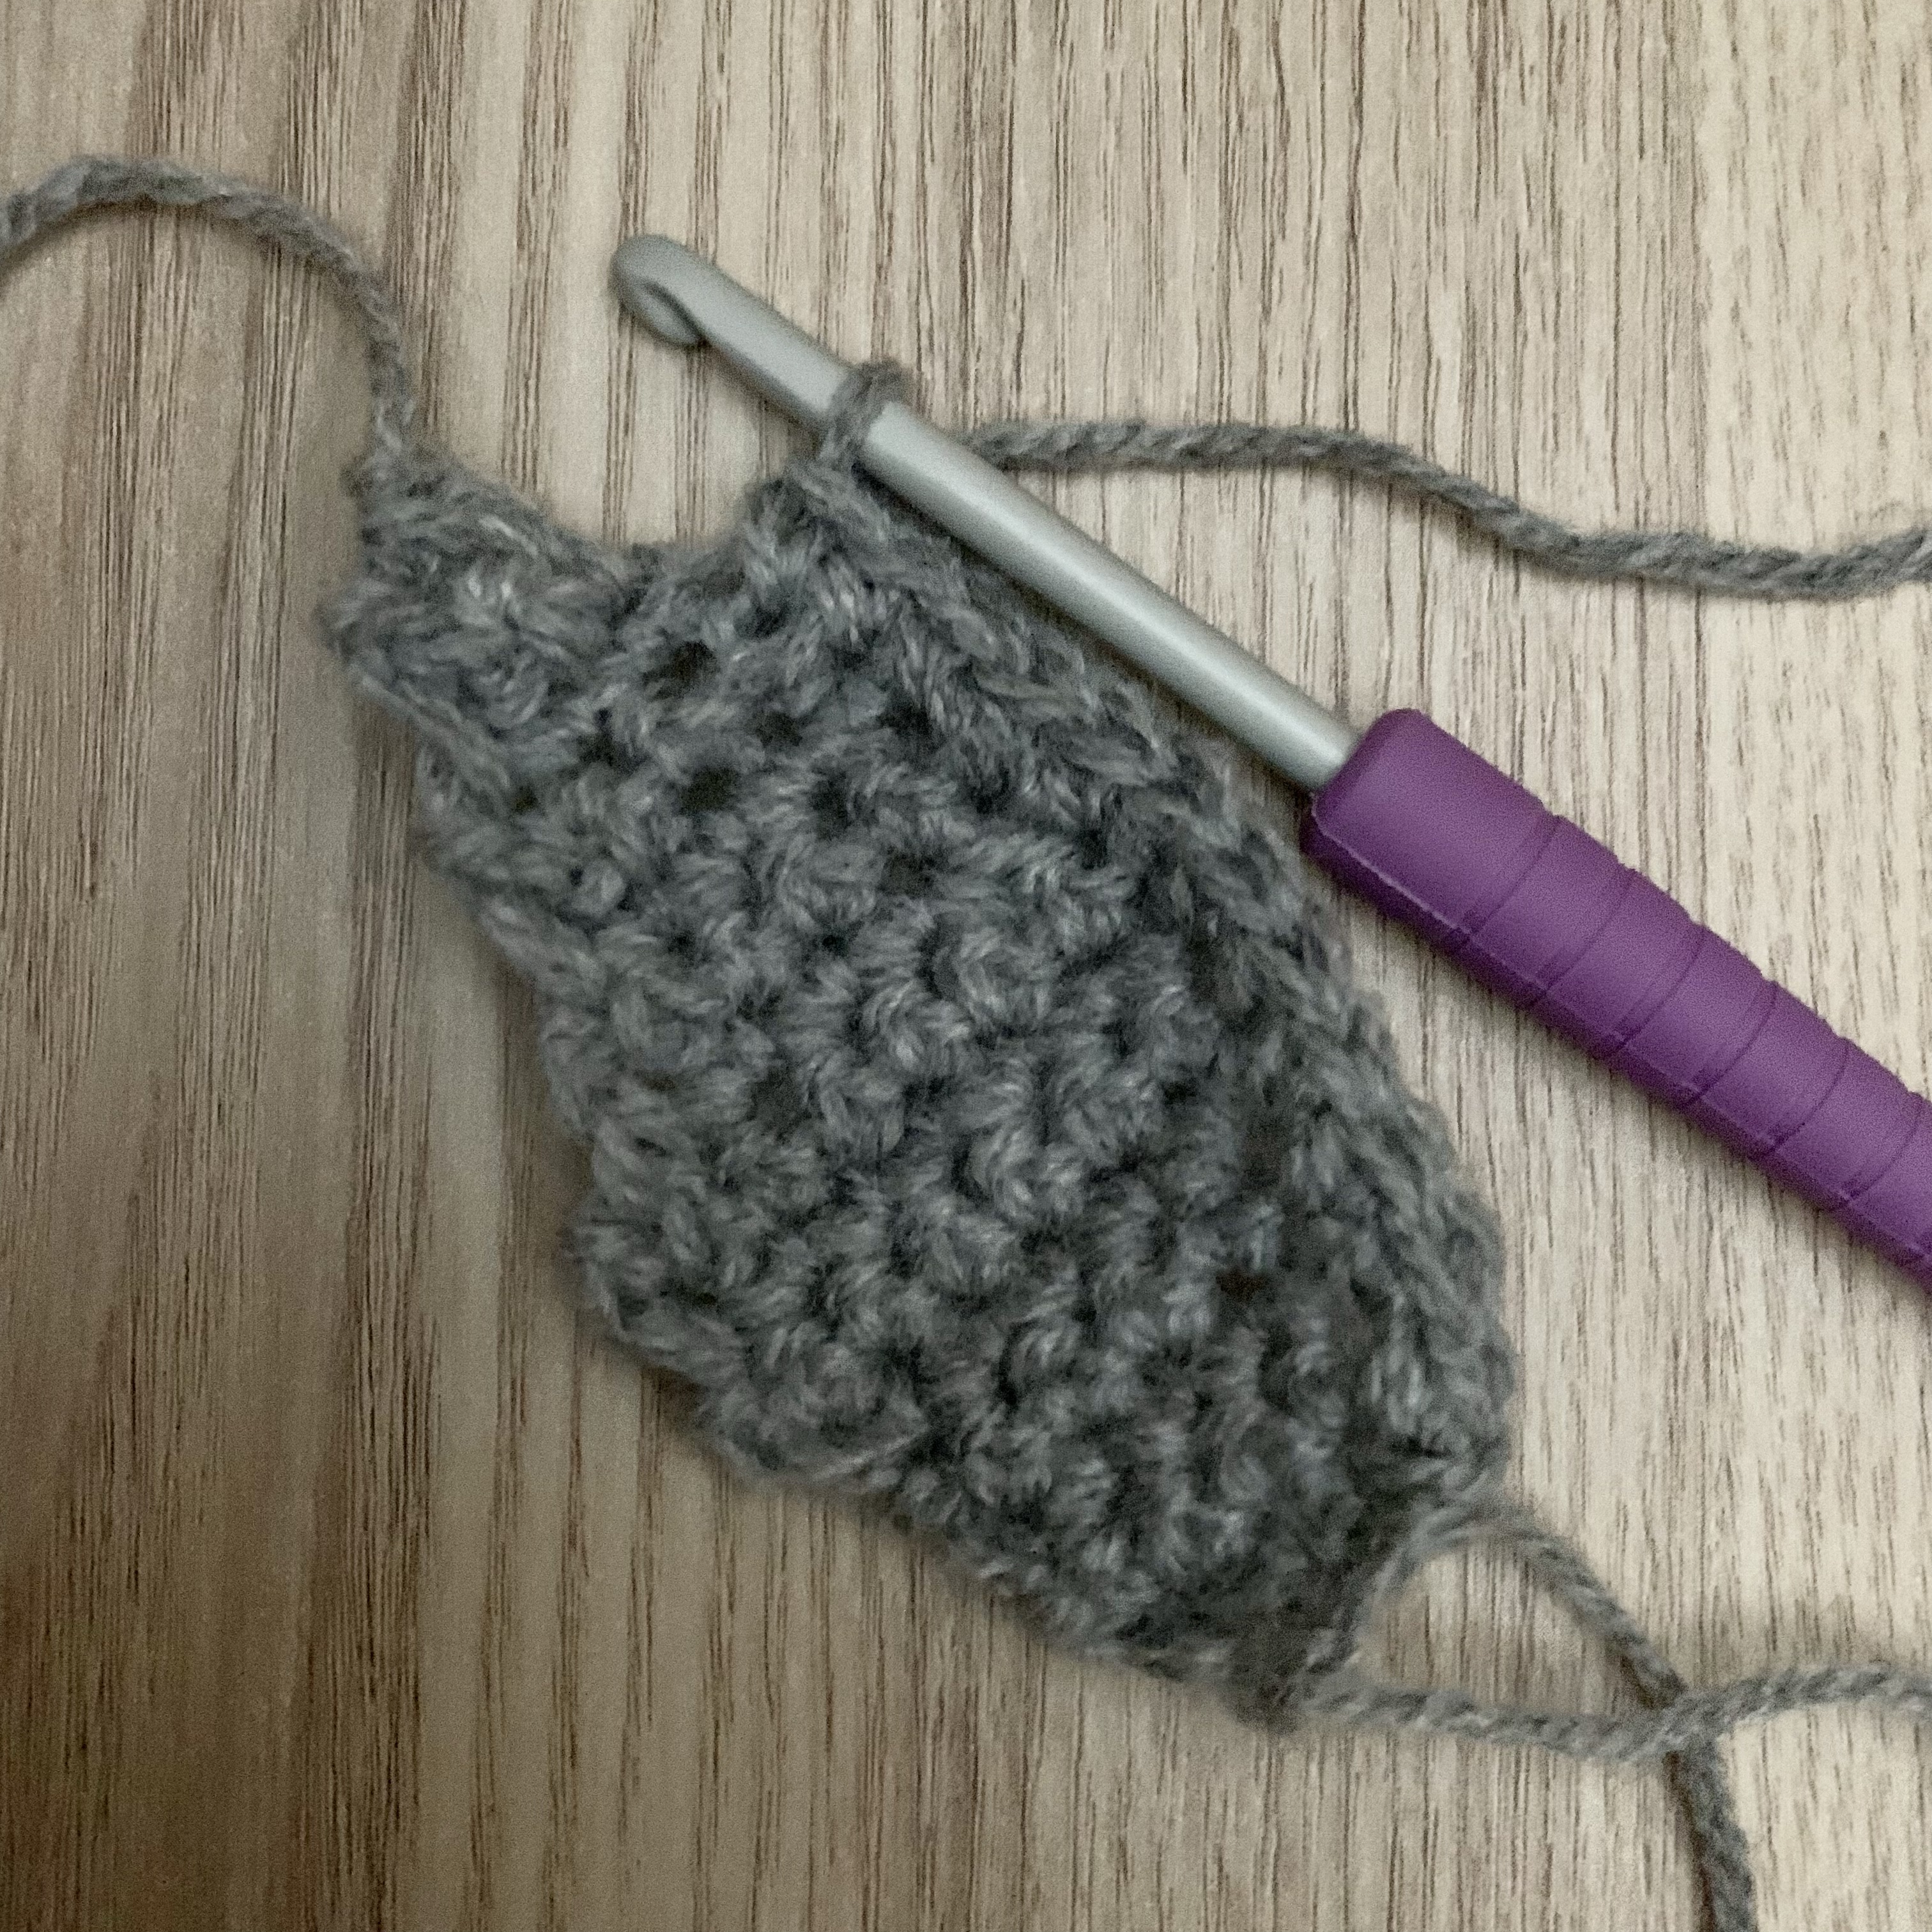
Cast on in bottom right hand side of the ear (pull up loop, ch1, sc into same stitch – Pictures 1-3) sc around the edge of the rabbit ear with sc stitches going into the row ends (picture 4), ss into 1st sc of the round (picture 5 and 6).
Fasten off, leaving long thread to attach.


Inner Ear

Using your chosen inner ear colour and a 4.5mm crochet hook:
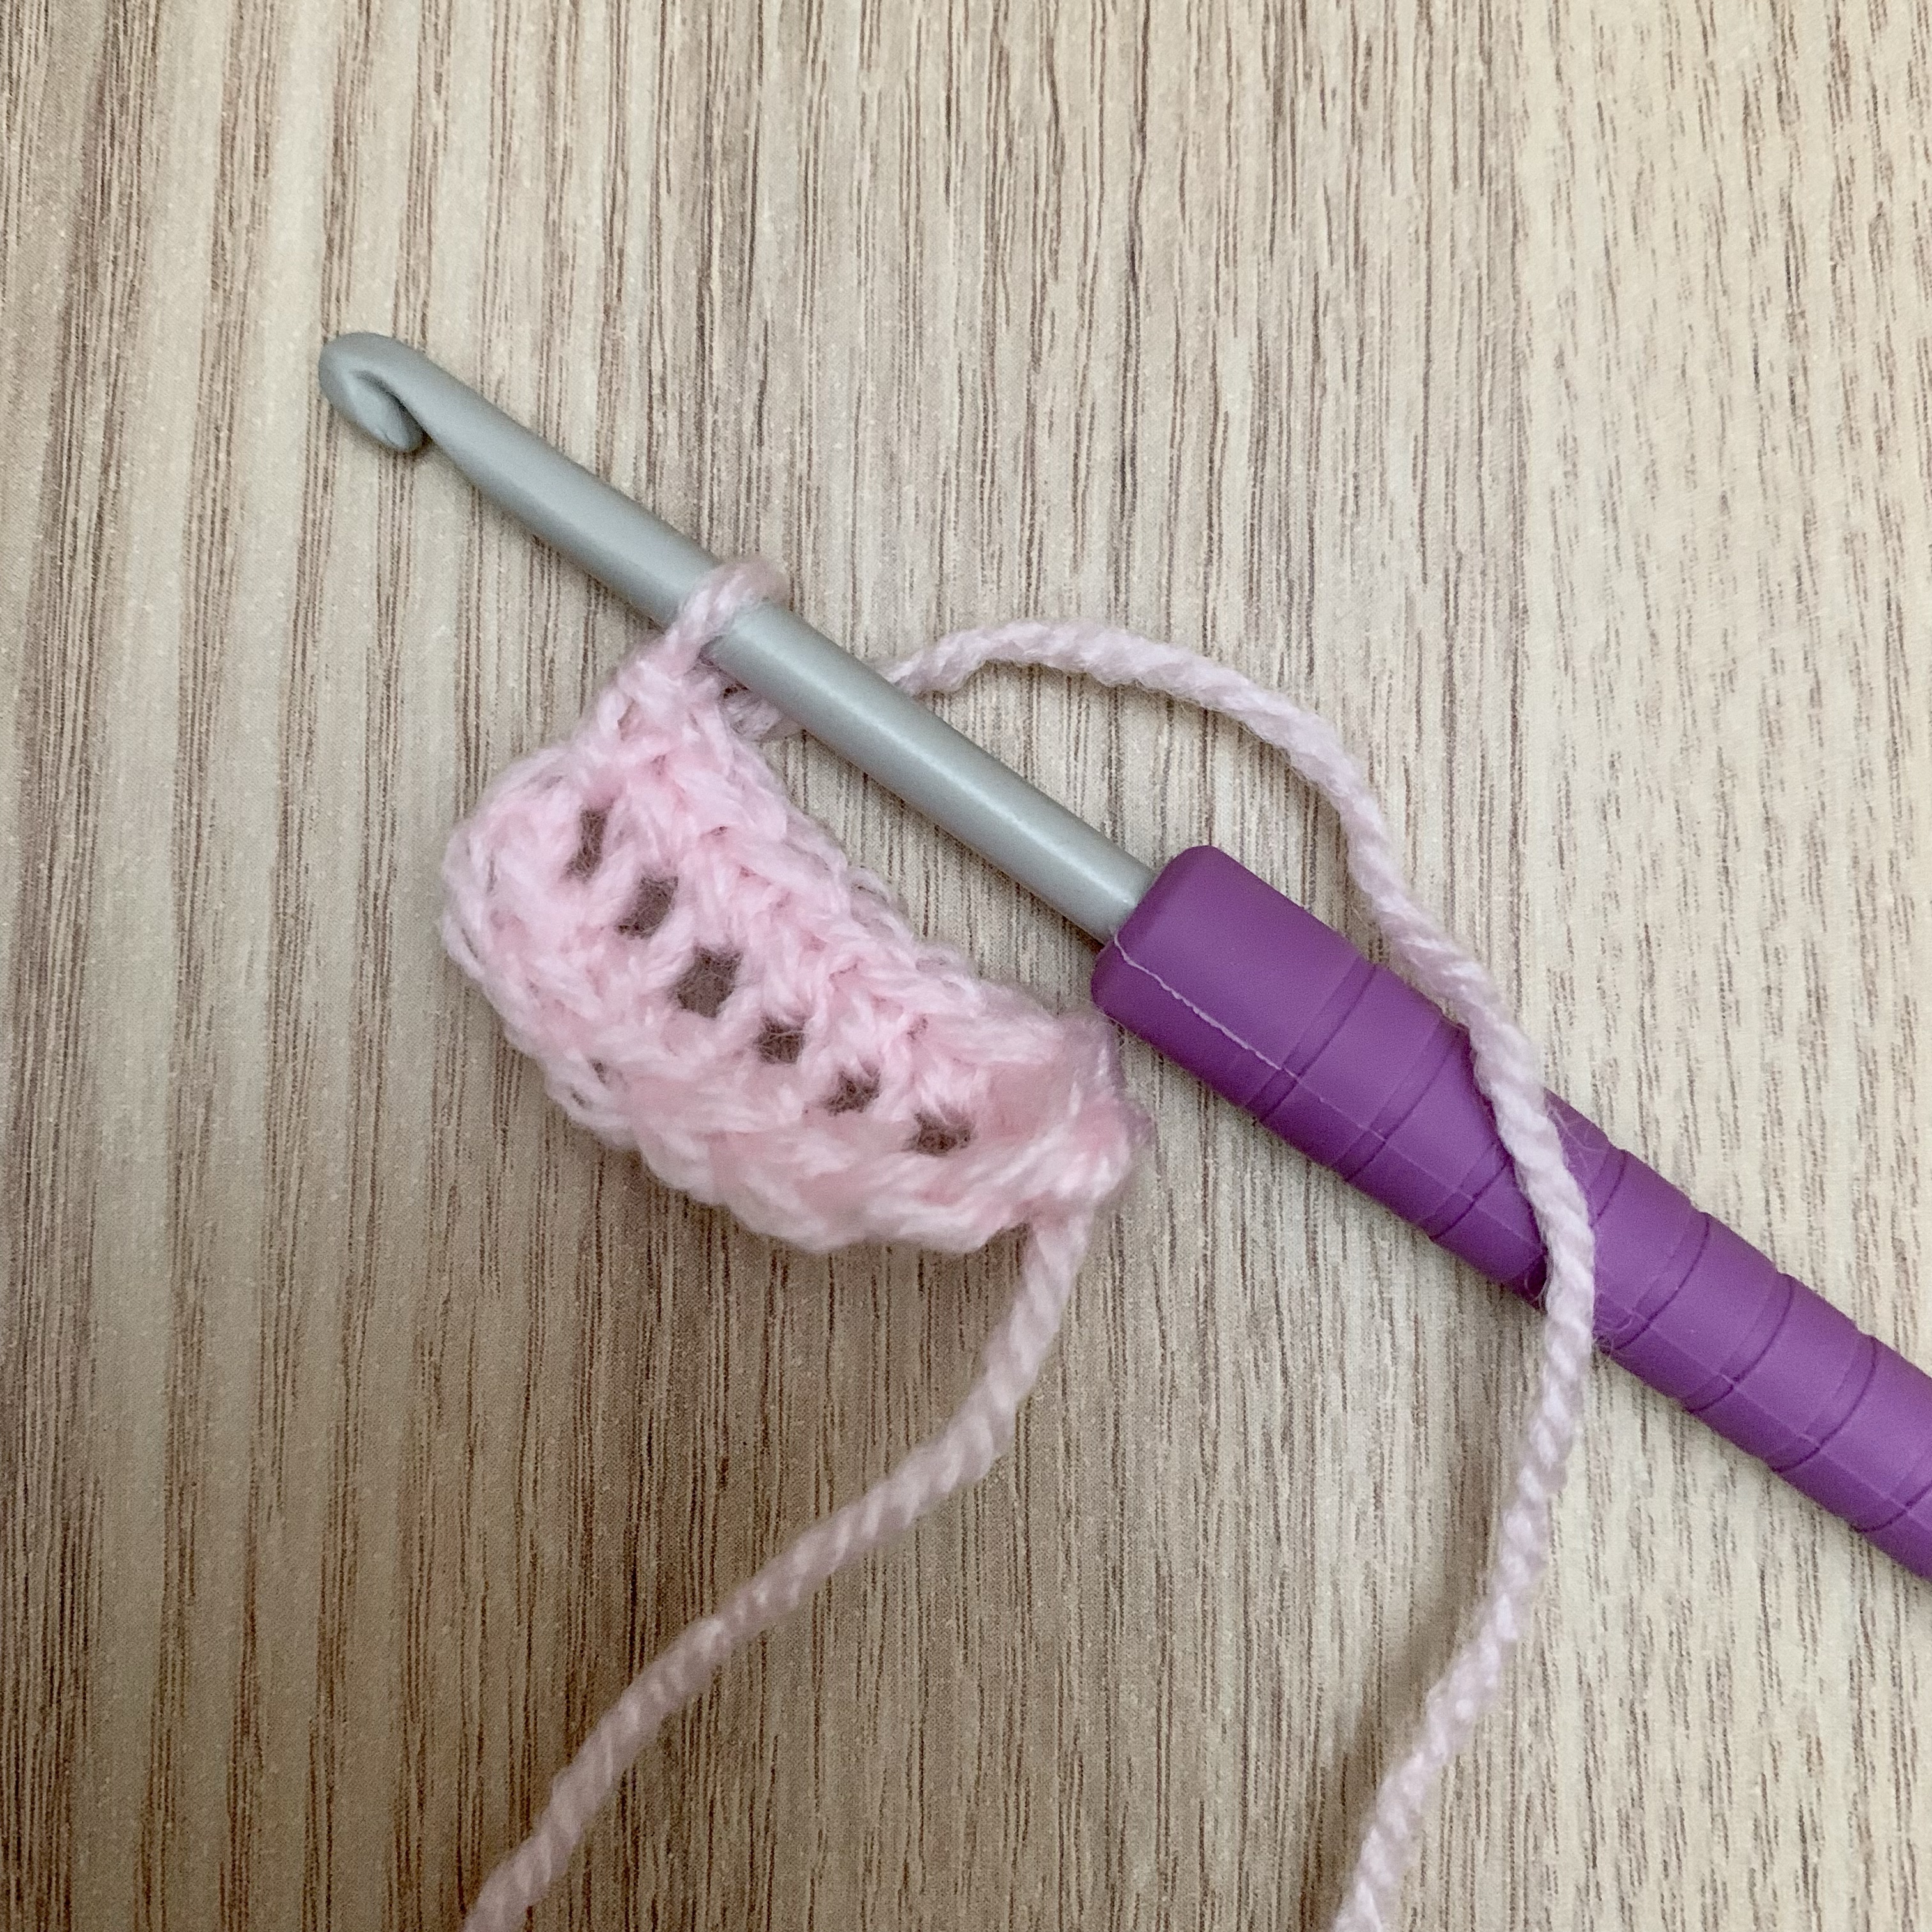
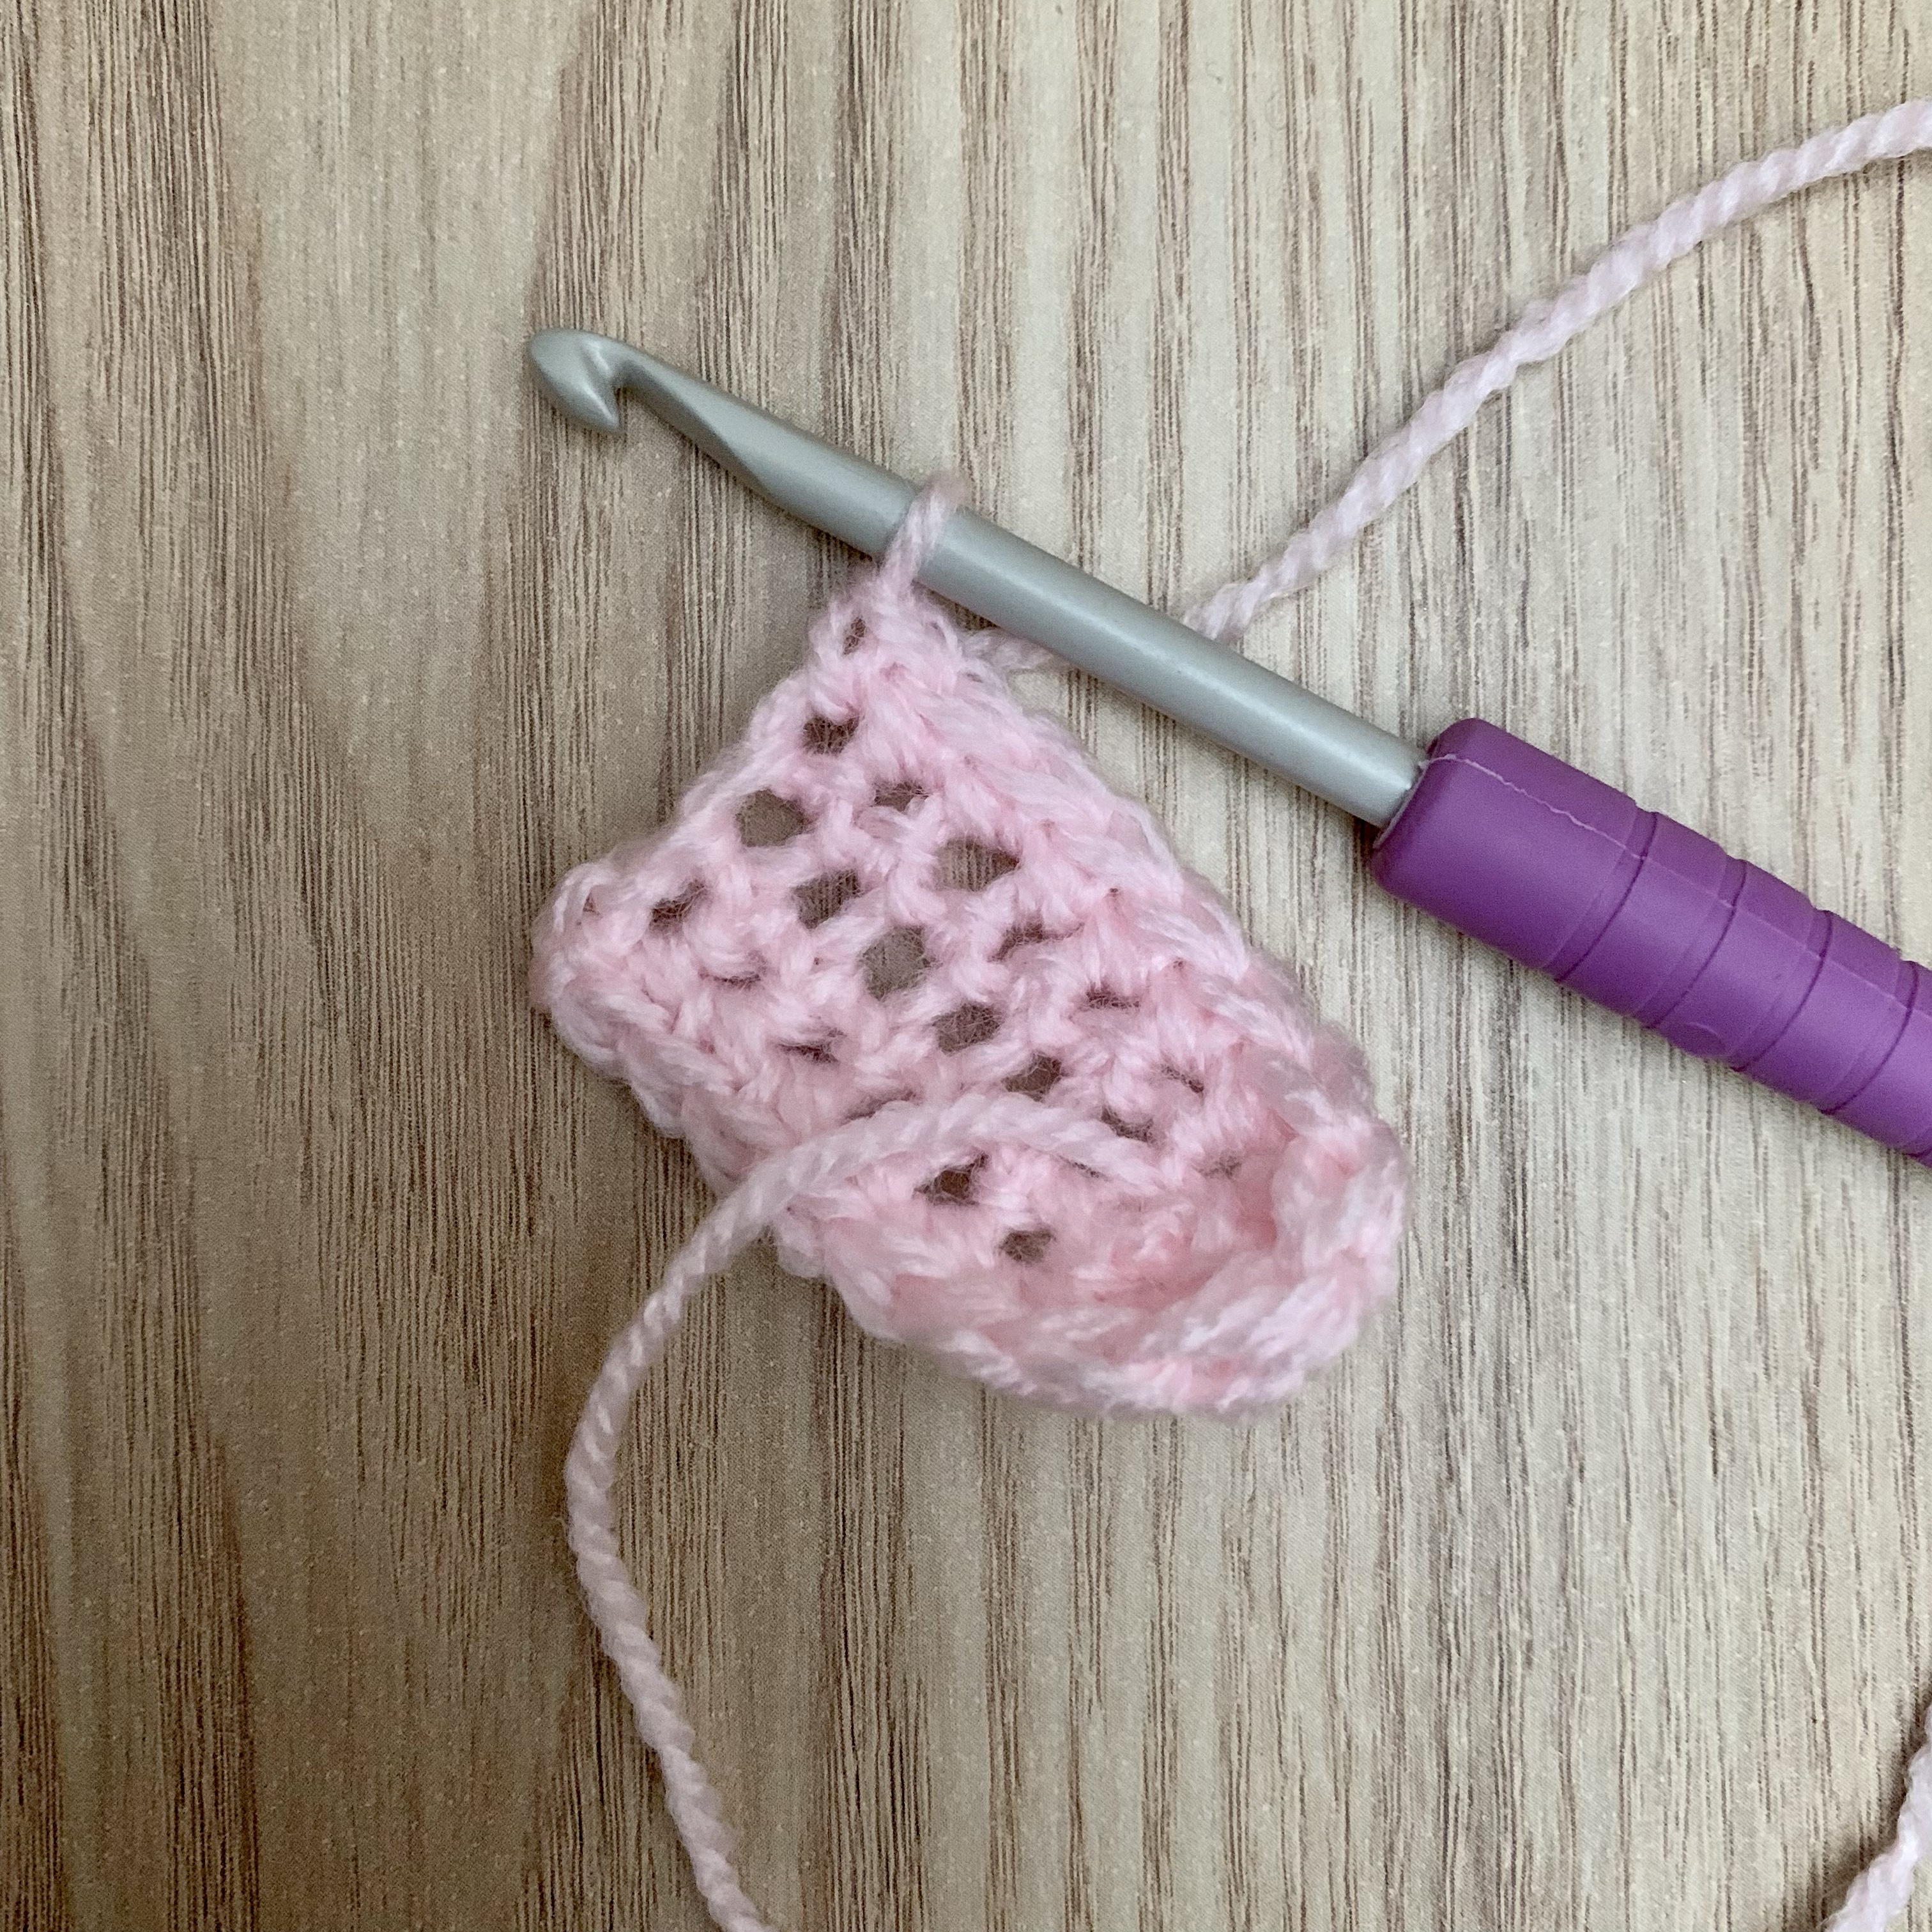
ch8, sc into 2nd ch from the hook, sc along rest of the row (7 – picture 1), sc down the other side of the ch (7 – picture 2 and 3).
Turn, ch1 (doesn’t count as a stitch – picture 4) 6sc, (htr(UK)/hdc(US), tr(UK)/dc(US)) into next stitch (picture 5), (tr(UK)/dc(US), htr(UK)/hdc(US) into next stitch, 6sc (picture 6).


Fasten off.
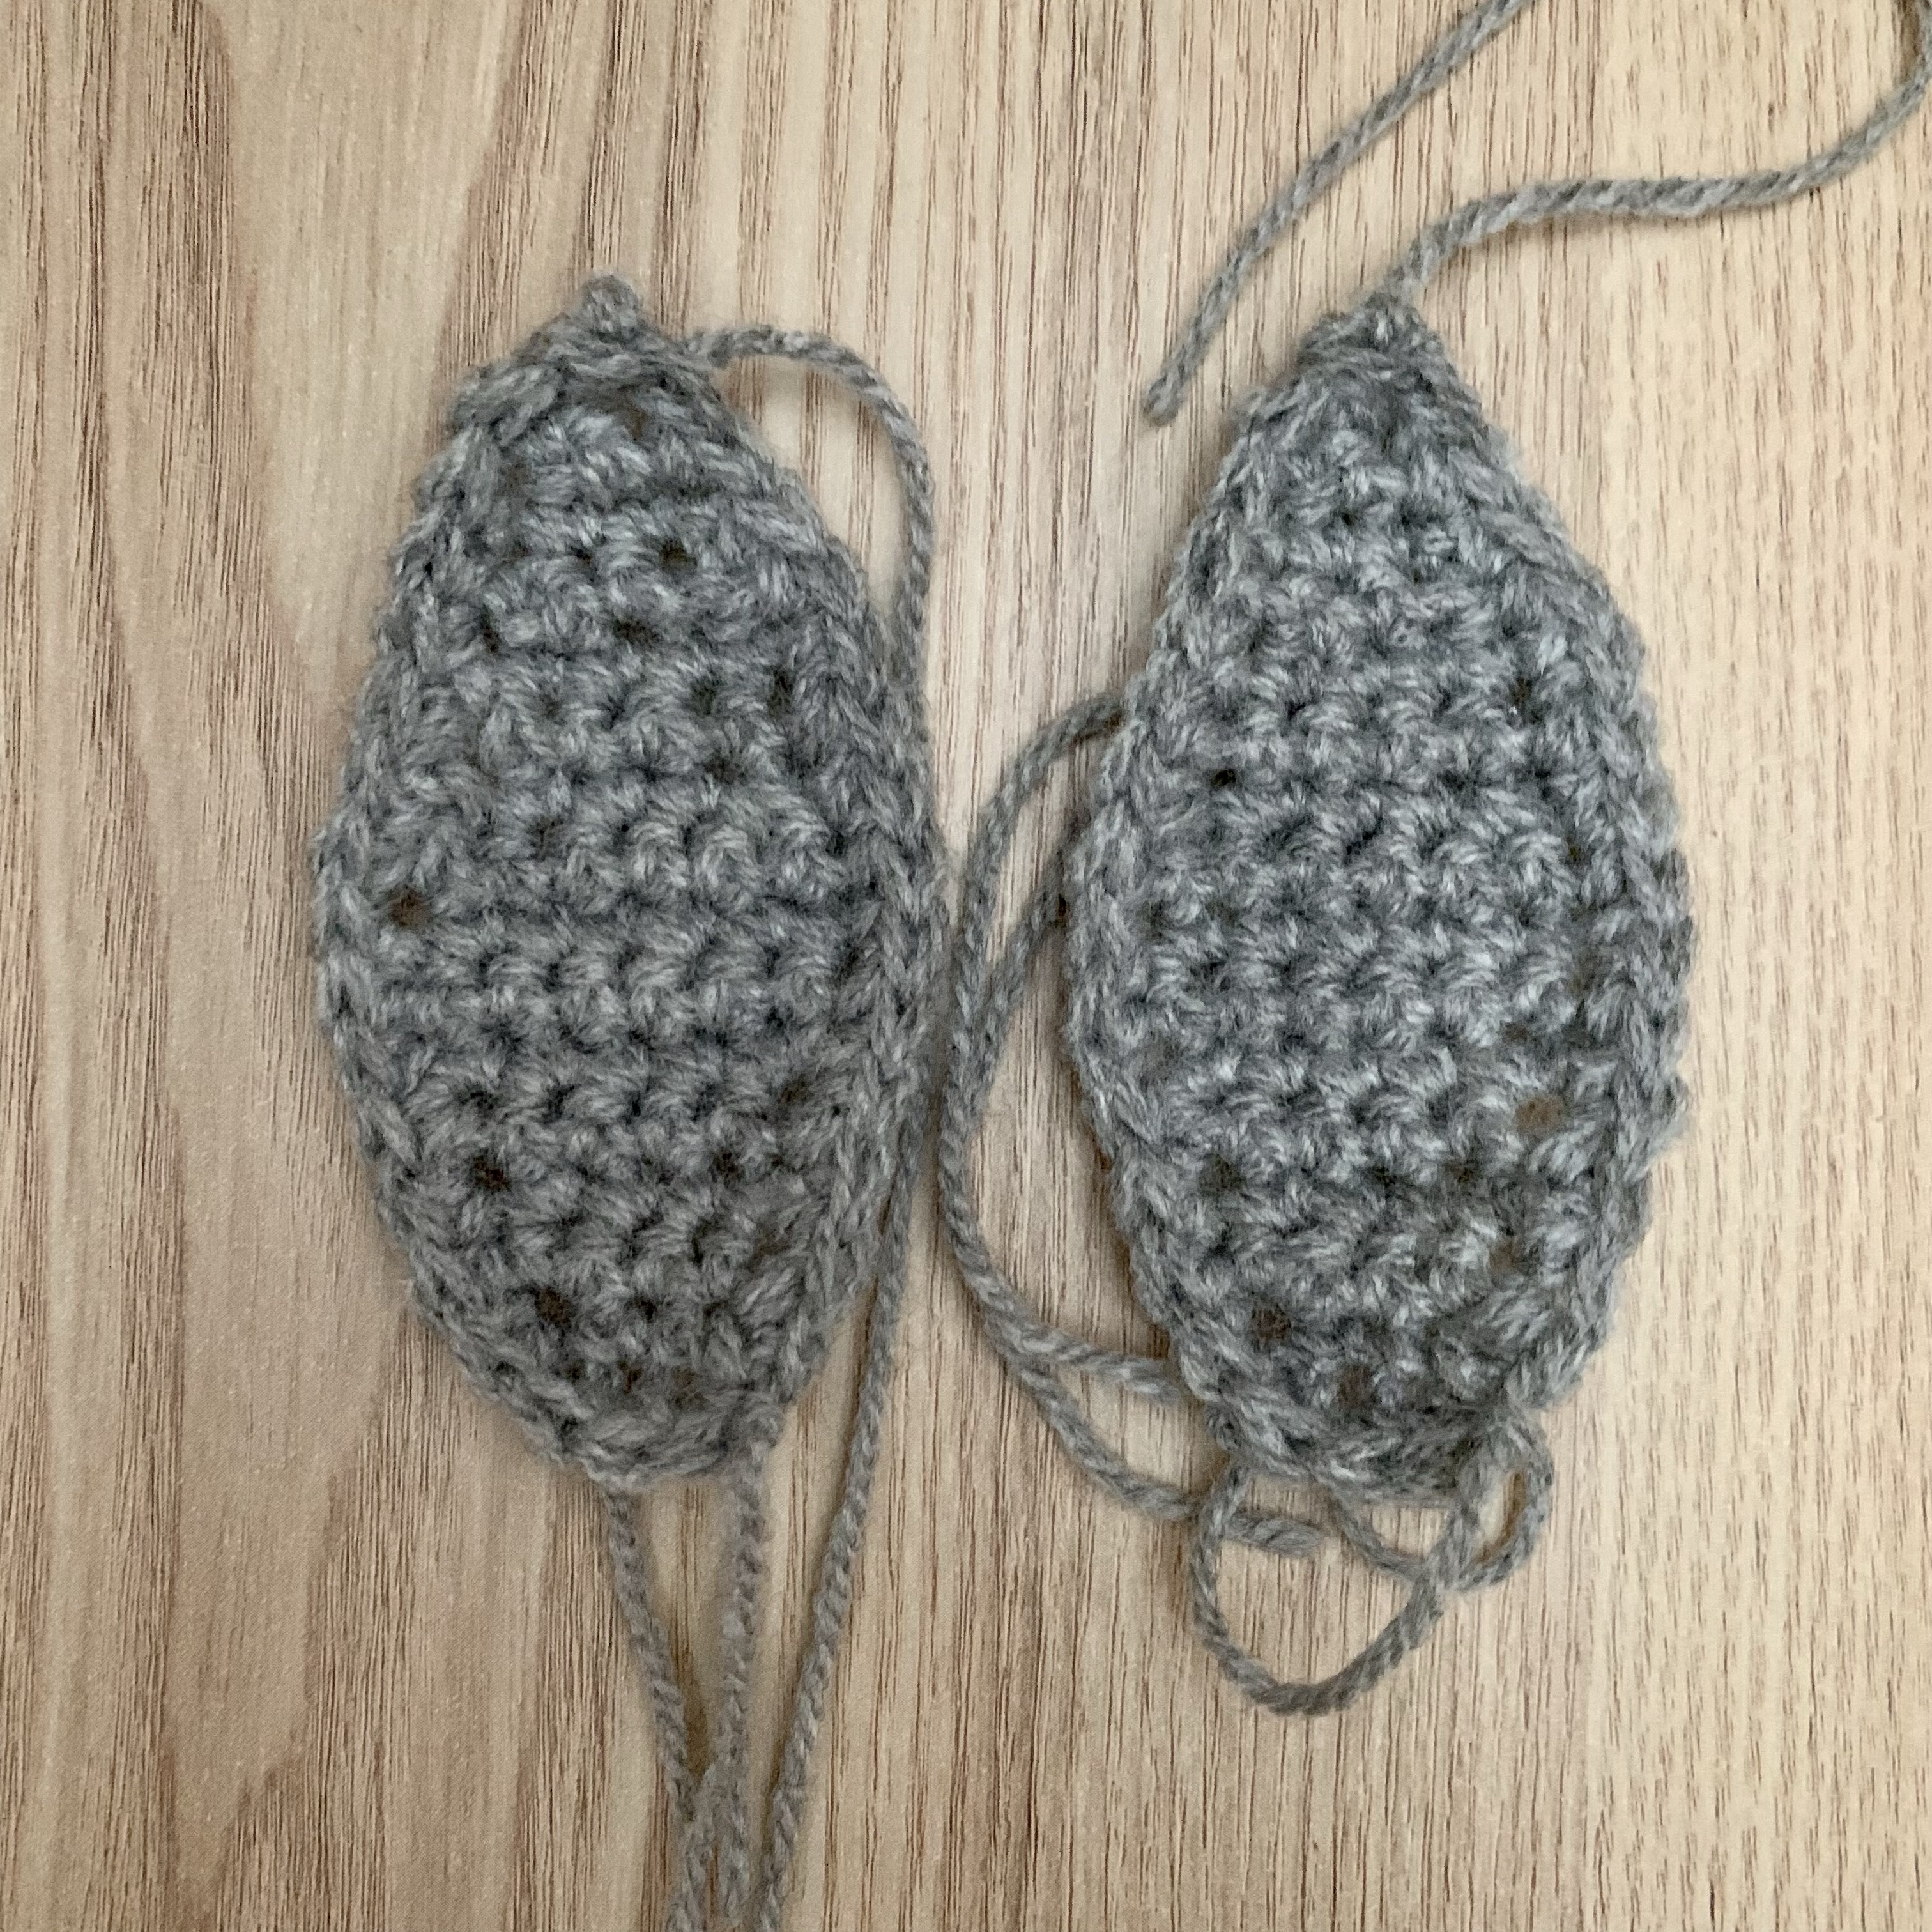
- Sew the inner ear onto the outer ear.

- Fold in the bottom left and right sides of the ear so they meet in the middle and sew to secure.

Rabbit Pom Pom Body
Using the pom pom maker or the 2 pieces of card with a 7cm diameter and your chosen pom pom colour make a pom pom. For a ‘How to’ make a pom pom using 2 pieces of card there is a guide here.
Assembly
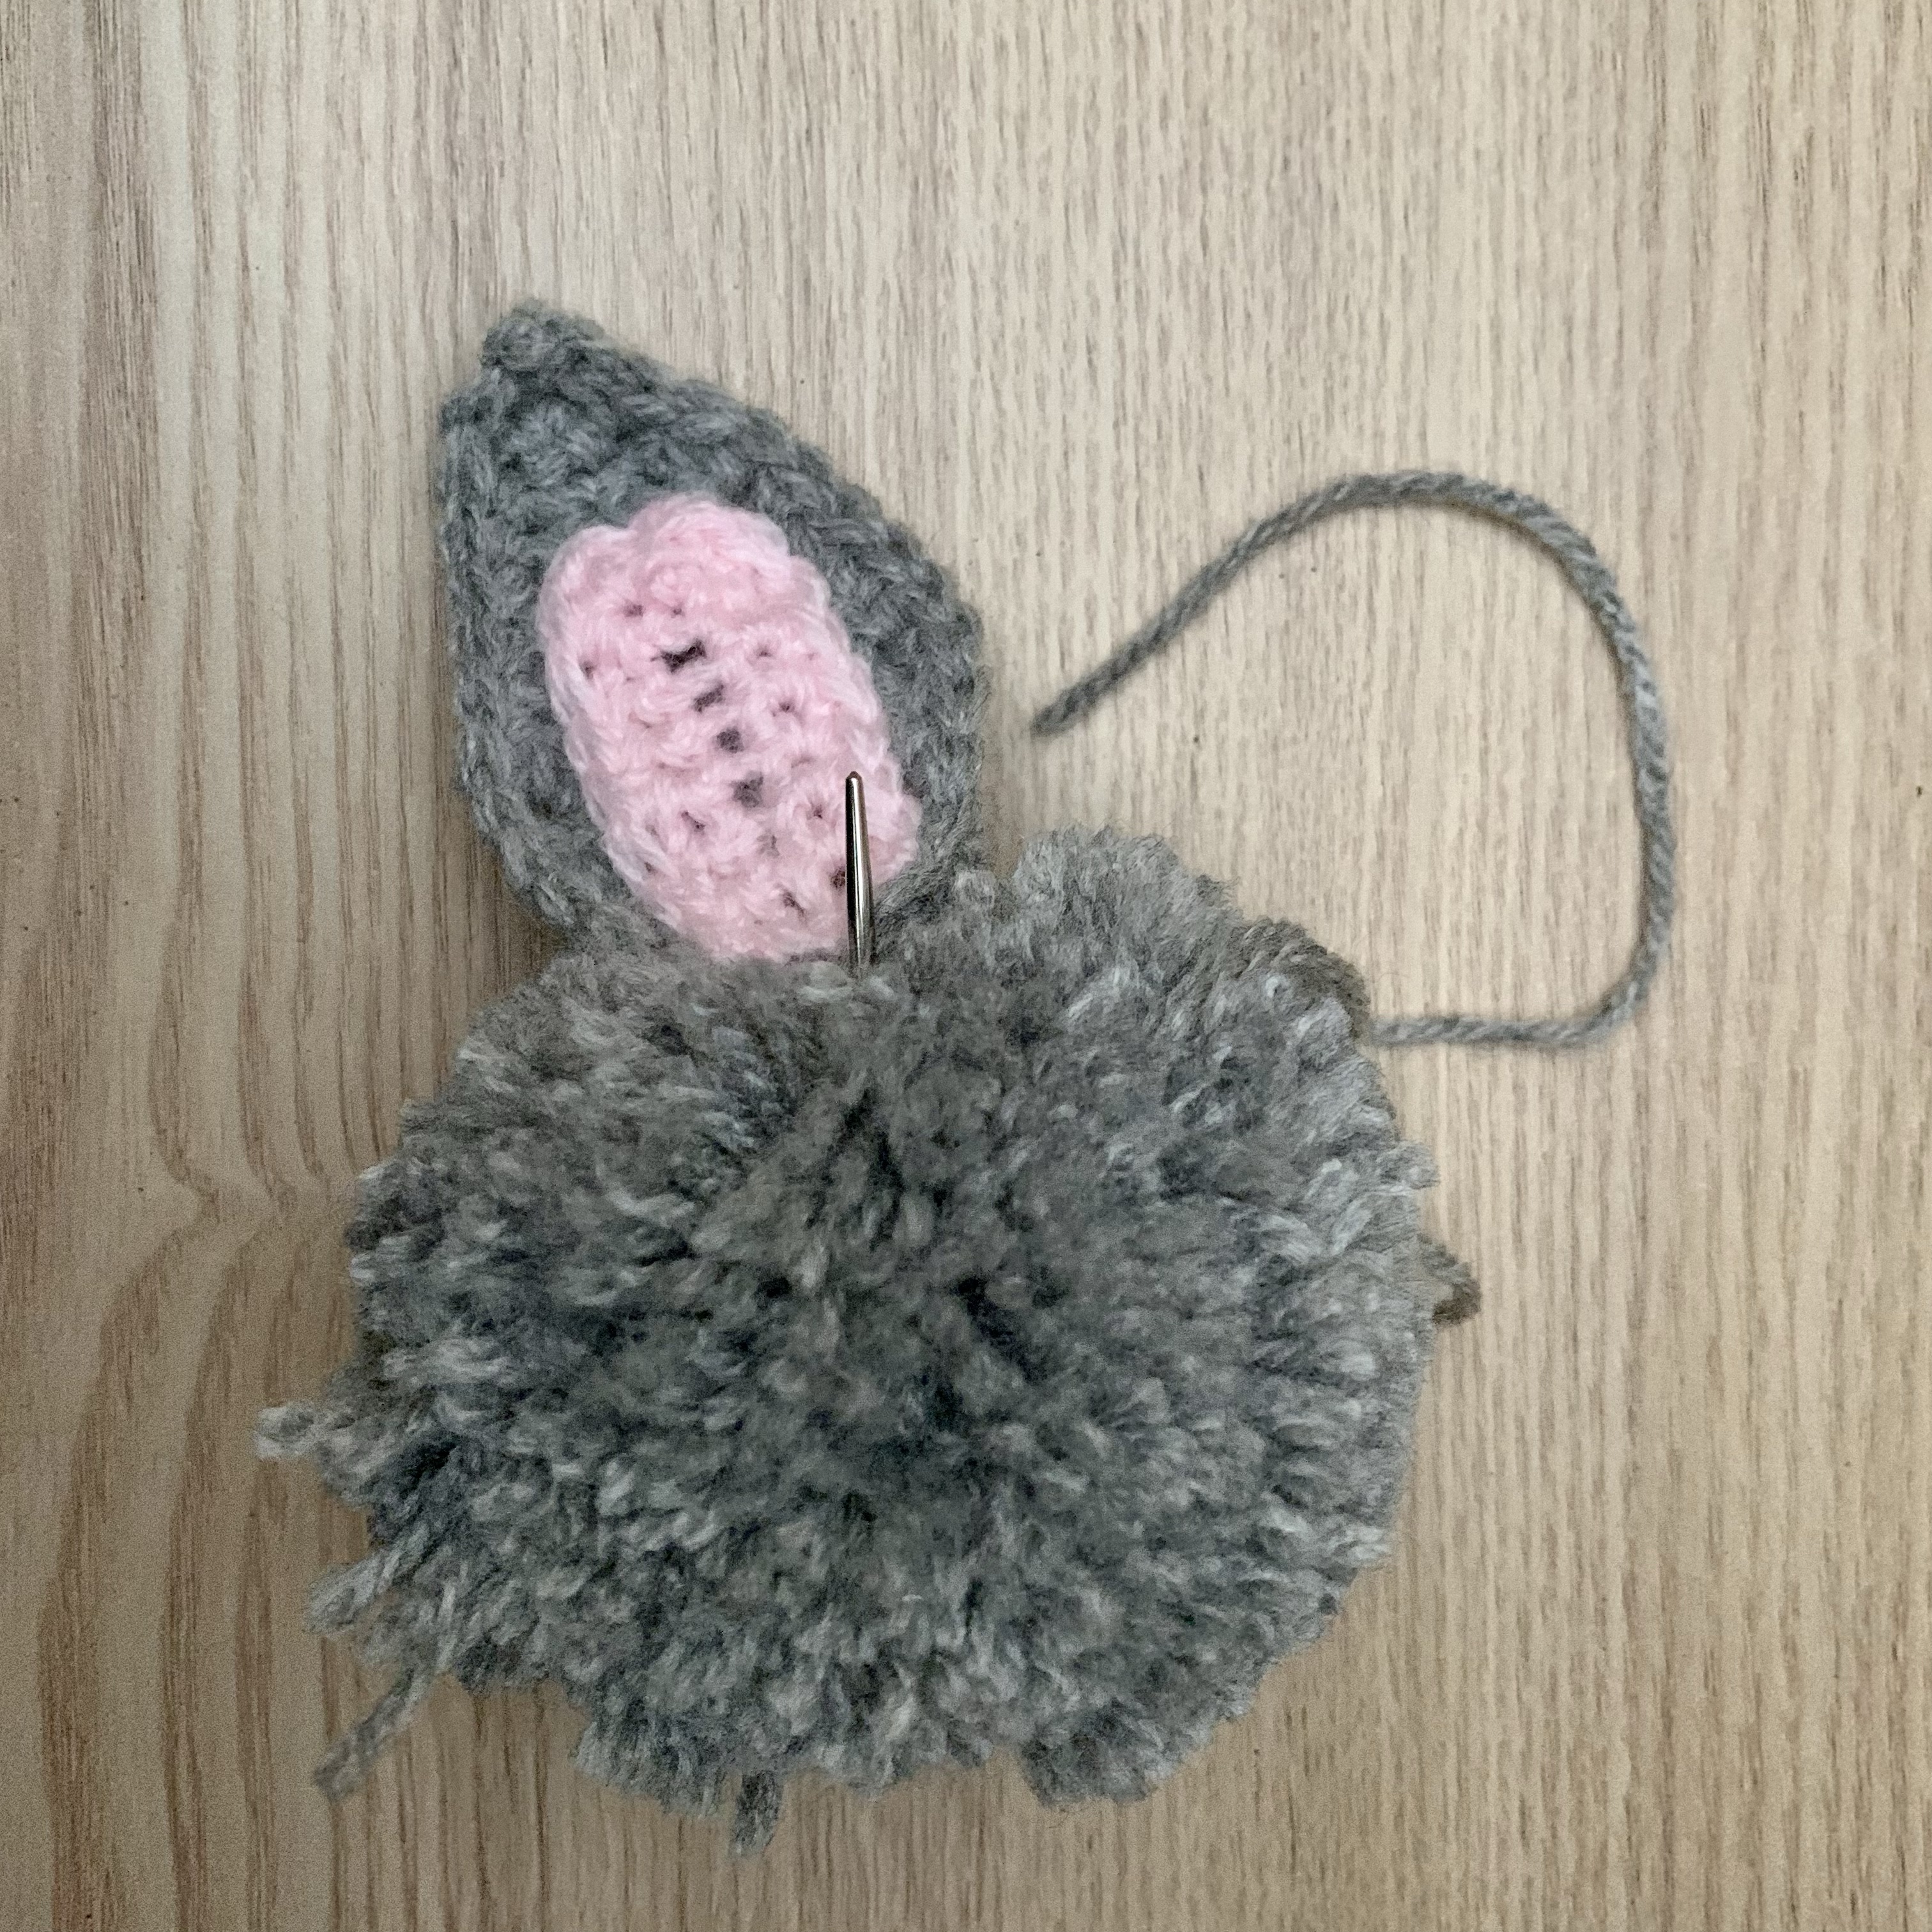
- Take one of the ears and place in position on the pom pom, to secure the ear use the long thread left for attaching and sew down through the pom pom middle and back up through the middle to the ear and sew a stitch to secure. Repeat a few times to make sure the ear is attached.


- Repeat with the other ear.
Additional Decoration Ideas:
- Hanging loops for pom poms: make a loop for hanging by cutting a length of wool and sewing it through the middle of the pom pom and tying to secure at the top
- To make into bunting: crochet a ch the length of bunting you require then attach the pom poms. To attach to the ch you need to make a loop for hanging by cutting a length of wool and sewing it through the middle of the pom pom and tying to secure at the top.

Leave a comment