
These would be great for an Easter lunch, they could be made in different colours or be mixed with another Easter themed napkin ring – pattern for another Easter themed crochet napkin ring can be found here.
You could even use these to hold together rolled up easter egg hunt maps, or a few chocolate bars to make an Easter gift.
More Easter themed makes:
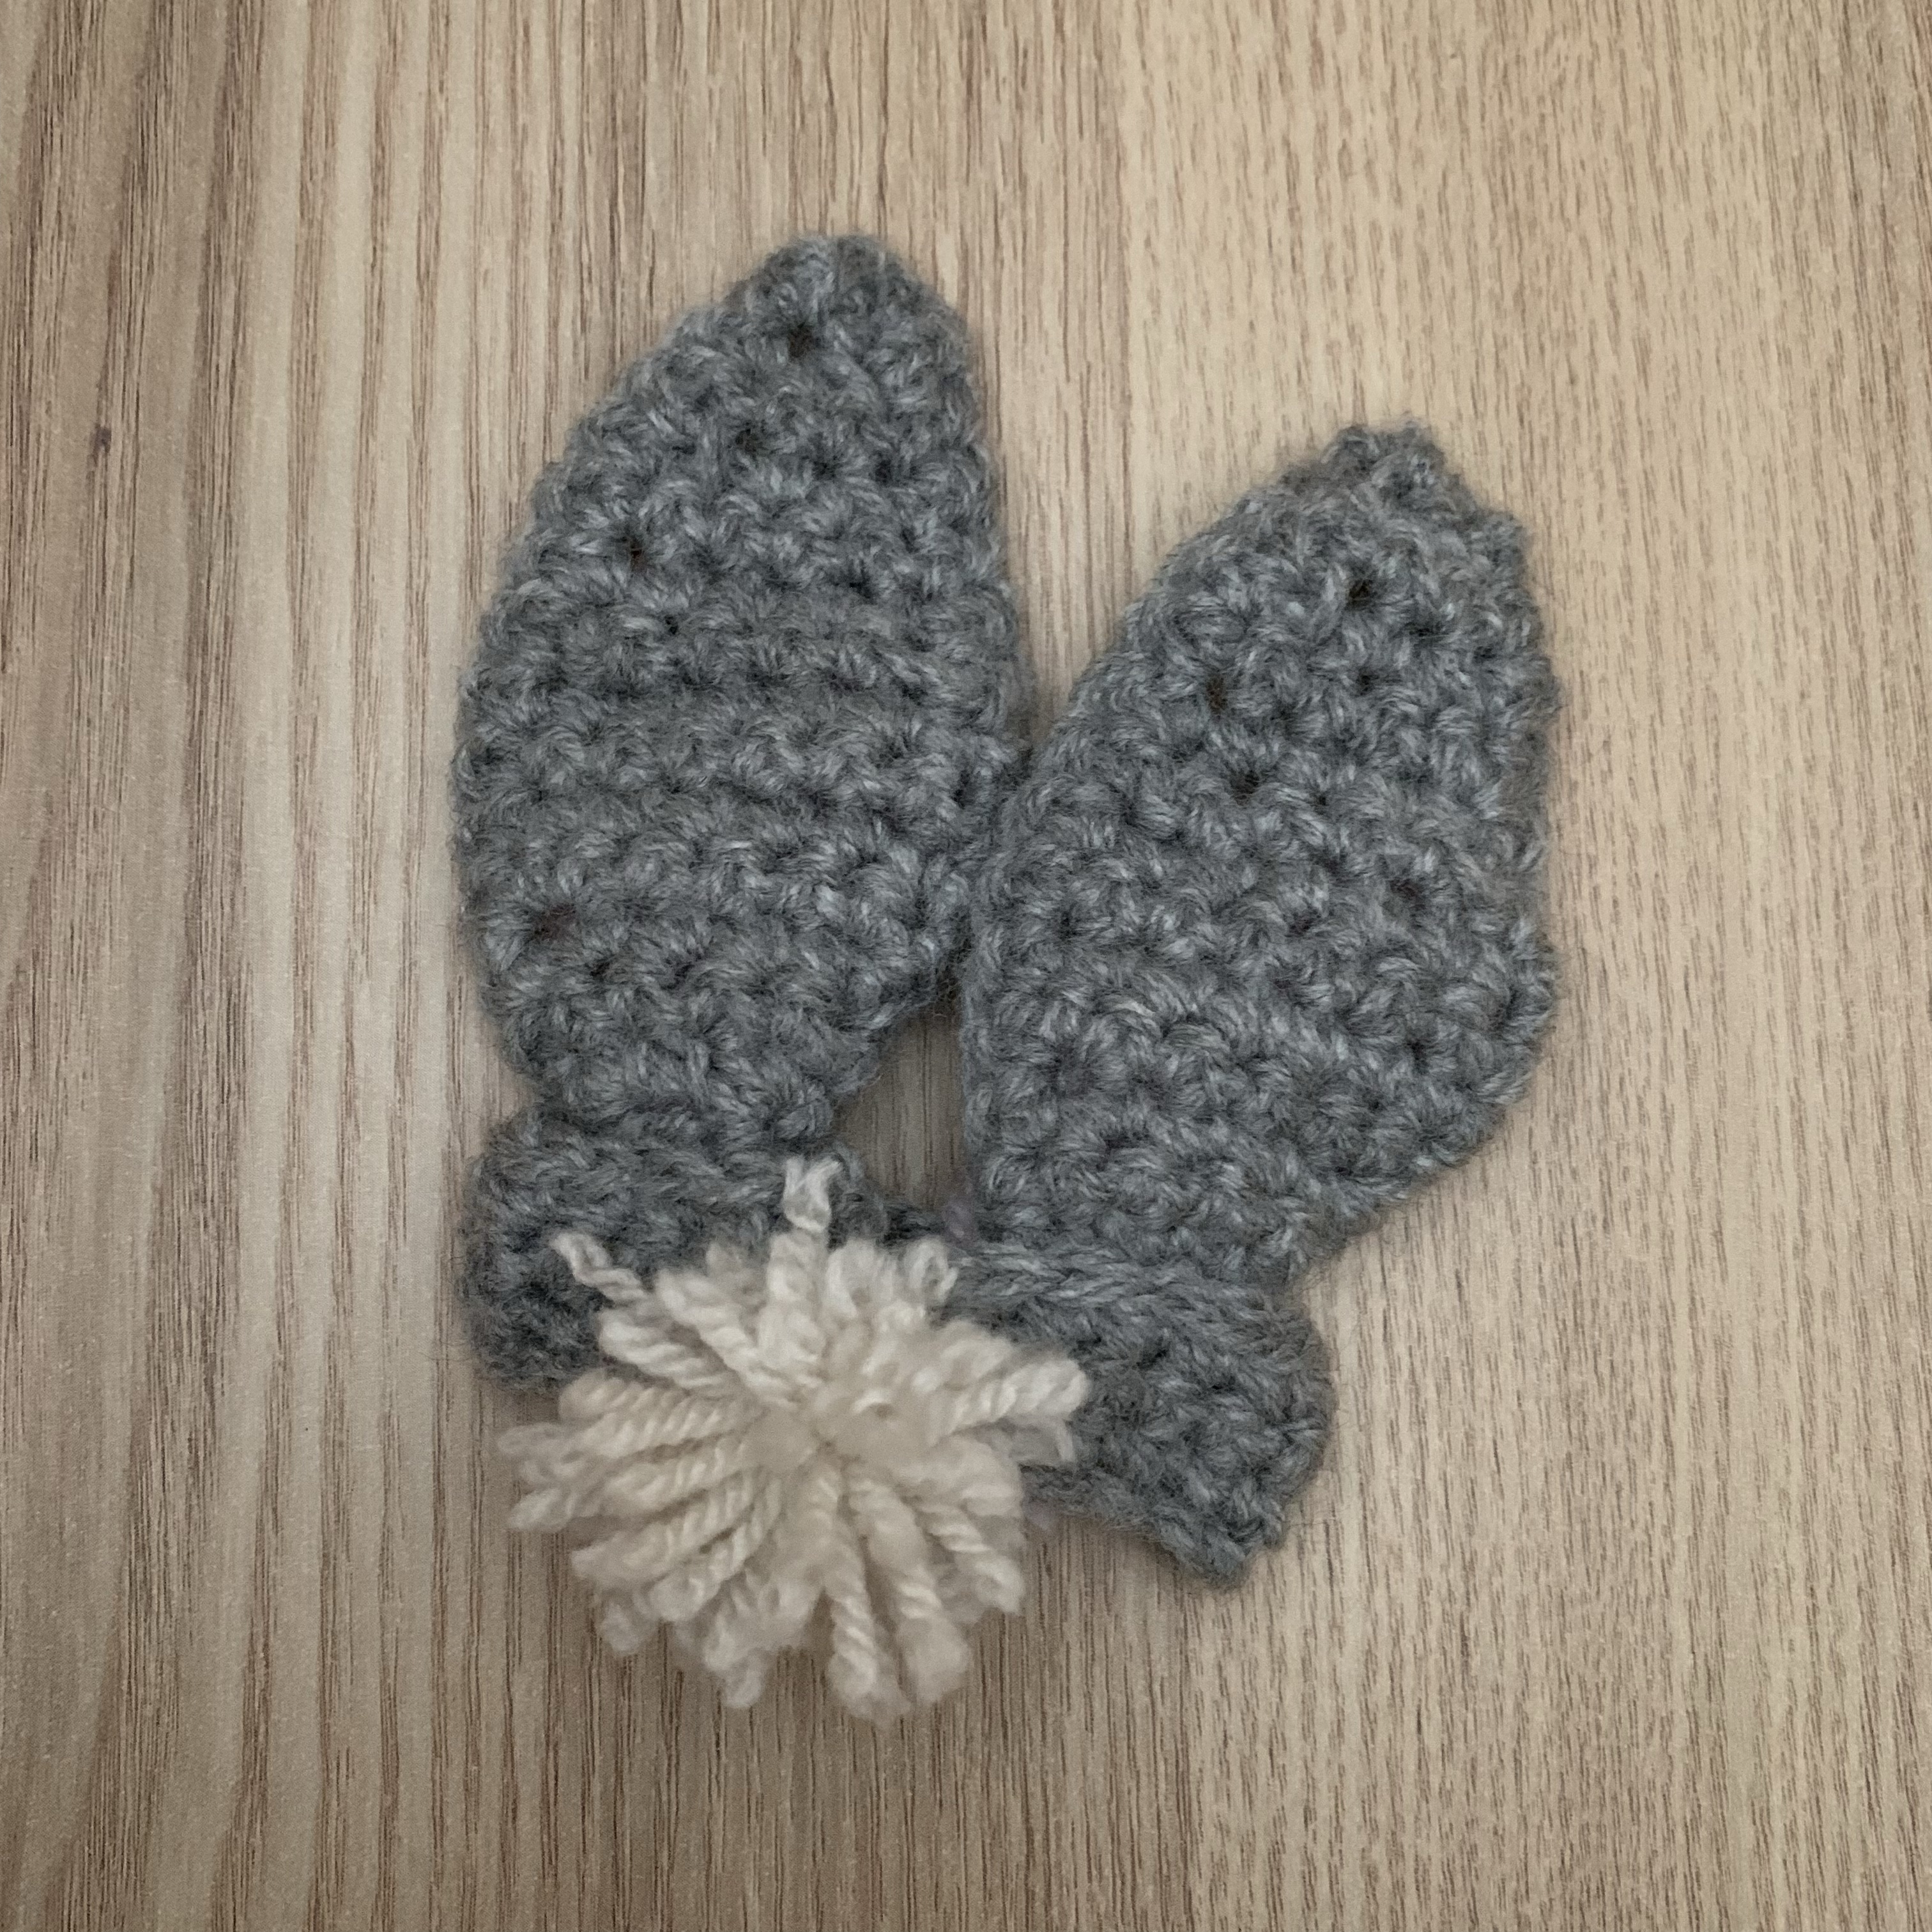
Crochet Rabbit Ear And Tail Napkin Rings Pattern
Materials
- DK wool in your chosen colour for the outer ears and band section.
- DK wool in your chosen colour for the band section.
- DK wool in your chosen colour for the inner ears.
- DK wool in your chosen colour for the tail.
- 4.5cm crochet hook.
- Scissors.
- Darning needle.
Crochet Rabbit Ear And Tail Napkin Rings Pattern
Outer Ears
Using your chosen outer ear colour and a 4.5mm crochet hook:
ch4, sc into 2nd ch from hook, sc along rest of the row (3).
Row 1: ch1 (doesn’t count as a stitch) 2sc into first stitch of the row, 2sc, 2sc into next stitch (5).
Rows 2-3: ch1 (doesn’t count as a stitch) sc along row.
Row 4: ch1 (doesn’t count as a stitch) 2sc into first stitch or the row, 3sc, 2sc into next stitch (7).
Rows 5-7: ch1 (doesn’t count as a stitch) sc along row.
Row 8: ch1 (doesn’t count as a stitch) sc2tog, 3sc, sc2tog (5).
Rows 9-10: ch1 (doesn’t count as a stitch) sc along row.
Row 11: ch1 (doesn’t count as a stitch) sc2tog, sc, sc2tog (3)
Row 12: ch1 (doesn’t count as a stitch) sc along row.
Row 13: ch1 (doesn’t count as a stitch) sc2tog, sc (2).
Row 14: ch1 (doesn’t count as a stitch) sc2tog (1).
Fasten off.
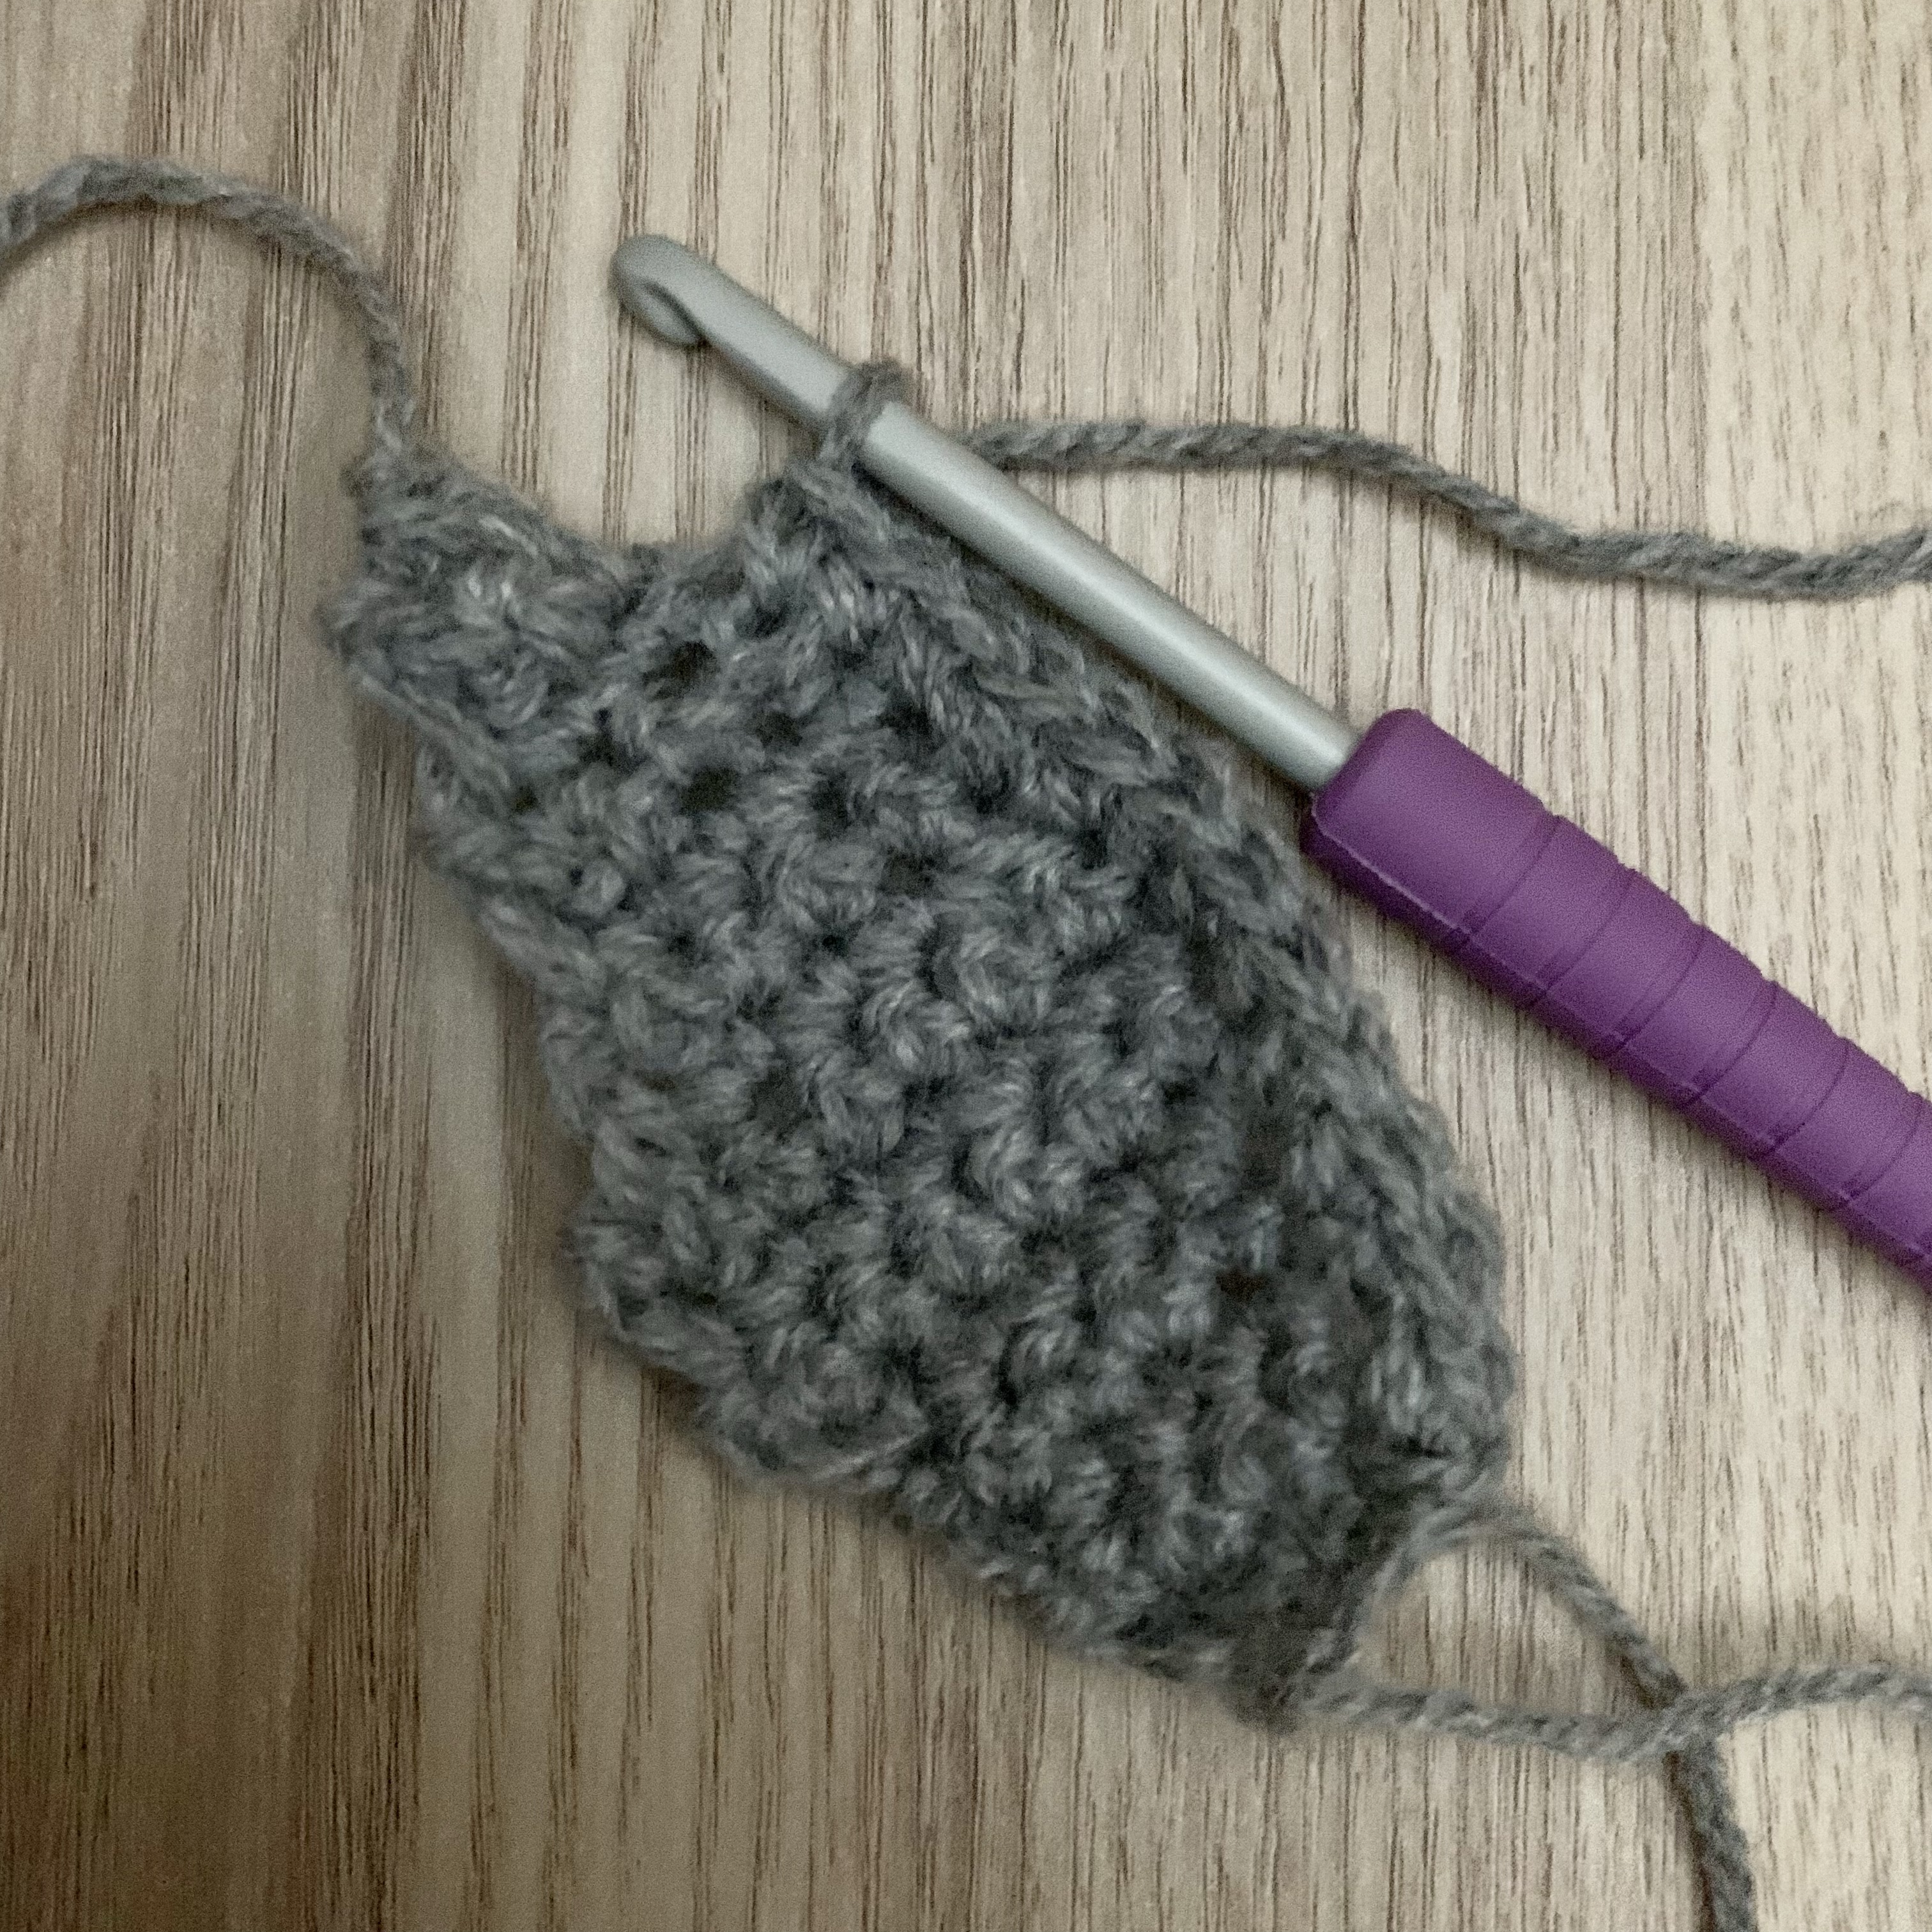
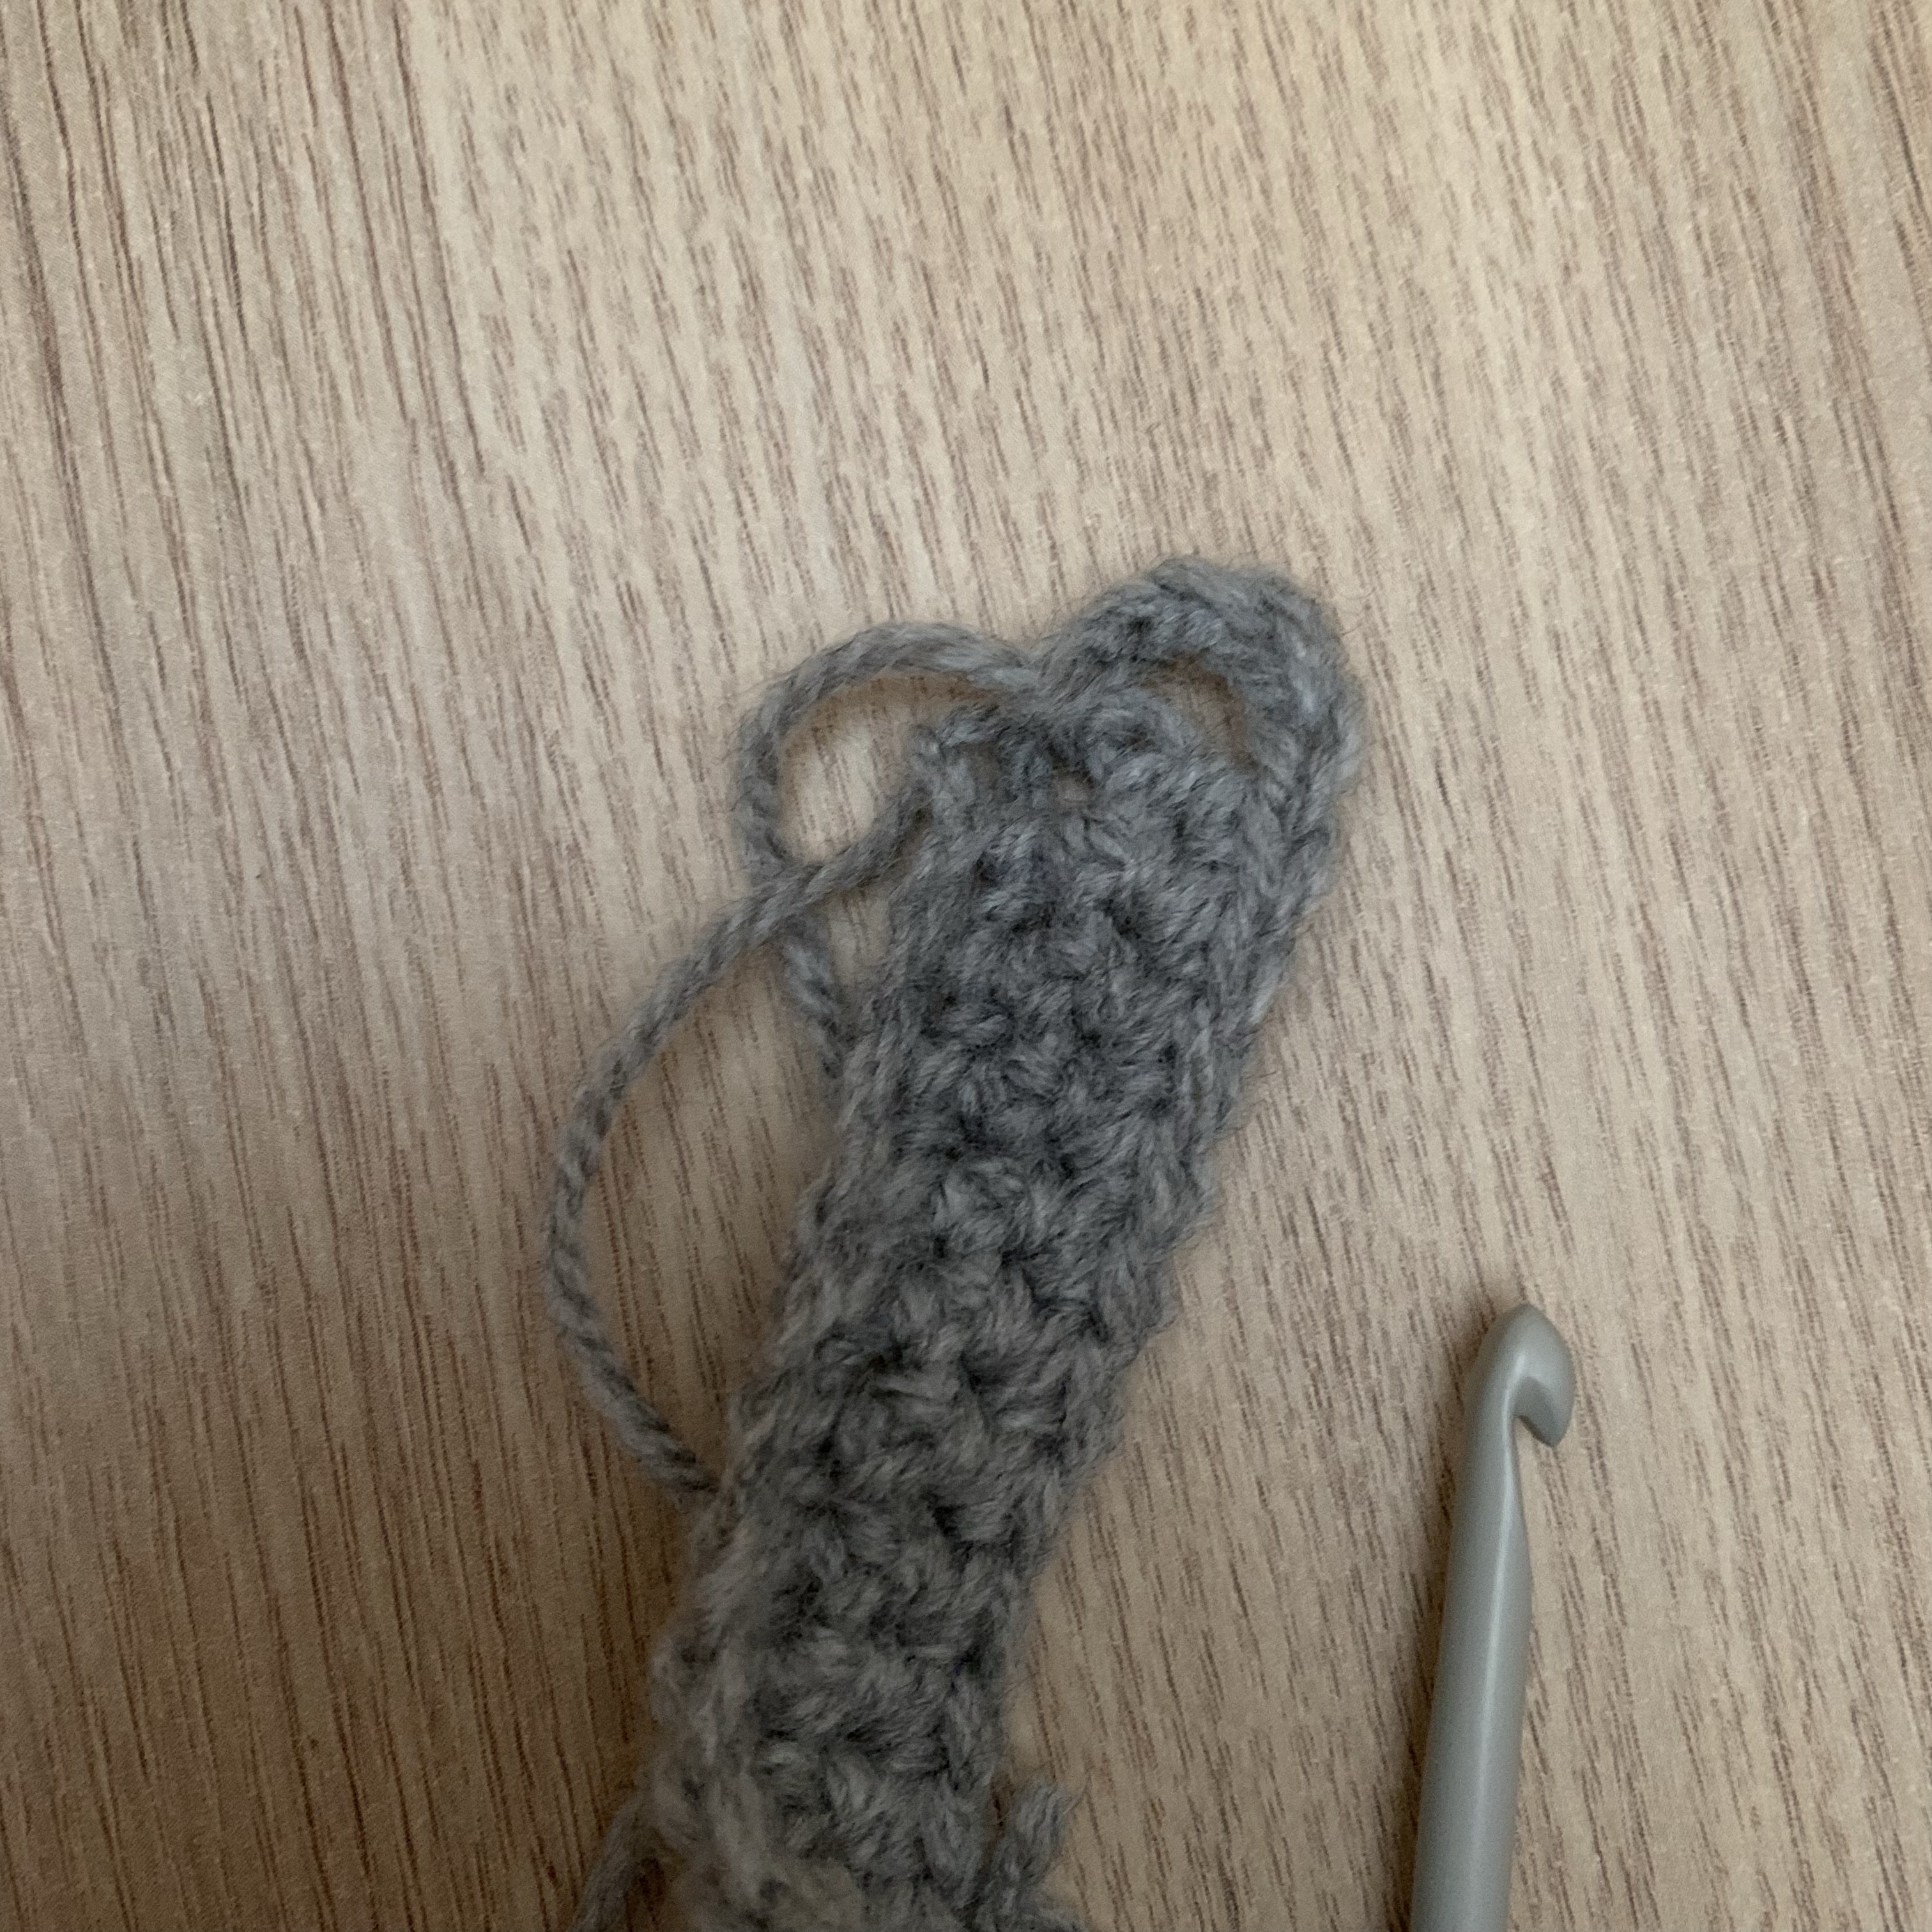
Cast on in bottom right hand side of the ear (pull up loop, ch1, sc into same stitch – Pictures 1-3) sc around the edge of the rabbit ear with sc stitches going into the row ends (picture 4), ss into 1st sc of the round (picture 5 and 6).
Fasten off, leaving long thread to attach.


Inner Ears – Make 2
Using your chosen inner ear colour and a 4.5mm crochet hook:
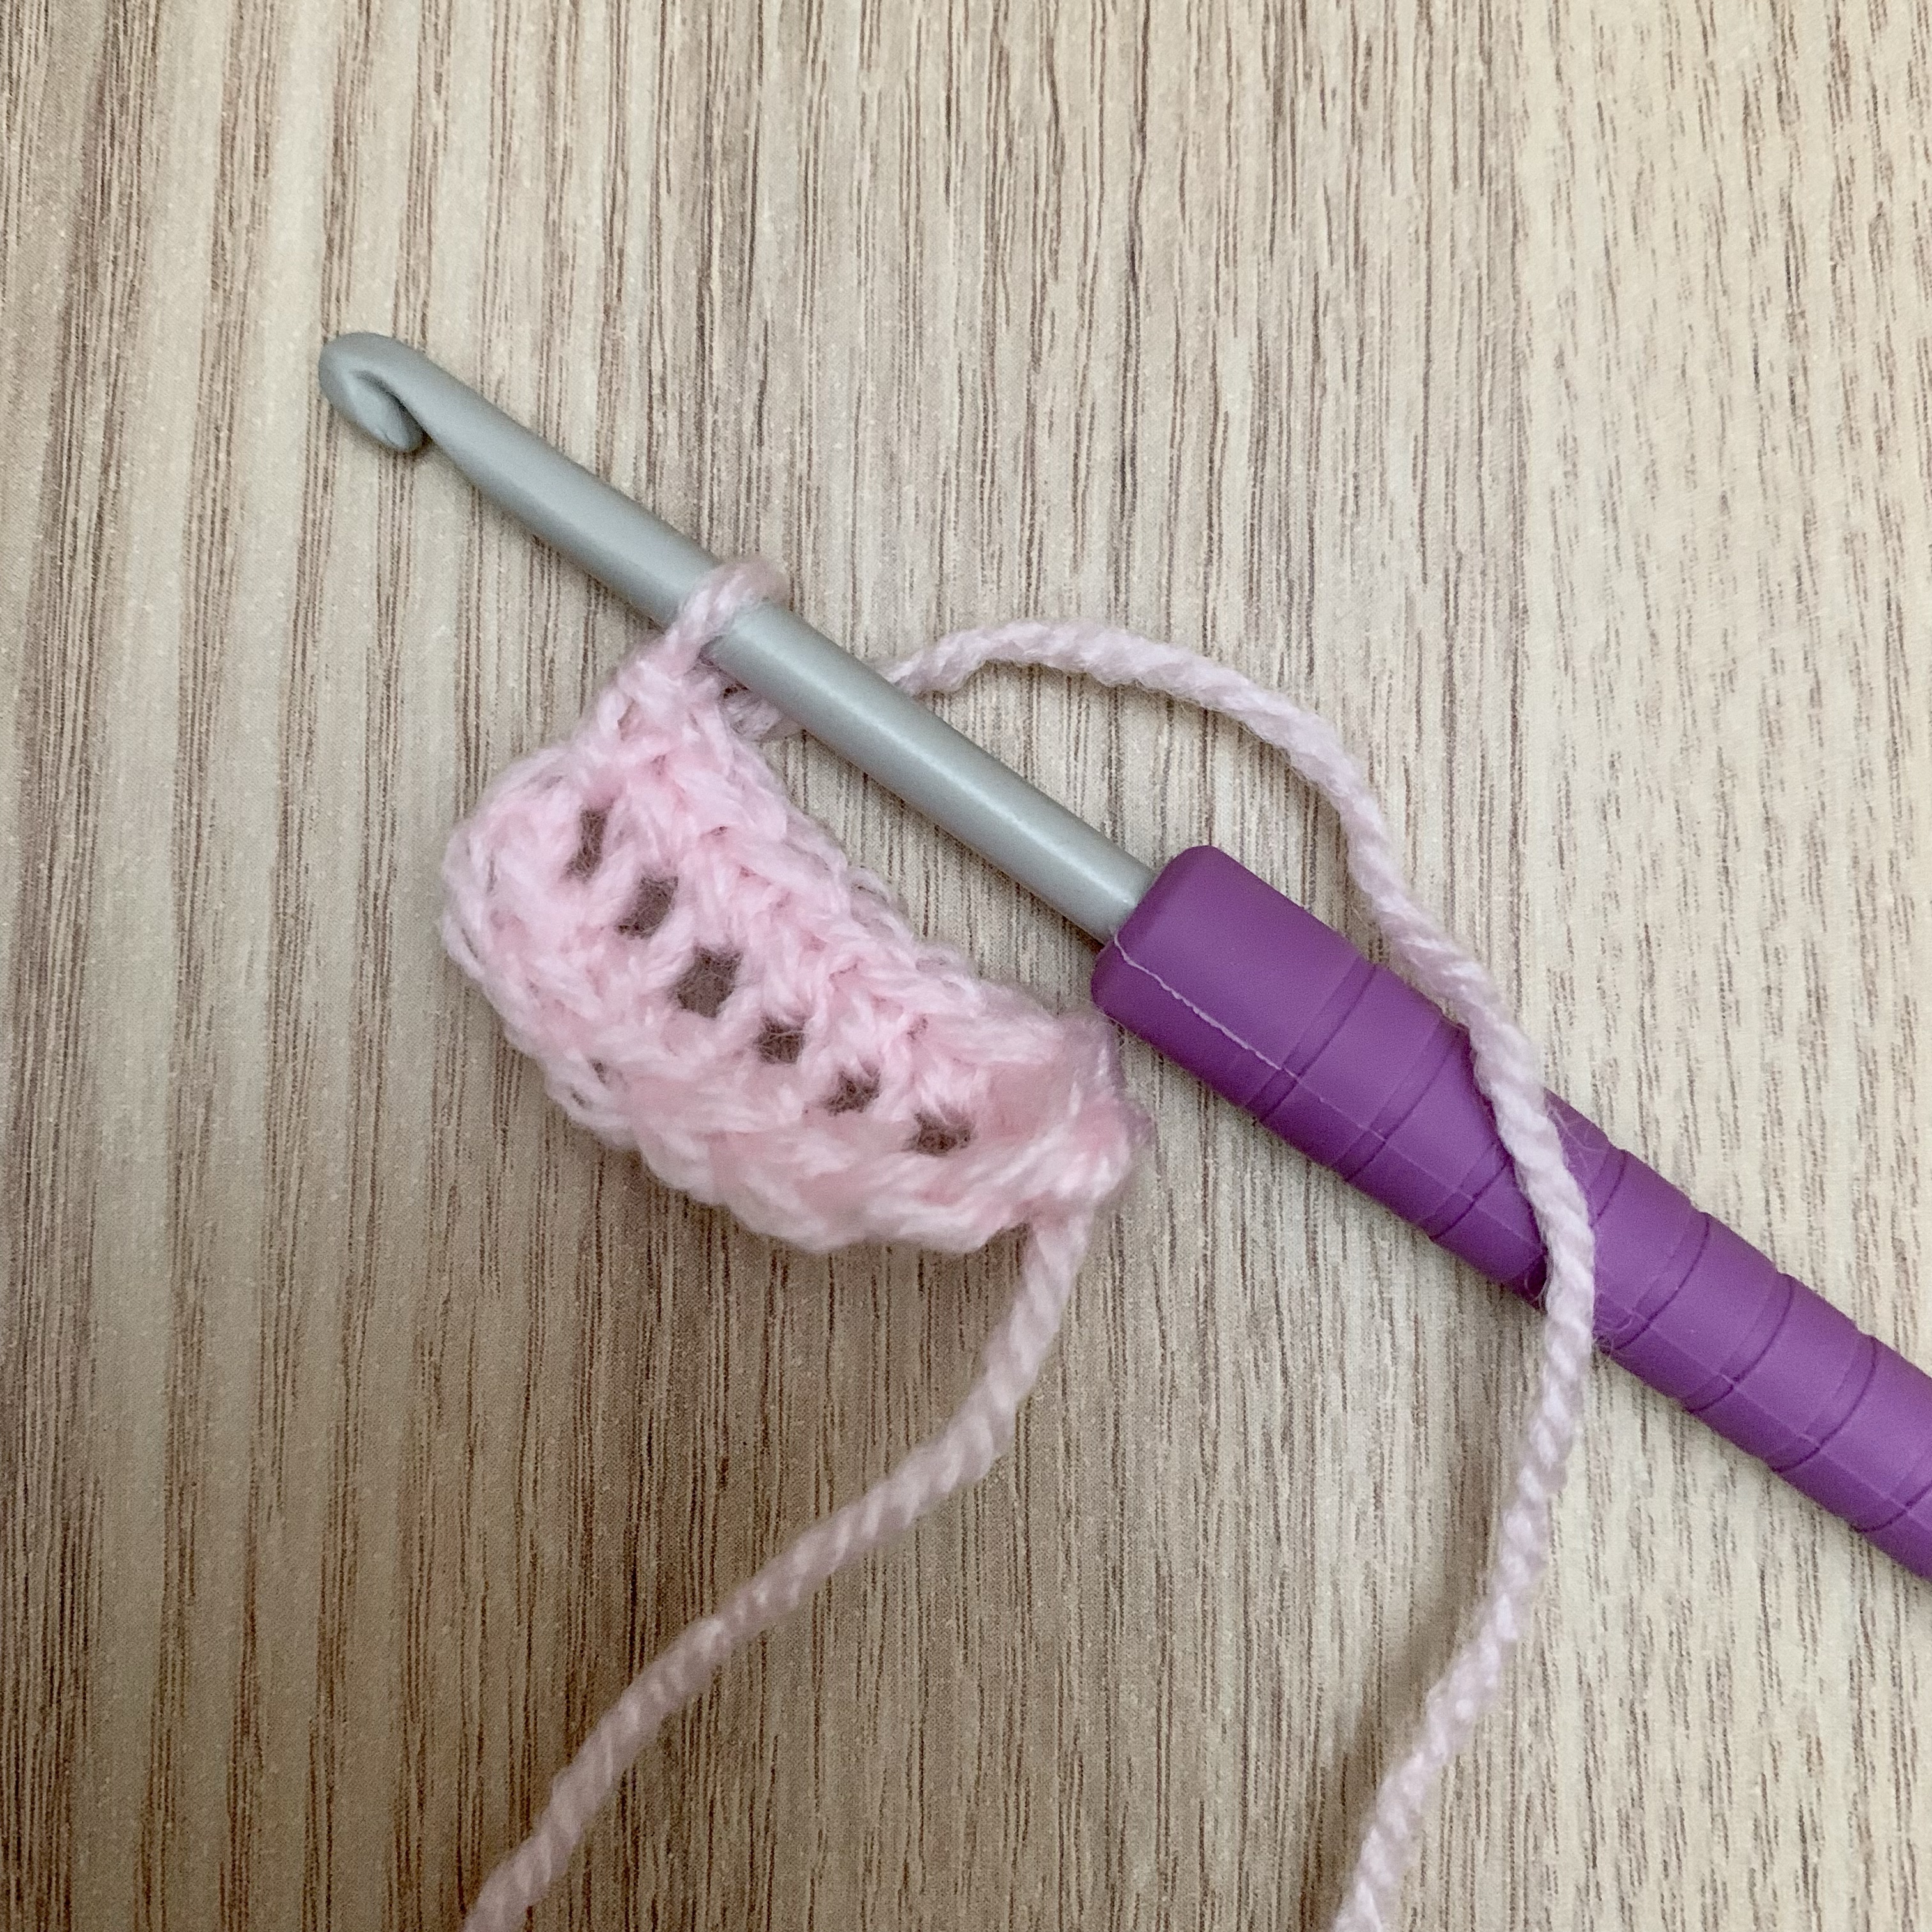
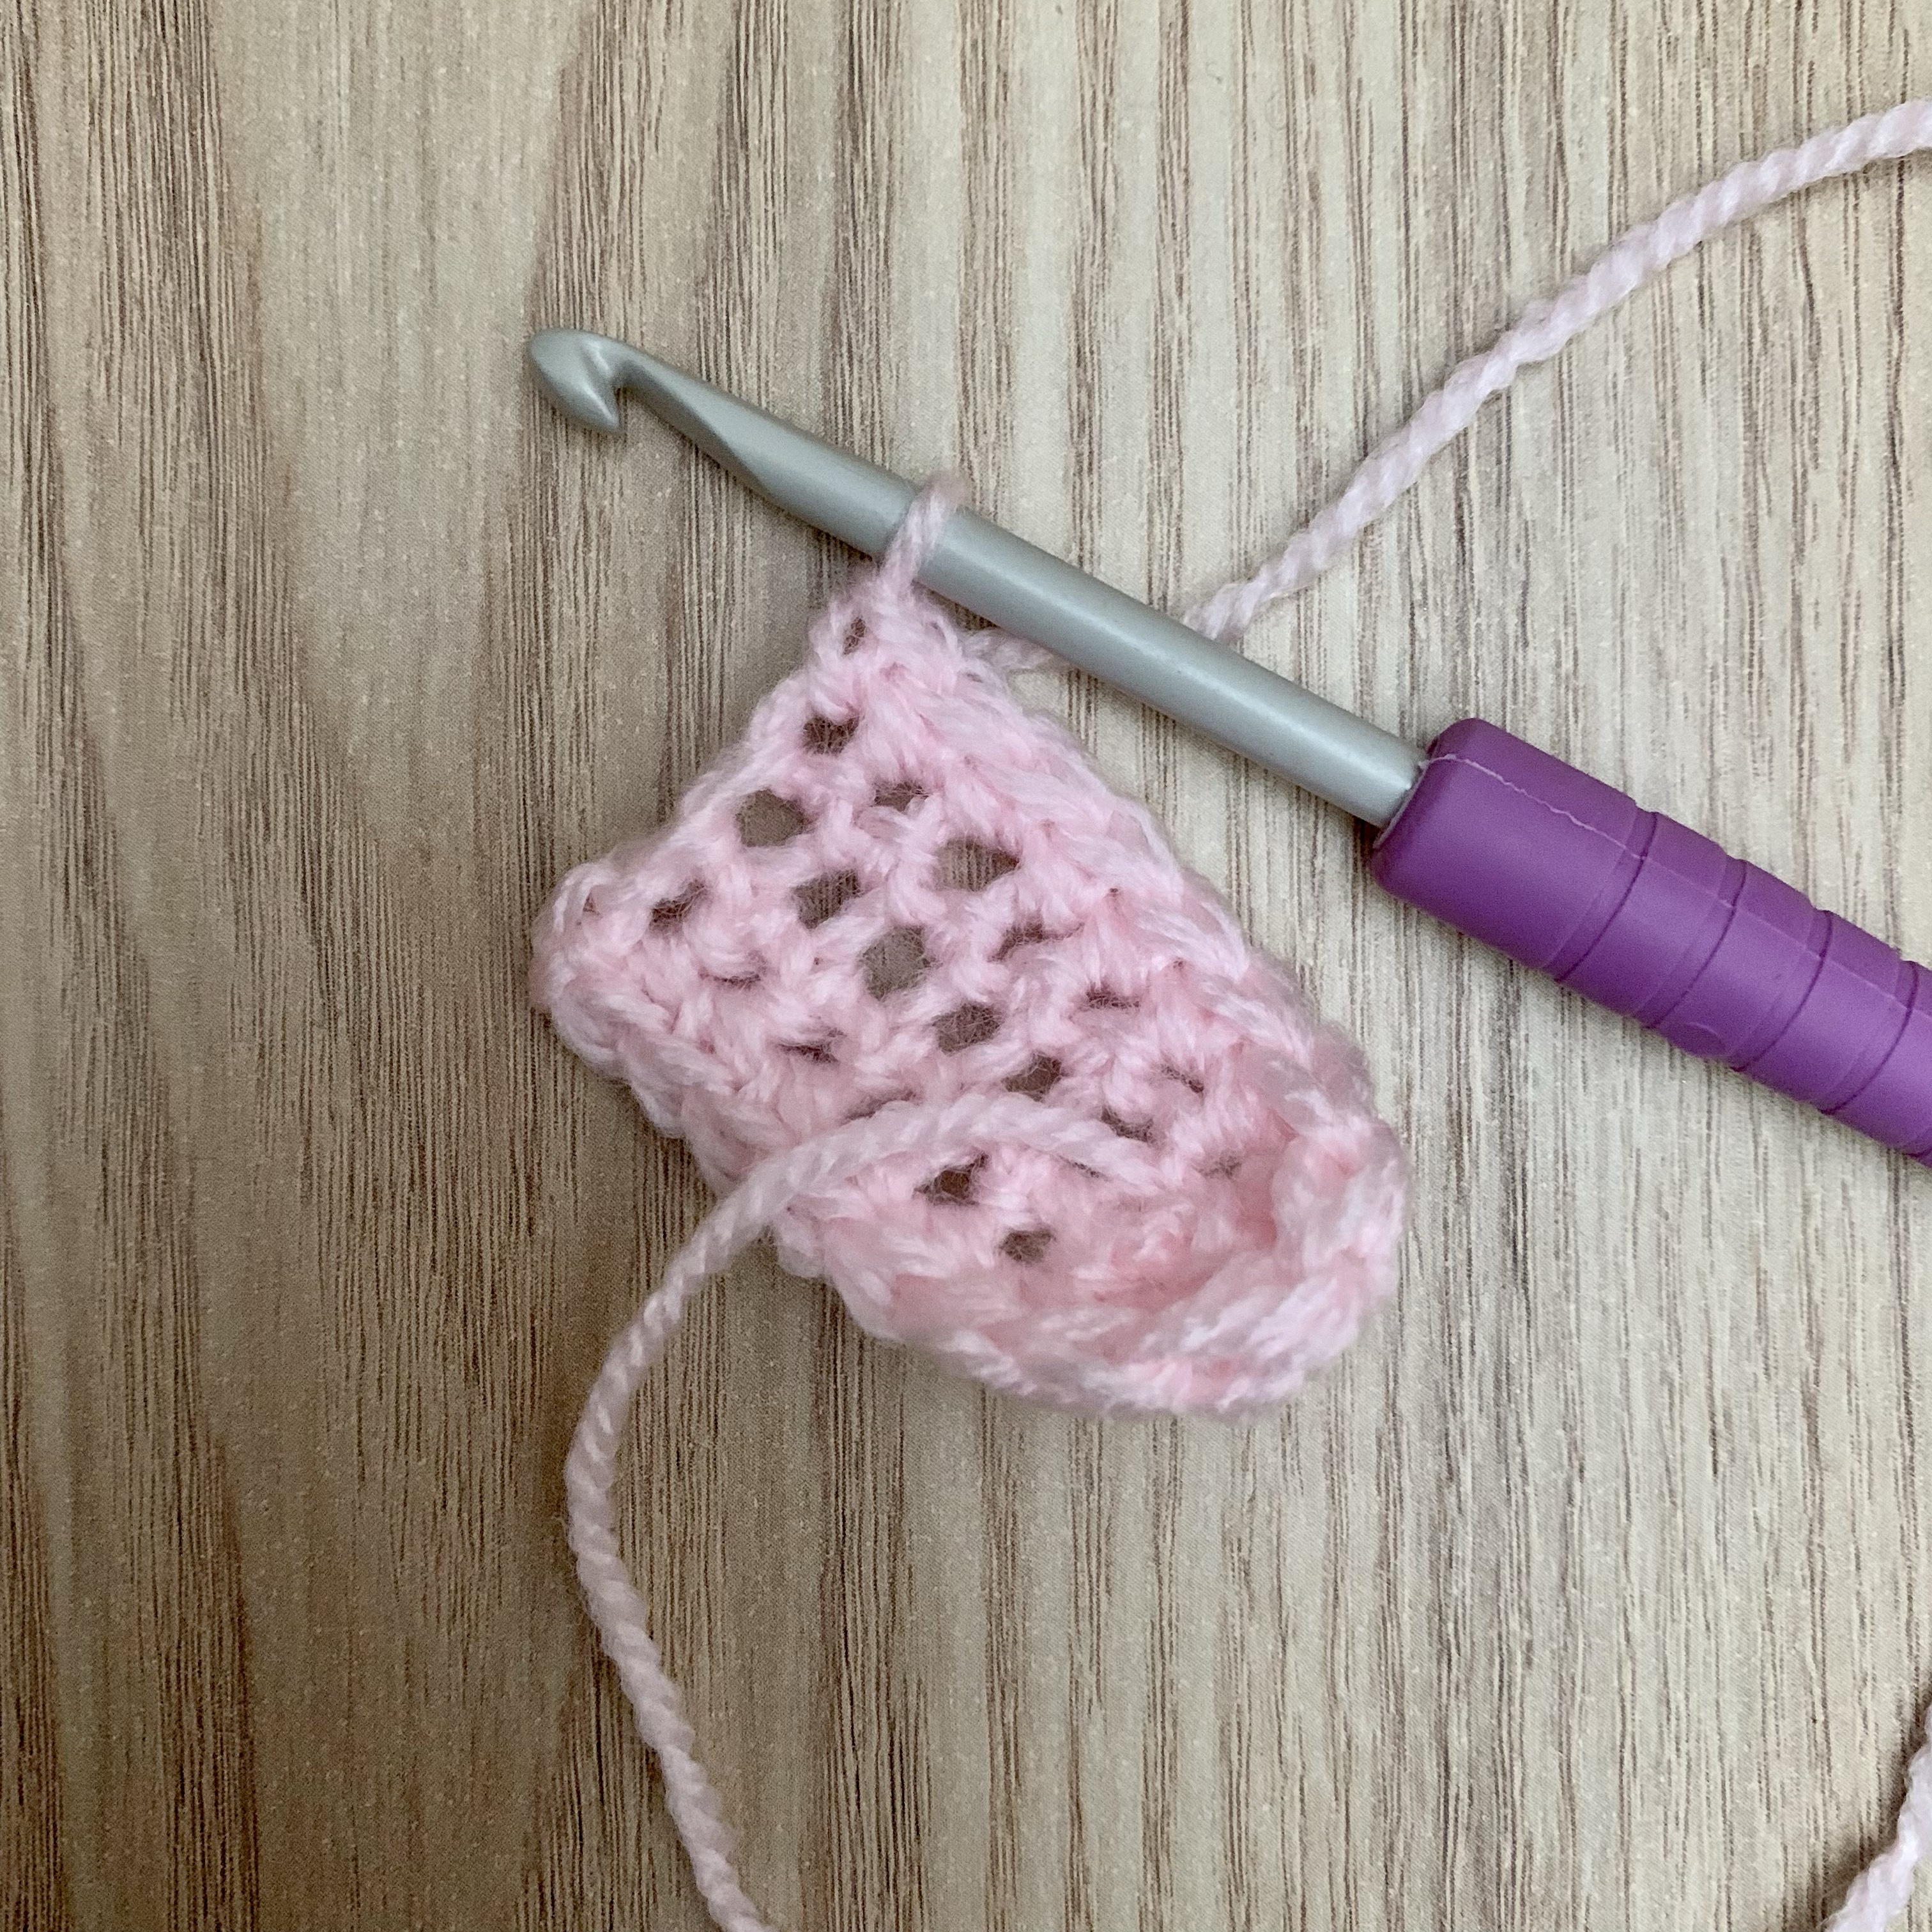
ch8, sc into 2nd ch from the hook, sc along rest of the row (7 – picture 1), sc down the other side of the ch (7 – picture 2 and 3).
Turn, ch1 (doesn’t count as a stitch – picture 4) 6sc, (htr(UK)/hdc(US), tr(UK)/dc(US)) into next stitch (picture 5), (tr(UK)/dc(US), htr(UK)/hdc(US) into next stitch, 6sc (picture 6).


Fasten off.
Napkin Band
Using your chosen band colour and a 4.5mm crochet hook:
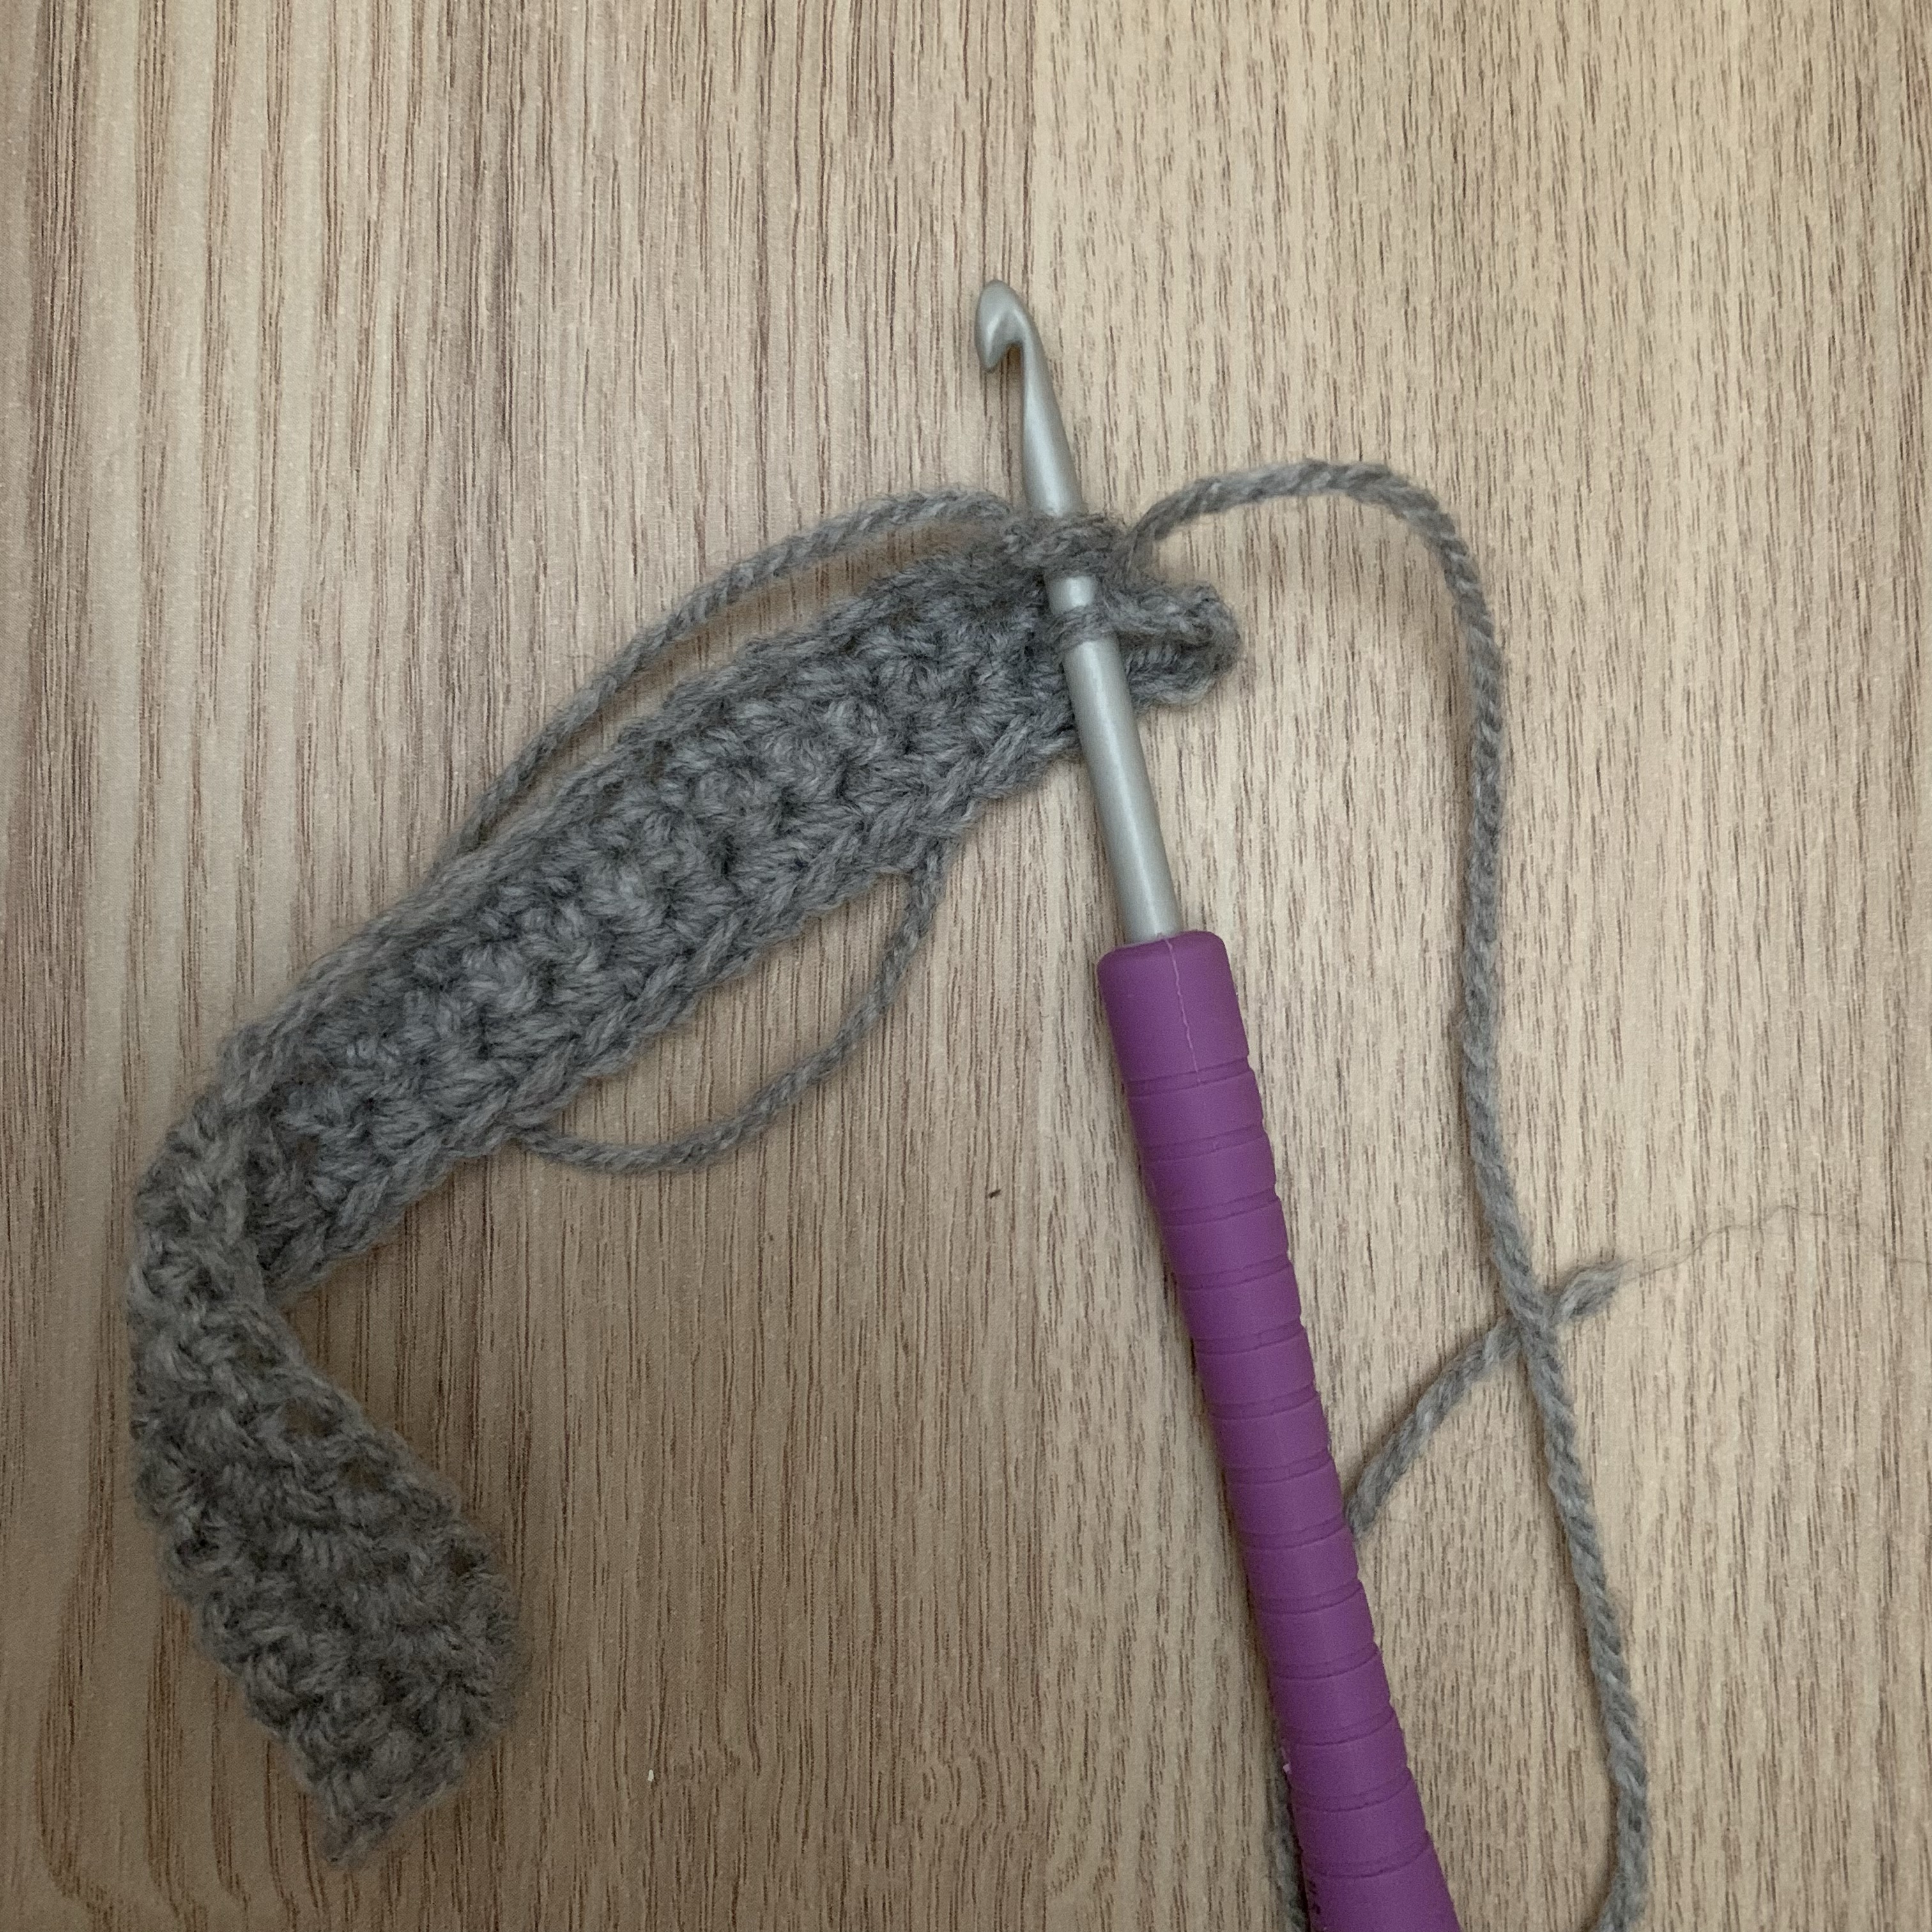
ch25, sc into 2nd ch from the hook and sc along rest of the row (24).
Rows 1 and 2: ch1 (doesn’t count as a stitch) sc along row.
ch6, then sc into 1st stitch of row 1 (short end).
Fasten off.

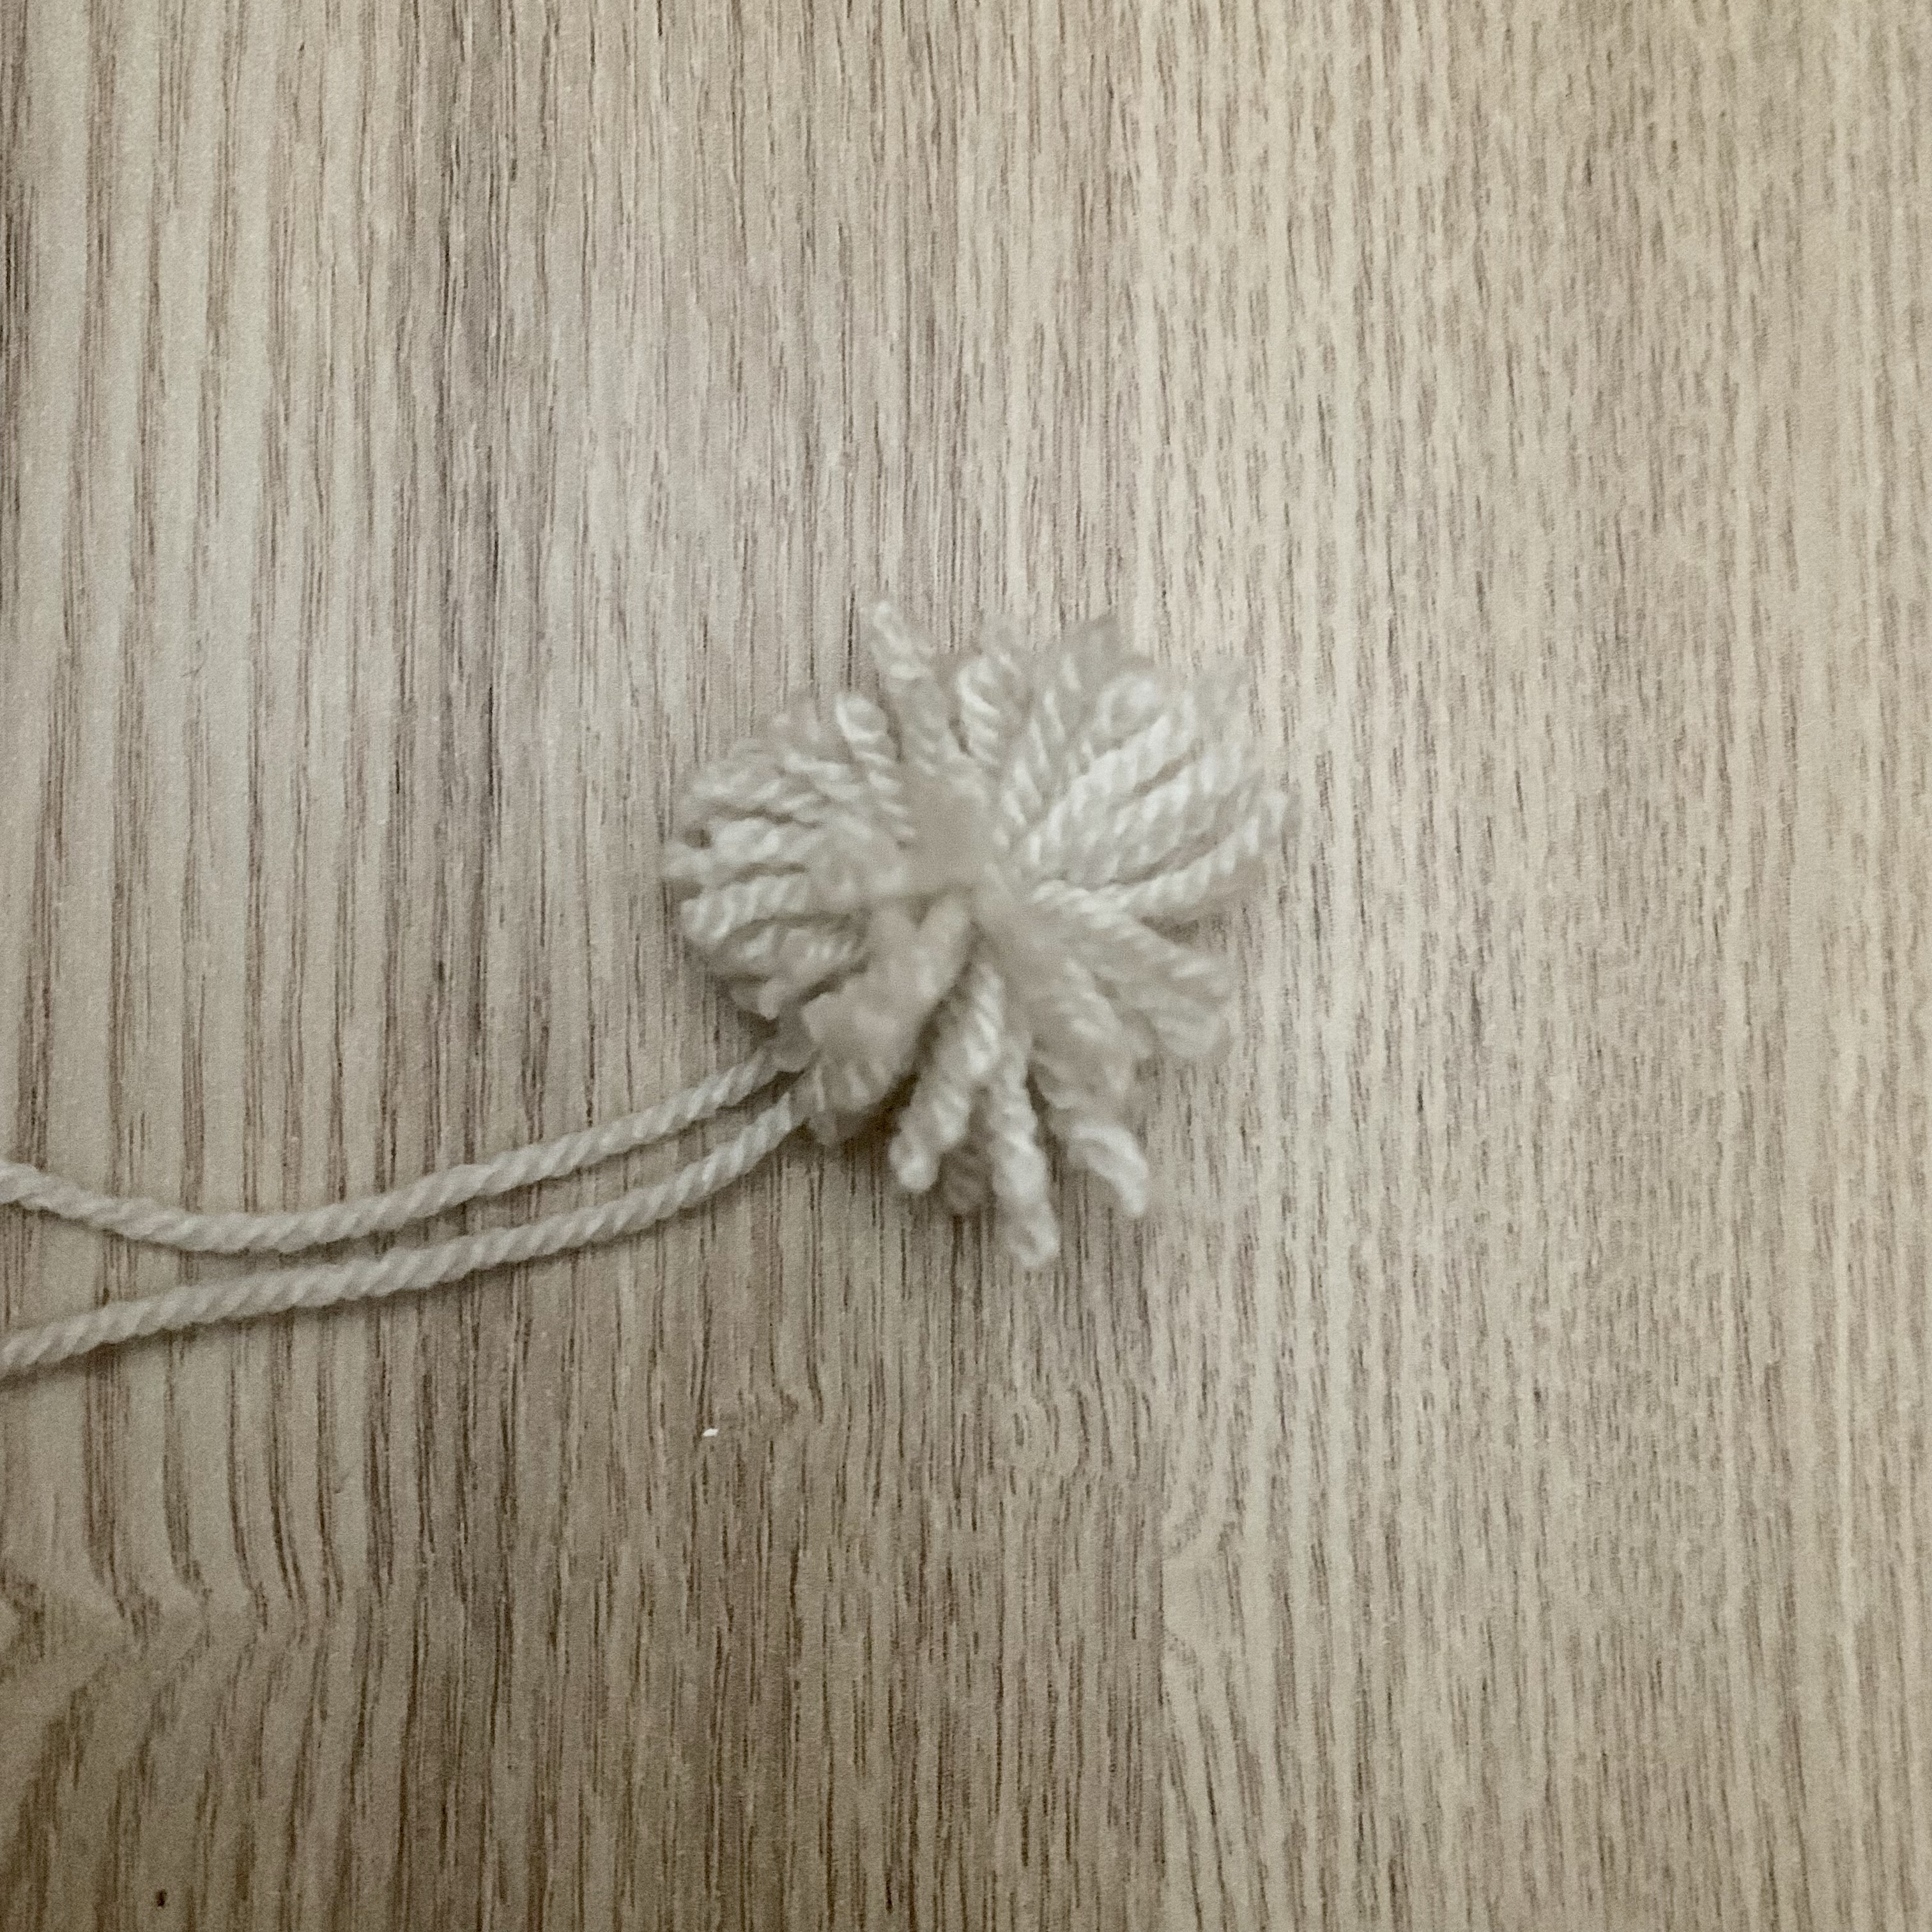
Pom Pom Tail
Using your chosen tail colour wrap the wool around two fingers 20 times (or a strip of card 4cm wide), carefully remove and tie a 10cm long piece of wool around the middle to secure, then cut then loops.

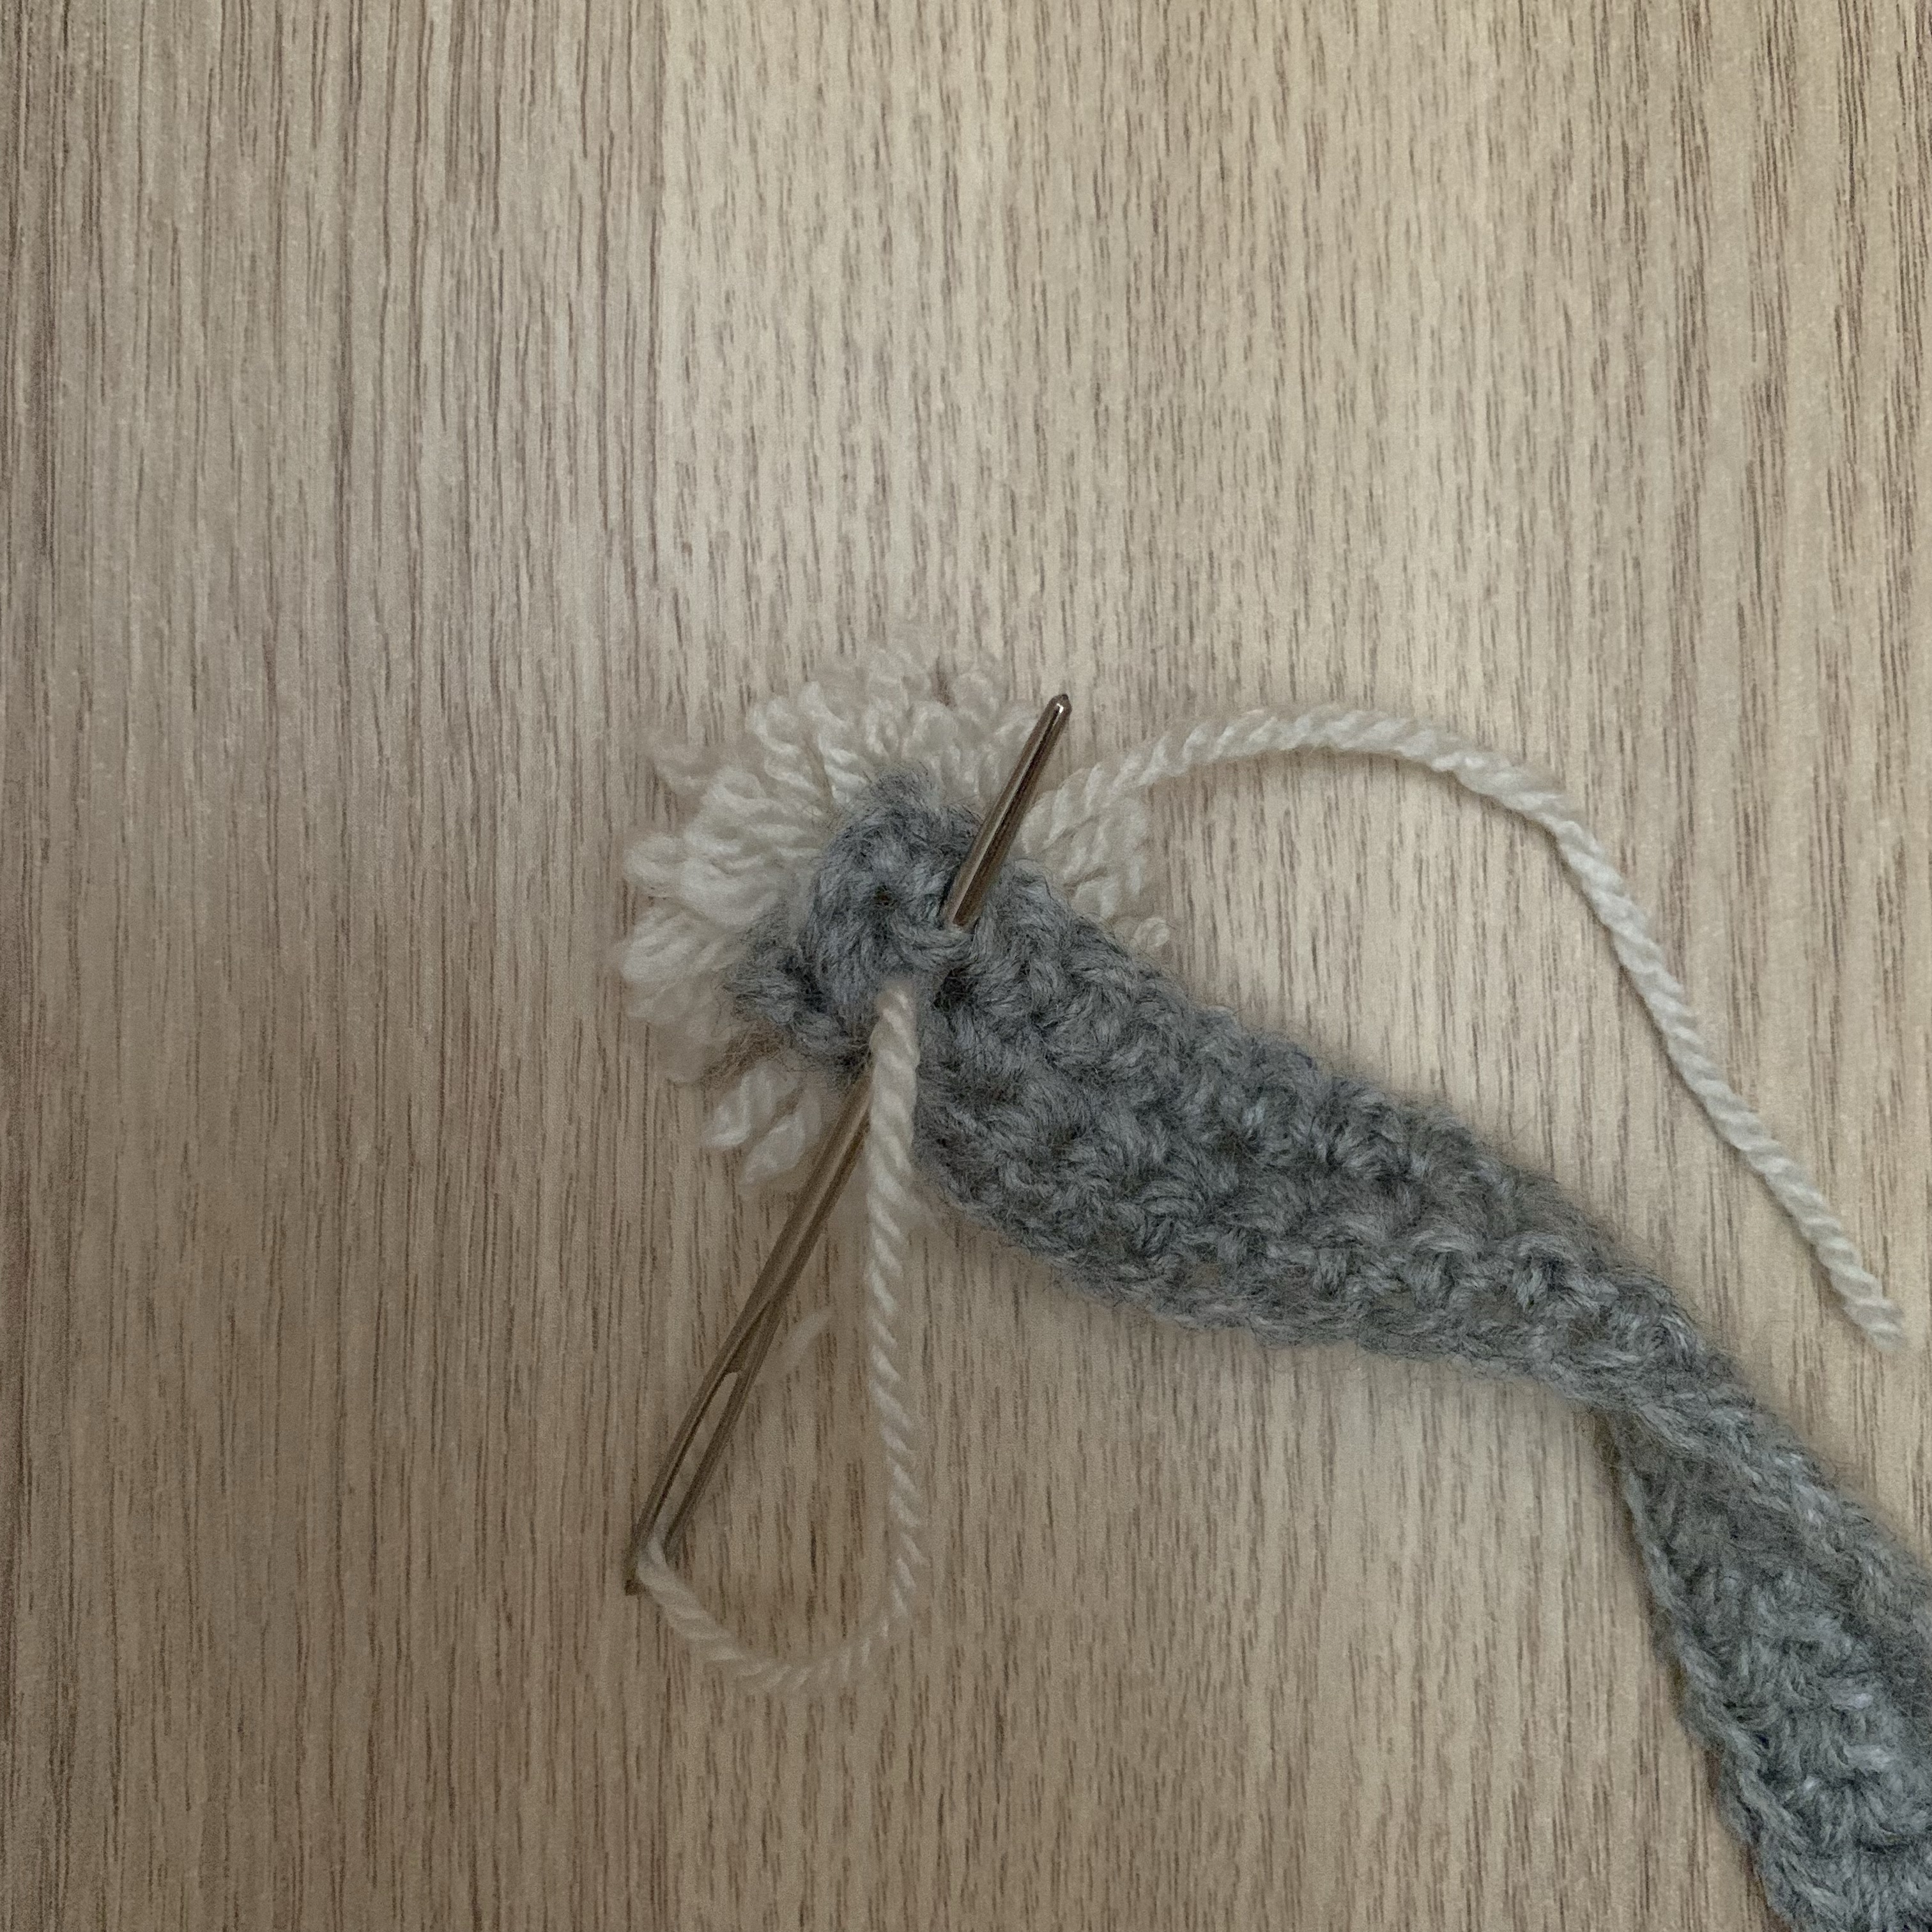
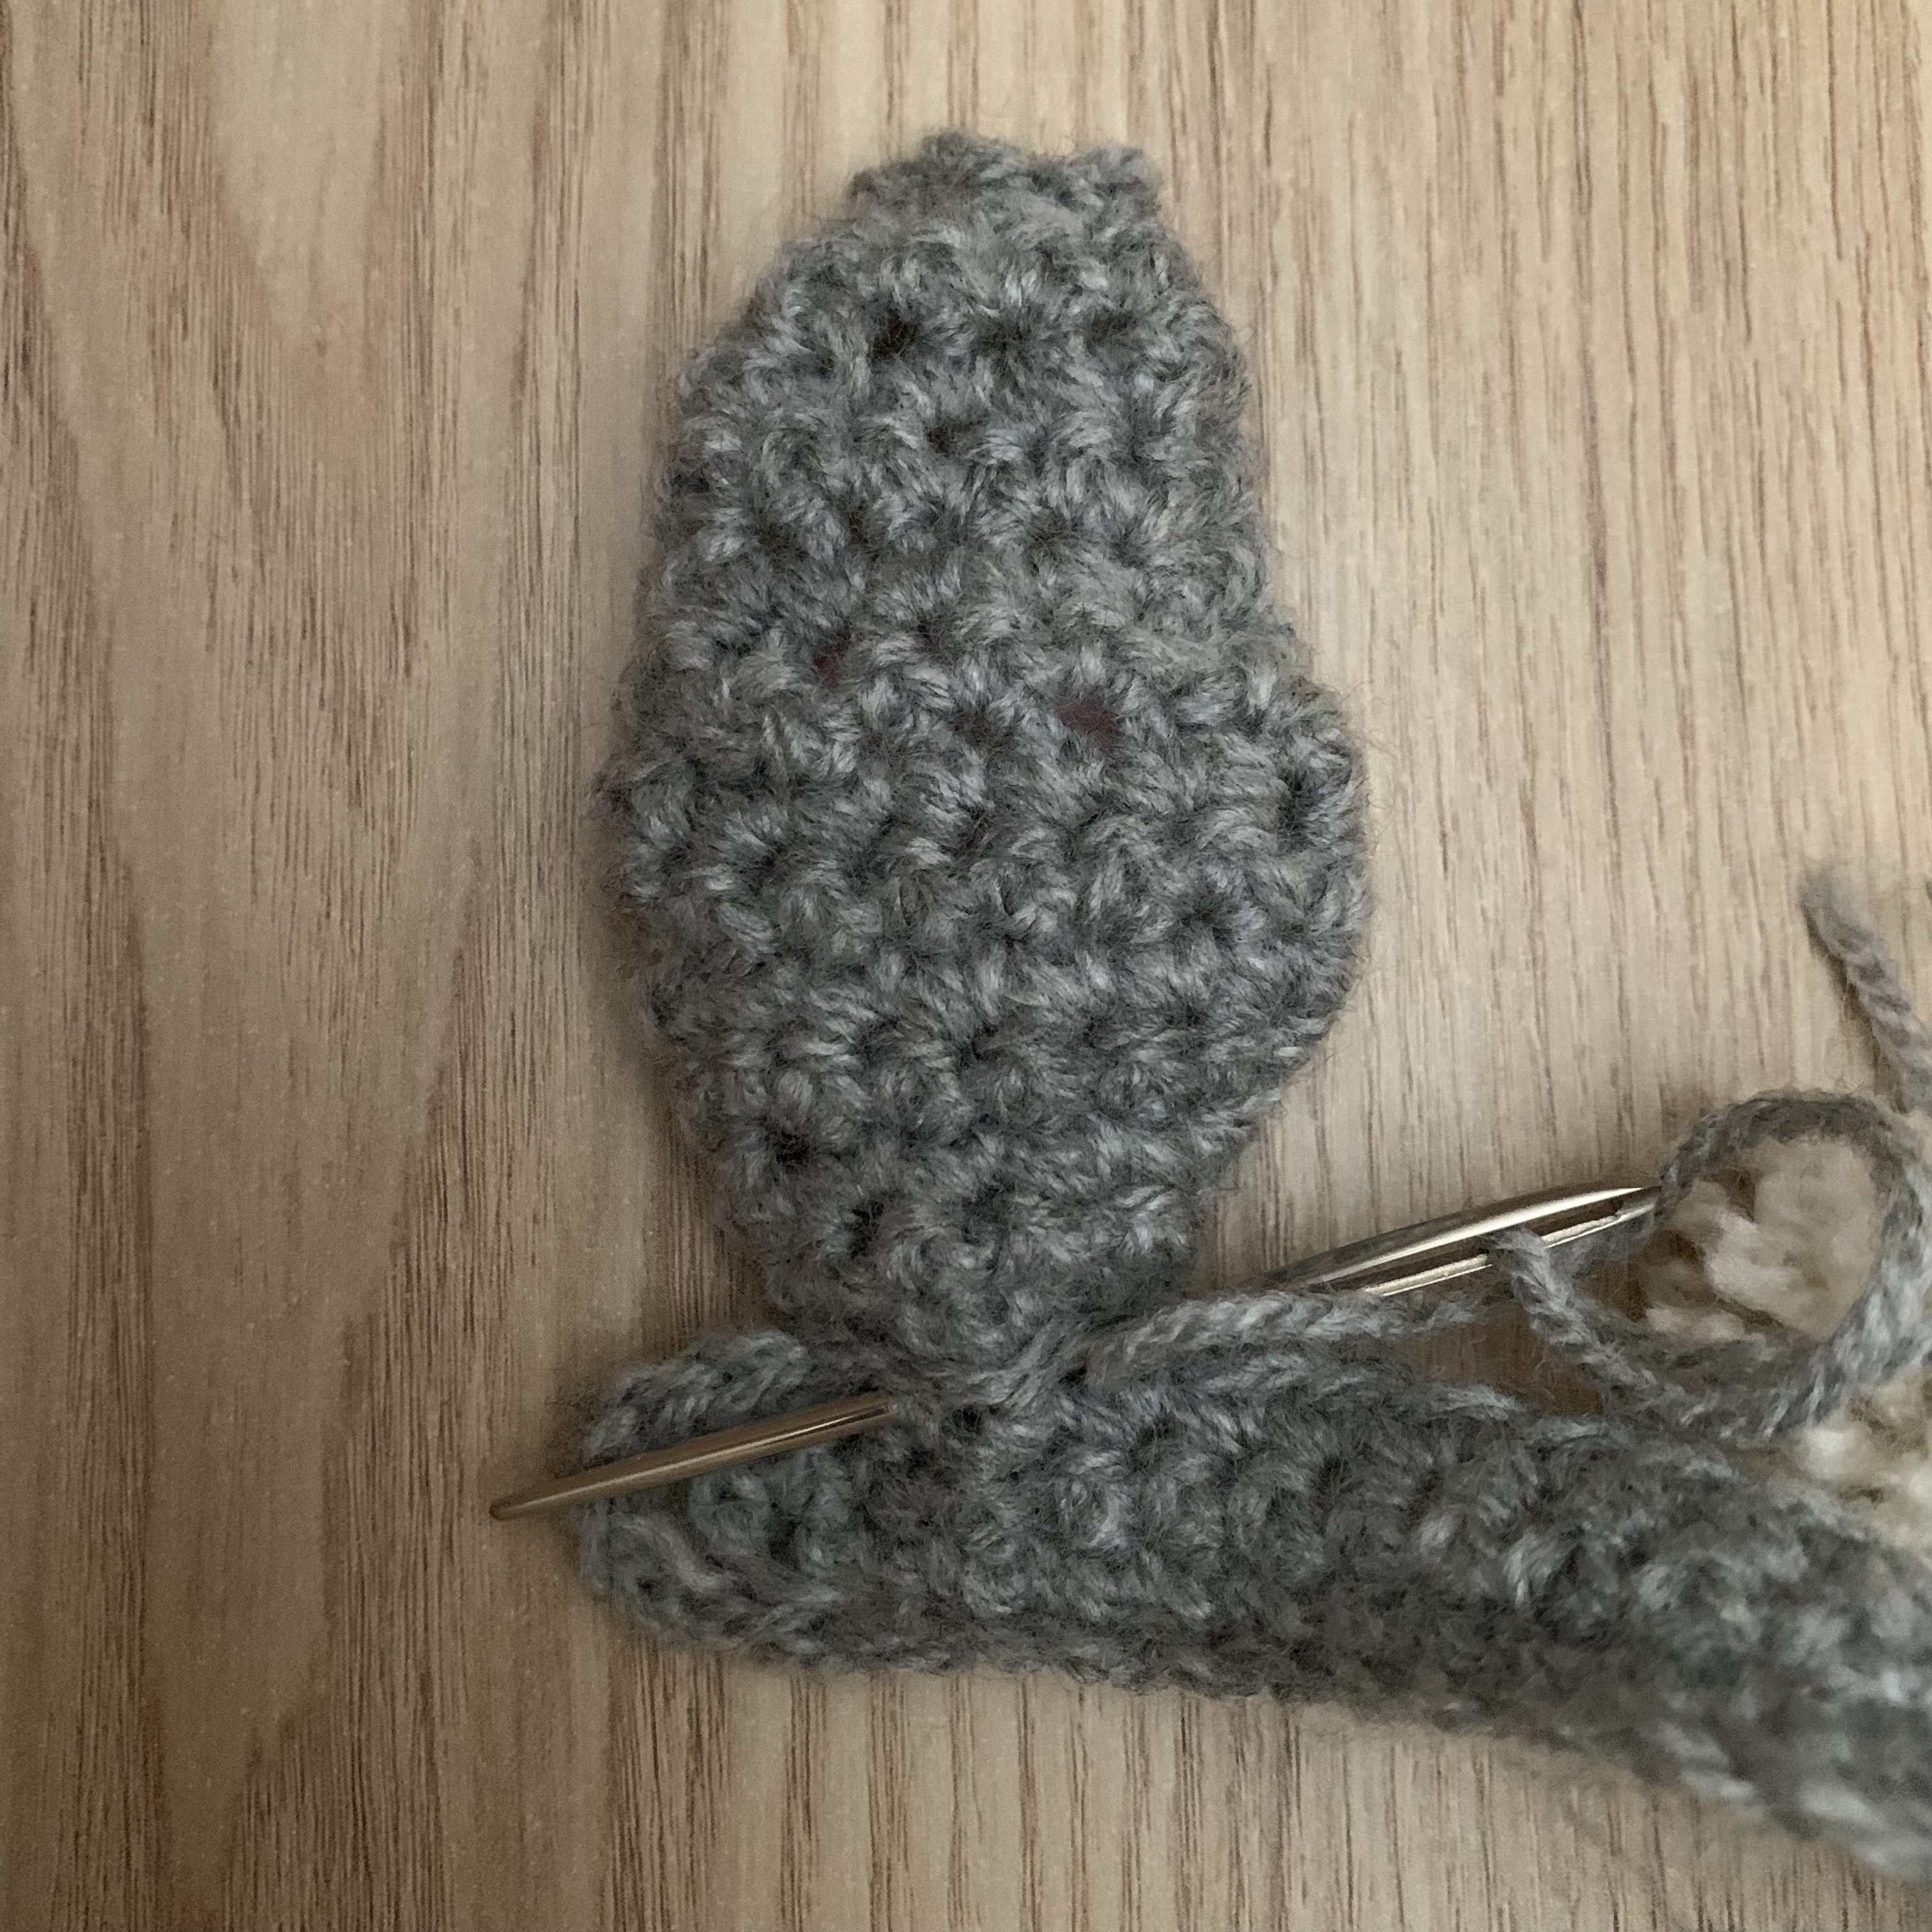
Assembly
- Sew the inner ear onto the outer ear.

- Fold in the bottom left and right sides of the ear so they meet in the middle and sew to secure.

- Sew the tail onto the right side end of the band (end without the ch6 loop).
- Sew the ears onto the napkin band, with the inner ear facing inwards – one on top edge of each end.


- To create the napkin ring place the ch6 loop over the tail.

Leave a comment