These decorations are a perfect quick Christmas sewing make – they also make great gifts.
Its that time of year where it all gets a little manic as I realise theres not long left for me to finish off all my Christmas present makes, no mater how early I start I always seem to end up at this stage with me looking at the calendar wondering if I will actually manage to get them all finished. Luckily I have always managed to finish just in time – although I have been known to be frantically finishing off an item on Christmas Eve ready for the next day!
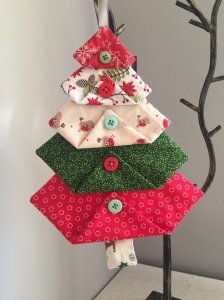
I have got most of the Elf gift bags finished, and have now decided to focus on some of my sewing Christmas makes. First up is a fabric Christmas tree, these are perfect presents – especially if you are needing to post them as they are nice and flat.
I made these using fat quarters from the Christmas Birdhouse and Essential trends (red version) fat quarter sets by The Craft Cotton Company.
Fabric was gifted by The Craft Cotton Company.
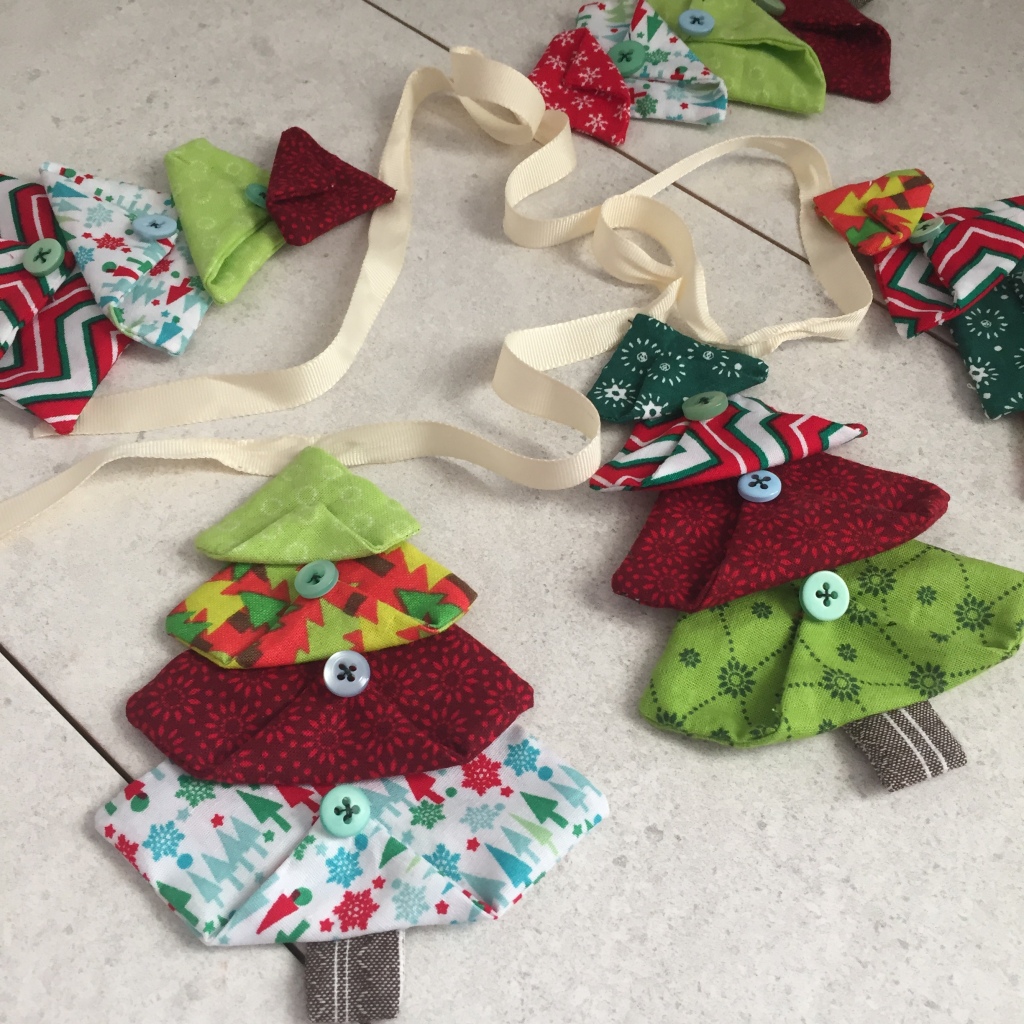
There is also another tutorial available for a smaller version of these trees – fabric Christmas trees take 2! As well as one for fabric tree bunting if you want to add some cross stitch details to a folded tree check out my folded fabric trees with cross stitch details along with an alternative folded fabric trees with cross stitch design pattern, and there is also a crochet folded christmas tree version and a crochet folded granny square Christmas tree version too!


Other Christmas Makes:
- Other Christmas sewing patterns and tutorials can be found here.
- Other Christmas crochet patterns can be found here.
Christmas Tree Decoration Tutorial
- If you would like to make a larger tree you can always add more squares and increase the size by 2cm each time. You could also use bigger squares and start with a 9x9cm square and increase in size from there.
Materials
To make one tree you will need:
- 2 pieces of fabric for the 5 squares:
- 5×5 cm, 7×7 cm, 9×9 cm, 11×11 cm, 13×13 cm.
- 2 pieces of fabric for the trunk:
- 4x5cm.
- 10 cm ribbon.
- 5 buttons.
Folded Christmas Tree Decoration Assembly
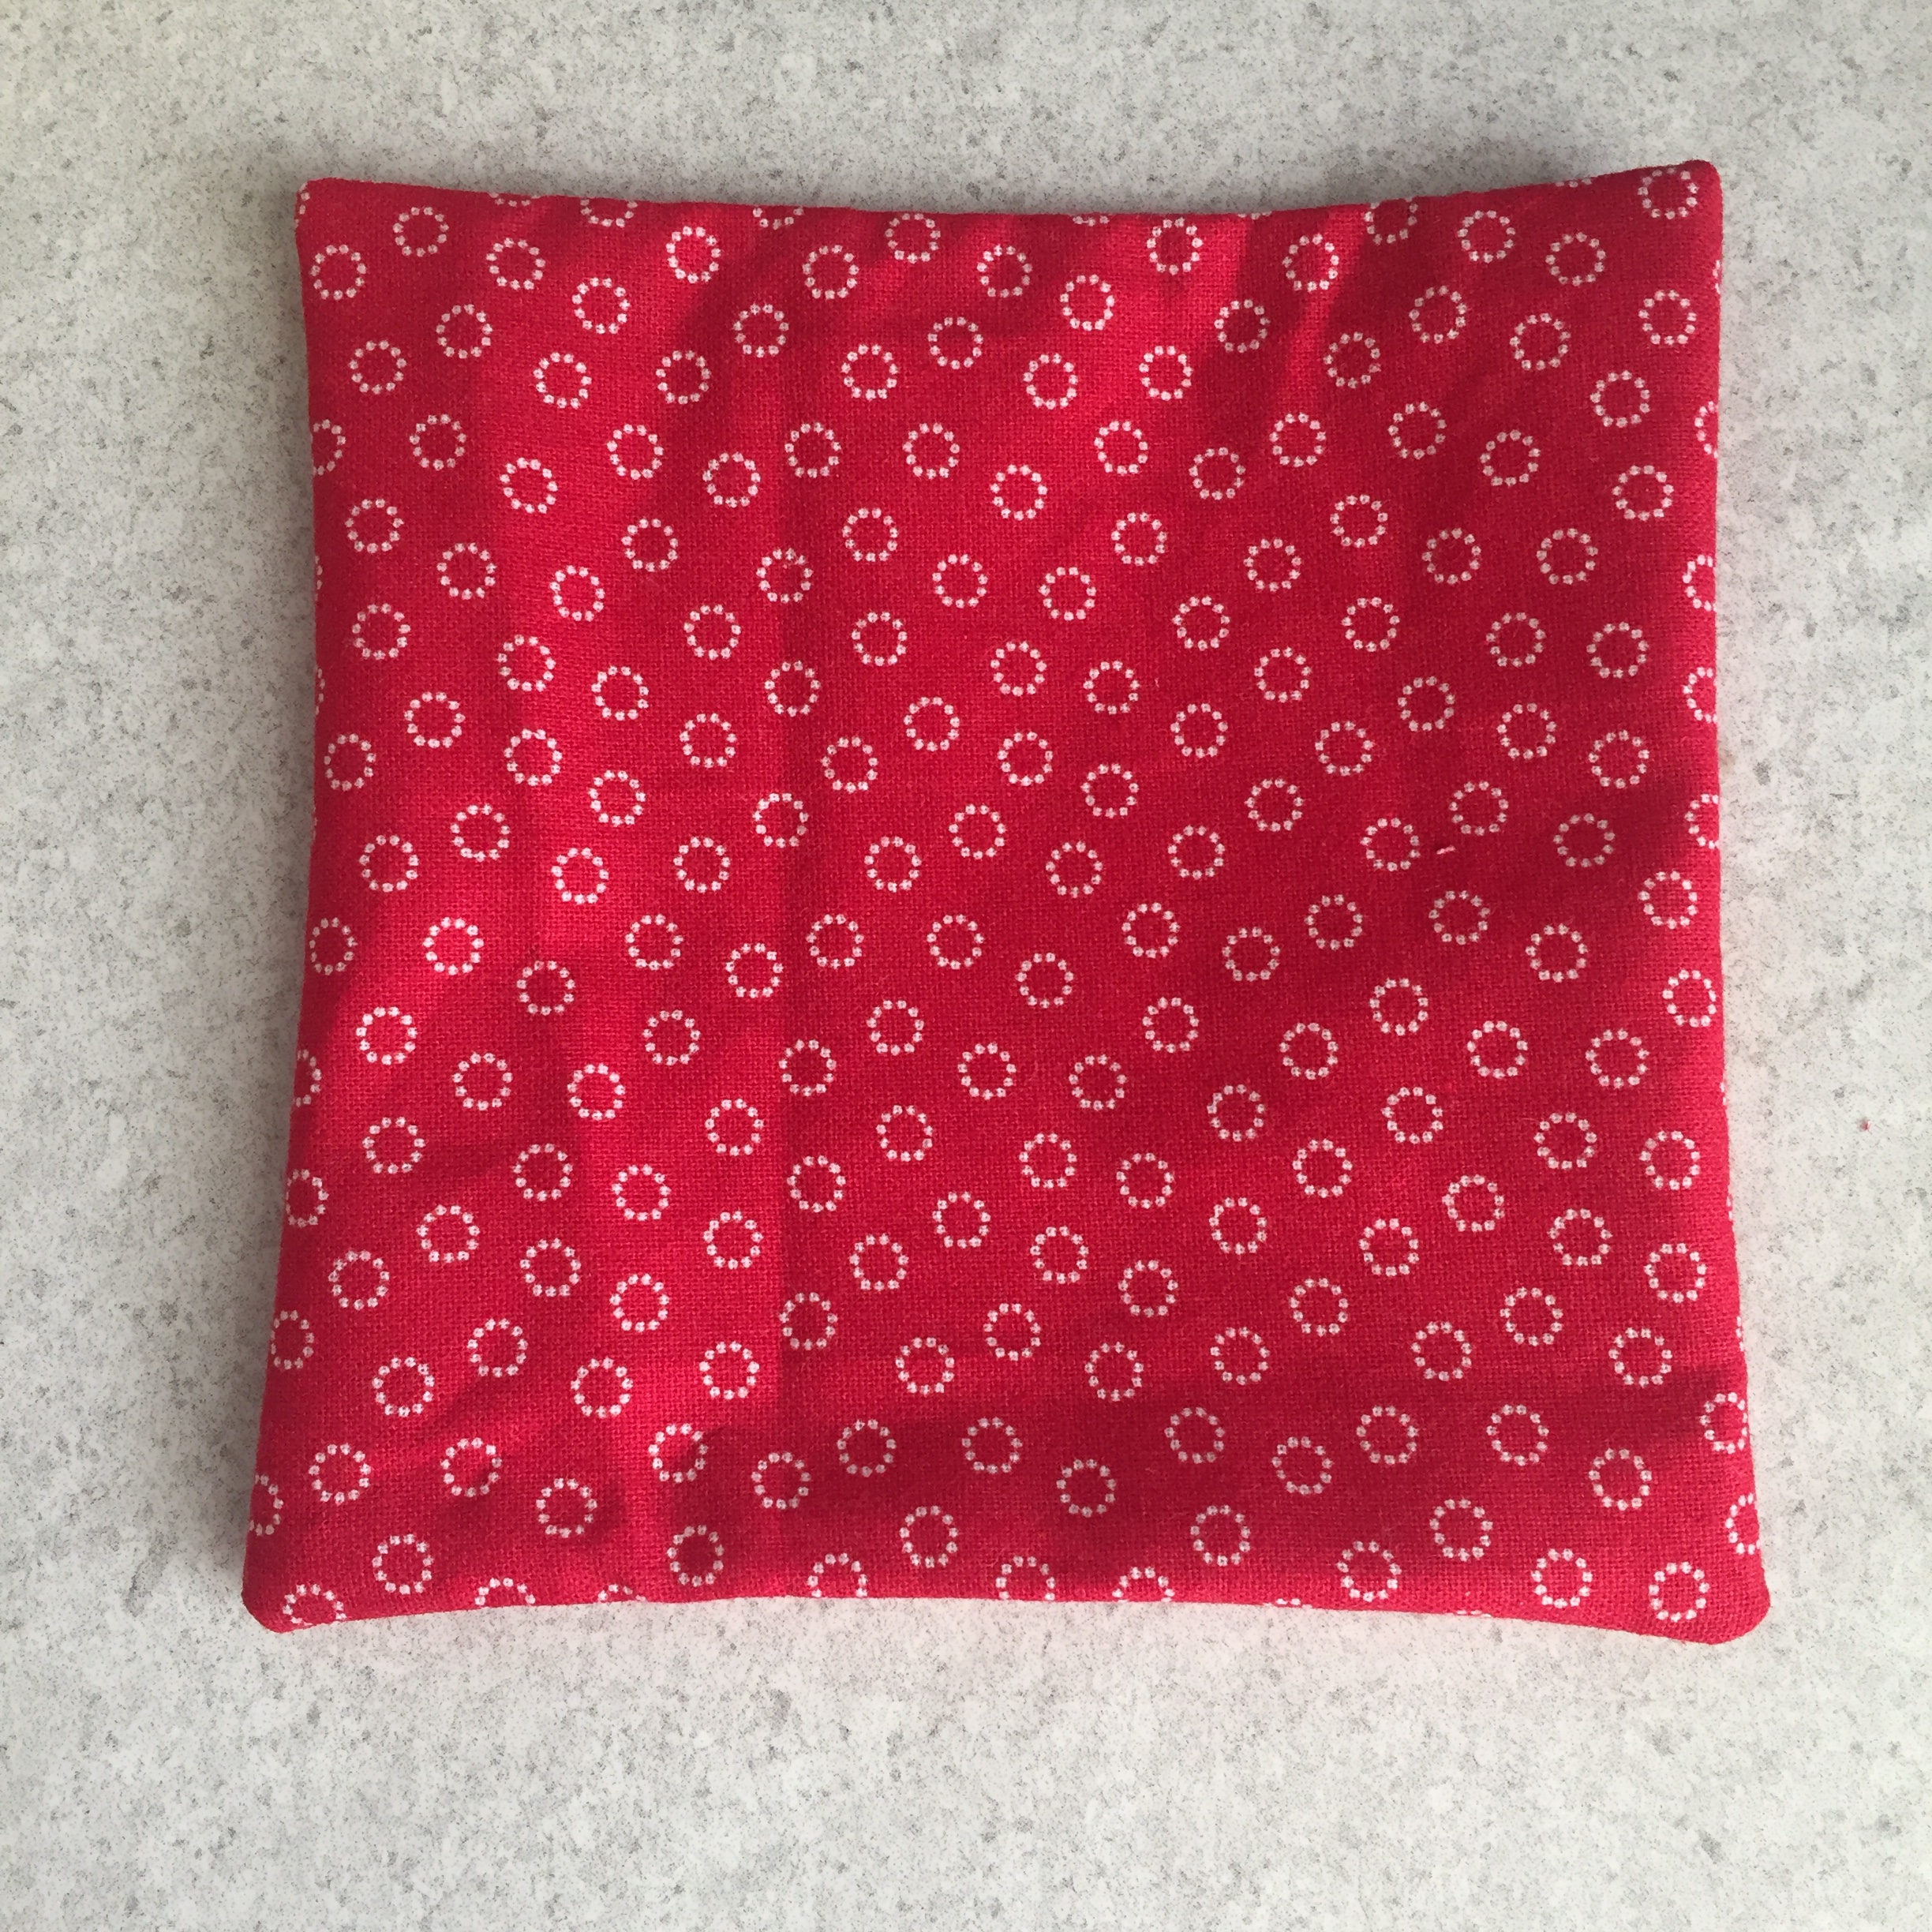
- Take two pieces of the same size and placing right sides together sew around leaving a gap for turning. Turn out the right way, press and slip stitch the gap closed. Repeat with the remaining pieces, ending up with 5 squares.

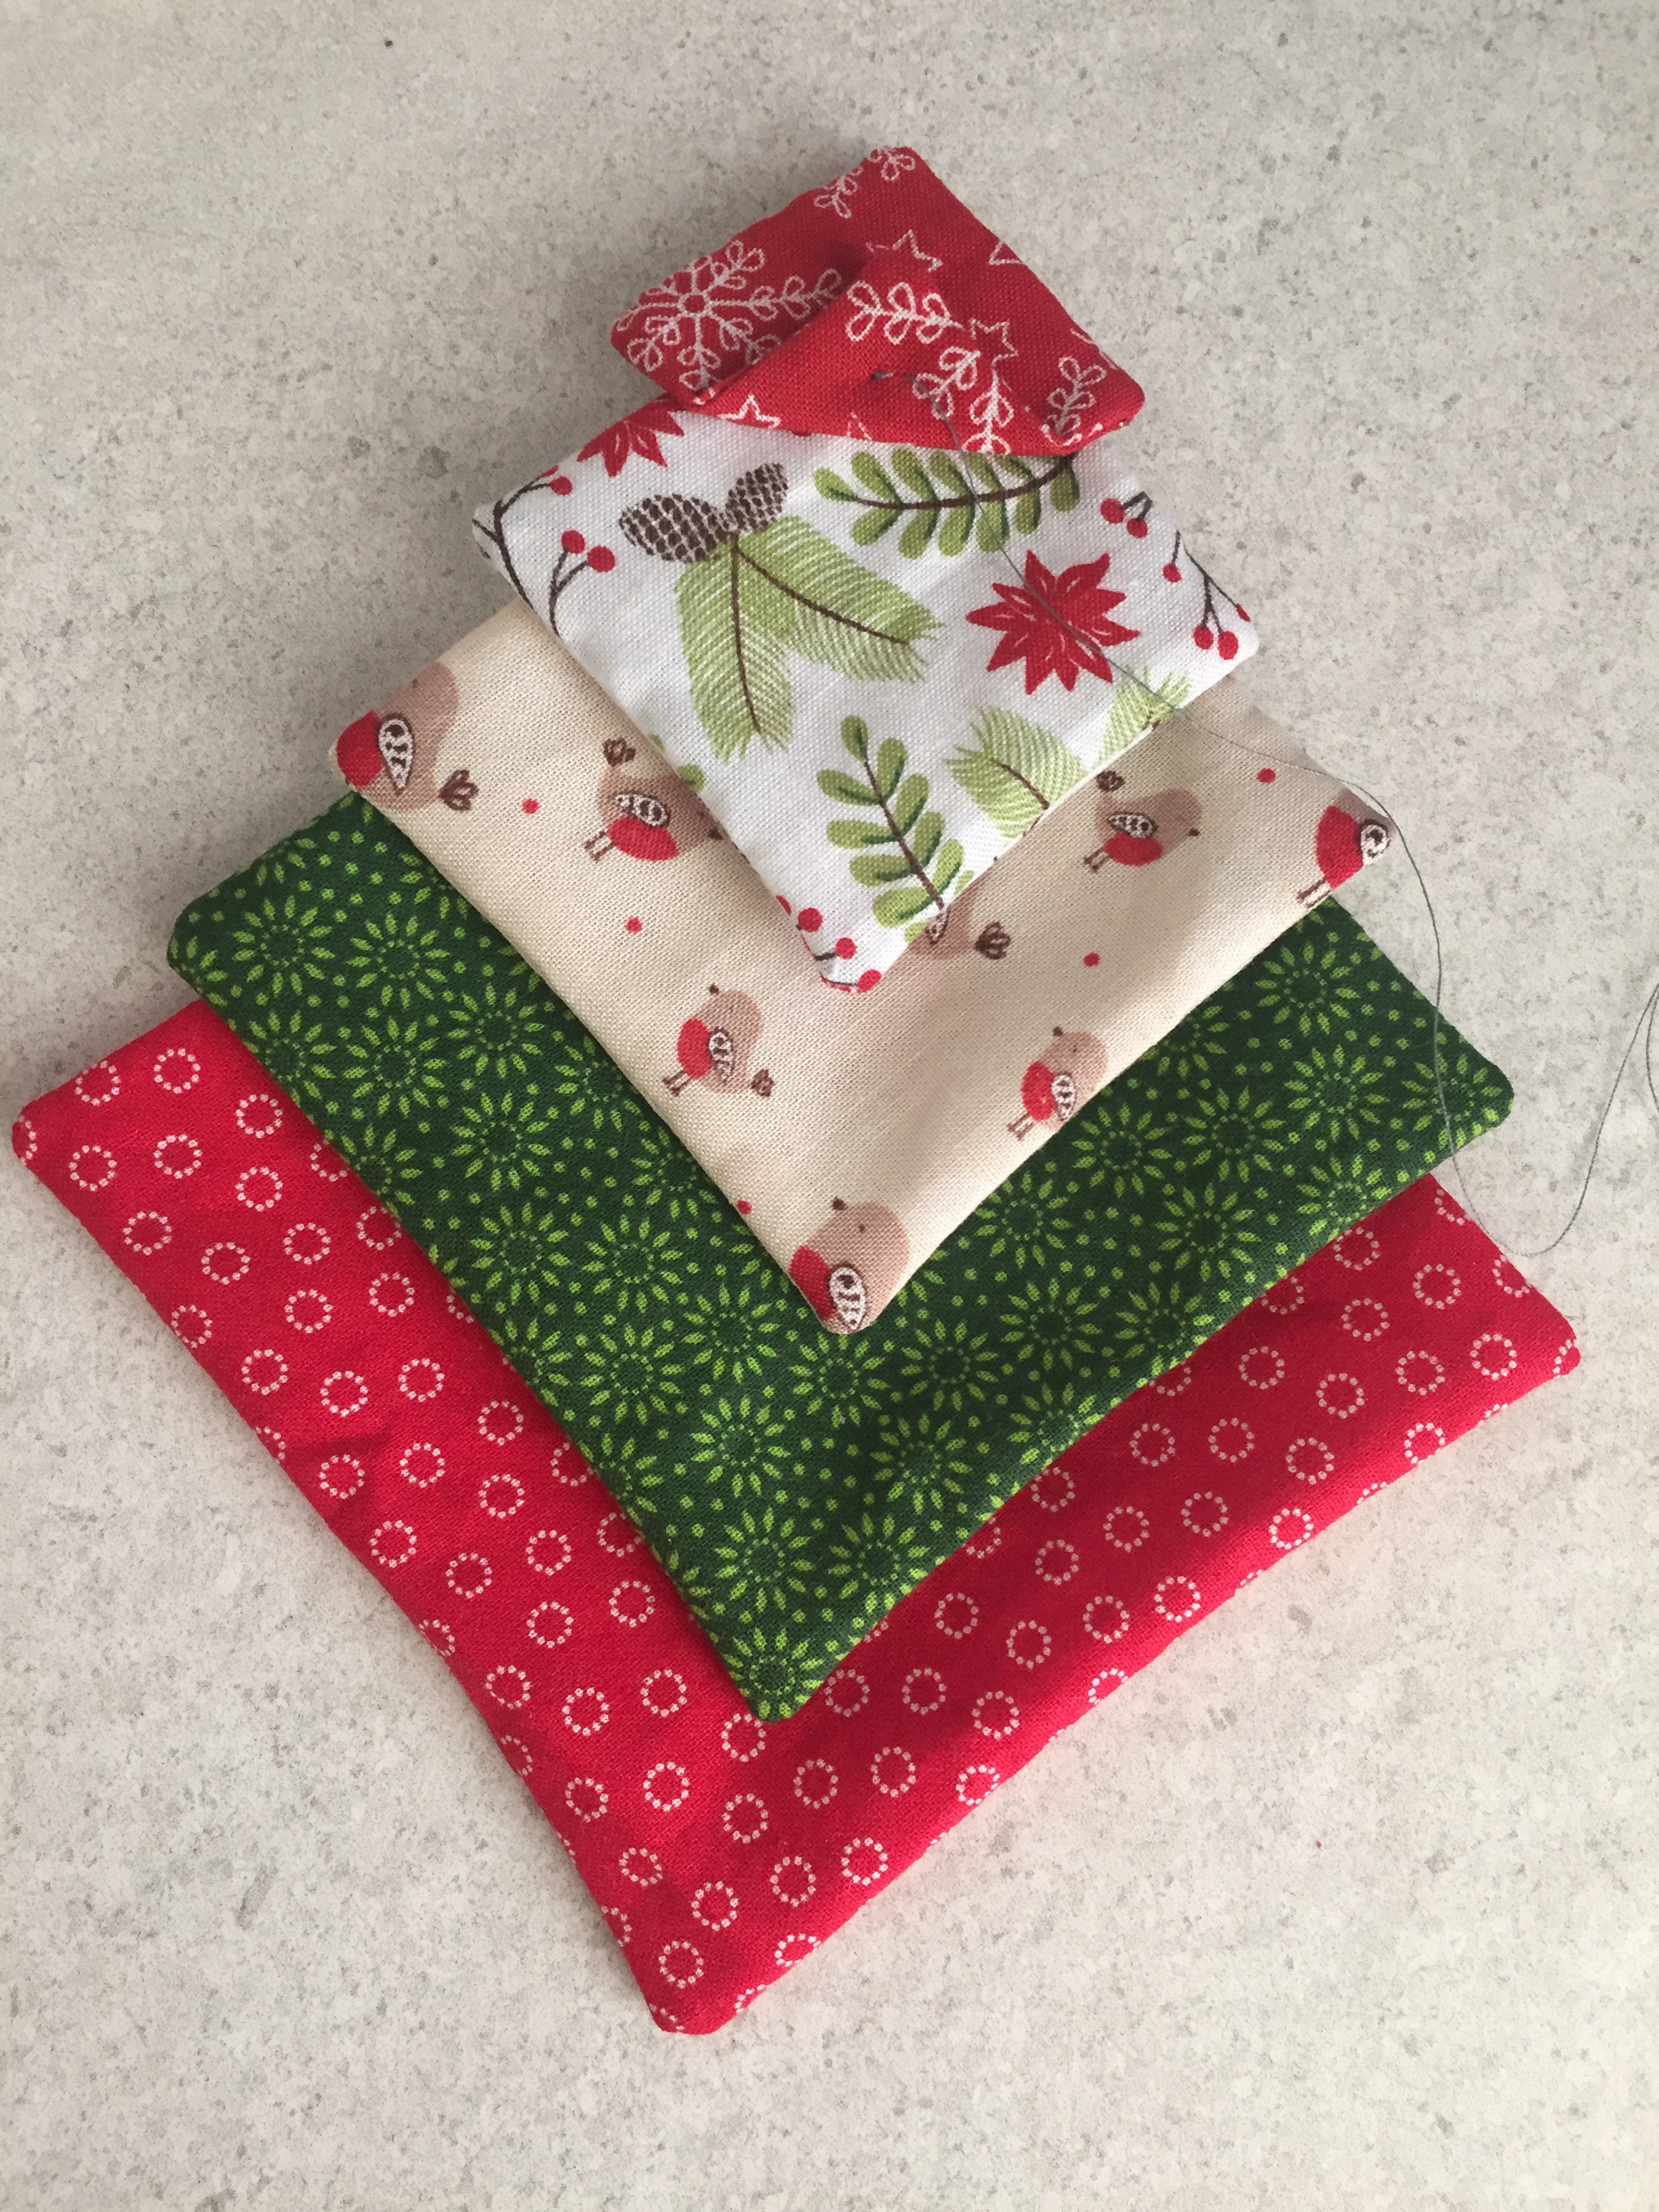
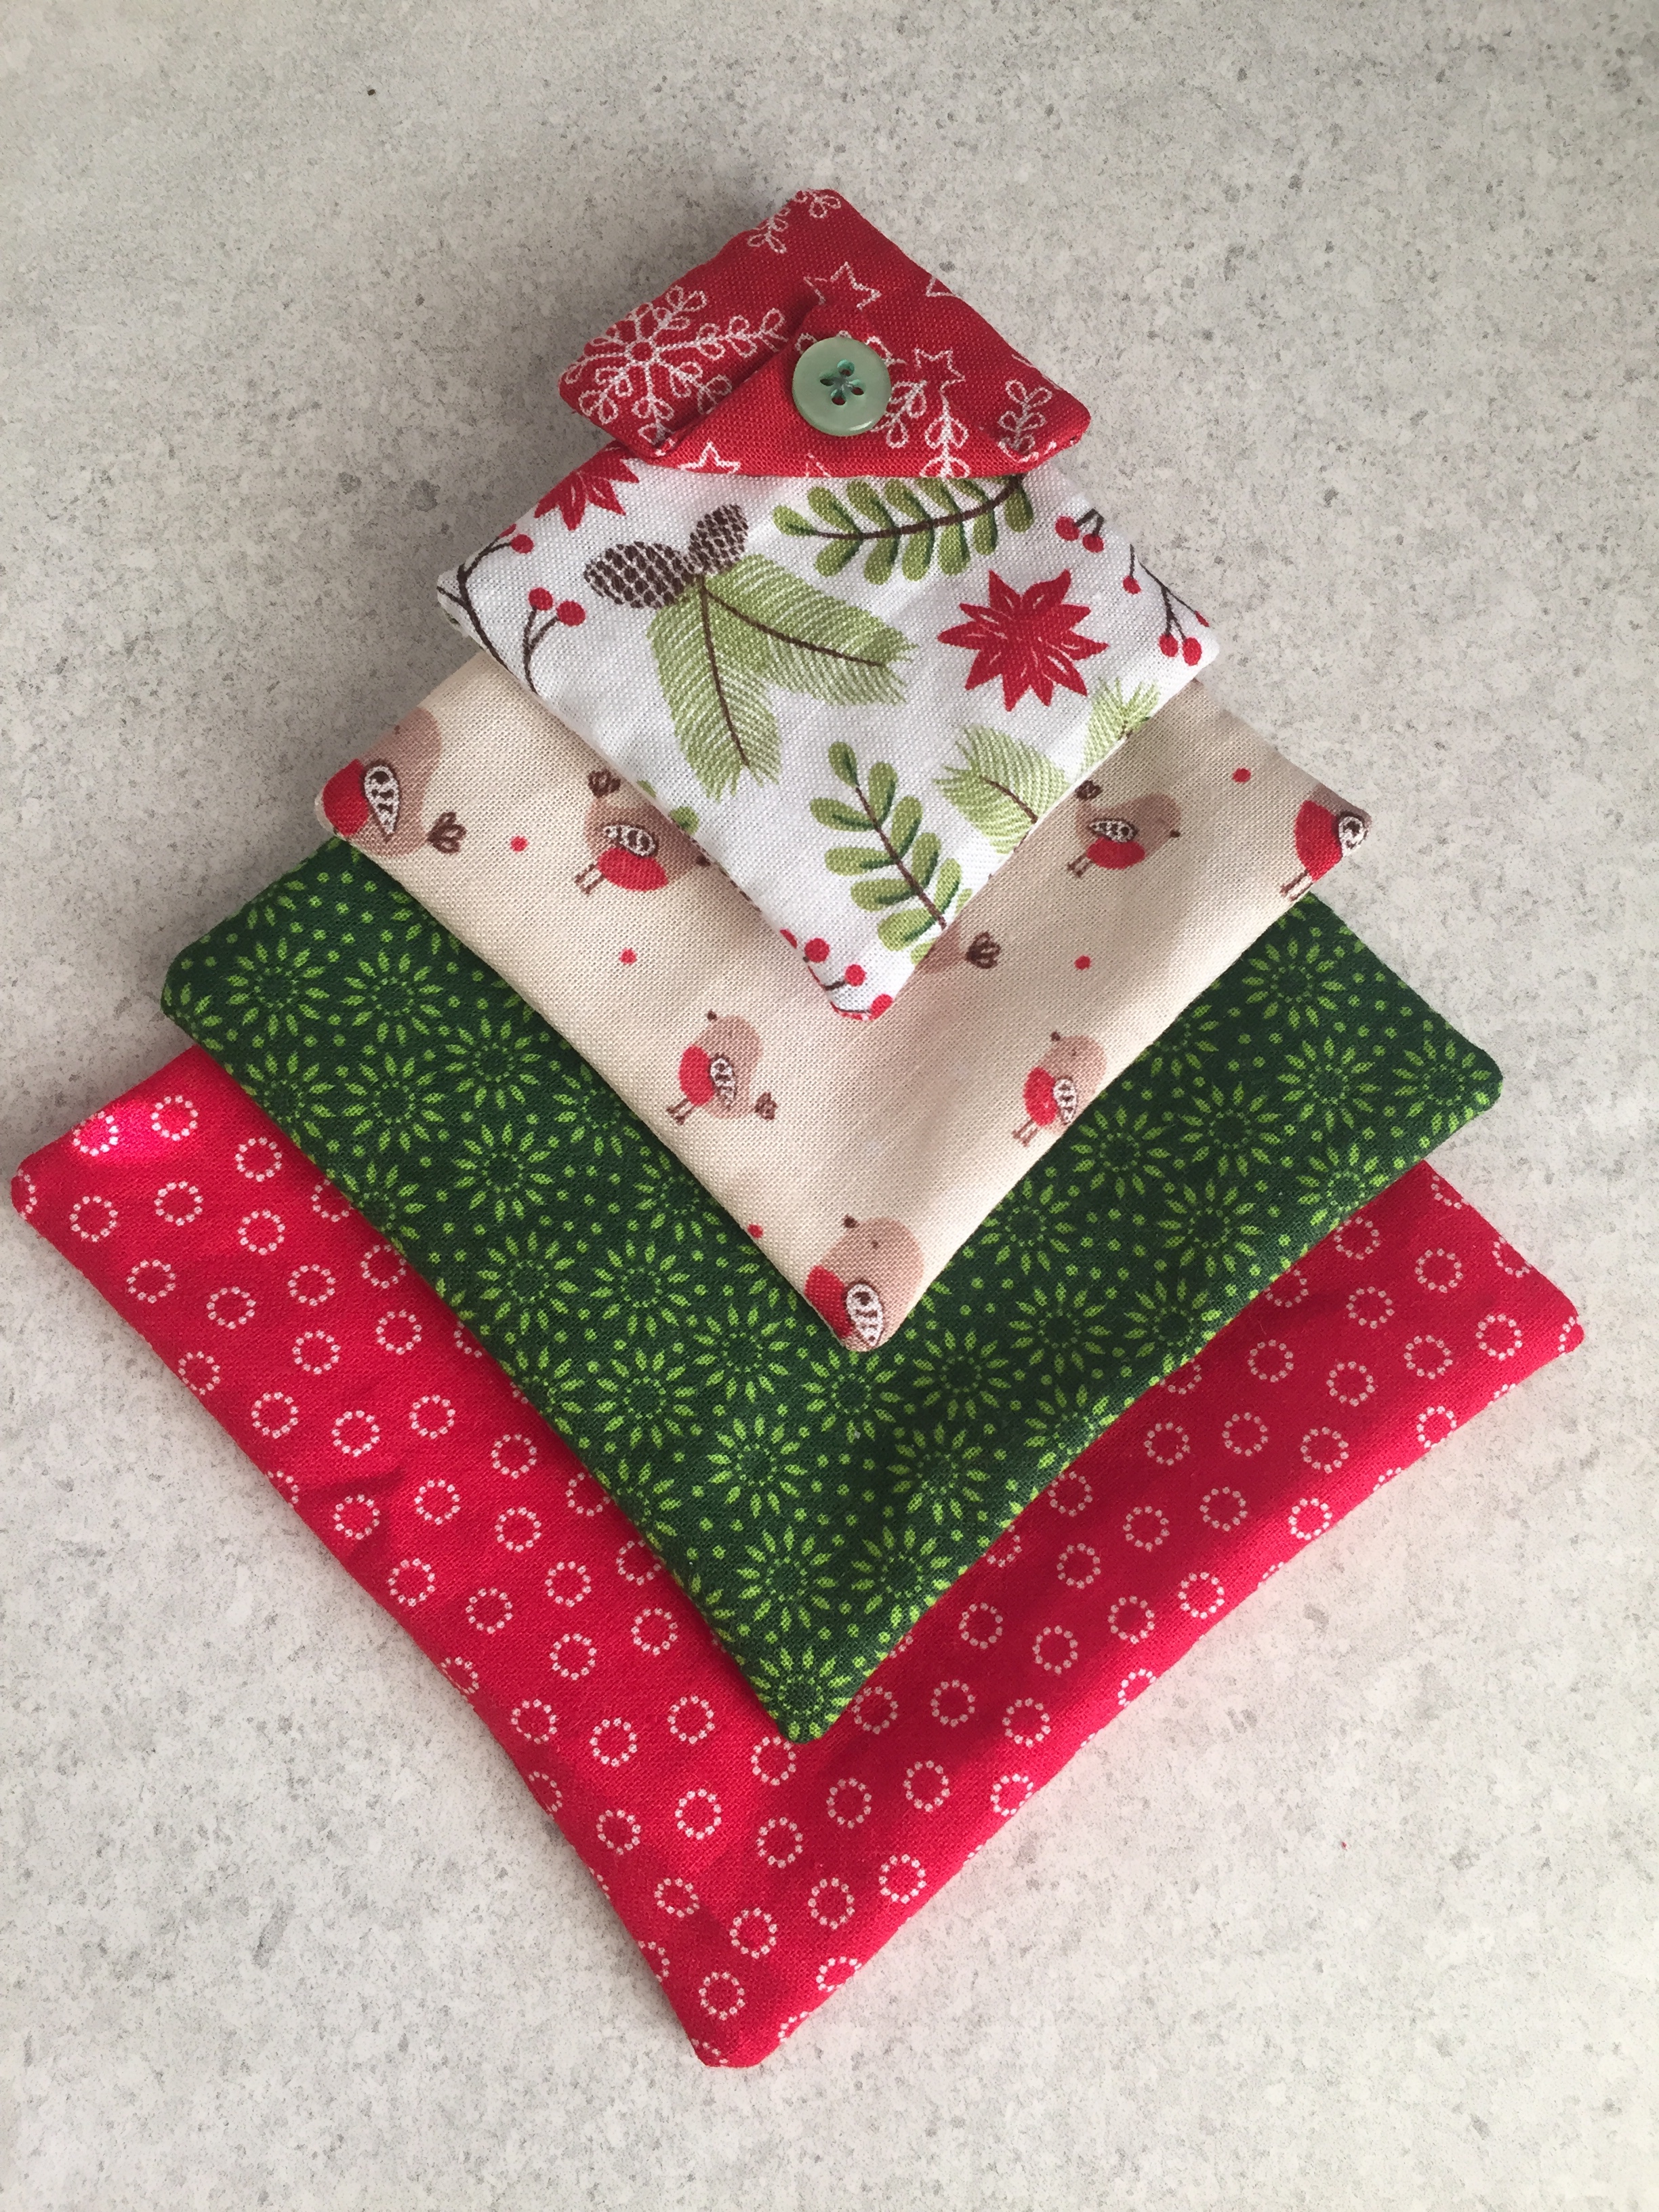
- Lay out the squares on top of each other in size order from largest to smallest.
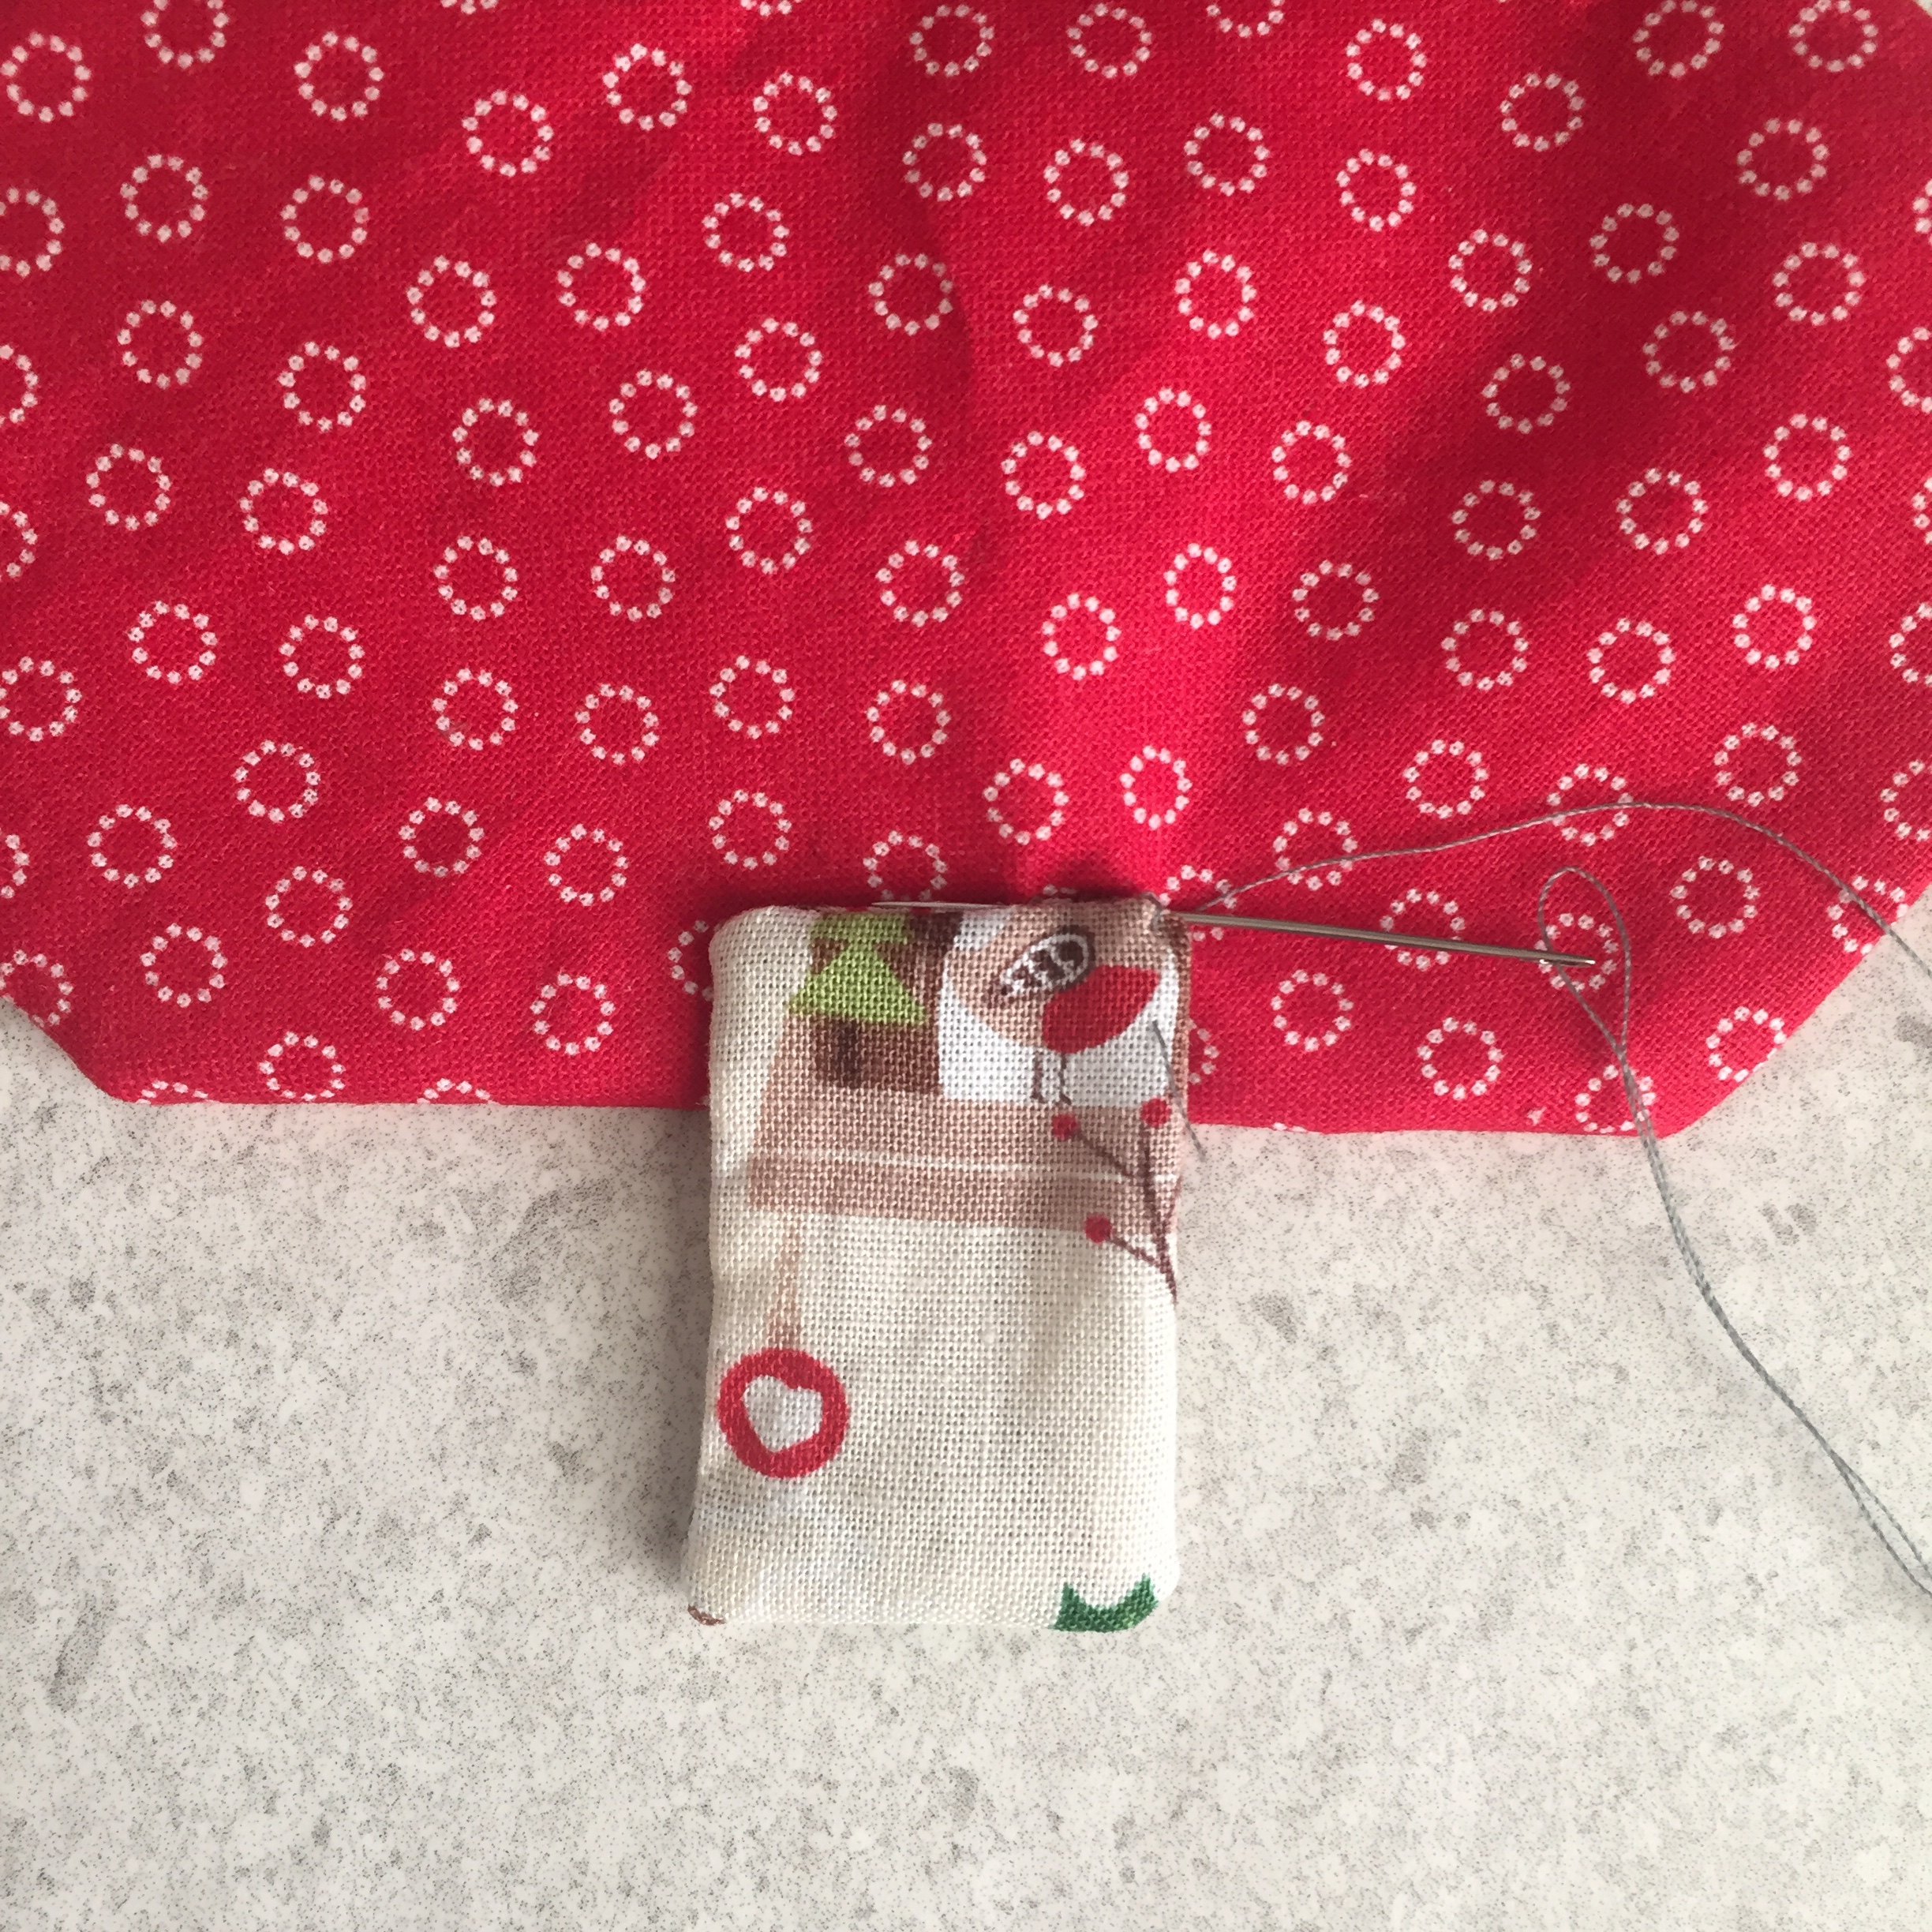
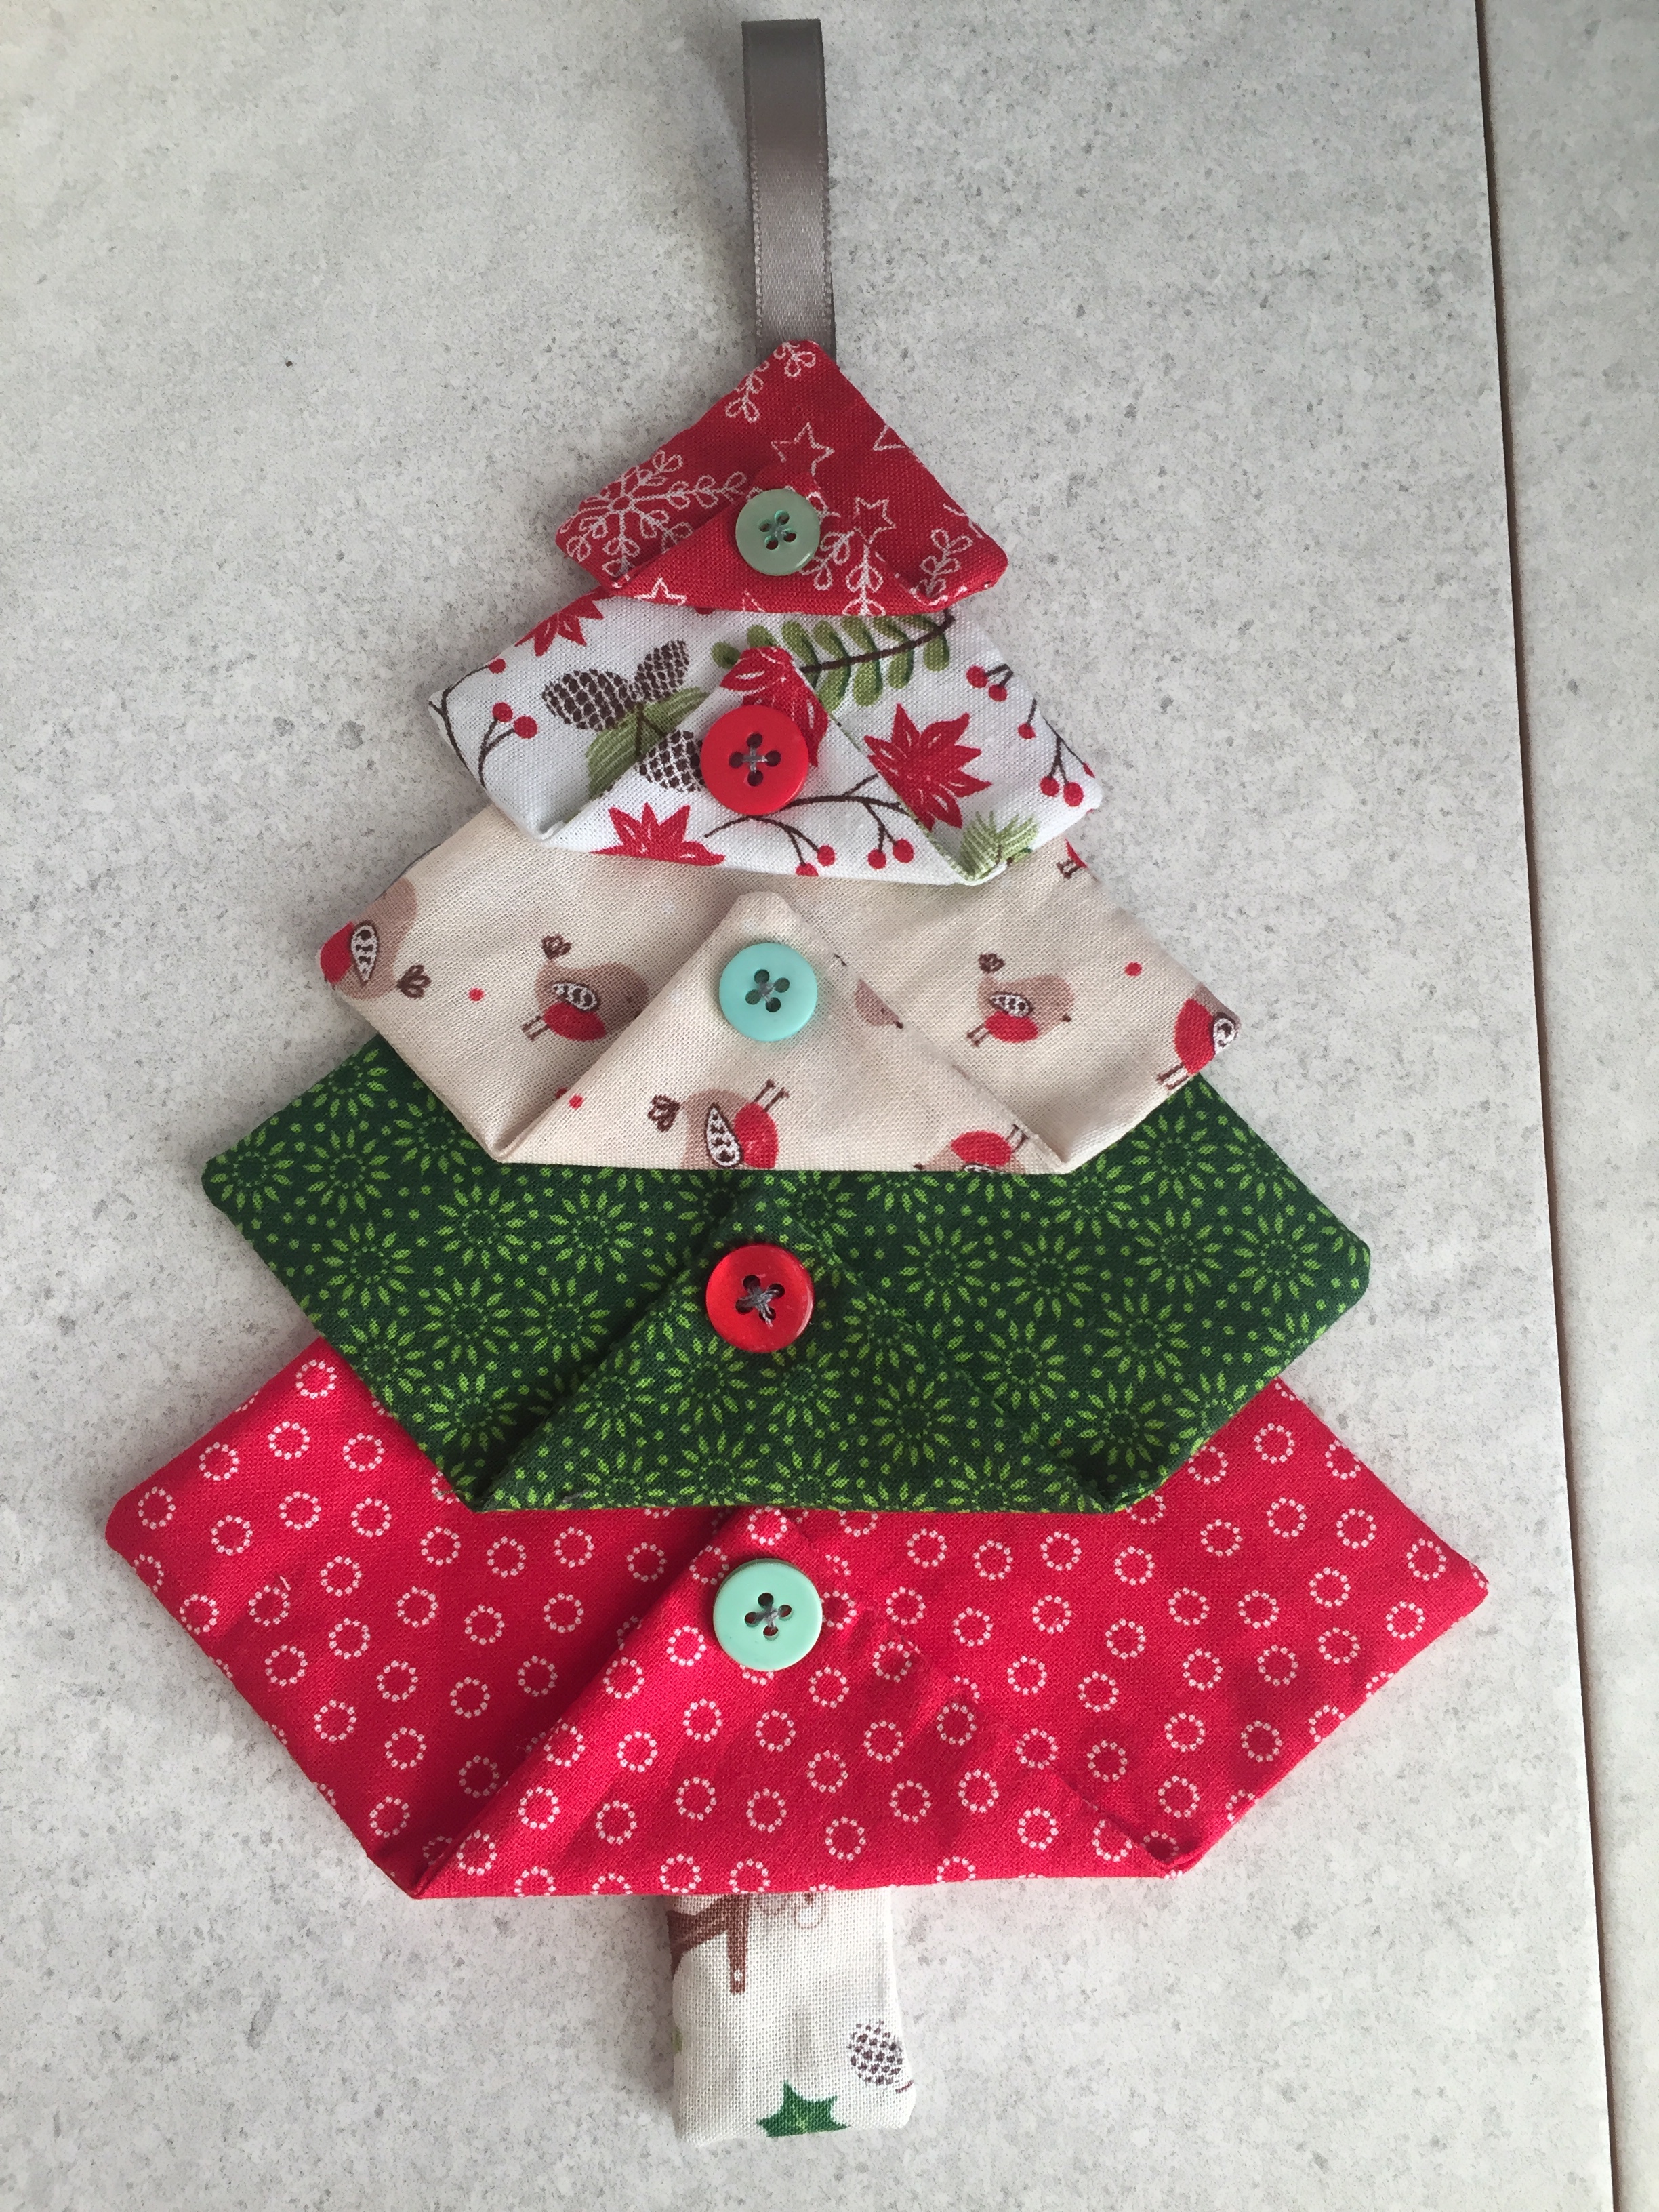
- Starting with the smallest square fold up the bottom point and sew to secure, next sew a button onto the folded part of the square. Repeat with the remaining squares.
- Take the two trunk fabric pieces, and placing right sides together sew down the side, along the bottom and up the other side leaving the top edge unsewn. Turn out the right way, press and slip stitch the gap closed.
- Sew the trunk onto the back of the largest square 1cm up from the bottom edge.
- Take the ribbon and fold in half, place on the back of the smallest square 1cm down from the top of the square and sew to secure.

Leave a comment