
Happily hopping out of the sewing pile are some rather cute Easter rabbits.
I wasn’t too sure whether I would have enough time to get all the Easter makes I wanted made in time this year, but despite my initial worries I am slowly starting to make some progress on my ‘to do’ list so hopefully I will get most of them completed in time – the rest will have to wait until next year!.
The next completed make out of the sewing pile (which is ridiculously big at the moment!) is some very cute Easter rabbits. I made some triangle chickens a few years ago and have been wanting to do a few variations on these ever since – scarily that was over 4 years ago – I really need to stop adding more projects to my to do list!,
These little rabbits are perfect for using up fabric leftovers – I love a project that can use fabric leftovers as it means they wont go to waste. The great thing with these rabbits is that even really small fabric leftovers can be used since you could make each part in a different colour or even use patchwork pieces for the parts for the really small fabric leftovers. I used fabric leftovers from The Craft Cotton Company fat quarters for these rabbits.
I cant wait to make a few more of these – and hopefully I will have time to make a few more variations – hopefully it wont be as long a wait for the next ones!
Fabric gifted by The Craft Cotton Company.
Theres an Easter chicken version of these rabbits too, which you can find a sewing tutorial for here.
Sewing Tutorial: Triangle Rabbits Bean Bags Pattern
Materials:
- Fabric – This project is great for using up fabric leftovers from other projects as all the pieces could even be in different colours.
- Pins.
- Needle.
- Thread.
- Pencil.
- Paper.
- Toy stuffing or Rice/Dried beans if wanting bean bags.
- Embroidery thread for face details.
- Scissors.
SEWING TUTORIAL: TRIANGLE RABBITS BEAN BAGS
- Make the templates for the rabbits. On to paper draw out:
- A triangle with 14cm sides.
- An outer ear shape 12cm high.
- An inner ear piece 8cm high.


- Cut out the templates and use them to cut out your fabrics, each rabbit needs 4 triangle pieces (3 body pieces and a base), 4 outer ear pieces and 2 inner ear pieces.
- Take an inner ear piece and place onto one of the outer ear pieces with both pieces with right sides facing upwards. Sew around the edge of the inner ear to secure.
- Take another outer ear piece and place right side down on top and sew around leaving a 4cm gap for turning on the side of the ear. Turn out the right way and sew the gap closed. Repeat with the remaining ear pieces to make the second ear.

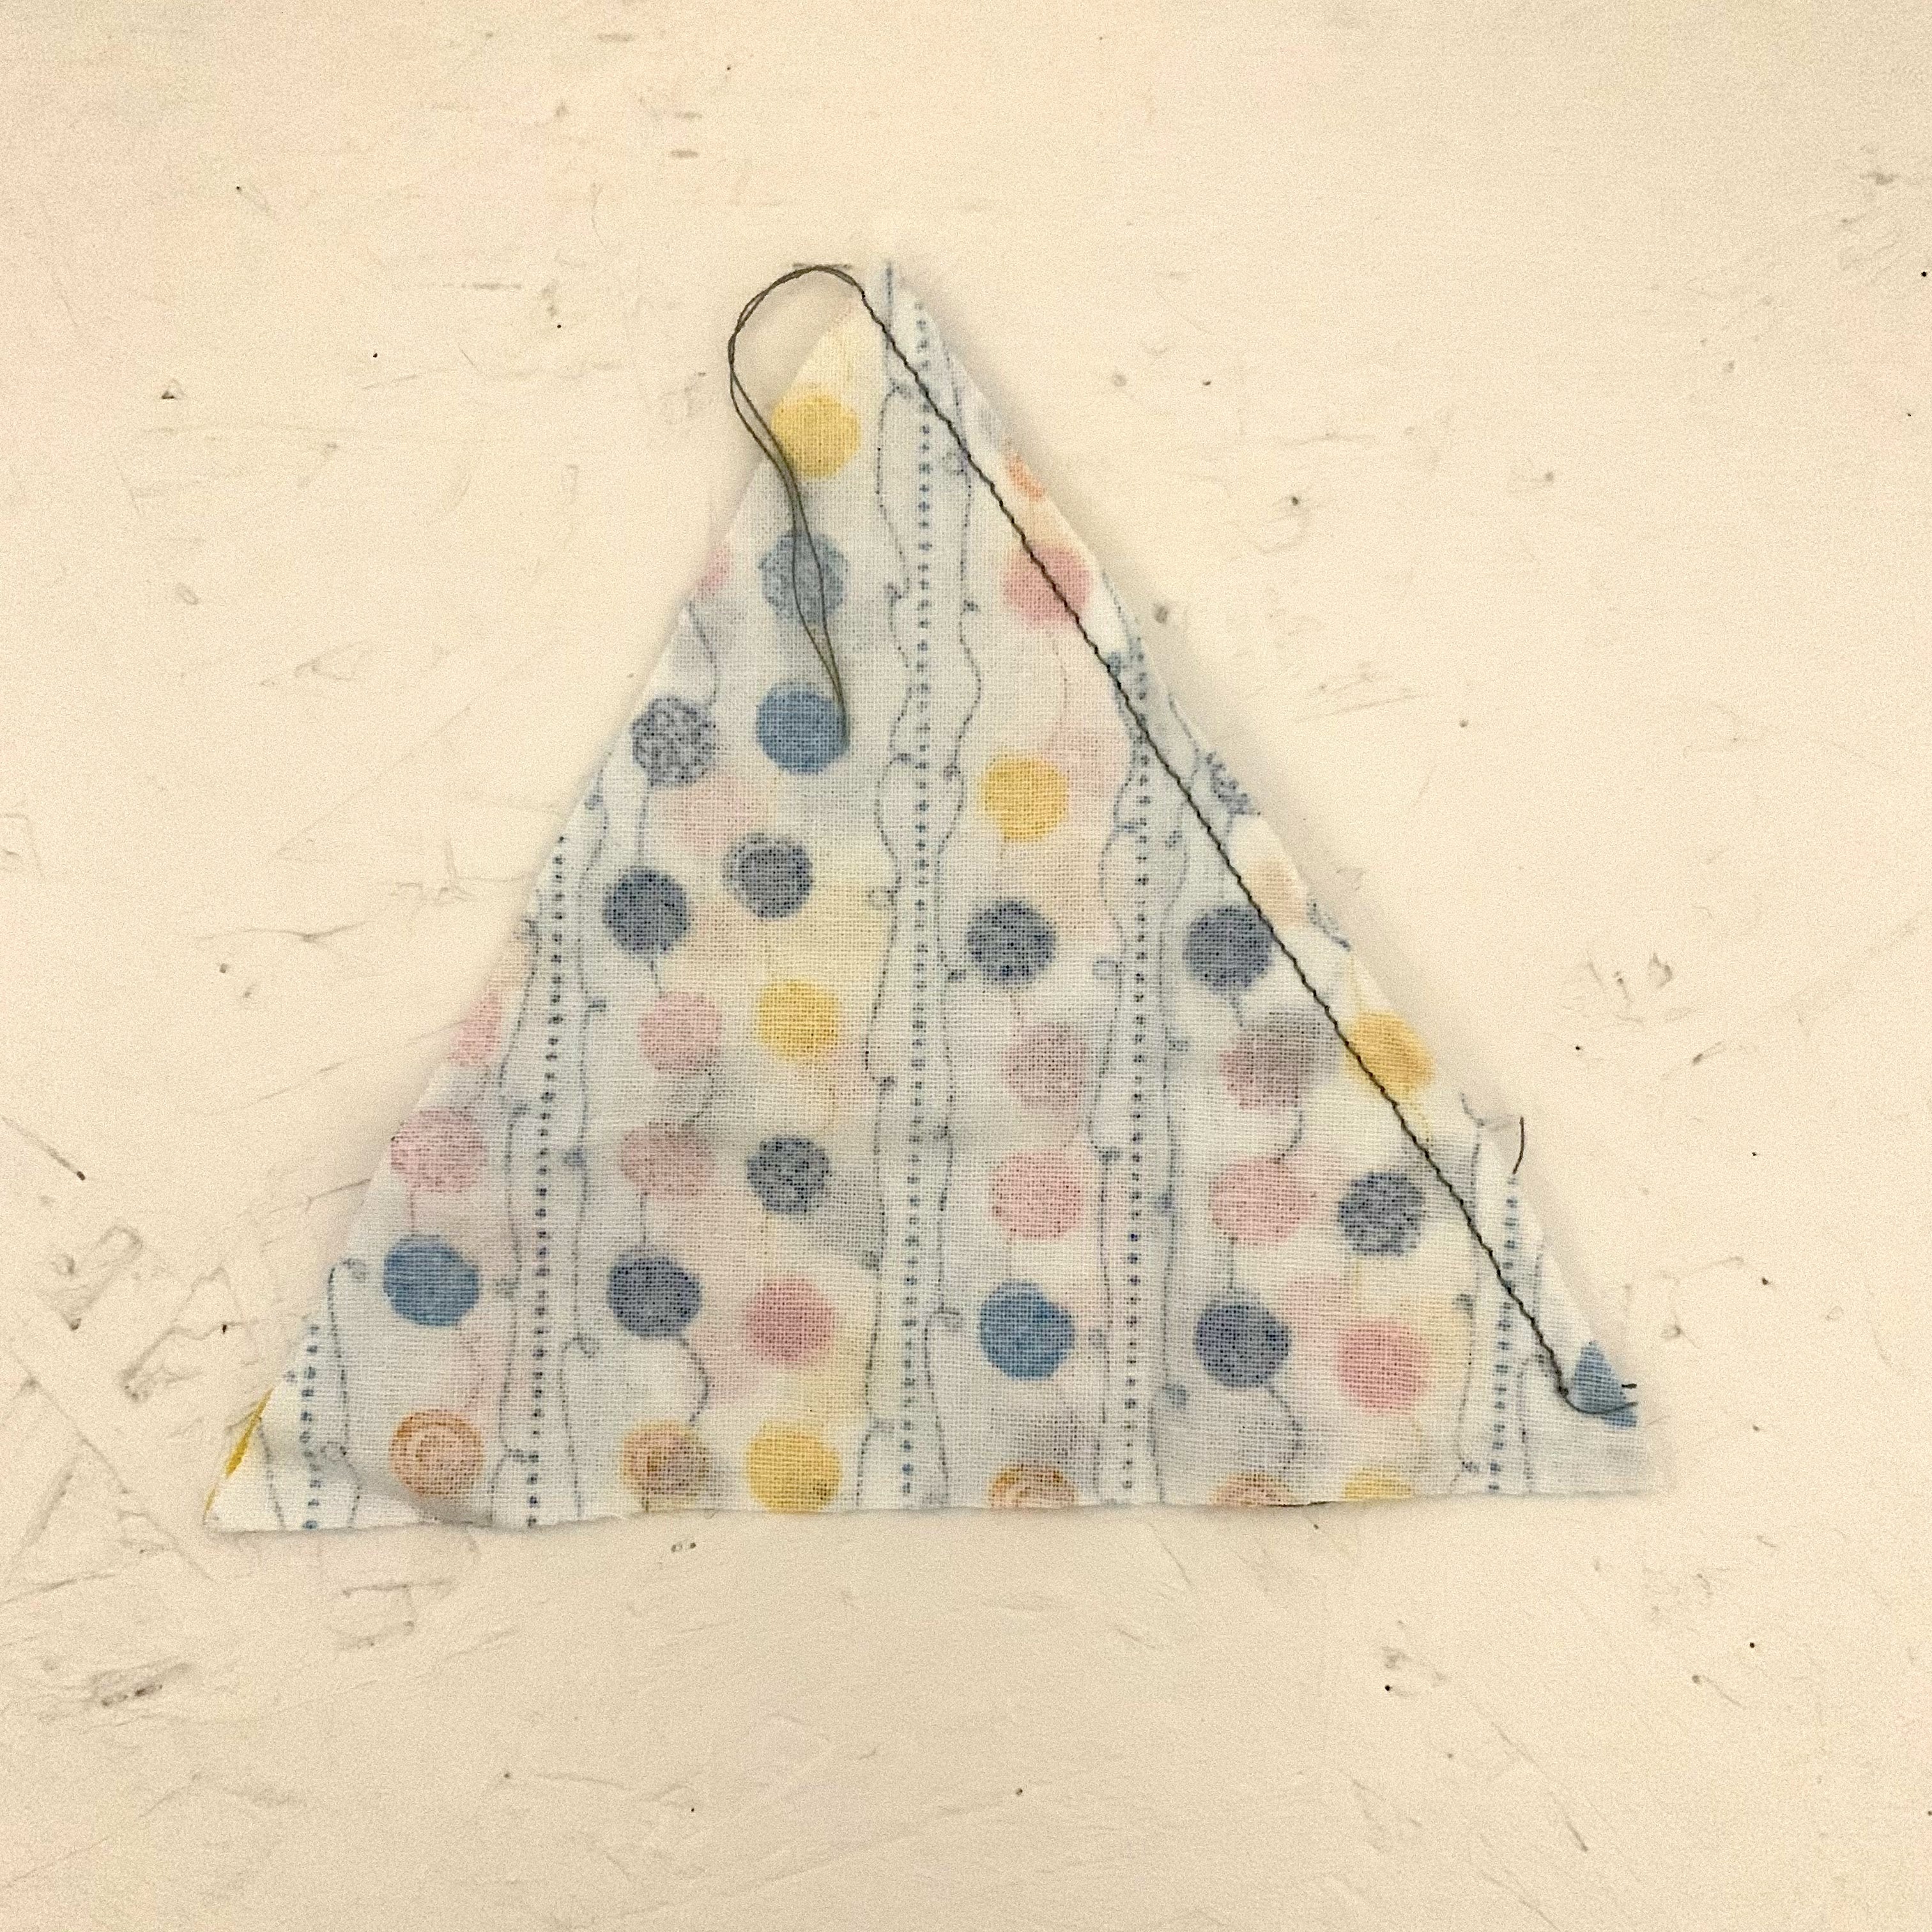
- Take two of the triangles, place right side together and sew down the side to secure leaving a 1cm gap at the bottom.
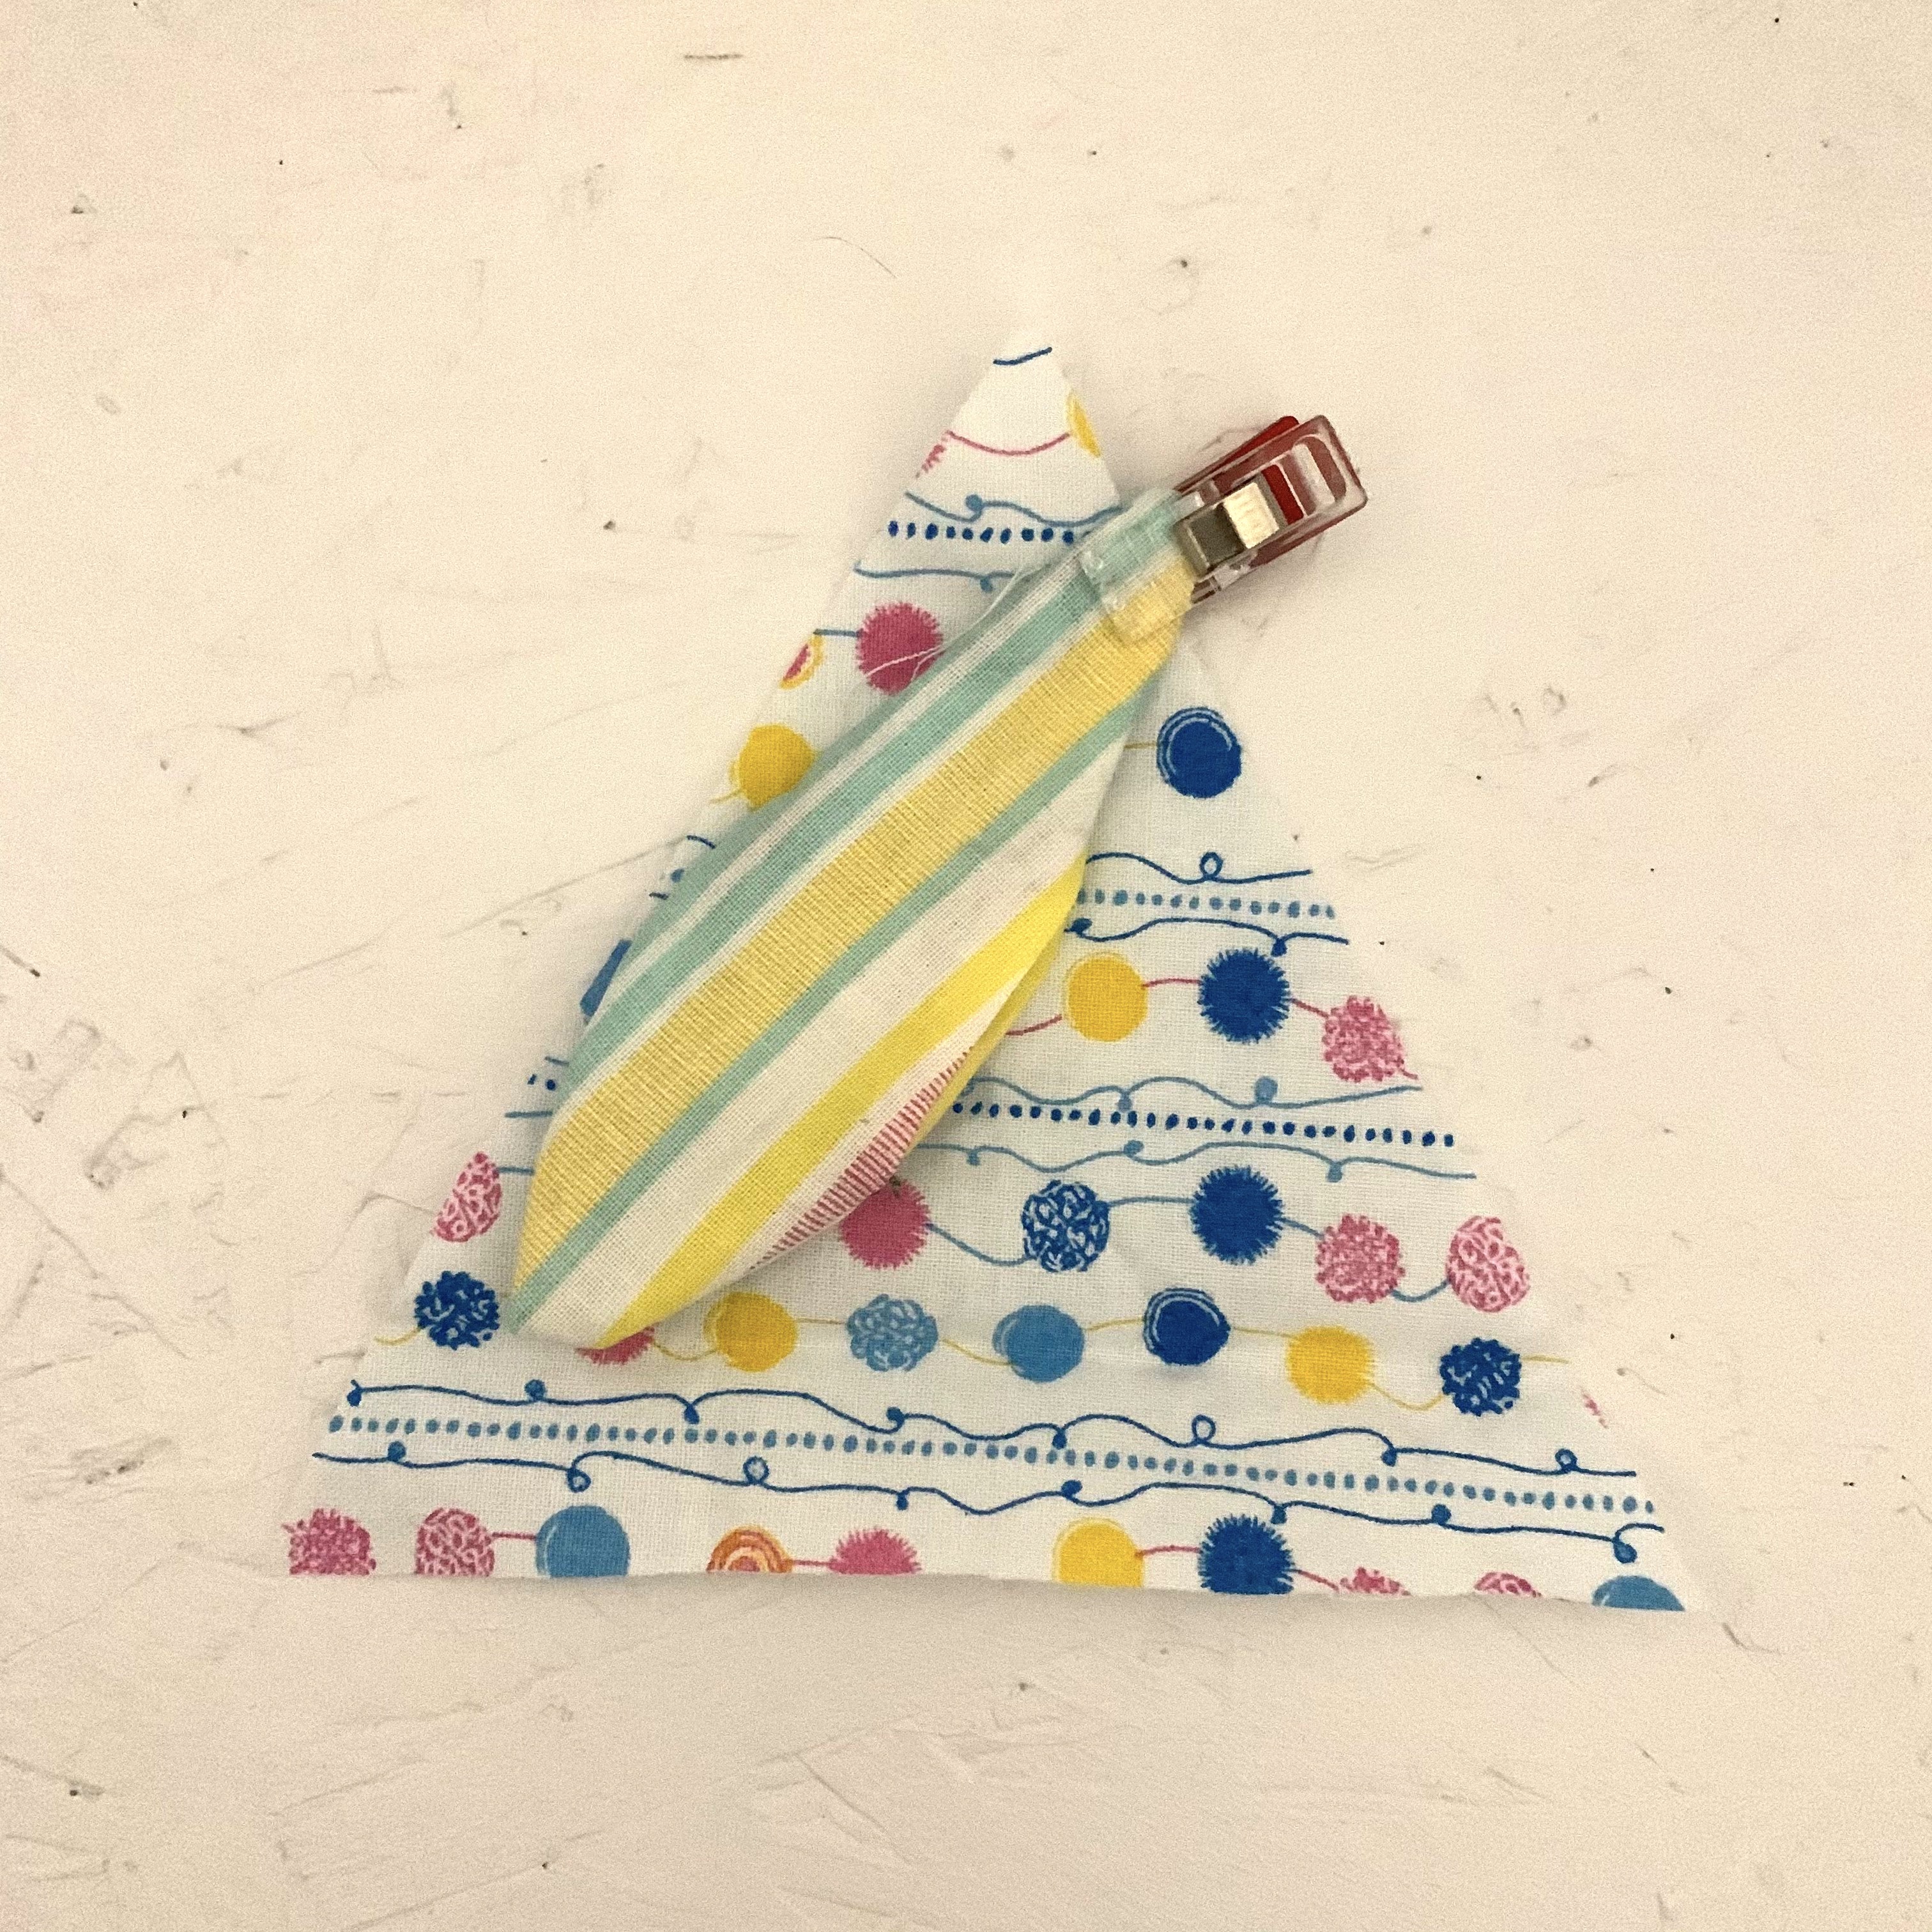
- Take one of the ears and turn in the side edges at the base of the ear so they meet in the middle then place right side down on top of a triangle piece. Pin to secure, then place the joined triangle pieces on top and sew down the side to secure. Repeat with the other ear on the other side.

- Take the remaining triangle and pin to the bottom of the joined triangle pieces. Sew to secure, leaving a 5cm gap for turning.
- Turn out the right way and place the stuffing or rice/dried beans into the rabbit. Sew the gap closed.
- Using embroidery thread and a running stitch sew on eyes, nose and mouth details.
- Make a pom pom with white wool and a 2.5cm pom pom maker, or using pieces of card (how to make a pom pom using 2 pieces of card). Sew to the back of the rabbit.


Leave a comment