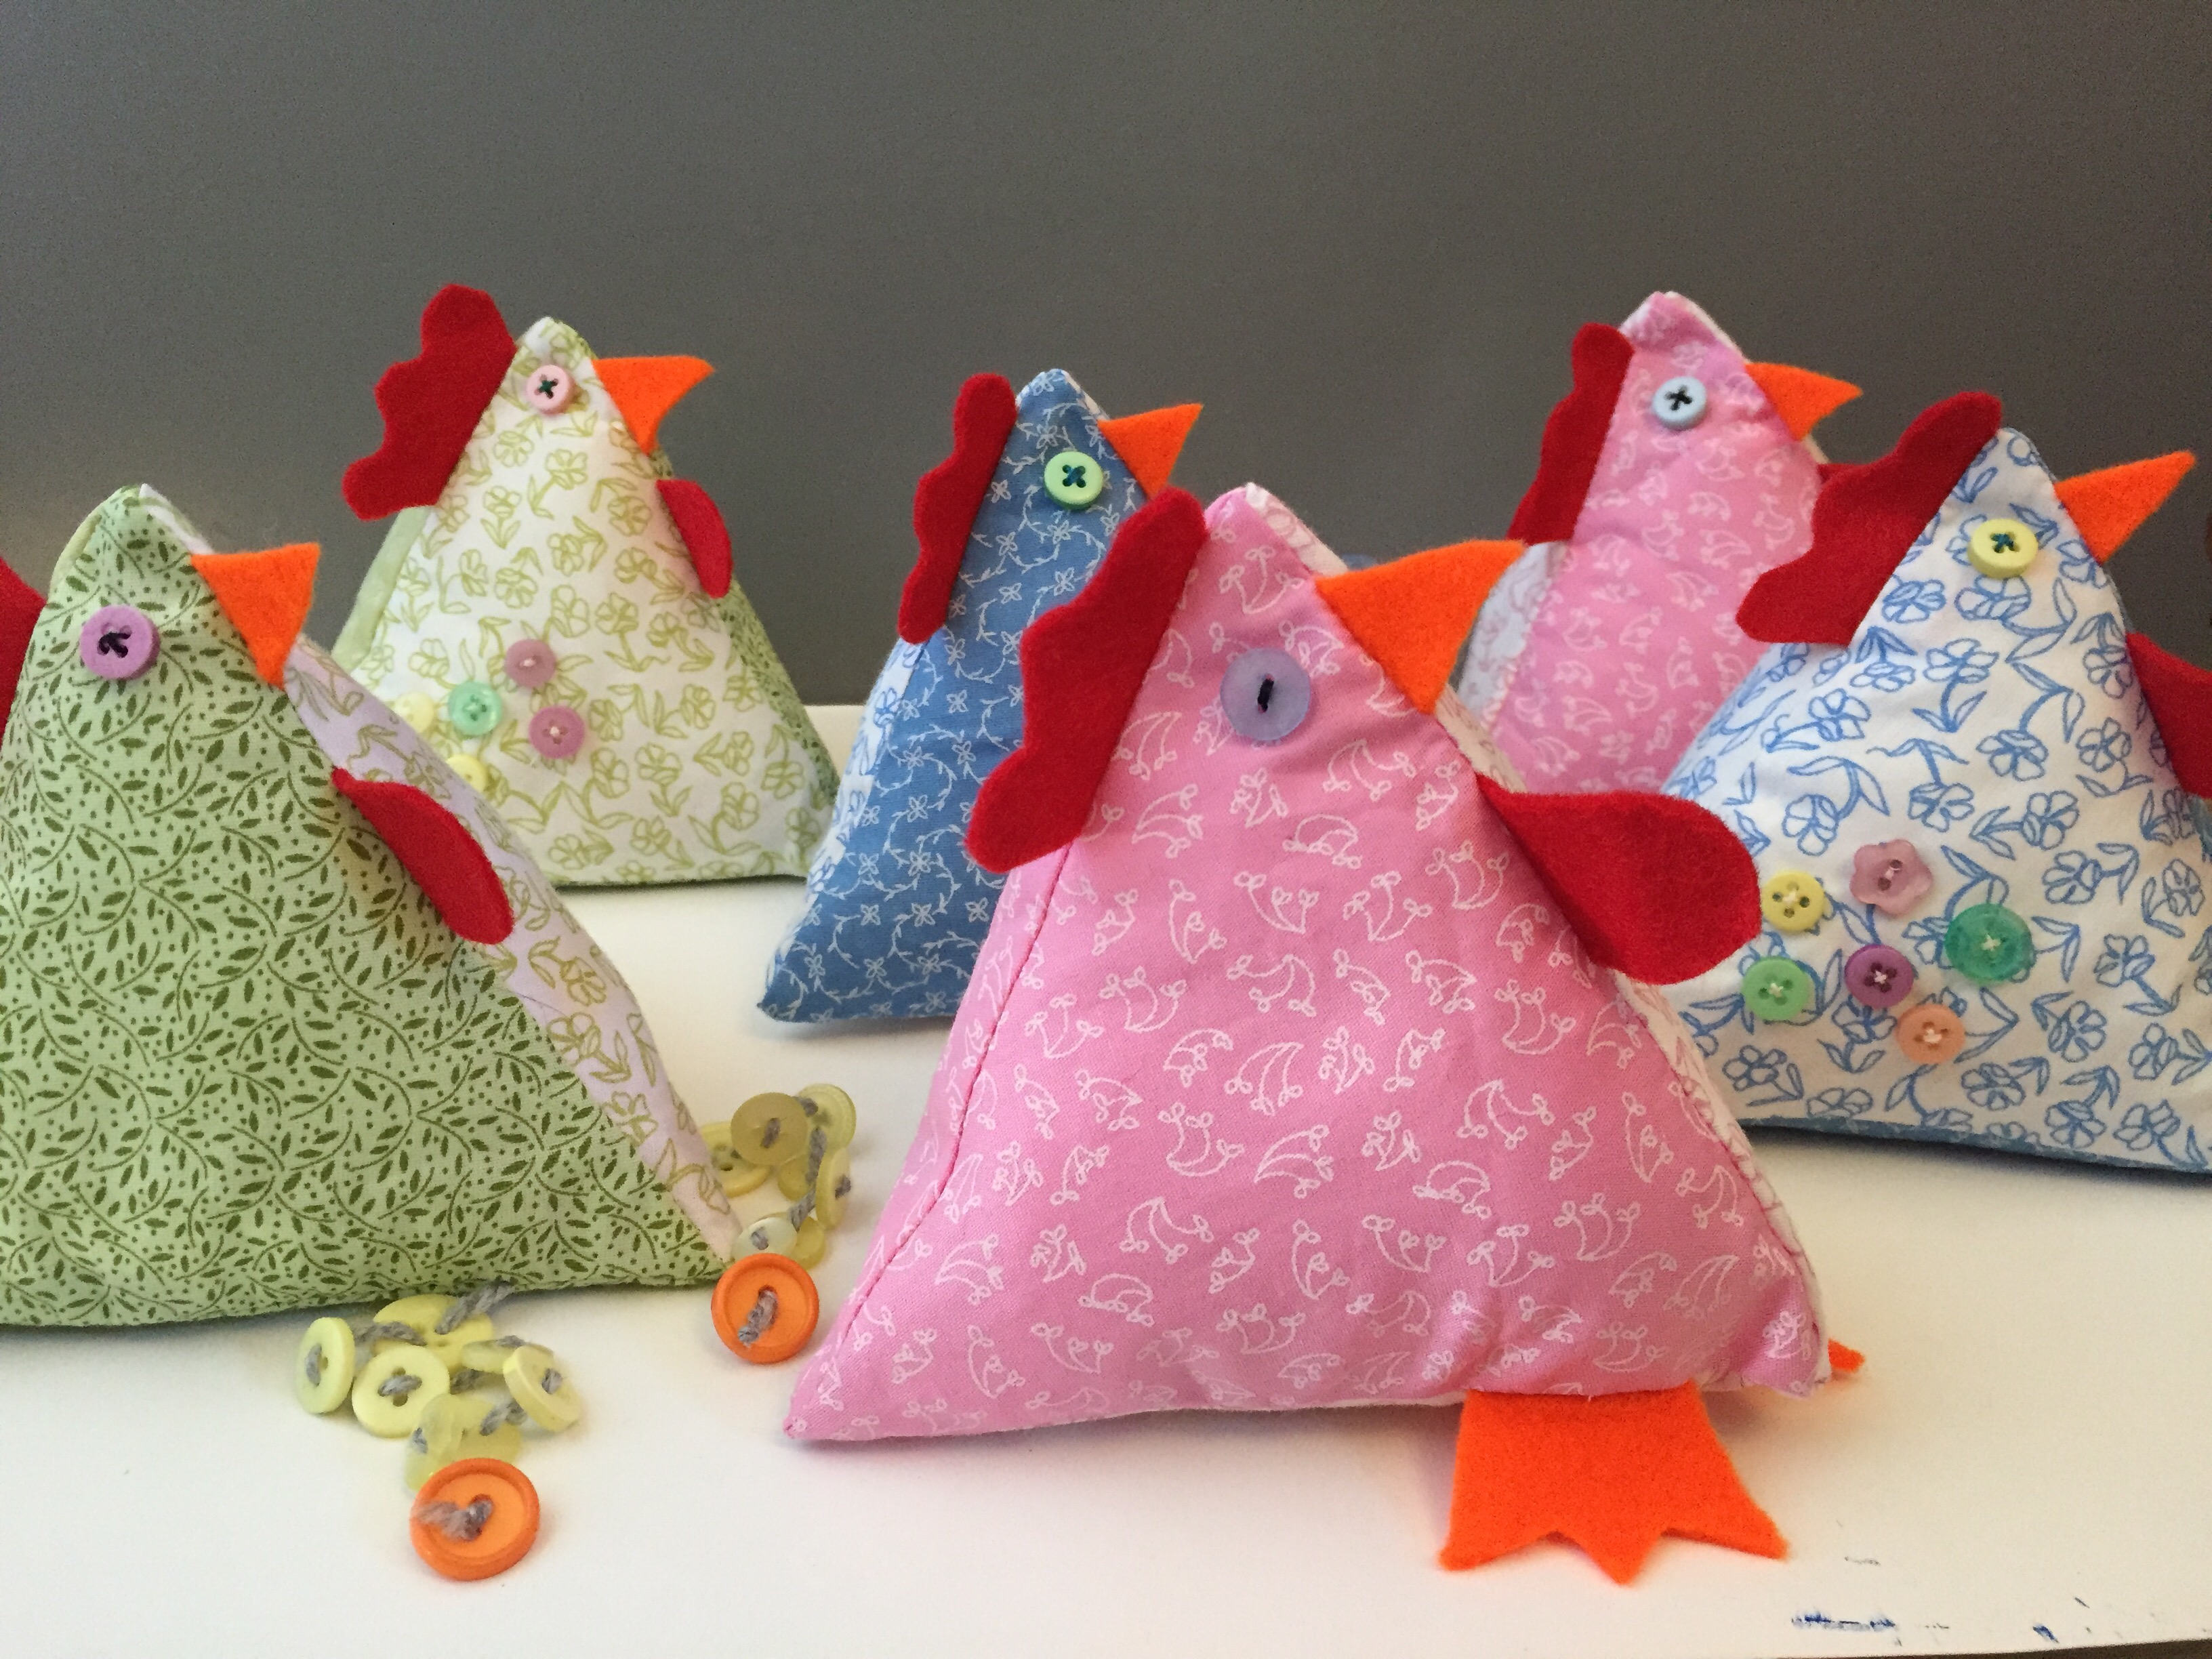
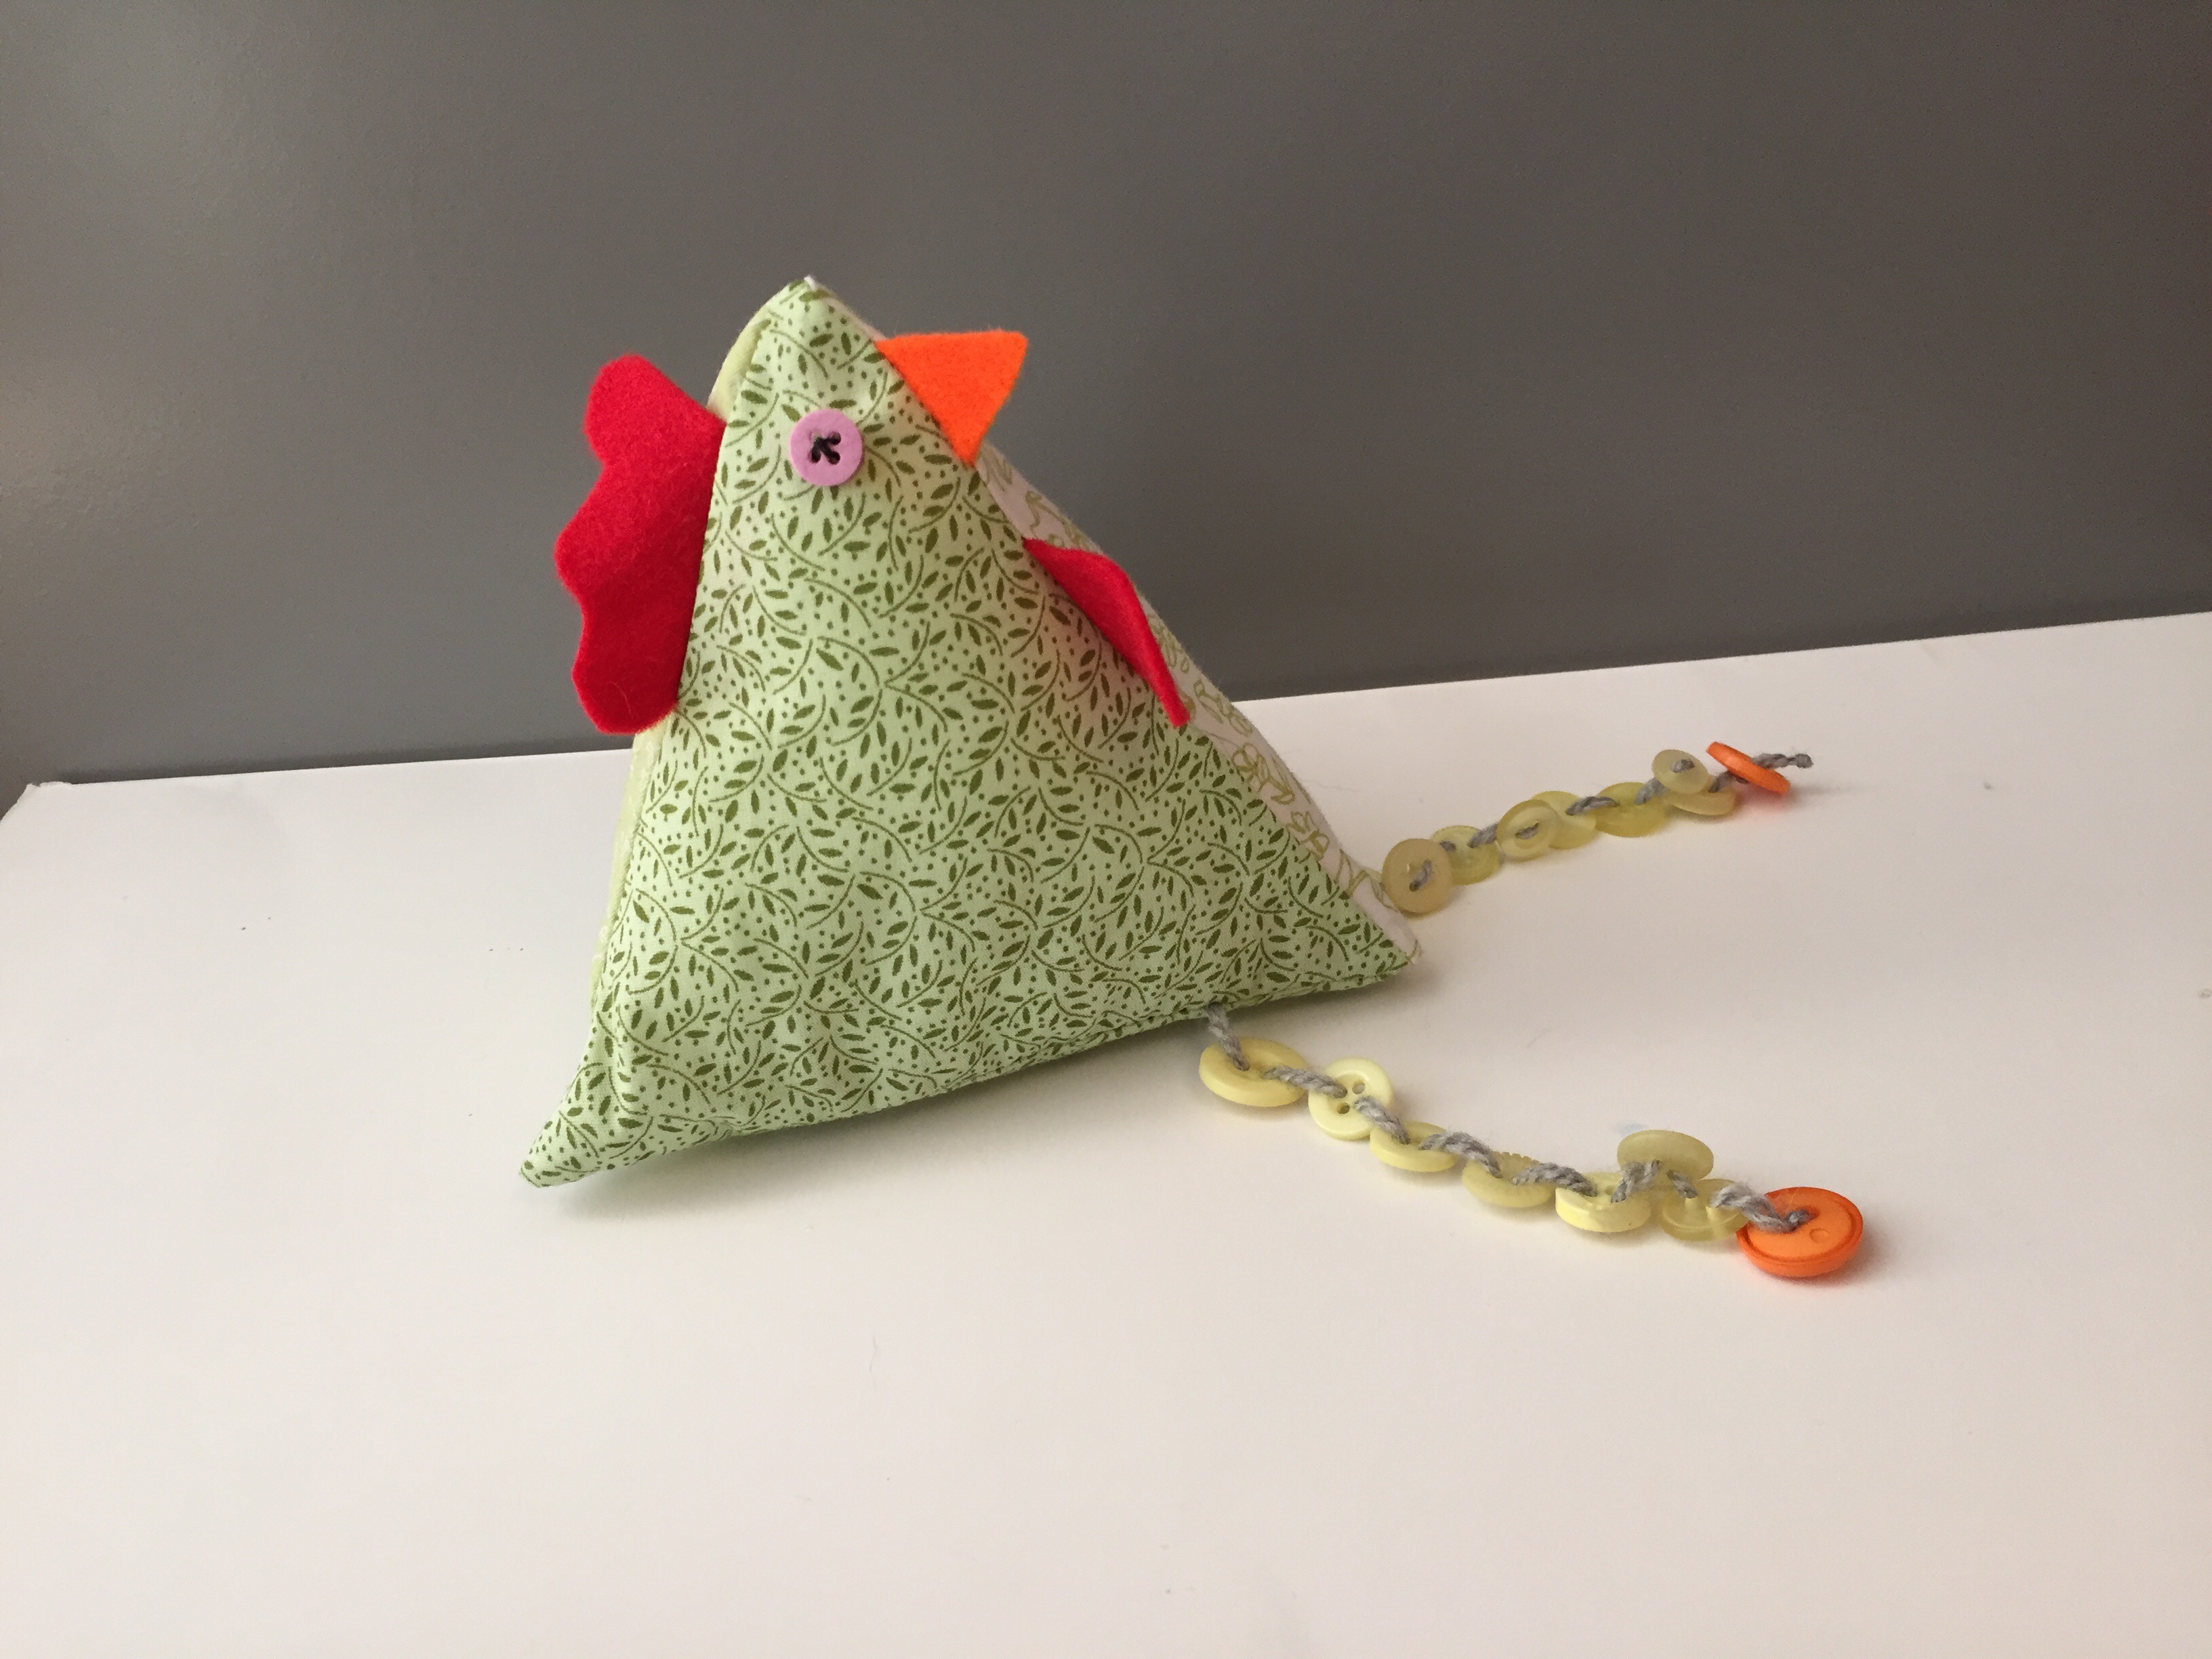
Perfect for guarding all the Easter eggs this Easter, a brood of bean bag Chickens!
These little bean bag chickens are the perfect addition for Easter. They are ideal for decorating your home – it’s impossible to have too many easter decorations about especially cute chickens. These are also great for gifting, along with some chocolate goodies or on their own, either way, they are guaranteed to make people smile.
These would also make great pattern weights, and are a great way to use up scrap fabric. There is also a sewing tutorial for an Easter rabbit version of these which can be found here.
Fabric was gifted by The Craft Cotton Company.
Sewing Tutorial: Bean Bag Chickens
Materials:
- Fabric, I used Ombre trends by Heather Jacks for the Craft Cotton Company in lime, blue and pink.
- Thread.
- Scissors.
- Pins.
- Felt: Orange and red.
- Buttons.
- Needle.
- Rice/dried beans.
- Stuffing.
- Wool (if doing dangly legs, two pieces 18cm long).
Chicken Bean Bag Assembly:
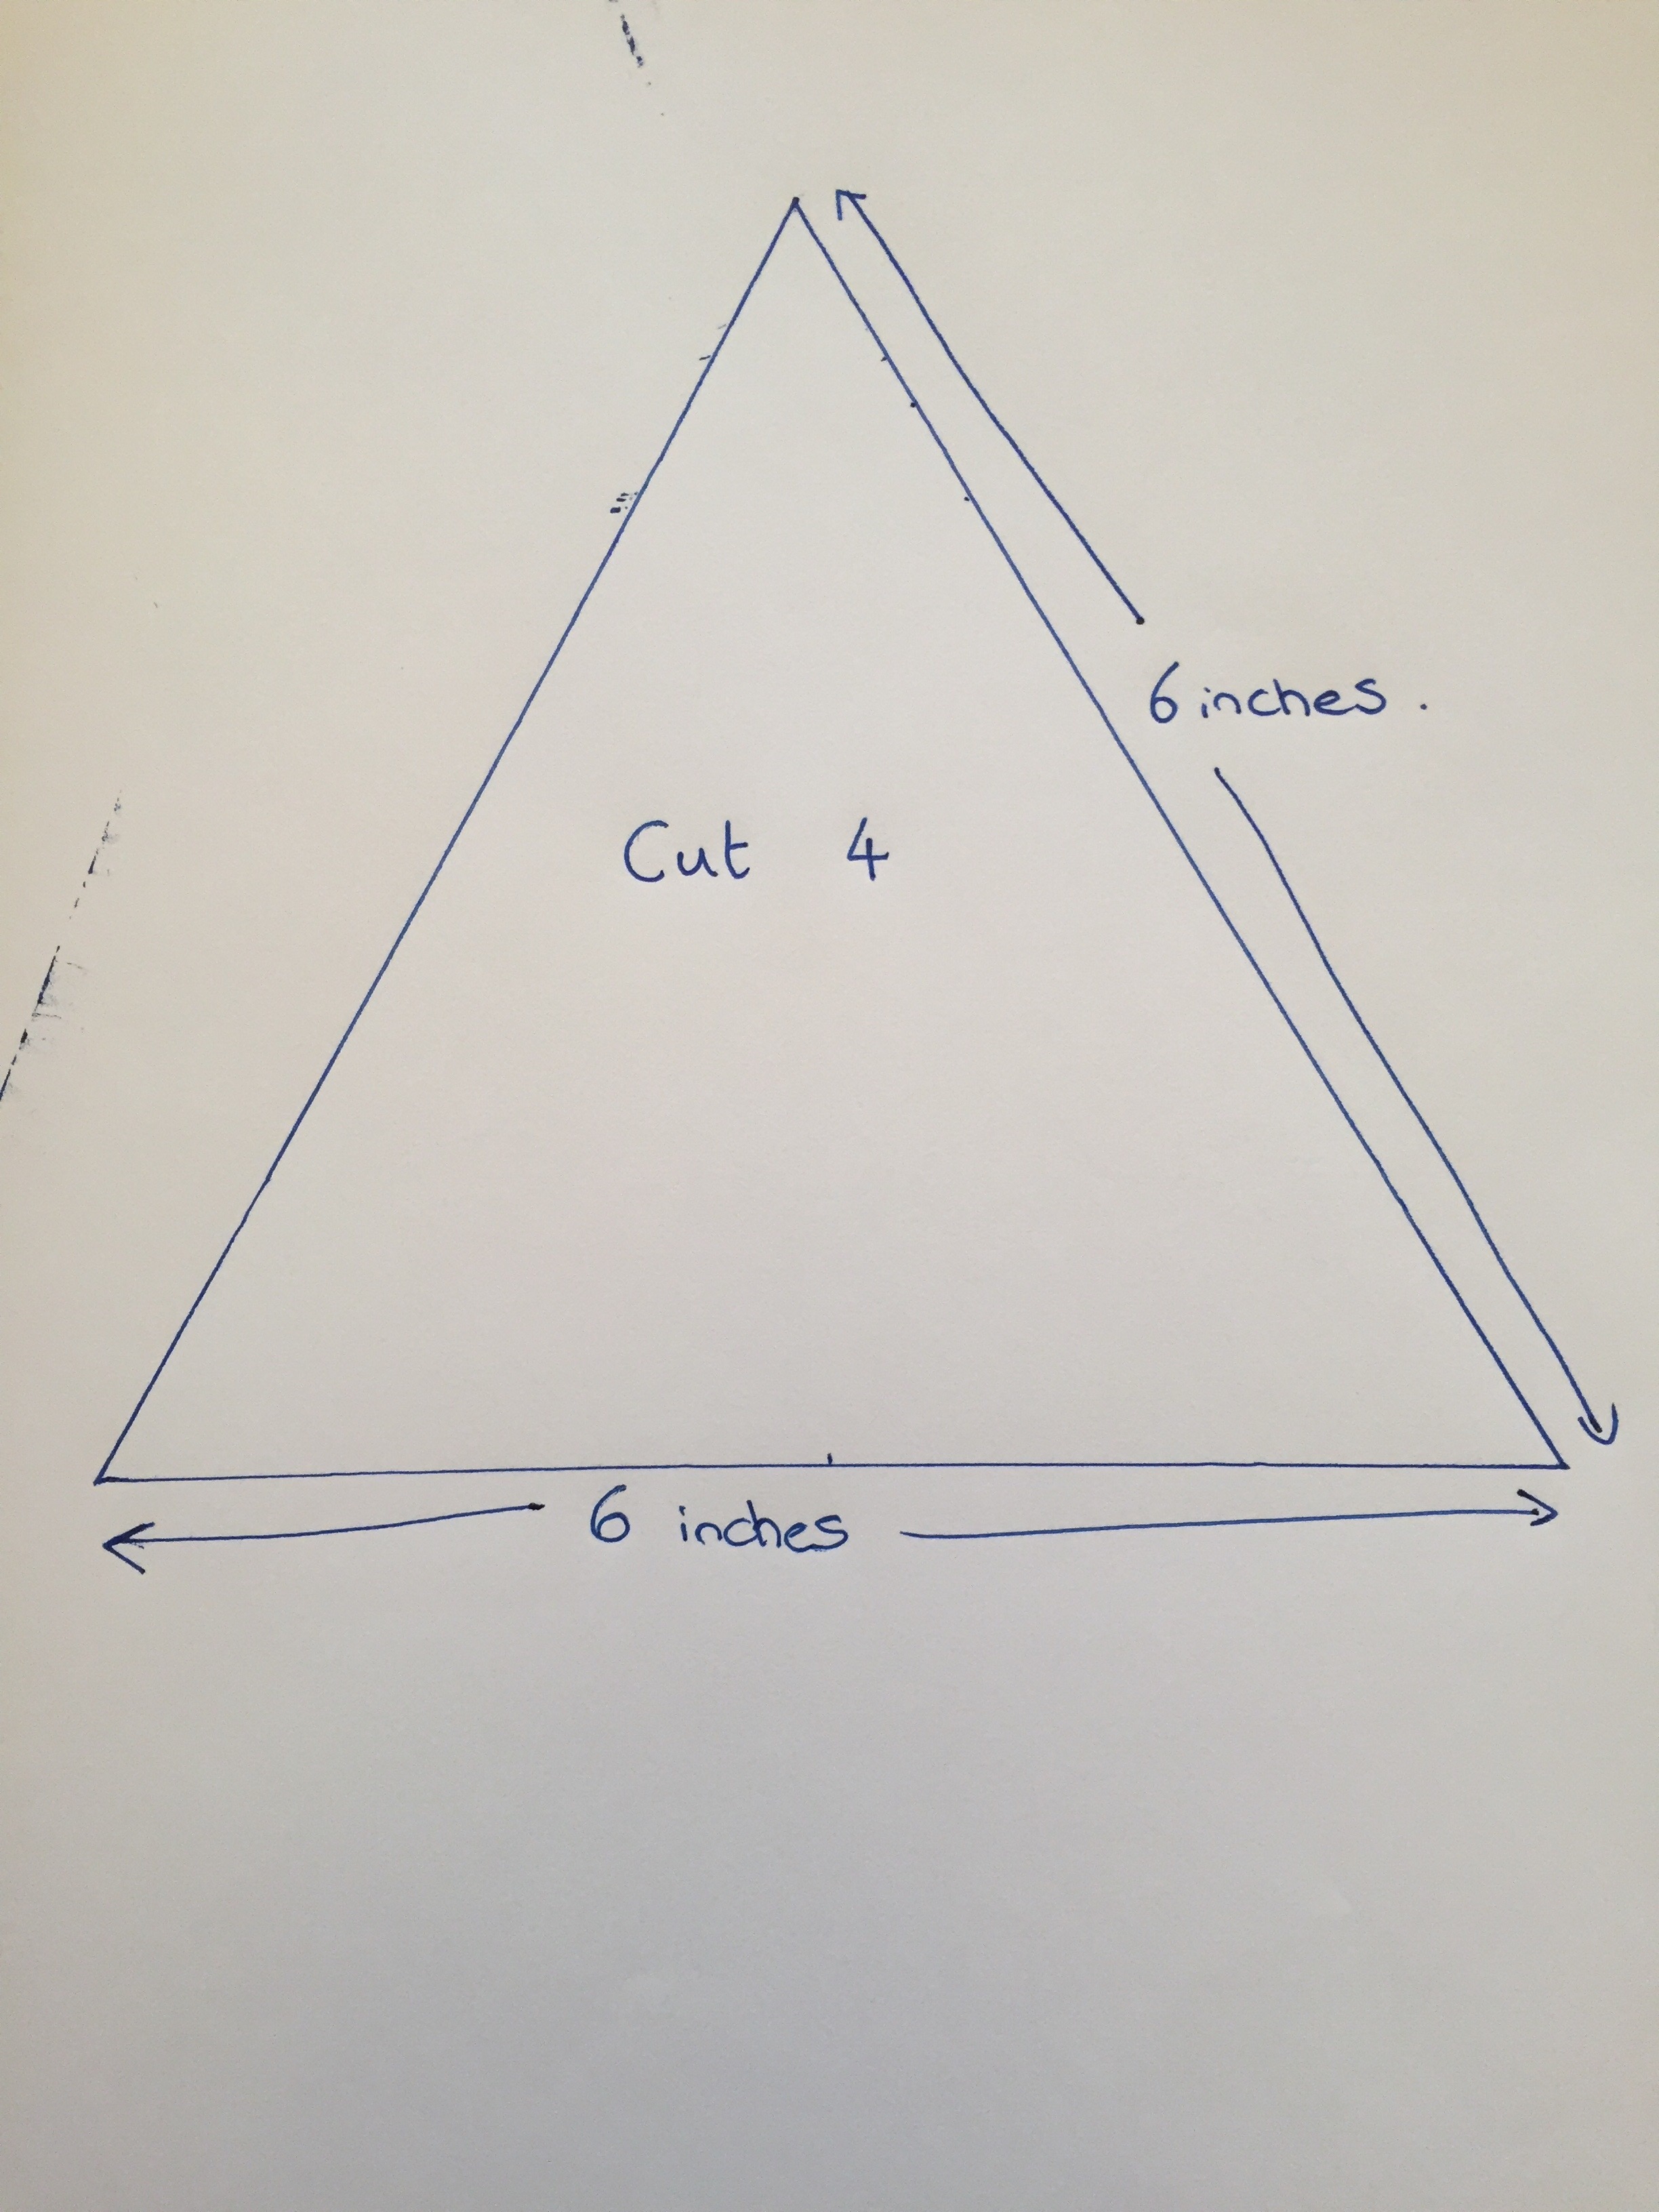
- Making the template:
- Make a triangle template for the chickens. I opted to use a triangle 6×6 inches (15x15cm) but it can be any size you choose.
- Cutting out the fabric:
- Using the template, cut out 4 triangles of fabric for each chicken. I chose to use different patterns in the same colours for each chicken, but you could do any colour combinations you like.
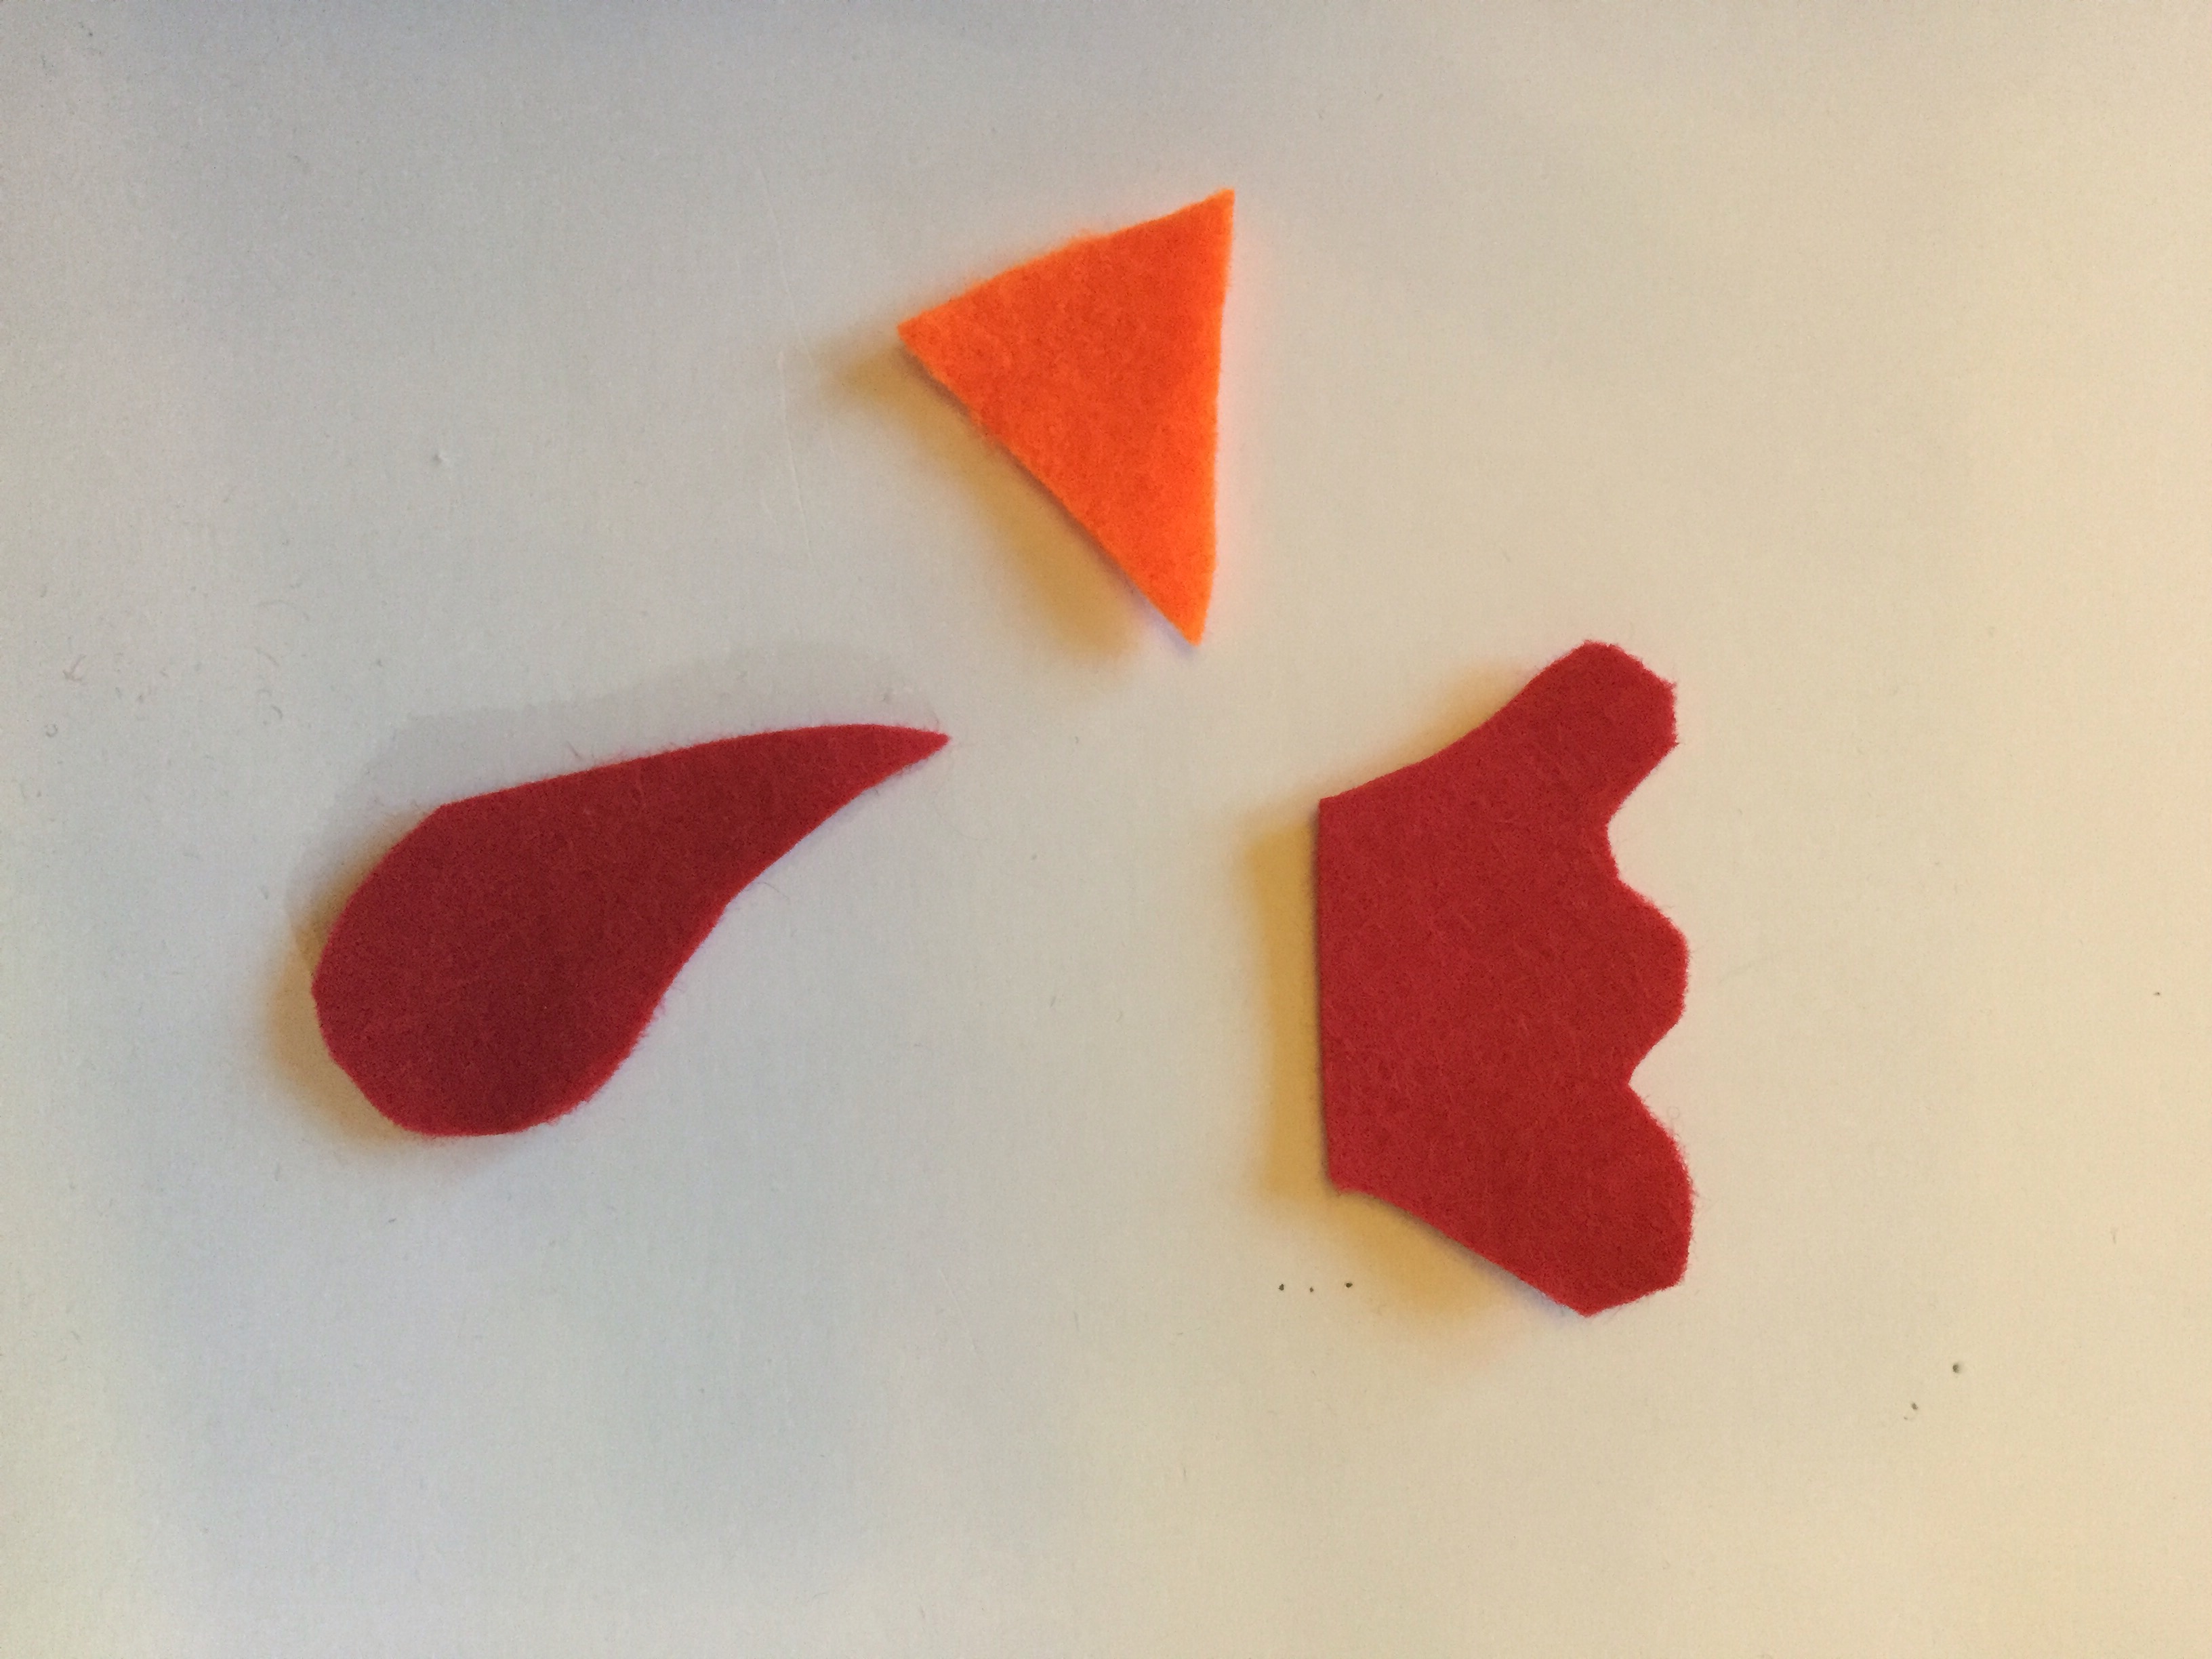
- Making the felt details:
- Cut out the felt details – you’ll need the following; a comb for the head, a beak, and a wattle (dangly bit under beak!), all in red felt. You can also cut out some feet in orange if you are adding these.
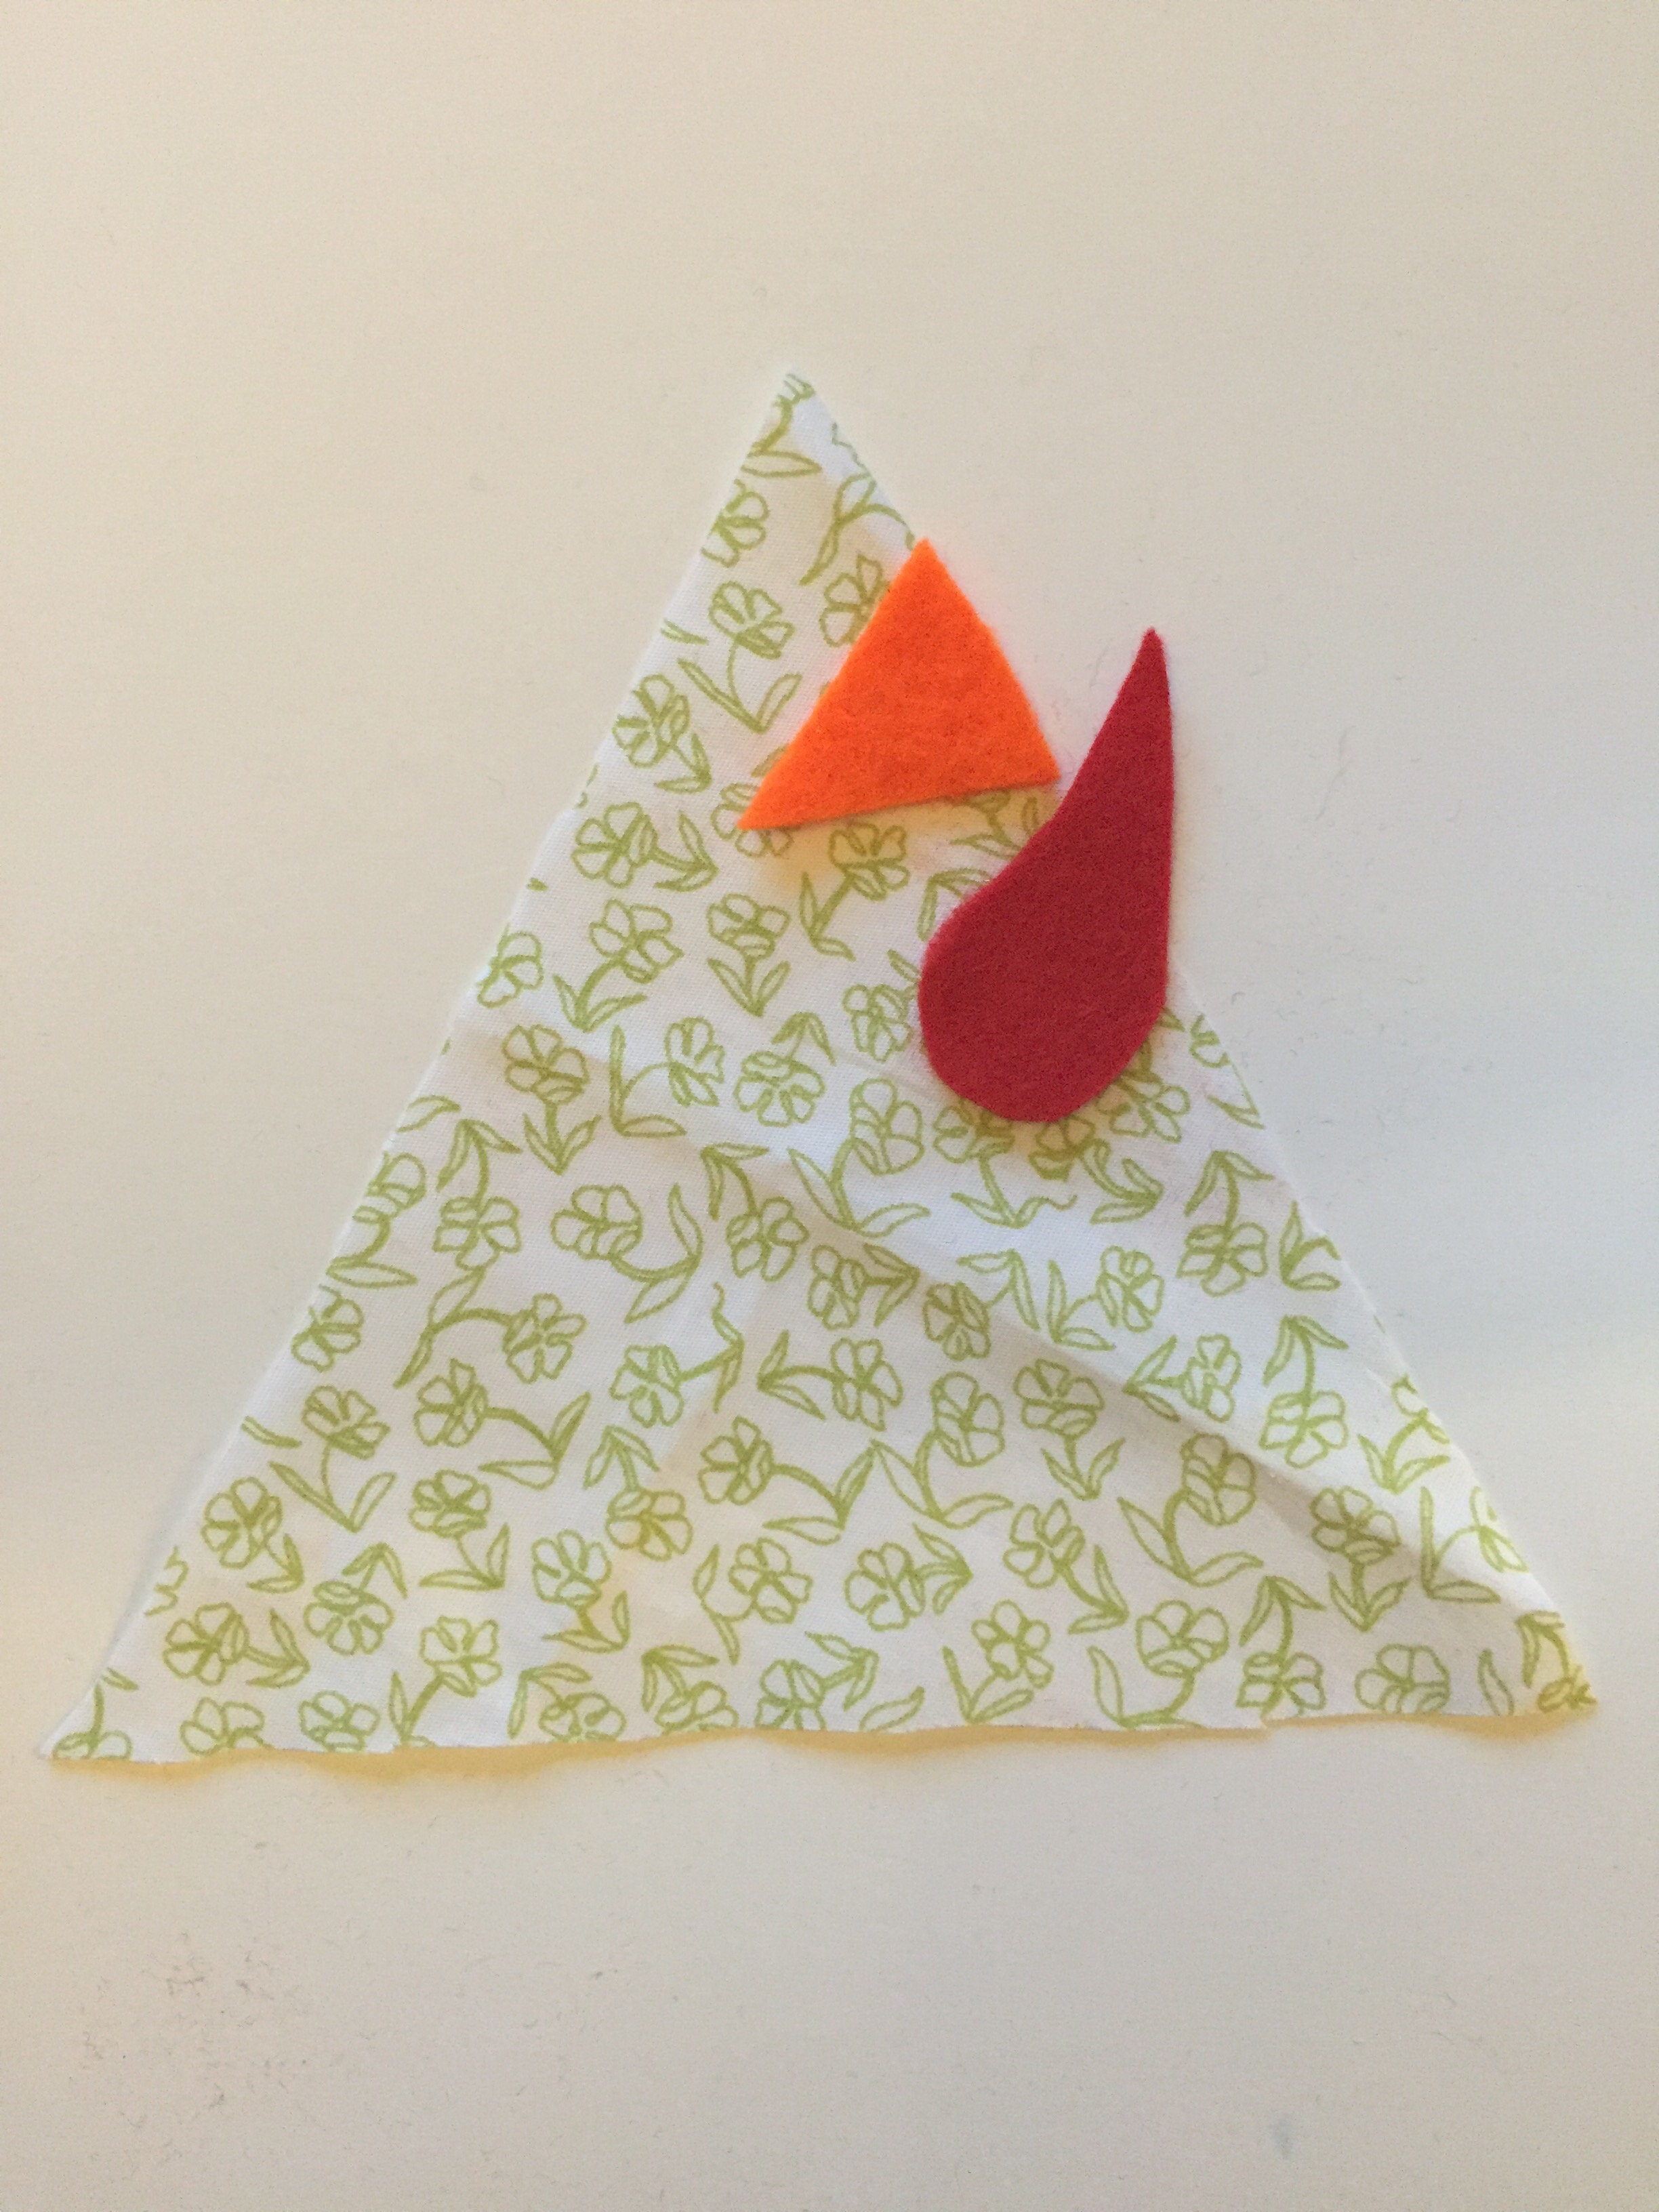
- Putting the chicken together – Part 1:
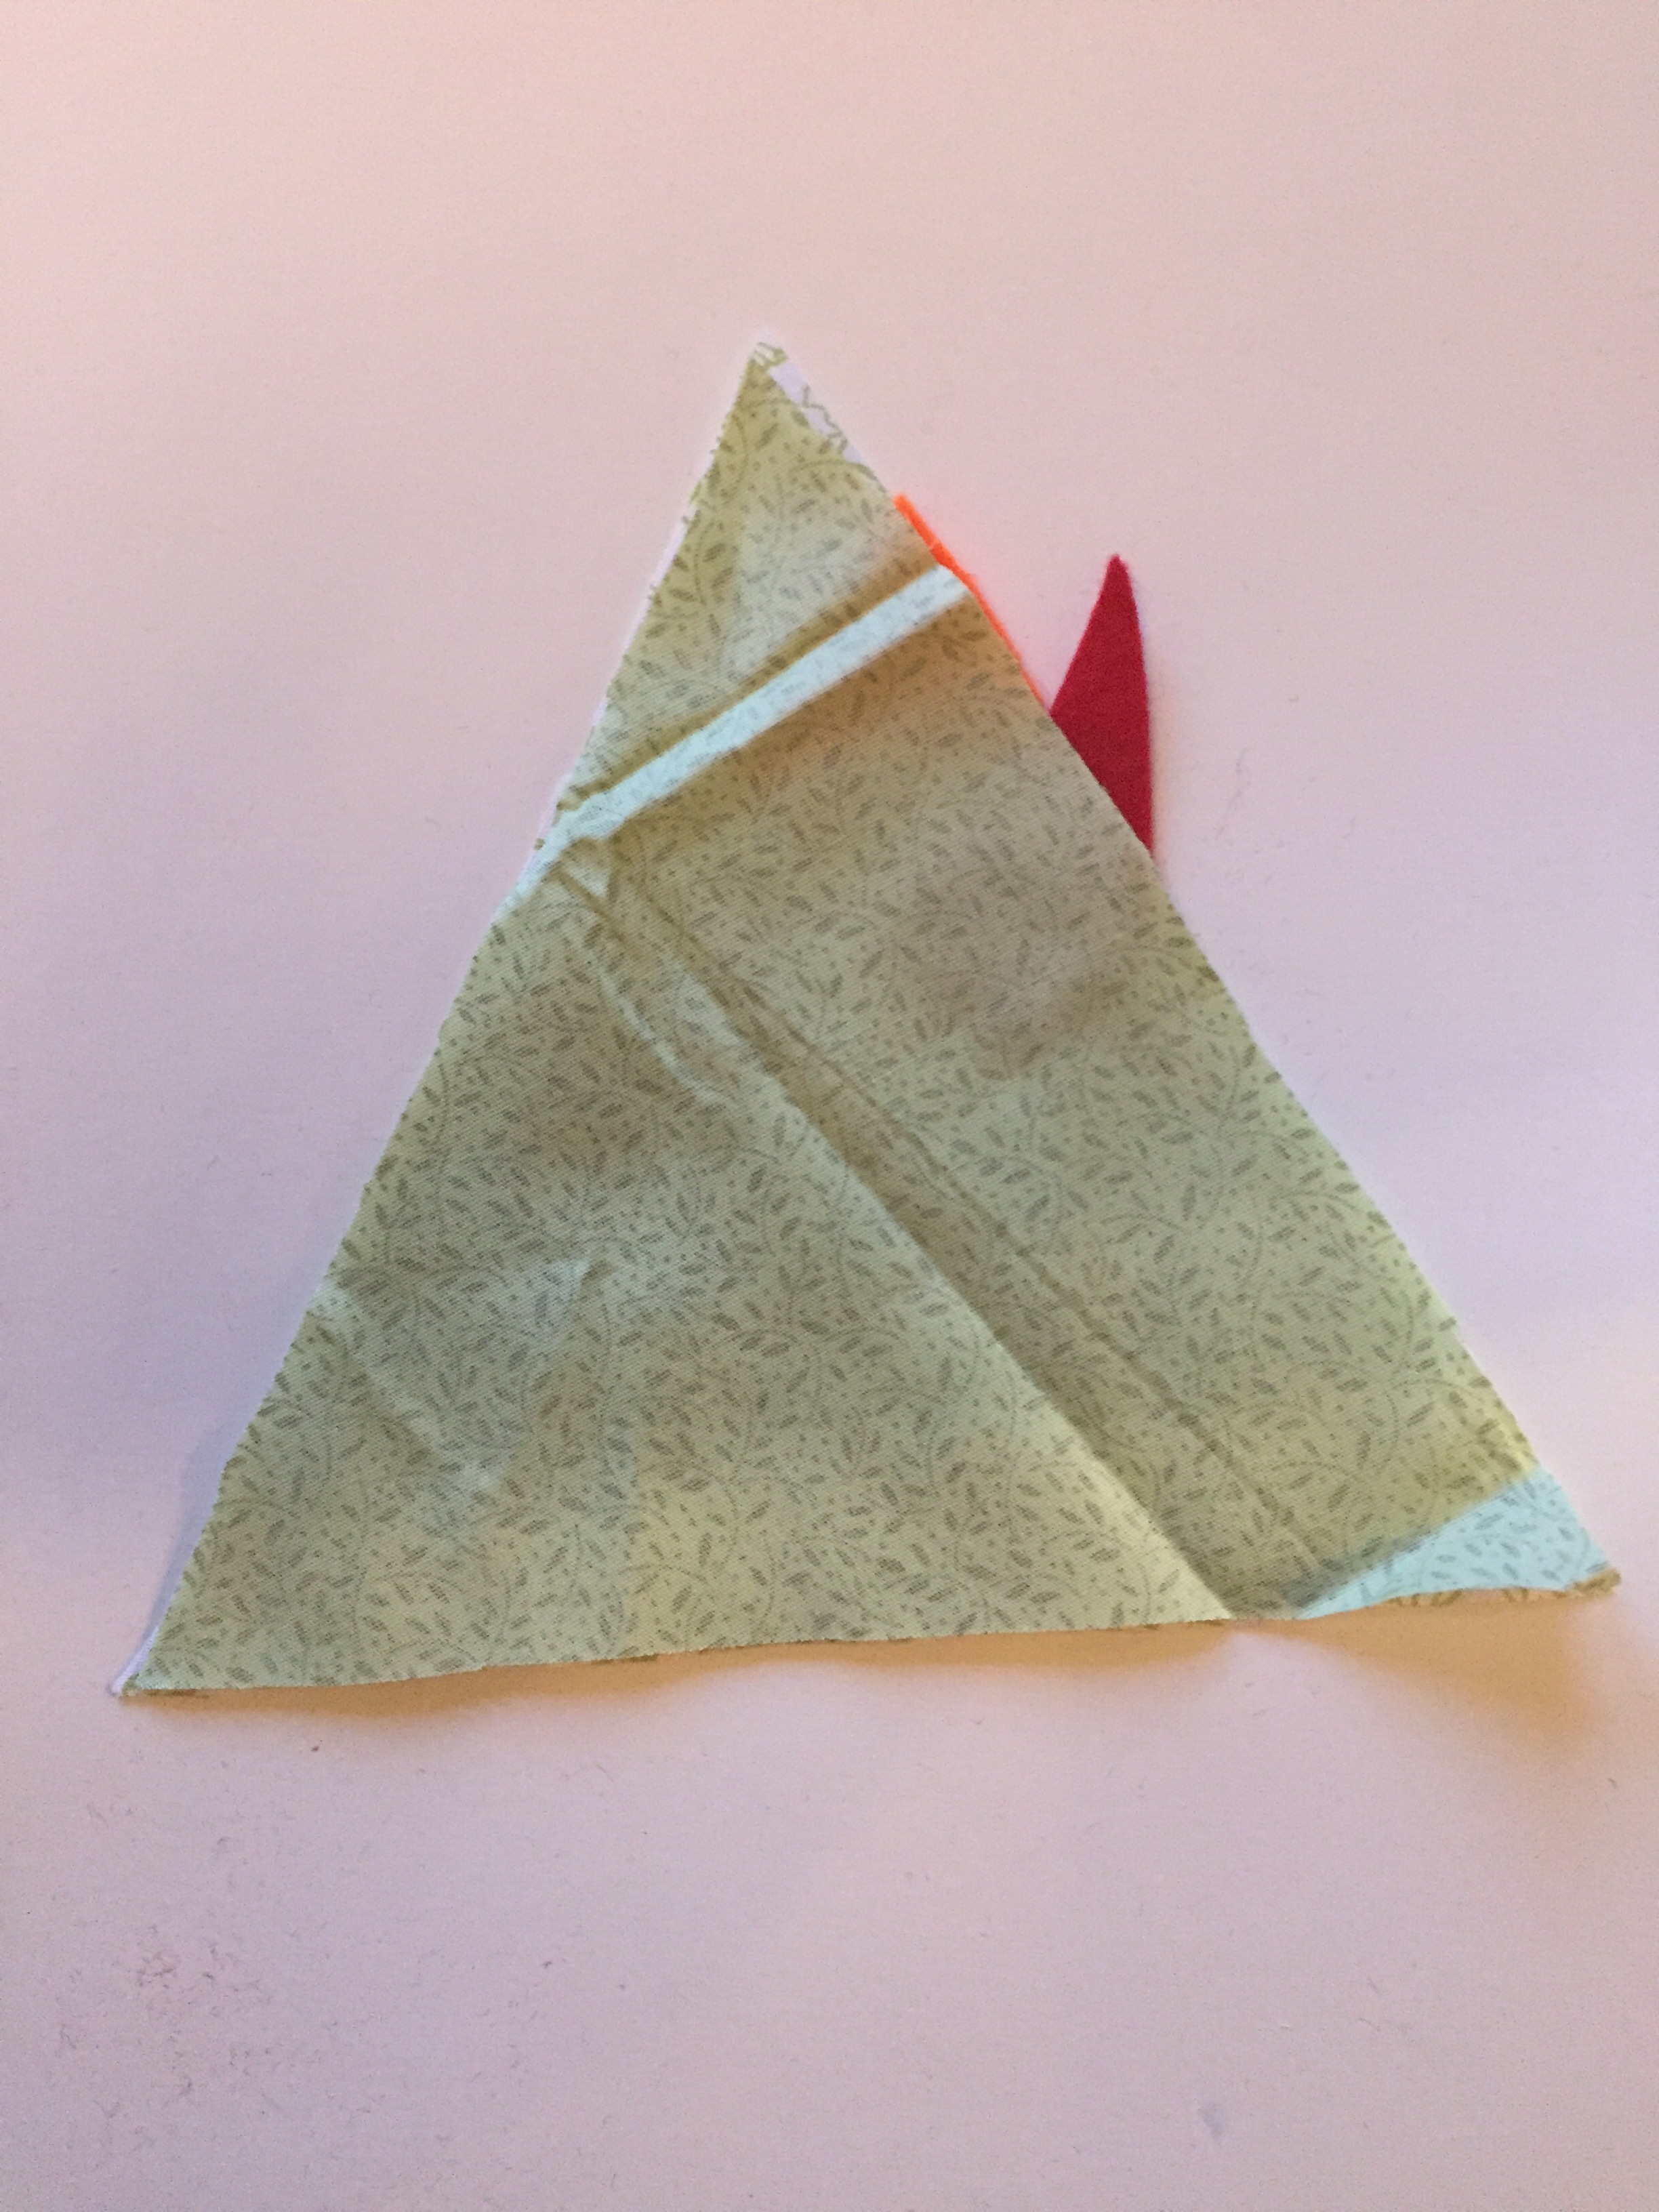
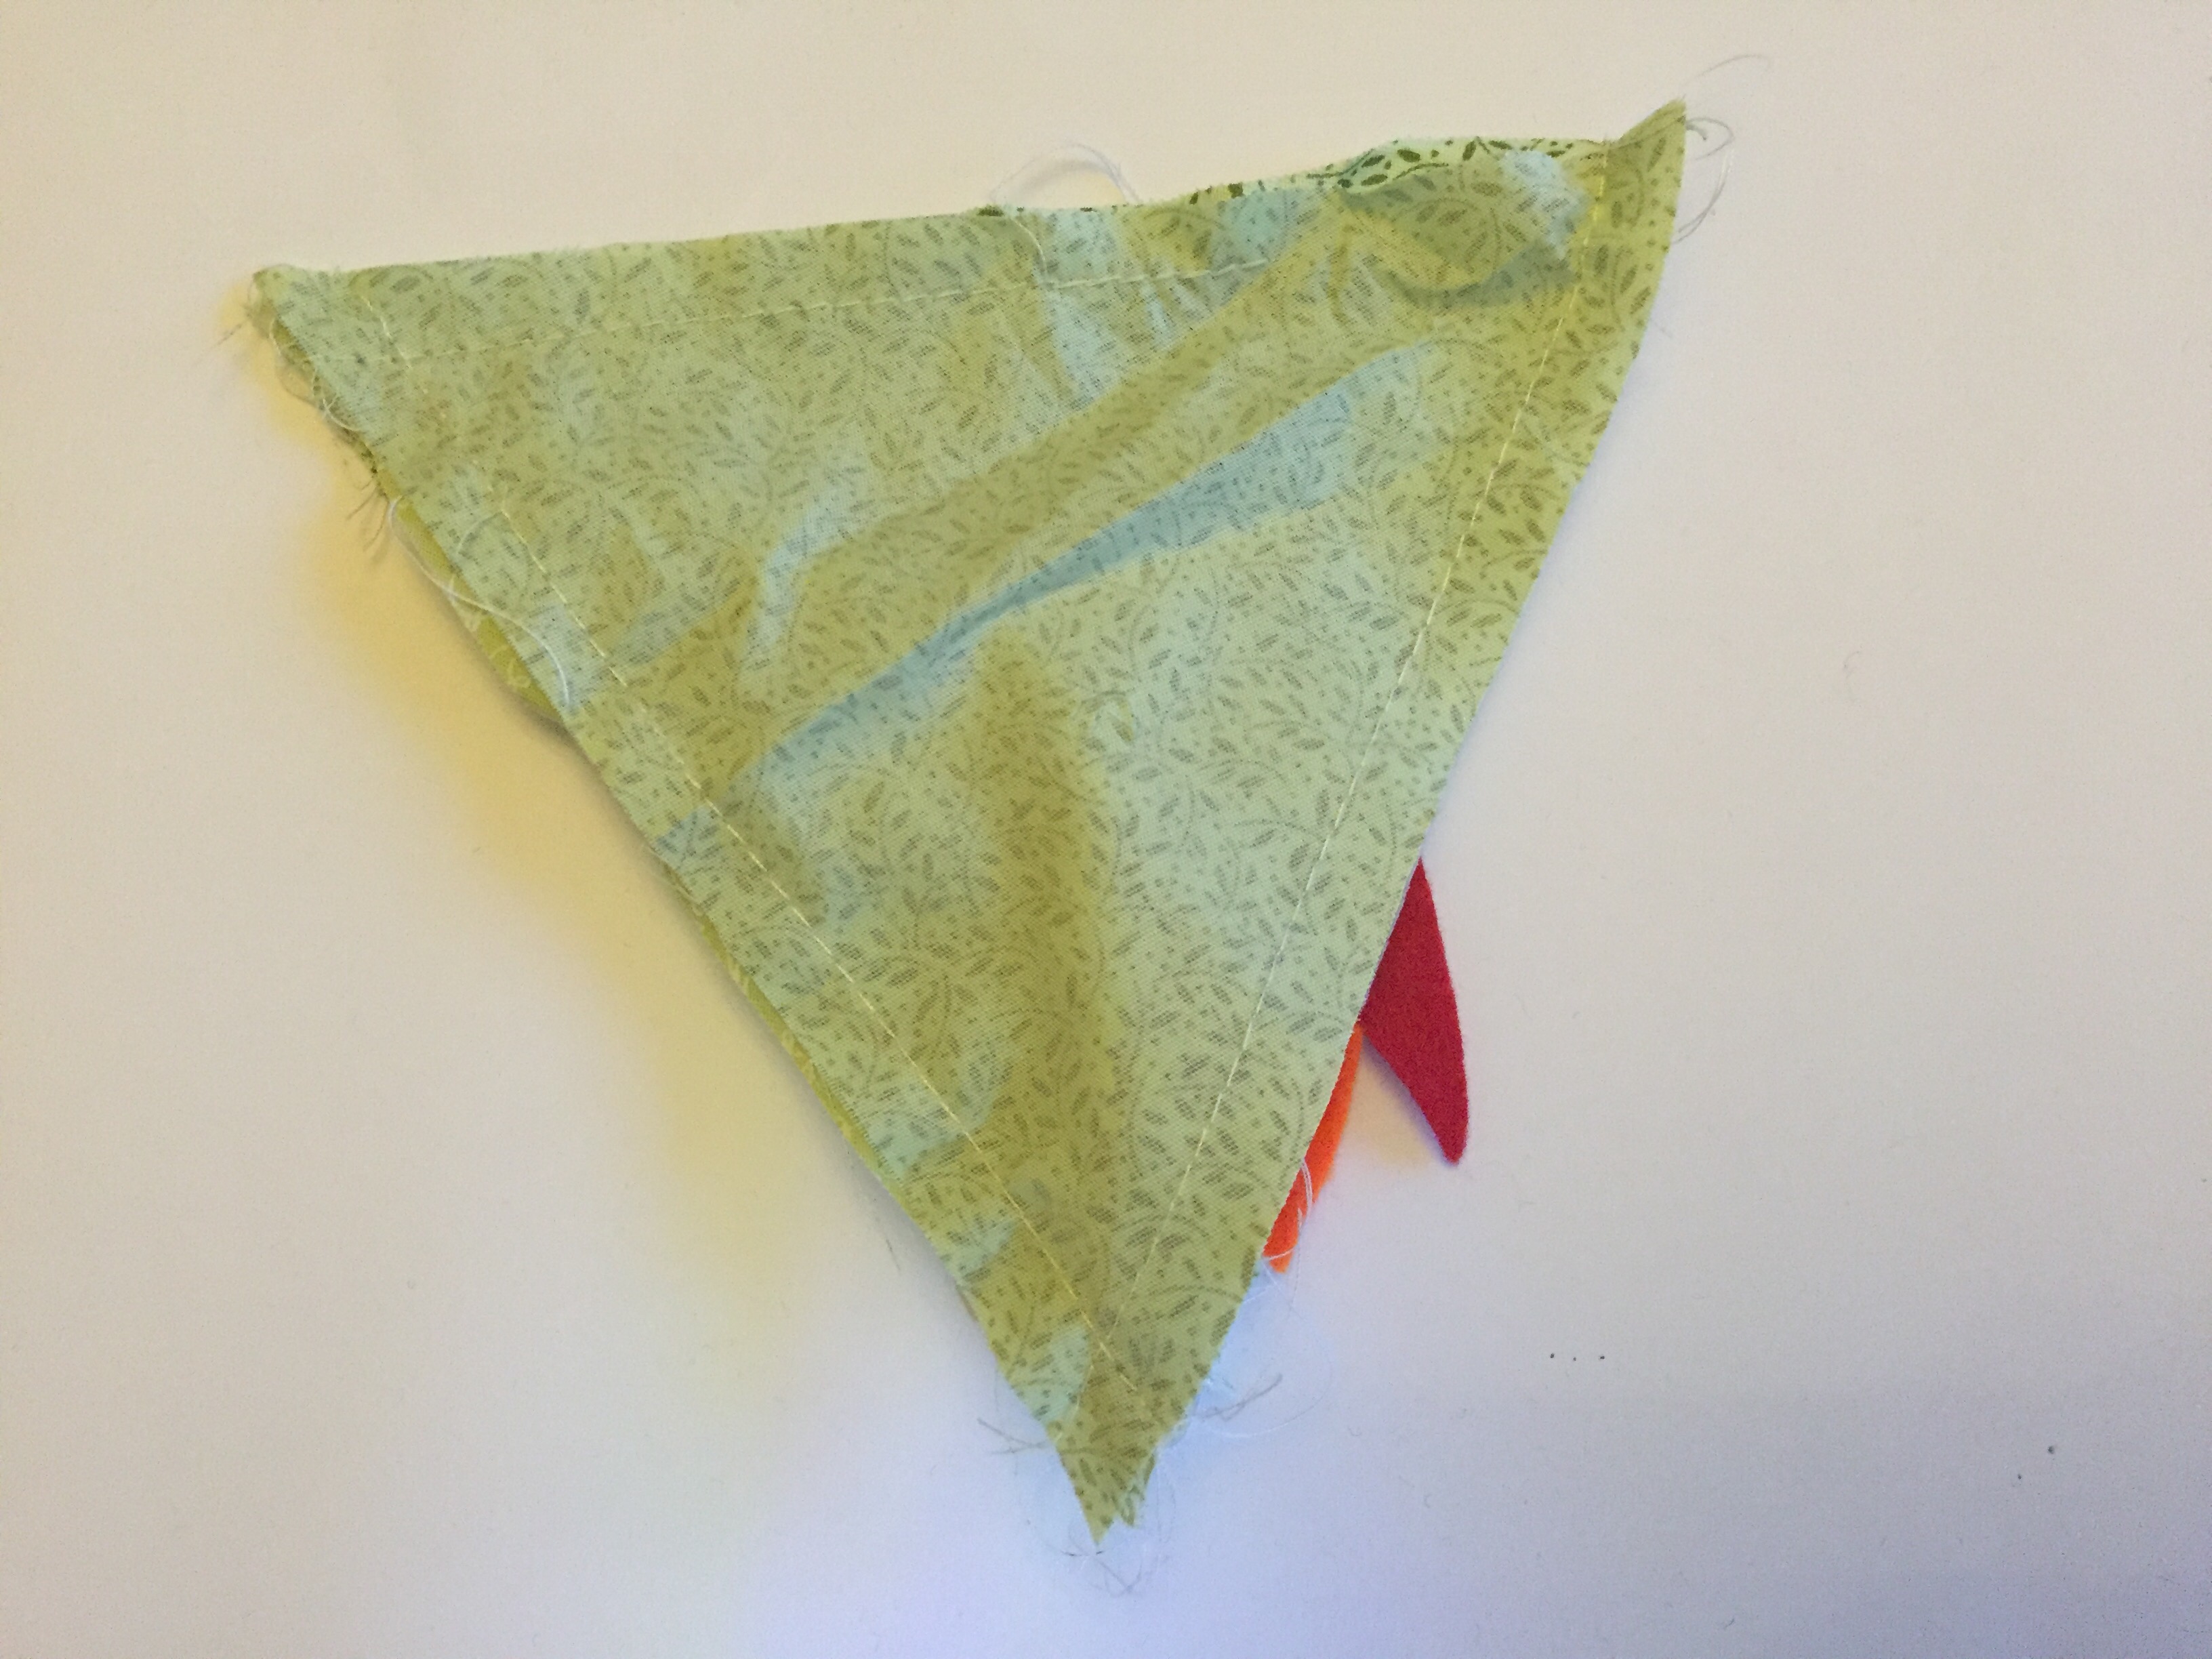
- Lay the first triangle flat with the right side up and place on the beak and wattle – make sure to place them facing inwards with their base edge just hanging over the fabric triangle.
- Place another triangle right sides together on top and sew down the seam.
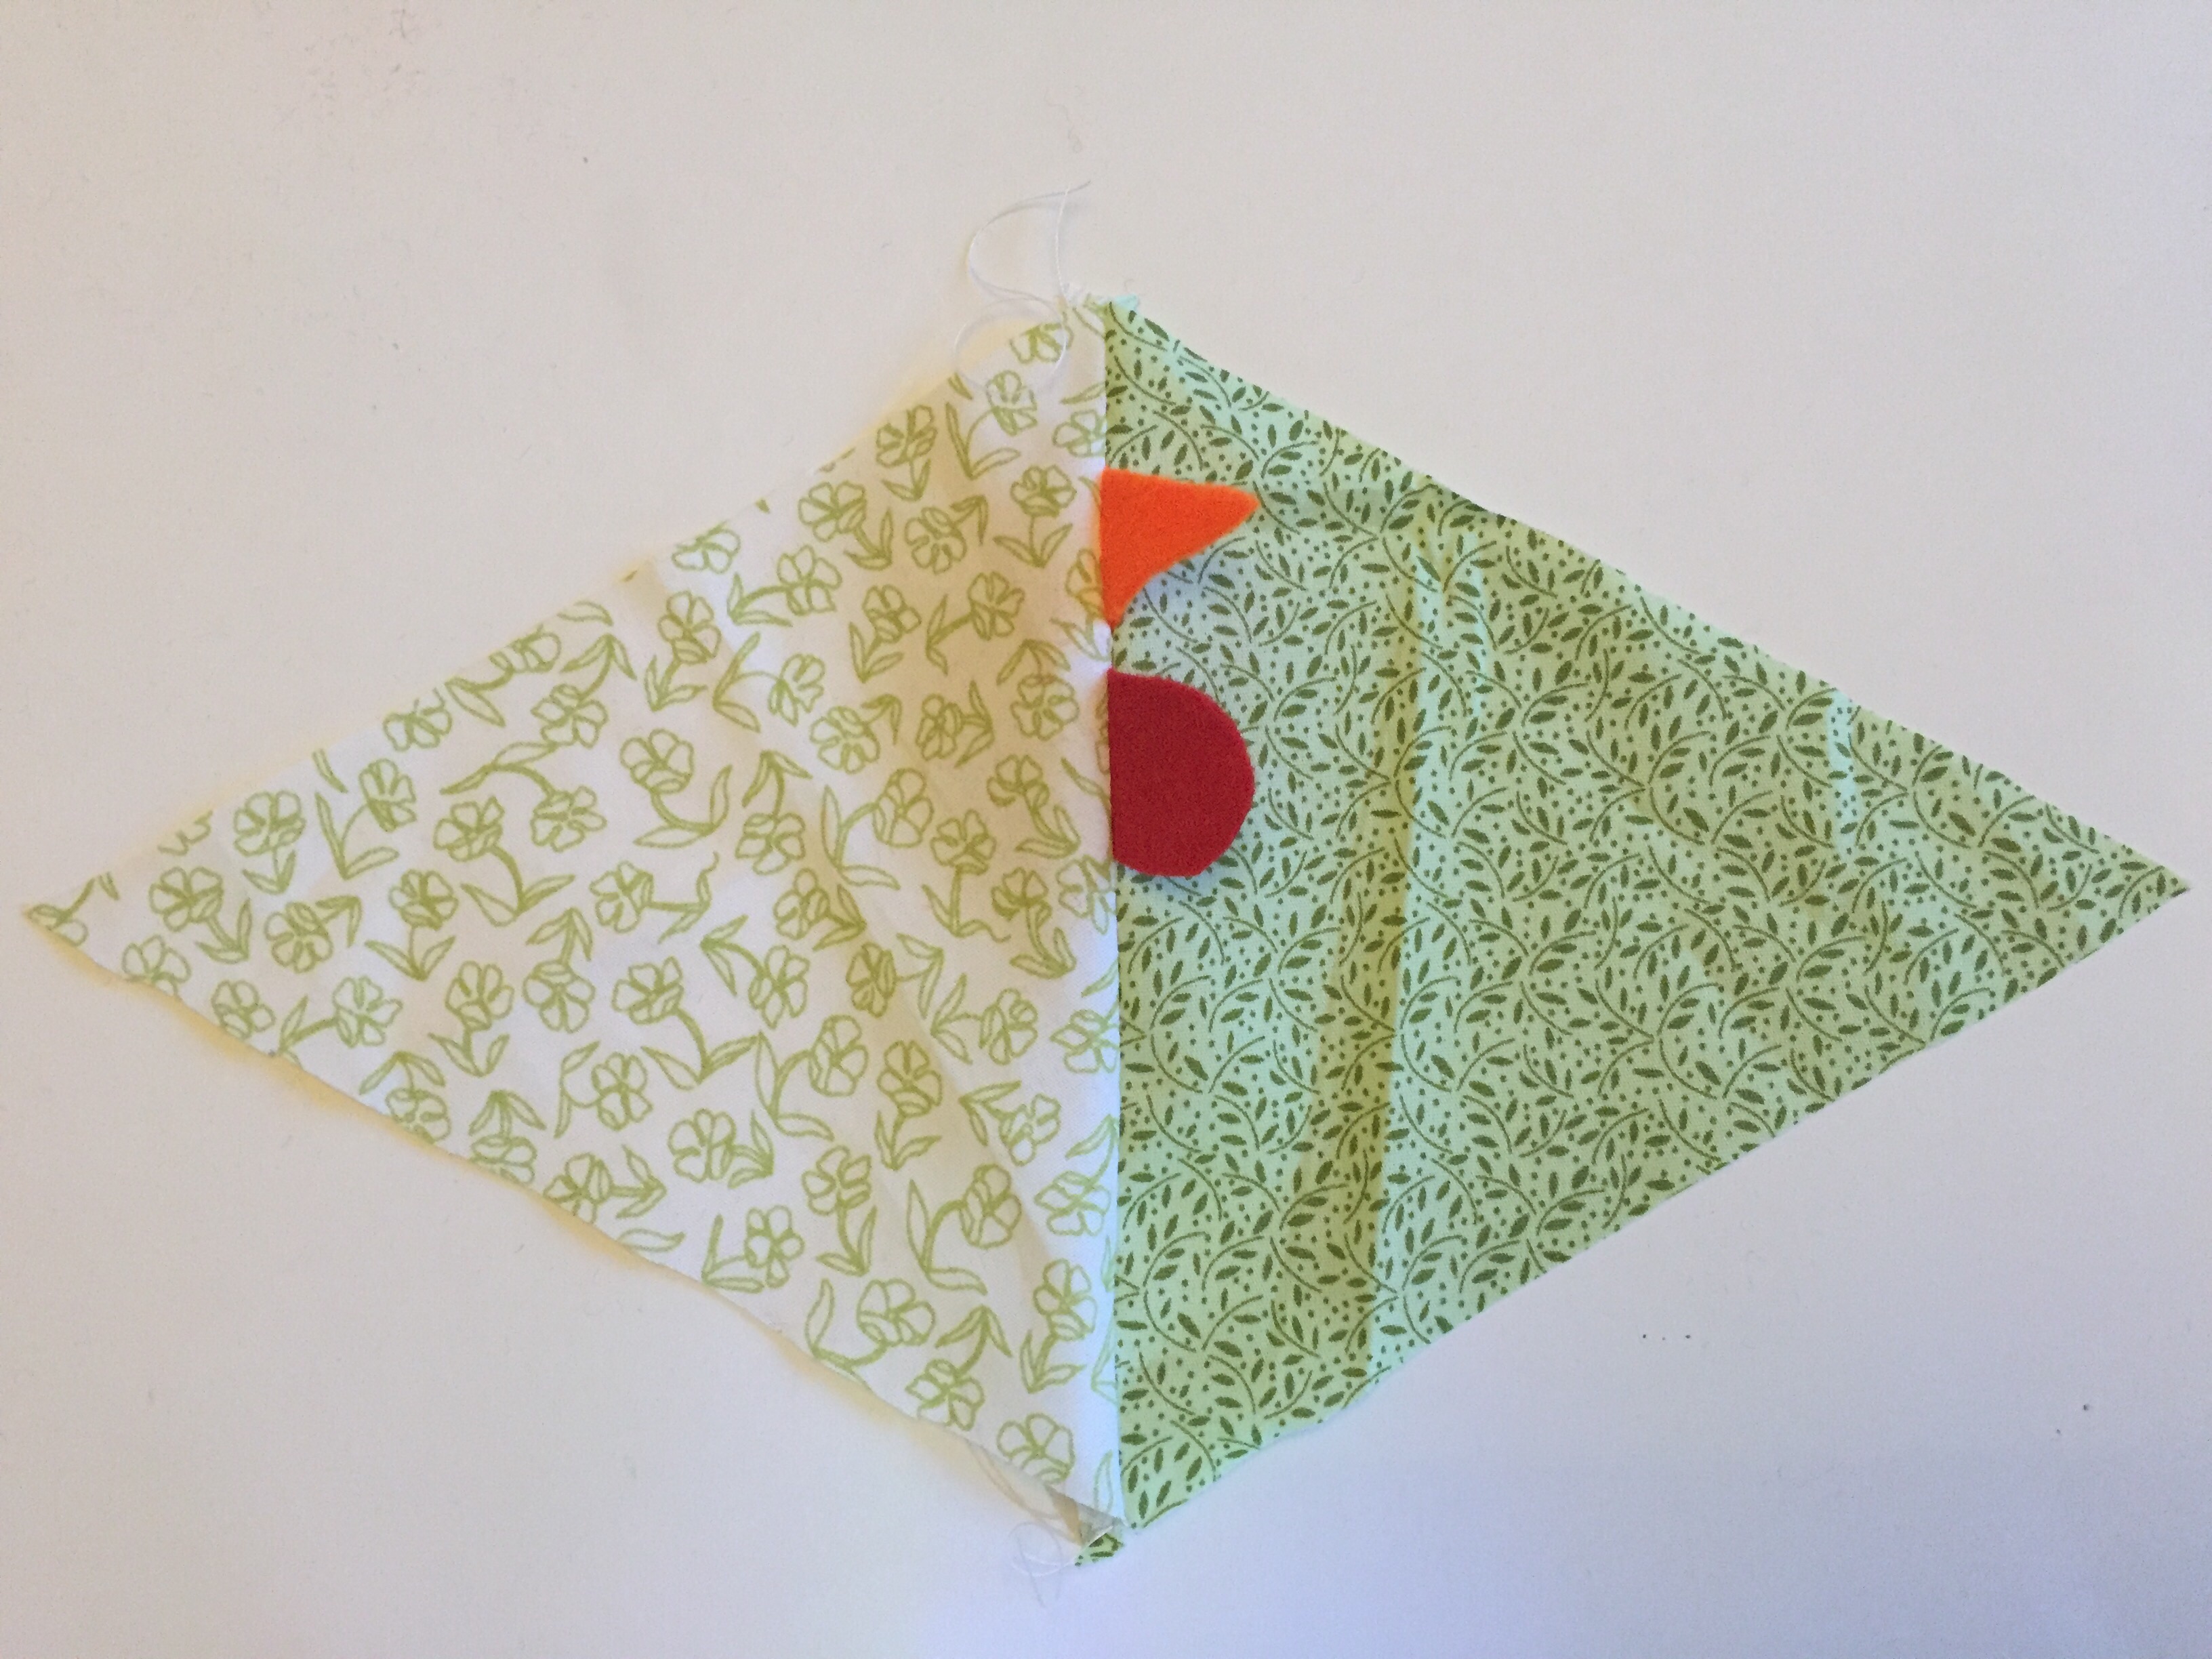
- Putting the chicken together – Part 2:
- Put the comb on the side opposite to the beak, again with it facing inwards, and take another triangle and place on top right sides together and sew down the seam.


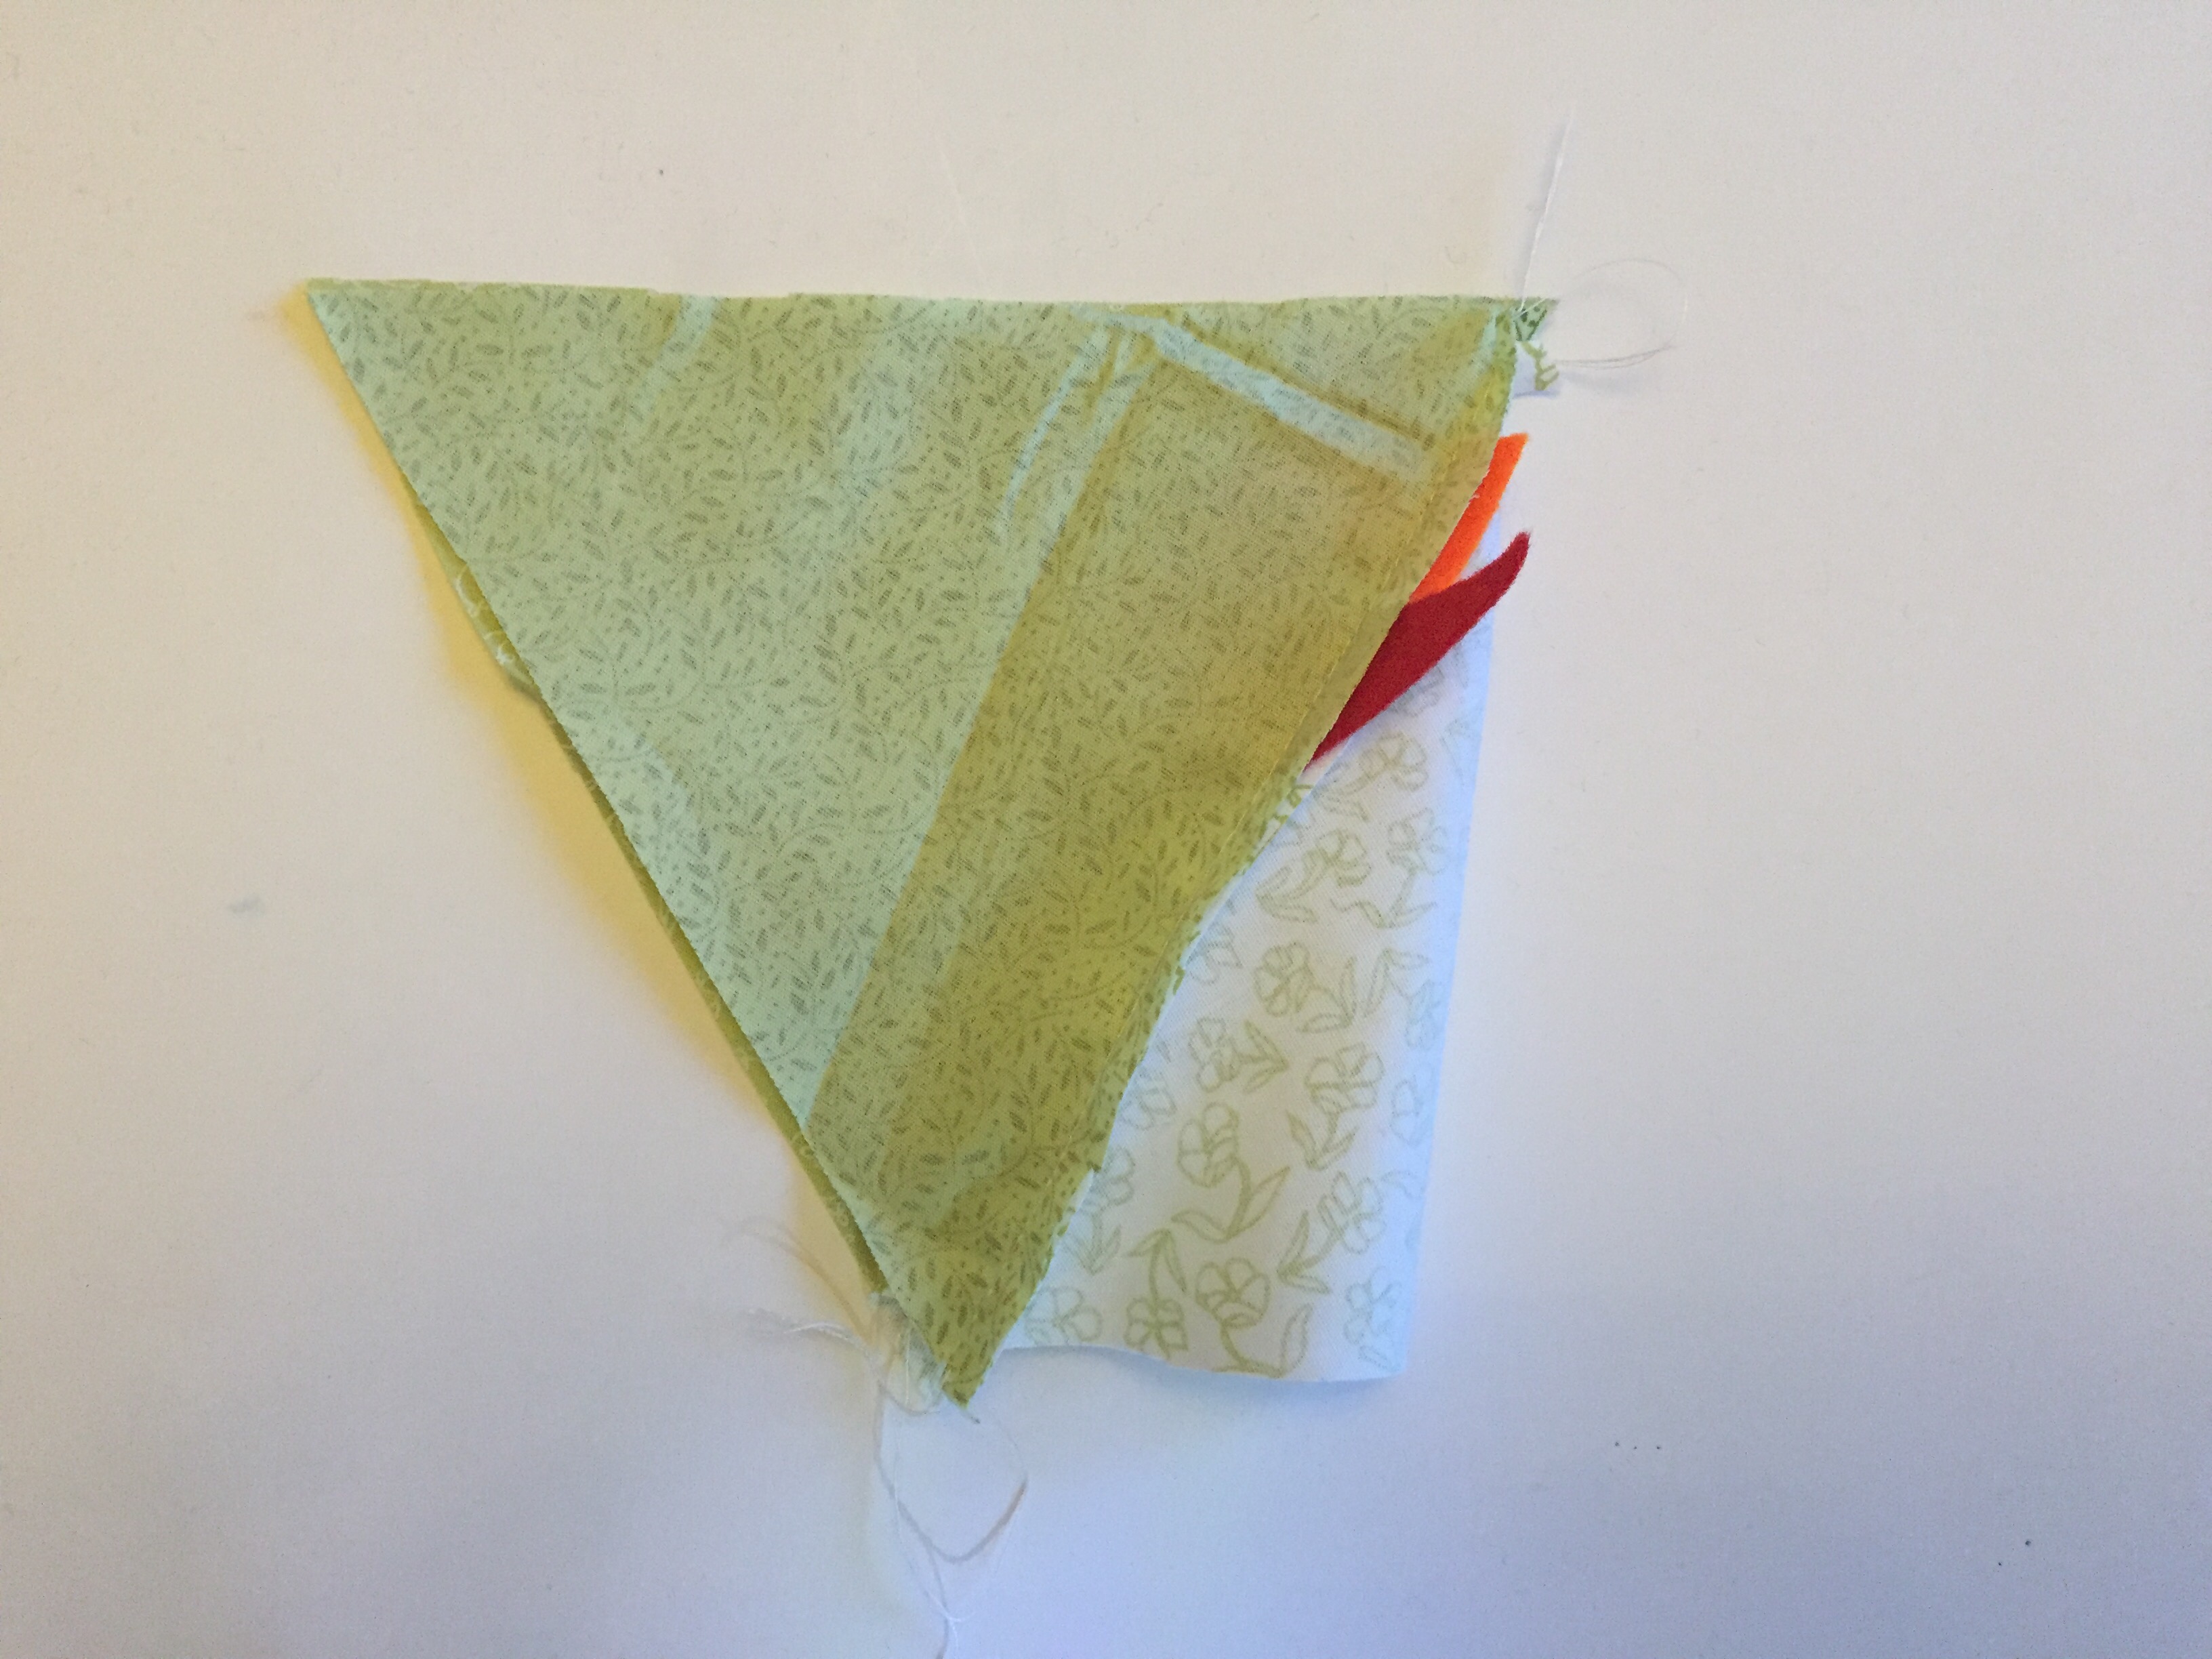
- Putting the chicken together – Part 3 (With no feet/legs):
- Sew the first triangle you attached to the last one to form the triangle, place right sides together and sew down the seam. So not turn out but leave with right sides facing together.
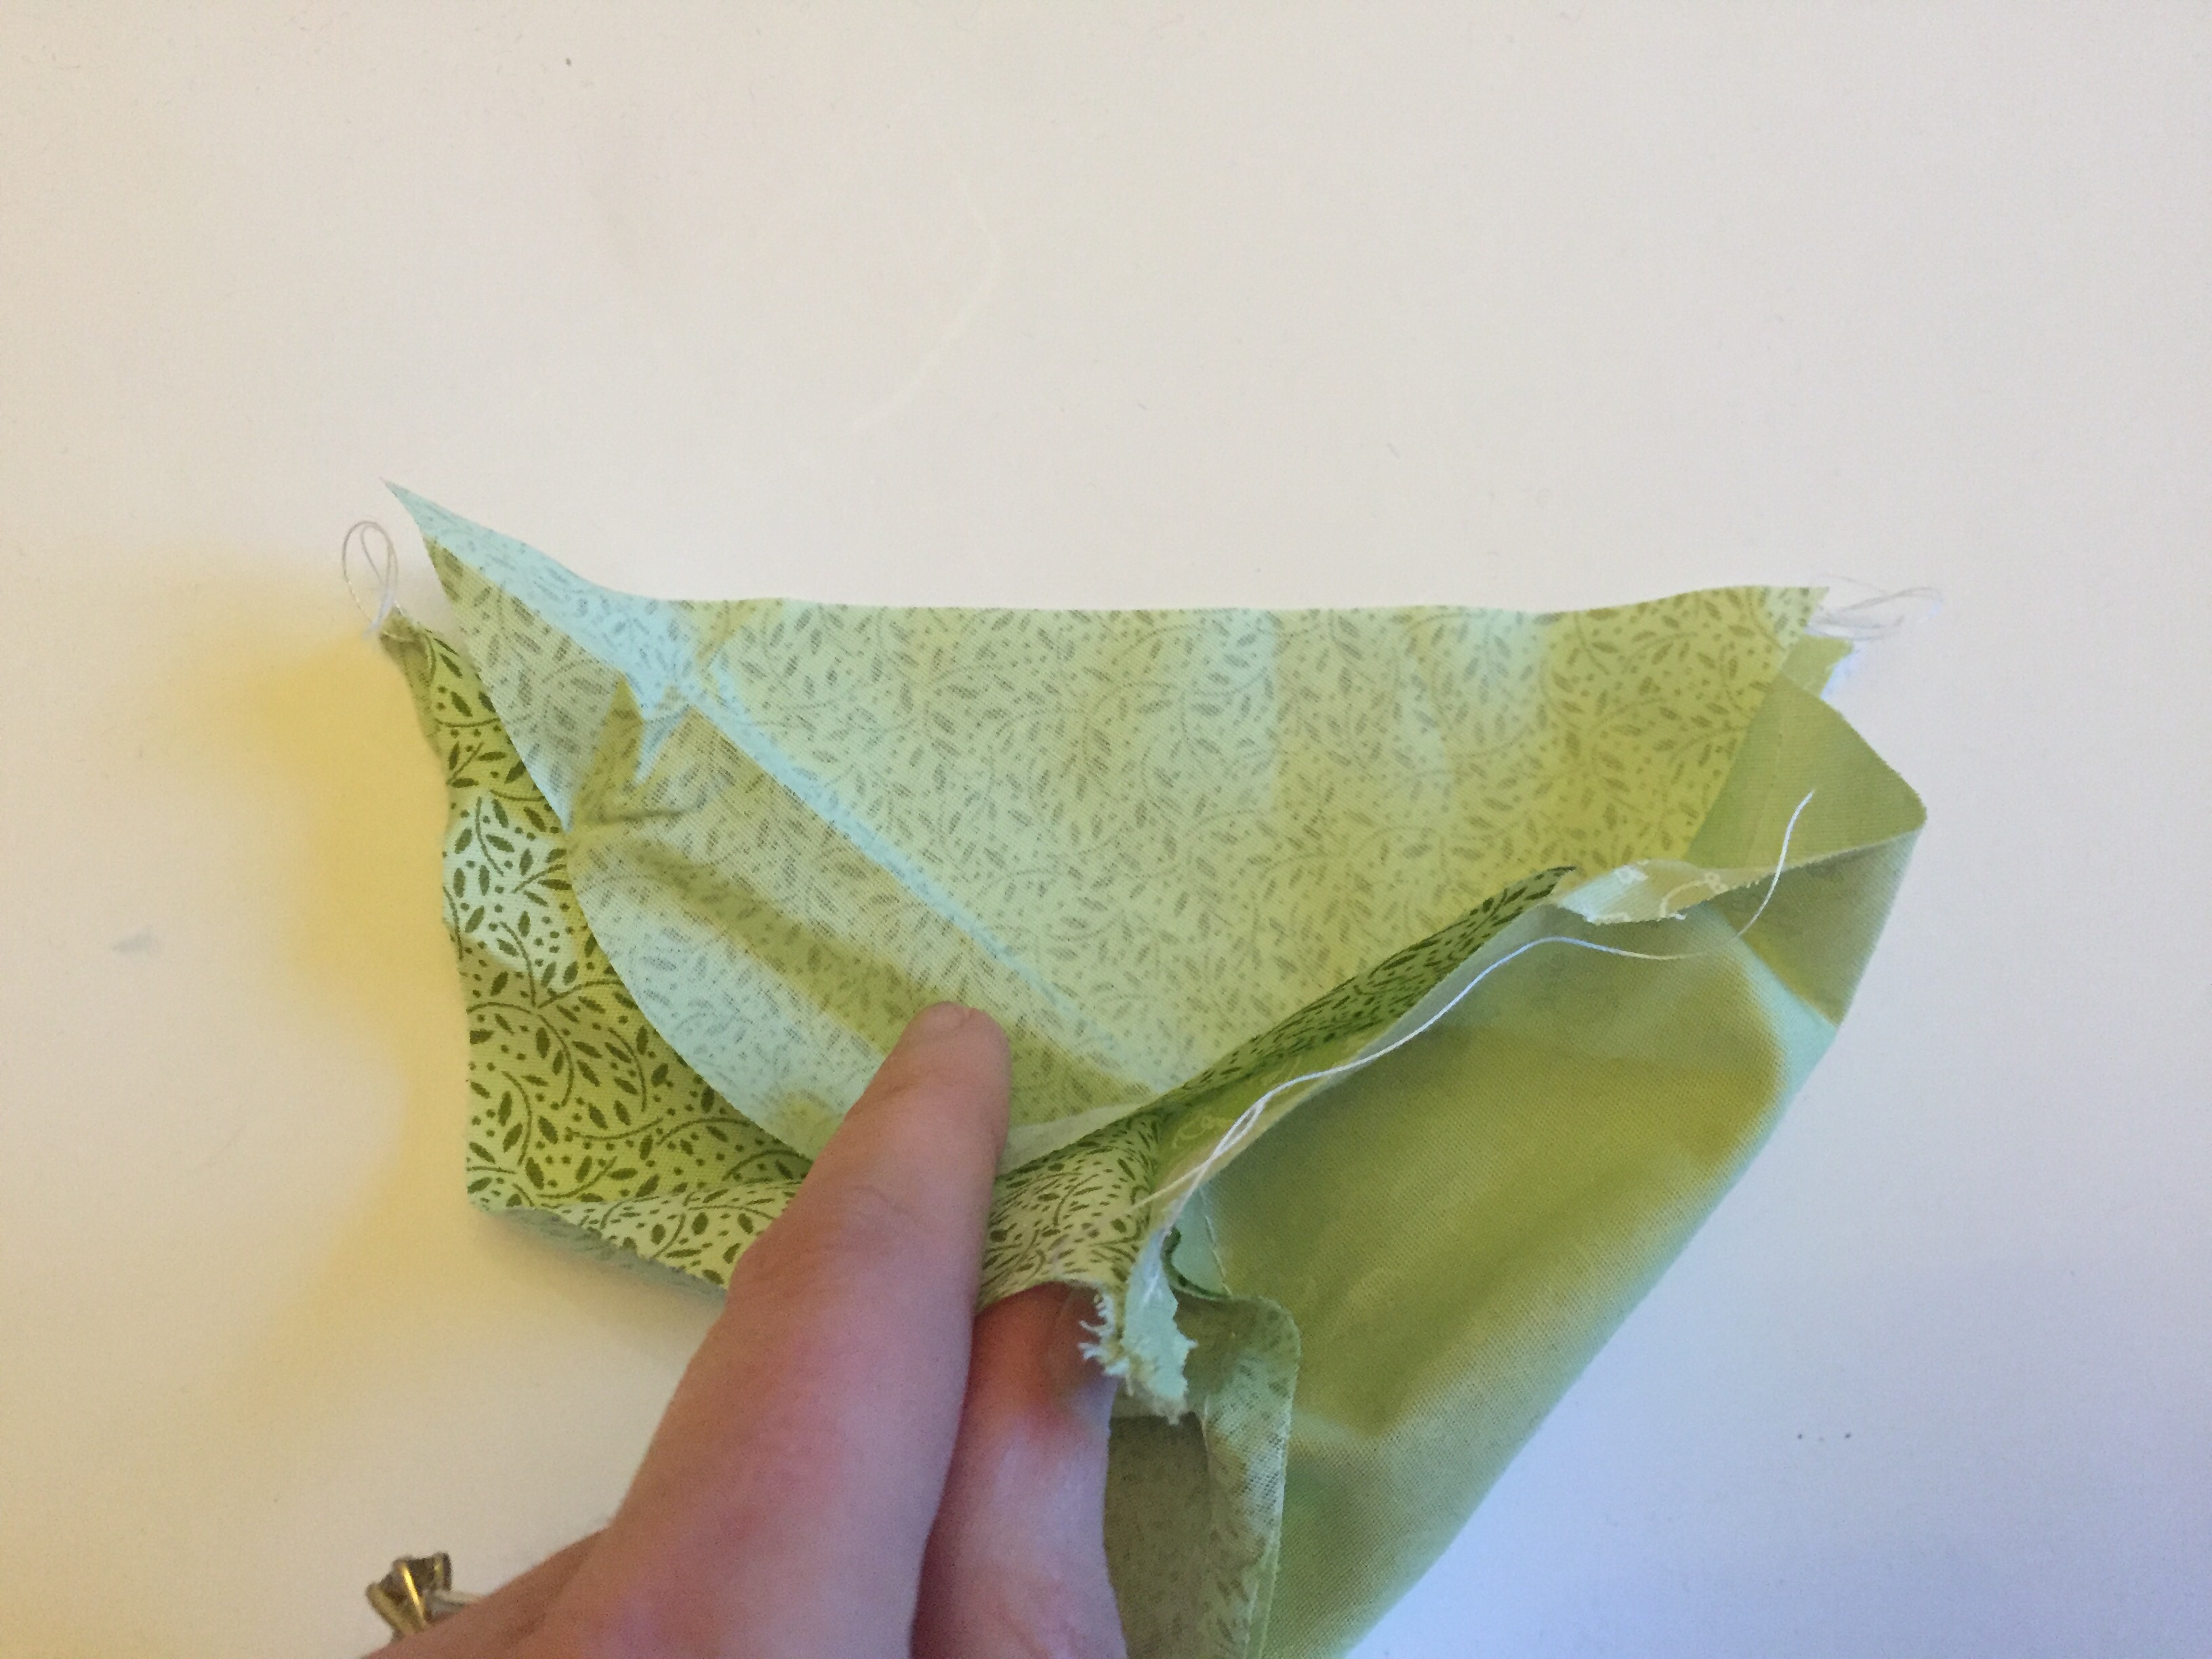
- Add the base by placing each side of the base triangle right sides together with the three sides of the chicken; make sure you leave a gap to turn the right way around.
- Turn out the right way.
- Putting the chicken together – Part 3 (With feet/legs):
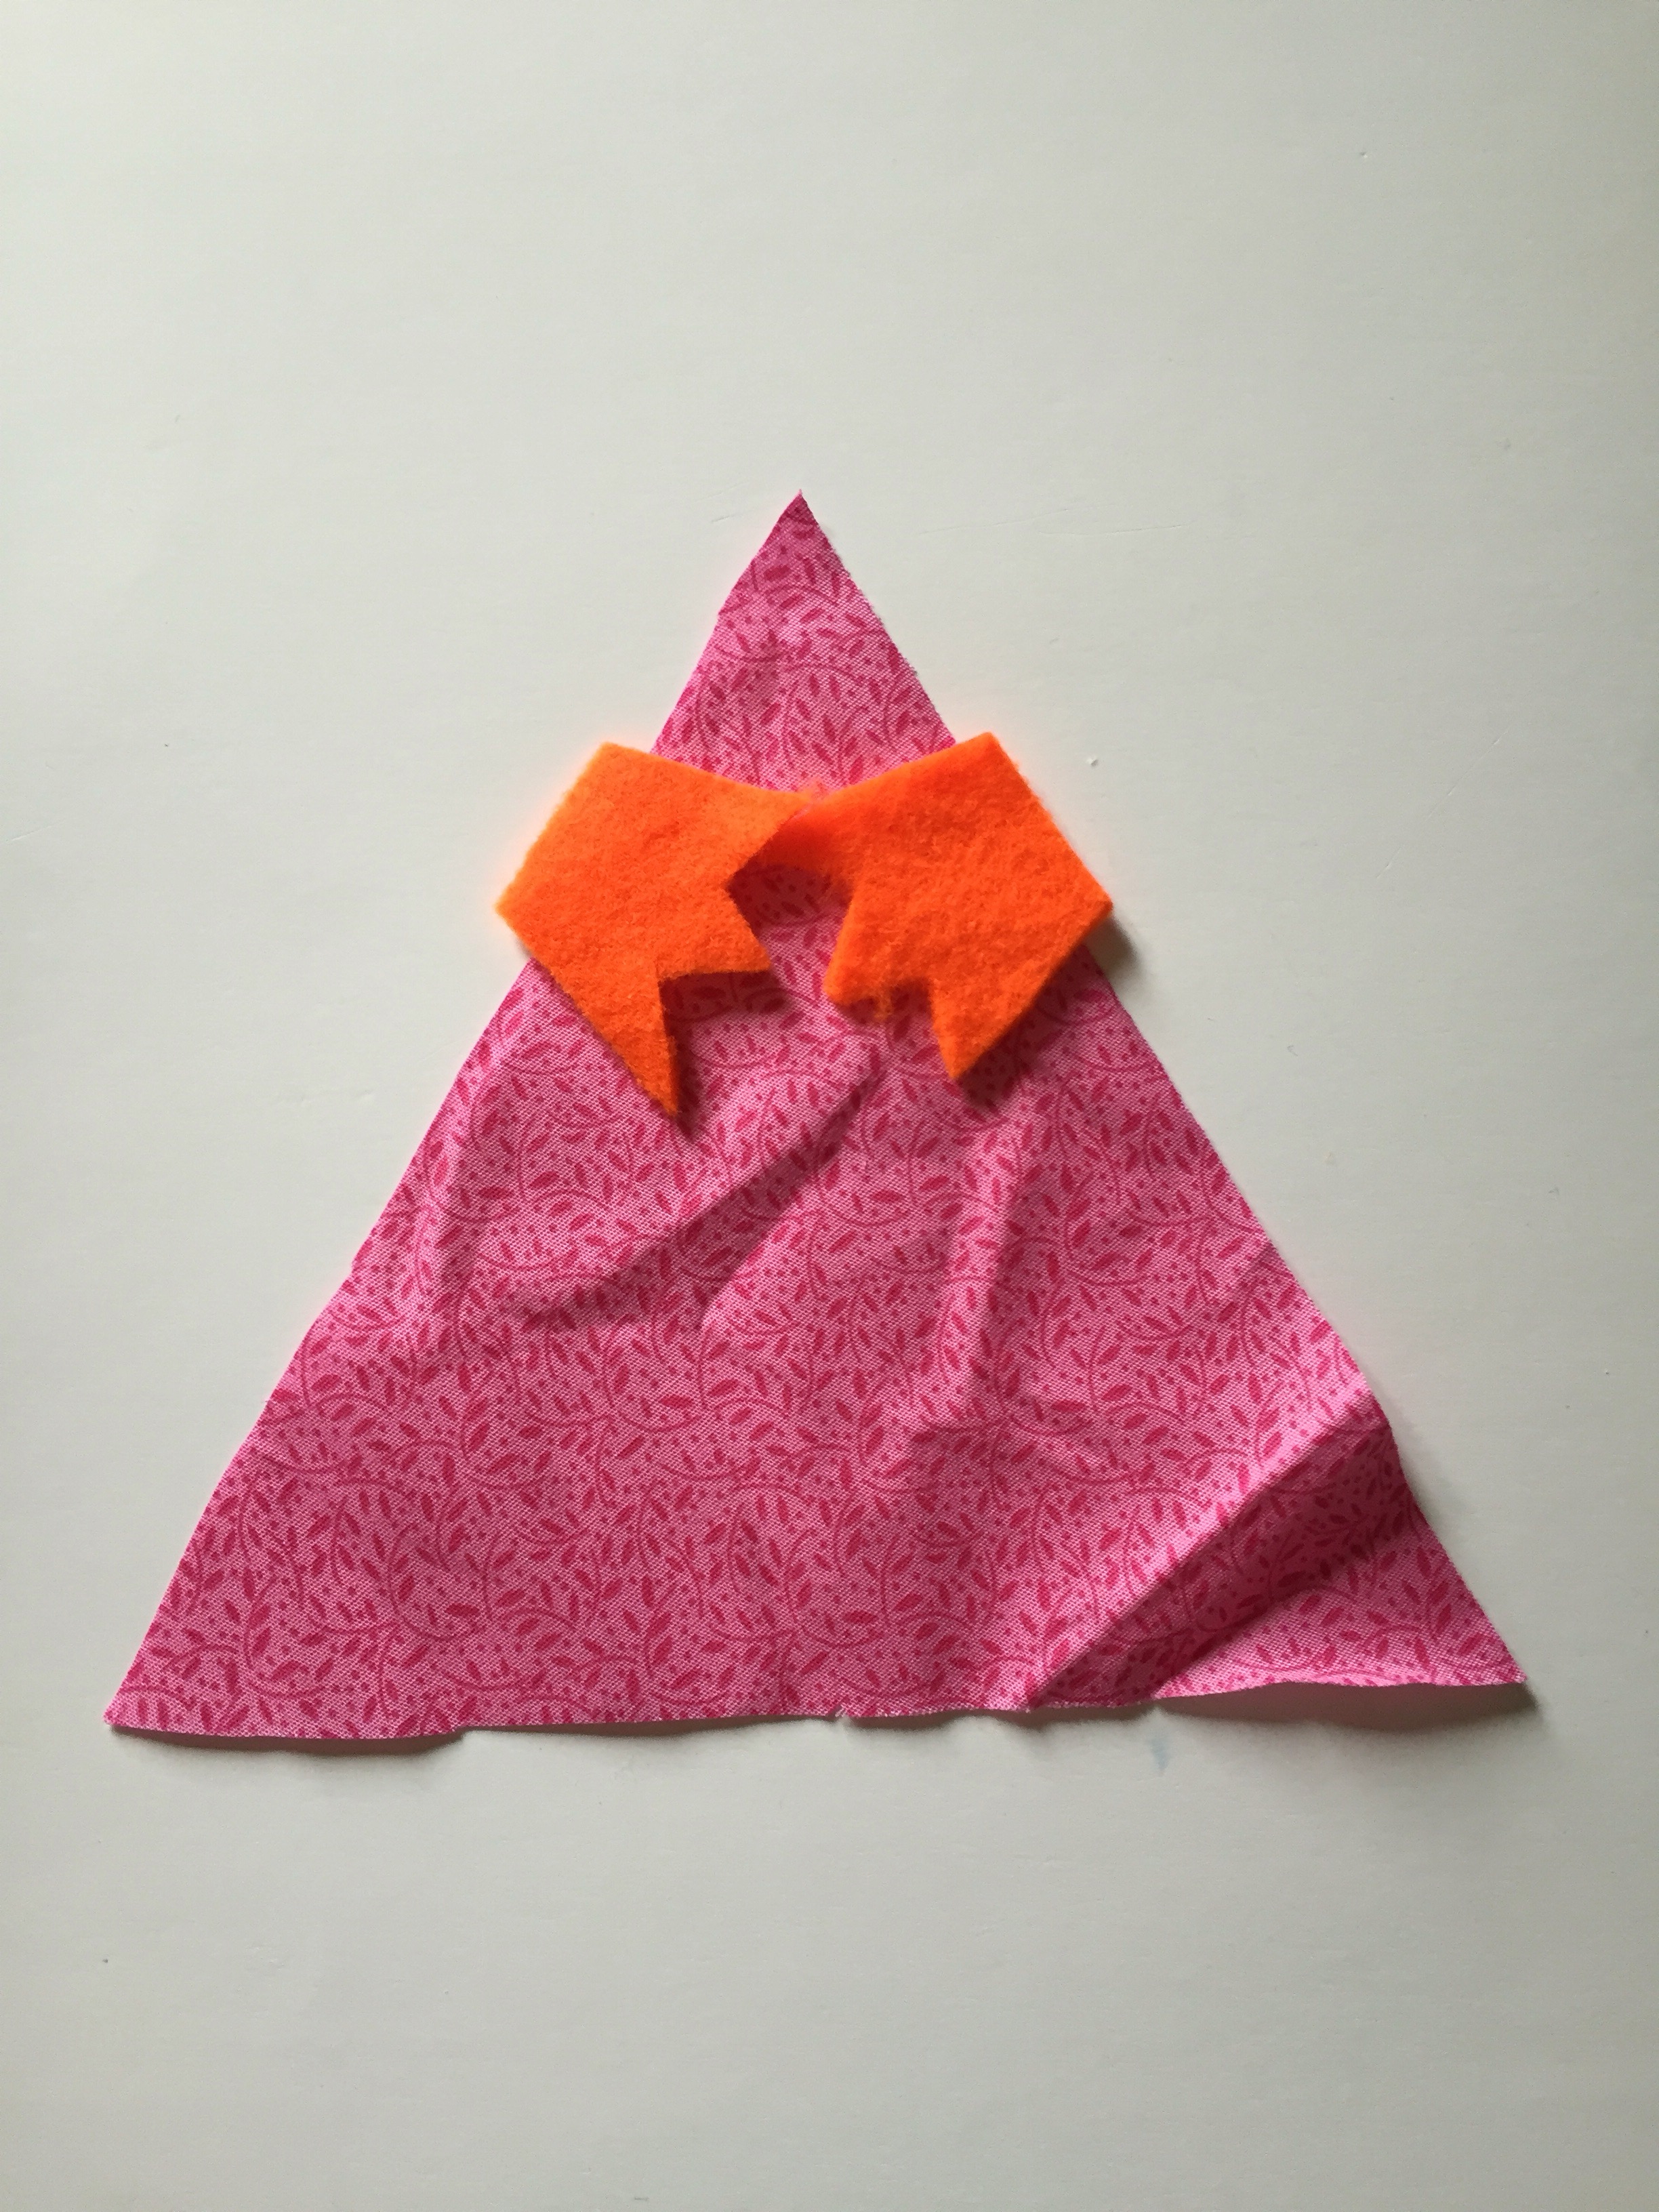
- If you are adding in feet or dangly leg detail, you need to add them in while attaching the base. Place them so they are facing inwards with their top edge just hanging over the edge of the fabric before sewing along the seam.
- Add the base by placing each side of the base triangle right sides together with the three sides of the chicken; make sure you leave a gap to turn the right way around.
- Turn out the right way.


- Stuffing:
- Place in the toy stuffing, leaving a space at the base. Now place some rice into the base to give it a bit of weight. You can also just fill the whole chicken with rice if you prefer, or leave the rice out completely and just use stuffing. Slip stitch down the seam to close.


- Eyes:
- Sew on two buttons for the eyes.

- Extra details:
- For wing details, sew on a selection of different coloured and sized buttons onto the side of the chickens.
- For the dangly legs thread on some different sized buttons (I used yellow) onto the wool with an orange button at the base for the foot.


This tutorial is also available over on The Craft Cotton Company website.

Leave a comment