
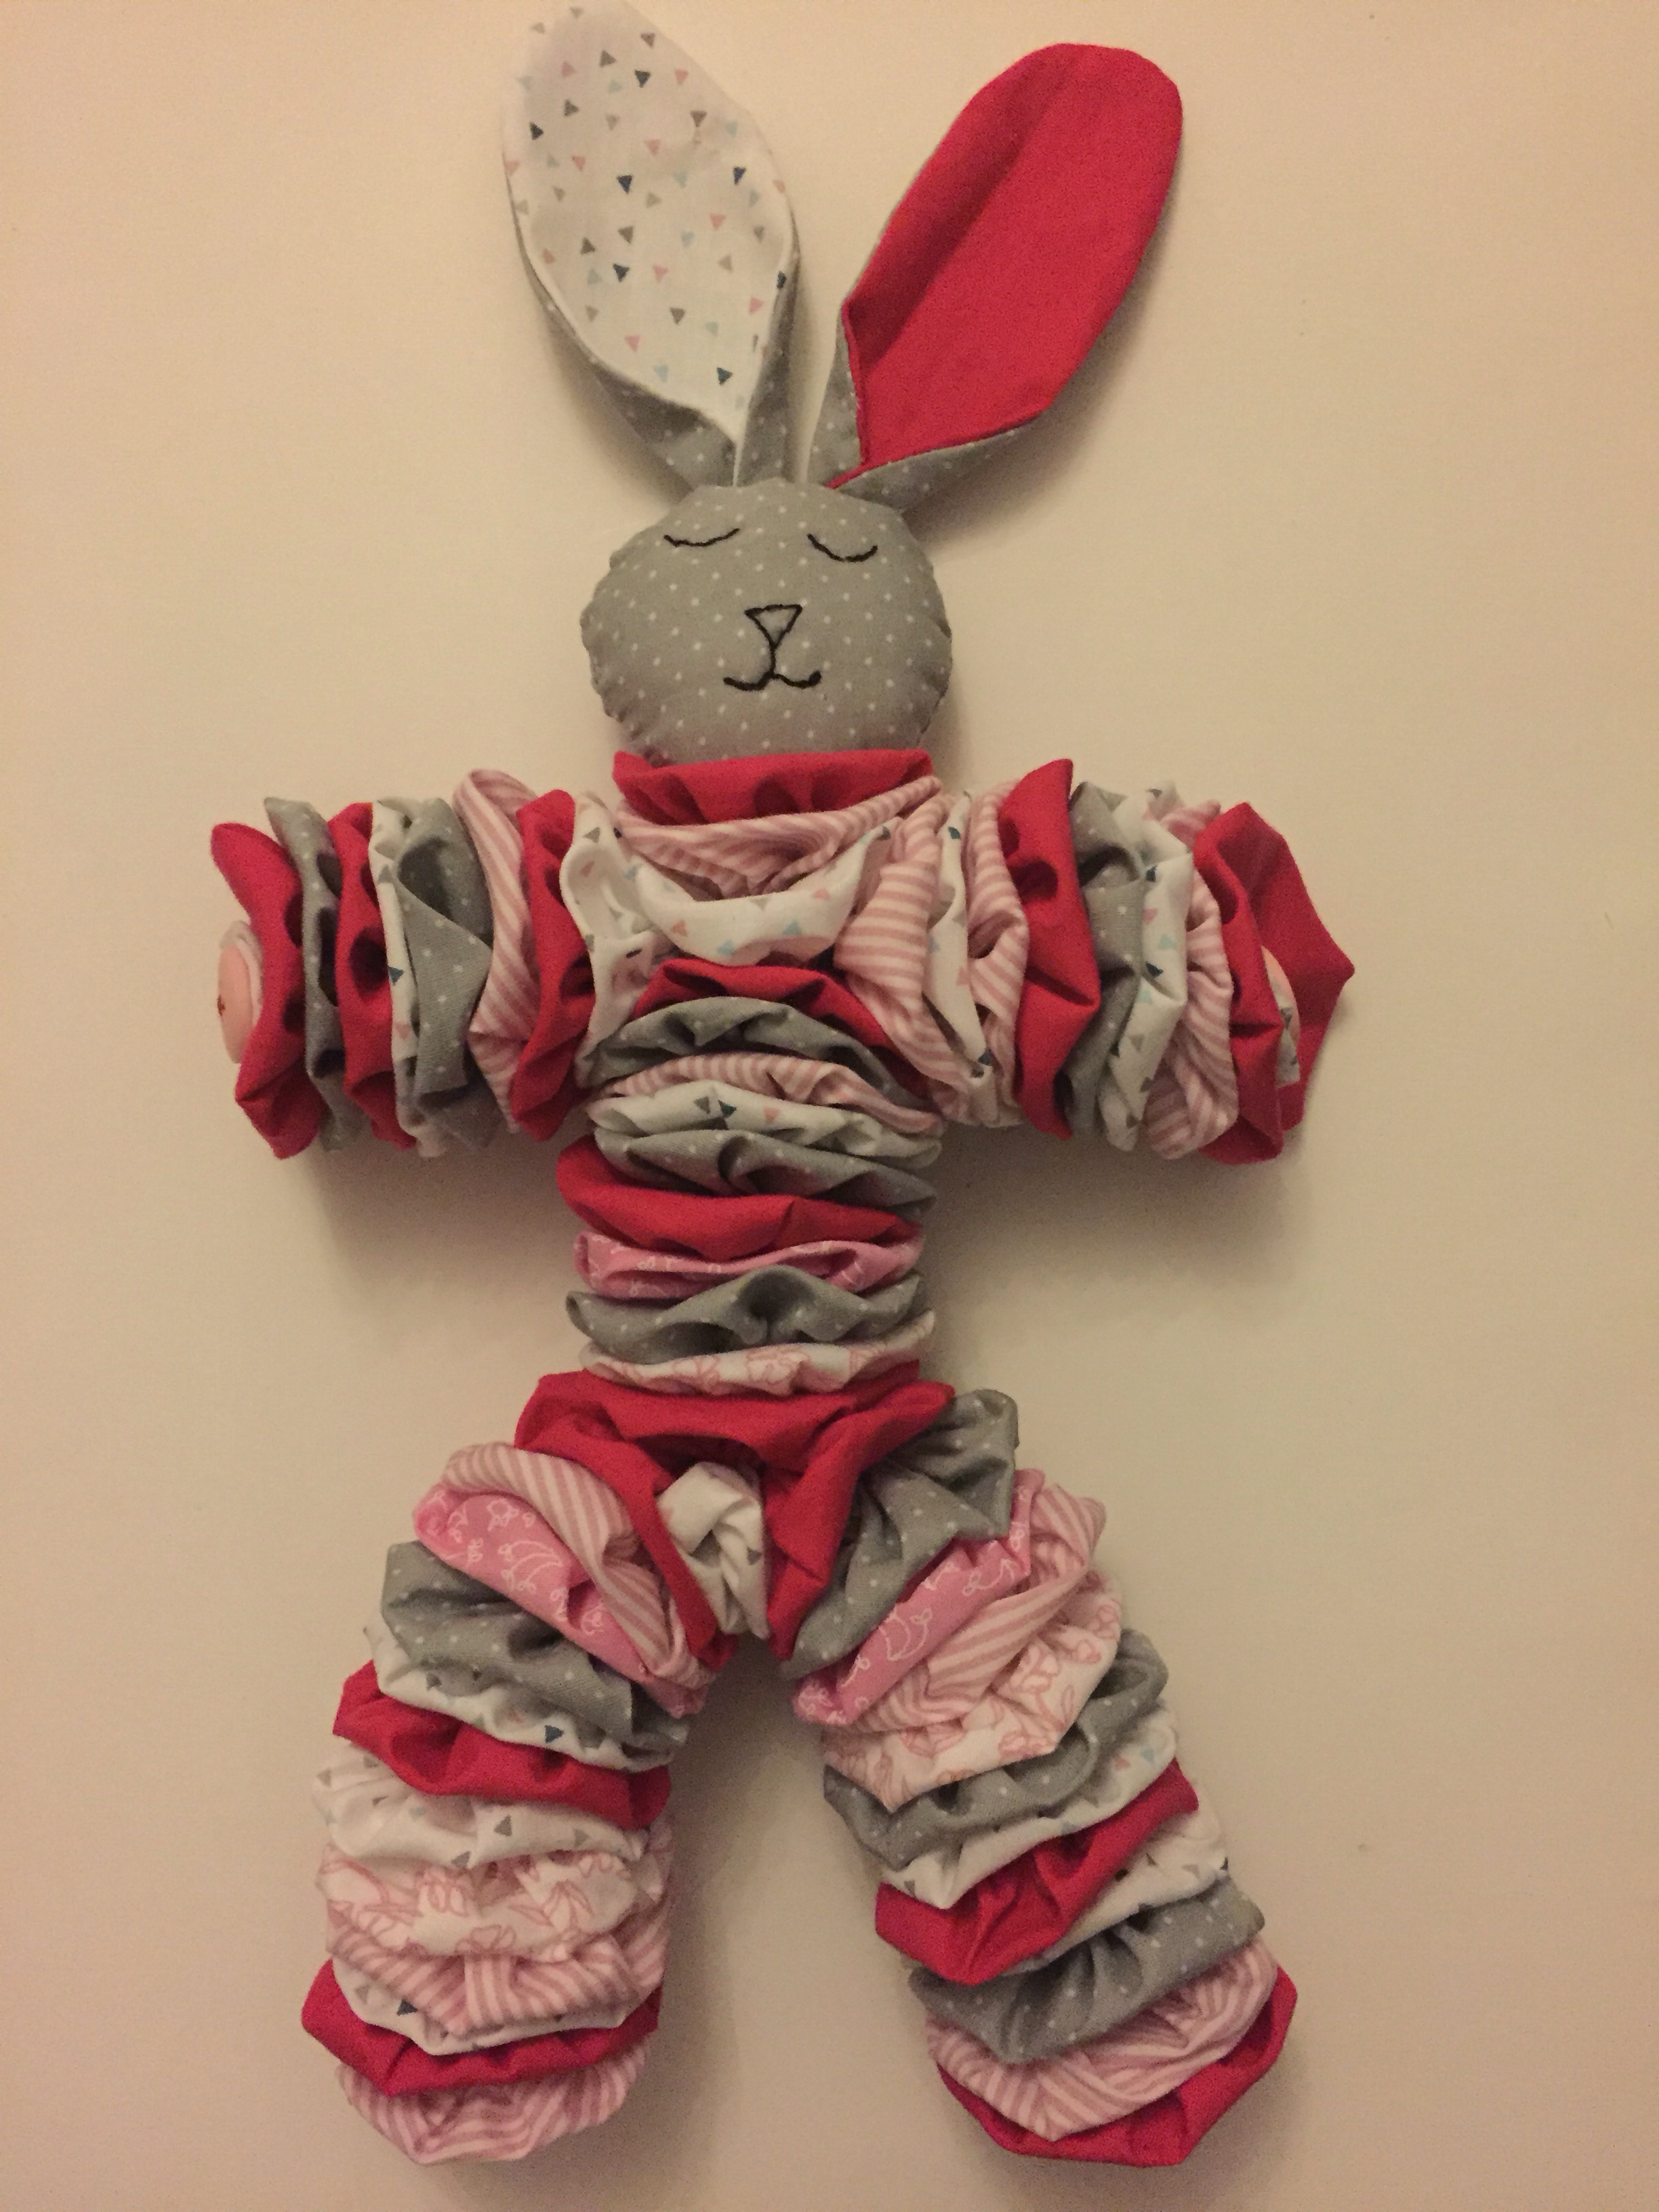
This yo-yo bunny is perfect for Easter and great for using up fabric leftovers
As mentioned in my previous quilt post I always have bits of fabric left over from projects and am currently looking for ways to use them up so they don’t go to waste and don’t end up taking over my craft cupboard which is starting to become a loosing battle. As Easter is rapidly approaching I came up with a few ideas to make some Easter makes using fabric yo-yos. I haven’t made yo-yos in years and to be honest had completely forgot about them until I came across an old make of mine from when I was little which used them.
The first Easter yoyo make is a very cute little bunny, you could make this as big or as small as you like, all you need to do is change the size of the yo-yo pattern.
Fabric was gifted by The Craft Cotton Company.
Sewing Tutorial: Fabric Yo-Yo Easter Bunny Pattern
To change the size of the finished bunny all you need to do is alter the size of the yoyos.
Materials
- Thread
- Needle
- Pins
- Fabric – I used off cuts from fabrics I have used previously by the Craft Cotton Company
- 4 small buttons
- Toy stuffing
- Paper to make the yoyo template
Sewing Tutorial: Fabric Yo-Yo Easter Bunny Pattern: Assembly
- Make the yoyo template:
- You will need two different sized circles for this make, one larger one for the body arms and legs, and a smaller one for the hands and feet. For larger yoyo I used a circle with an 11.5 cm diameter, and for the smaller yoyo I used a circle with a diameter of 6.5 cm.

- Cutting out the fabric:
- I cut out the following number of fabric circles:
- 14 large circles for body.
- 8 large circles for each arm (16 in total).
- 12 large circles for each leg (24 in total).
- 4 smaller circles for hands and feet.
- 1 small circle for tail.
- 4 large circles for the ears.
- 2 small circles with an added 0.5cm seam allowance for the face.
- I cut out the following number of fabric circles:
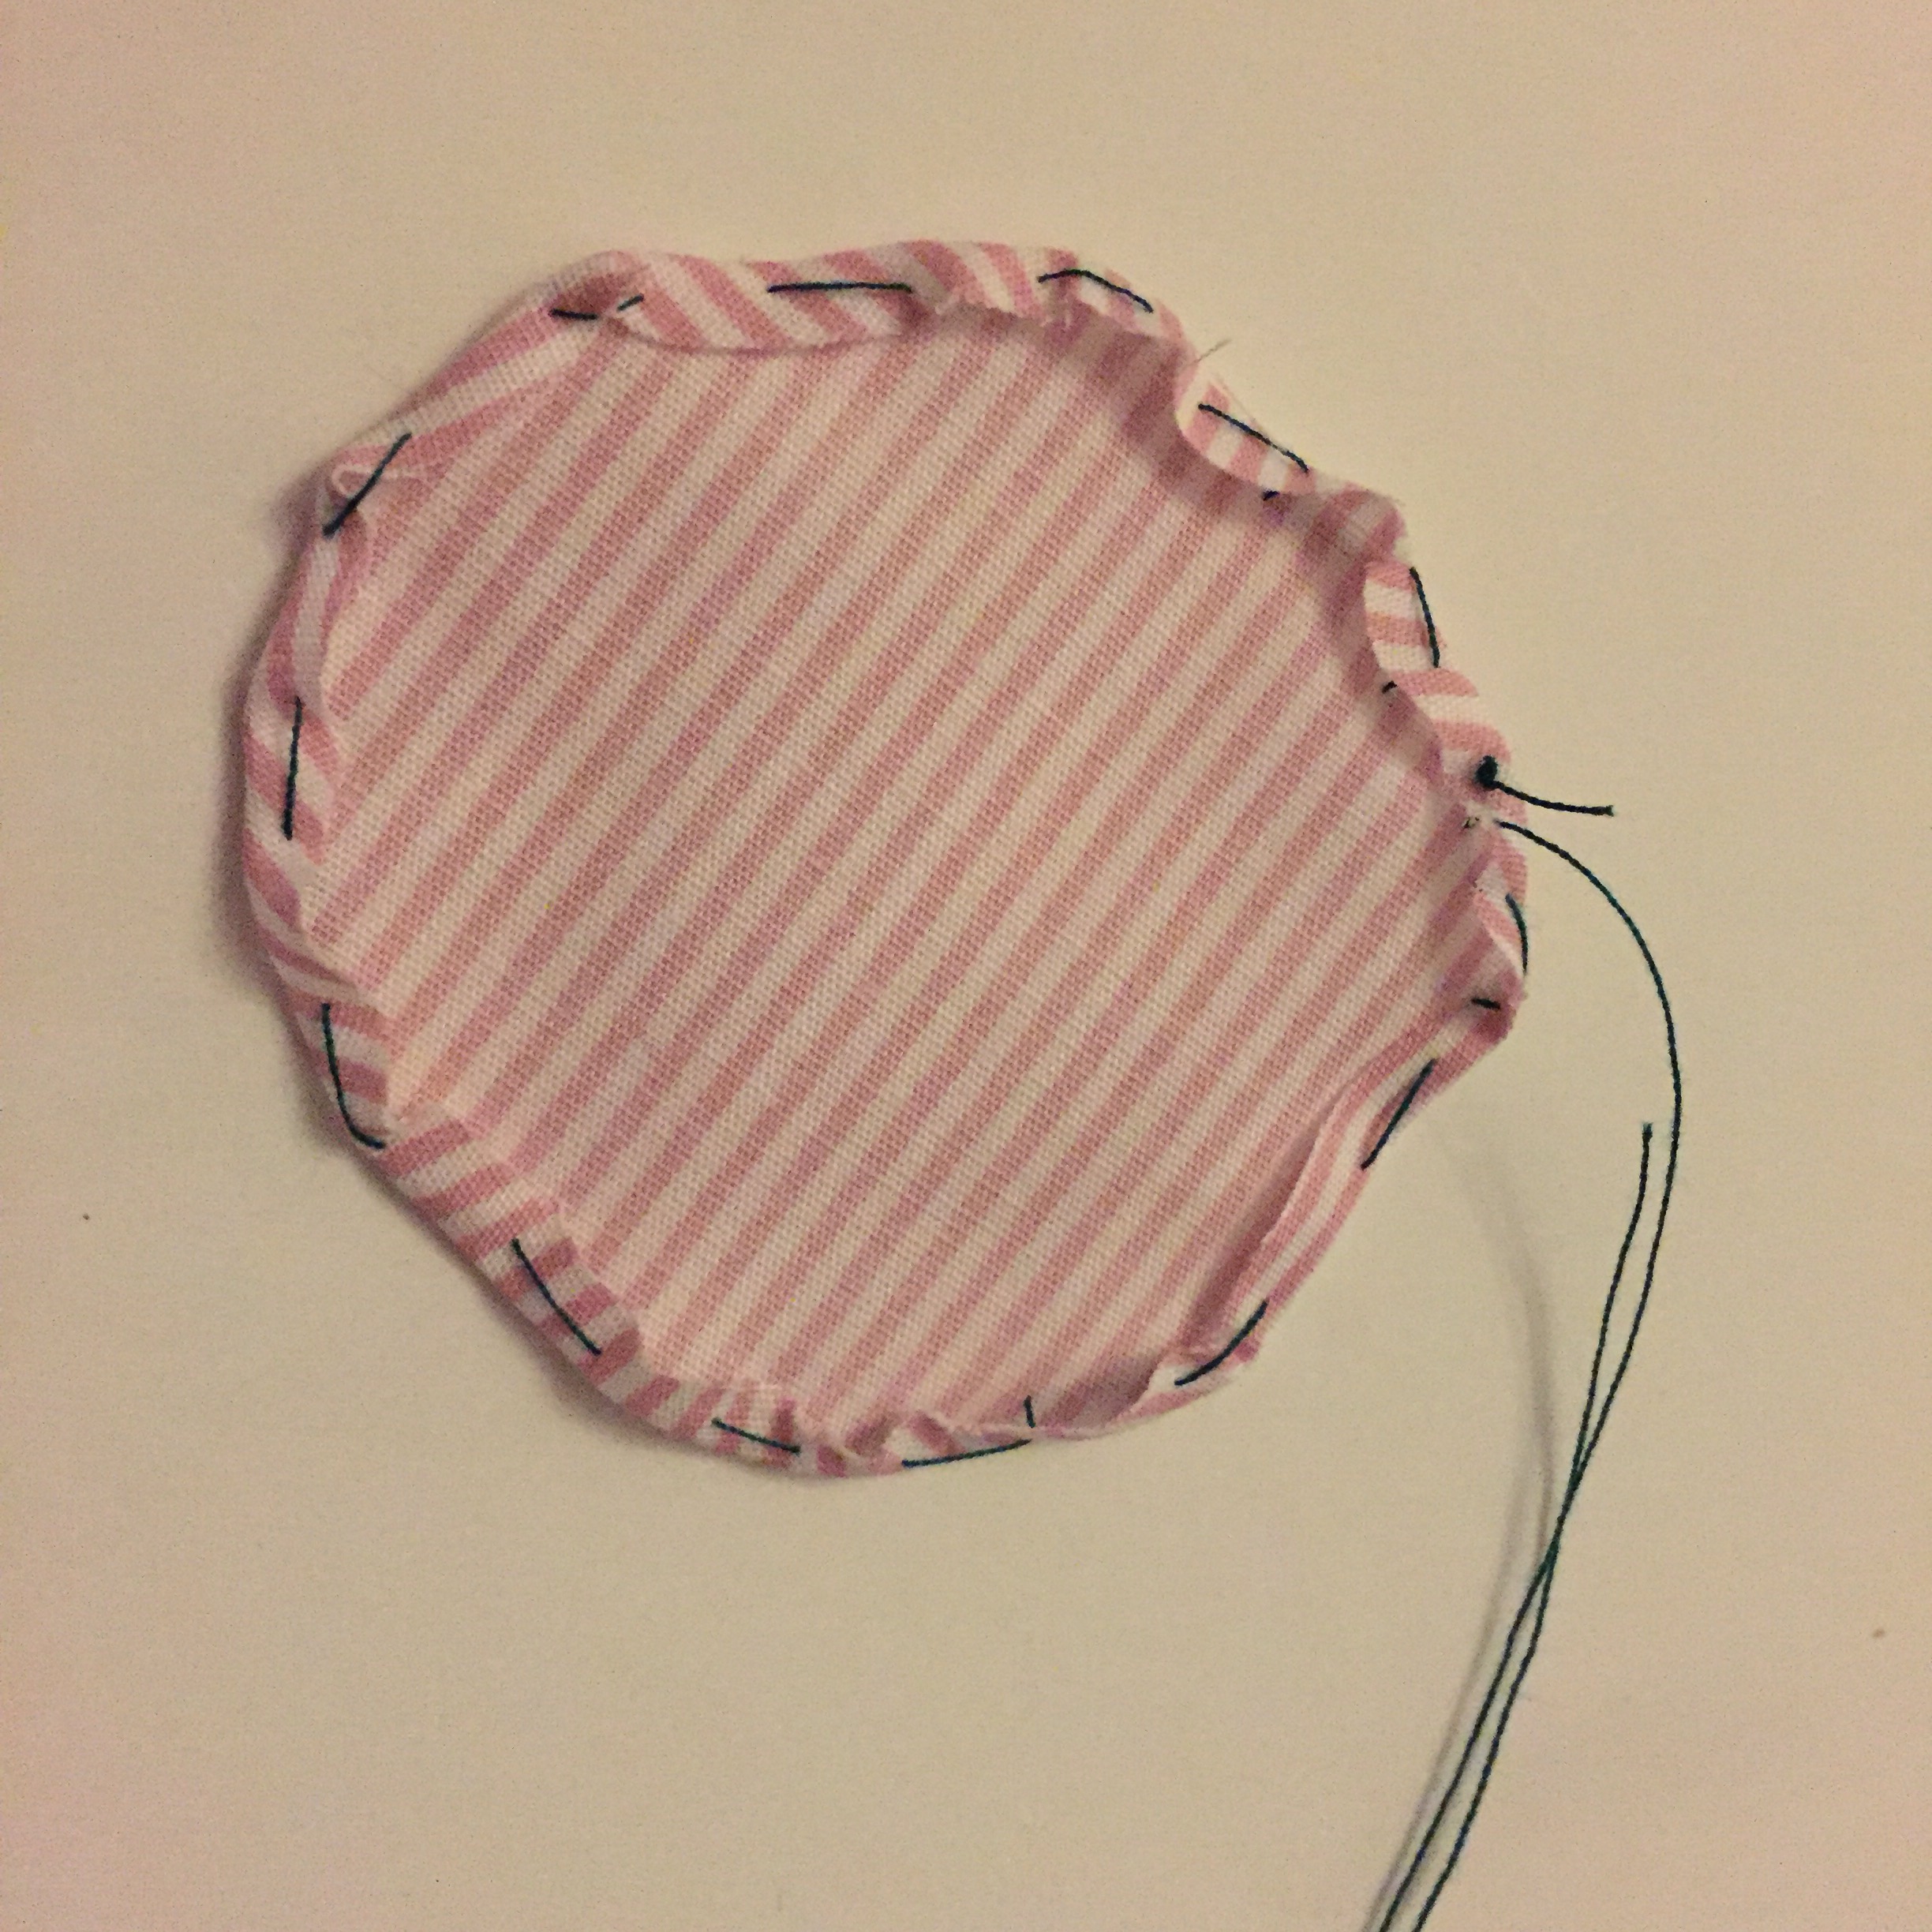
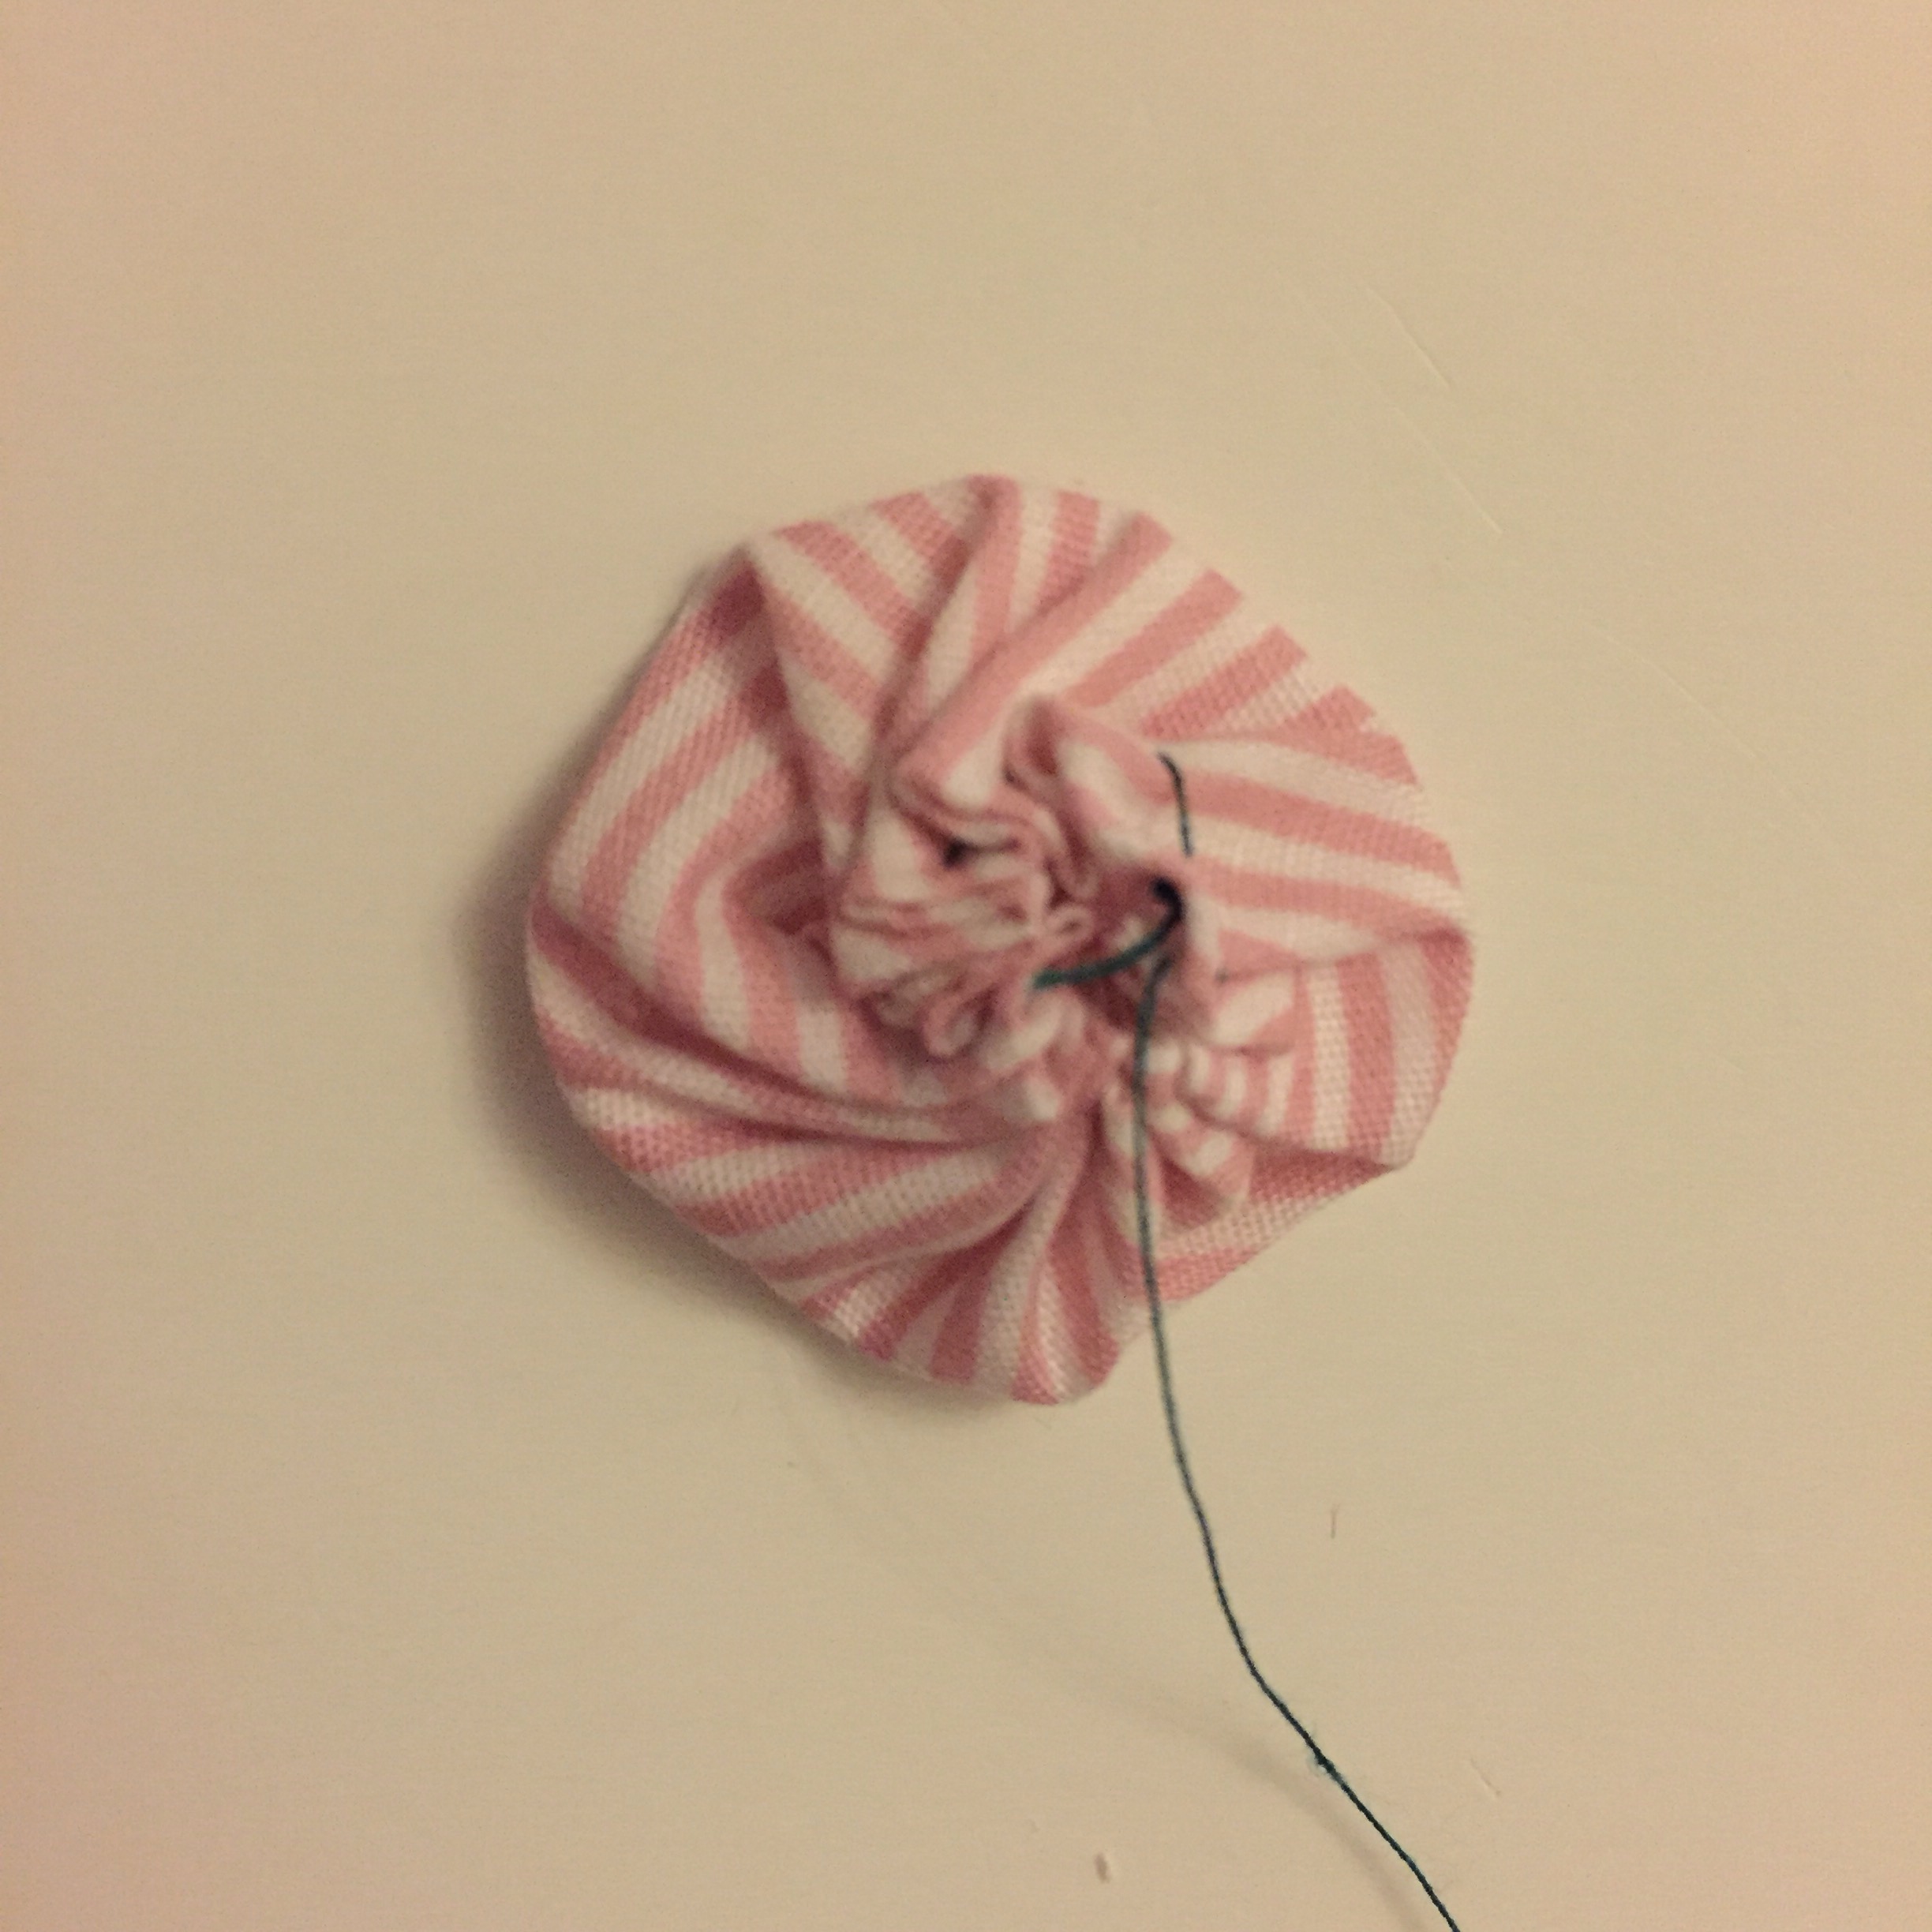
- Making the yoyos:
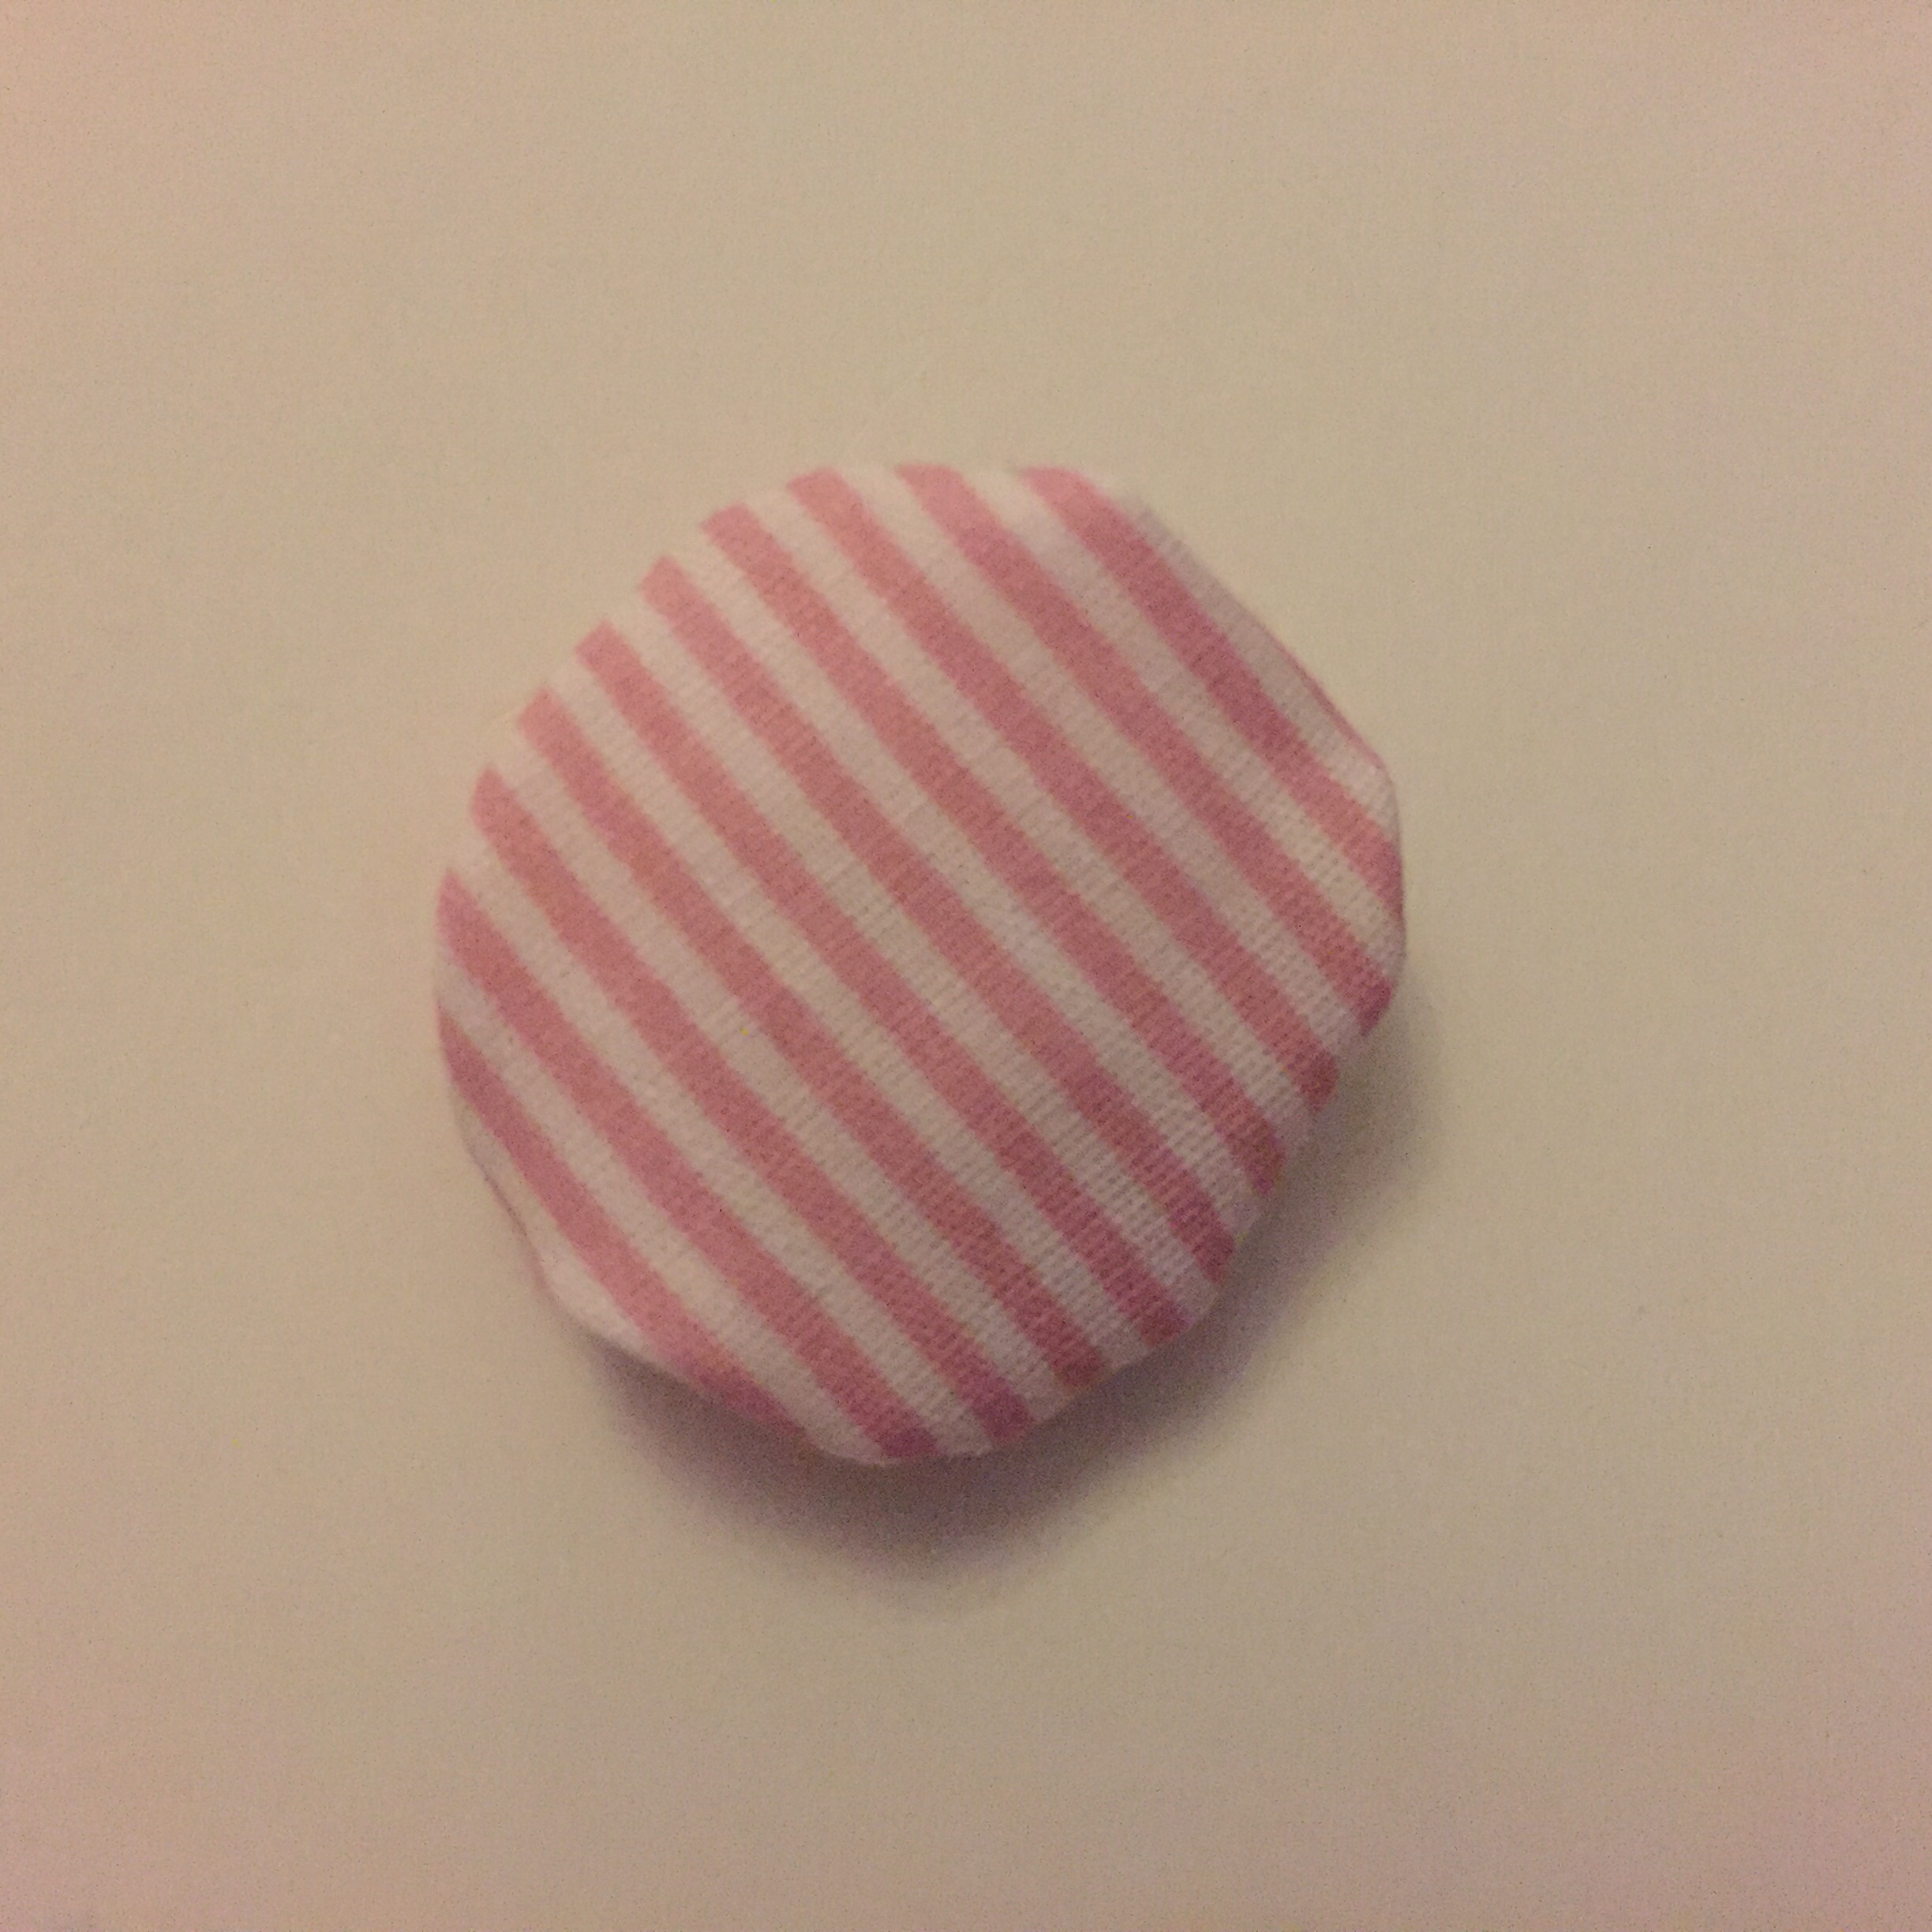
- Thread your needle, and tie a knot in the end of the thread. Now, turning the edge of the circle inwards, sew around the edge of the circle, and once you reach the point where you started, pull the thread so the fabric gathers up. Fasten this off and you have made your first yoyo – repeat until you have made all the yoyos.
Sewing Tutorial: Fabric Yo-Yo Easter Bunny Pattern – Sewing the bunny together:
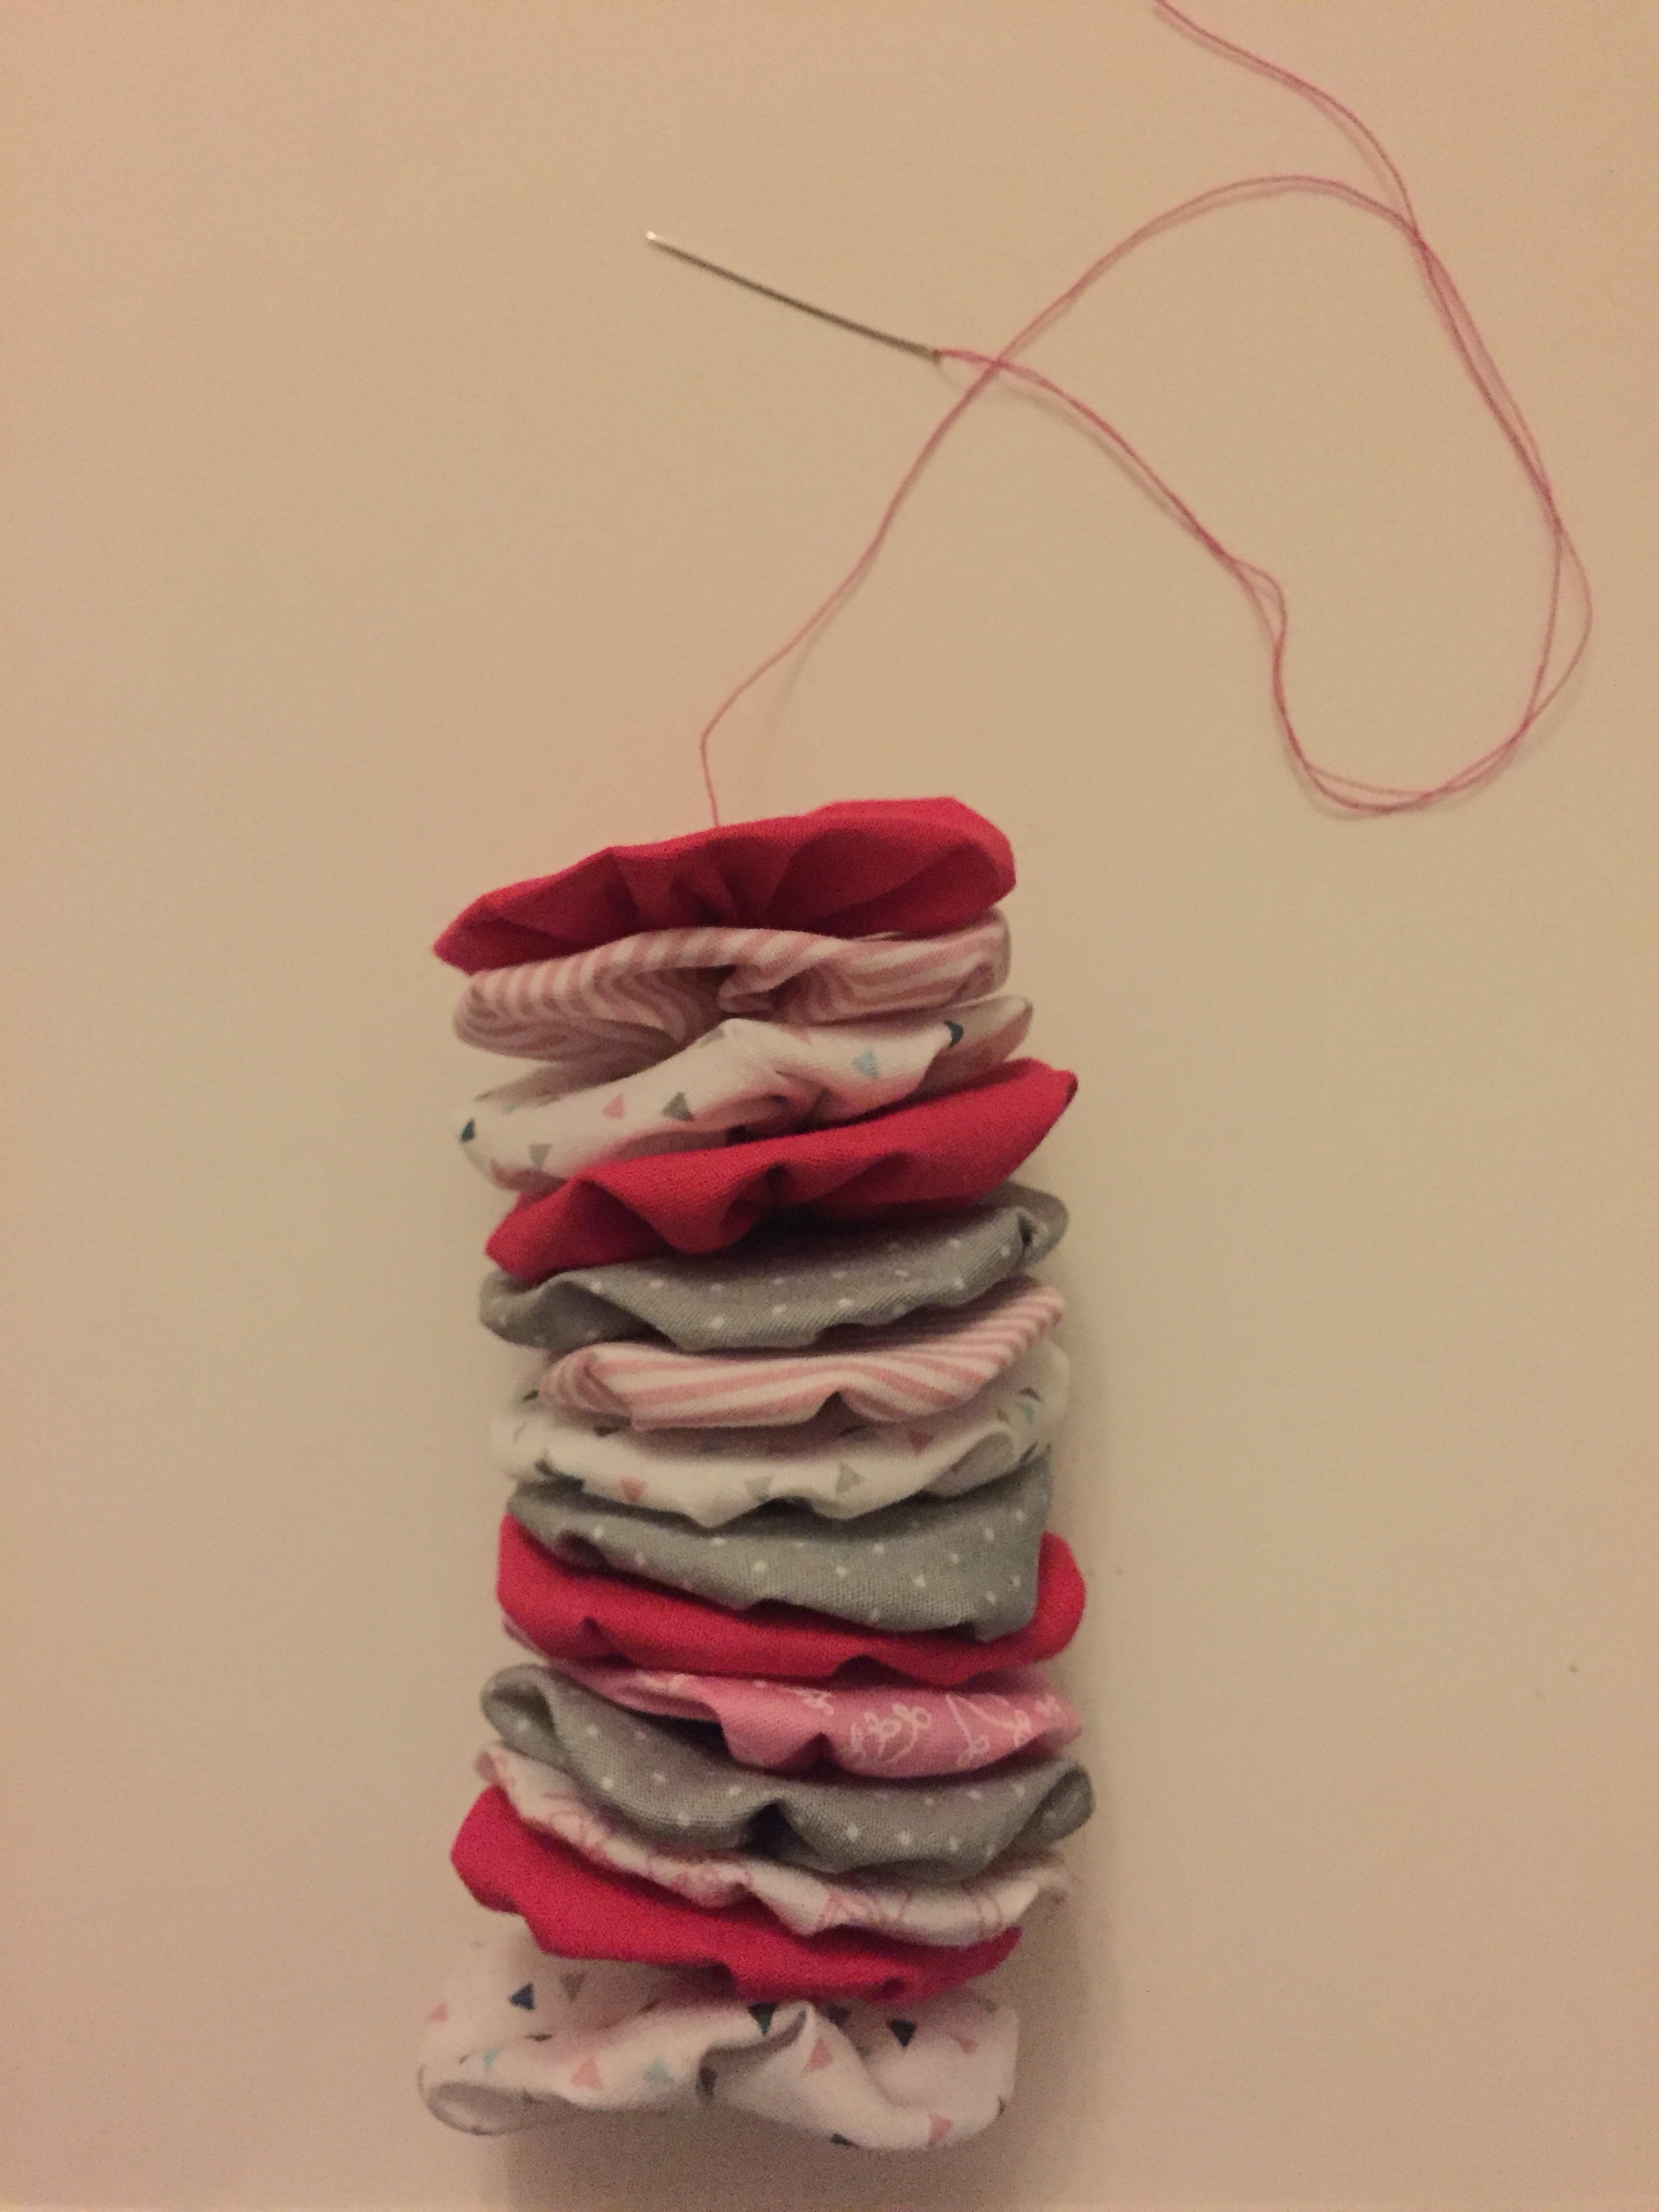
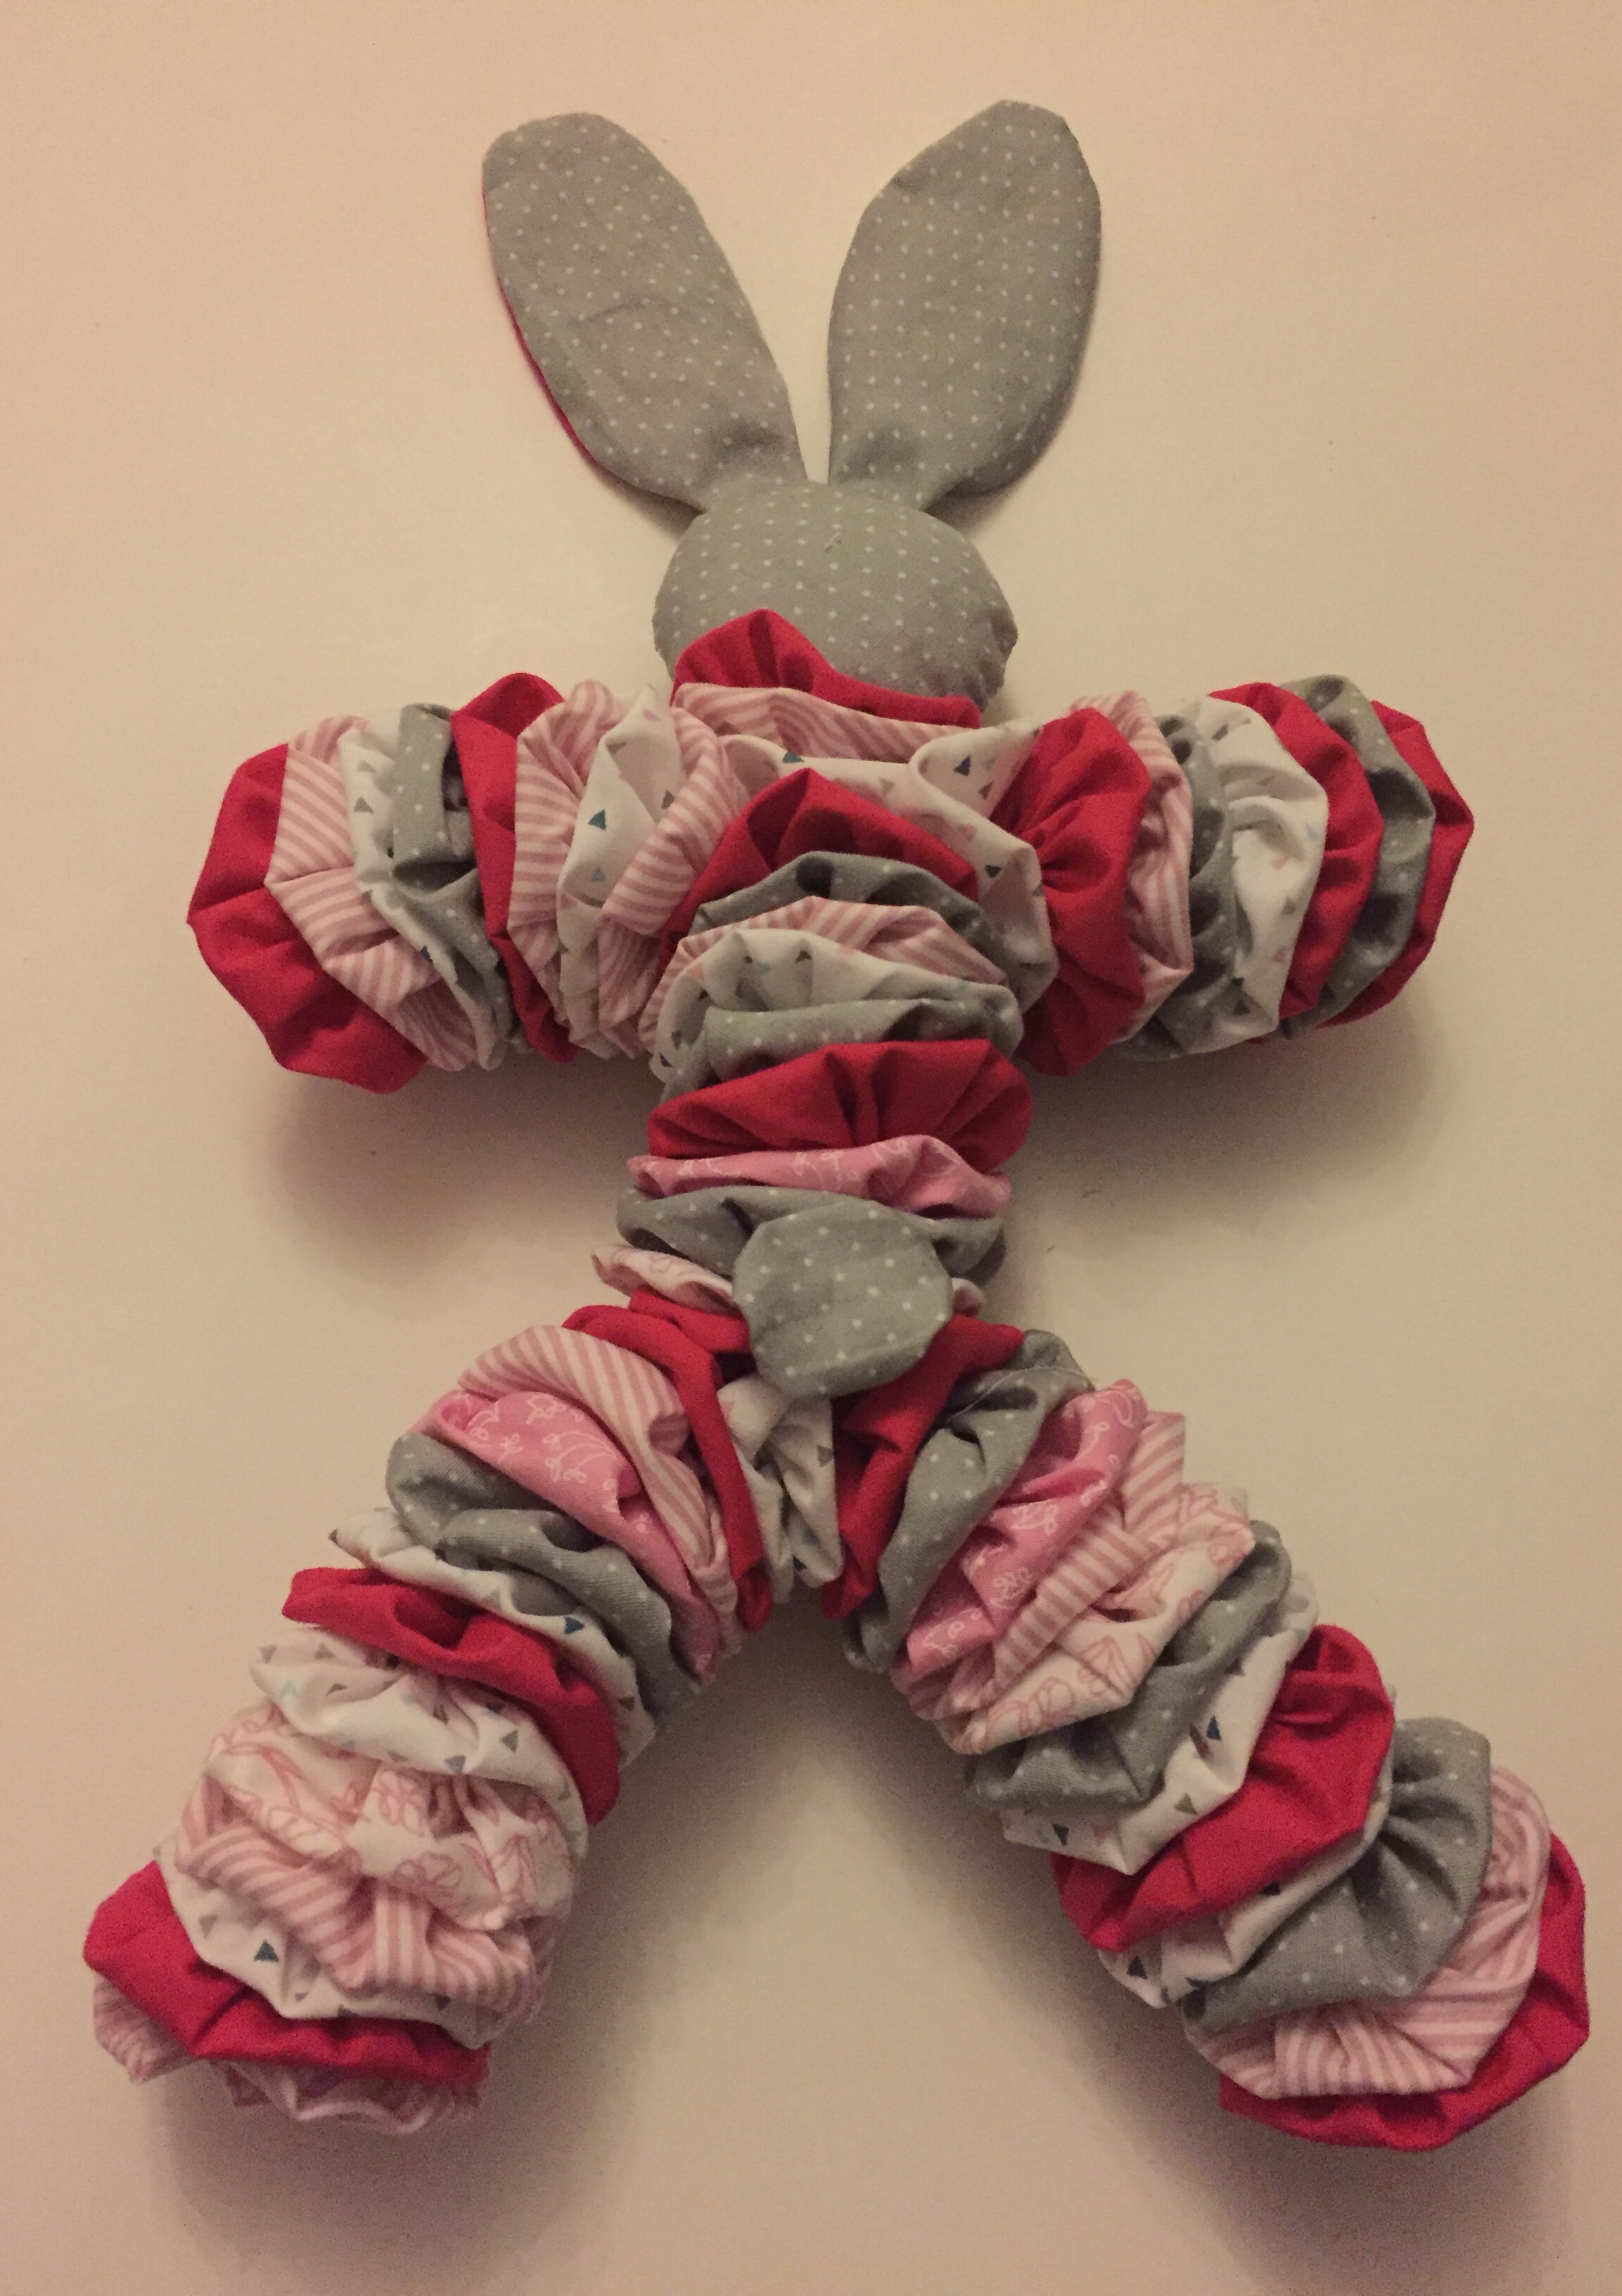
- The body:
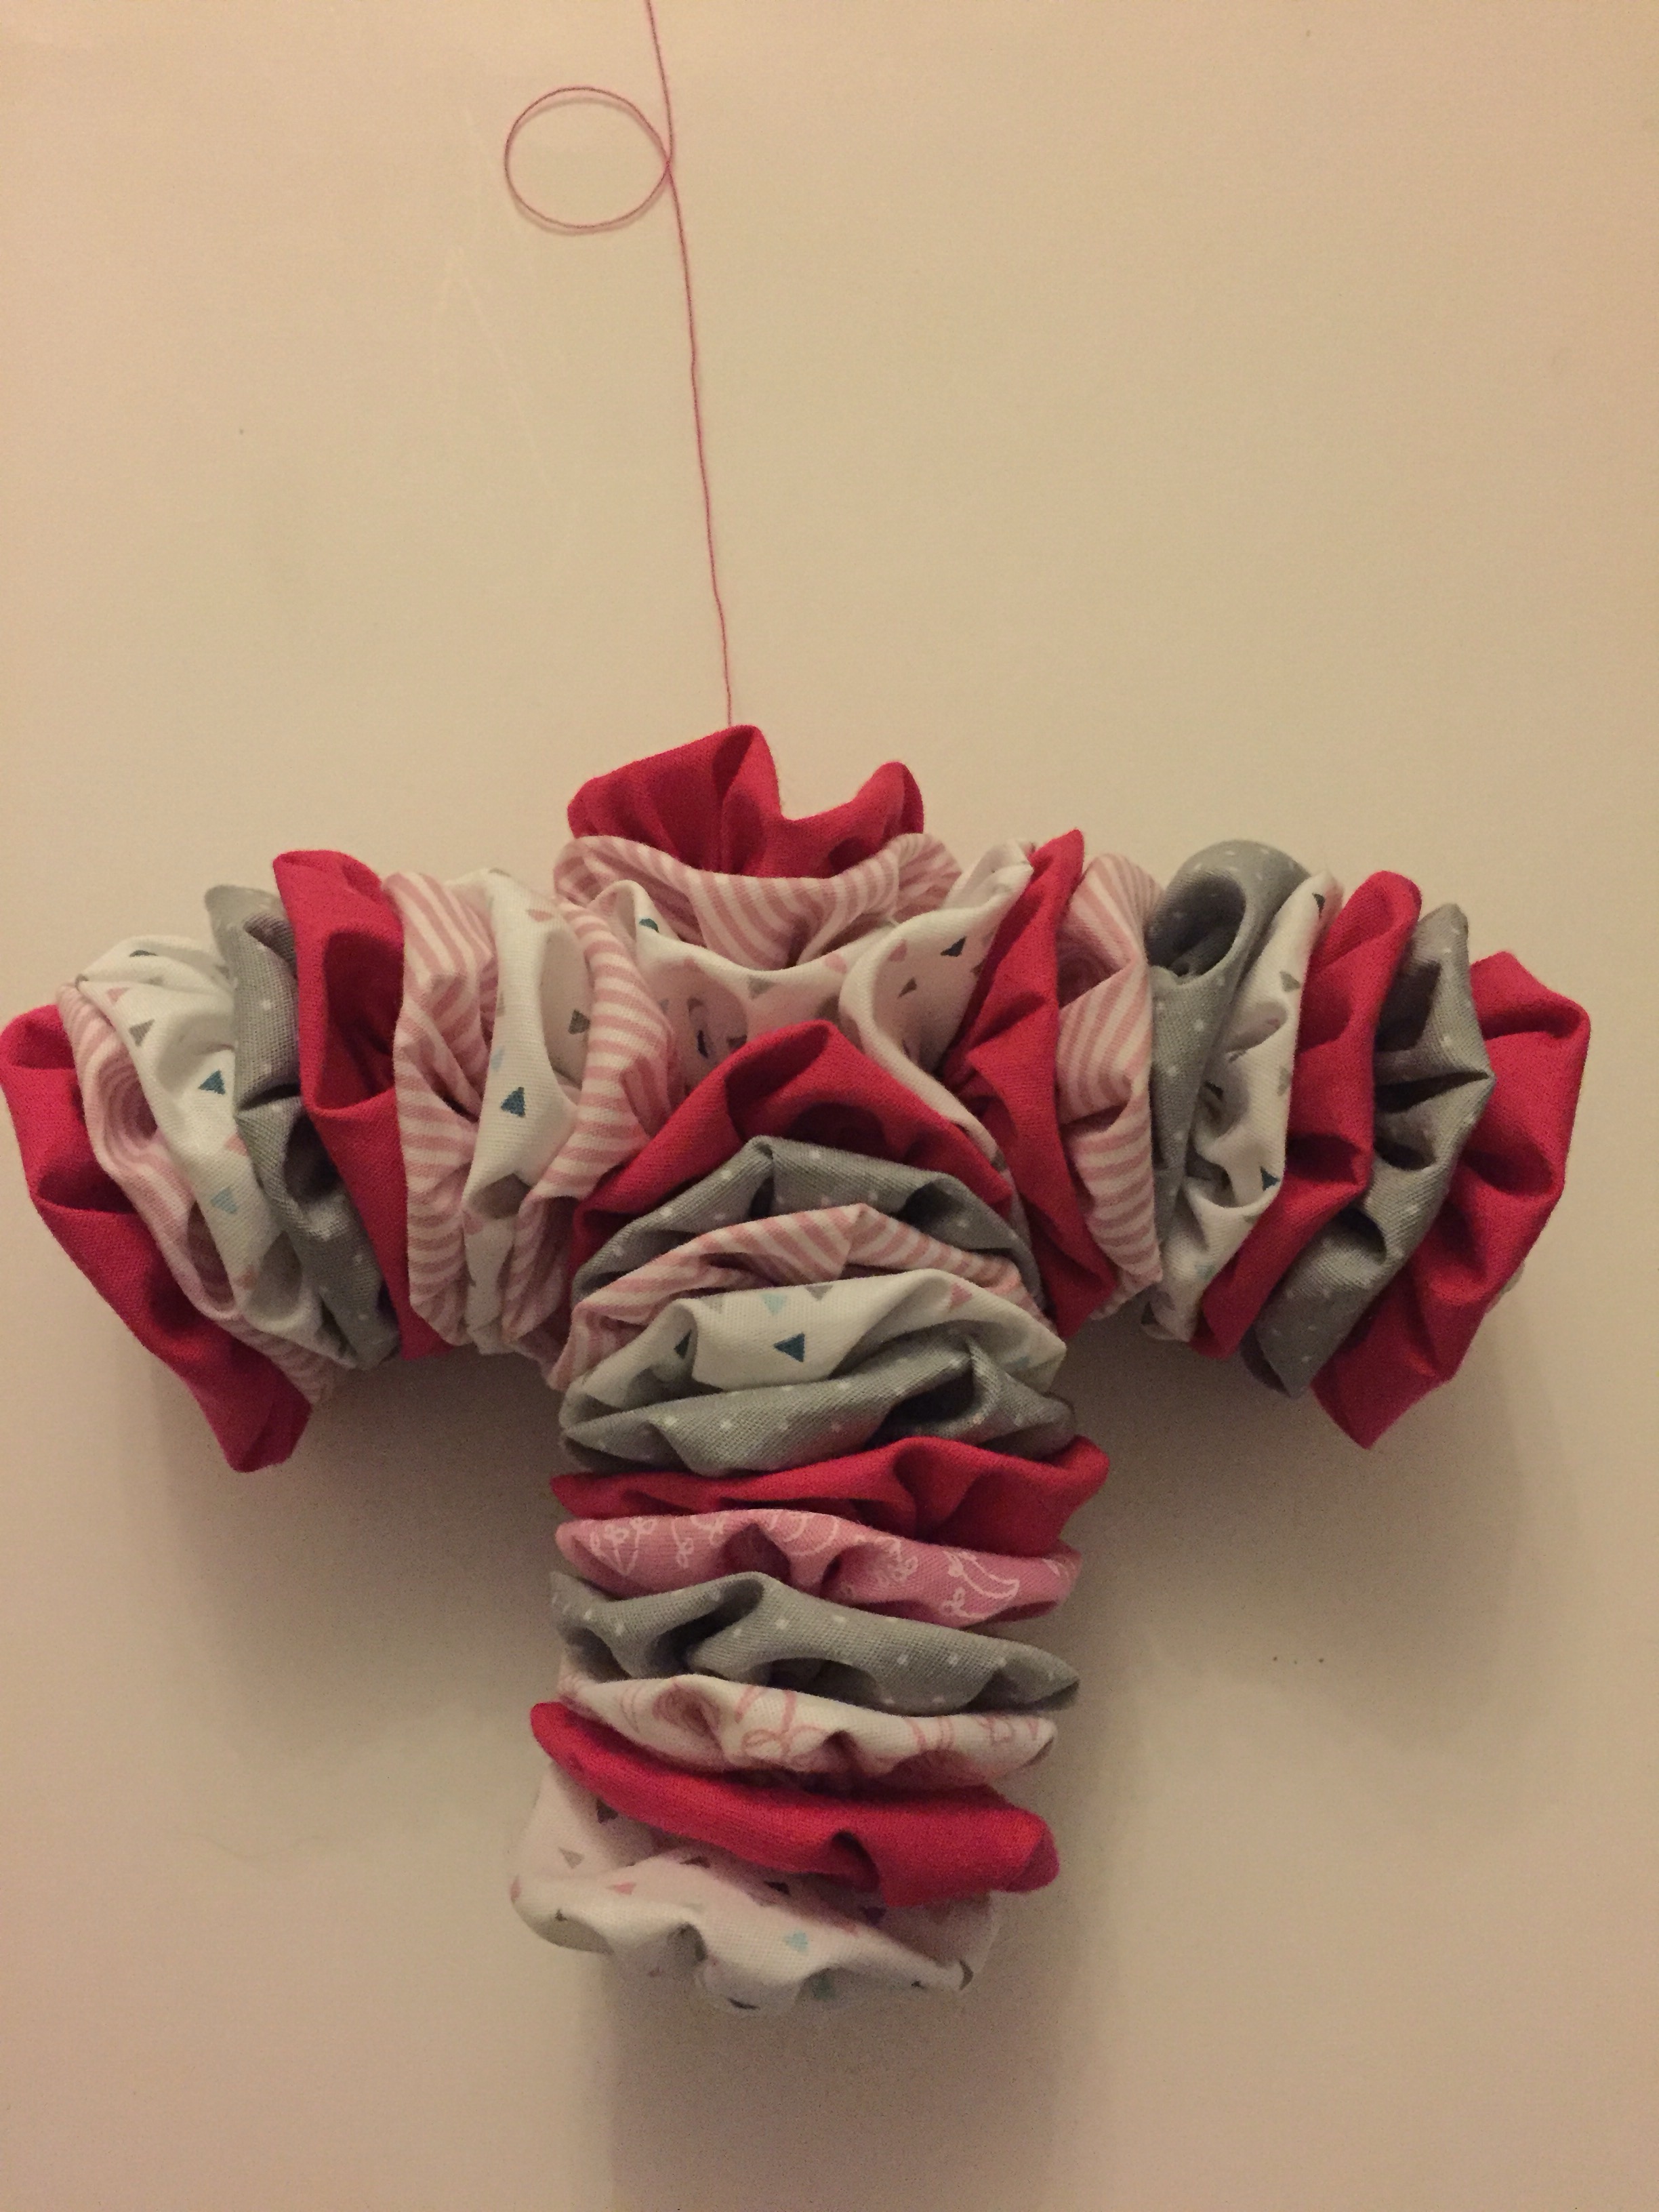
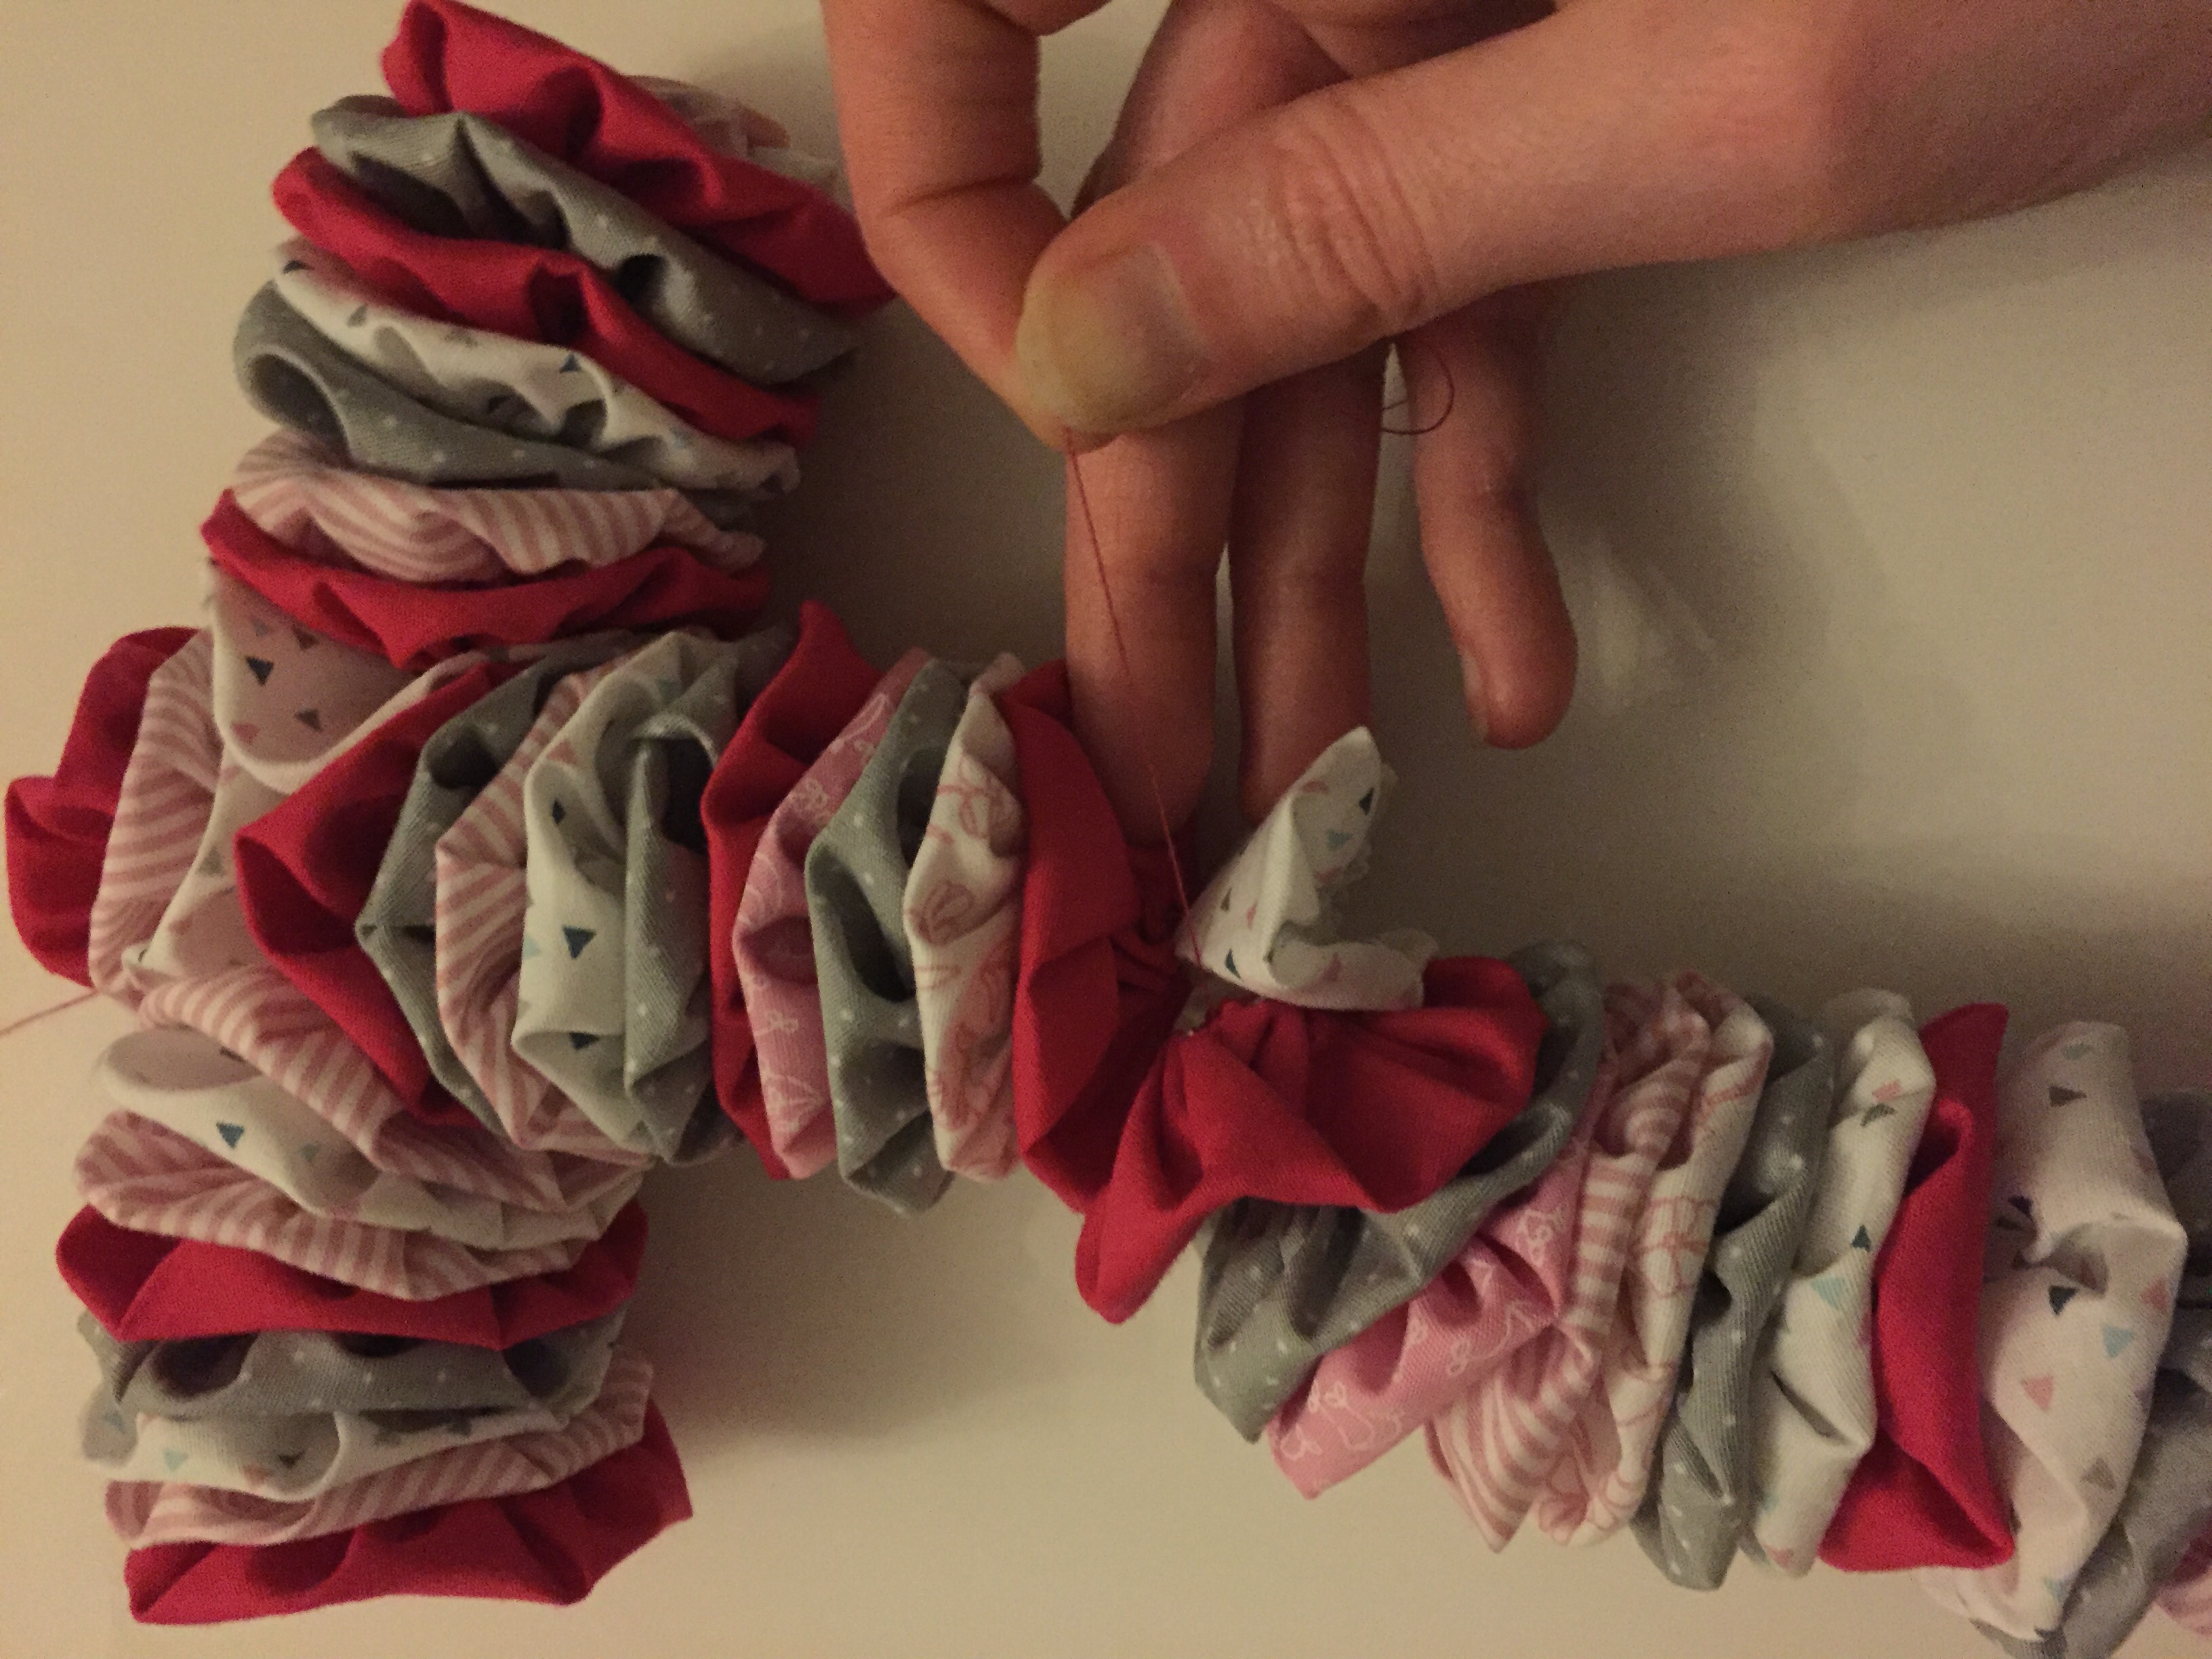
- For the body sew 14 of the yoyos together, with the gathered back of each yoyo facing downwards. Fasten off, but leave a long thread to attach the head.
- The arms:
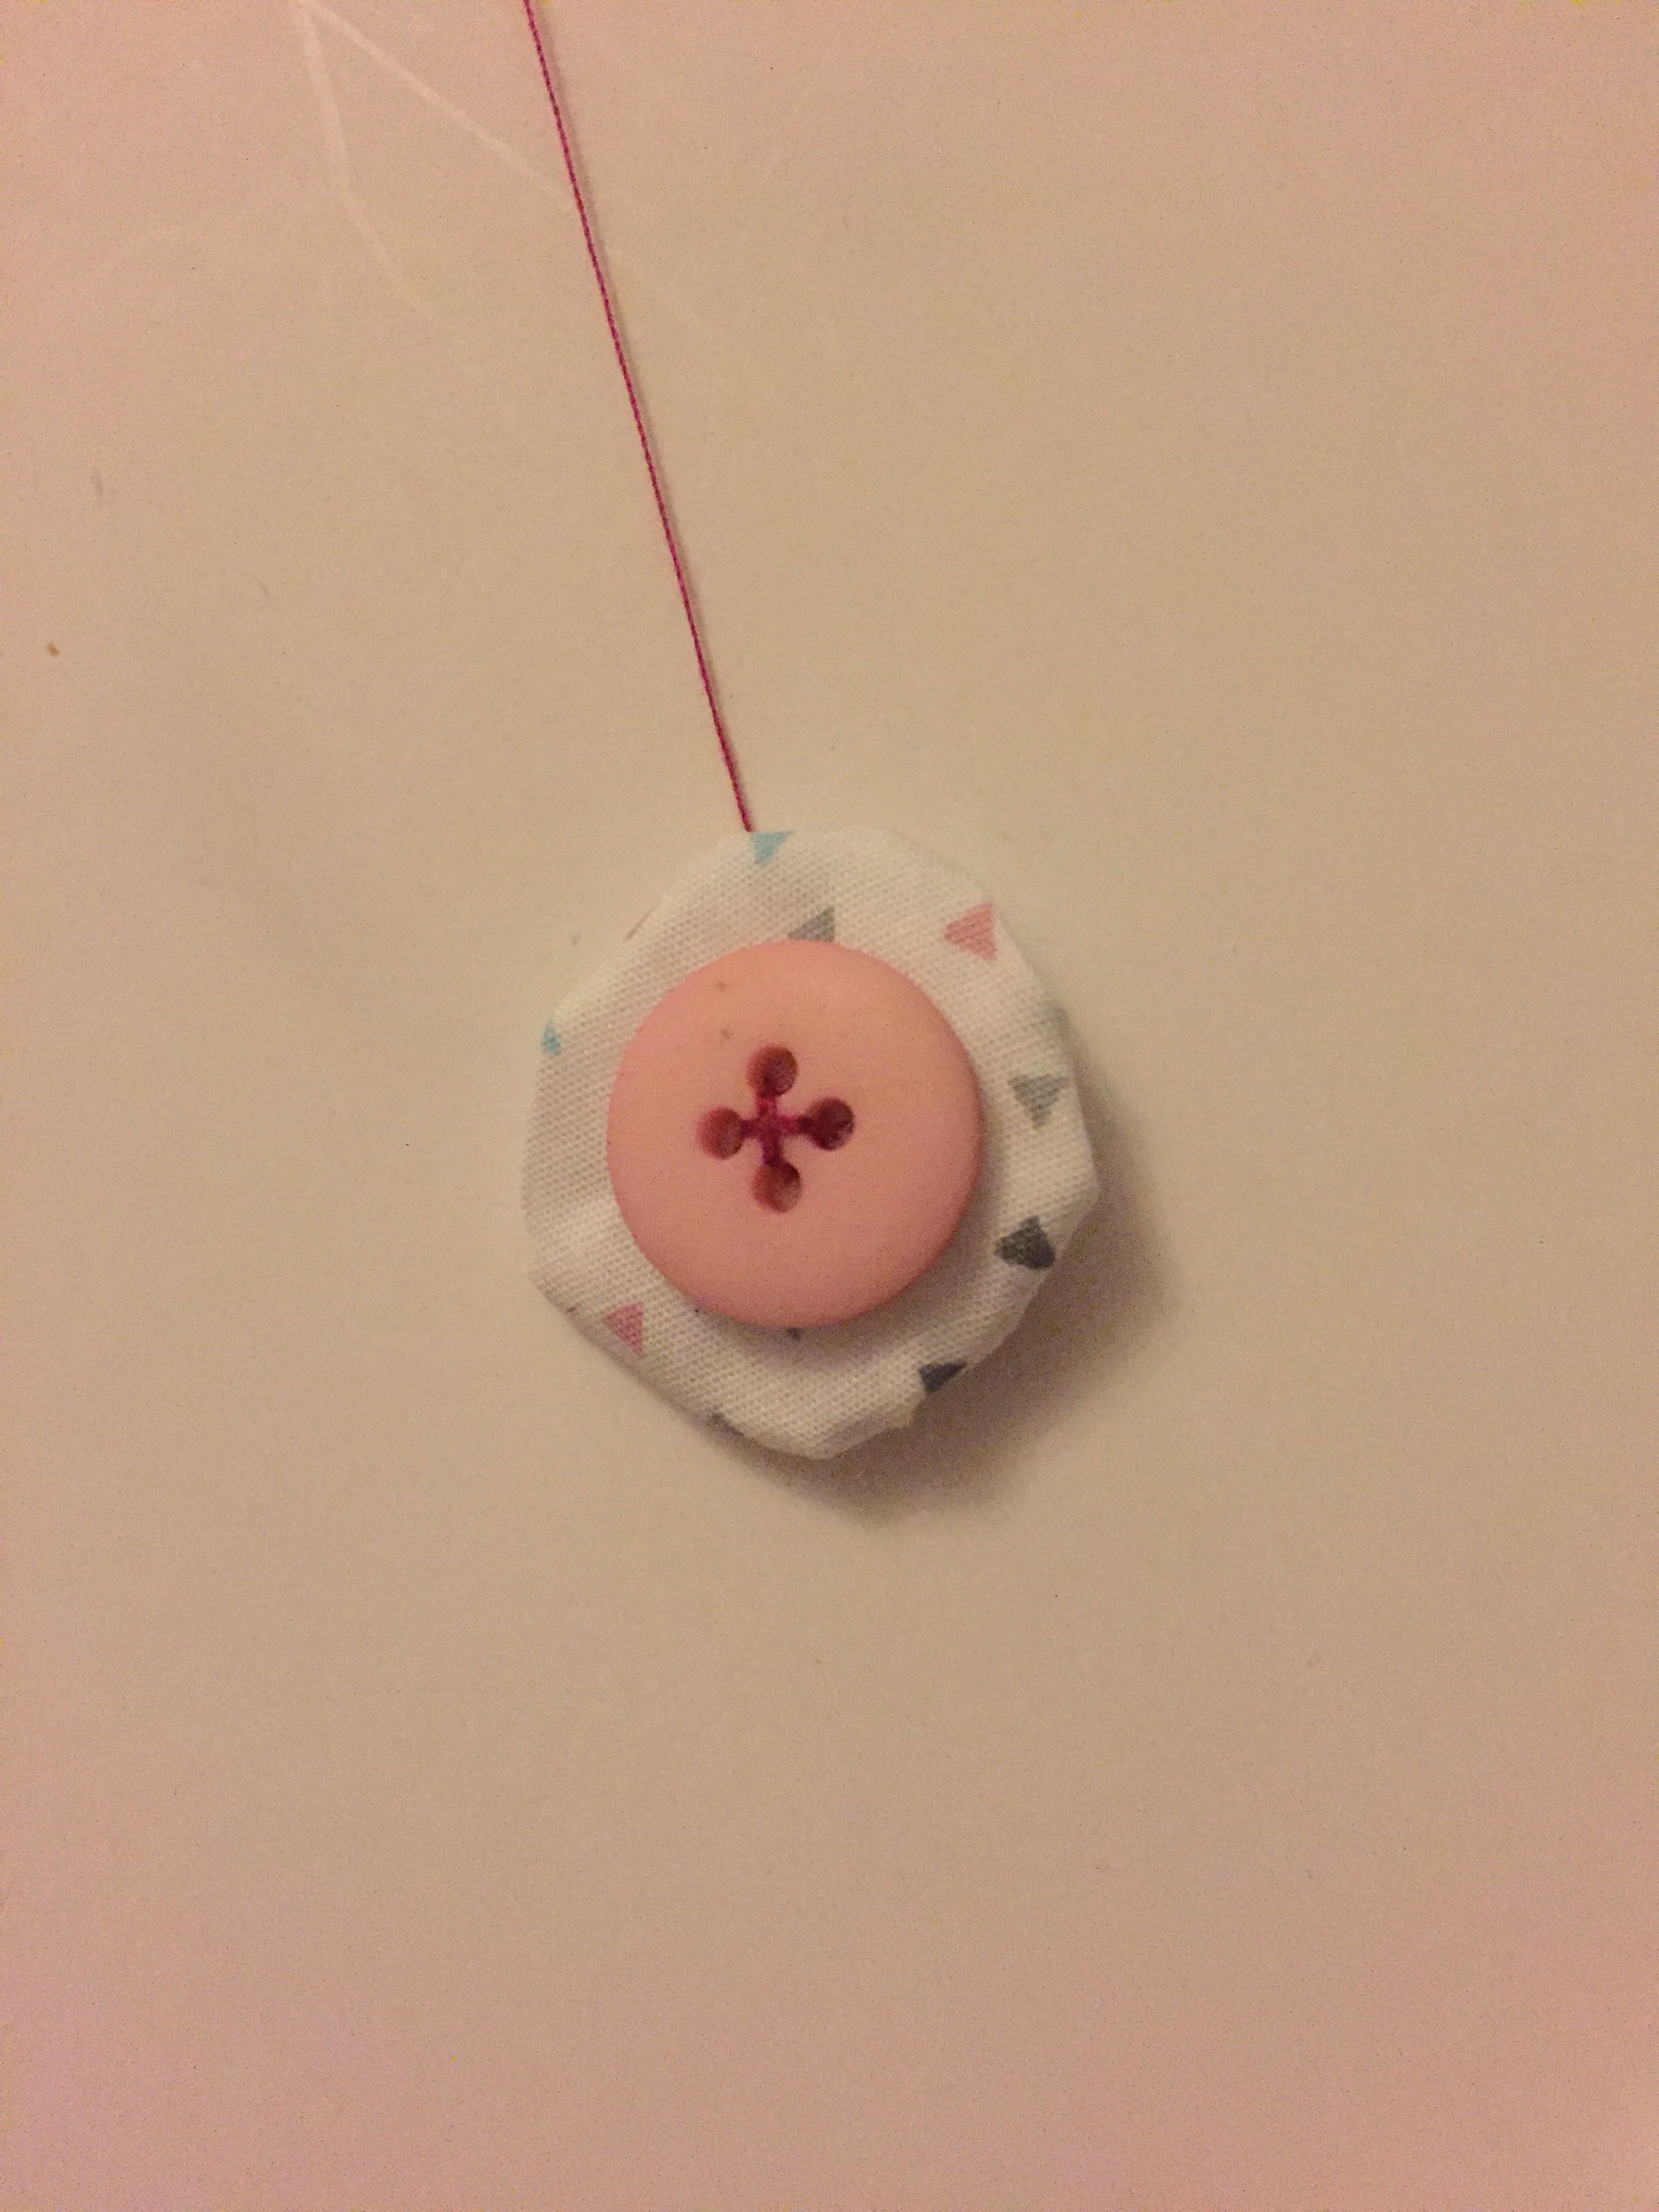
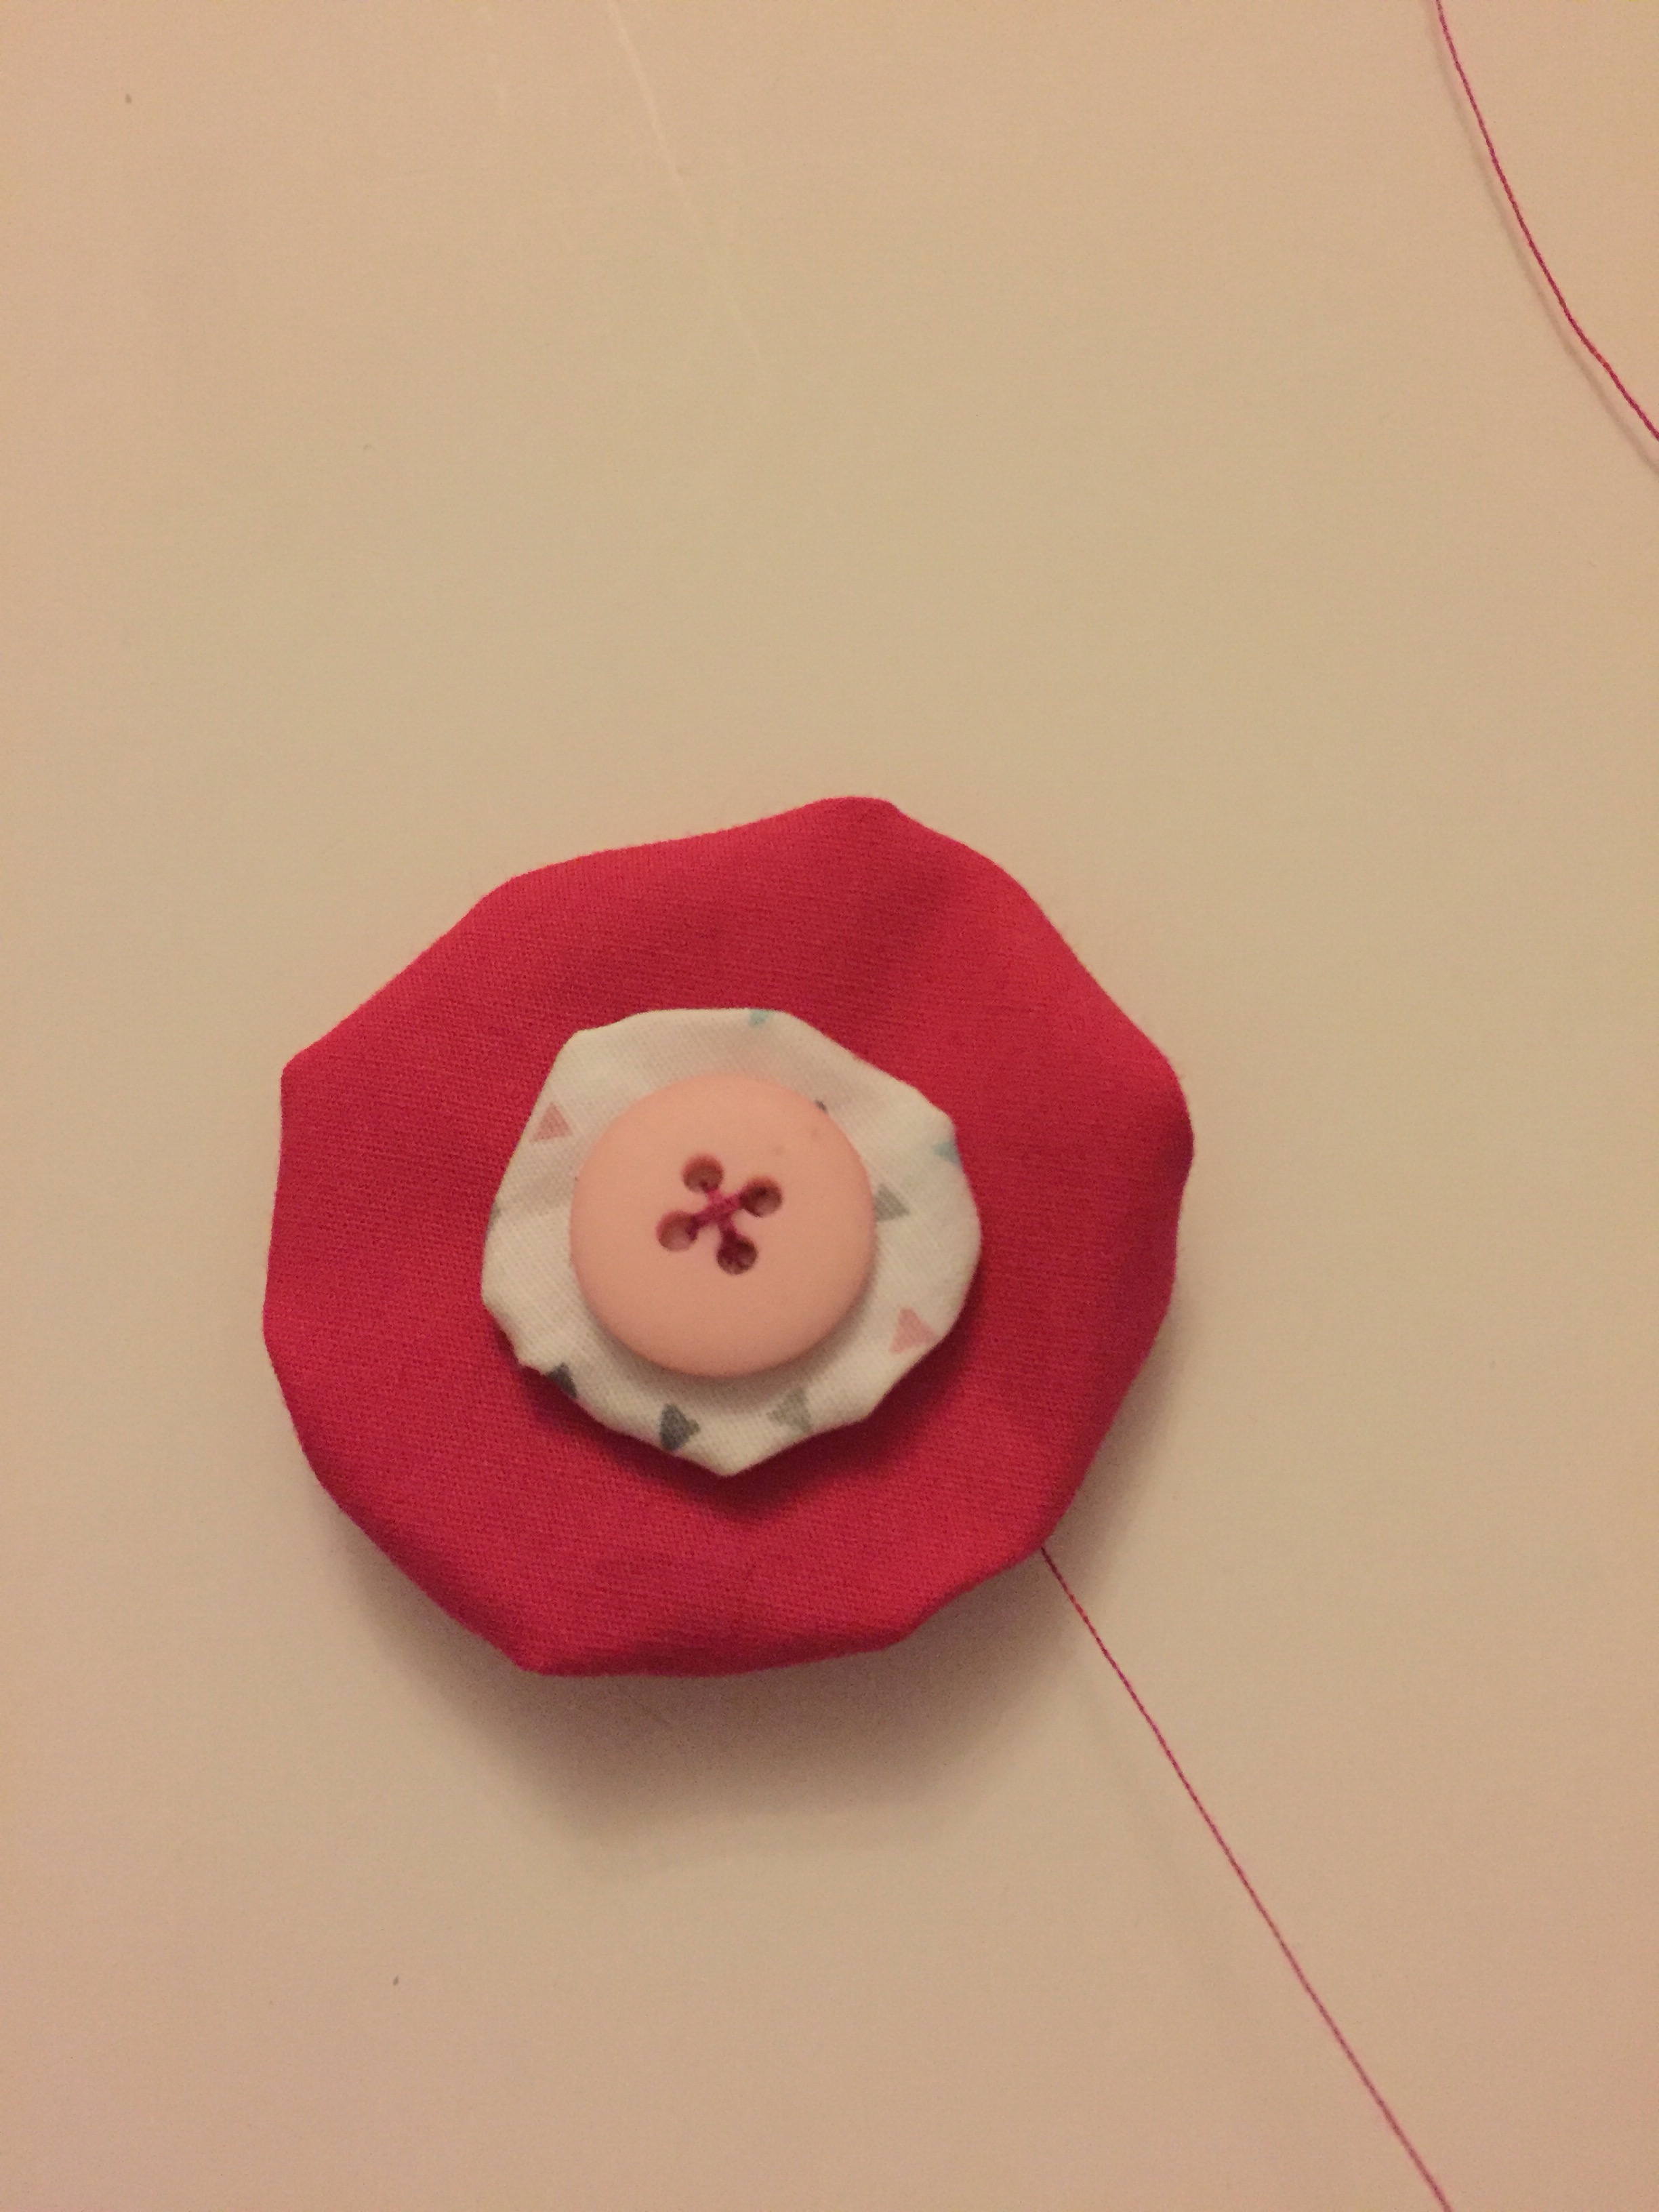
- Starting with a button, cast on and sew on to the front of the smaller yoyo. Continue sewing through 8 of the arm yoyos, and then wrap the arm thread around the body thread 3 yoyos from the top. Make a small stitch into the yoyo of the body to secure and then sew on the remaining 8 arm yoyos, the smaller yoyo, and then finish with a button. Fasten off.

- The legs:
- Starting with a button, cast on and sew on to the front of the smaller yoyo. Continue sewing through 12 of the leg yoyos, and then wrap the thread around the body thread 1 yoyo from the bottom. Make a small stitch into the body yoyo to secure and then sew on the remaining 12 leg yoyos, the smaller yoyo, and then finish with a button. Fasten off.
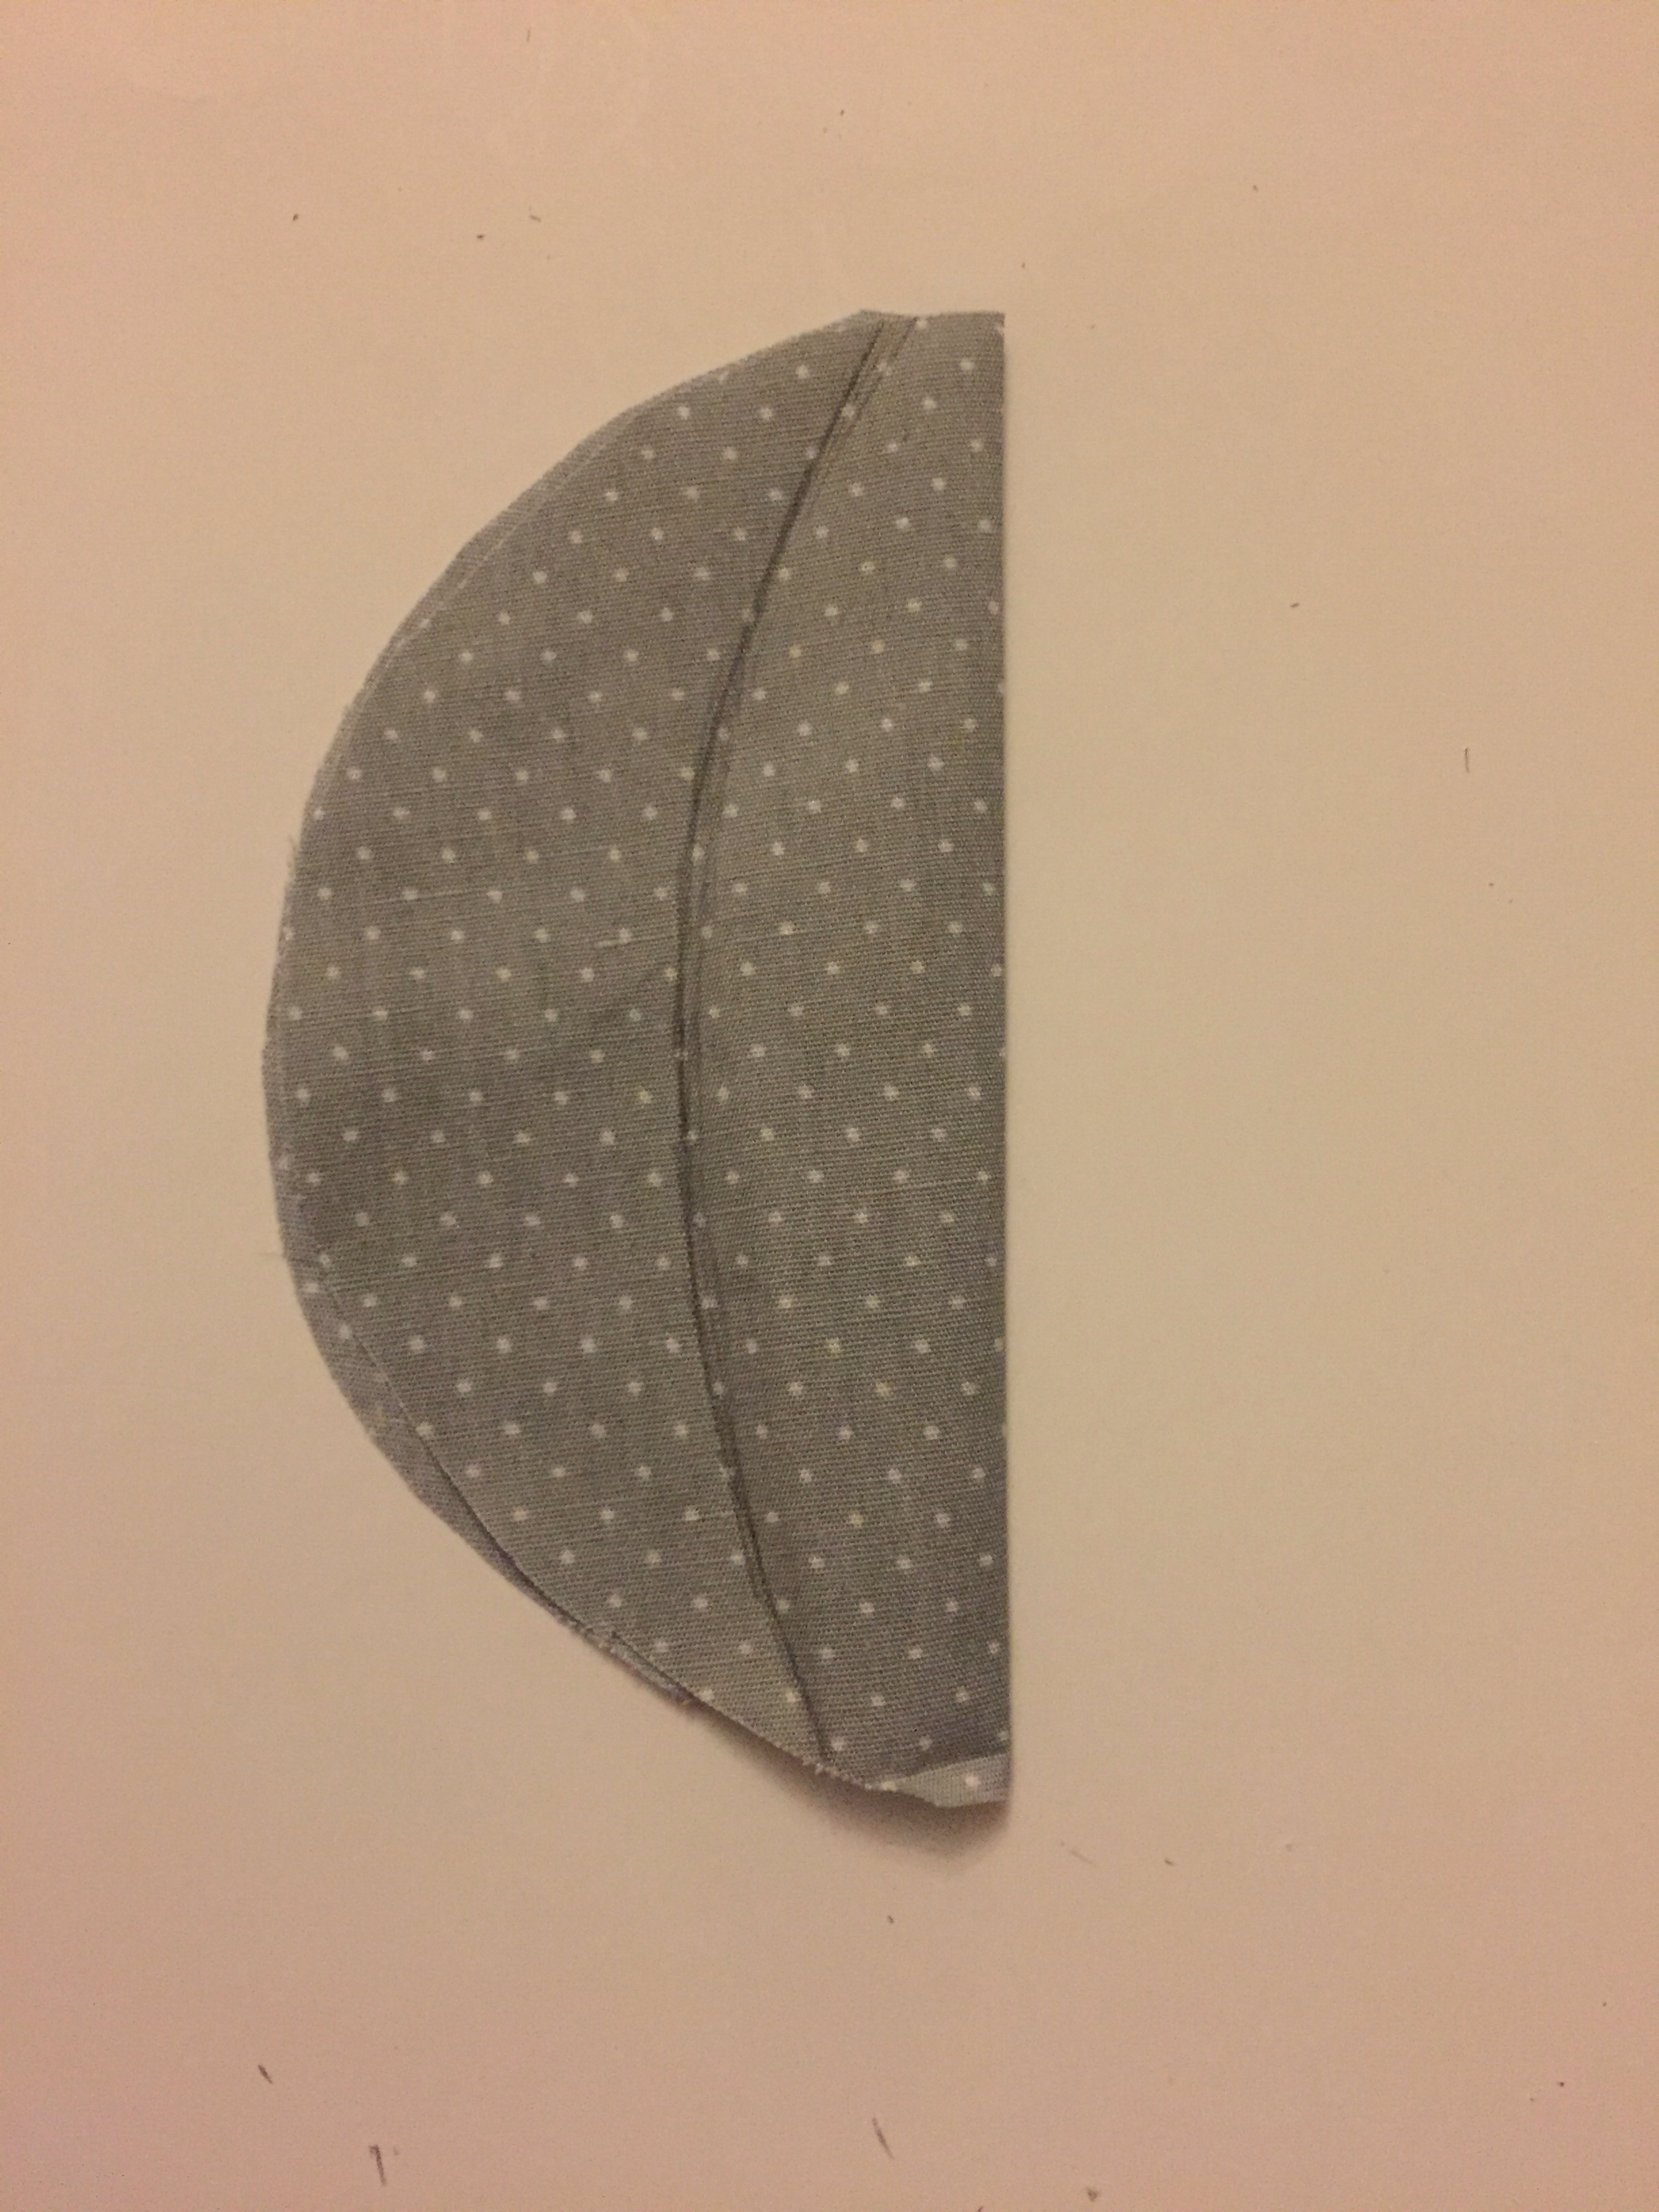
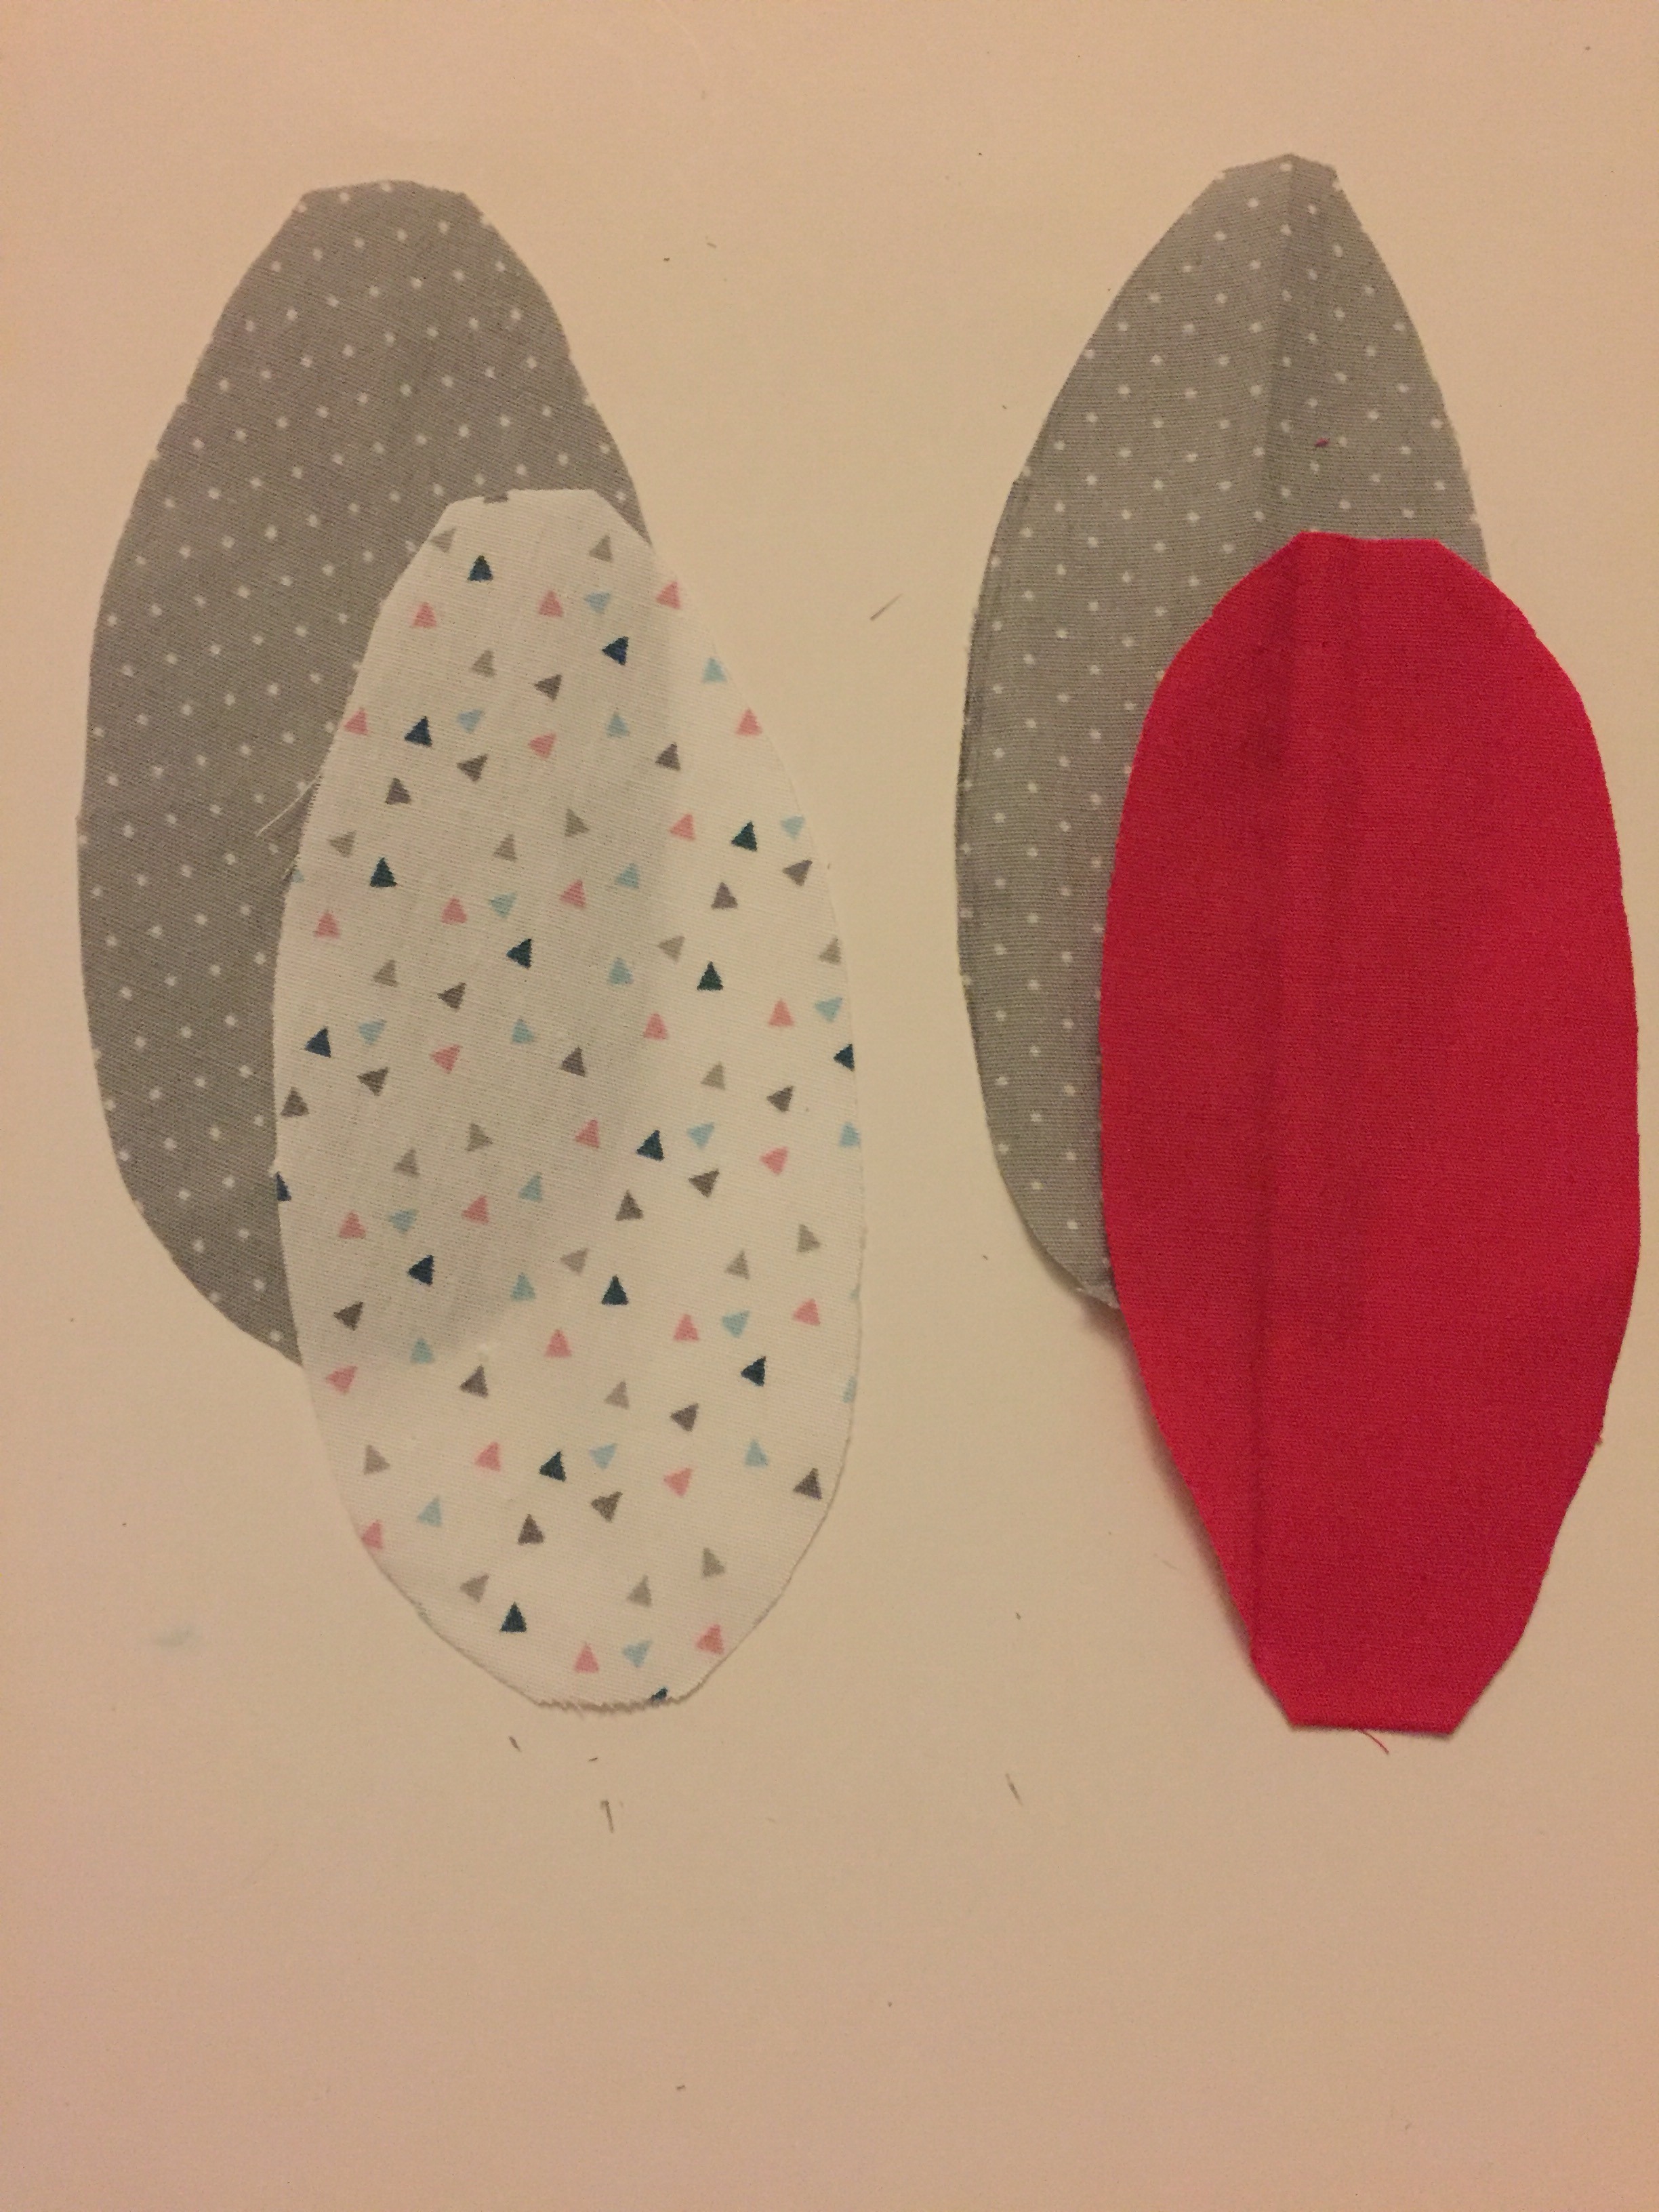
- Making the ears:
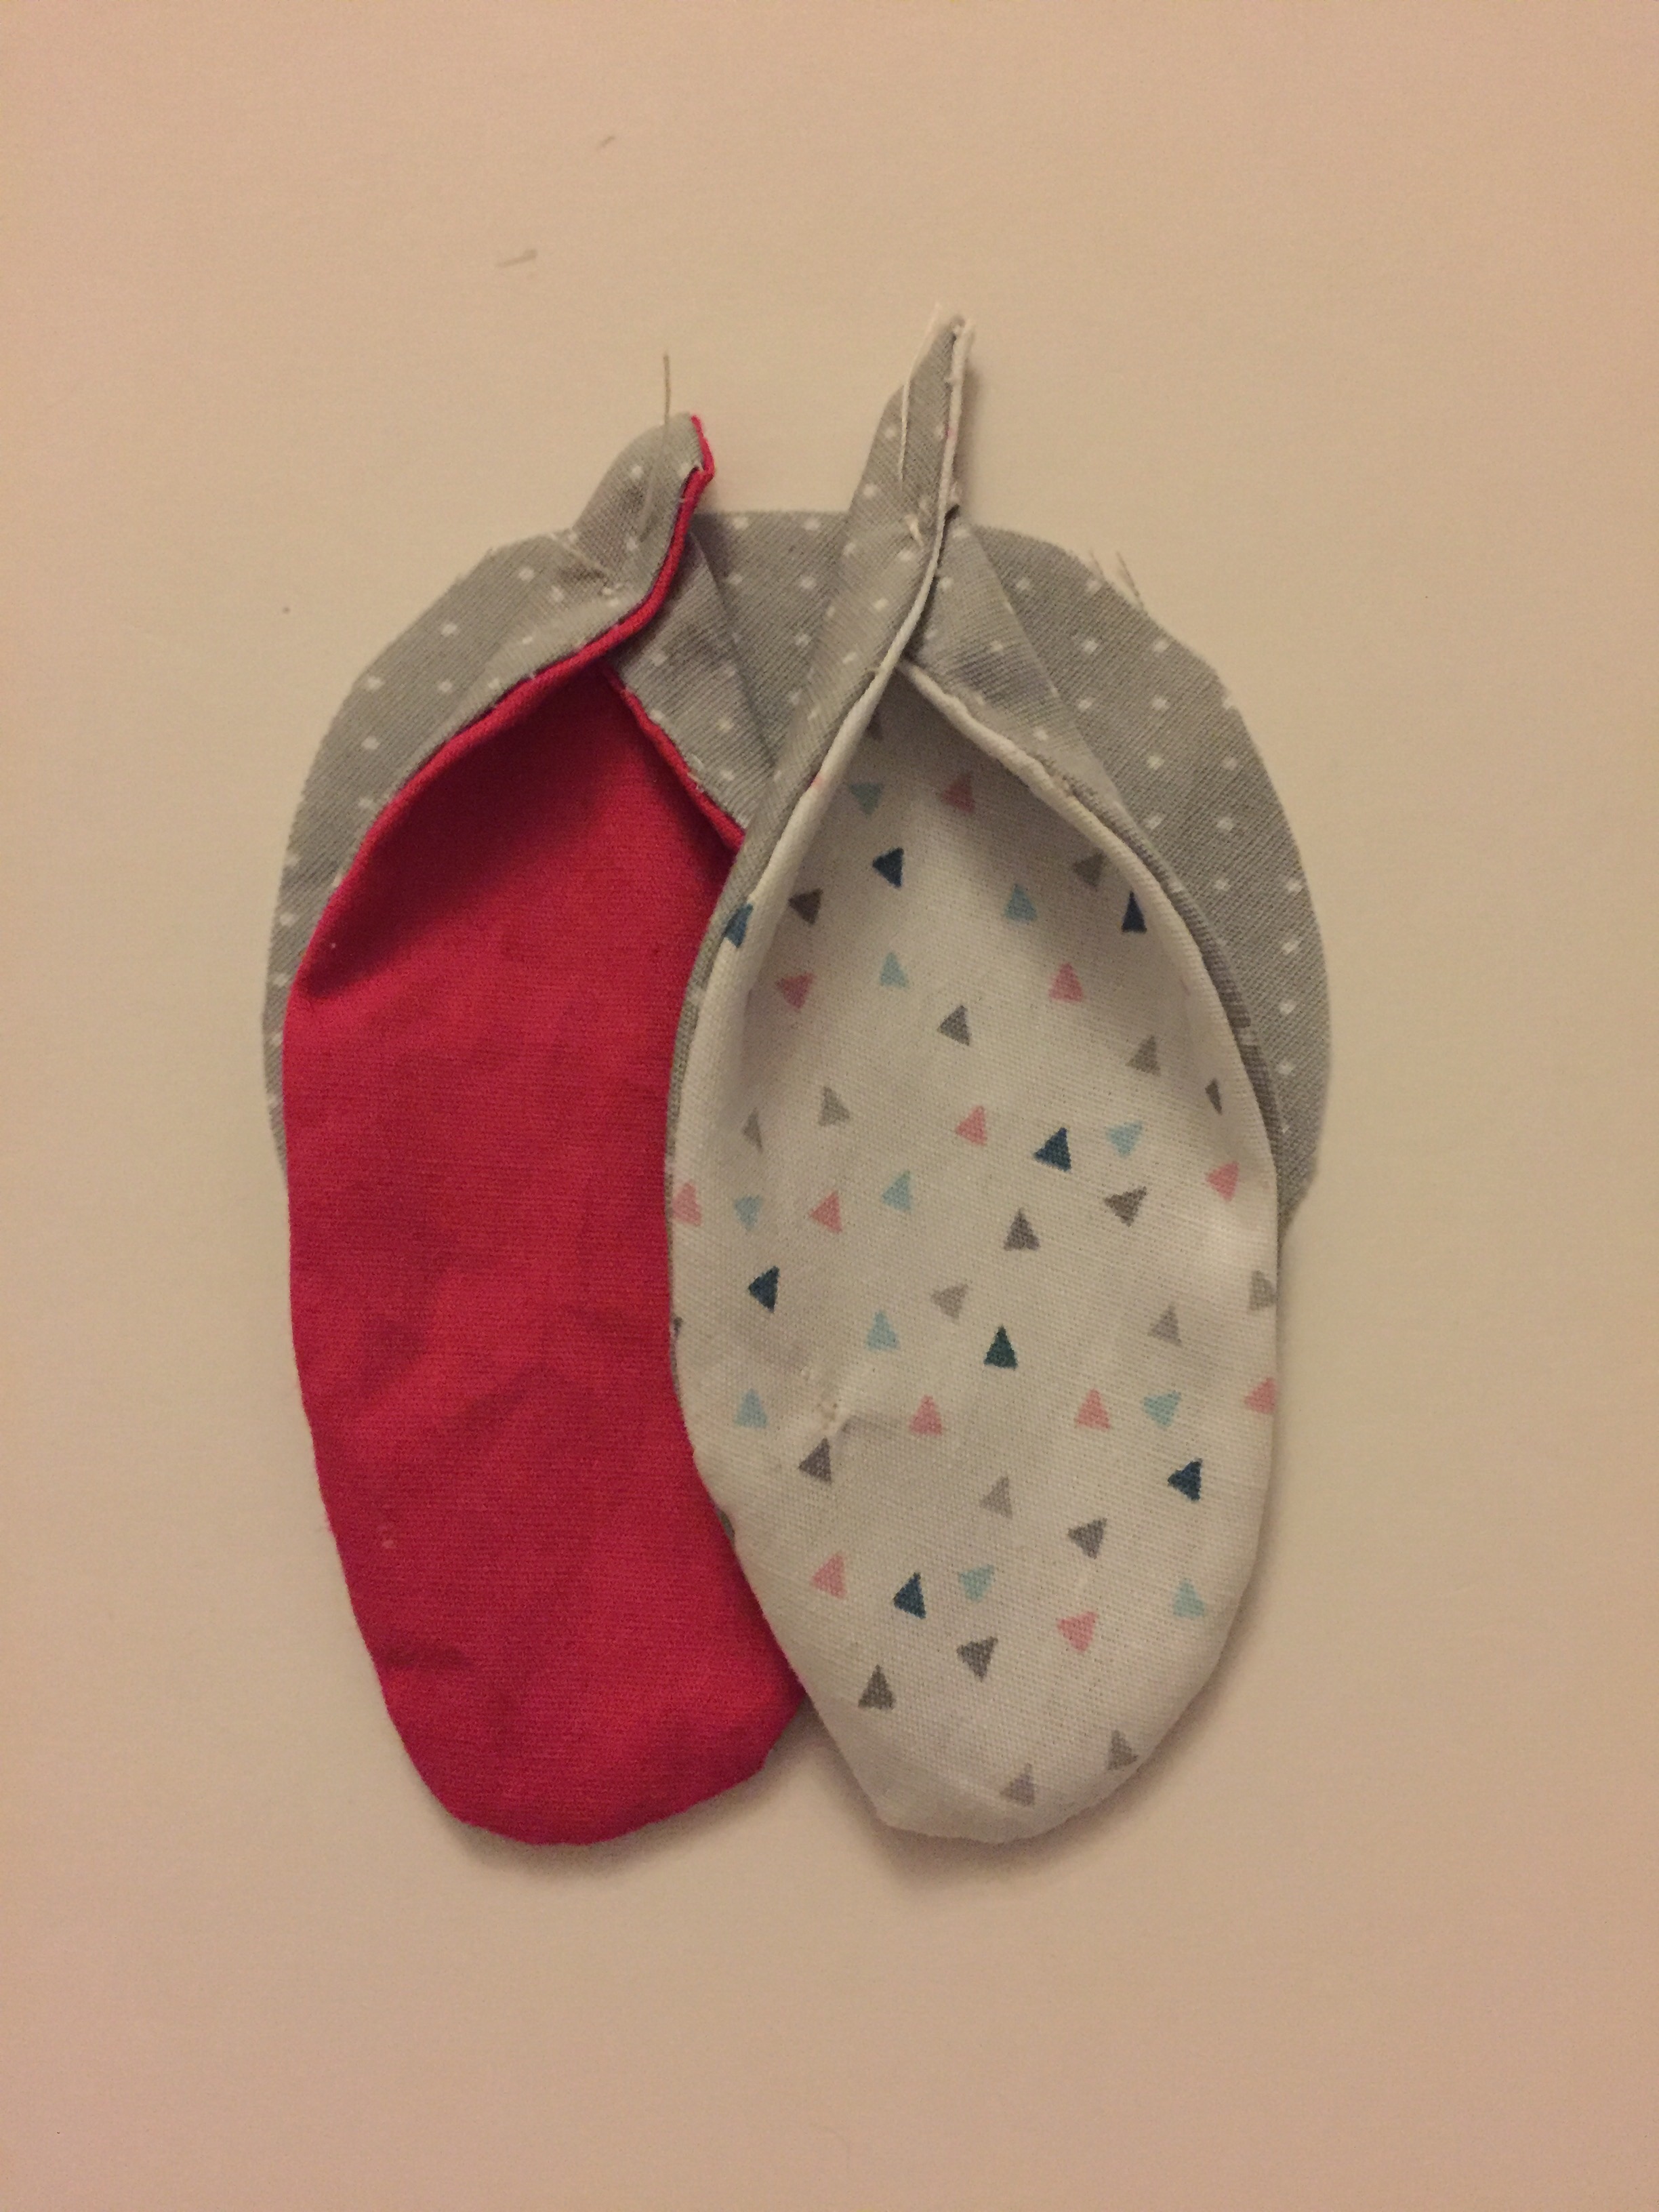
- Fold a large circle in half and draw the outline for half an ear. Cut this shape and use this as a template to make 3 more ear pieces. I chose to use grey for the back of both ears, and a pink and white speckle for the front. Place the front and back ear pieces right sides together and sew around leaving a 4 cm gap, turn right way around and slip stitch closed. Fold each side of the bottom edge of the ear inward and sew.


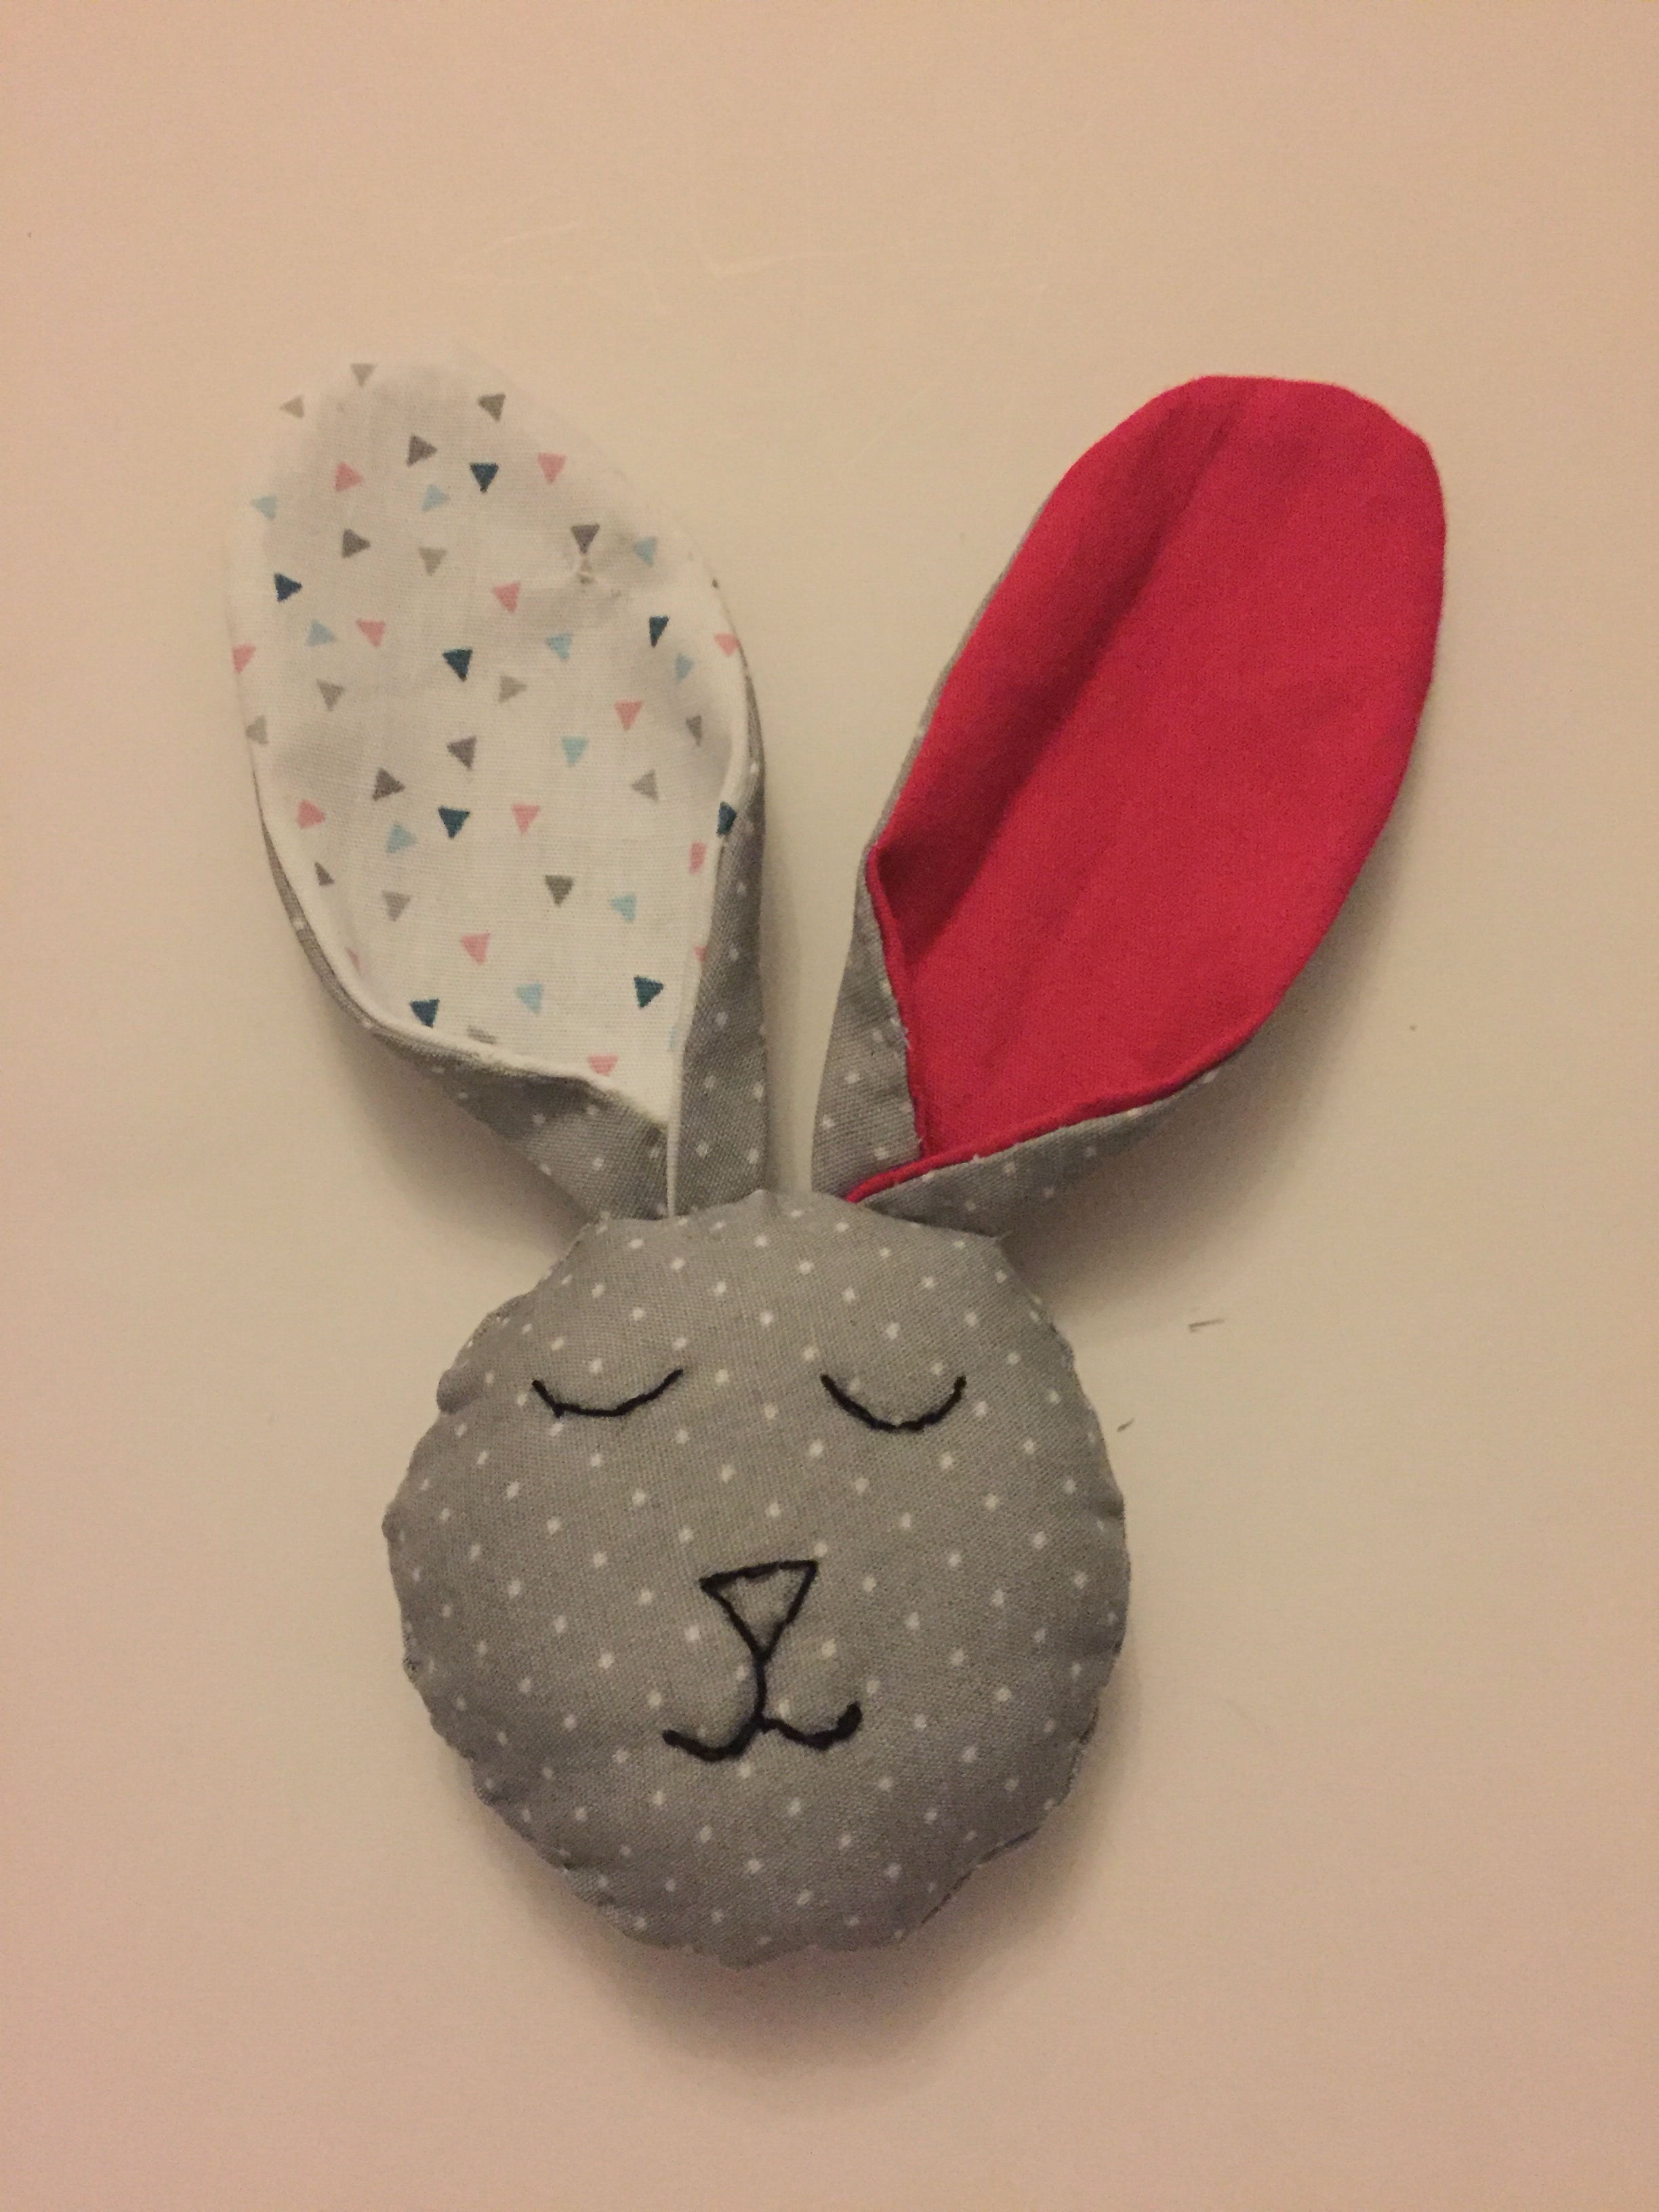
- Making the face:
- Lay the back face piece with right side up. Place the ears with their bases hanging 0.5 cm over the edge of the head piece with their front sides facing upwards. Now place the front piece on top and sew around the edge leaving a 4cm gap. Tuck the ears in you so you don’t end up sewing them into the seam. Turn the right way around, stuff and slip stitch closed. Sew on eye, nose, and mouth details.


- Making the tail:
- Make a small yoyo and sew onto back of rabbit, 3 yoyos from the base of the body.
- All finished!

Leave a comment