
Halloween will soon be upon us so it’s time for a bit of a spooky Halloween craft takeover, scuttling in first is a quilted patchwork spider!
I started my Halloween makes a little later than normal this year, I normally like to get started nice and early as I have quite a few to do each year. This year however I have lost track of time – the year is just going by so fast I am loosing track of what month we are in. So I now that I am late starting I need to get cracking on my makes to get them finished in time, although as they say better late than never!
The first make this year is a quilted patchwork spider, I love having spiders around the house as decorations for Halloween and wanted one which would last a bit longer than just a paper or card one. I made this one quite large but you could do it as small or big as you like, also you don’t have to put the quilting details on you could just do it as a plain patchwork one.
I was very lucky to receive some of The Craft Cotton Company fabric to make this (a big thank you to The Craft Cotton Company), I do love this fabric I am always able to find a fat quarter set that is just perfect for the make I have in mind, and I really like making things using the fabric. The fat quarter bundle which was ideal for this was Classic Black.
As with any make where you make the pattern yourself I was a bit nervous whether the spider would be a full success or whether I would need to tweak the pattern a bit, but I think I have got it just right – so so happy! A house of spooky makes won’t to too far away now!
I always love to see what other people are making using the fat quarter bundle sets, there are lots of great ideas on there along with all their lovely fabrics!
Fabrics gifted by The Craft Cotton Company.
Sewing Tutorial: Giant Quilted halloween Patchwork Spider
Materials:
- Classic Black fat quarter set by The Craft Cotton Company.
- Batting.
- Toy Stuffing.
- Thread.
- Needle.
- Scissors.
- Paper.
- Pencil.
- Pins.
- White felt.
- Black felt.
Giant Quilted halloween Patchwork Spider – Making the Body Template:
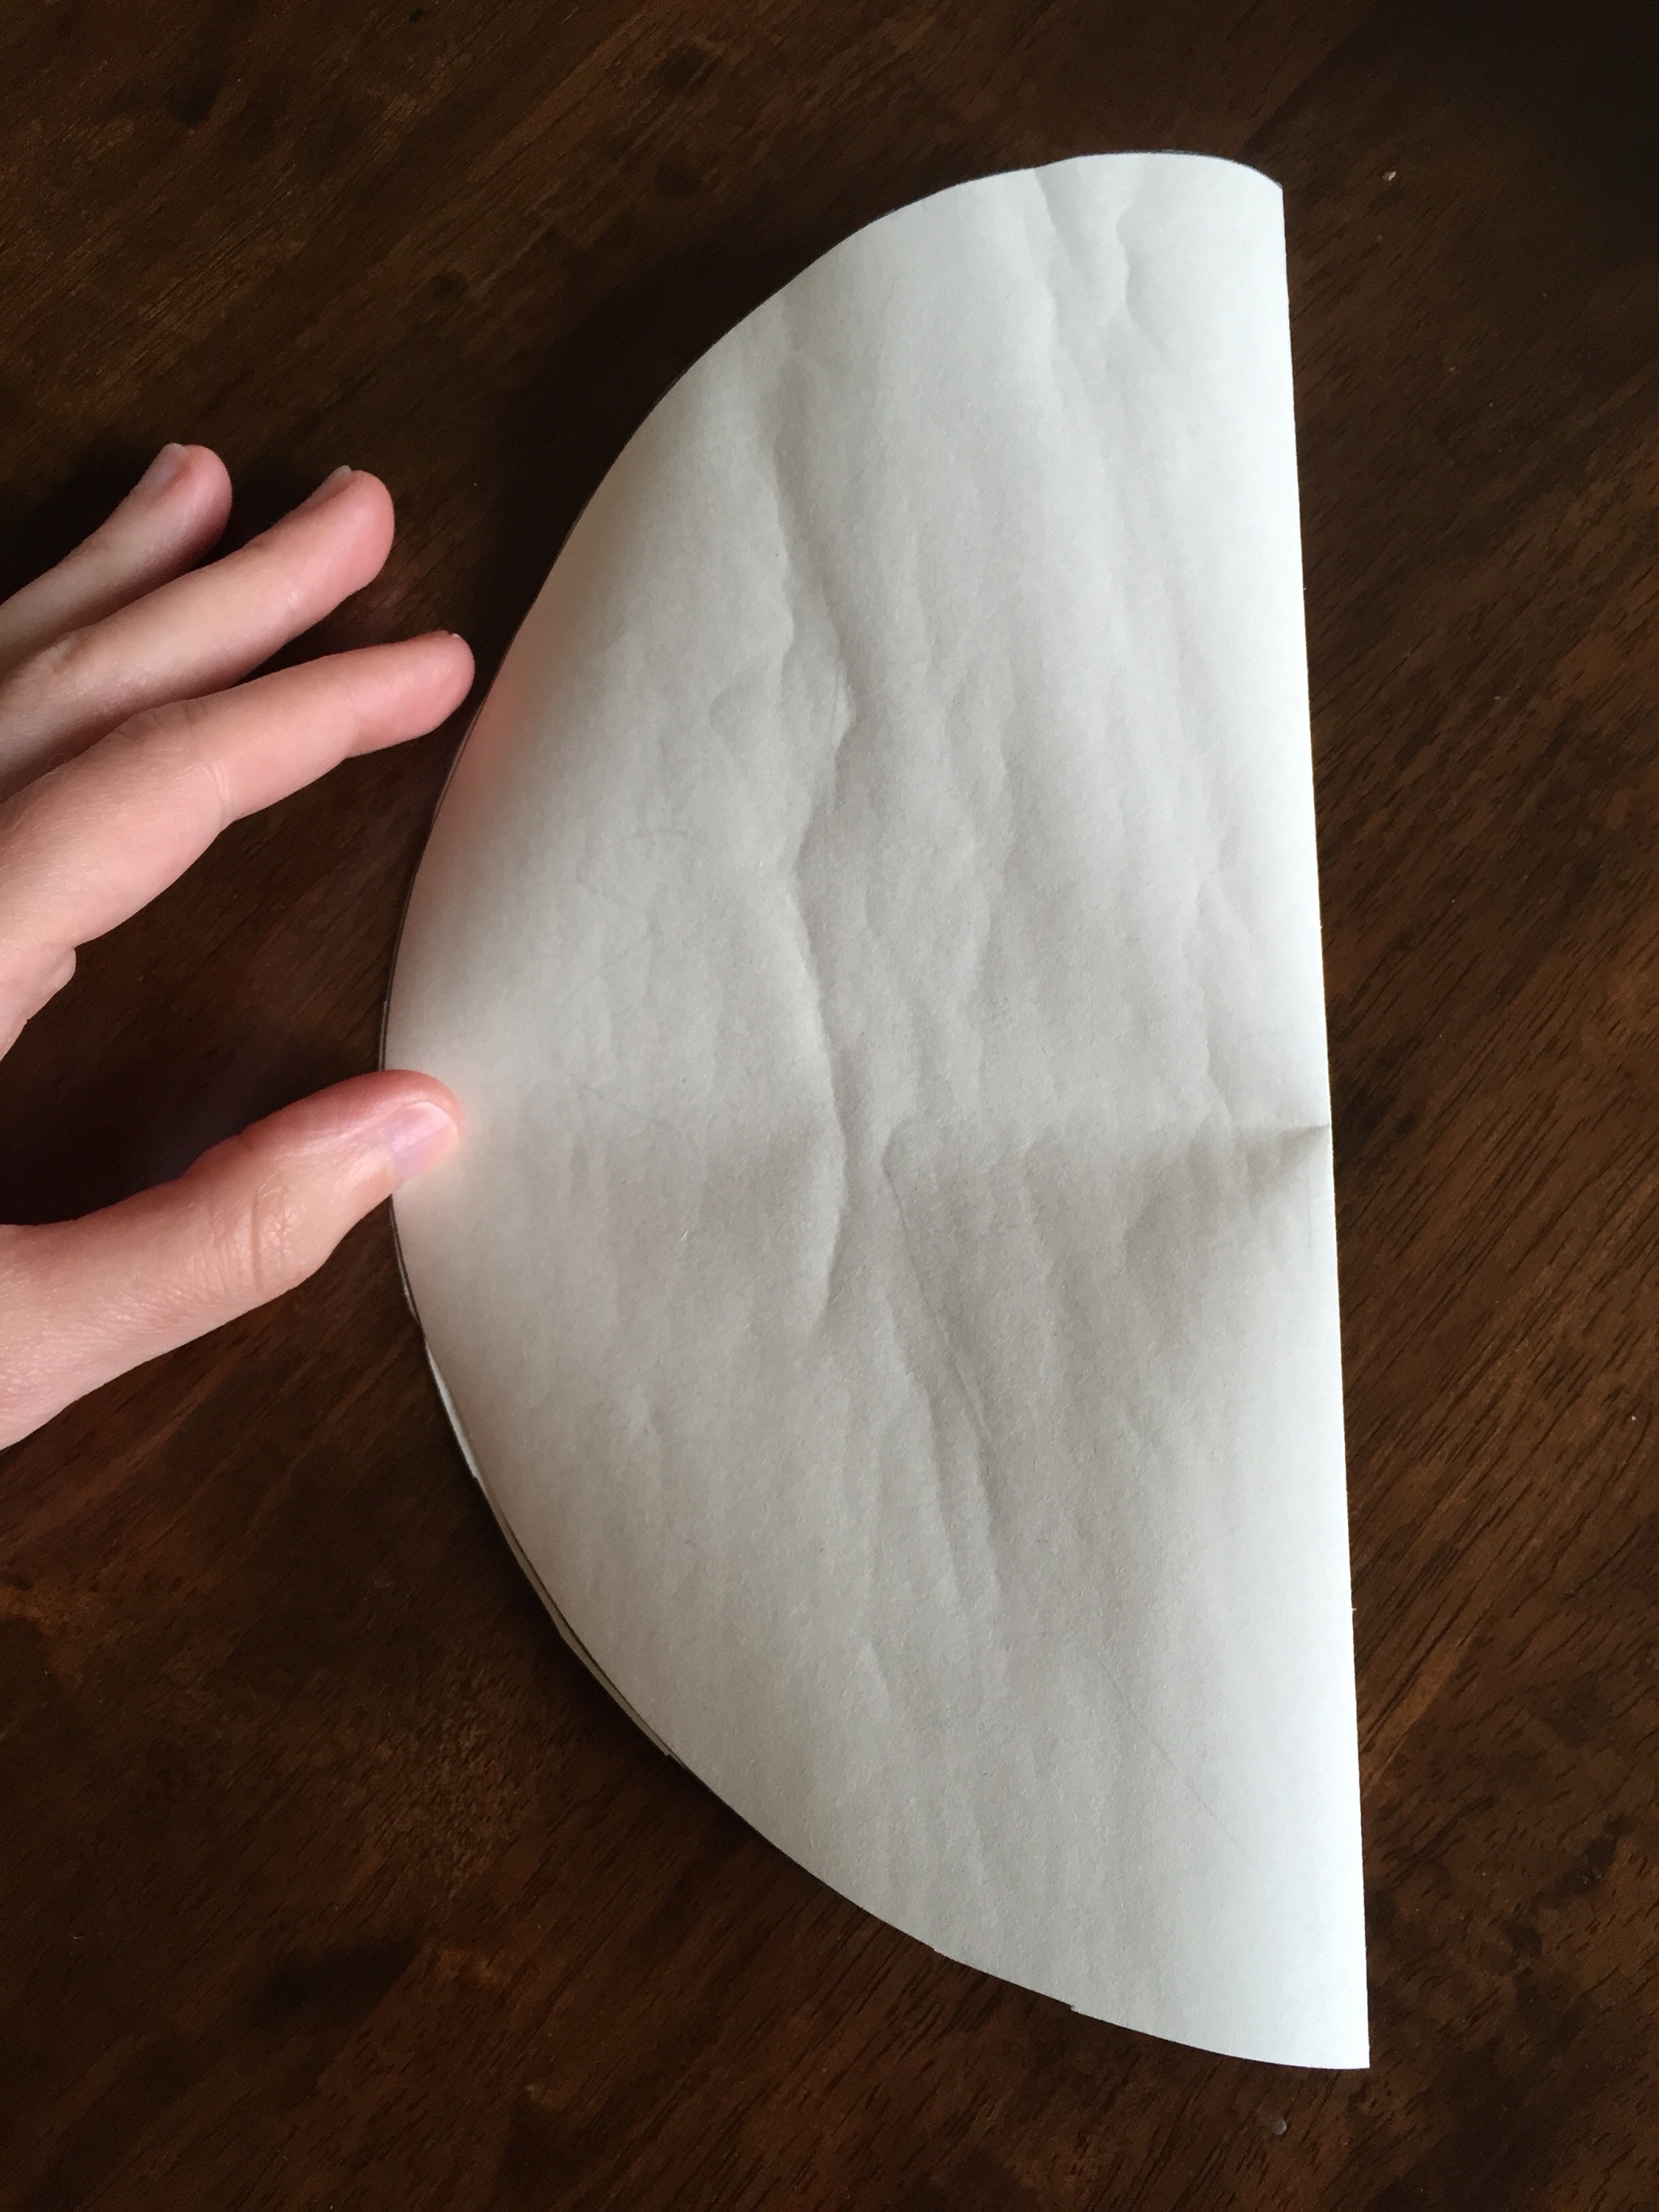
- Draw around a plate the size you want the spider to be, for spider I used a small dinner plate as I wanted it to be a good size, but you could do it as small or as big as you wanted. Draw around the plate and cut out.
- Next fold this piece of paper in half and draw a curved line starting from the top right down to the bottom. I wanted my spider to be quite squat rather than ball like so I made the curve quite wide in the middle section.
- Cut along this line to create the body pattern piece.

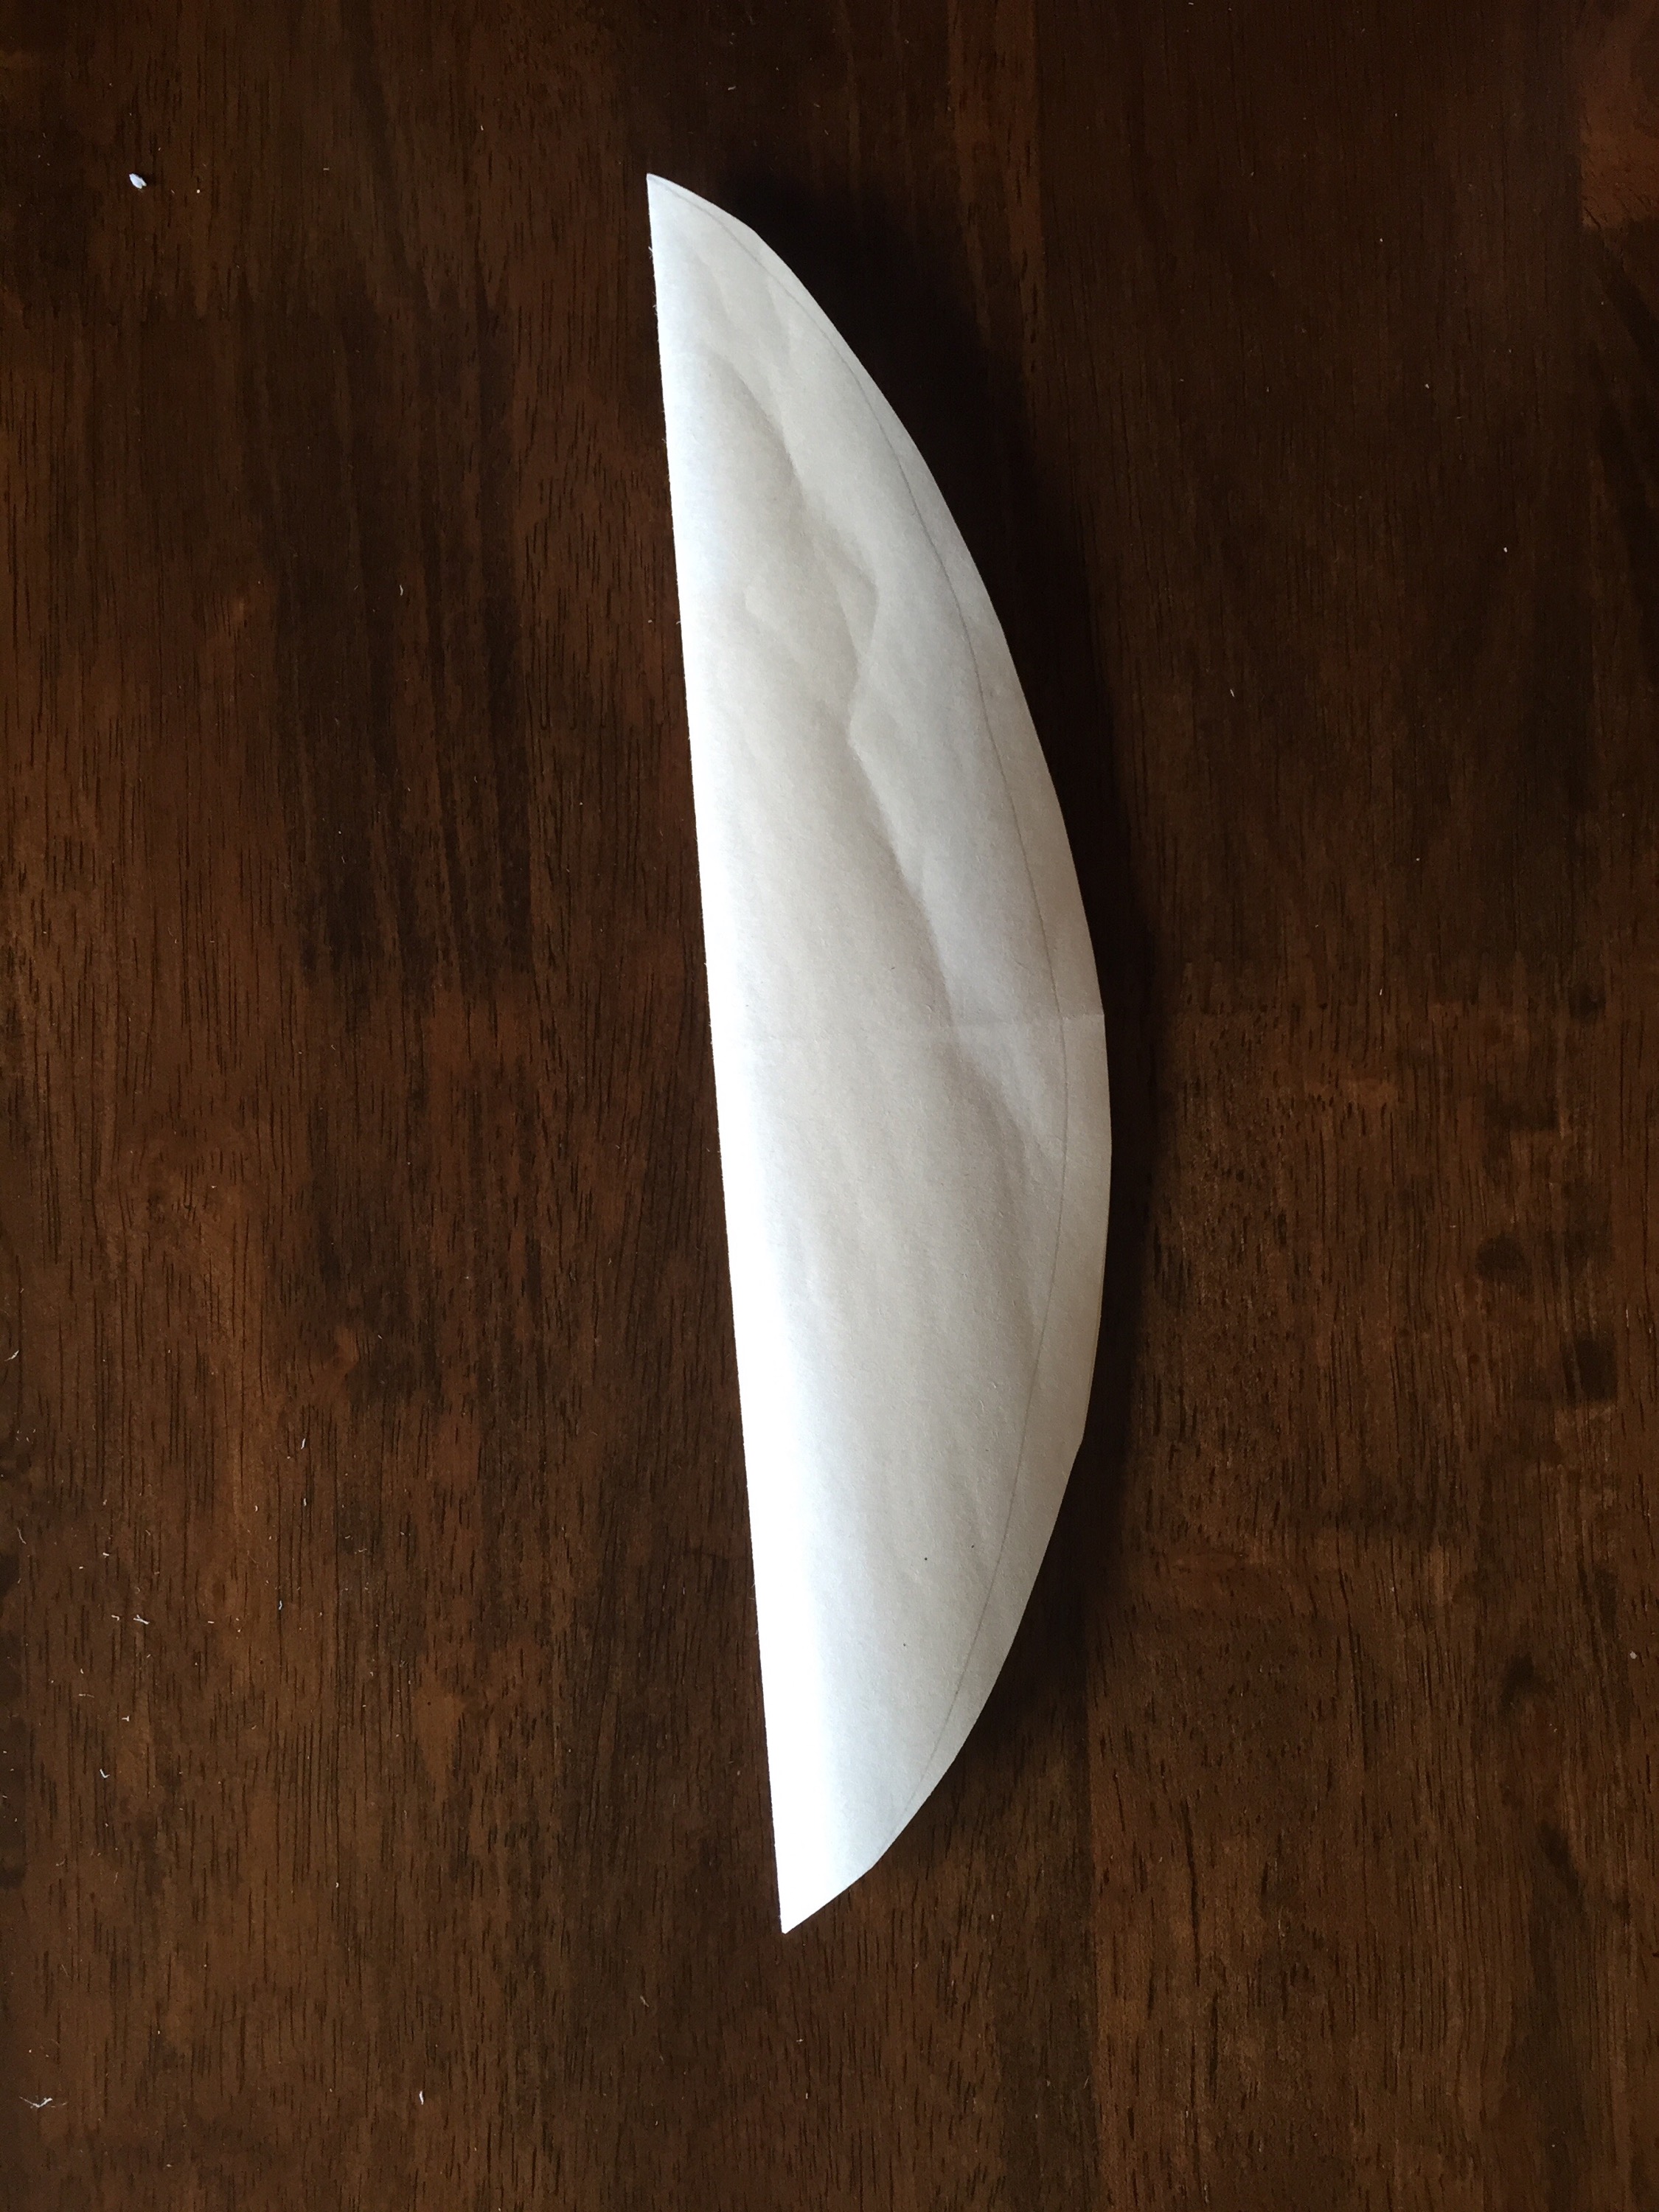
- Next take this body pattern piece and draw around it and cut out another, now cut this second pattern piece in half – this give you two halves of the leg section pattern piece.


Giant Quilted halloween Patchwork Spider – Cutting the fabric:
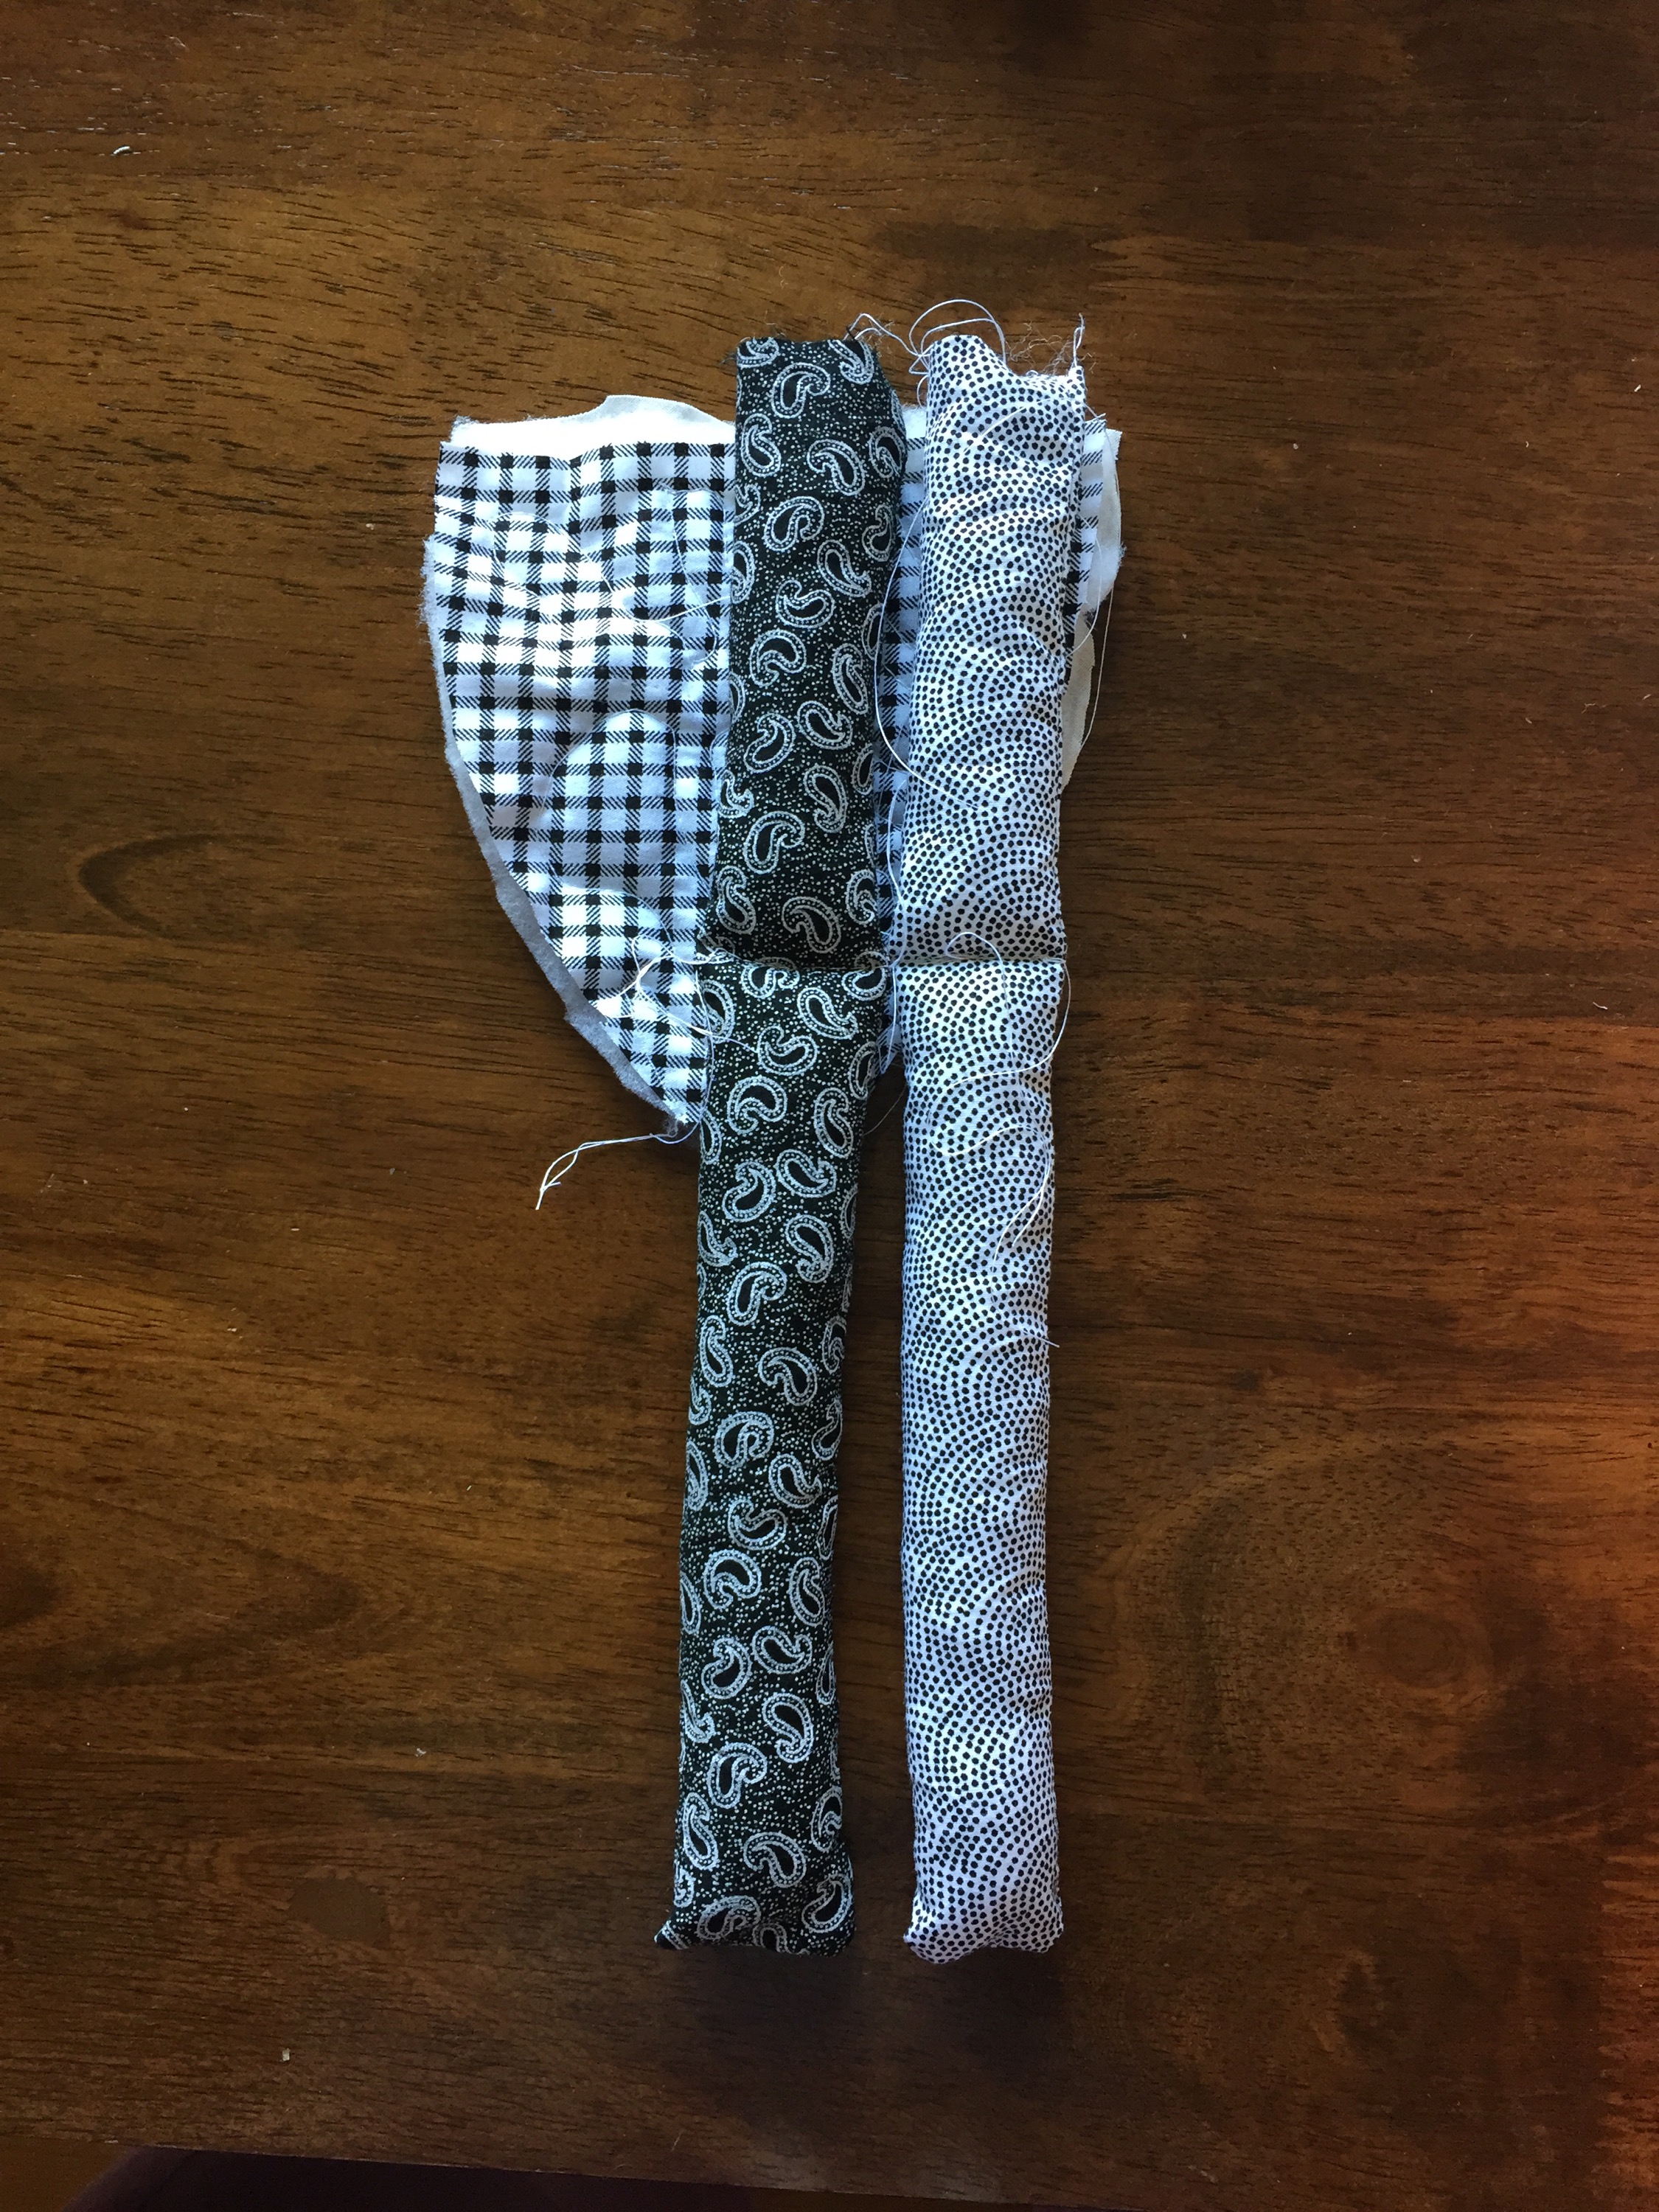
- For the body I selected to use 3 of the 6 different fabrics from the fat quarter set, this meant each fabric would appear twice on the body, once on the front and once on the back. You will need to use the body pattern piece twice (one for the front and one for the back) and the leg section pieces 4 times (two for the front and two for the back – with one pair each side of the large pattern piece).
- When cutting out the fabrics ensure you add a 5mm seam allowance.


Giant Quilted halloween Patchwork Spider – Adding the quilted detail:
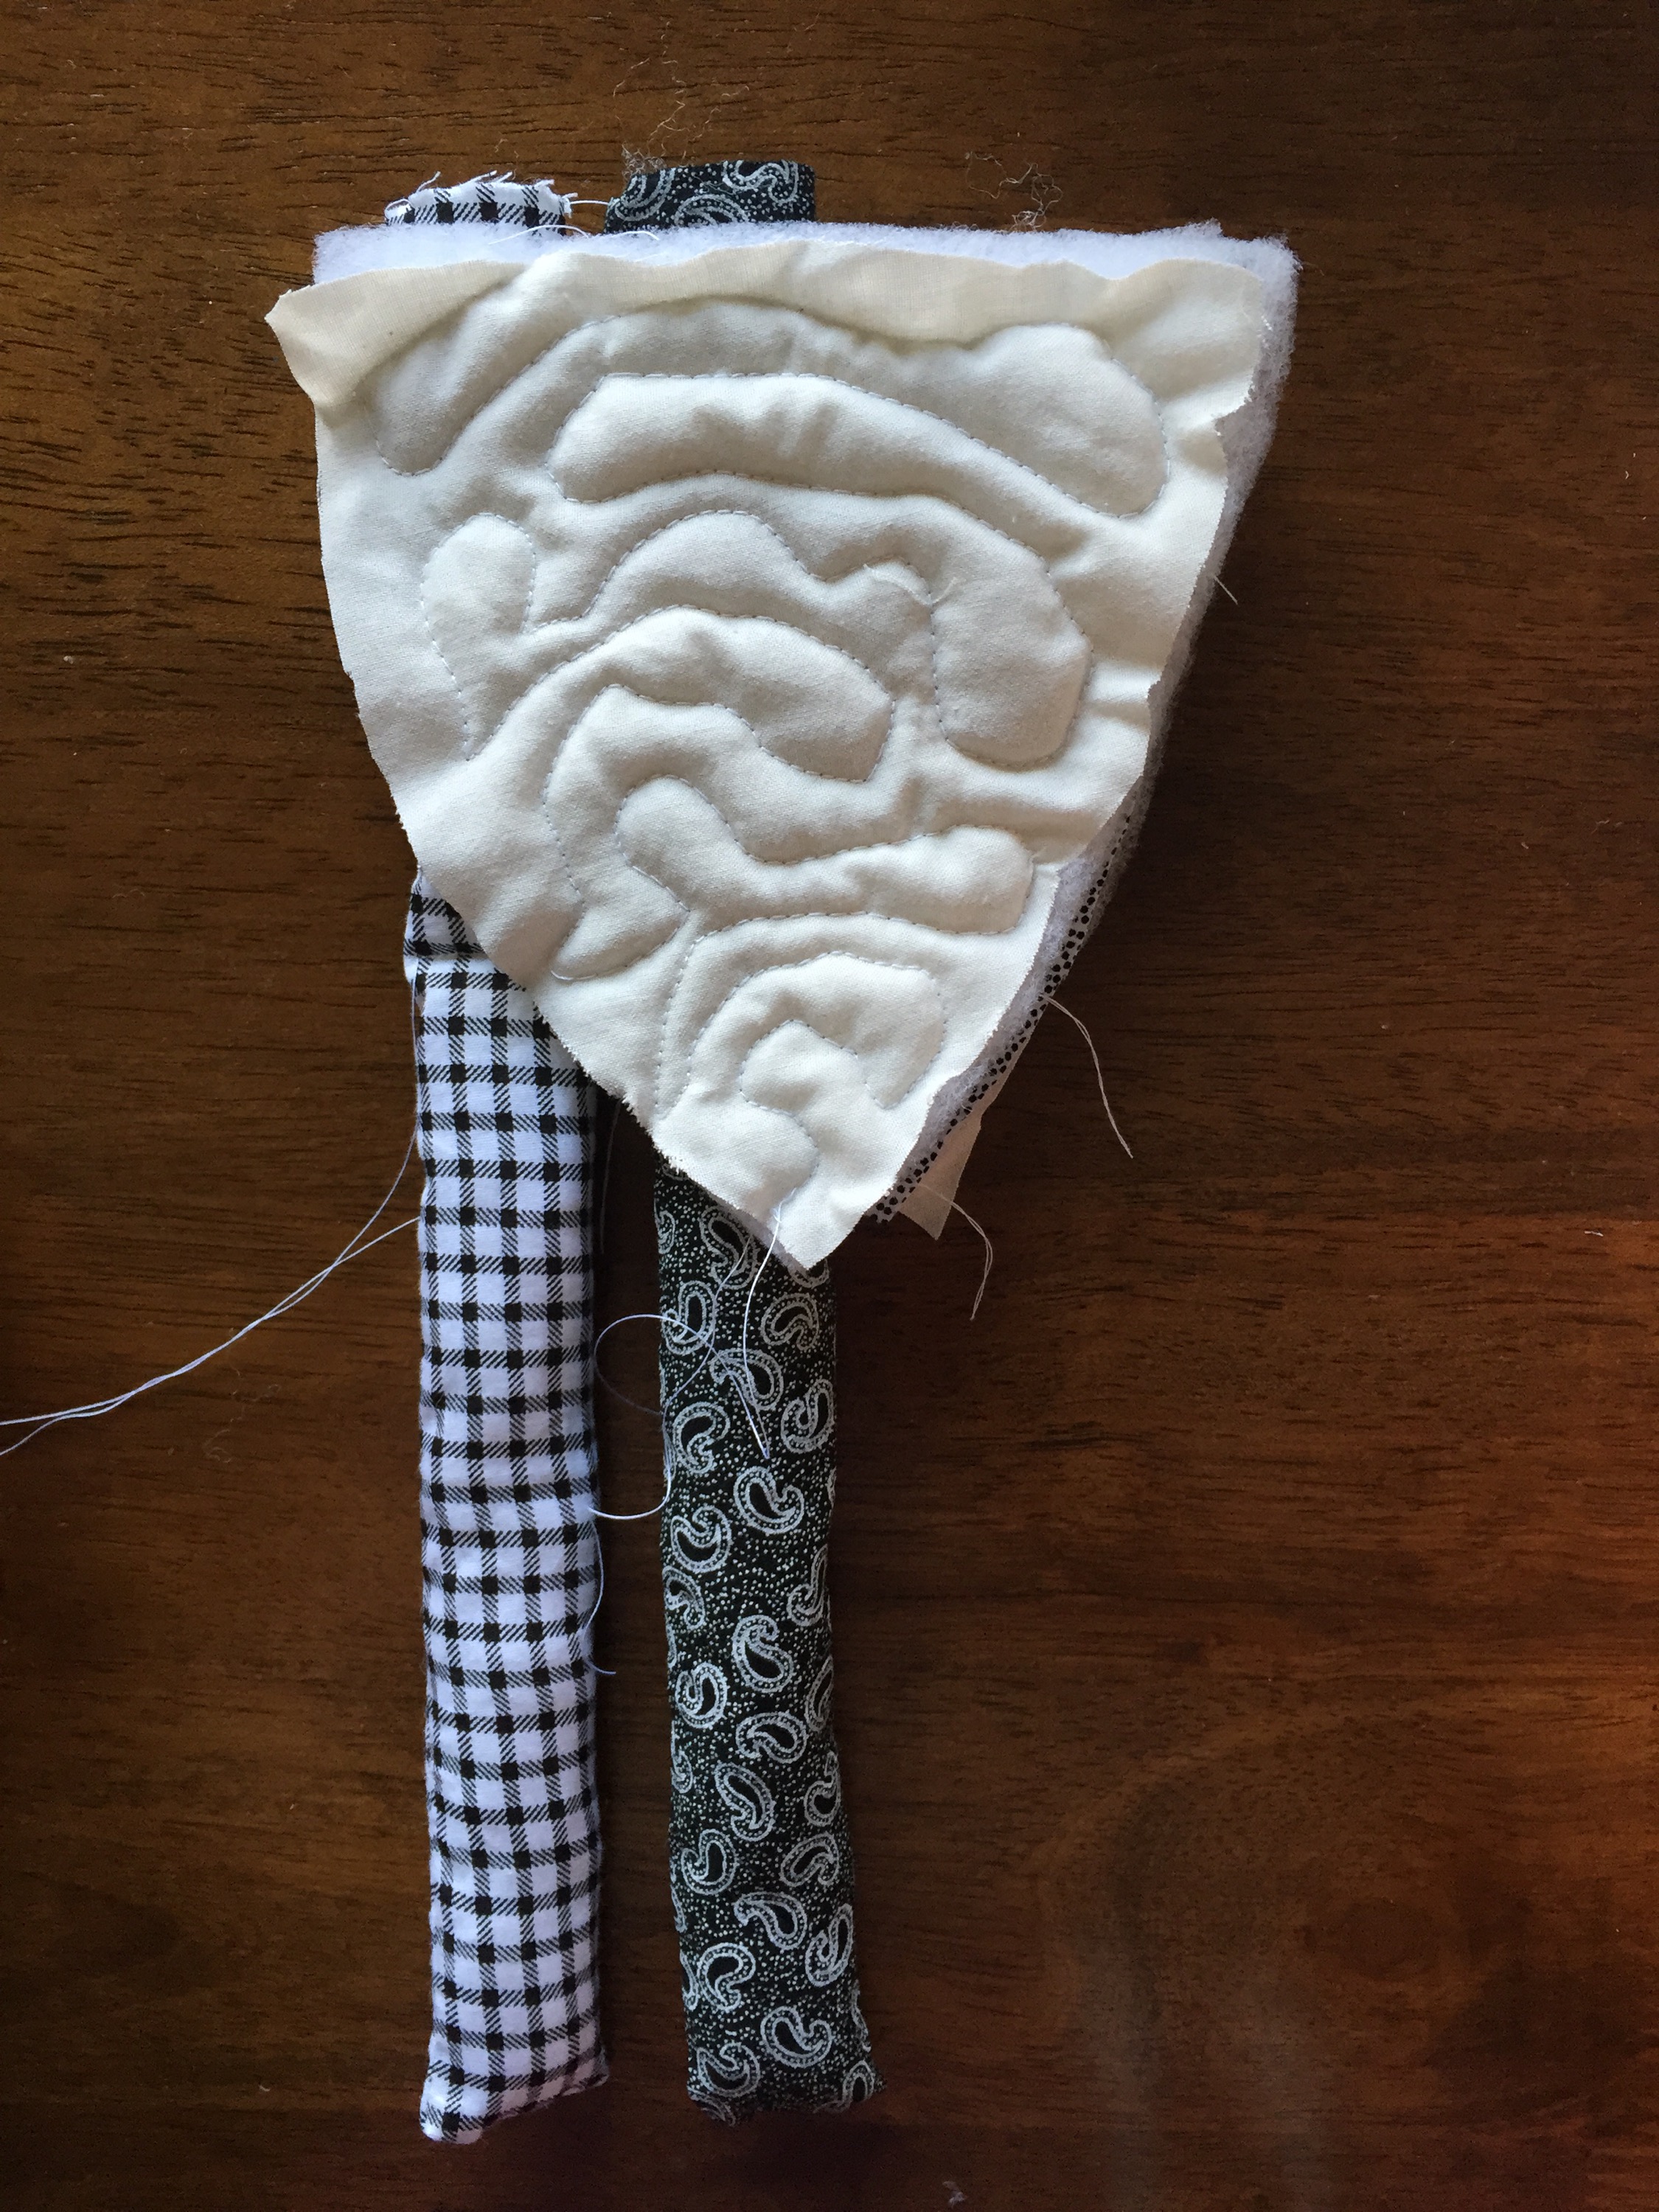
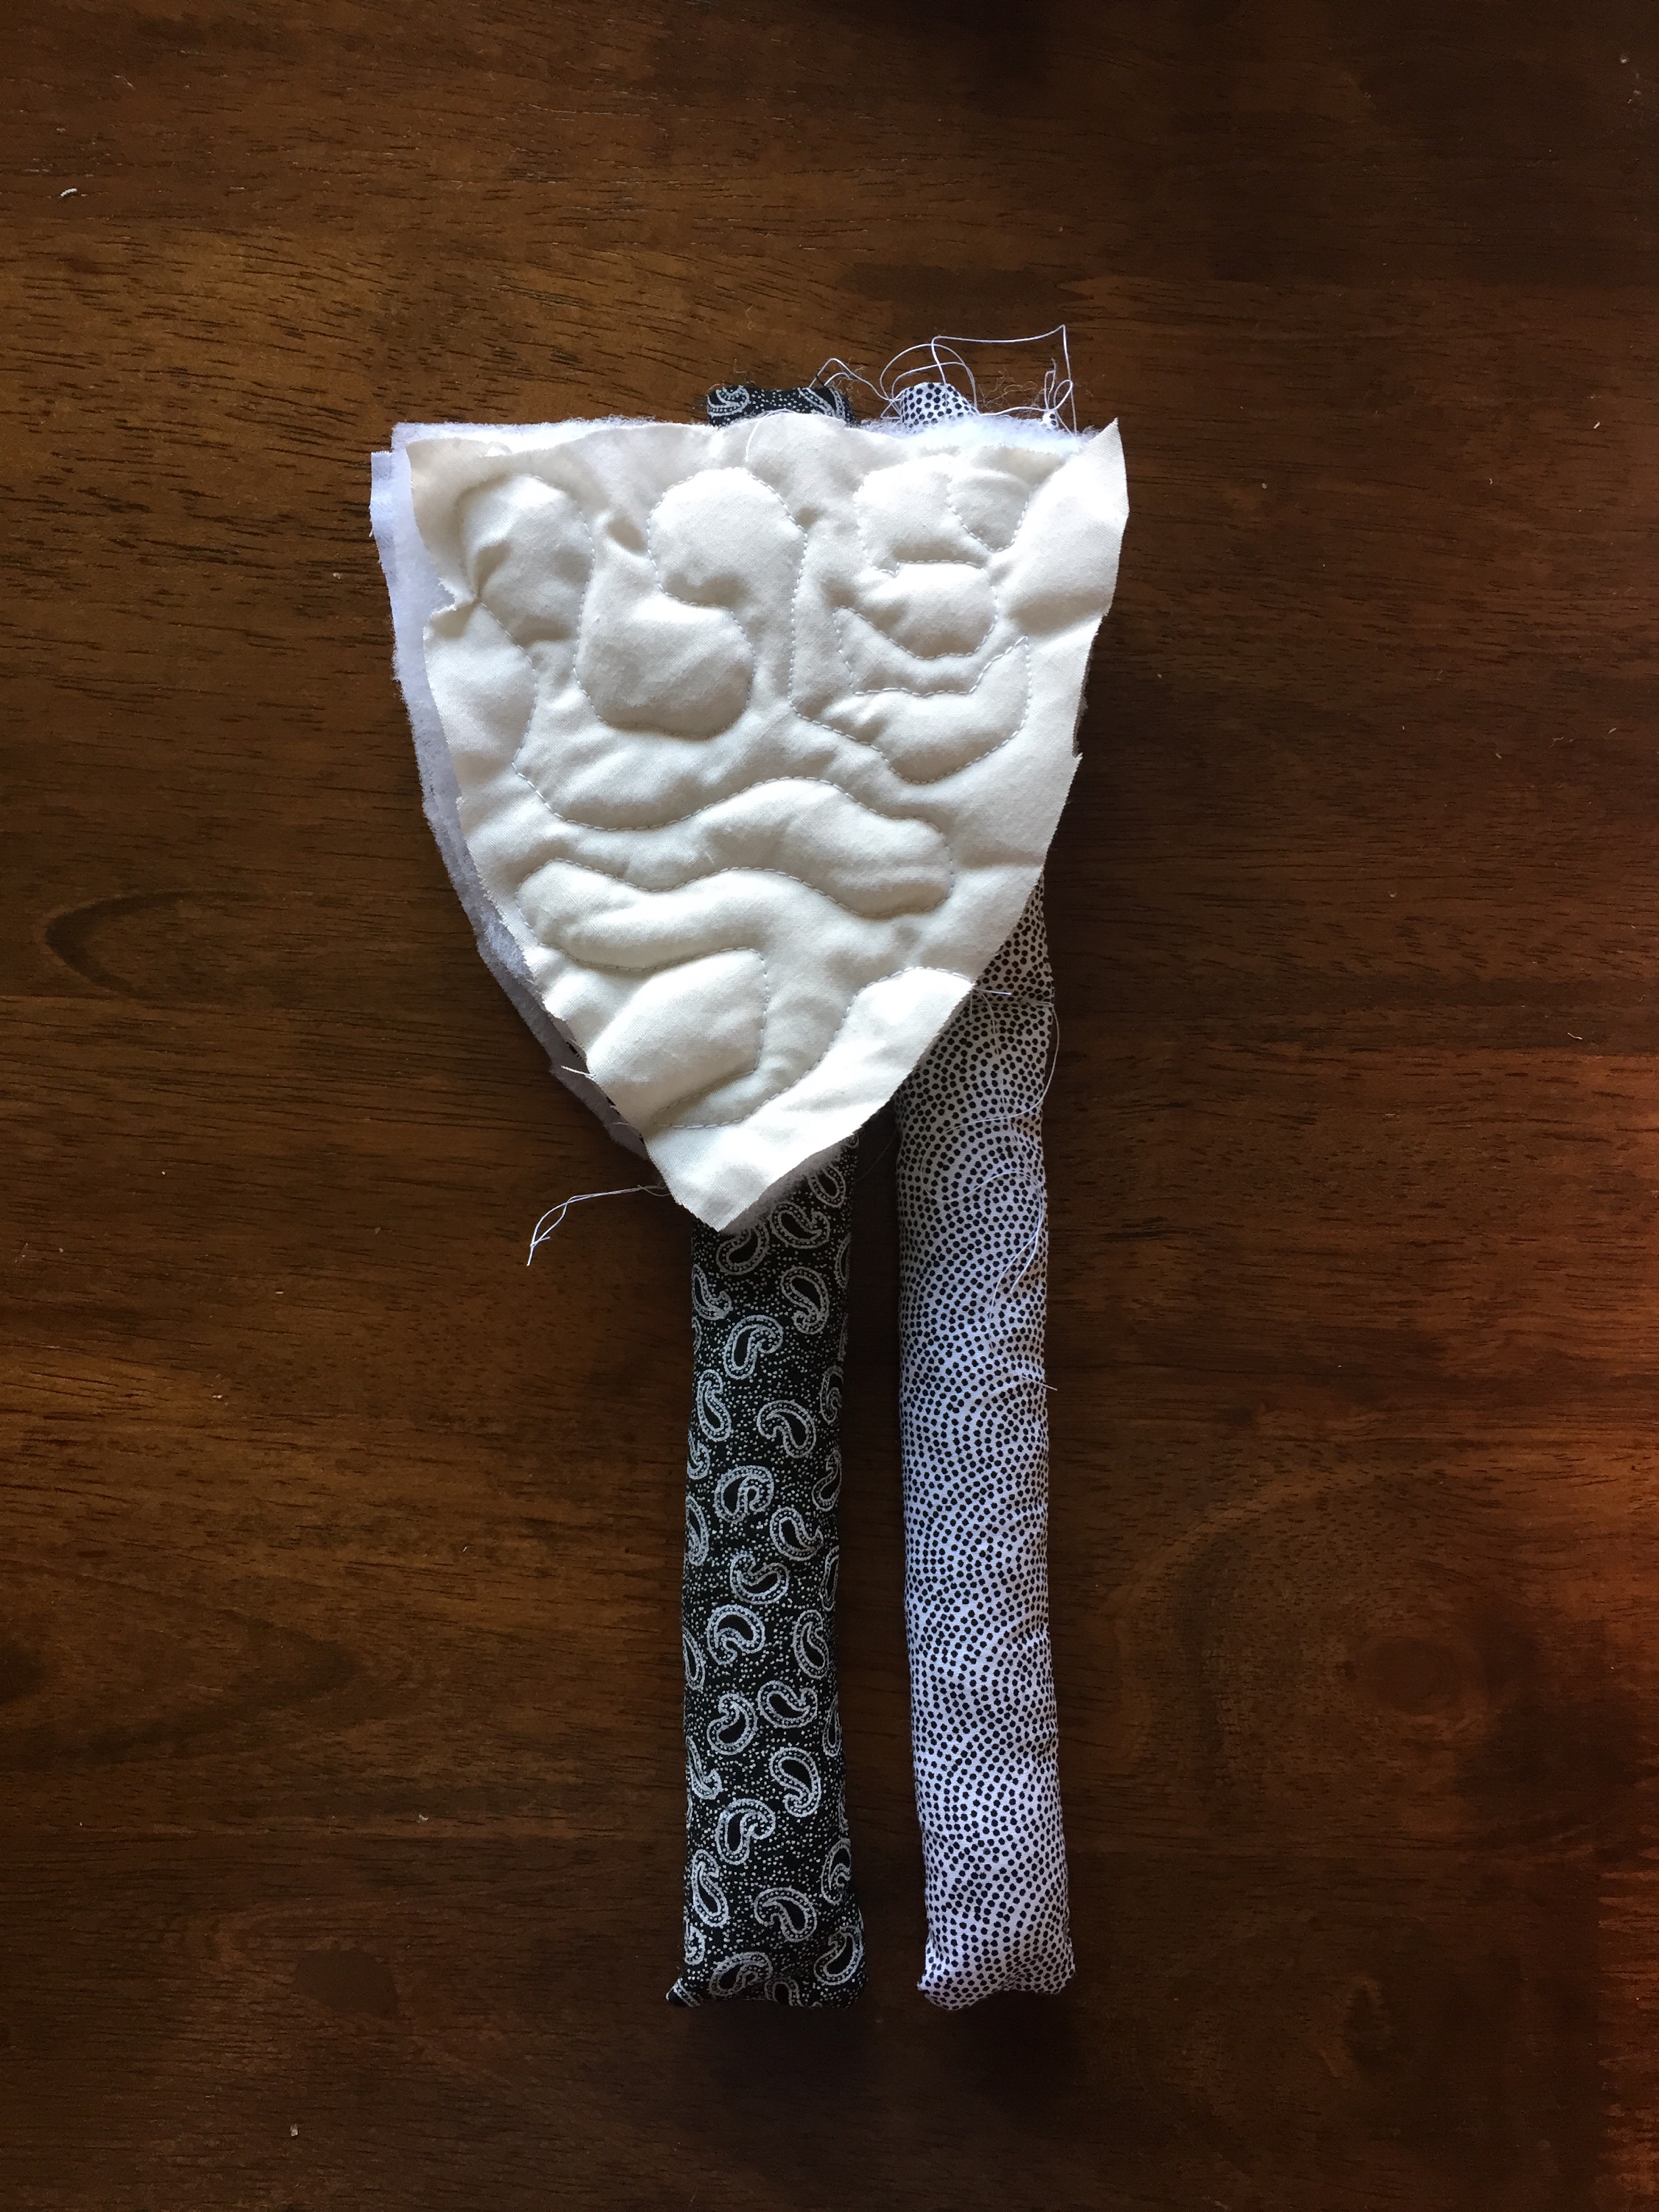
- Cut out a piece of batting the same size of each of the fabric pieces along with a piece of lining fabric.
- Now take one of your fabric pieces and its corresponding batting and fabric pin together to stop any movement and start to quilt – you can choose what pattern you like to do this, I decided to do a free hand swirling pattern.
- Repeat this on all of the pieces. Trim down if needed afterwards so that the wadding and backing fabric are the same size as the front fabric piece.


Giant Quilted halloween Patchwork Spider – Making the legs:
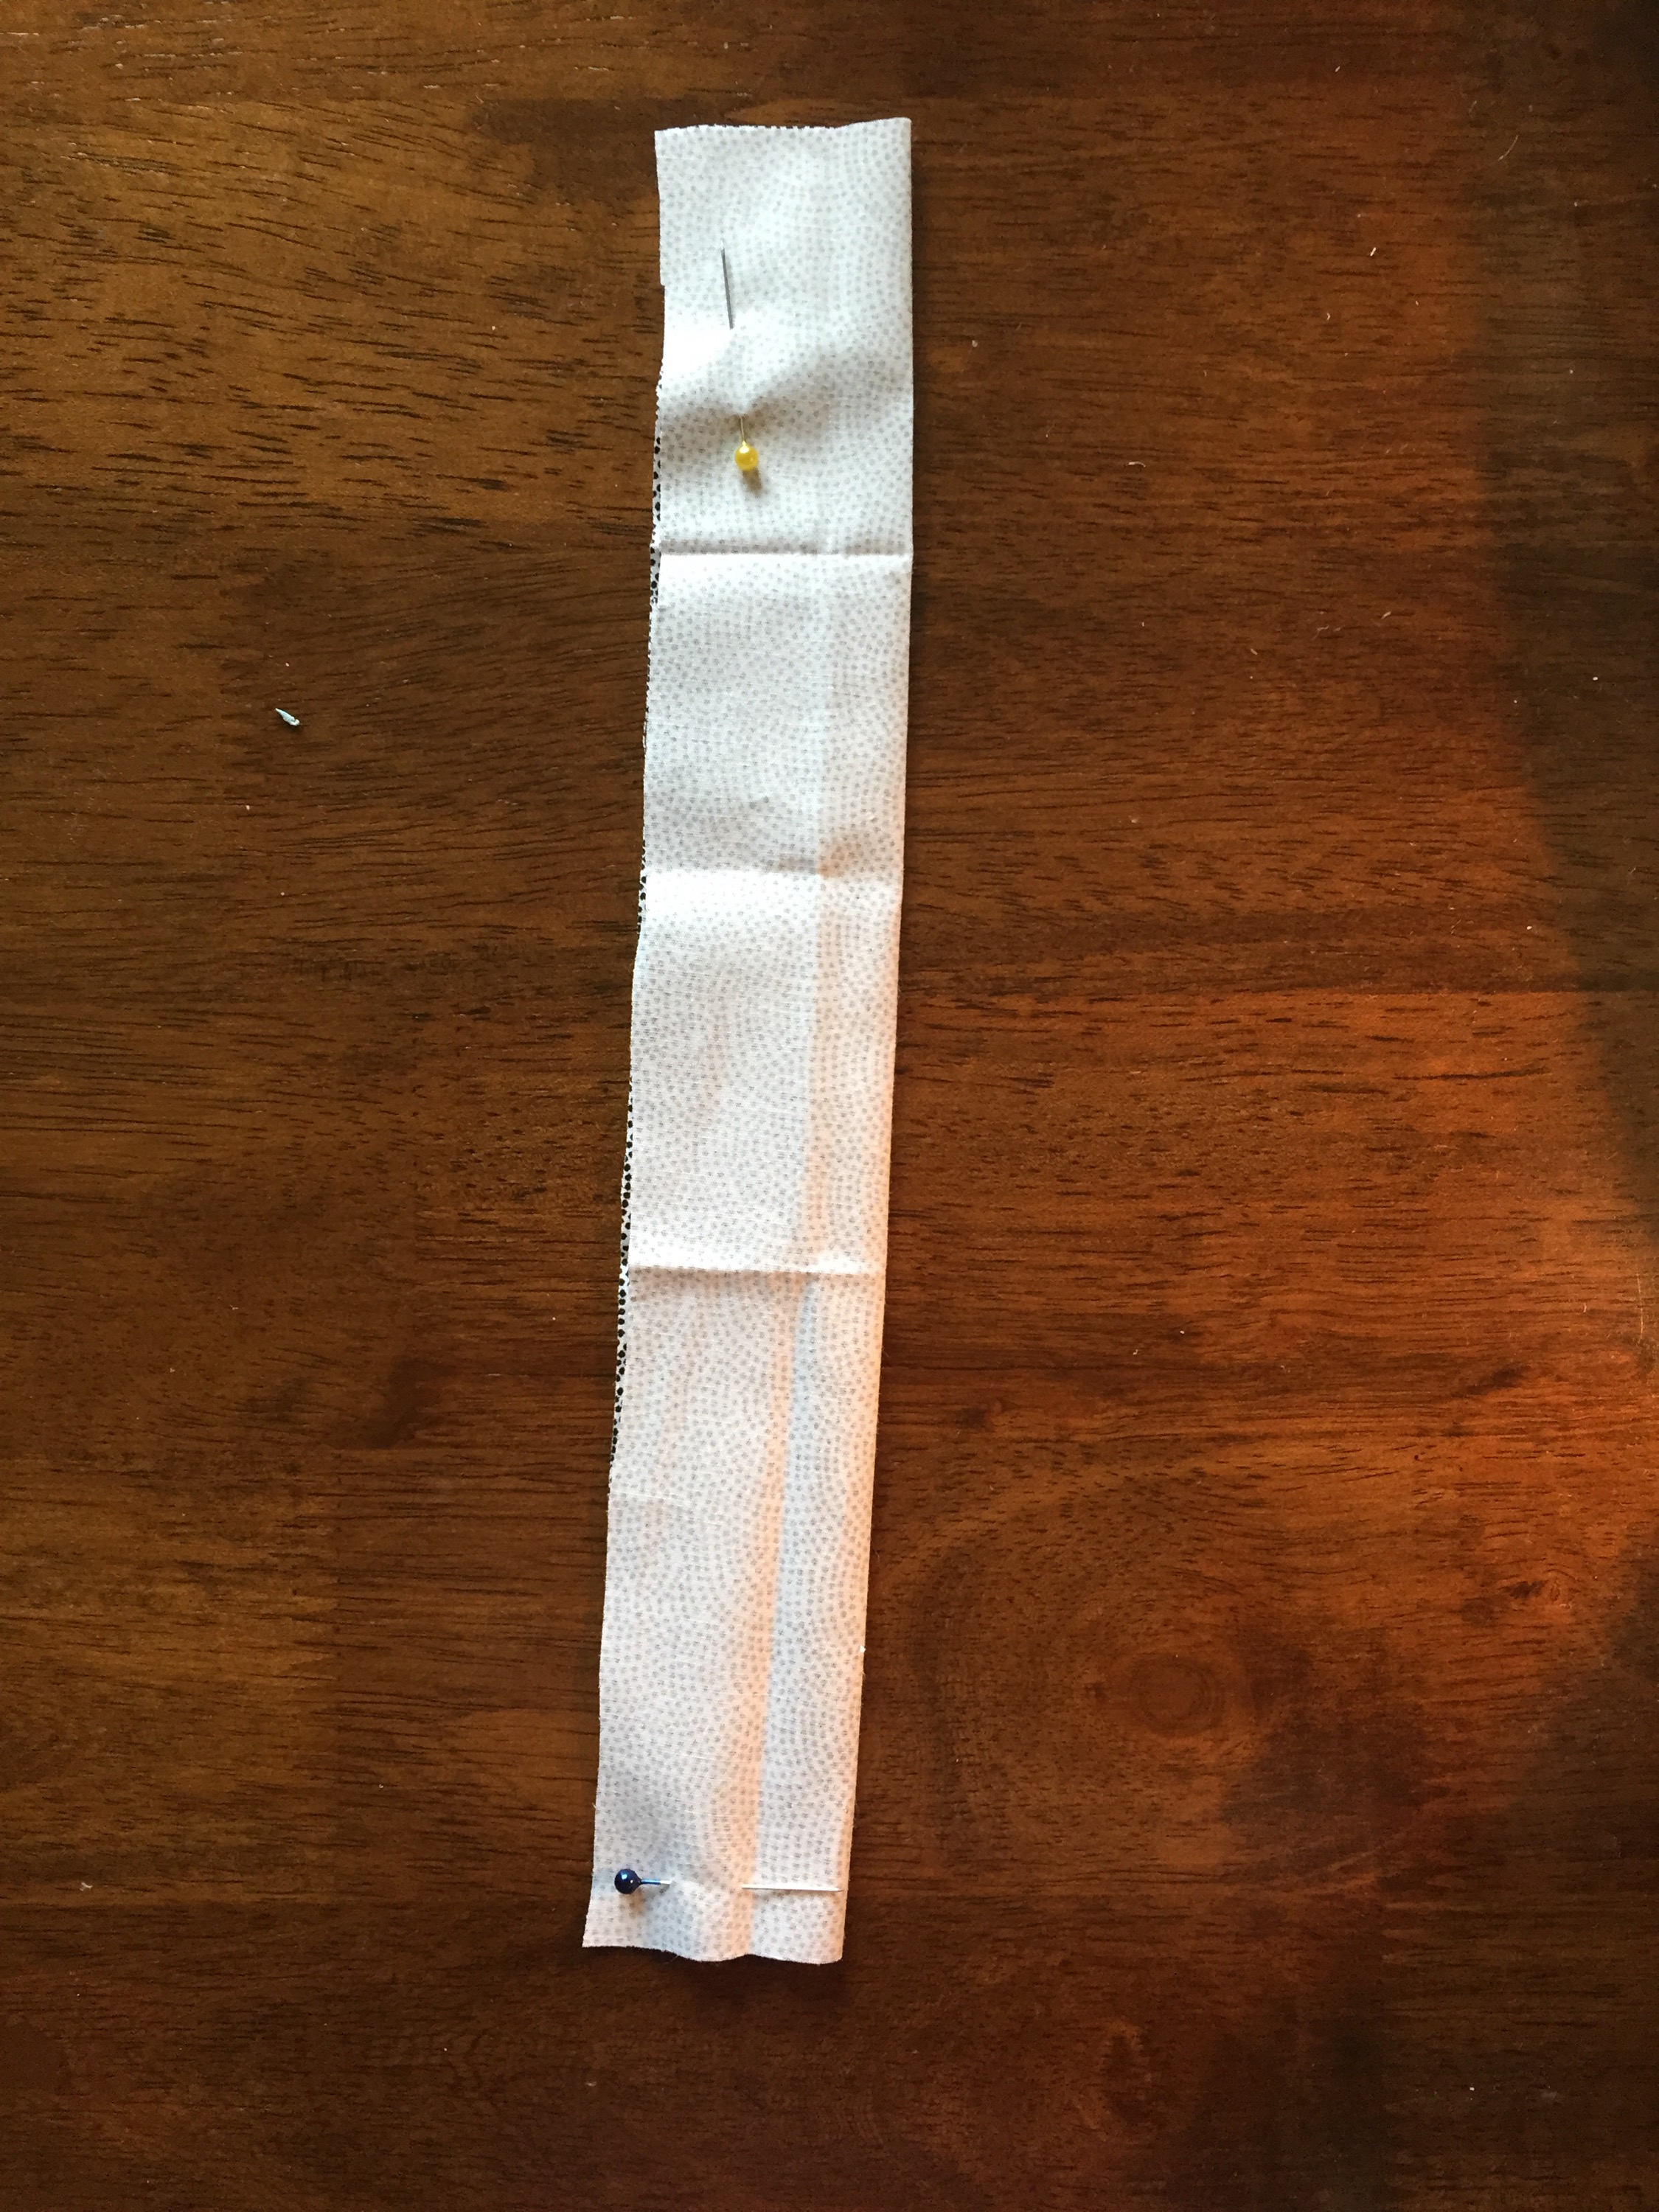
- Cut 8 long strips of fabric, 30cm long and 8cm wide (this includes a 5mm seam allowance). I cut a template out for this first to make cutting out much easier. I used a selection of the 3 fabrics used for the body for these legs.
- Fold the shortest ends of the strip in half with right sides facing each other, pin to secure and sew down the side and along the bottom, leaving the top unsewn.
- Next turn the legs to right way out, and stuff lightly, this isn’t the easiest but using a long ruler of knitting needle will help! Leave 2cm from the top unstuffed.
- Now 11 cm from the top sew across the leg and fasten off – this creates the joint in the leg.
- Repeat until all 8 legs are made.


Giant Quilted halloween Patchwork Spider – Attaching the Legs:
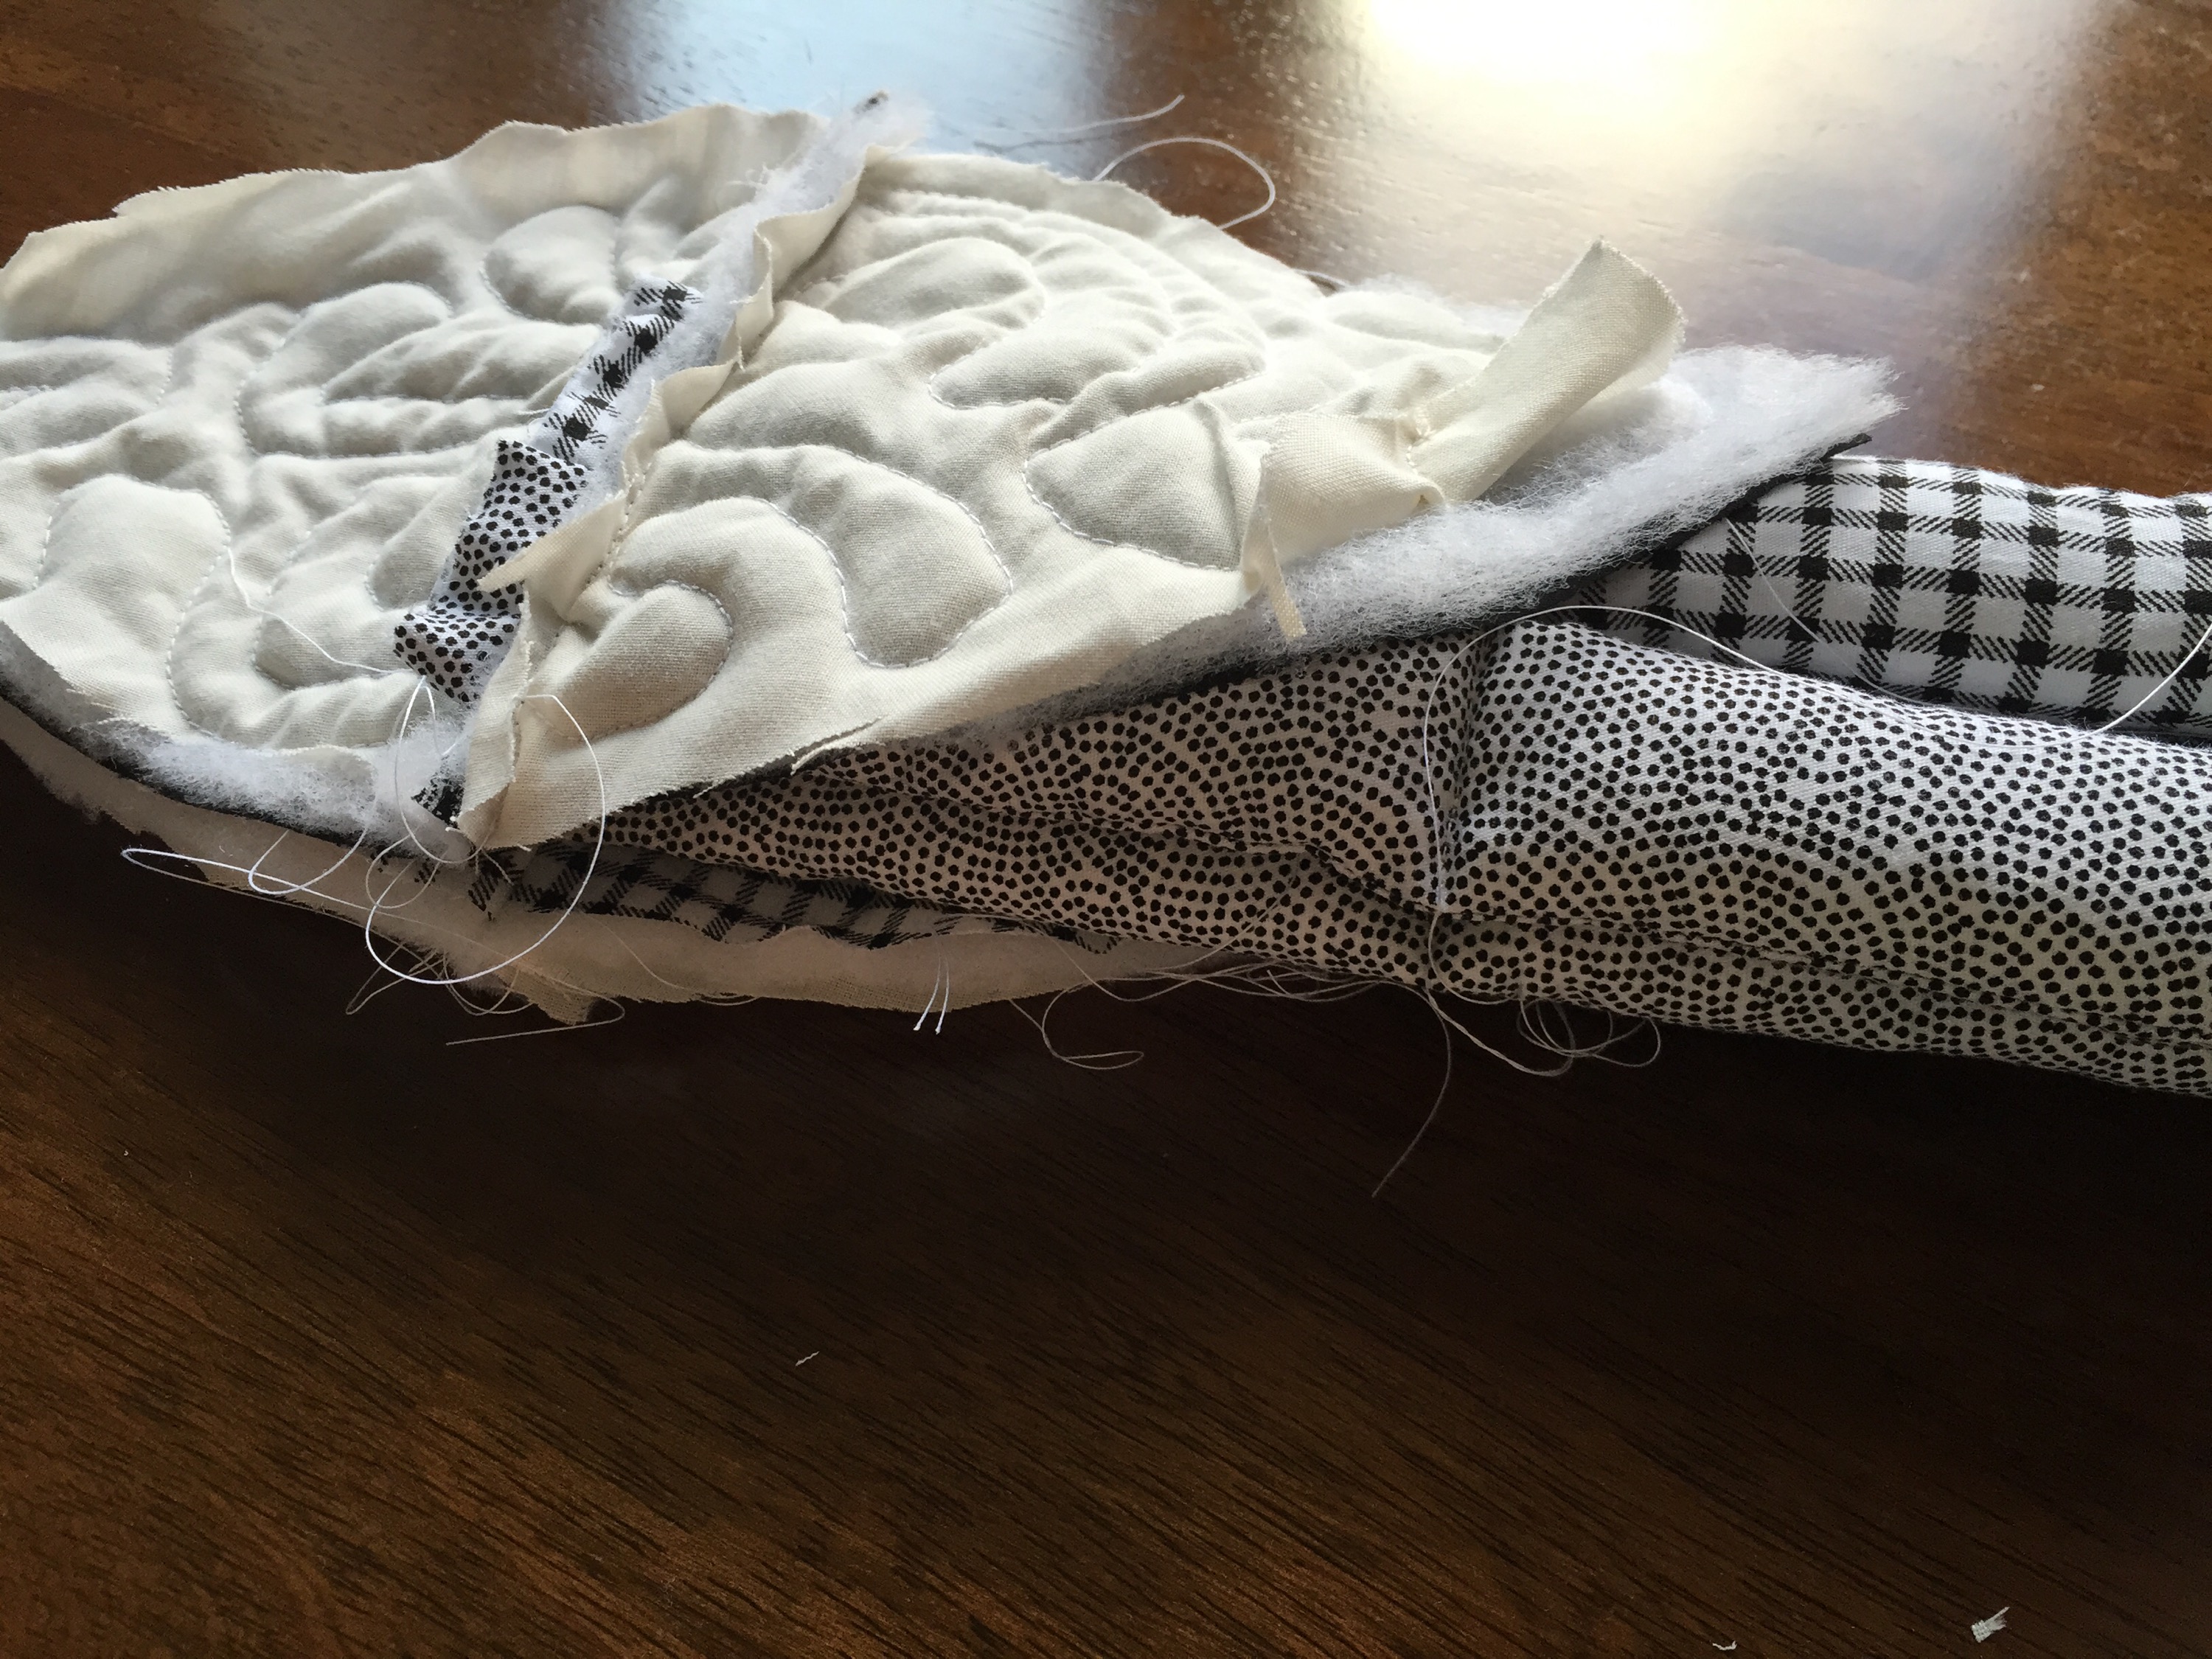
- Take two of the leg section pieces (a top and bottom piece) and place 2 of the legs to the left hand side of the bottom piece, do not place it too close to the edge seam otherwise it will get caught up in that seam when sewing together. Also, when placing these together ensure the leg pieces are laid at least 1cm over the top edge of the fabric otherwise they will not be sealed in the seam, then lay the top piece on top of the bottom piece right sides facing together.
- Now sew along the straight edge to seal the legs into the seam of the two pieces.
- This give you a joined front leg piece. Repeat once more.

- Now repeat this process with another two of the leg section pieces (a top and bottom piece), but instead of placing the legs to the left hand side, place them to the right hand side of the bottom piece.
- This gives you a joined back leg piece – This means when the front and back joined leg pieces are sewn together the legs will all be next to each other without a large gap. Repeat once more.


Giant Quilted halloween Patchwork Spider – Assembly:
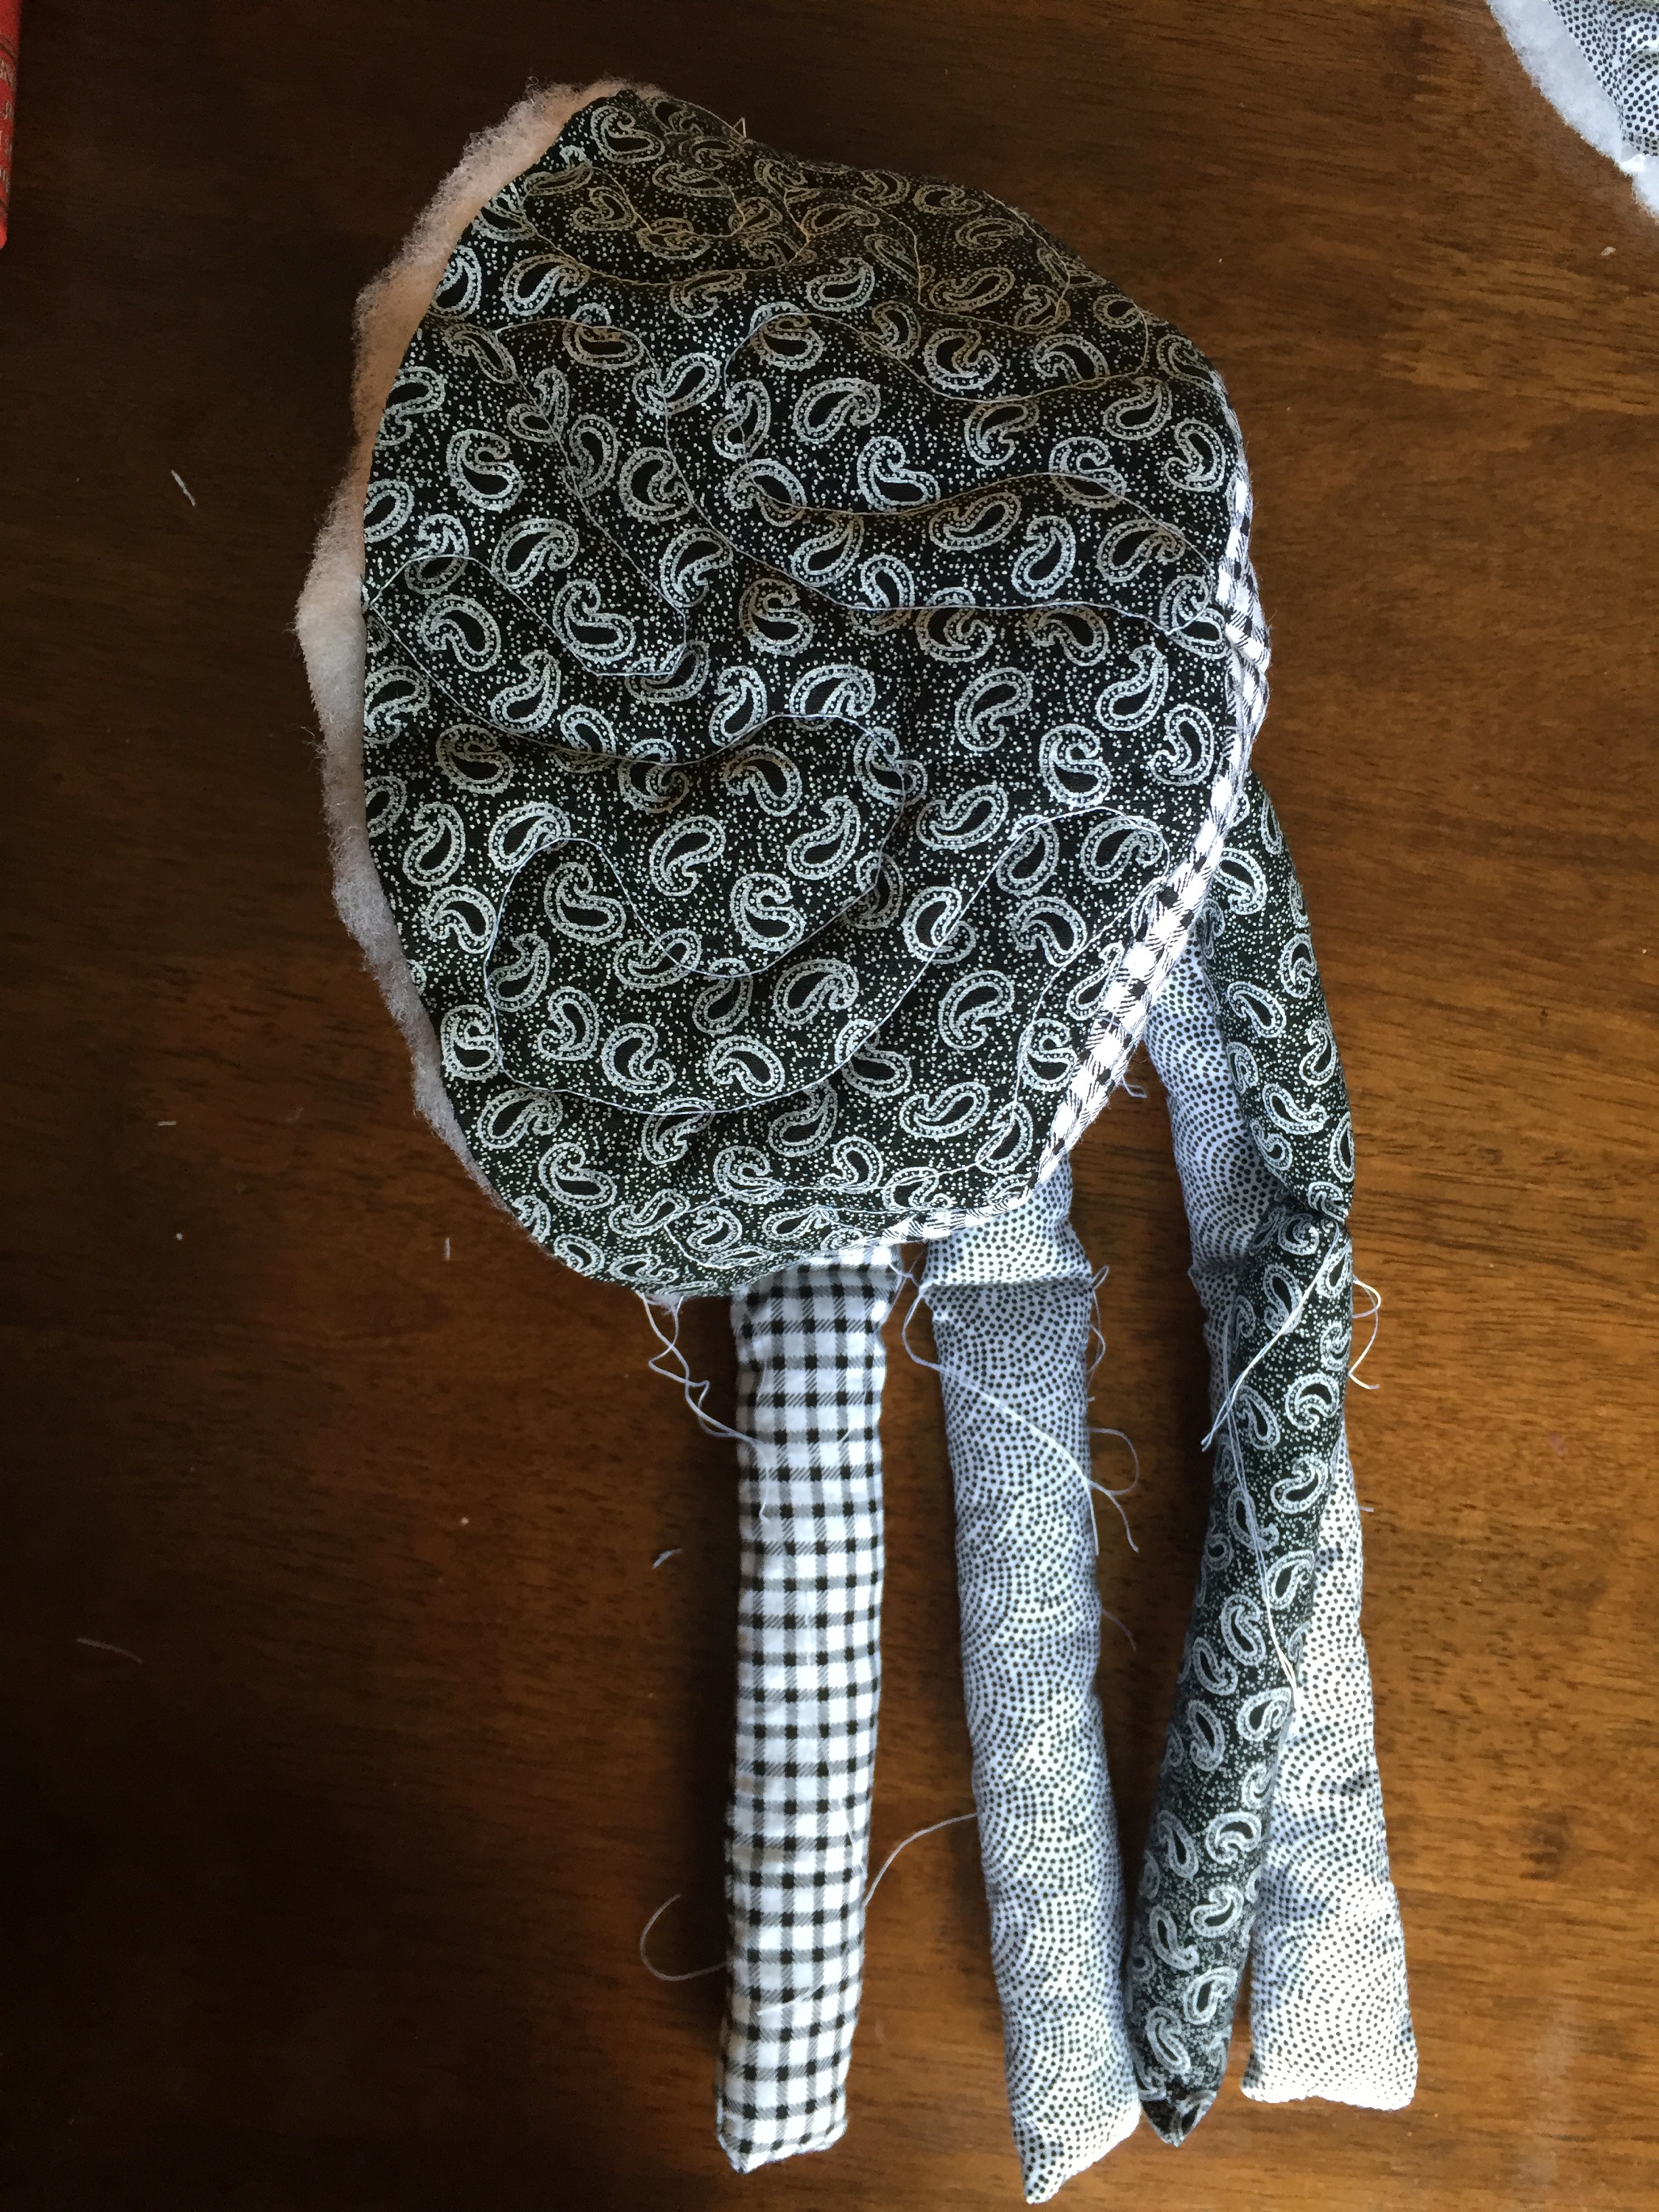
- Take one of the front joined leg section pieces and a back joined leg section piece and place right sides together, making sure the legs are lined up on top of each other (this means once you open it back it the legs will match). Sew down the side seam on the left to join the pieces together ensuring the legs do not get caught in the seam!. Repeat with the remaining two joined leg section pieces.


- Join the remaining pieces:
- Take a body piece and place right sides together with the previous joined leg pieces and sew down the side seam to attach.
- Take the second set of joined leg section pieces and place right sides together with the previous body piece and sew down the side seam to attach.
- Take the final body piece, place right sides together with the previous joined leg section pieces and sew down the side seam to attach.
- Once you reach the final seam to join, only sew half way down the final seam, turn the spider the right way around and stuff. Once stuffed, hand sew this opening closed.


- If you would like a loop for hanging, then before fully sewing closed the top place a piece of ribbon 30cm in length folded in half and sew into the seam at the top of the spider as you sew it all closed. I used the ribbon that tied the fat bundle together – perfect!


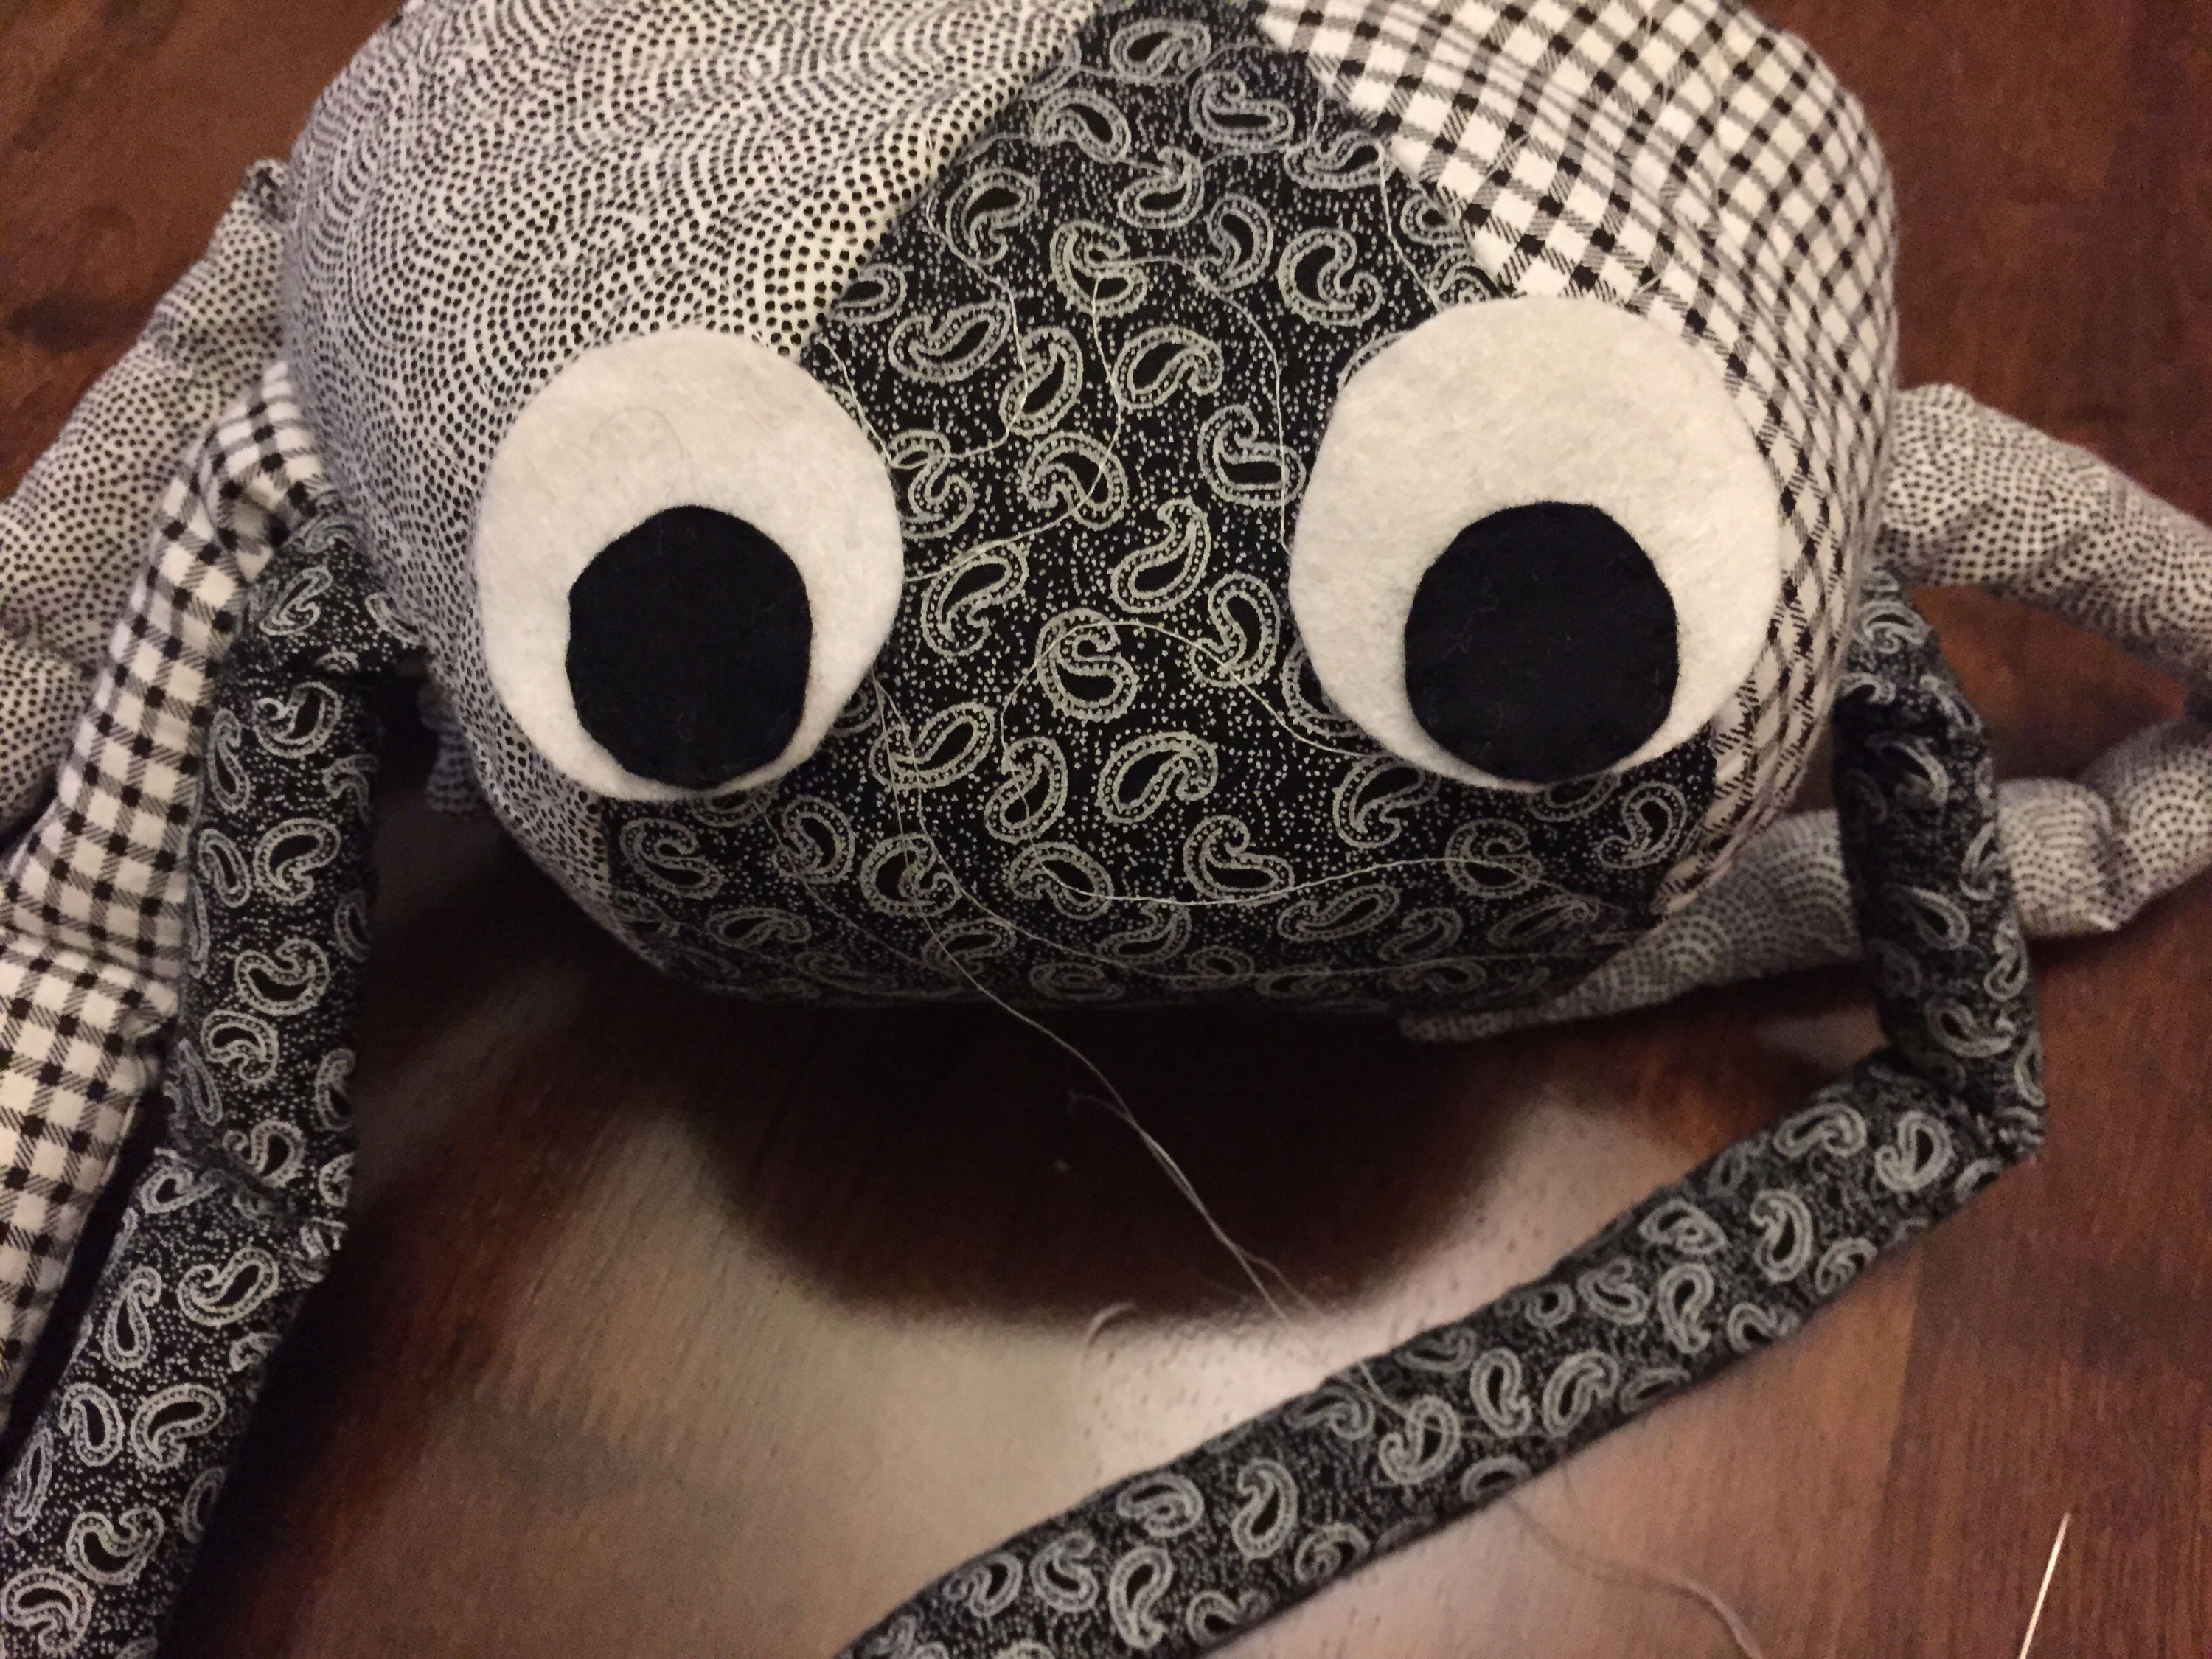
Giant Quilted halloween Patchwork Spider – Eyes:
- In white felt cut out two round eyes, I drew around a kitchen roll tube to get the size I wanted.
- In black cut out 2 circles, I drew around a small cotton reel for this size.
- Next place the black pupils in the White eyes – position then in a place you like best – its a great way of getting different expressions depending on where you put the pupils!
- Next sew the eyes onto the head, I put mine on the seam on each side of the middle section, but again different expressions can be made depending on where you place the eyes so you can choose to put them wherever you like the look best.


There are some lovely makes and tutorials including this spider over on the The Craft Cotton Company blog.

Leave a comment