
I could have done with some Jedi force on this one!
I was caught off guard a little while ago by a friends little one who asked me if I could make them a Star Wars R2-D2 toy, and without really thinking about it I said “yes of course, why not”. I’ve been quite busy with makes the last few weeks so I had forgotten all about it until I was reminded about my agreement by the little one – they never forget these things do they! I thought I better get started on it – how hard could it be….
Other Star Wars themed crochet makes can be found here, including lightsabers, BB8 (and lots more).
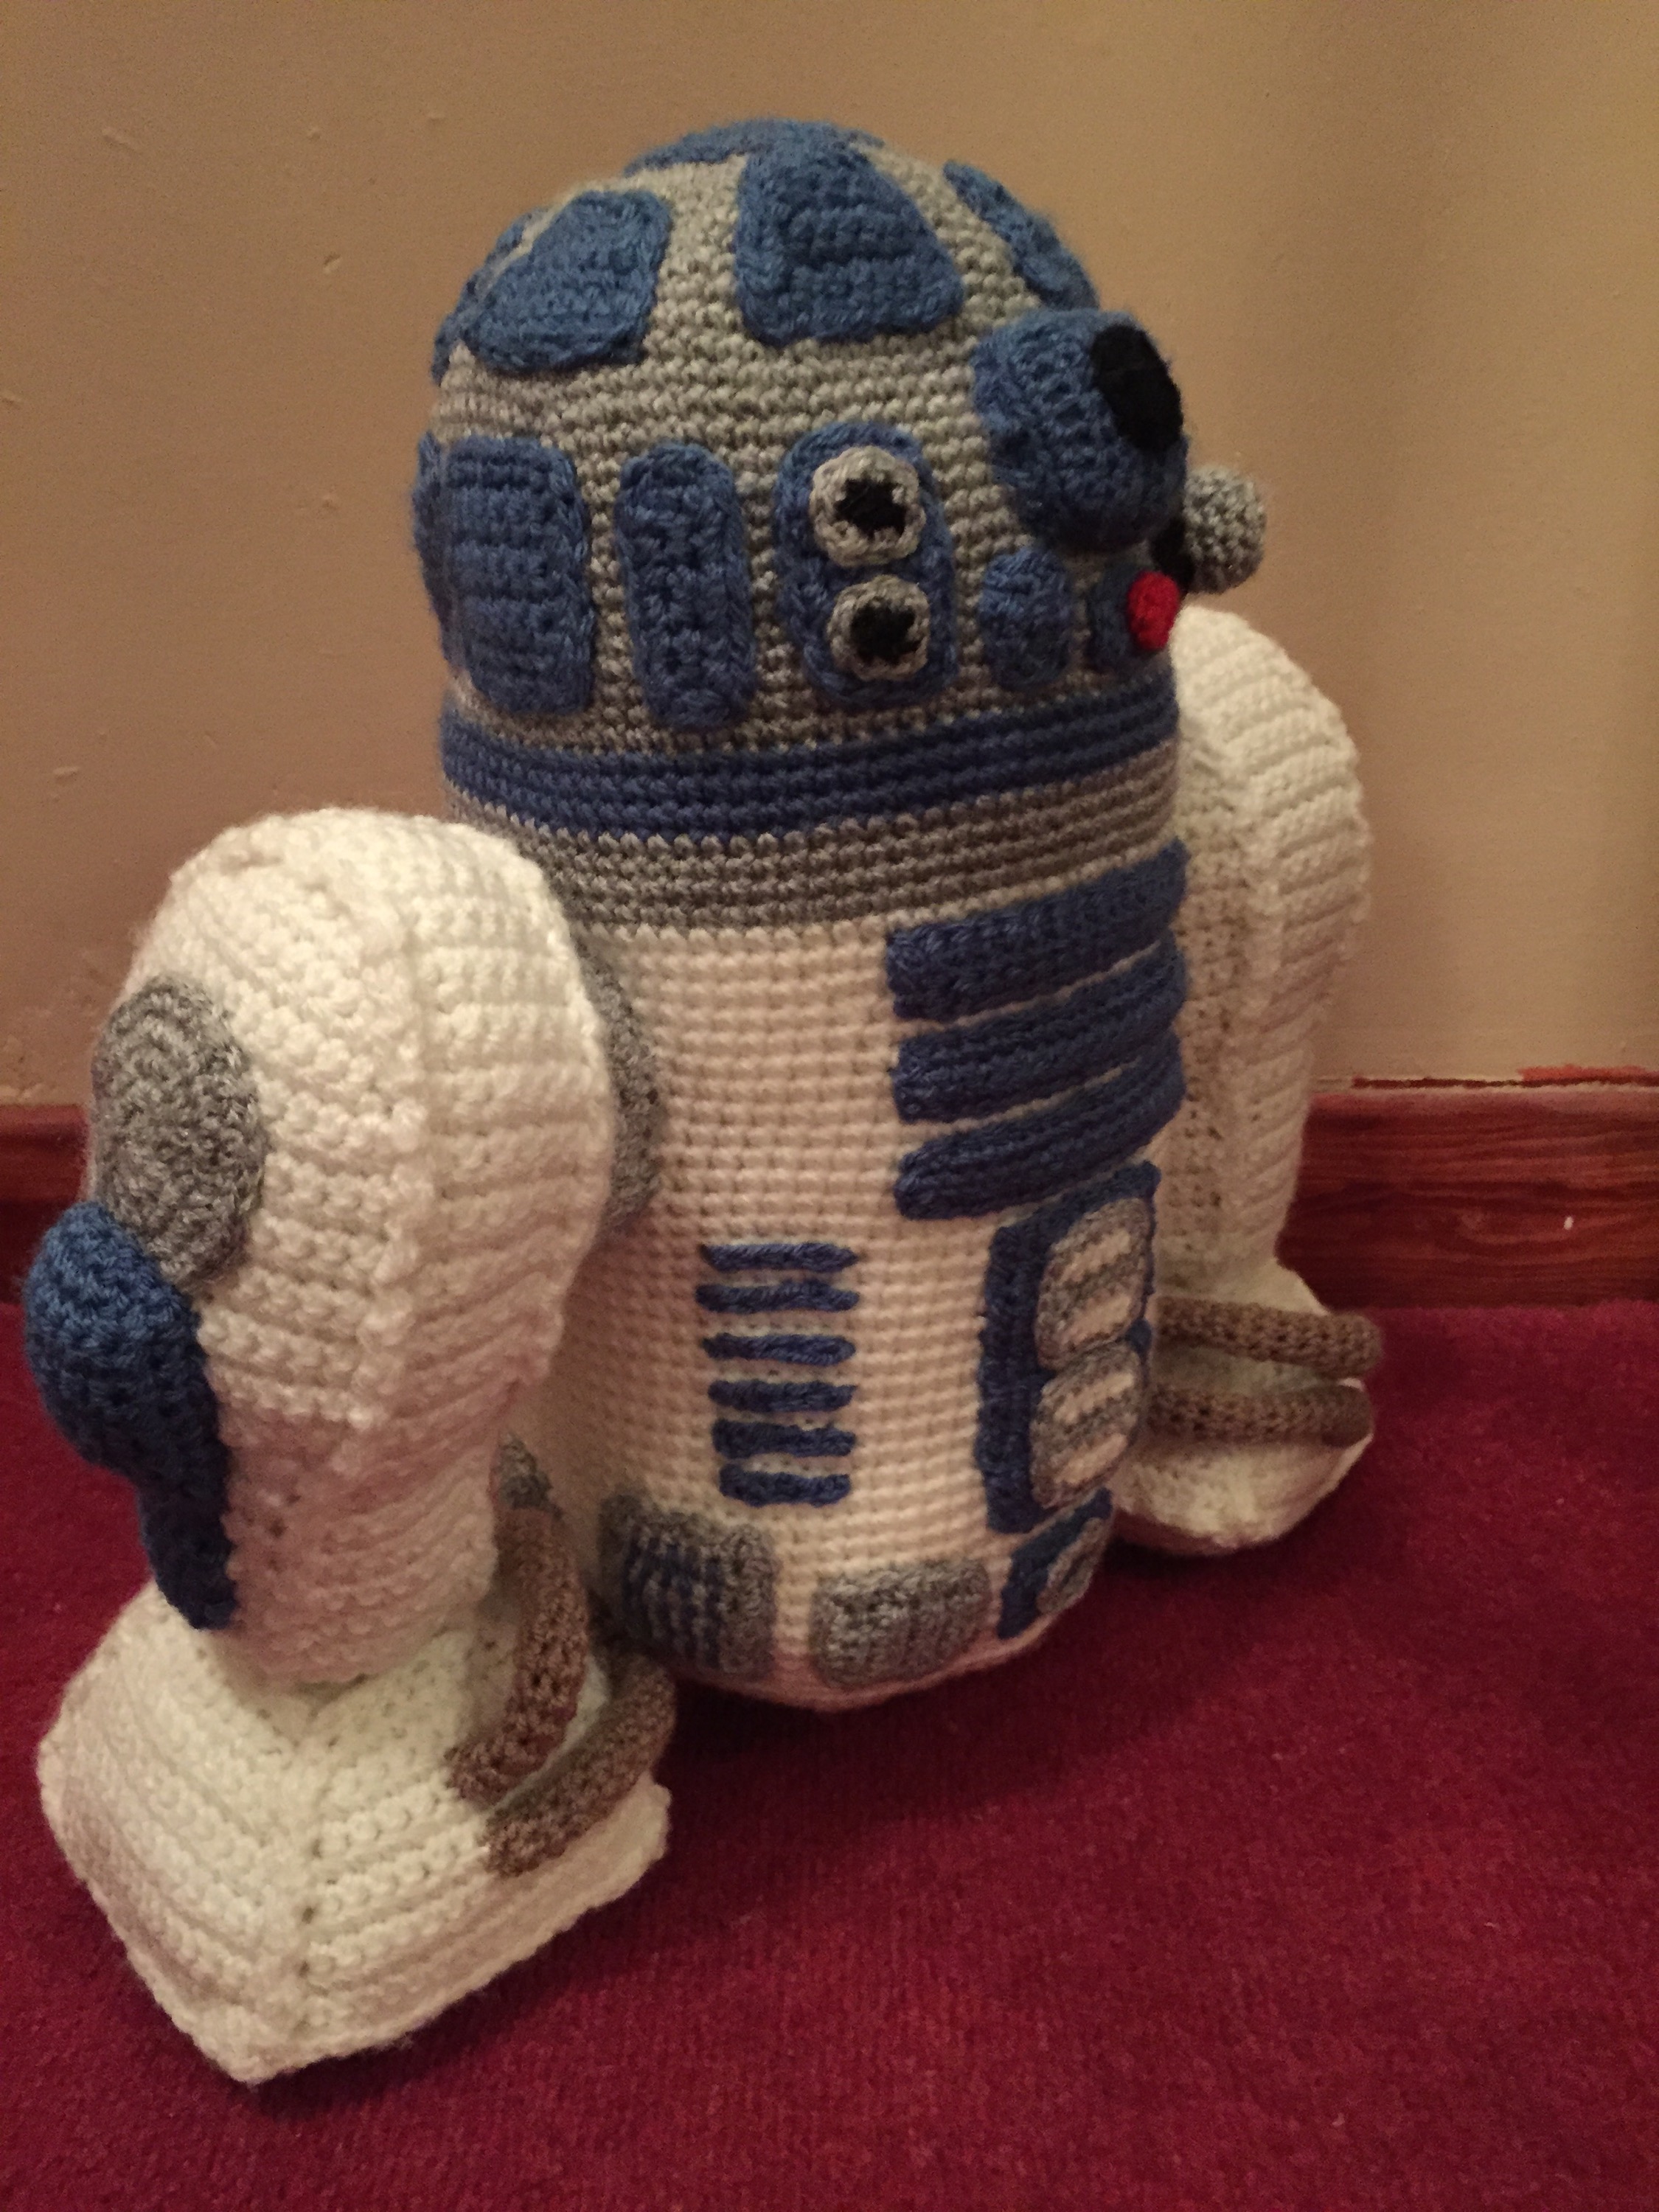
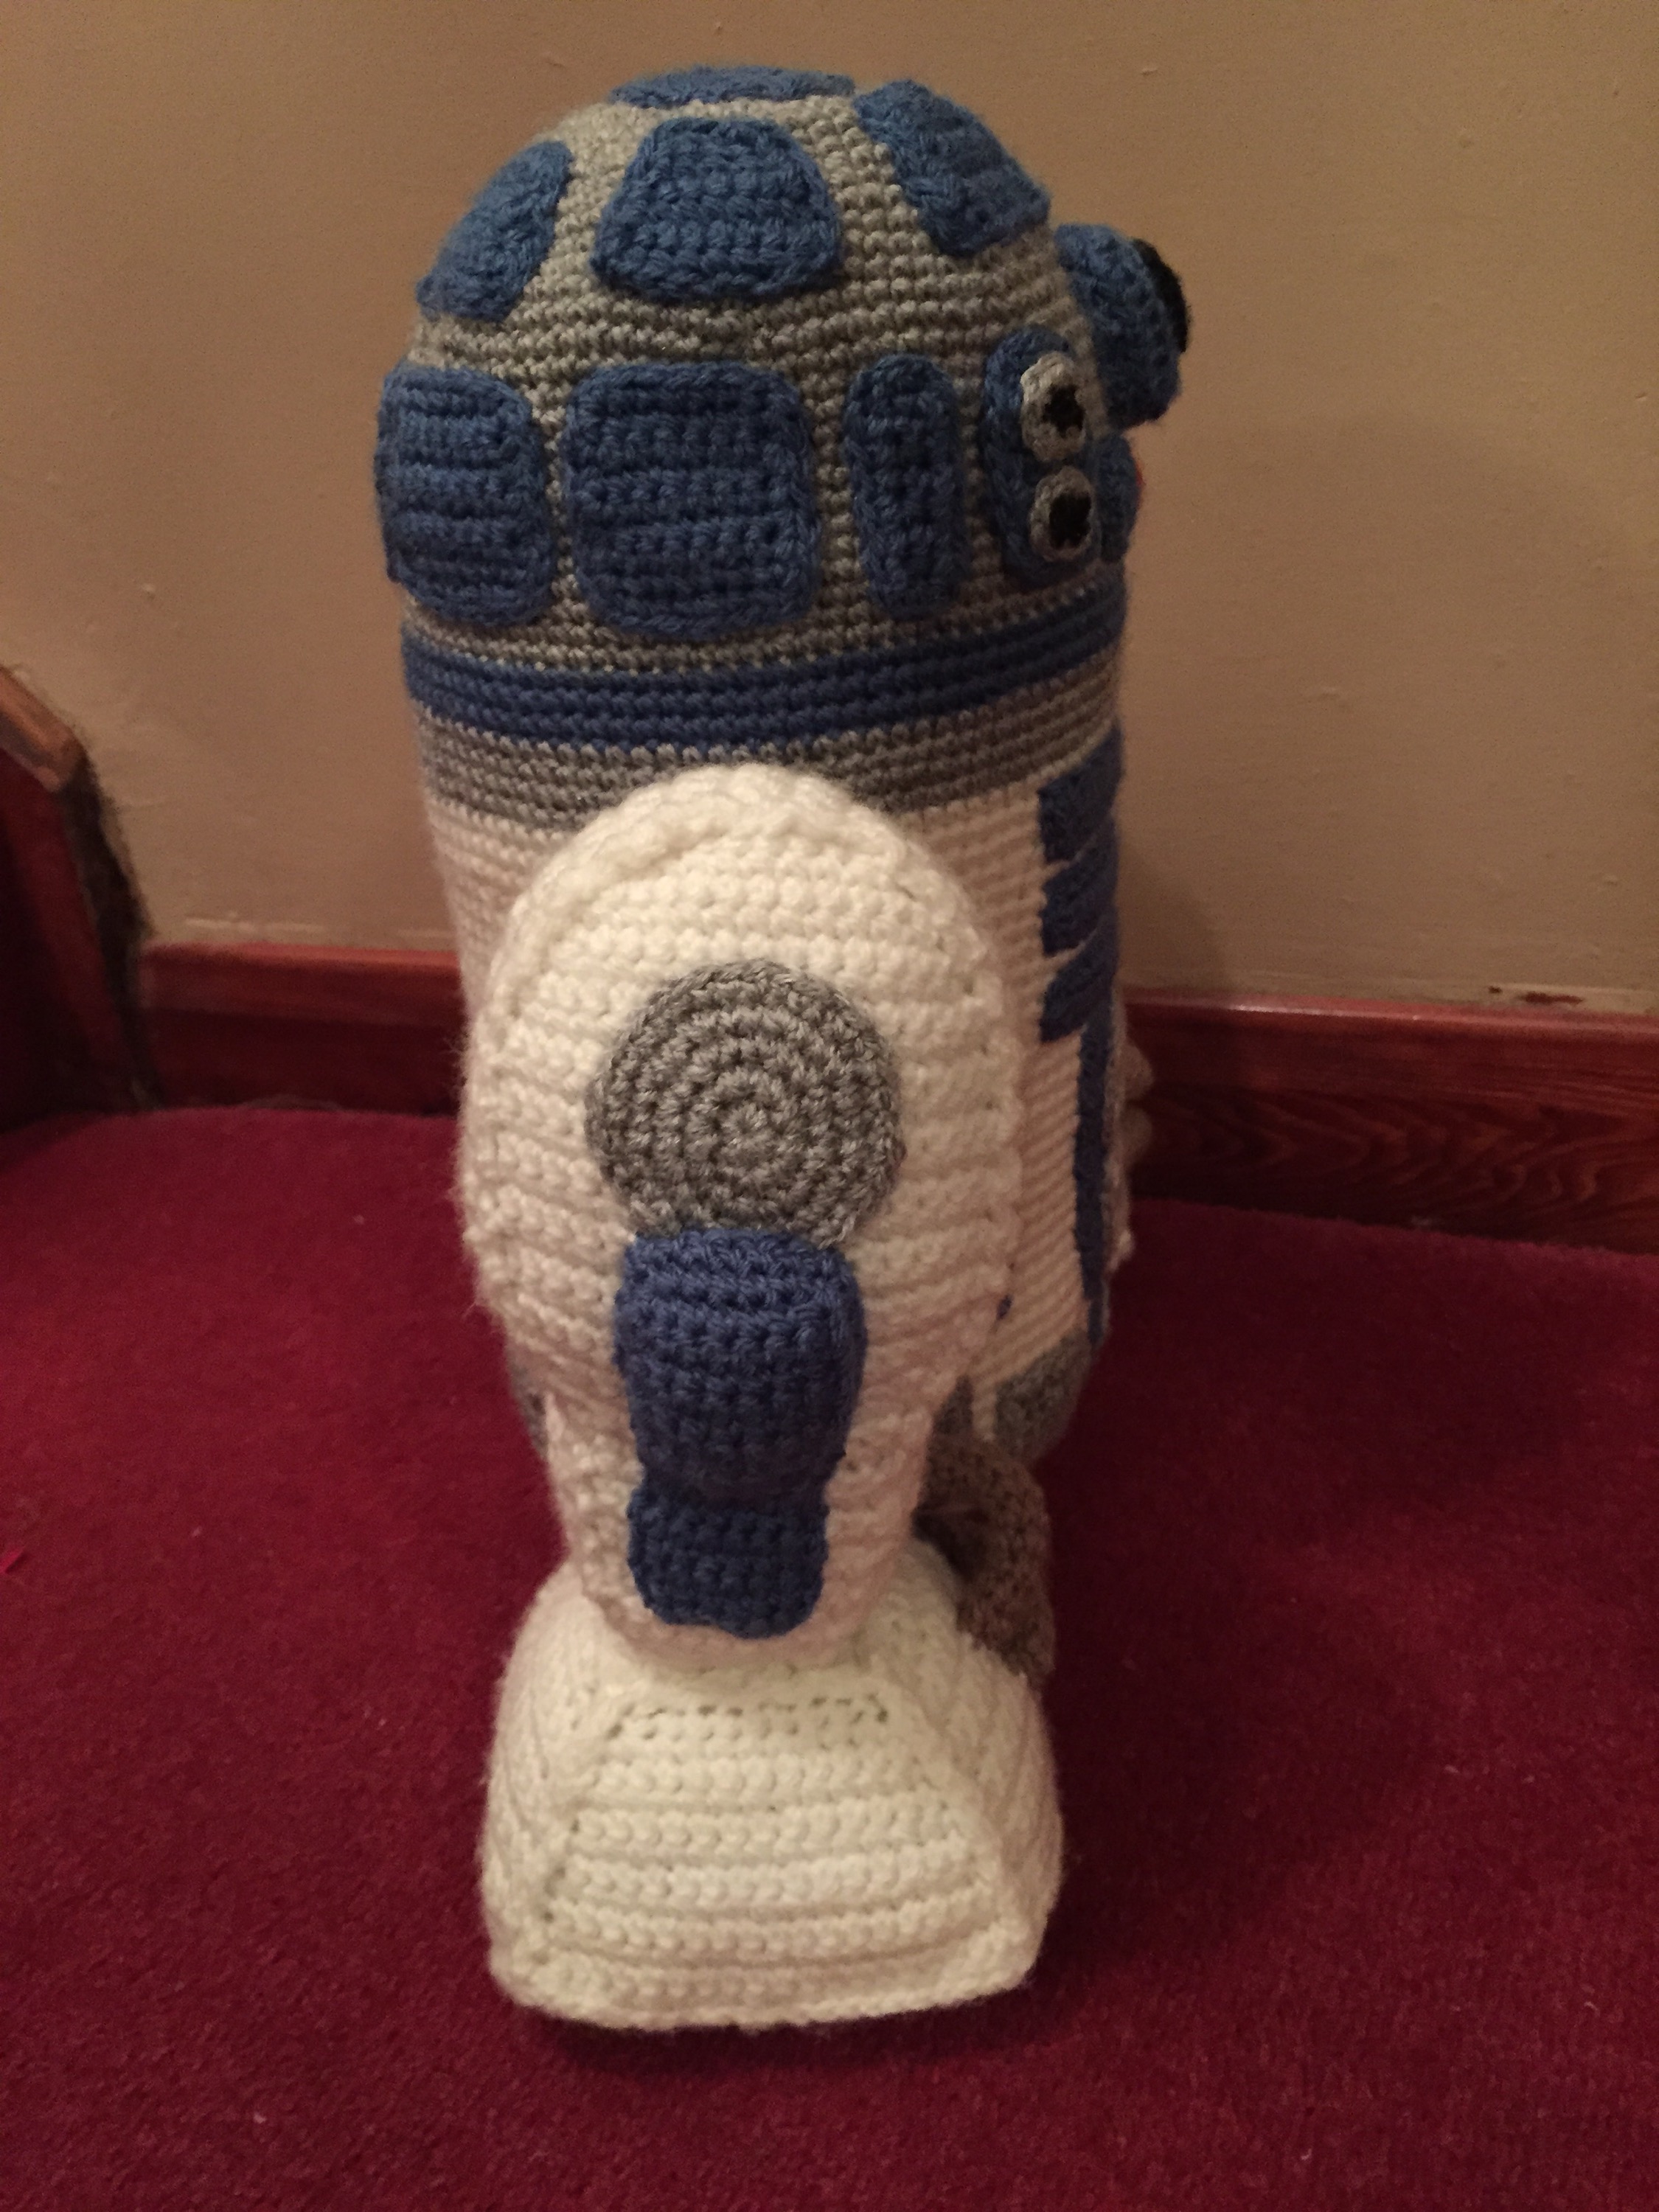
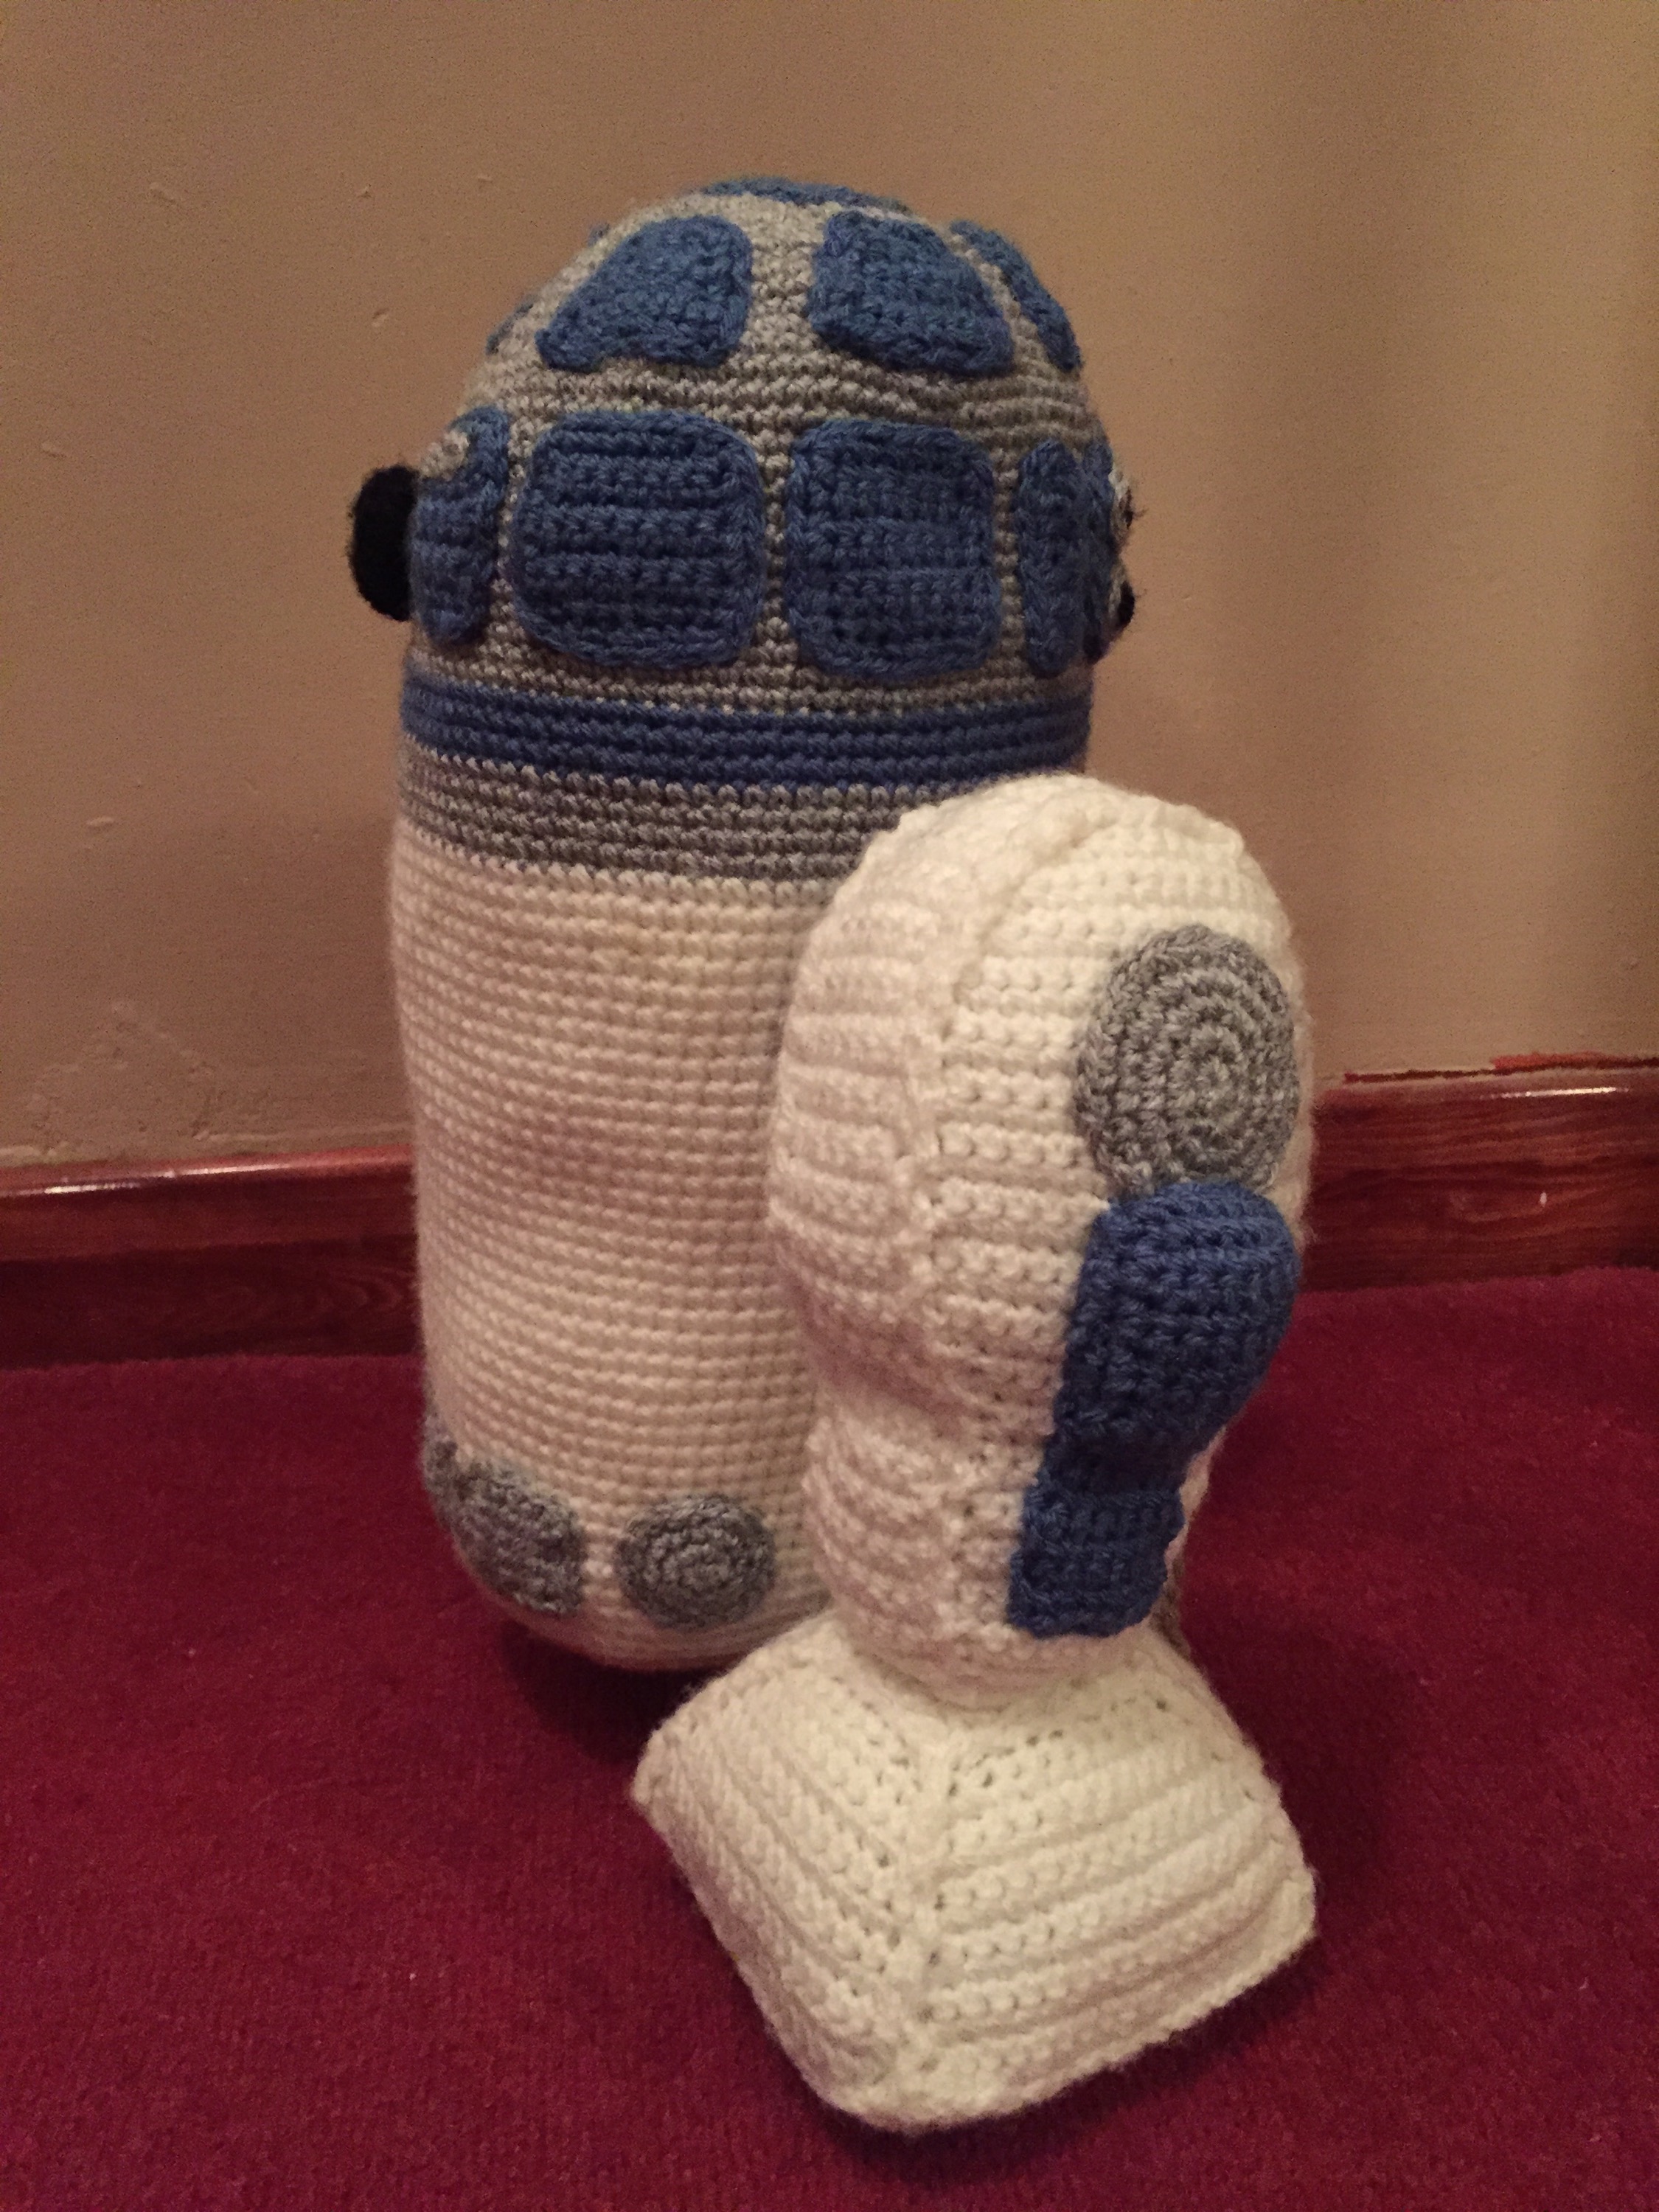
It was only when I sat and actually looked up an image for ideas the sheer scale of the task dawned on me, the amount of detail to make sure he looks right is insane! What on earth have I agreed to, was one of the first things that popped into my mind and how on earth can I get out of this! However, once my initial panic subsided slightly I realised if I broke it down into sections it might not be as bad as I thought – still a mammoth task, but achievable!
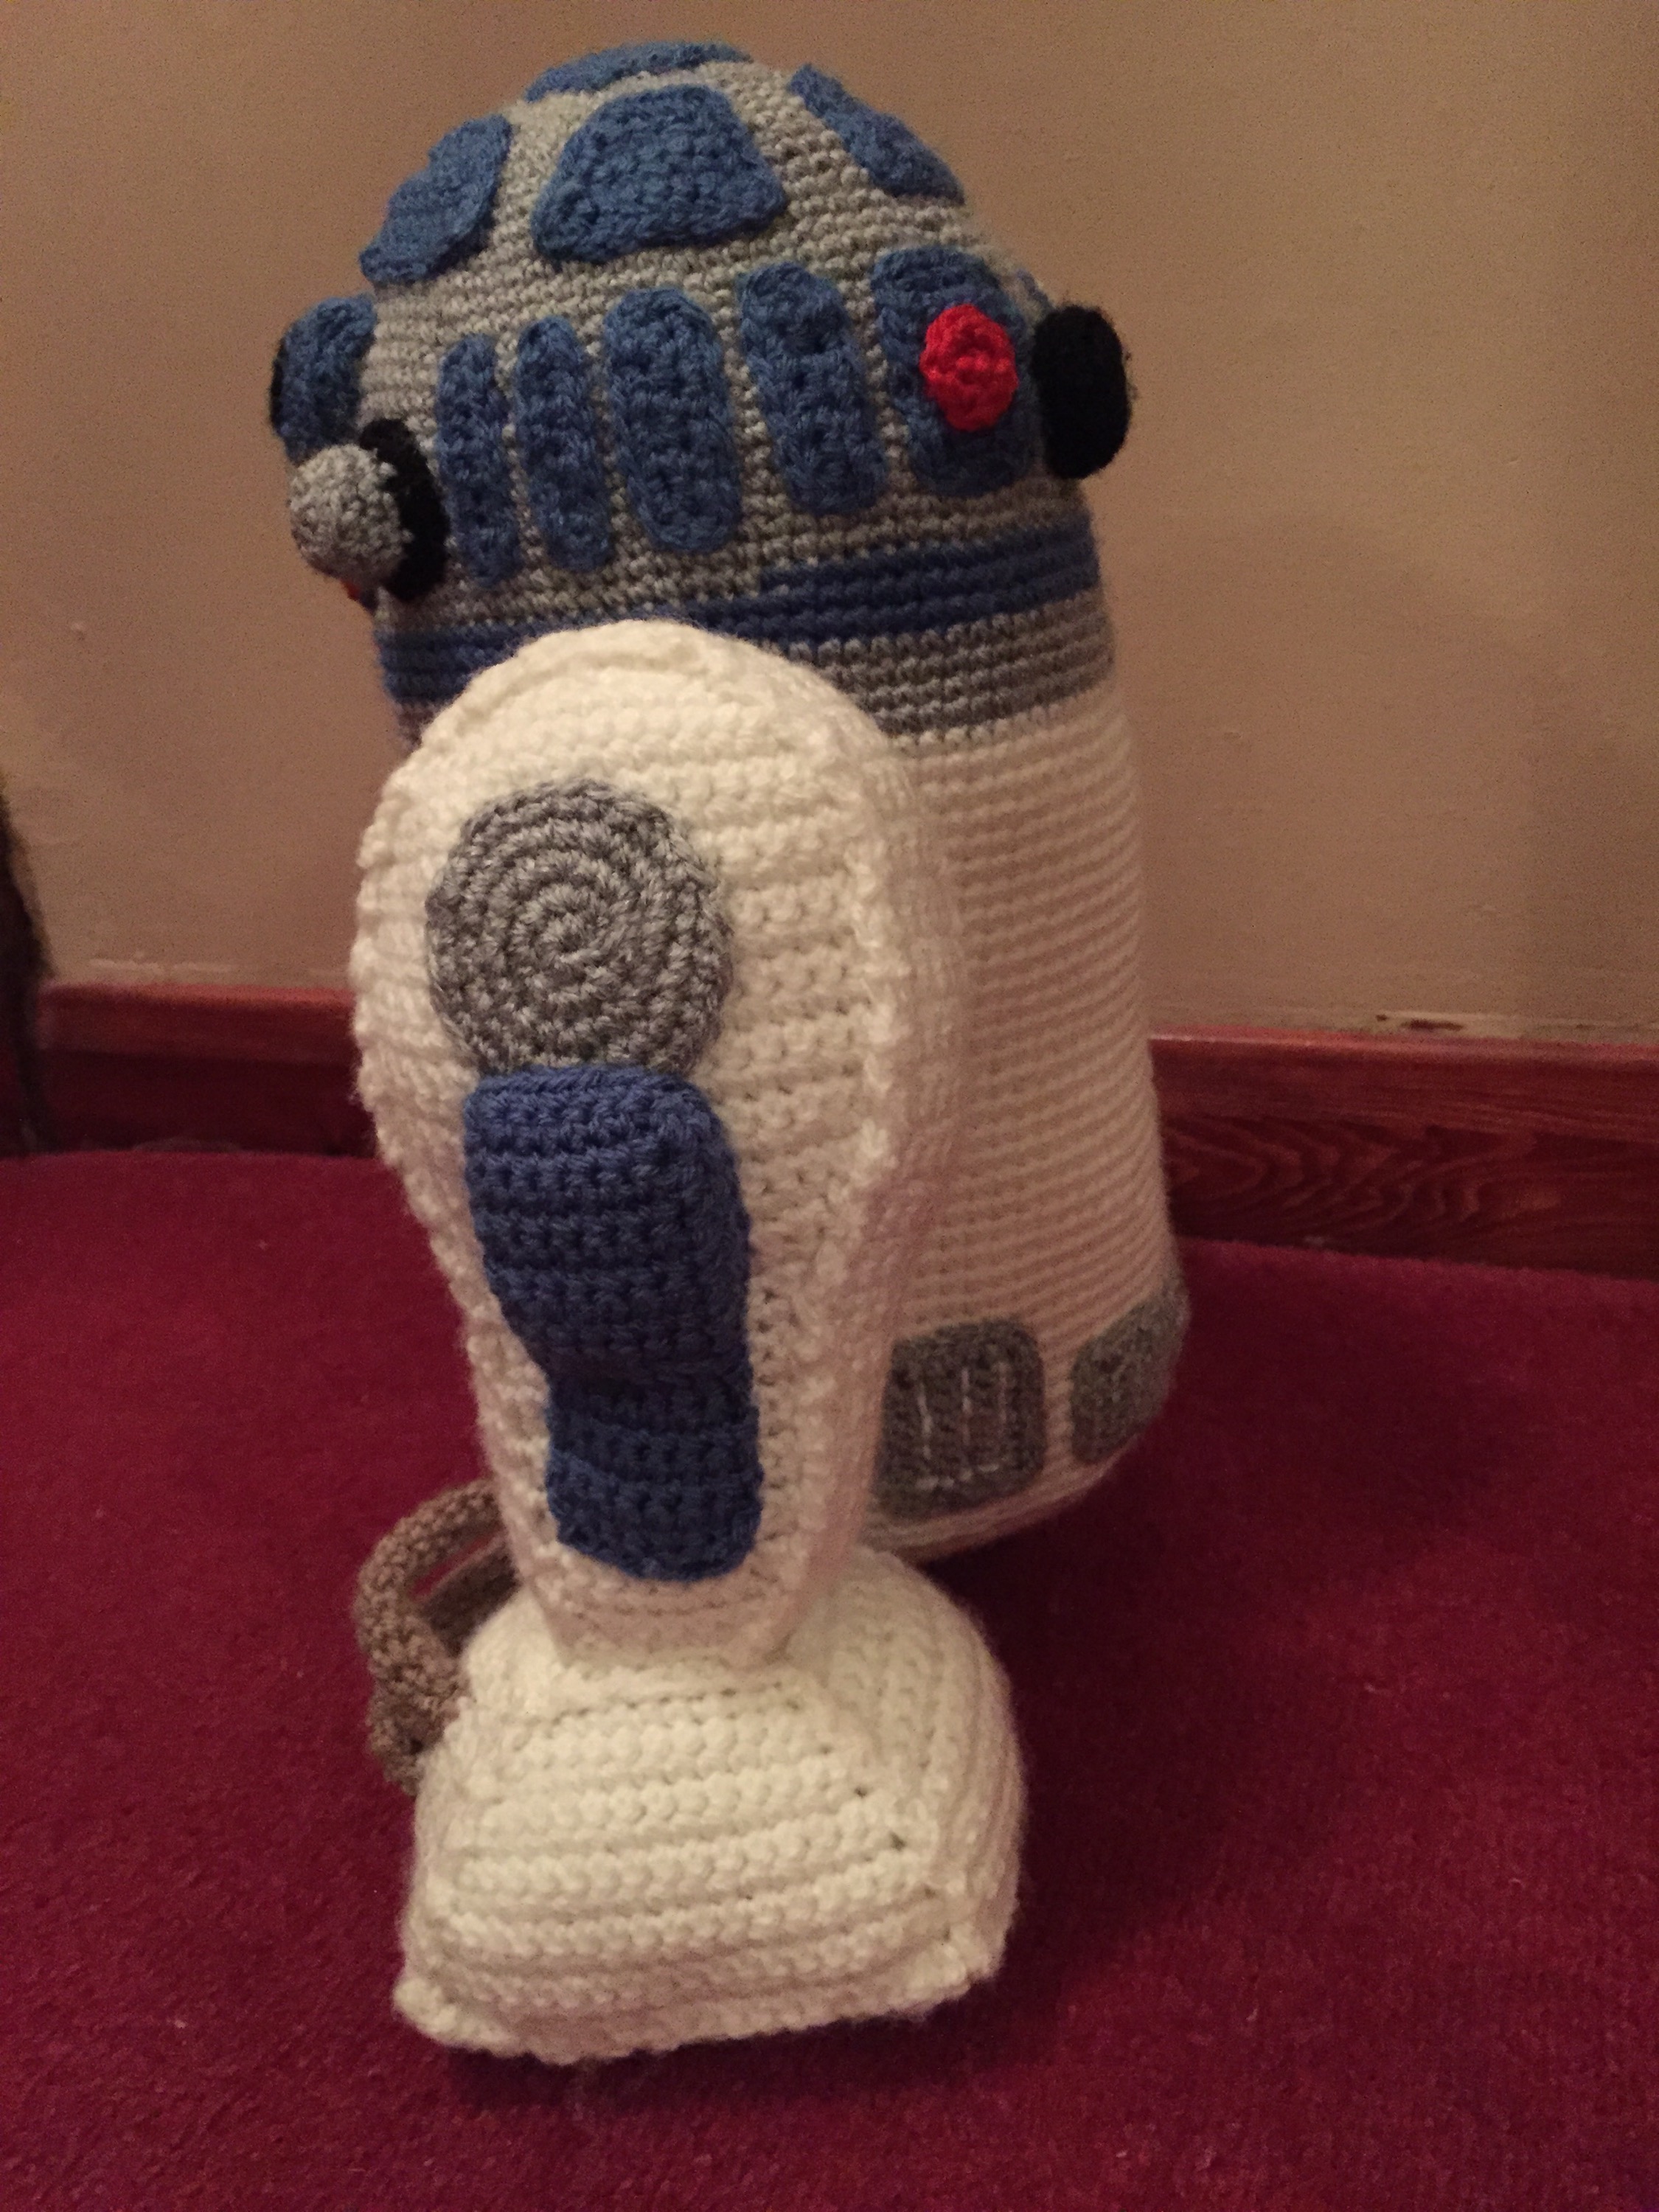
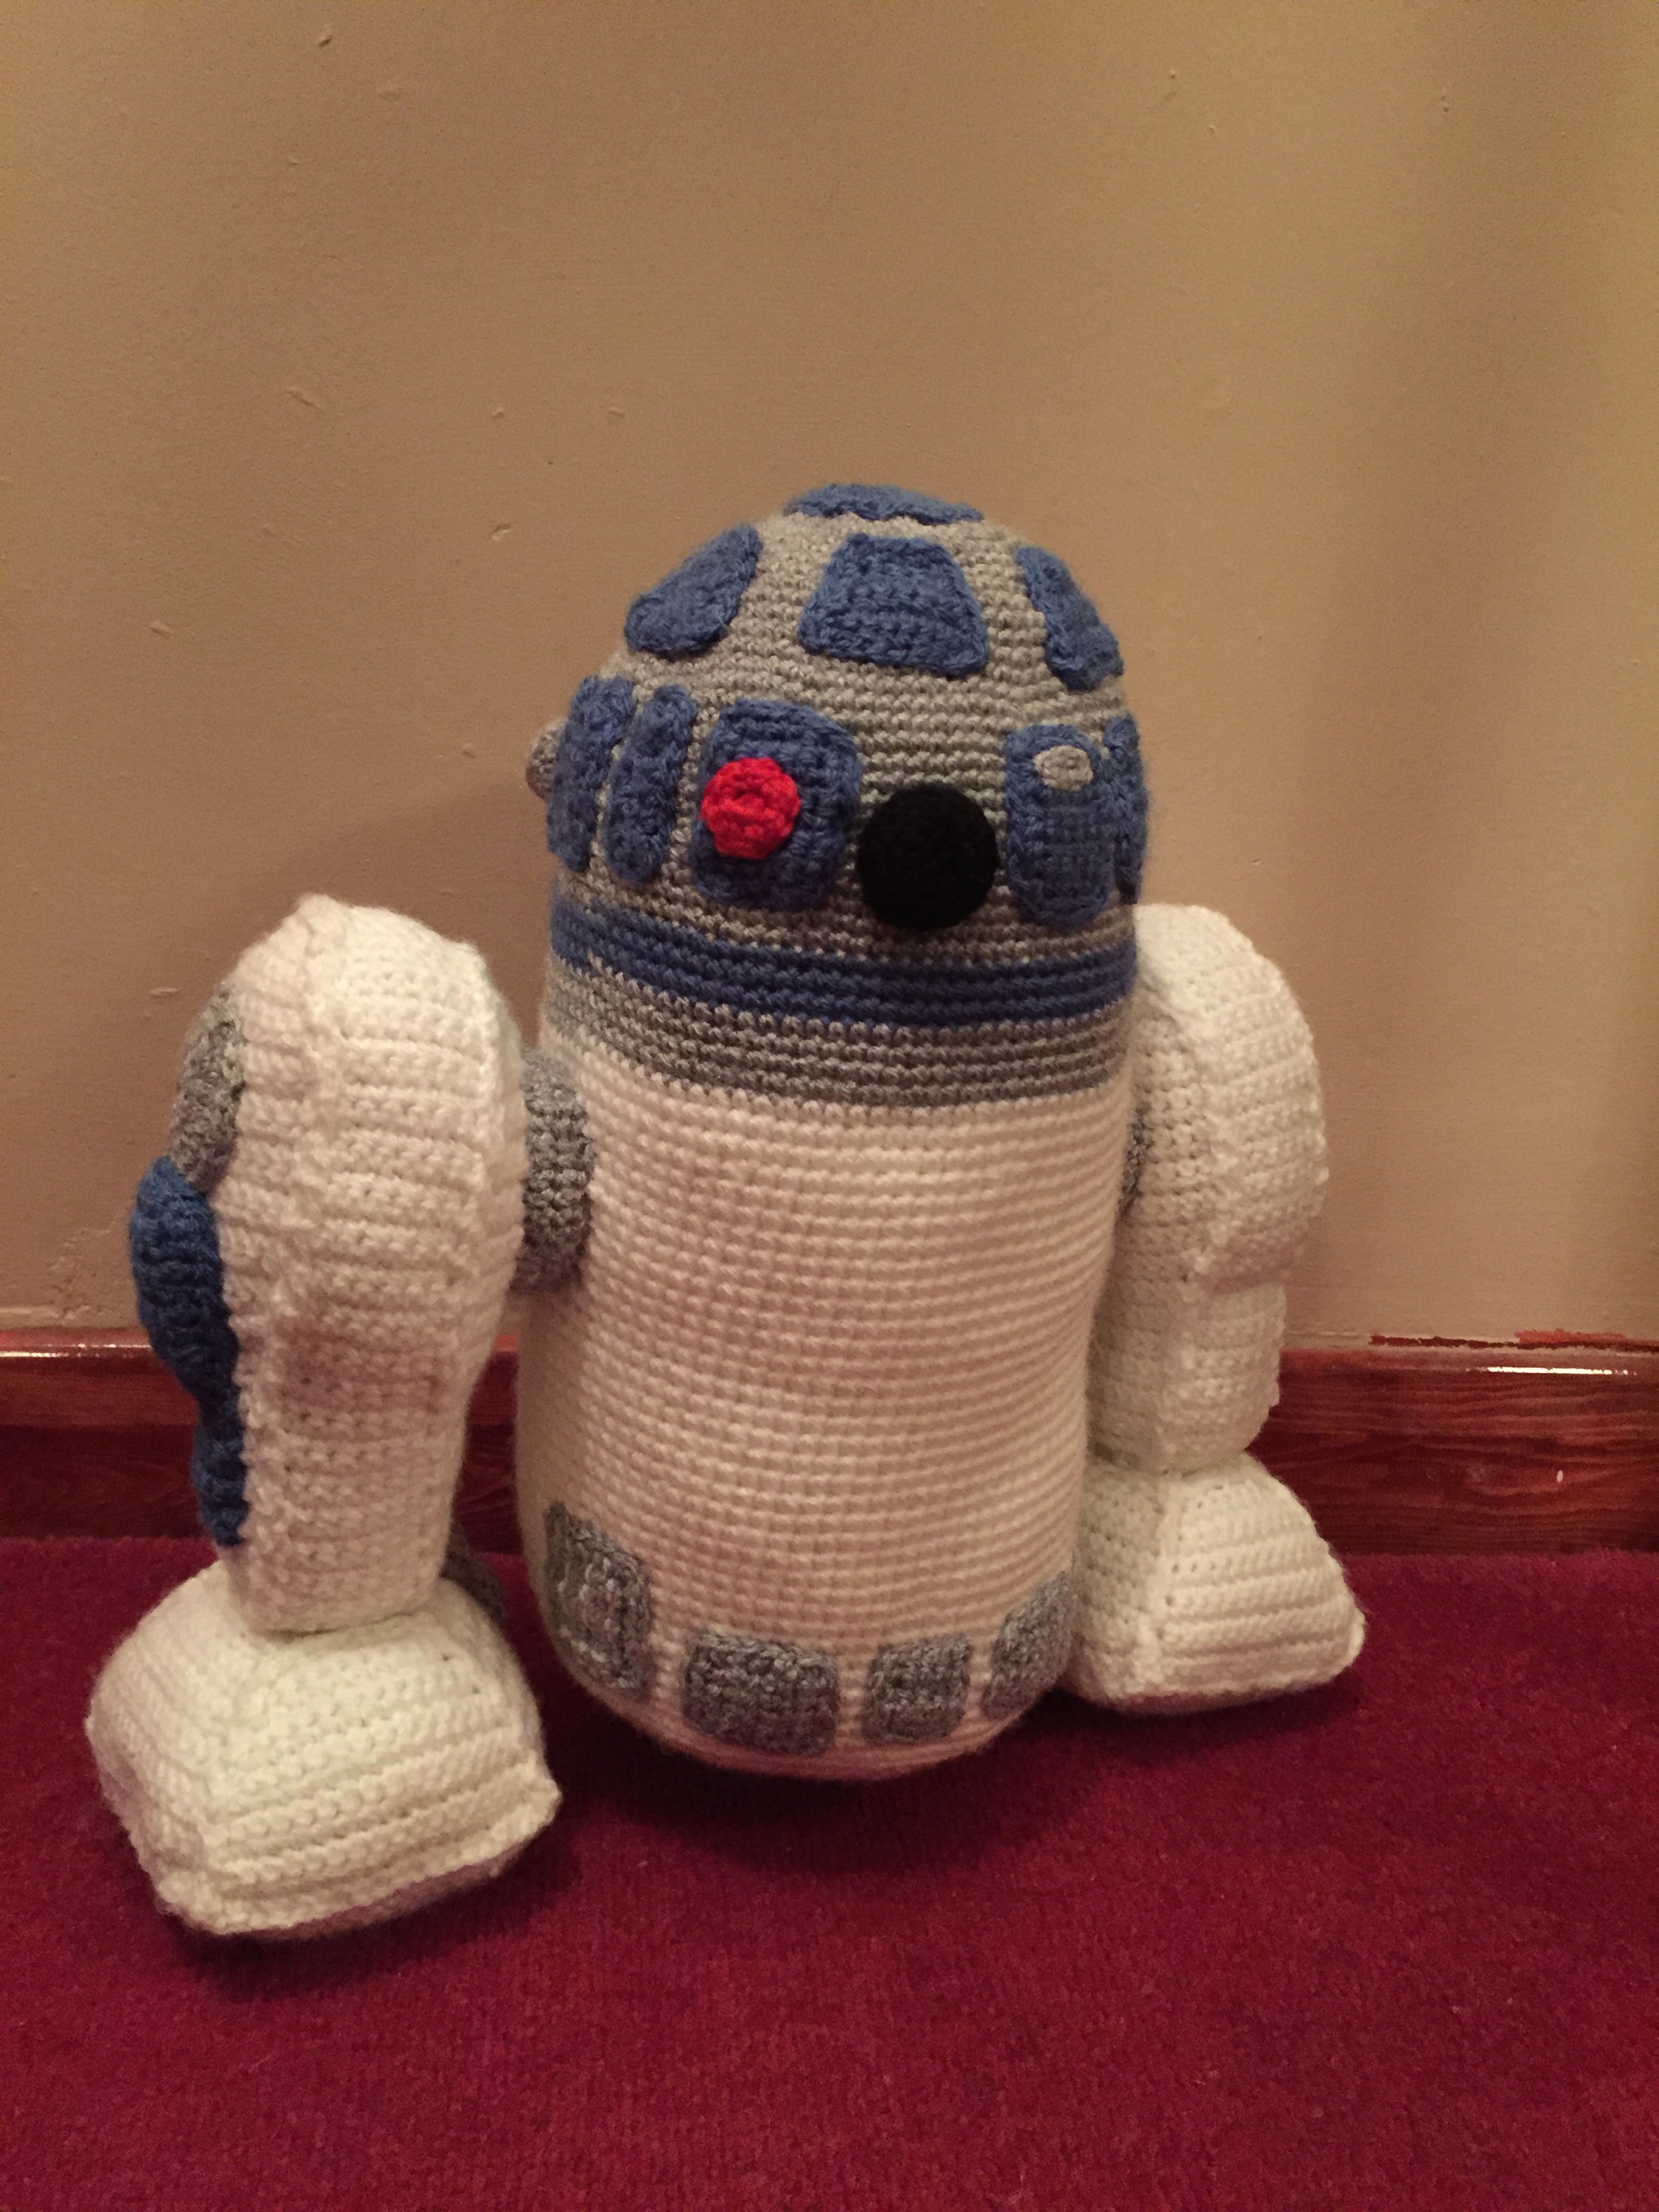
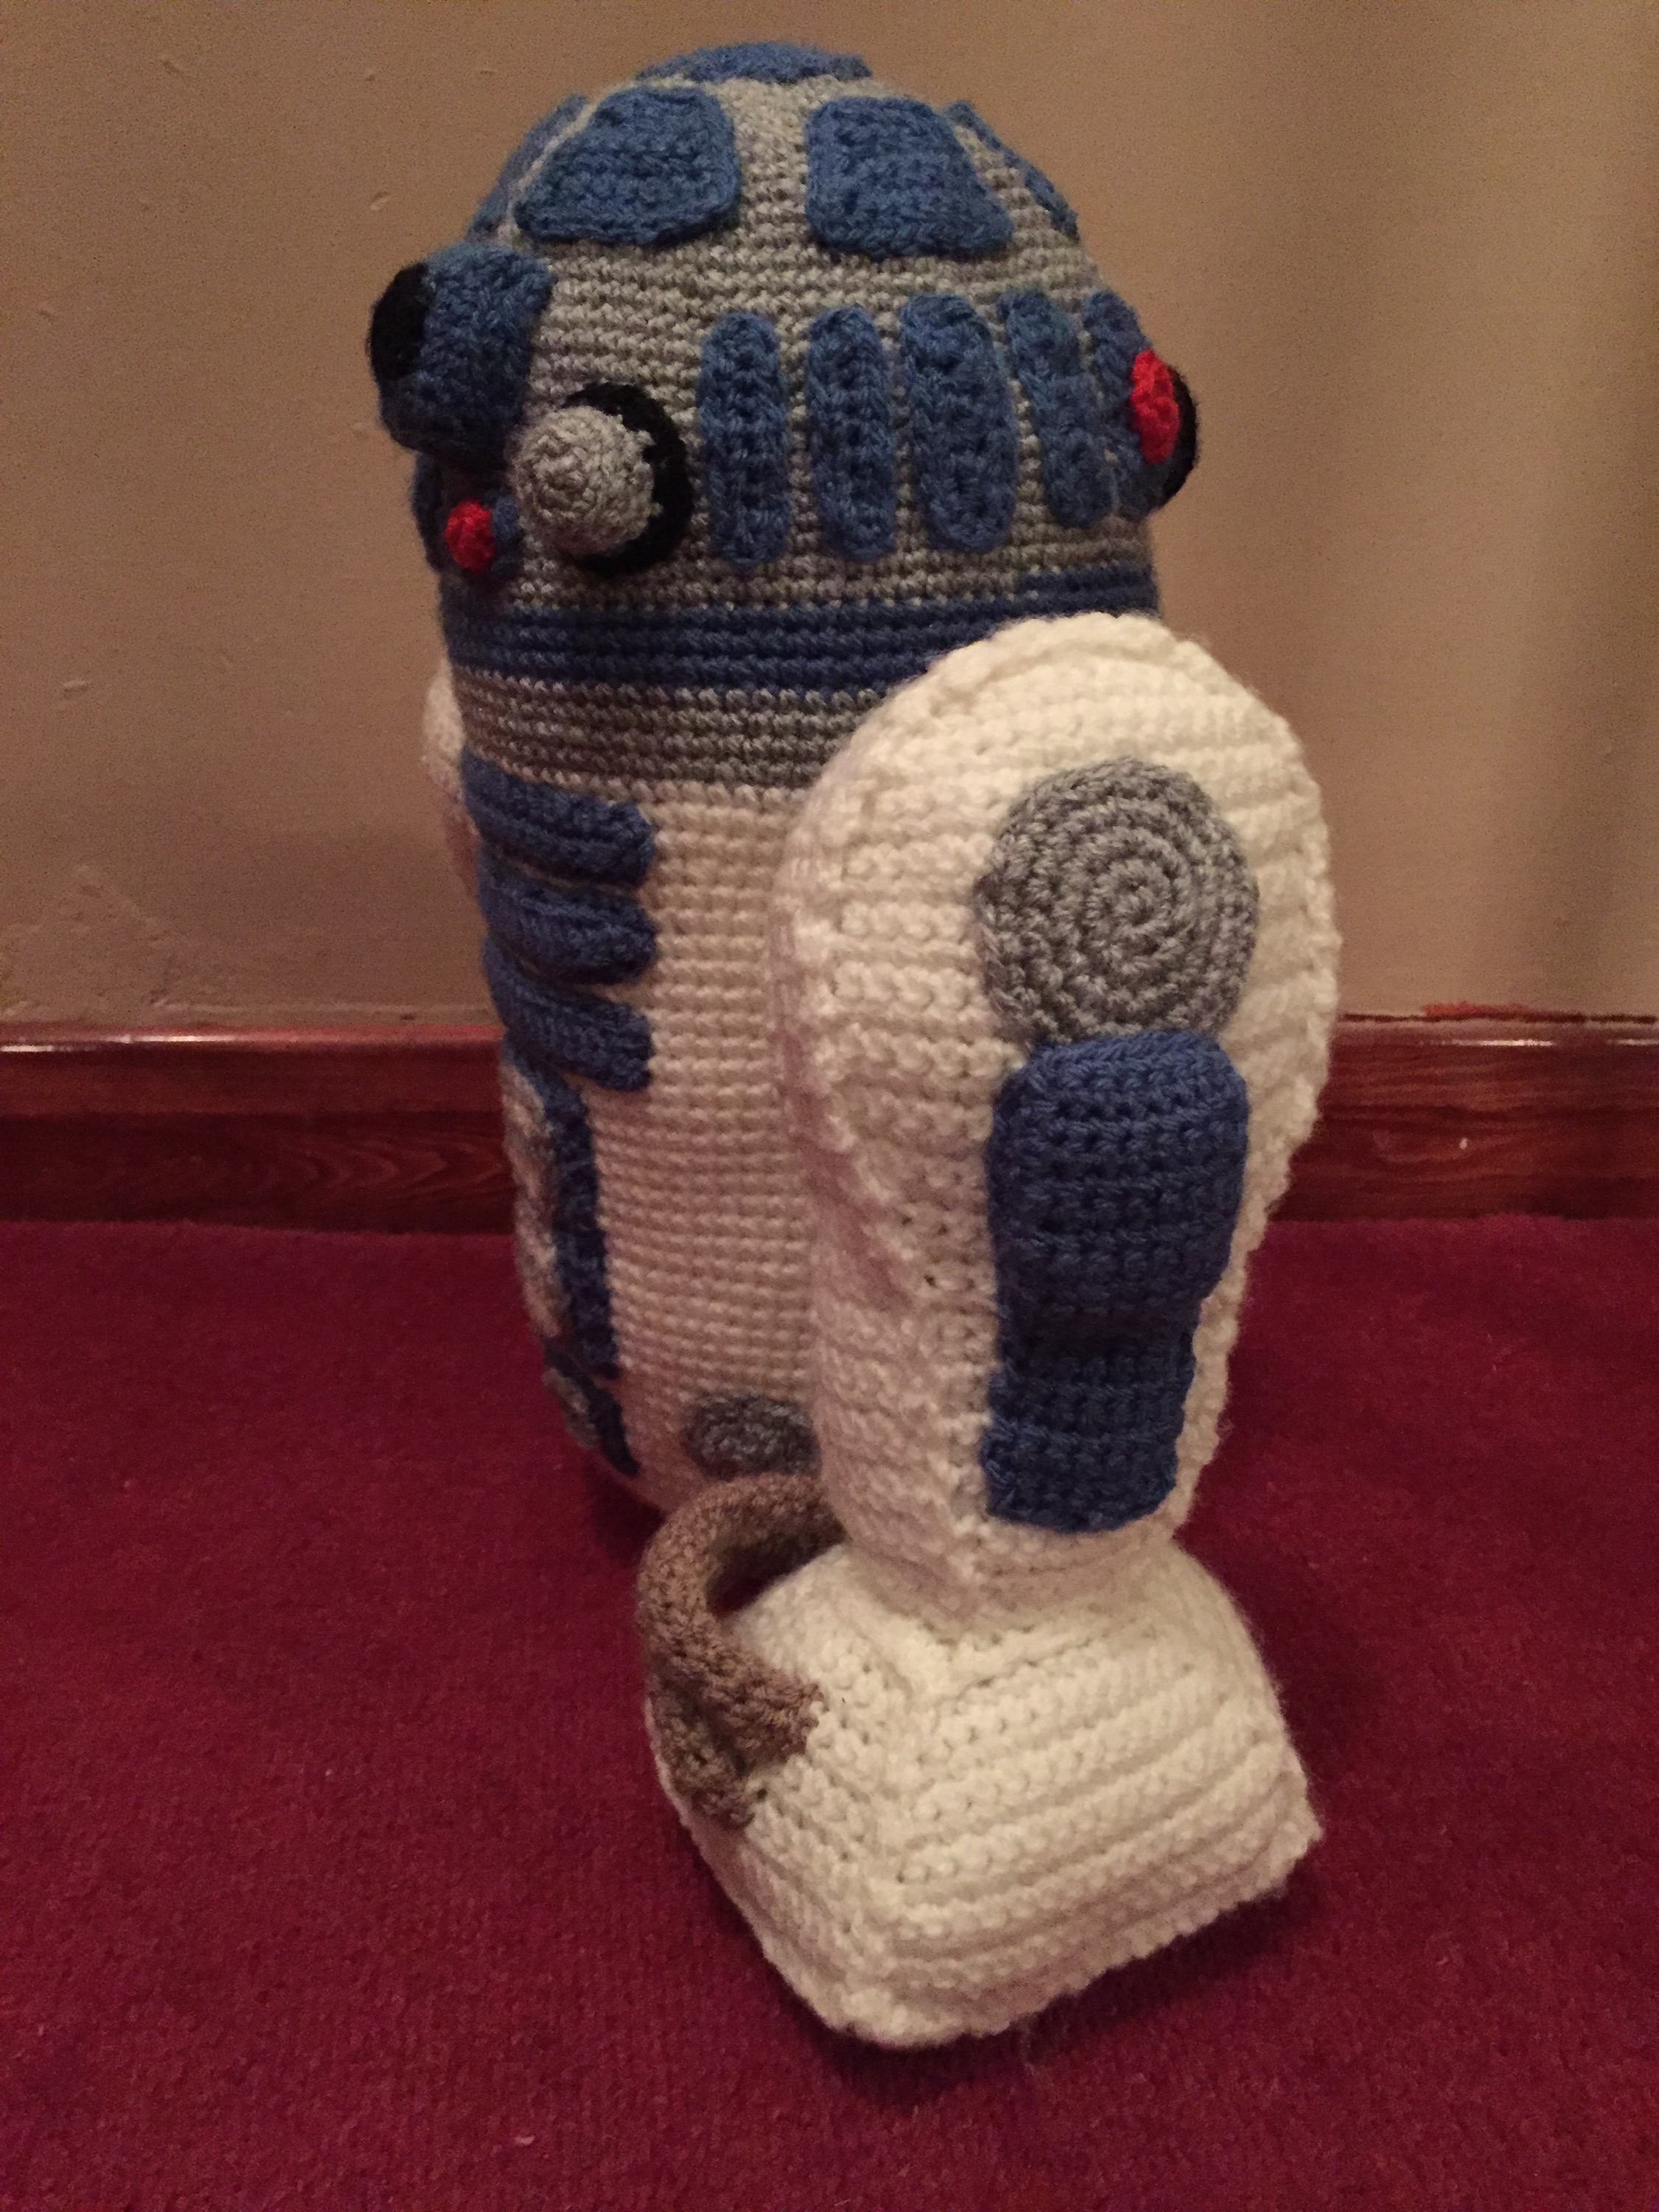
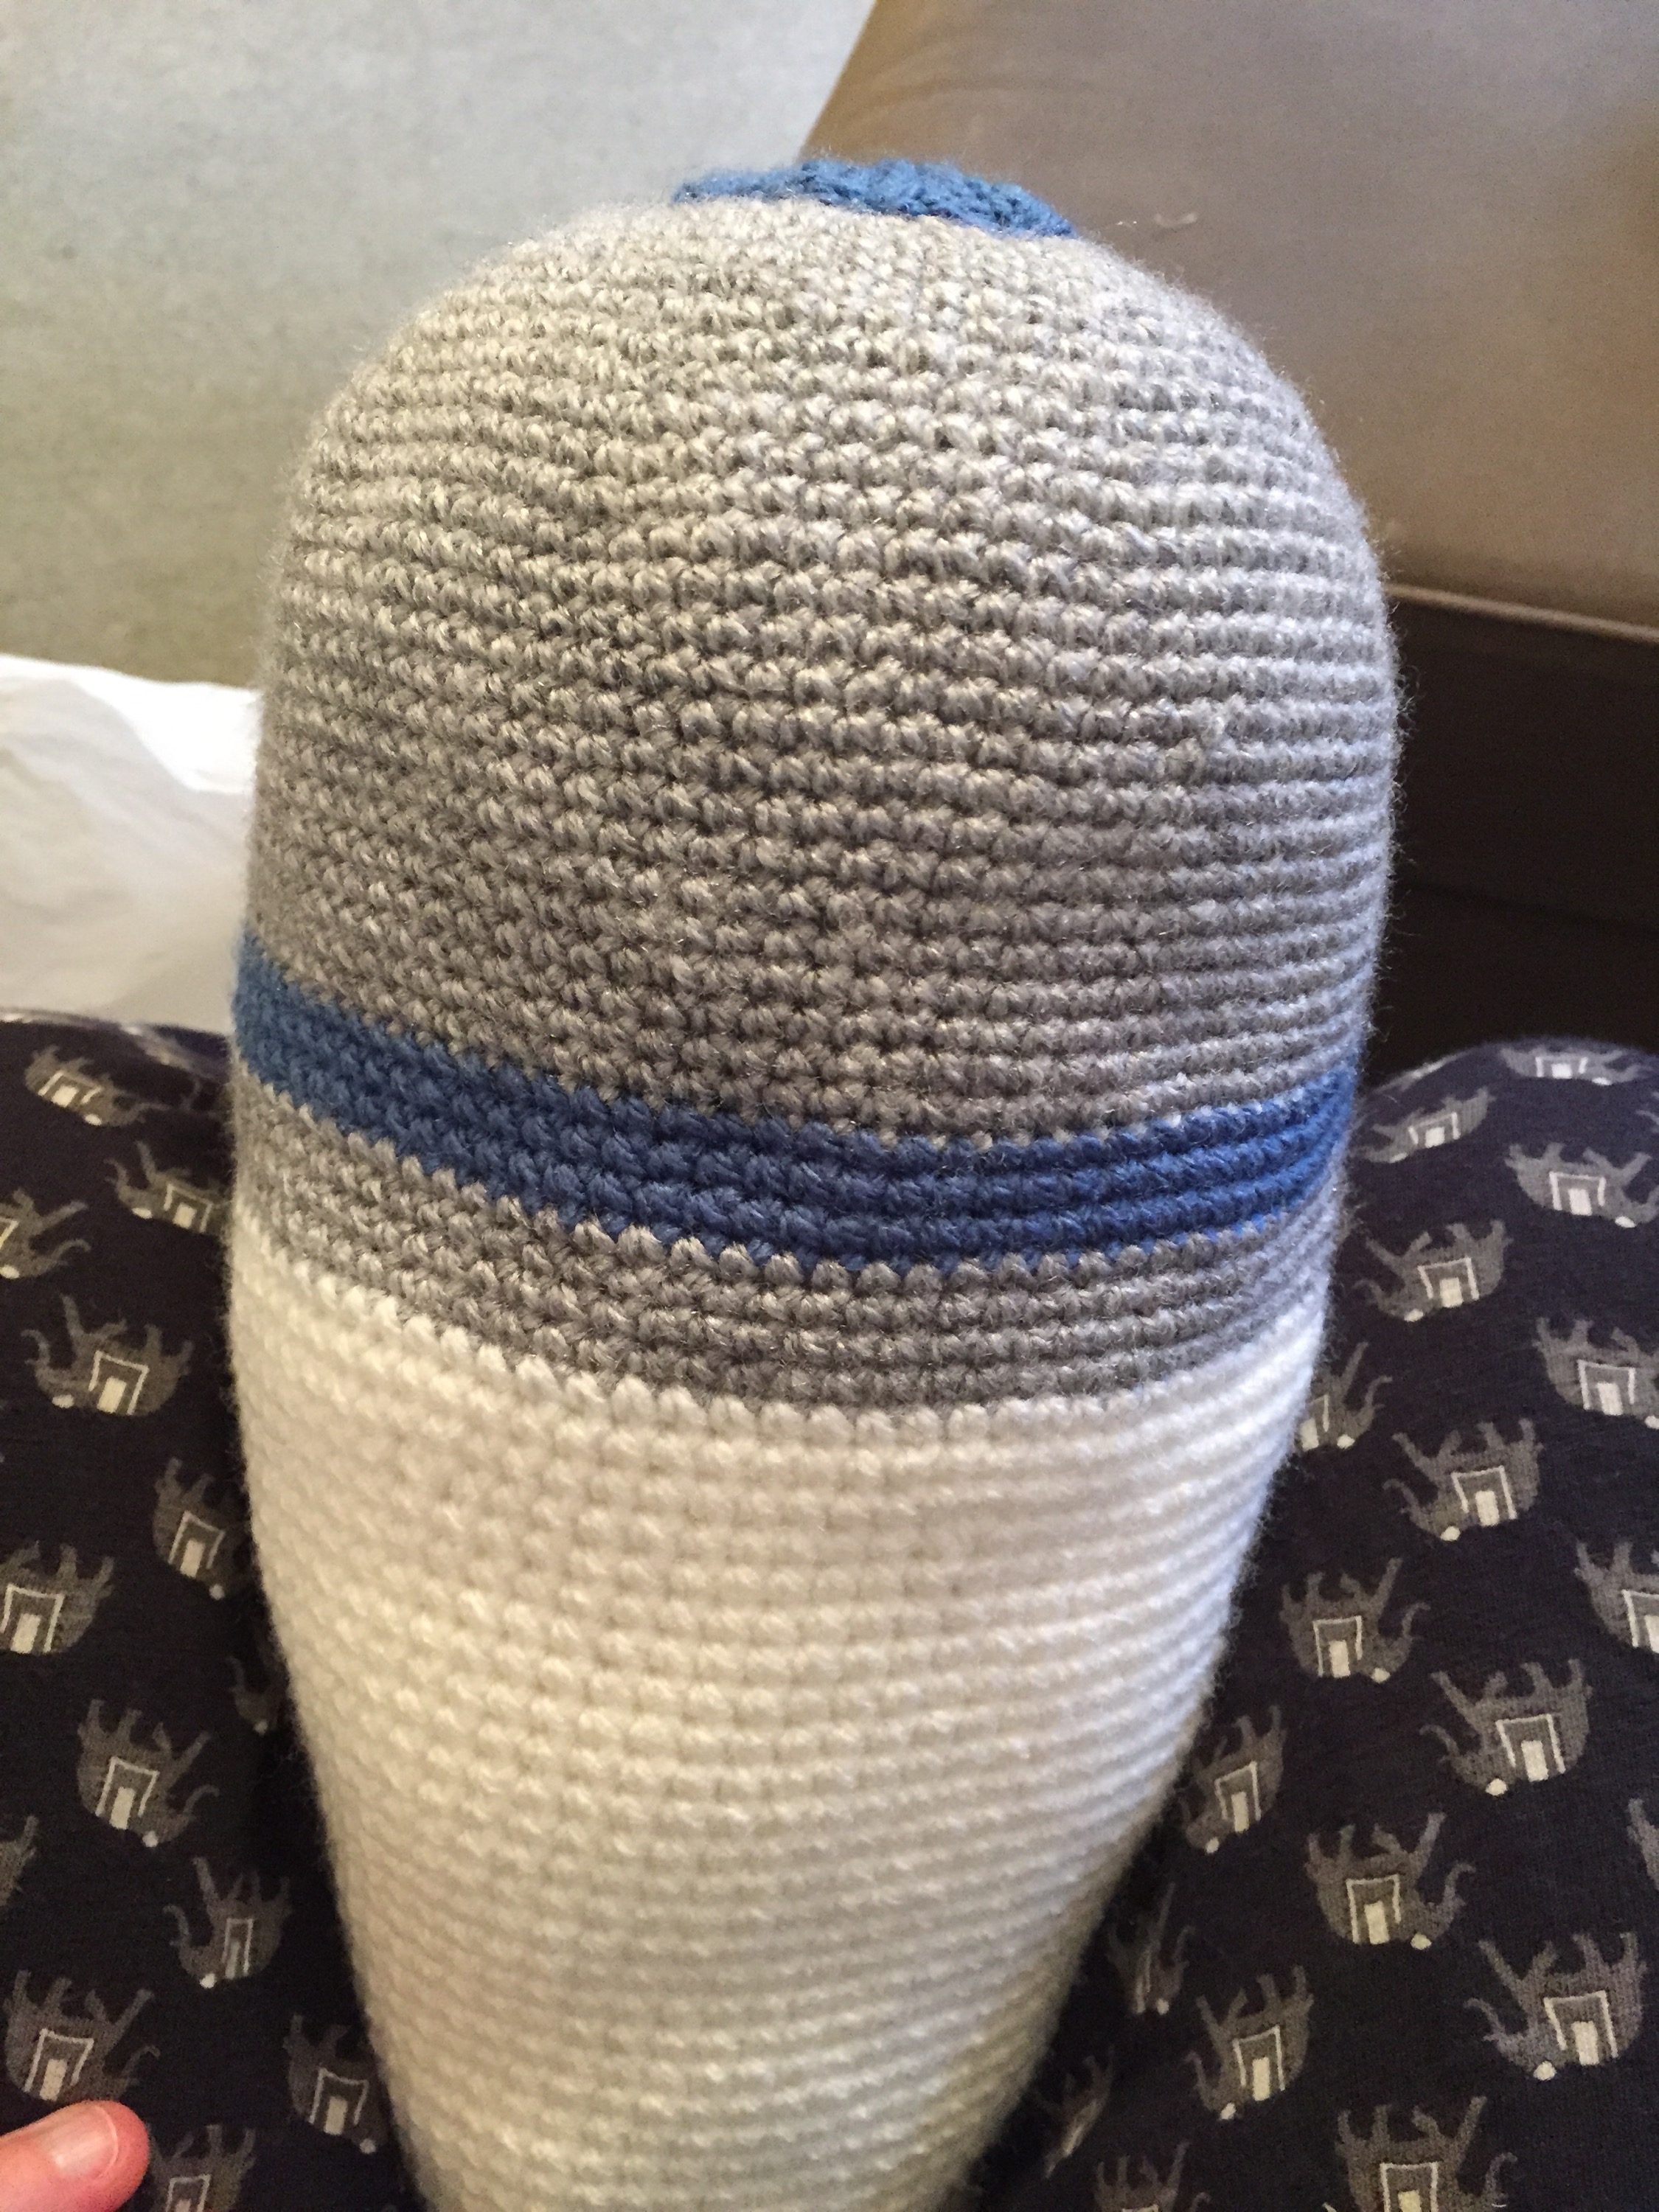
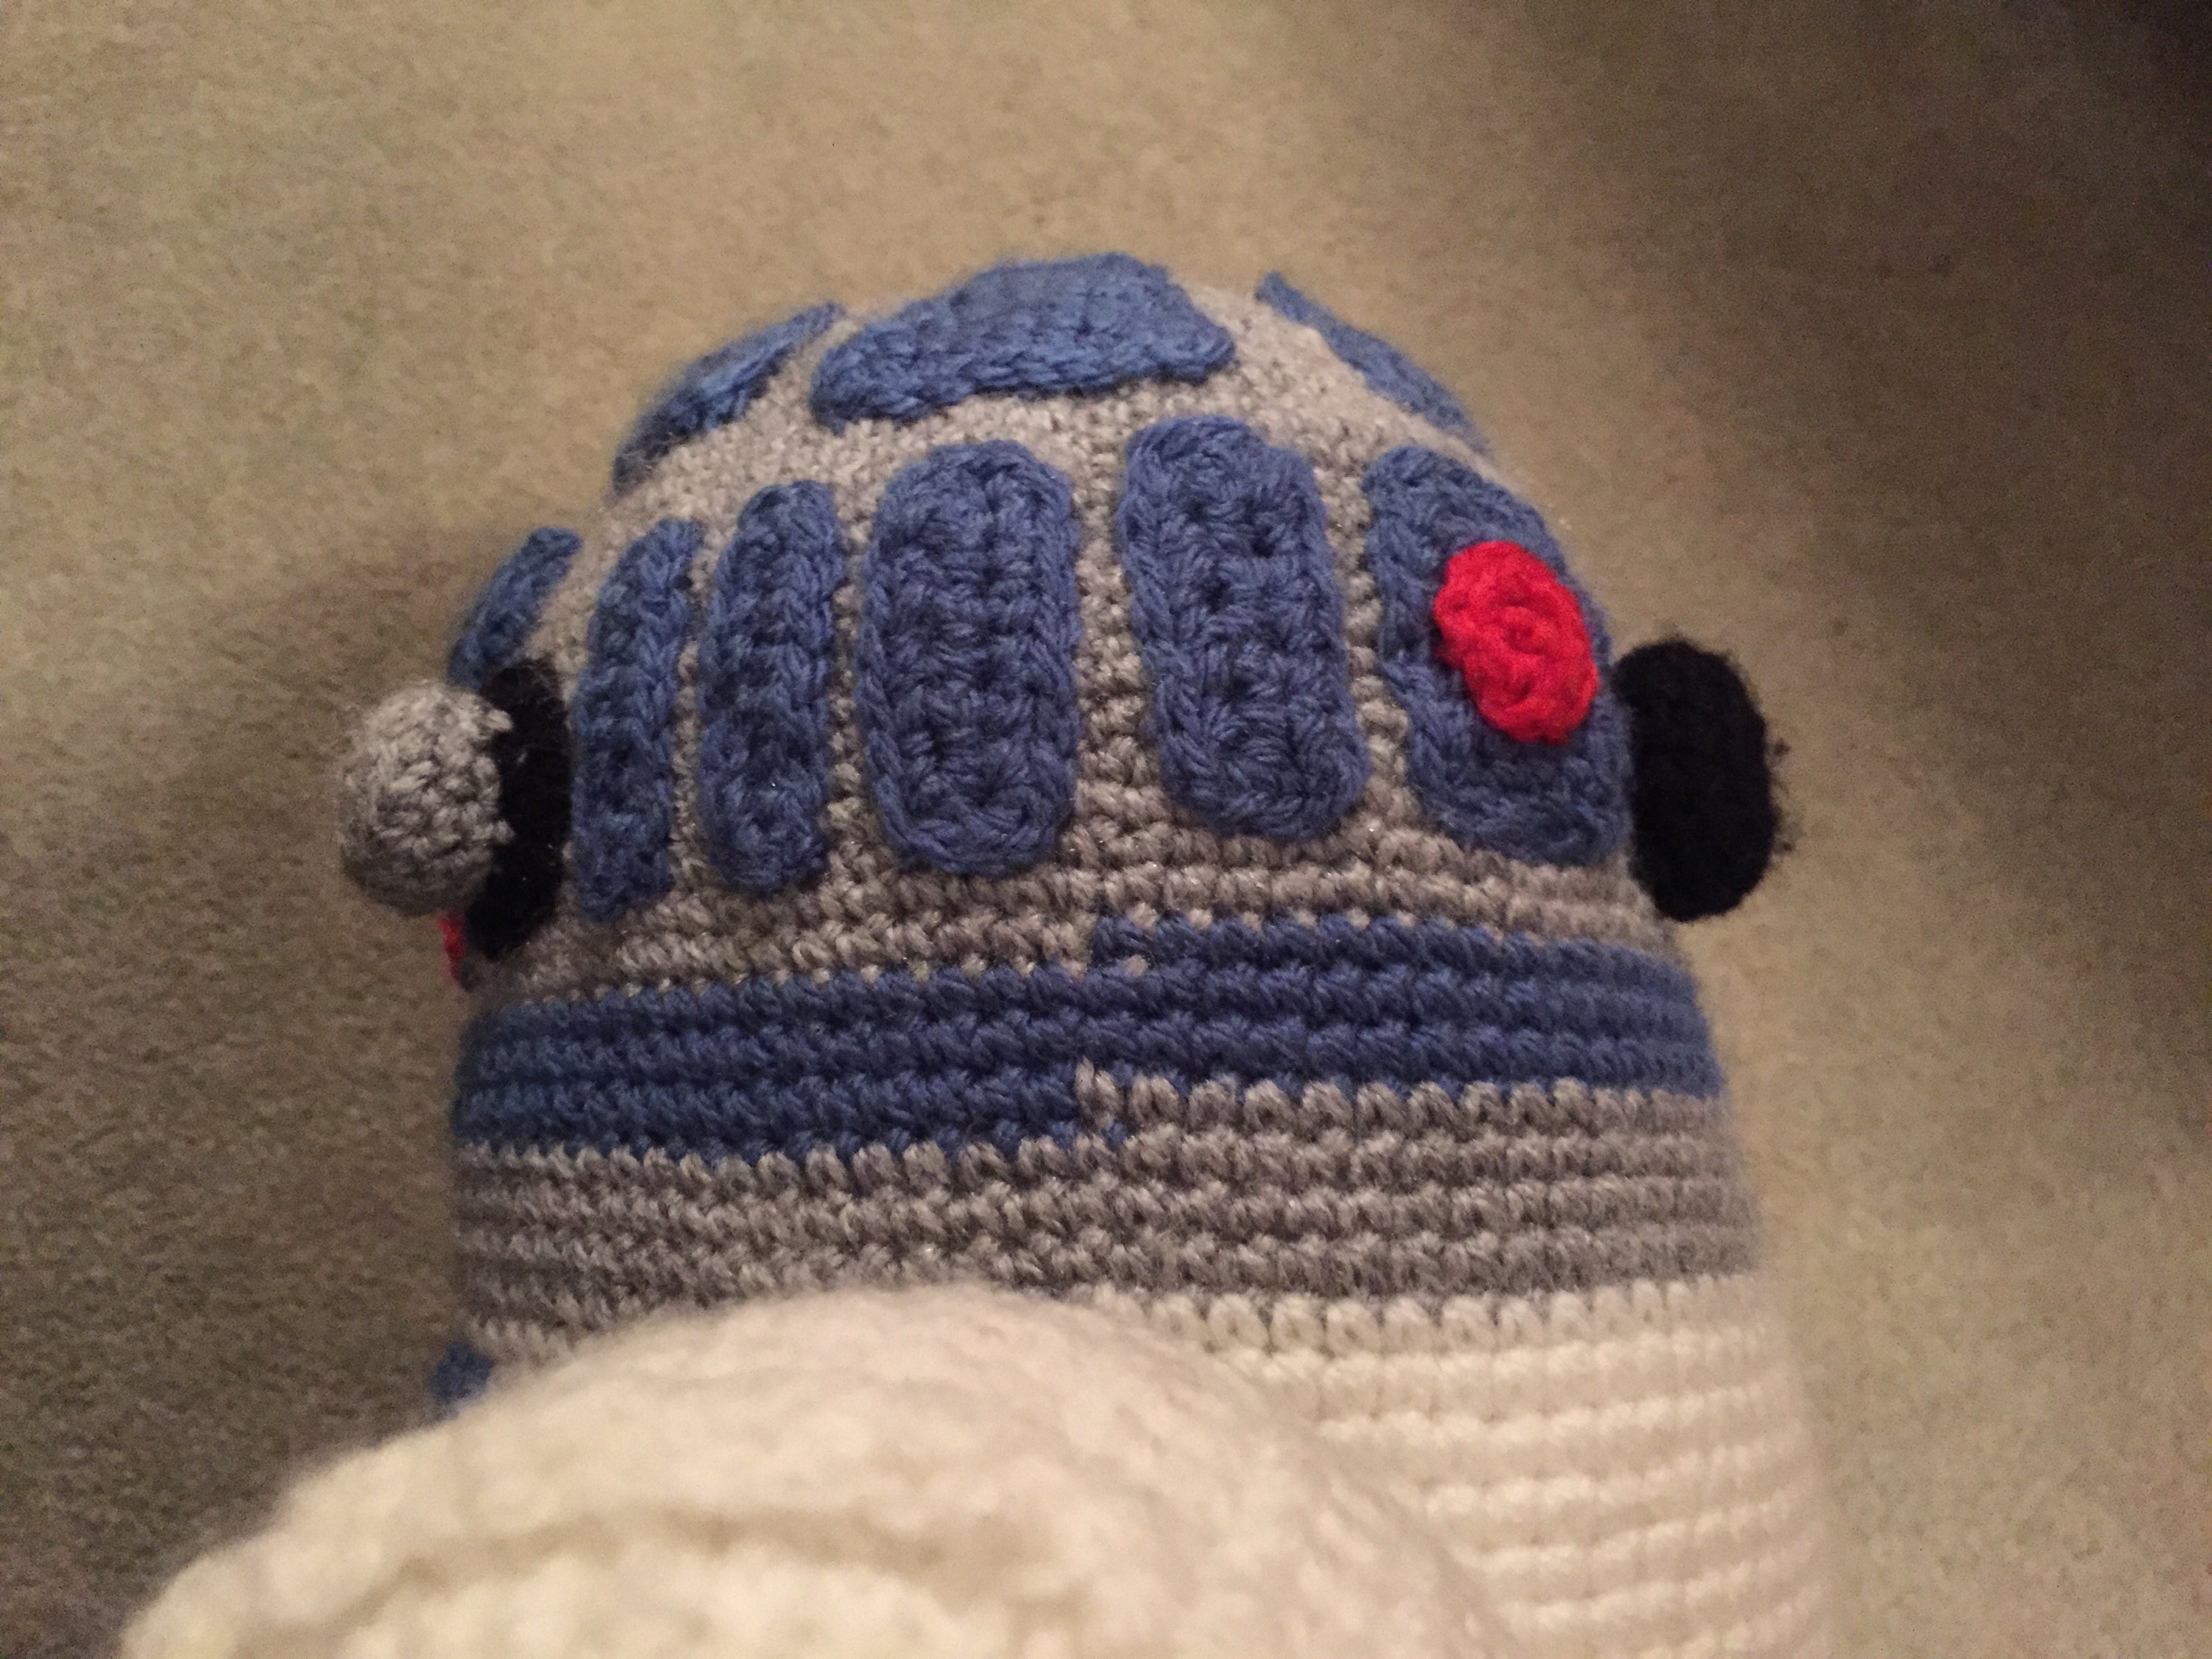
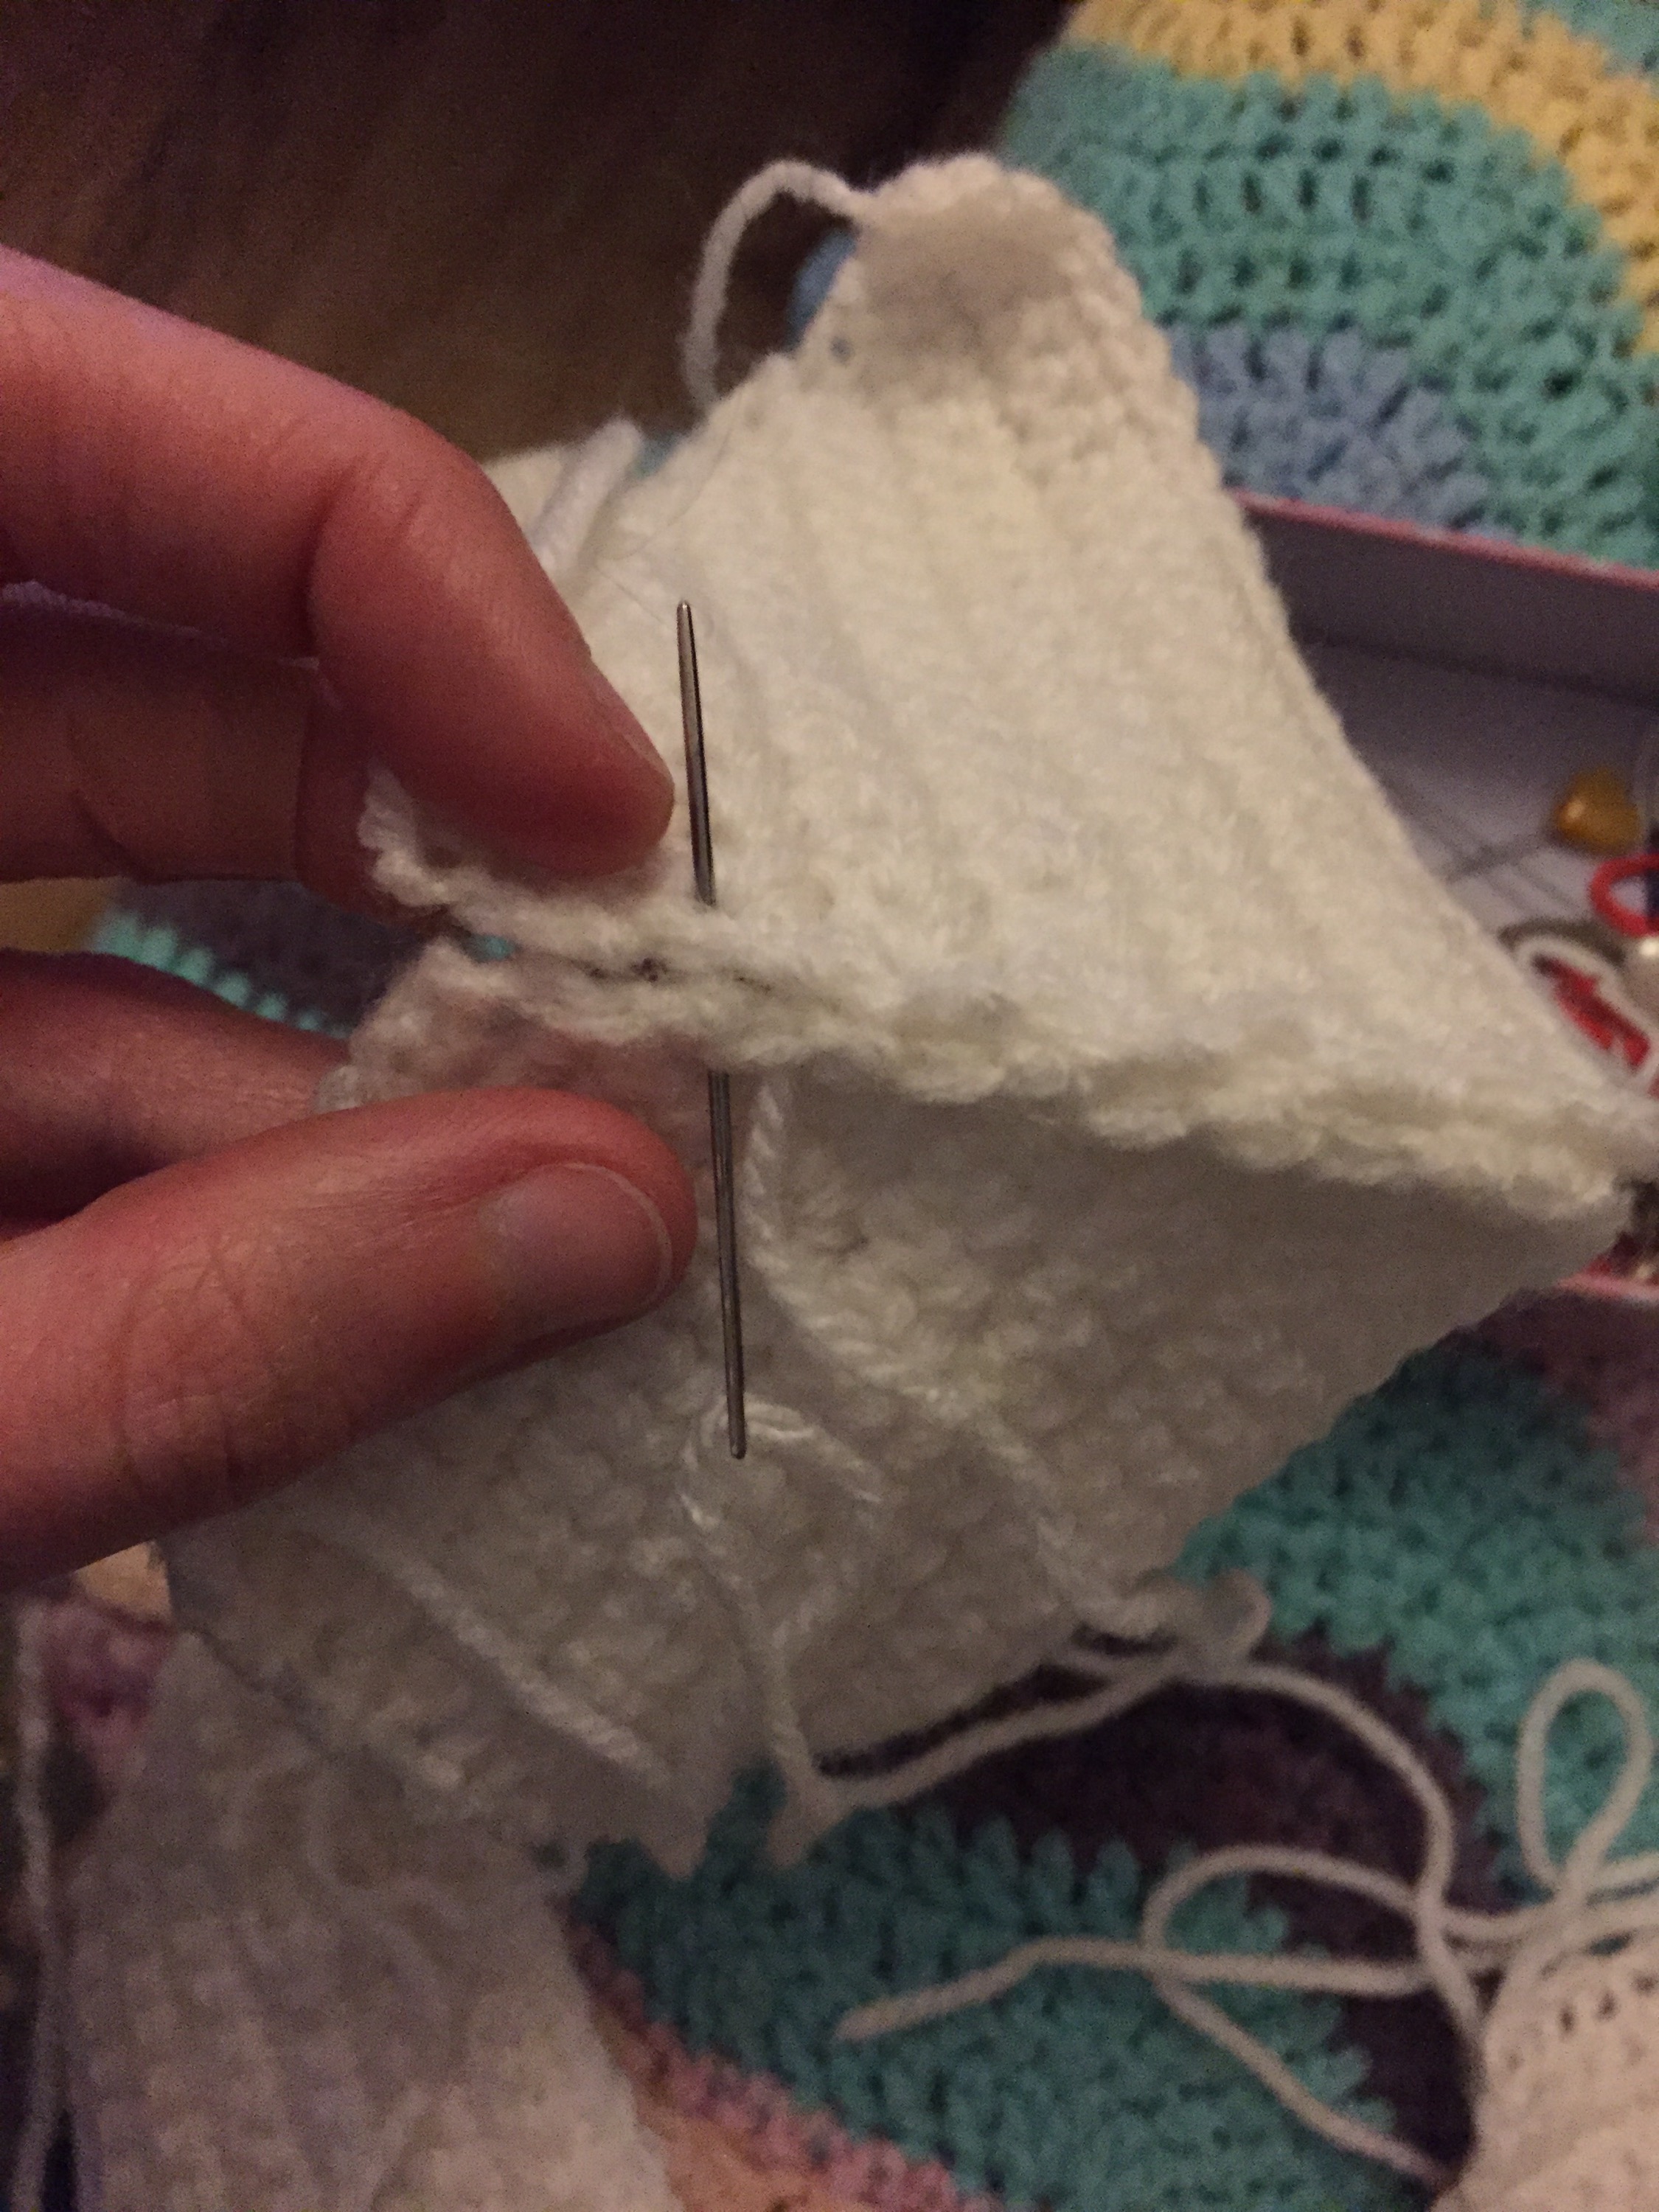
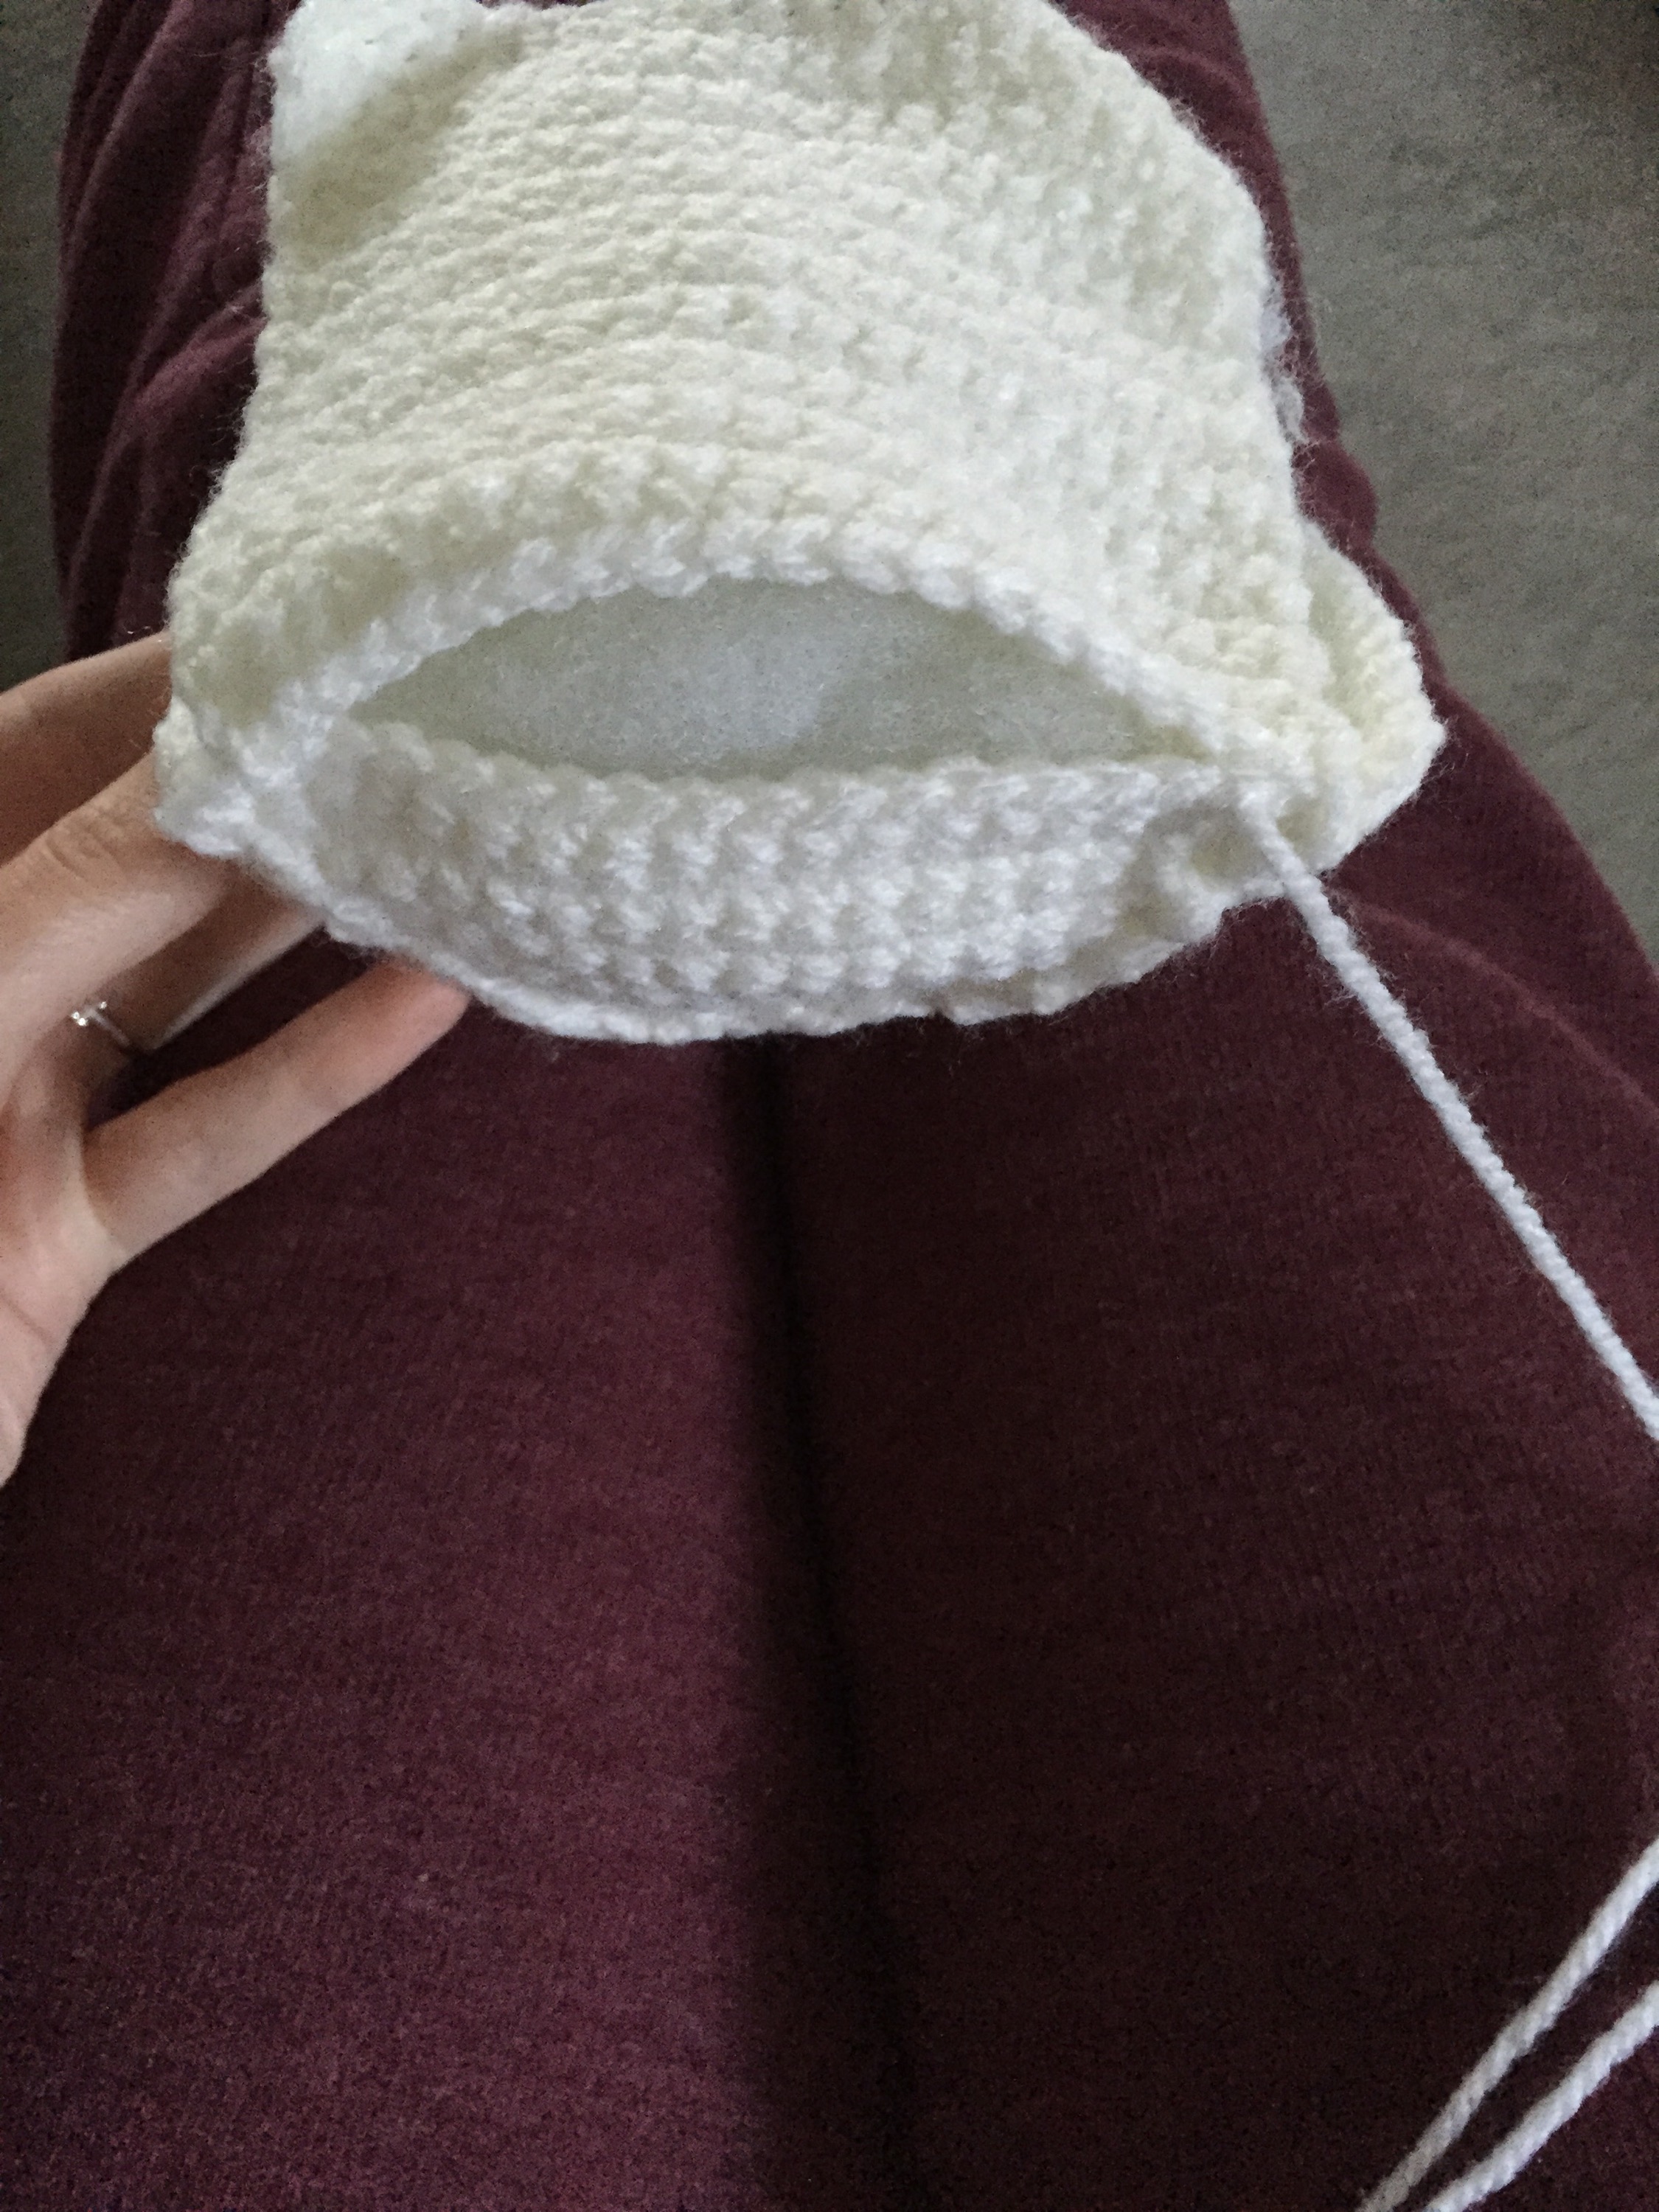
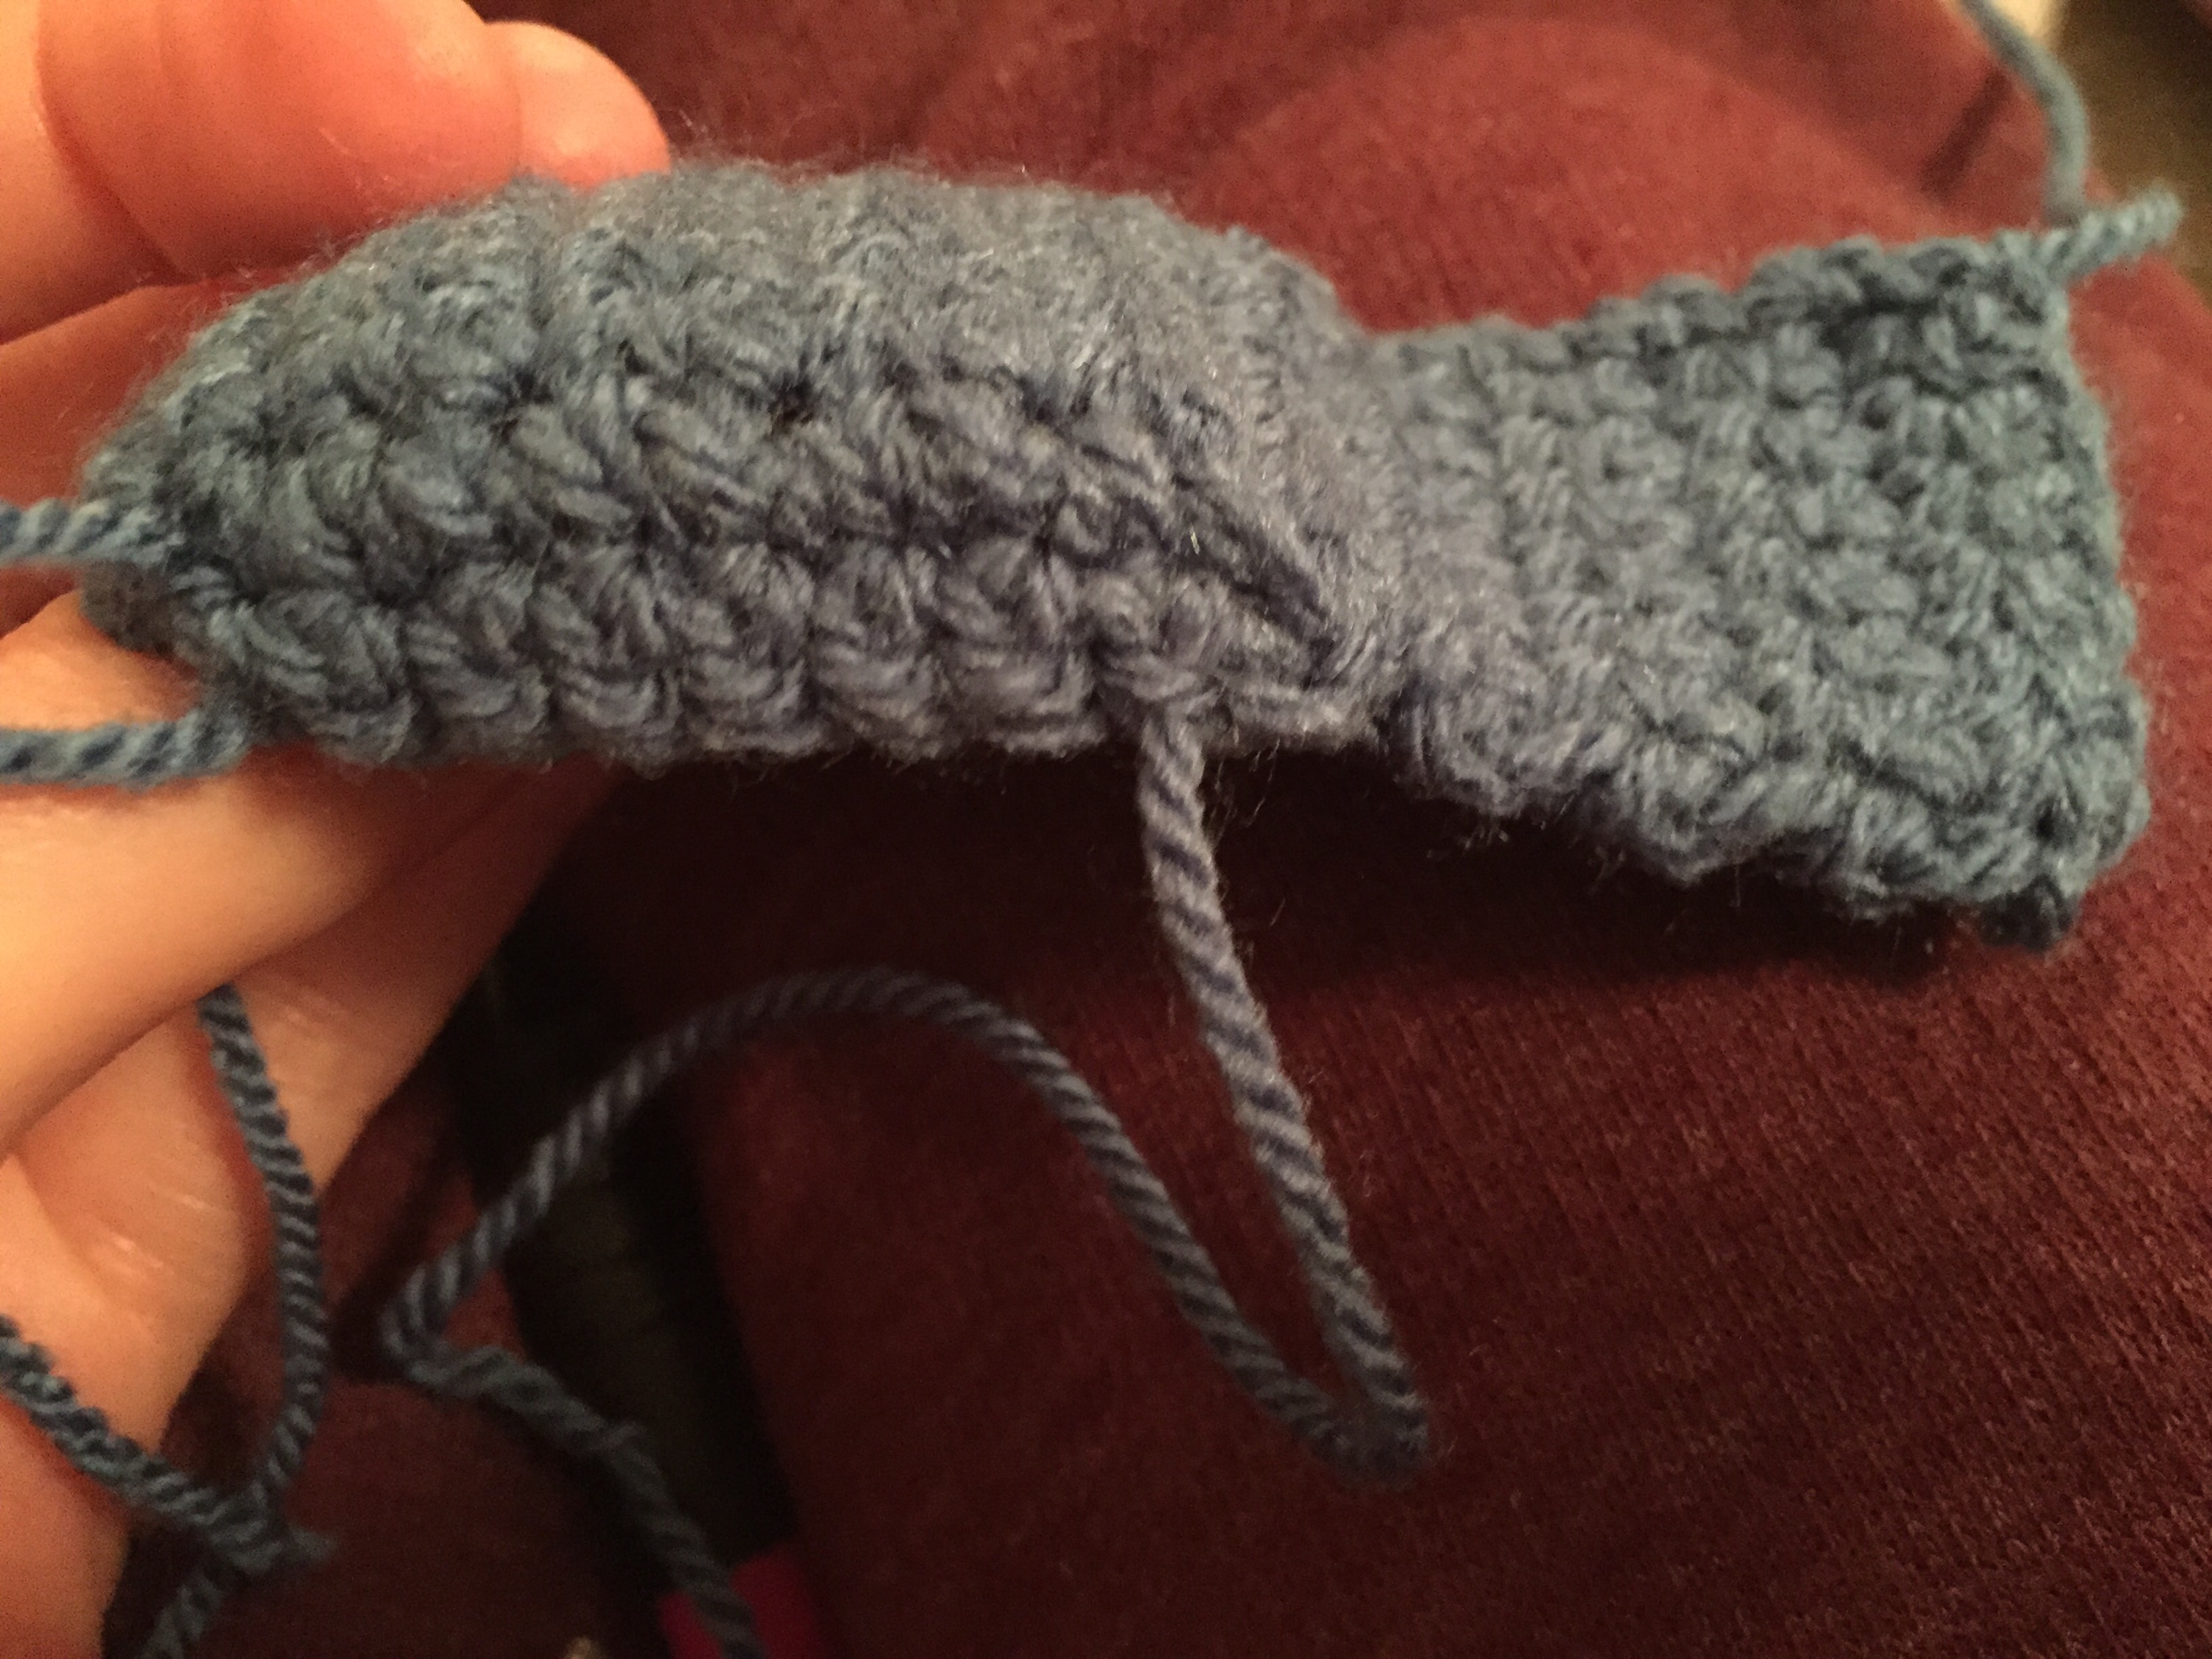
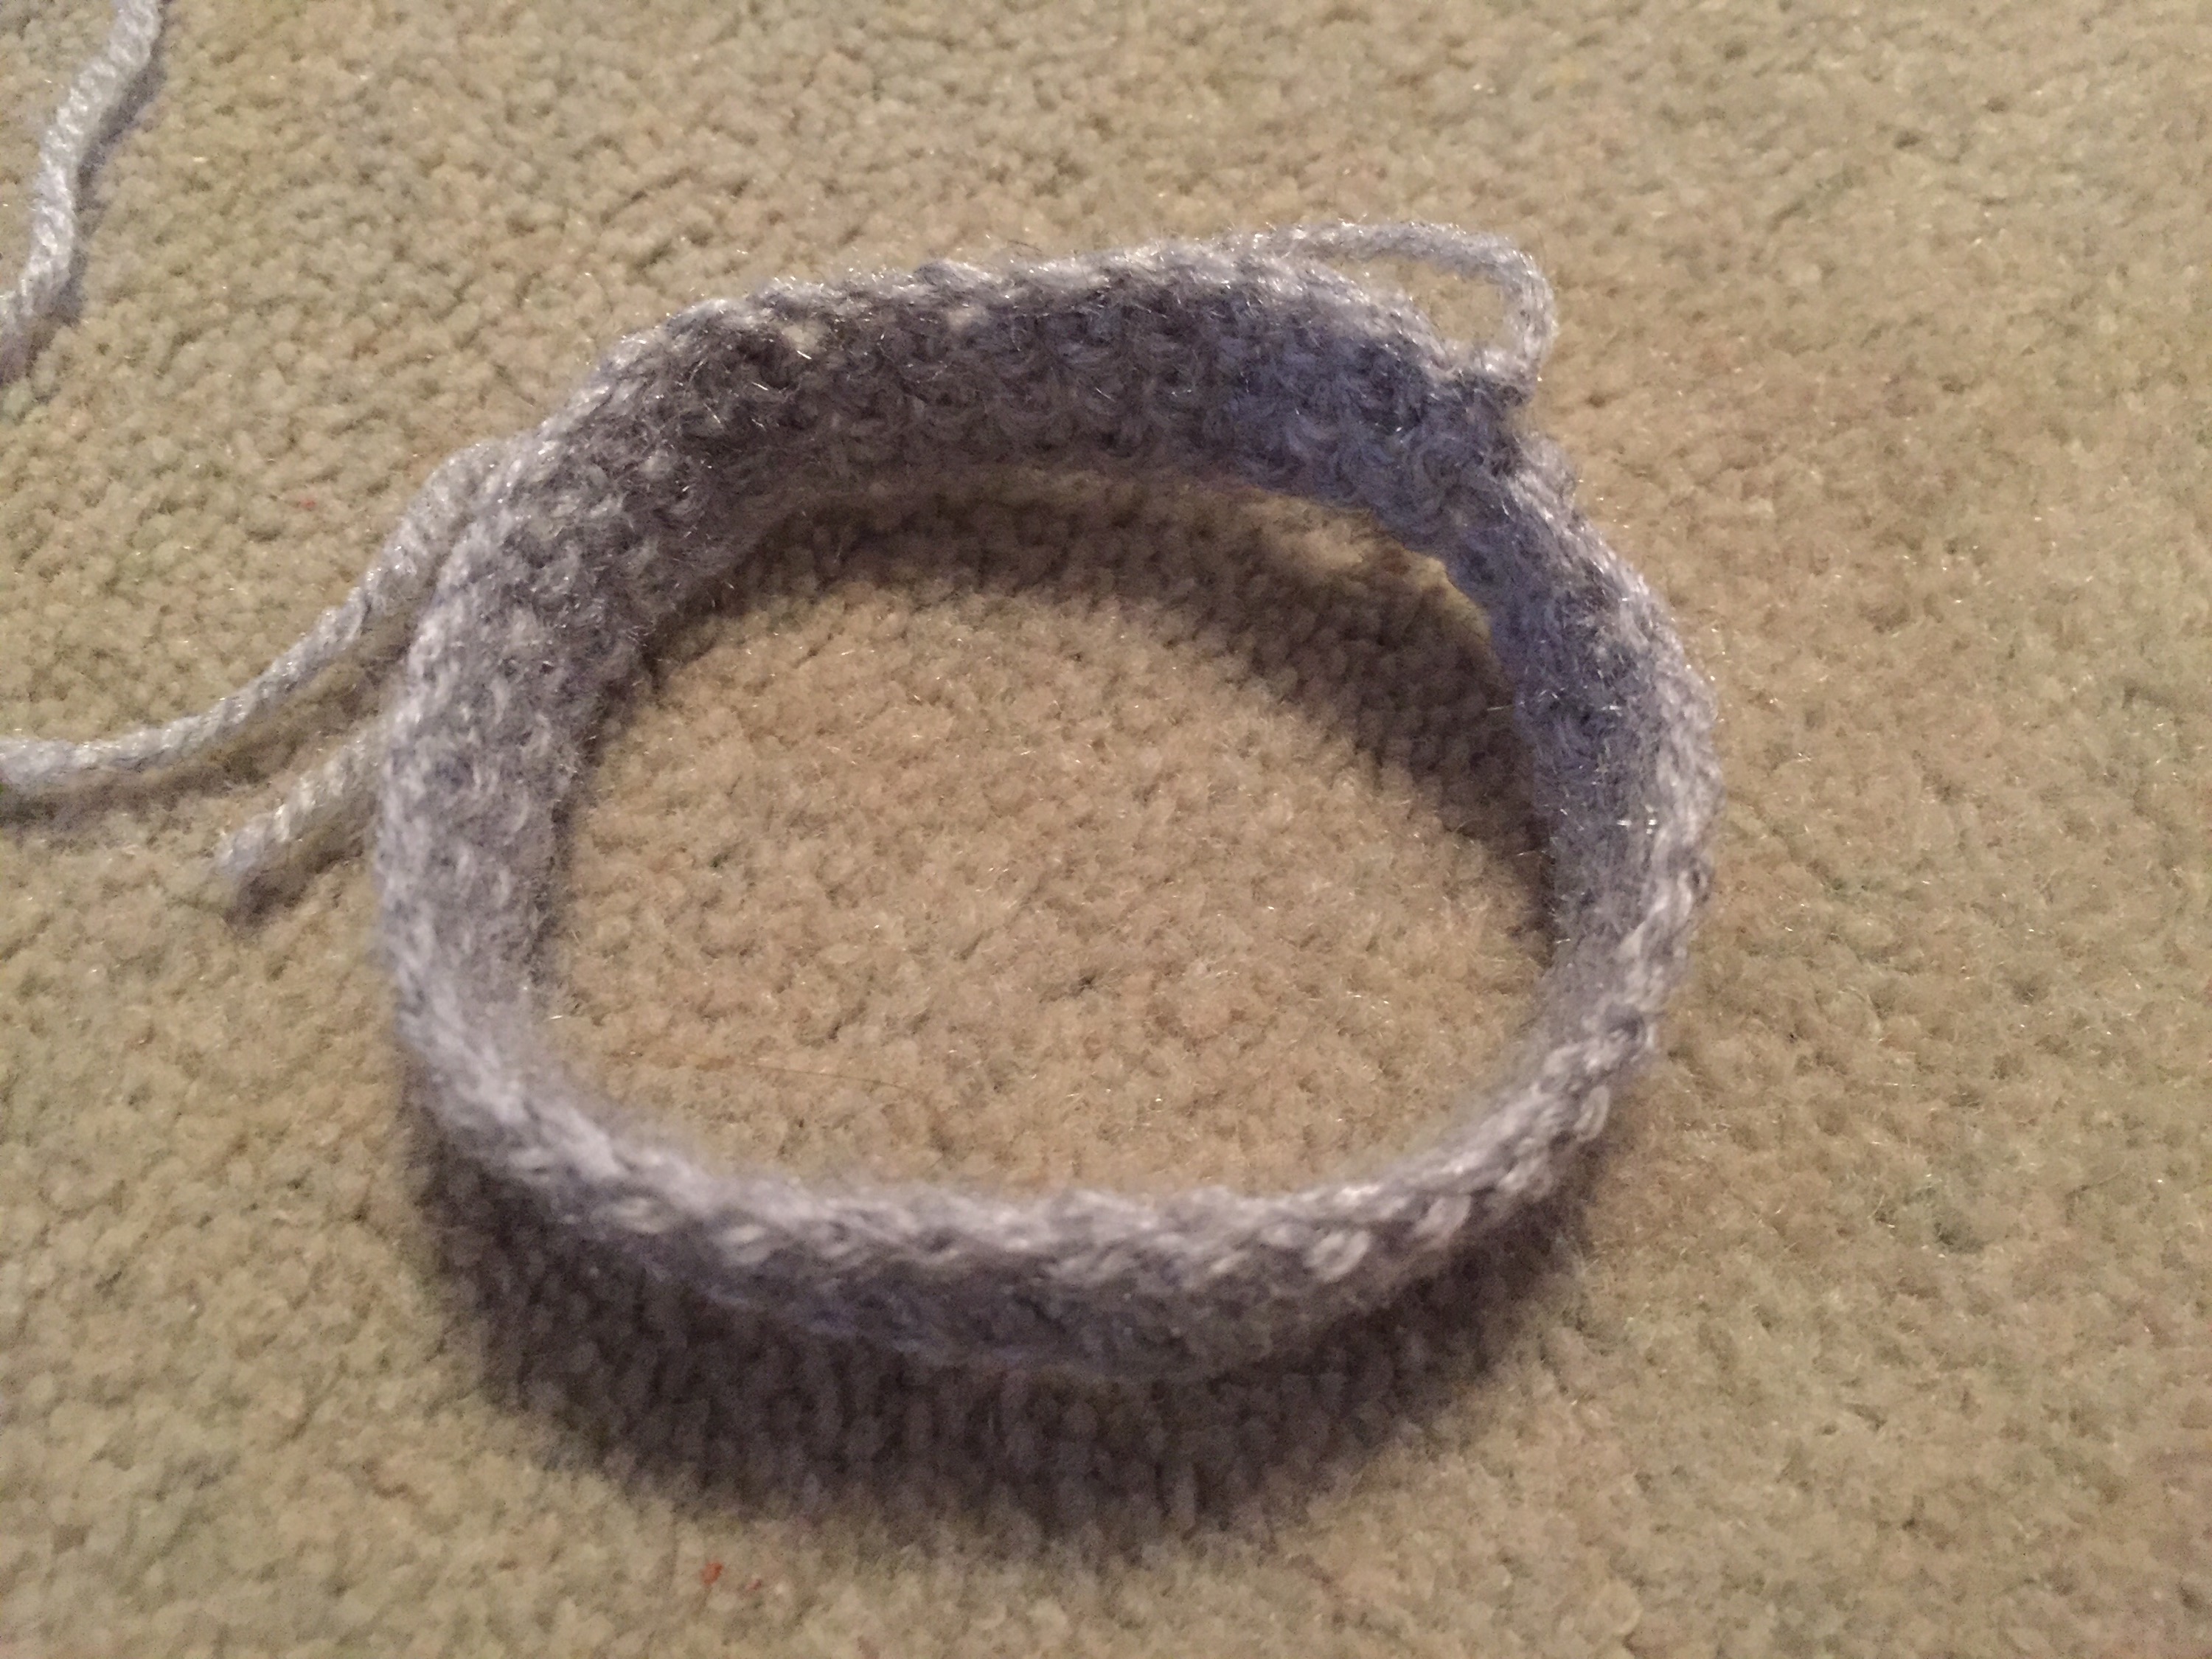
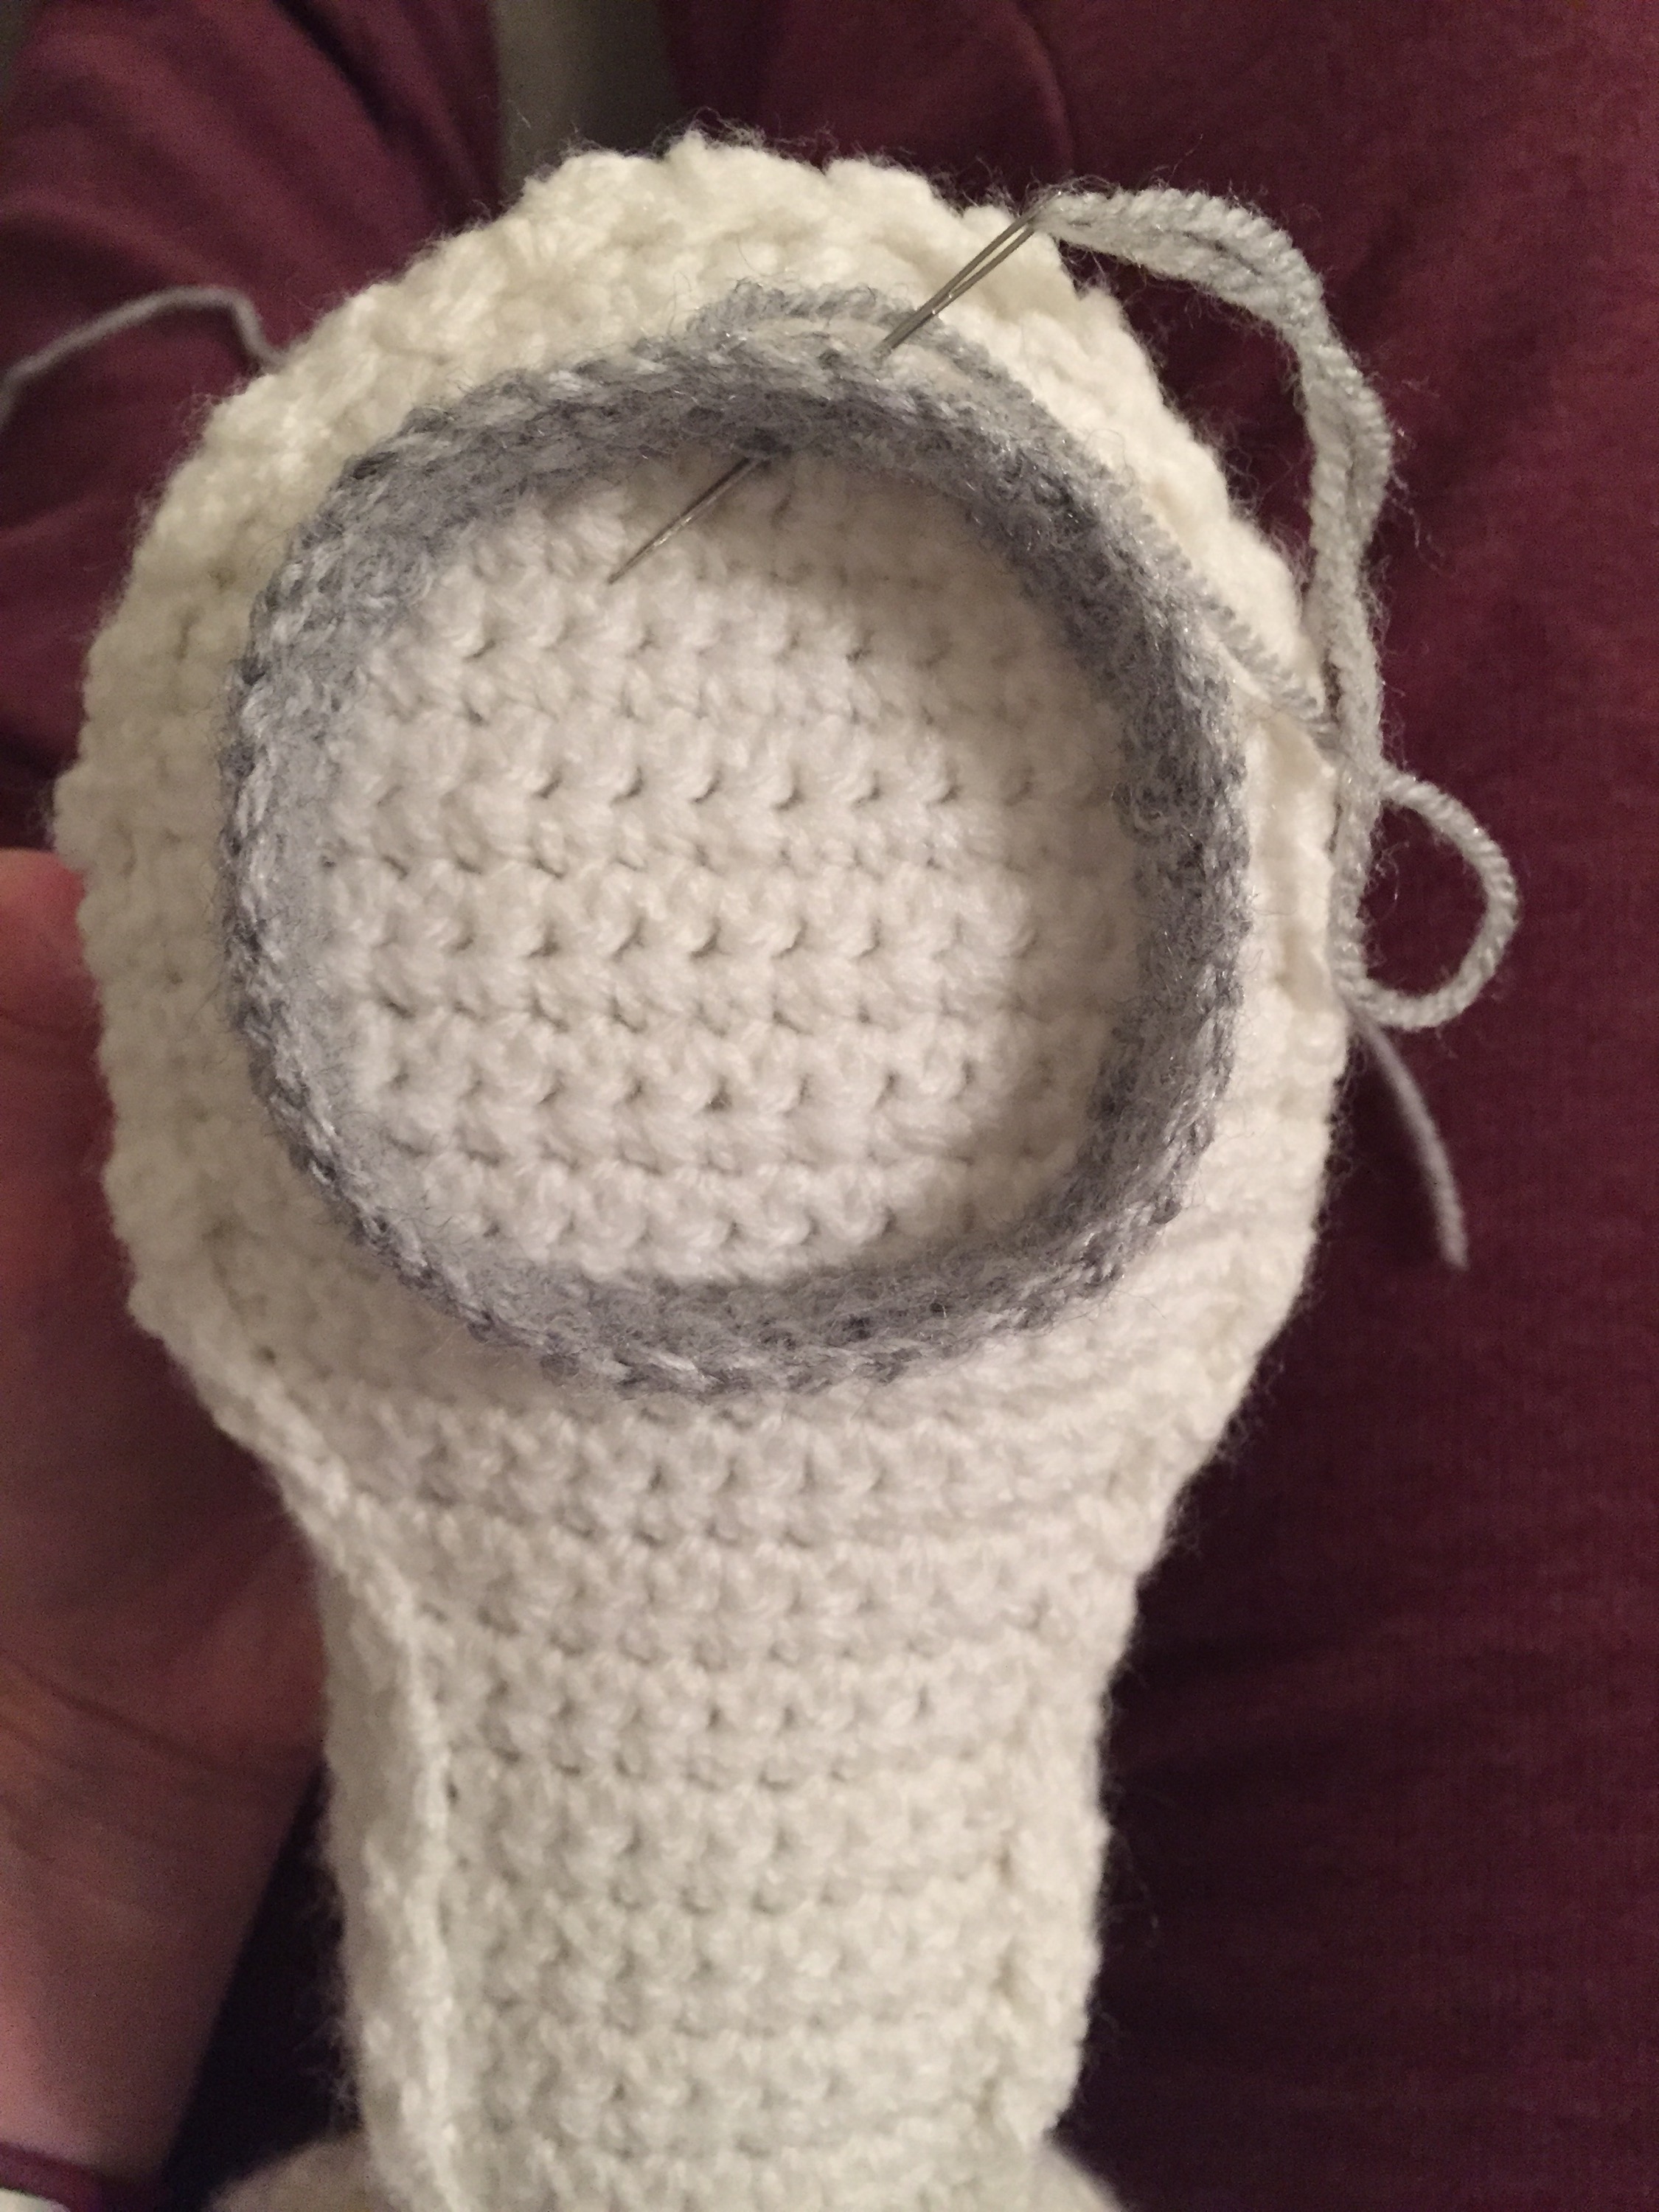
So I got my wools together, cream, grey, blue and black, all of which were women’s institute DK wool, and got started. Obviously I had to start with the body first and this was the easy part (or so I thought) a giant tube with rounded top, although despite me thinking it would be the easiest bit it did give me a bit of a challenge getting the rounded top as I wanted, but finally I got there! The detailing on the head also took me a long time yo get right, there are so many different pictures of R2-D2 I didn’t know which to use so I opted to apply the details which appeared most frequently on the pictures.
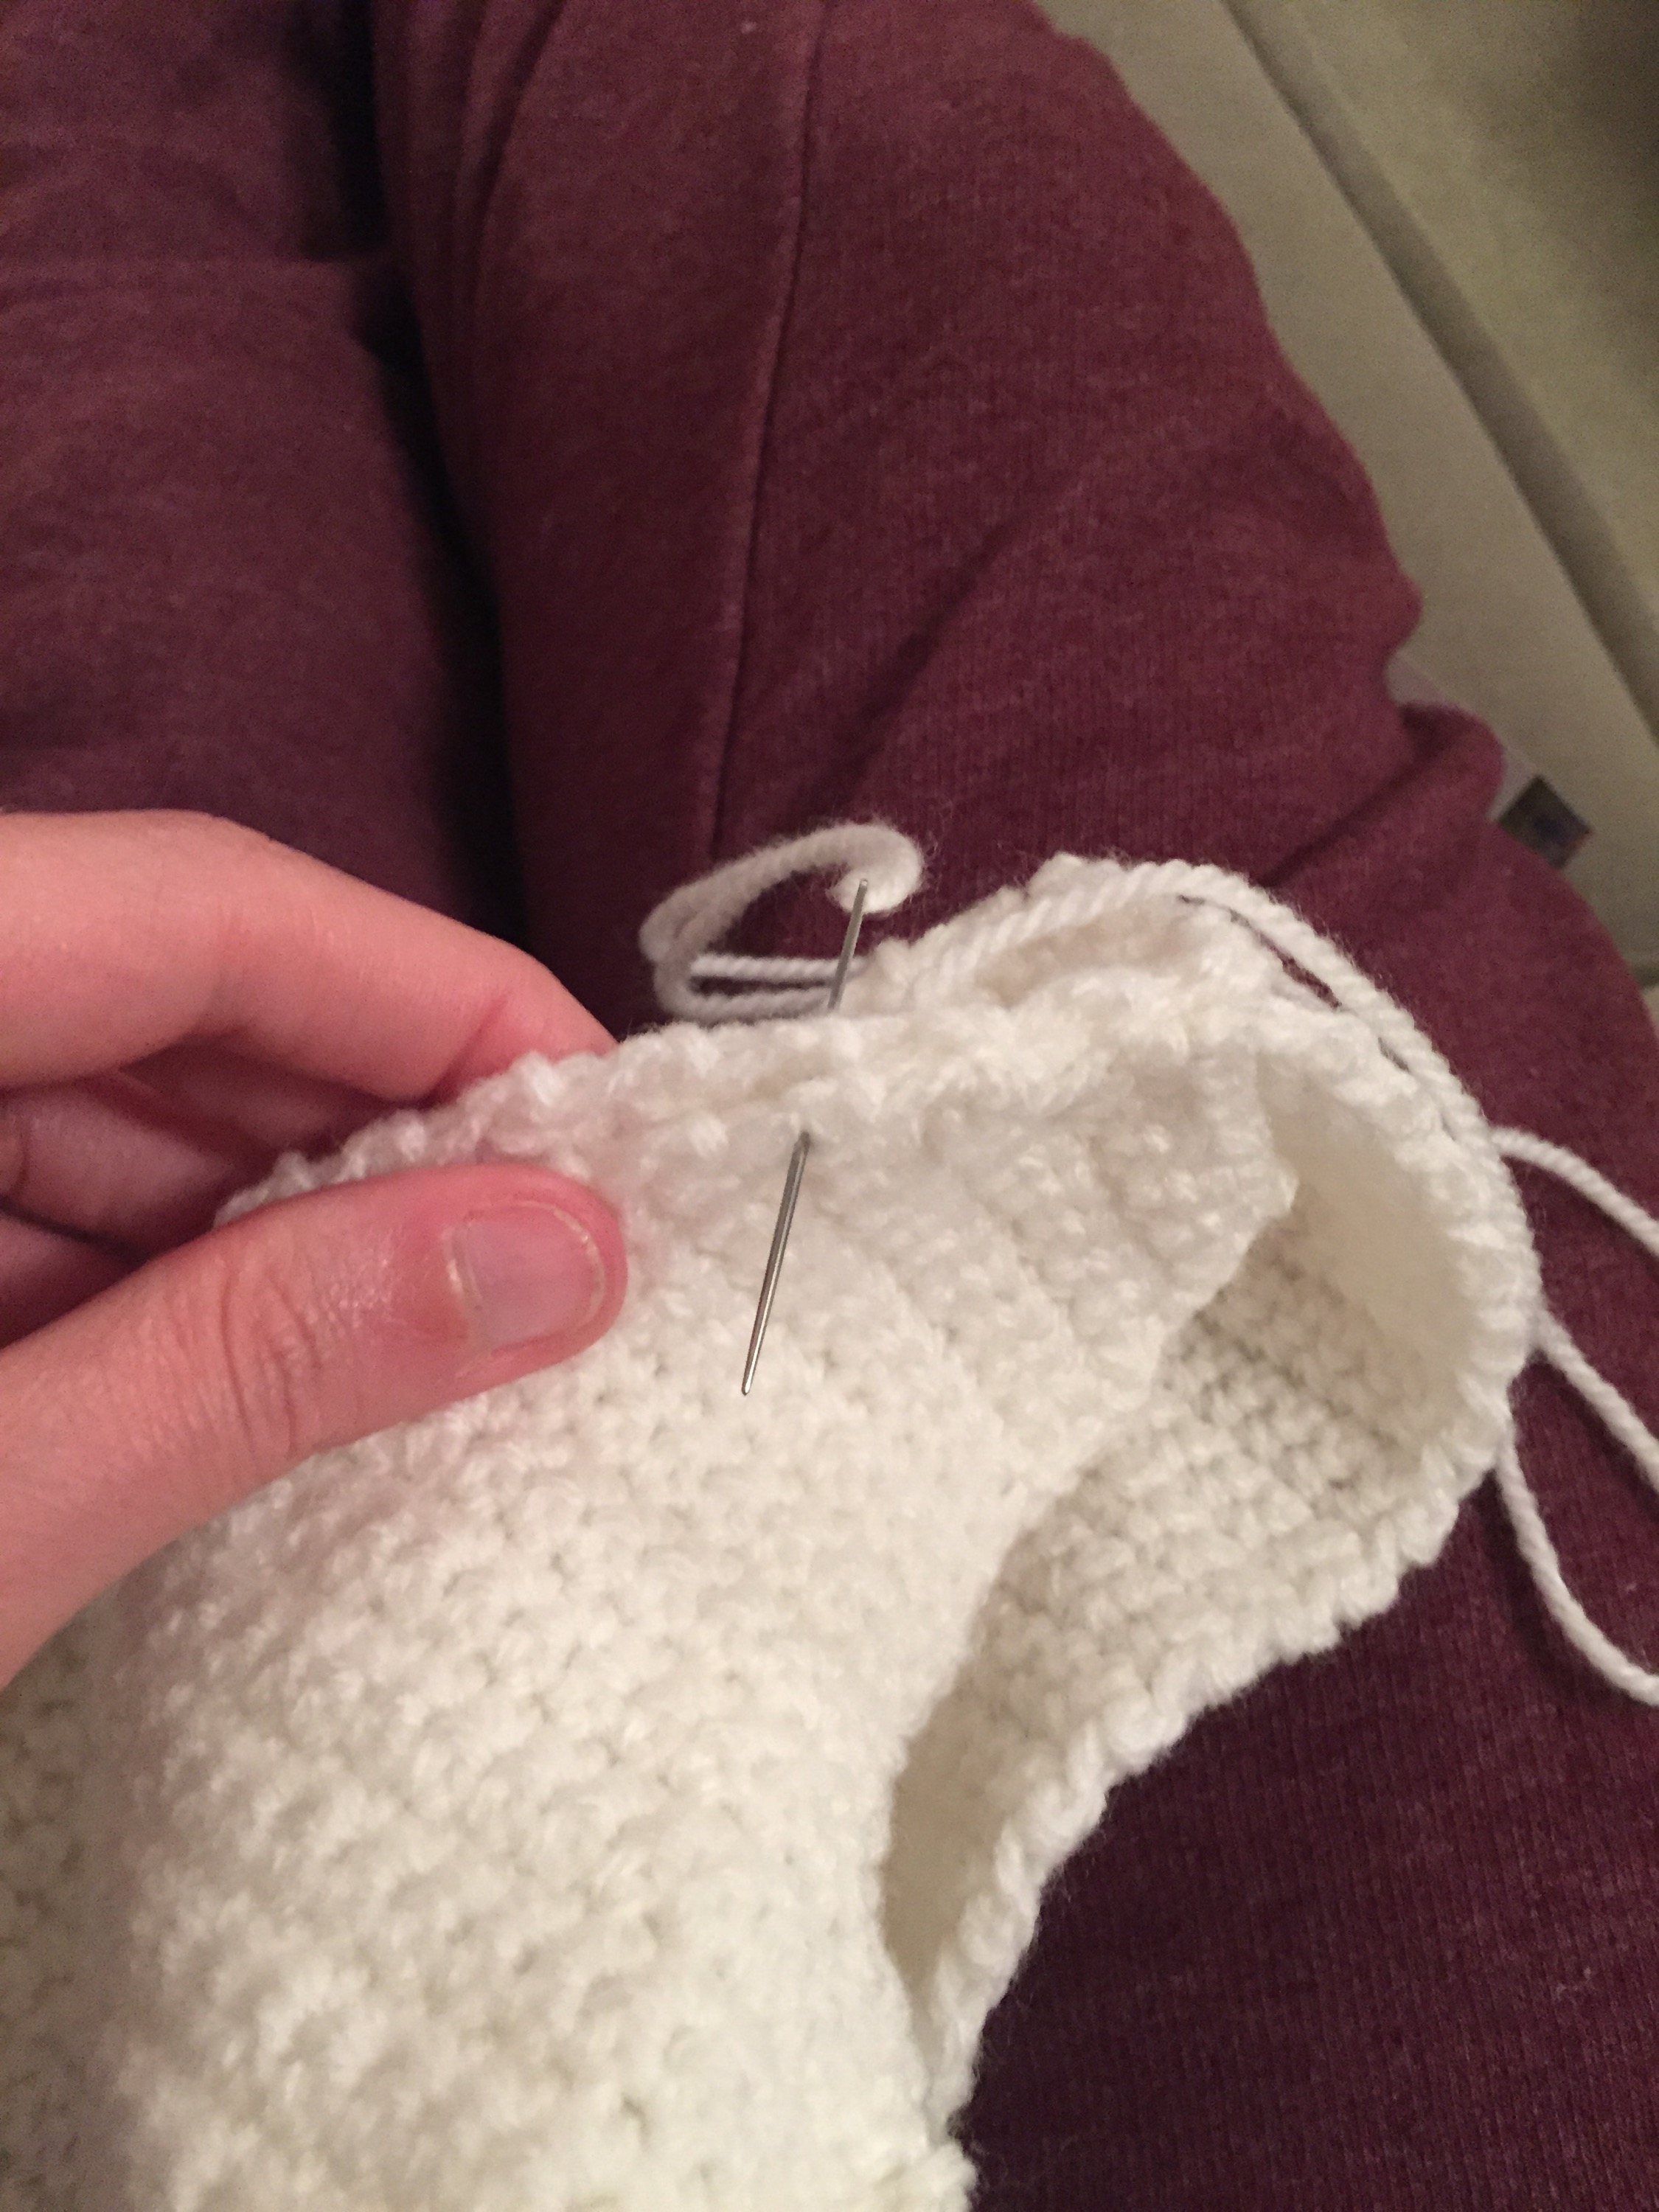
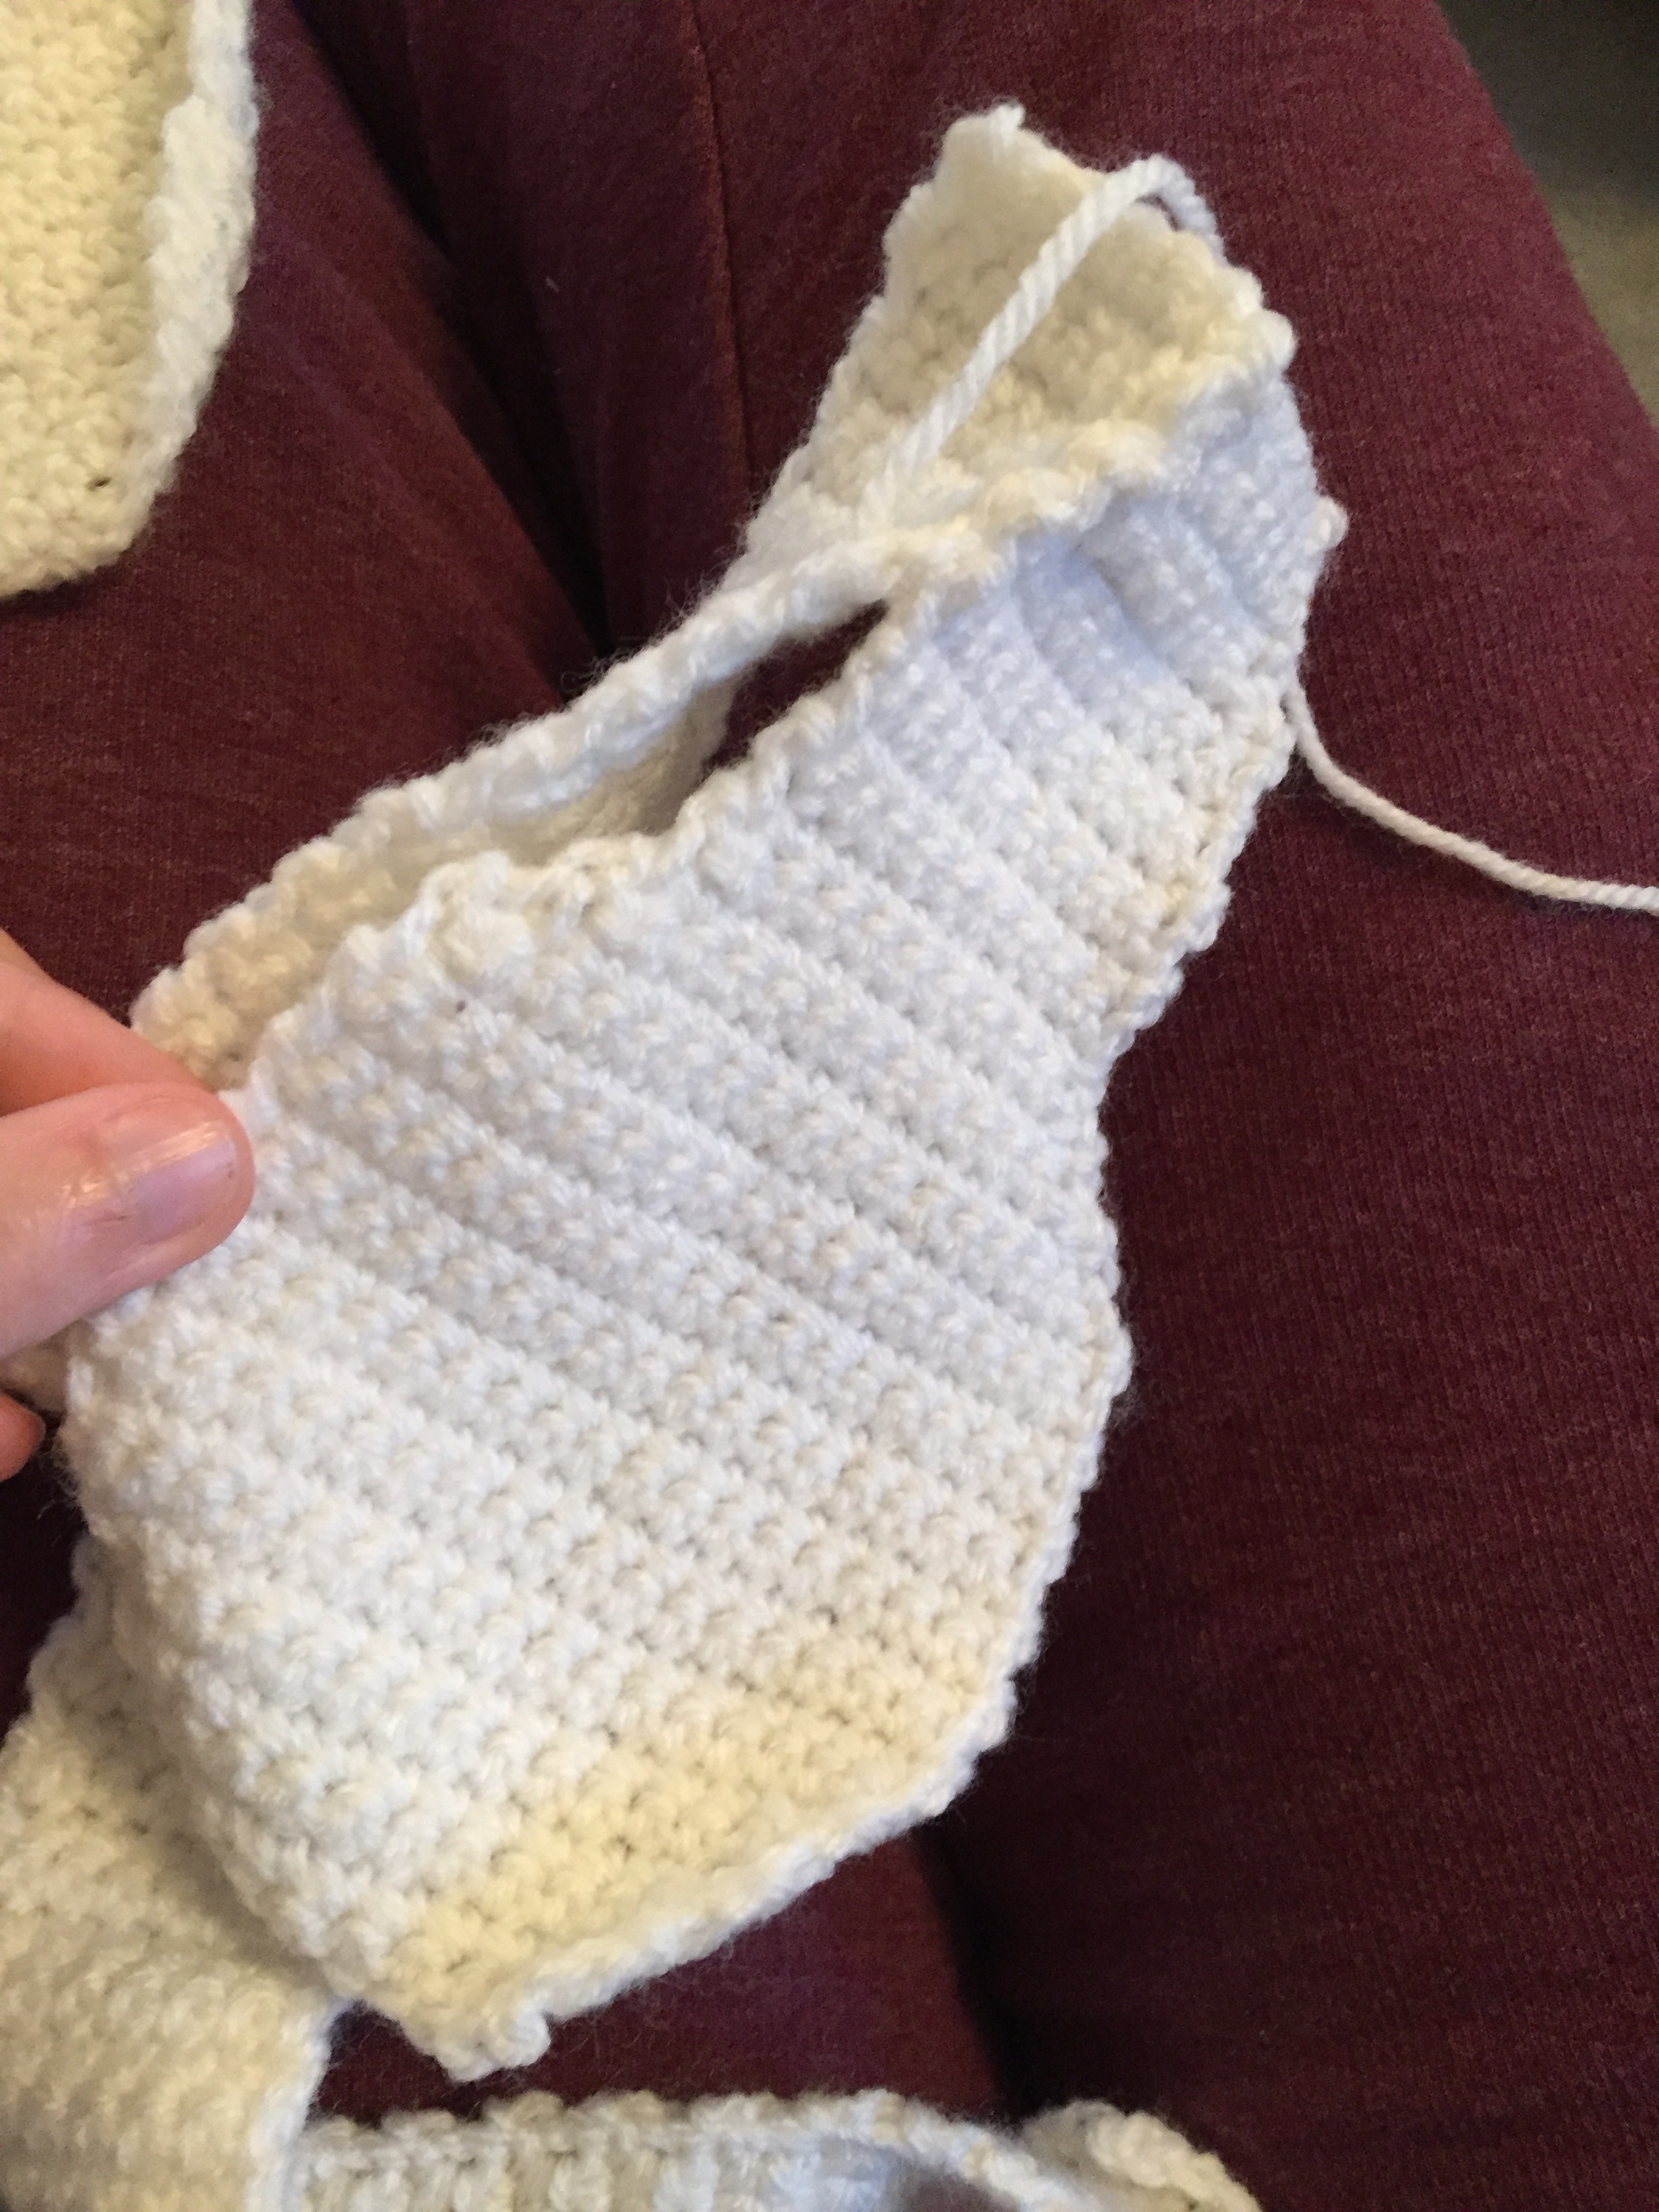
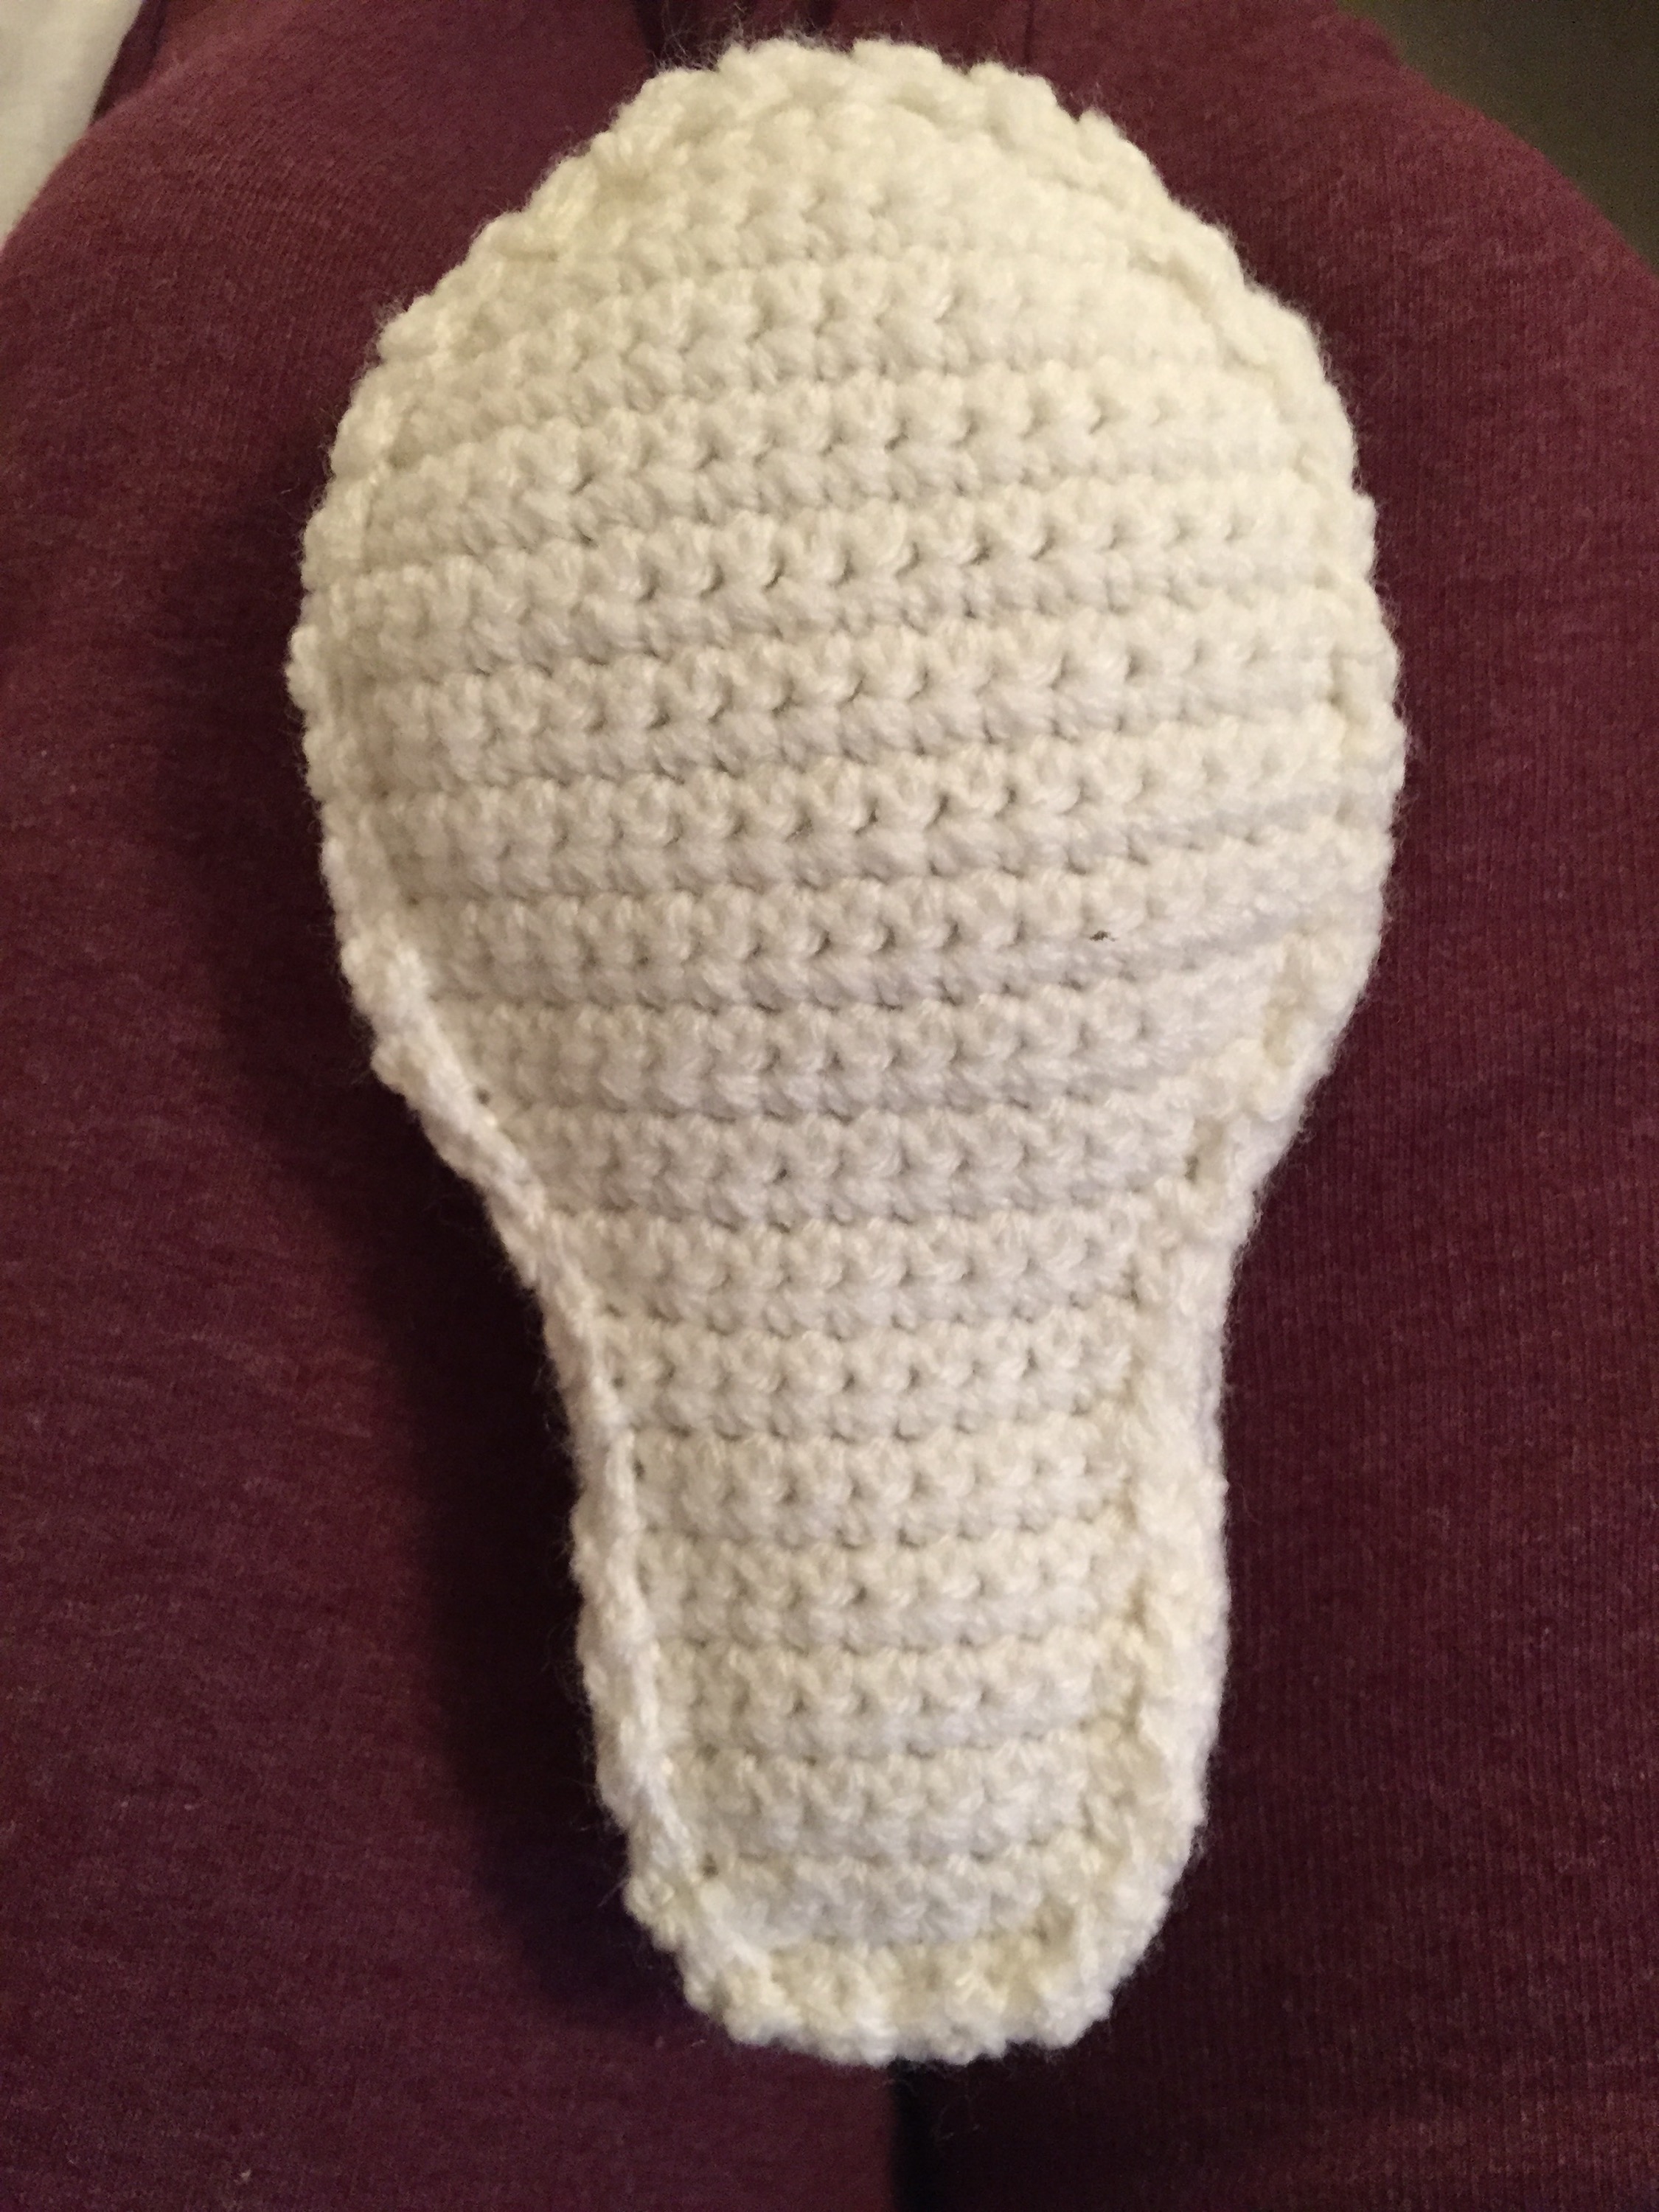
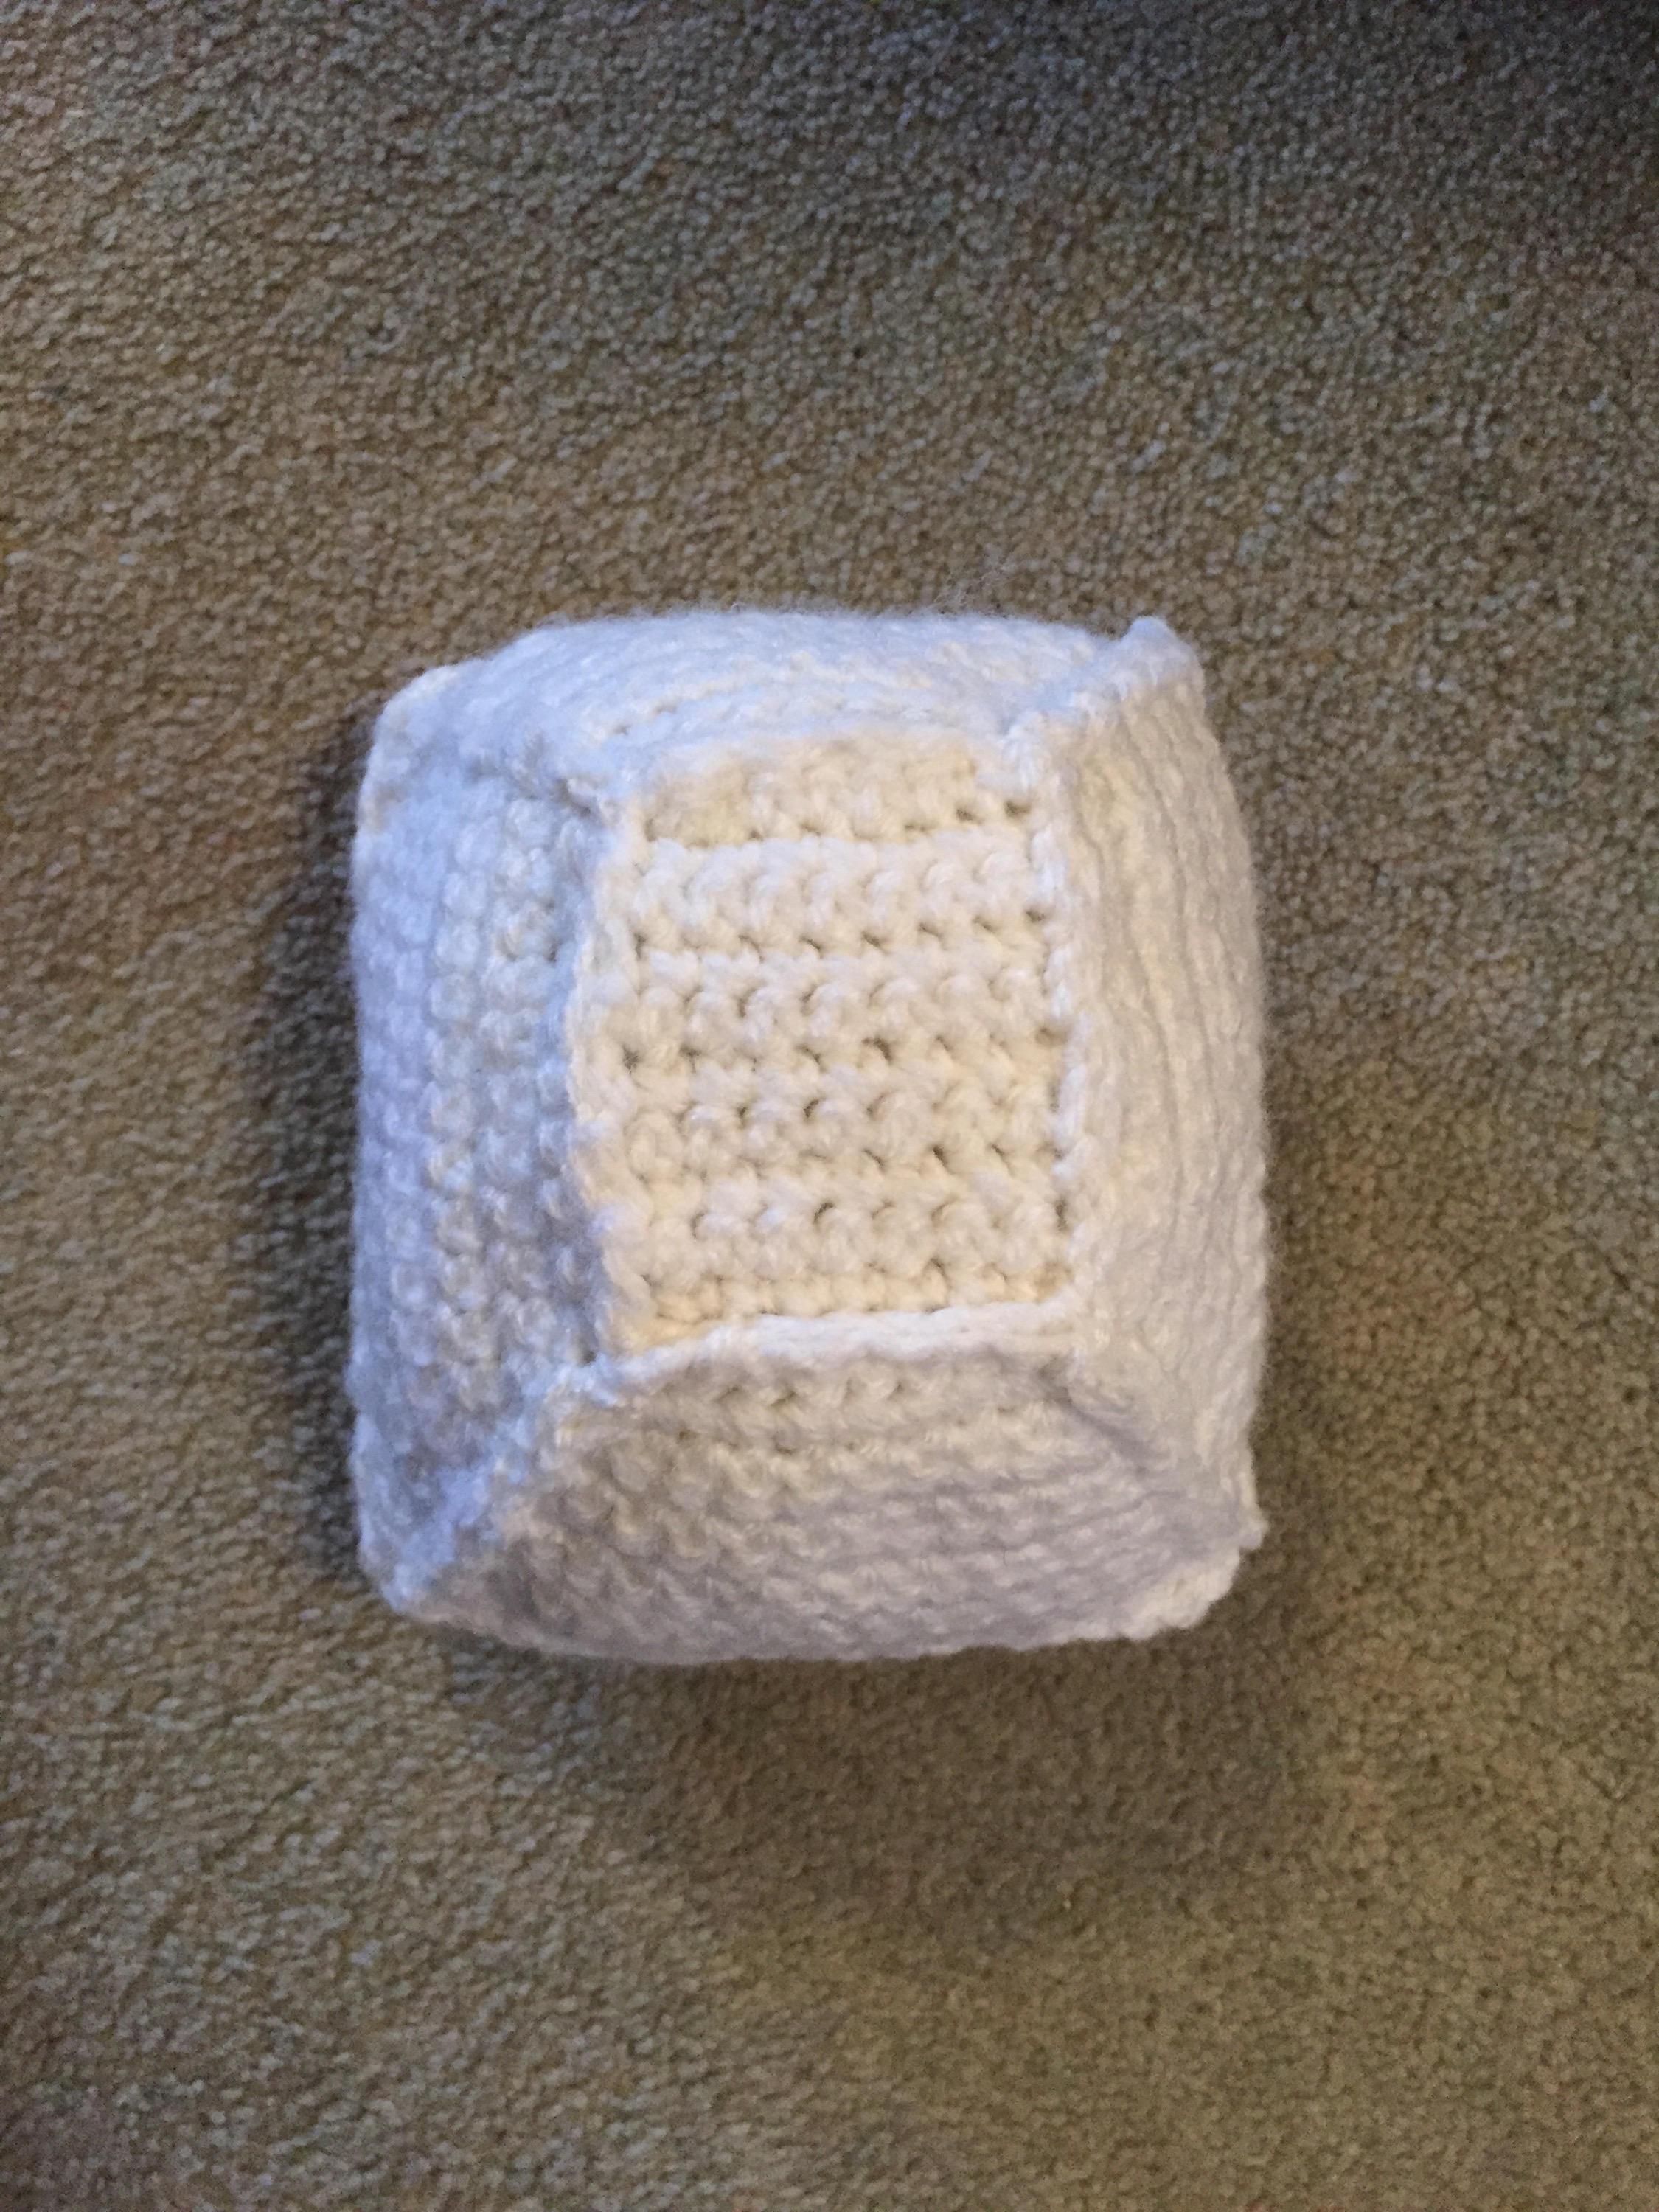
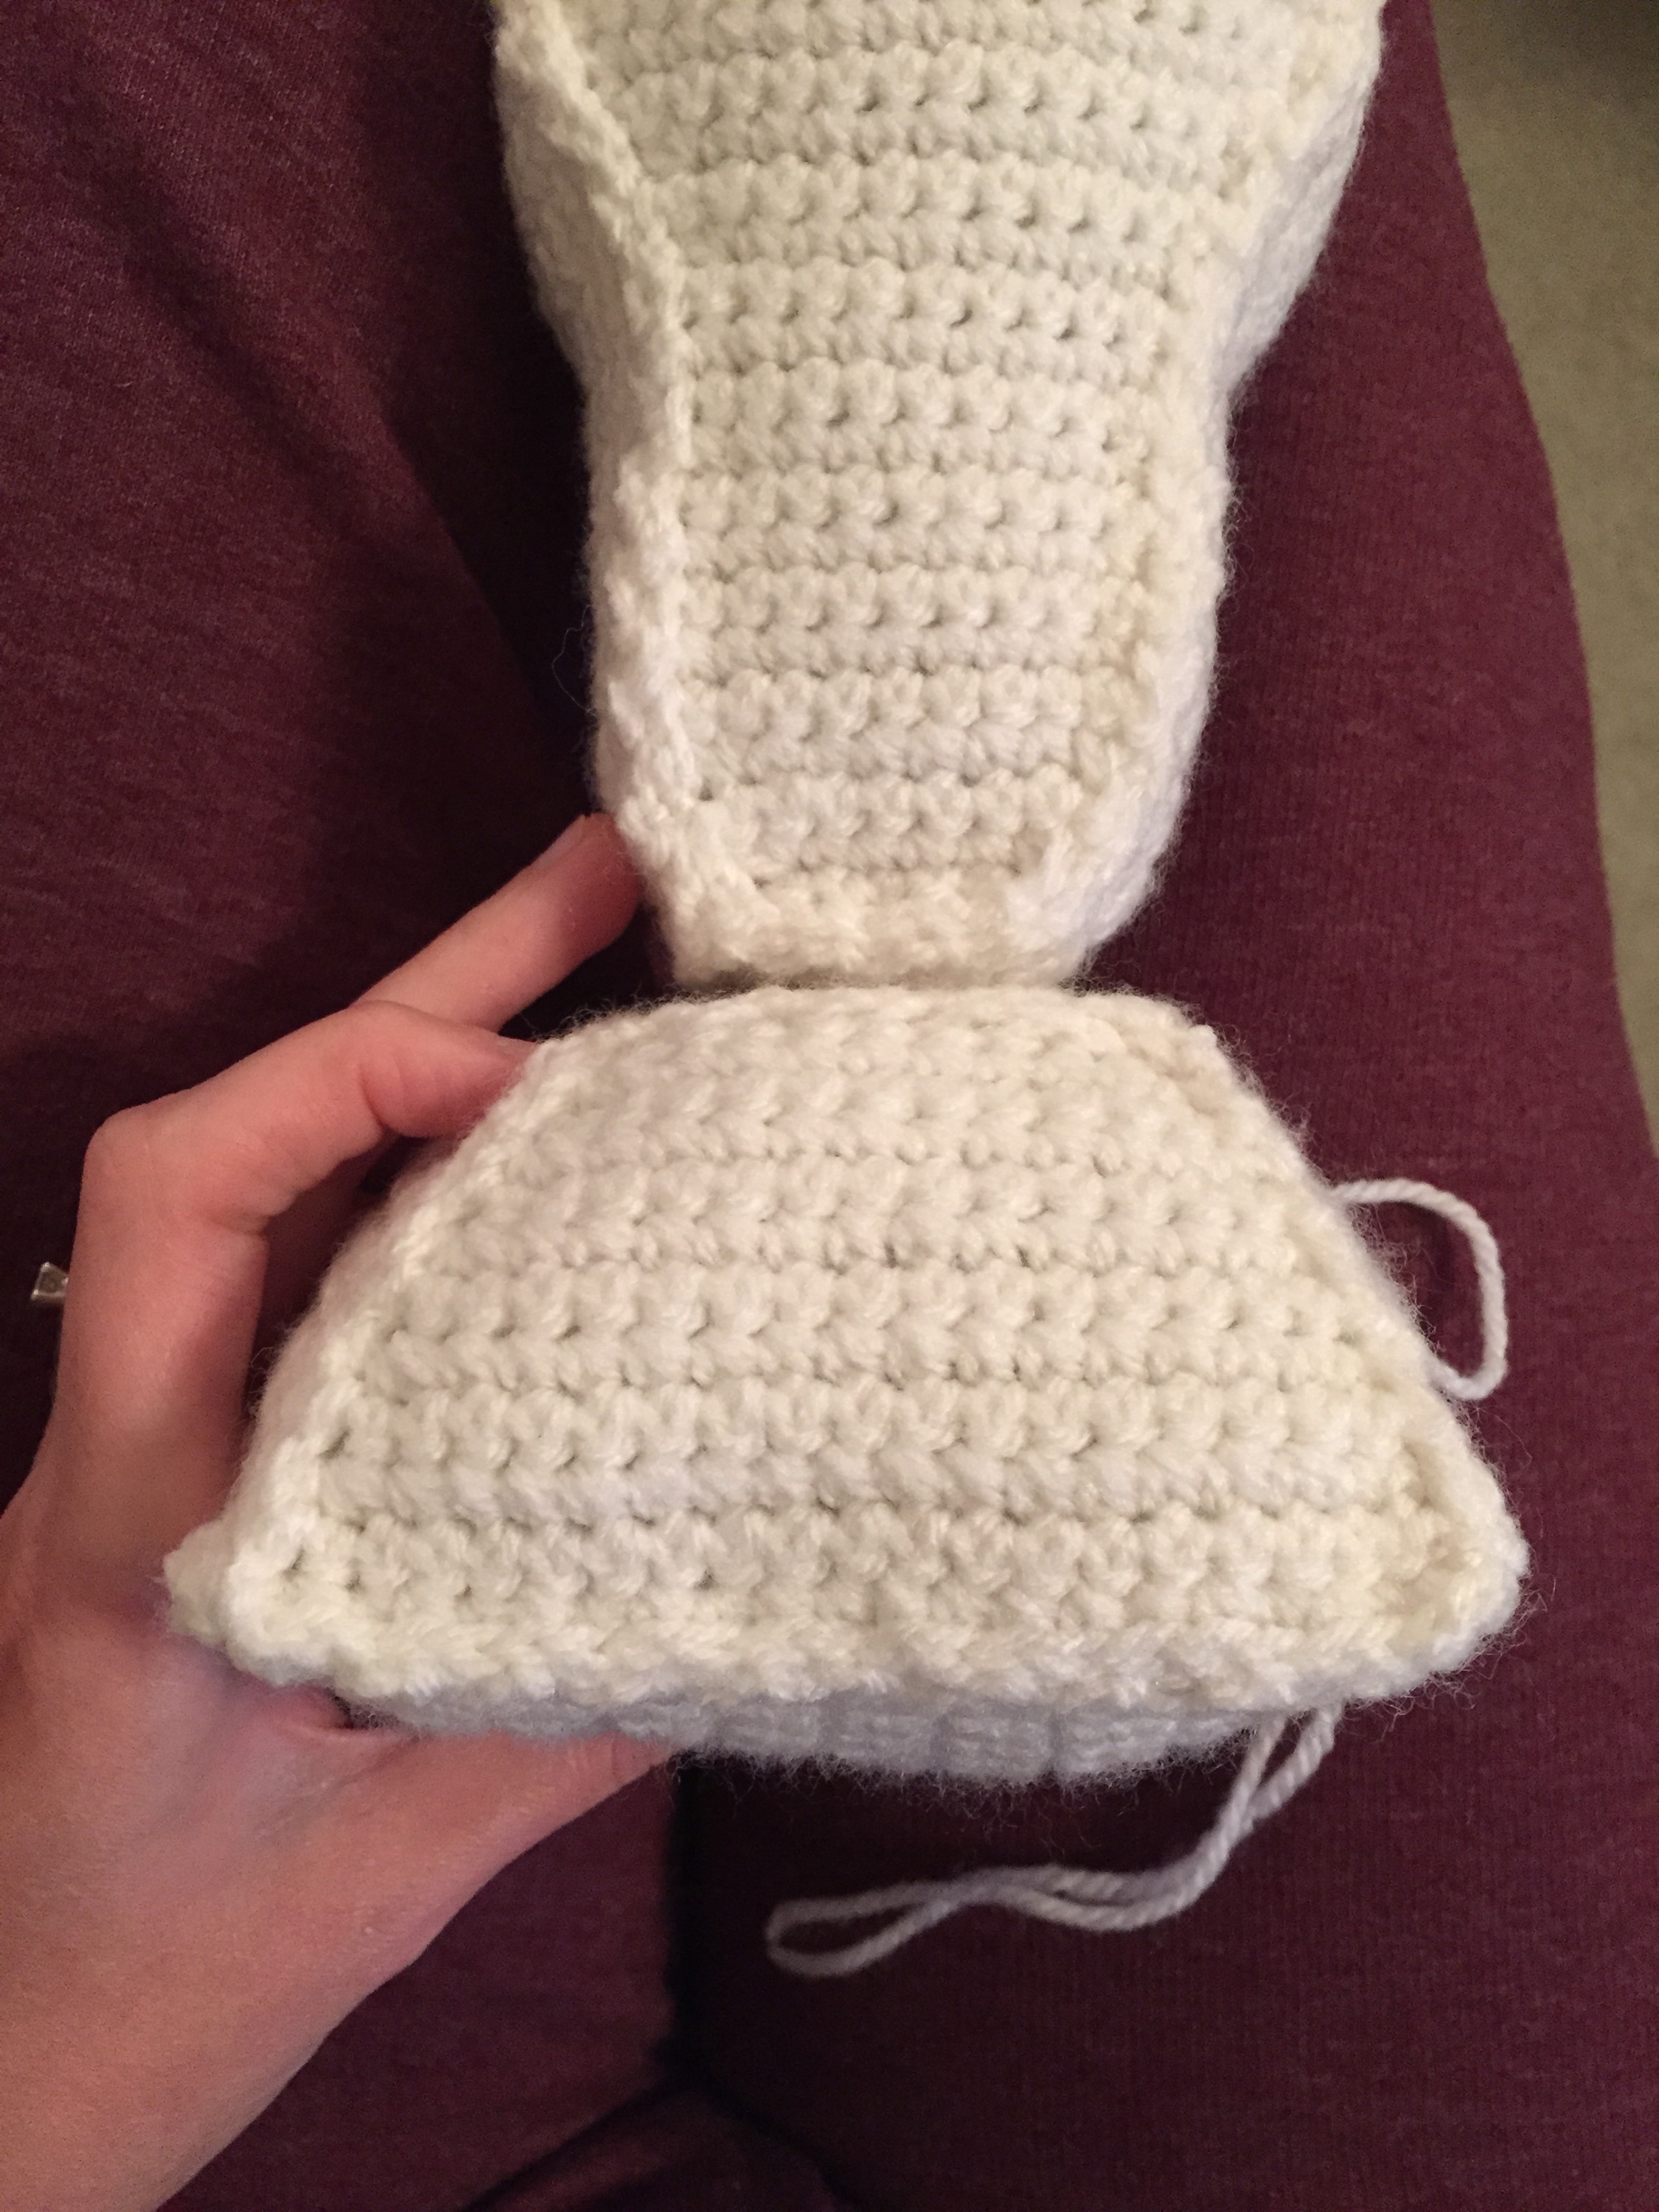
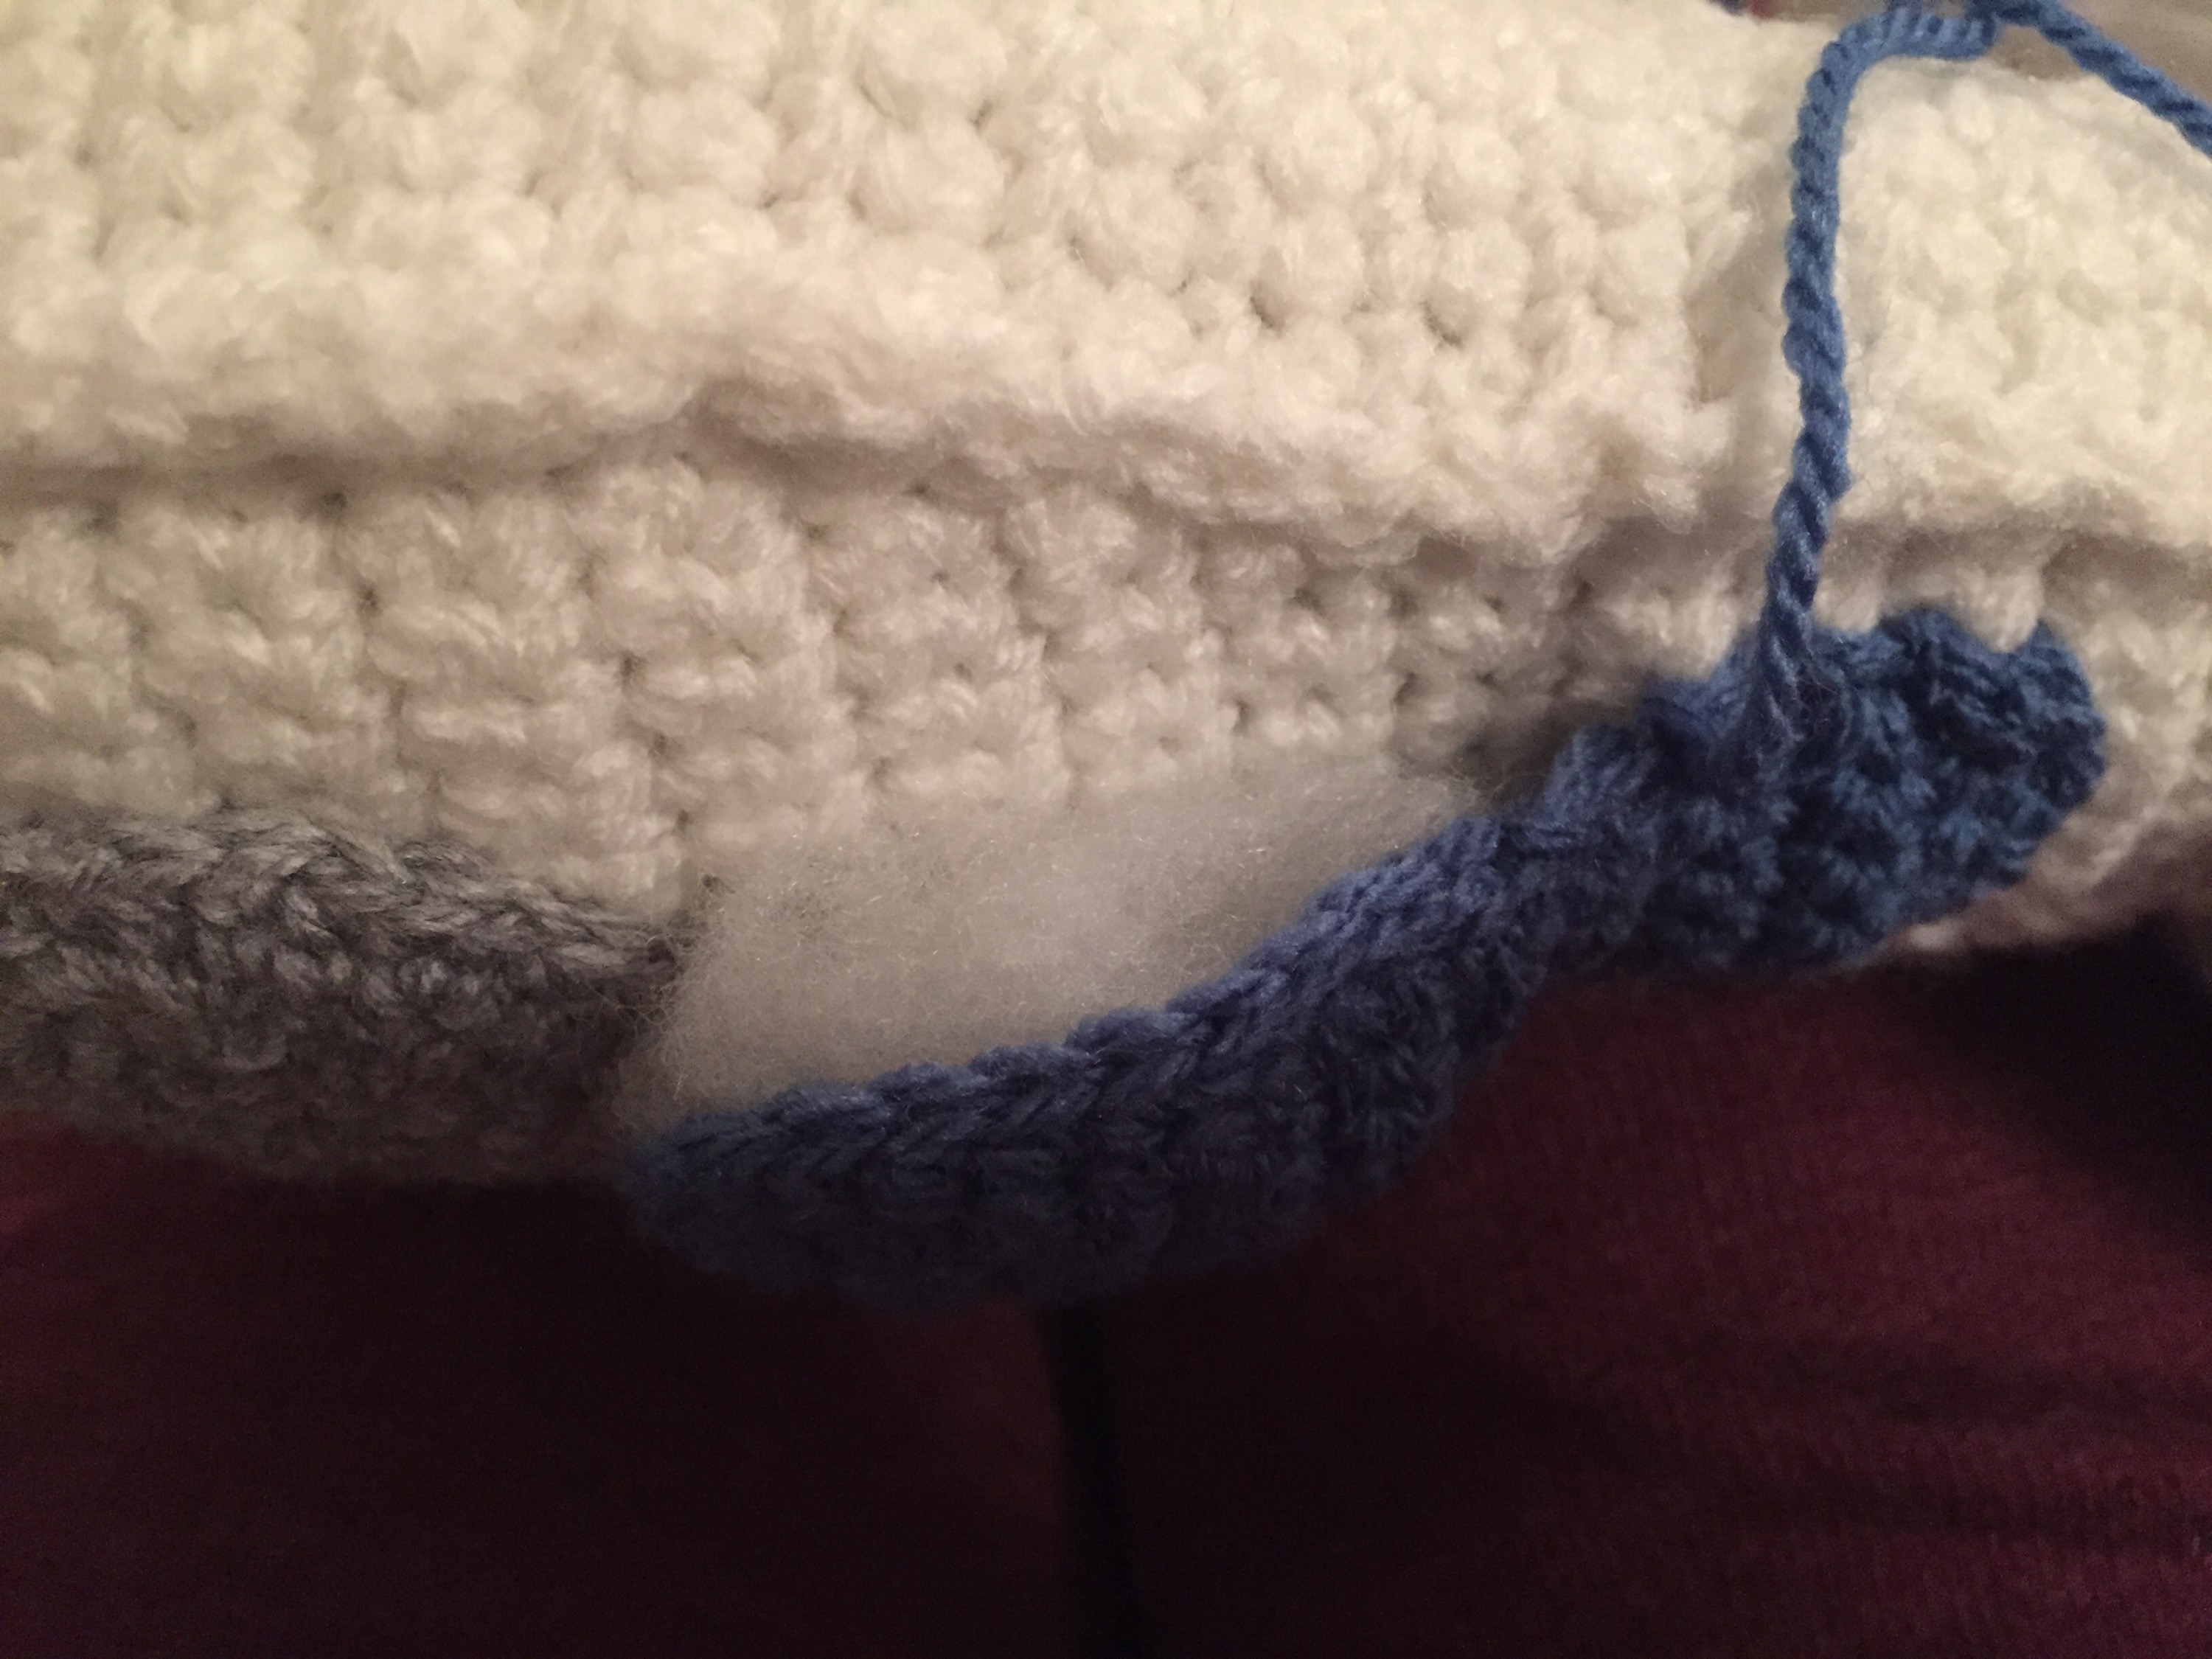
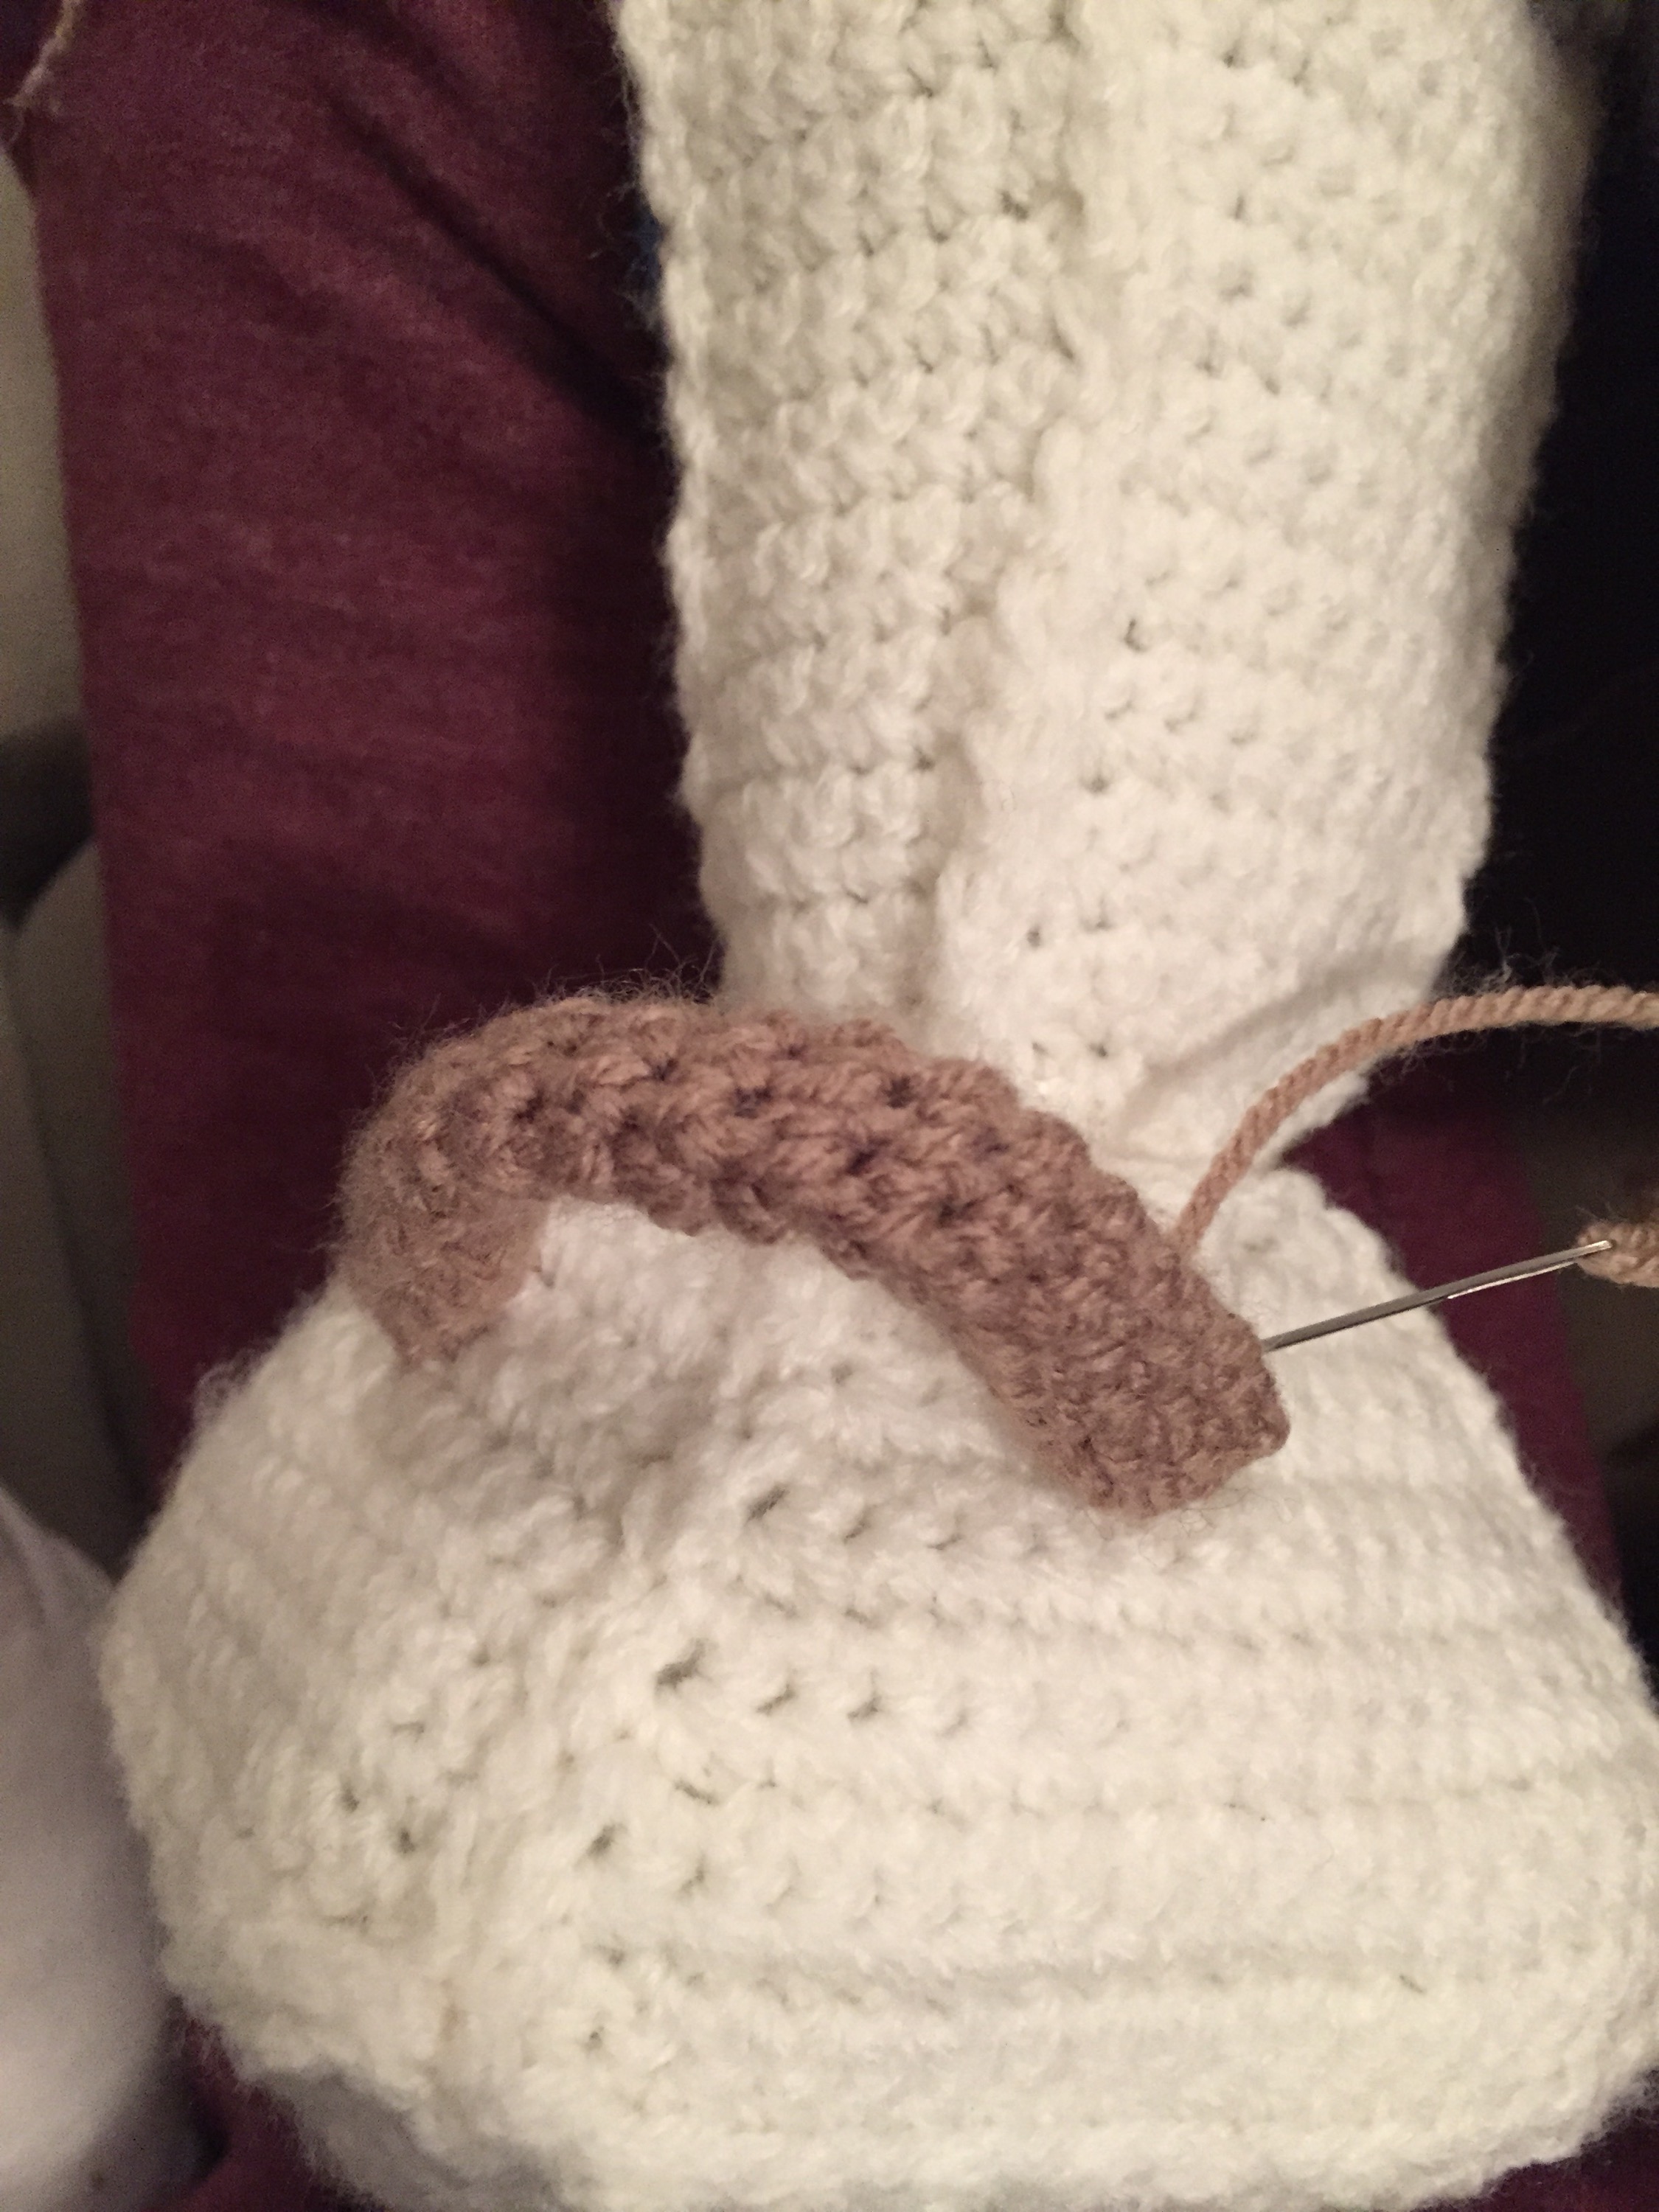
Next were the legs which I split into two sections, which actually came together easier than I thought! I had a similar problem with the head detailing on the body – the details differ widely depending on what picture you look at, again I decided to apply the detail which appeared most frequently. I know all the detailing I have done is not entirely accurate to the original, but I tried my best and don’t think I have done too badly with it.
I was quite impressed with how I managed to get it to work out, and all my hard work was definitely worth while – the look on my friends little ones face was priceless. He just couldn’t believe I had managed to make one for him, he was so happy with it and it now goes everywhere with him!
Wool – DK (I used women’s institute DK from Hobbycraft)
Crochet R2-D2 Pattern:
Materials:
- Cream 3x 100g balls.
- Black 100g ball.
- Blue 100g ball.
- Red – few leftover lengths.
- Biscuit brown – few leftover lengths.
- 4mm hook.
Size:
Length (top of head to bottom of feet) – 37cm.
Width (leg to leg) – 34cm.
Head and body:
In grey:
Make a magic ring, ch1, 8sc into ring.
Round 1: 2sc into each stitch.
Round 2: 2sc into same stitch, sc. Repeat around.
Round 3: 2sc into same stitch, 2sc. Repeat around.
Round 4: 2sc into same stitch, 3sc. Repeat around.
Round 5: sc around.
Round 6: 2sc into same stitch, 4sc. Repeat around.
Round 7: 2sc into same stitch, 5sc. Repeat around.
Round 8: sc around.
Round 9: 2sc into same stitch, 6sc. Repeat around.
Round 10: sc around.
Round 11: 2sc into same stitch, 7sc. Repeat around.
Round 12: 2sc into same stitch, 8sc. Repeat around.
Round 13: sc around.
Round 14: 2sc into same stitch, 9sc. Repeat around.
Round 15: sc around.
Round 16: 2sc into same stitch, 10sc. Repeat around.
Round 17-30: sc around.
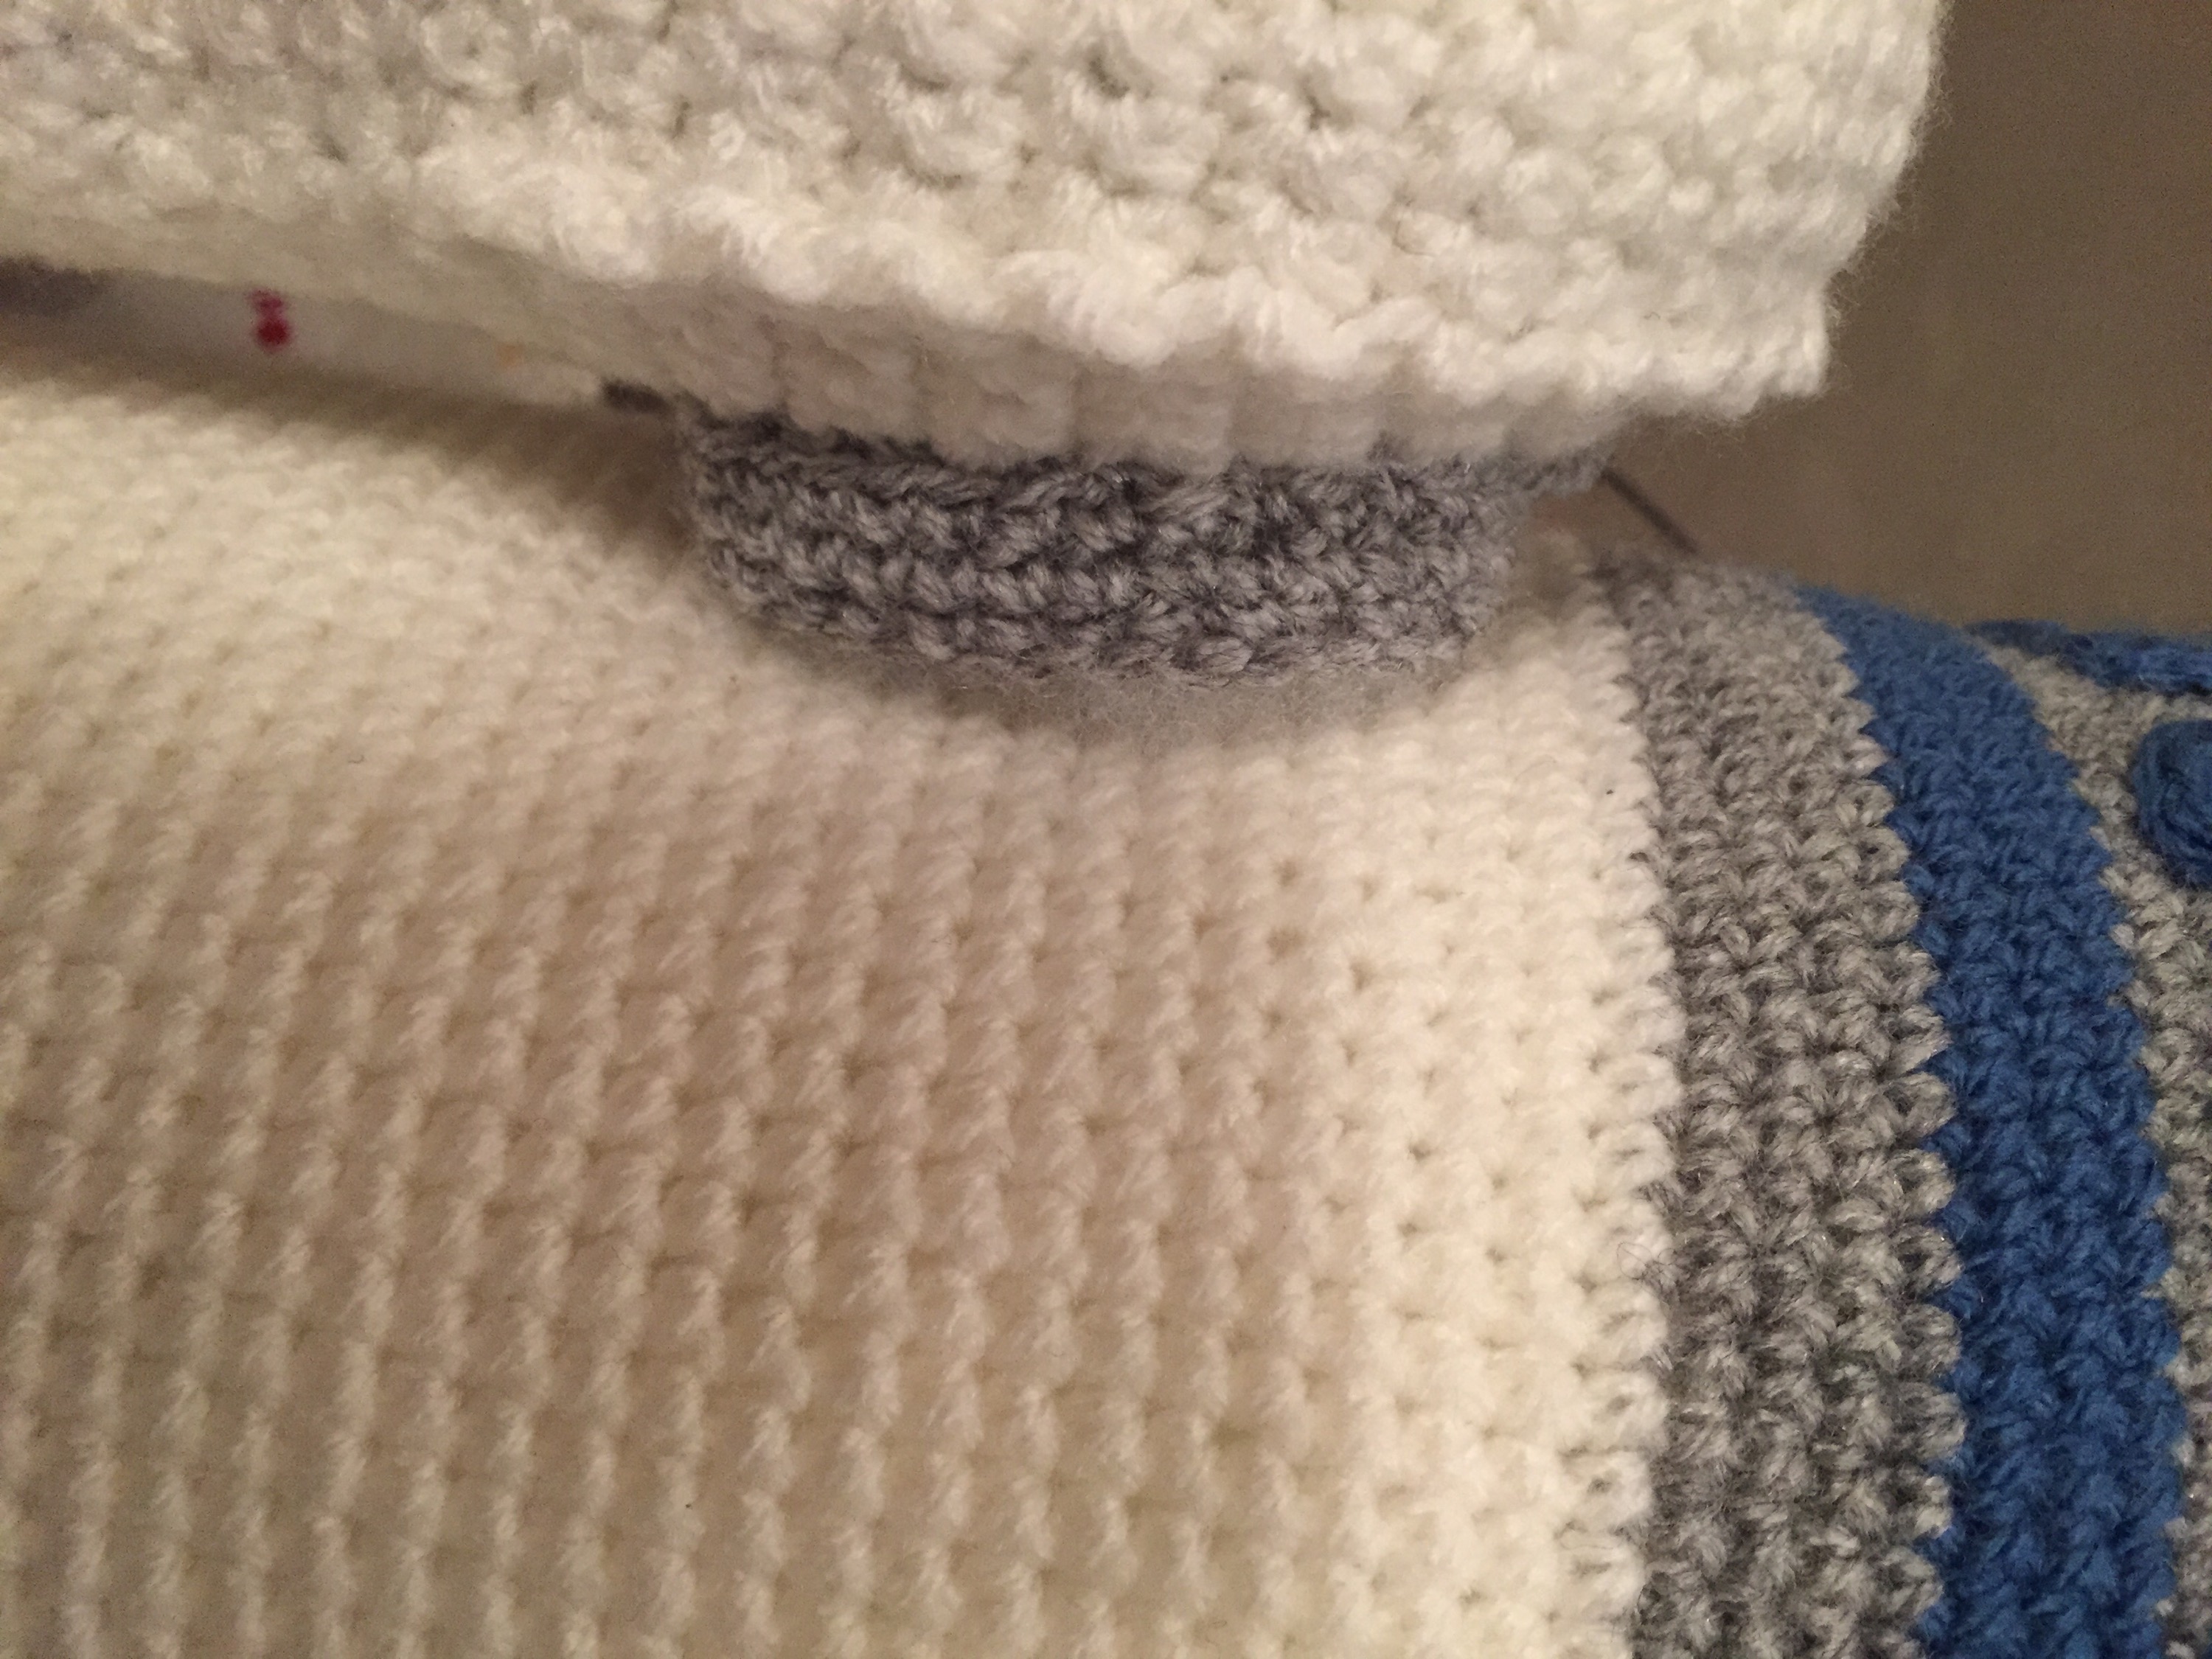
Change to blue:
Round 31-33: sc around.
Change to grey:
Round 34-37: sc around.
Change to off white:
Round 38-40: sc around.
Round 41: 10sc, sc2tog. Repeat around.
Round 42-73: sc around.
Round 74: in back loops only, sc2tog, 9sc. Repeat around.
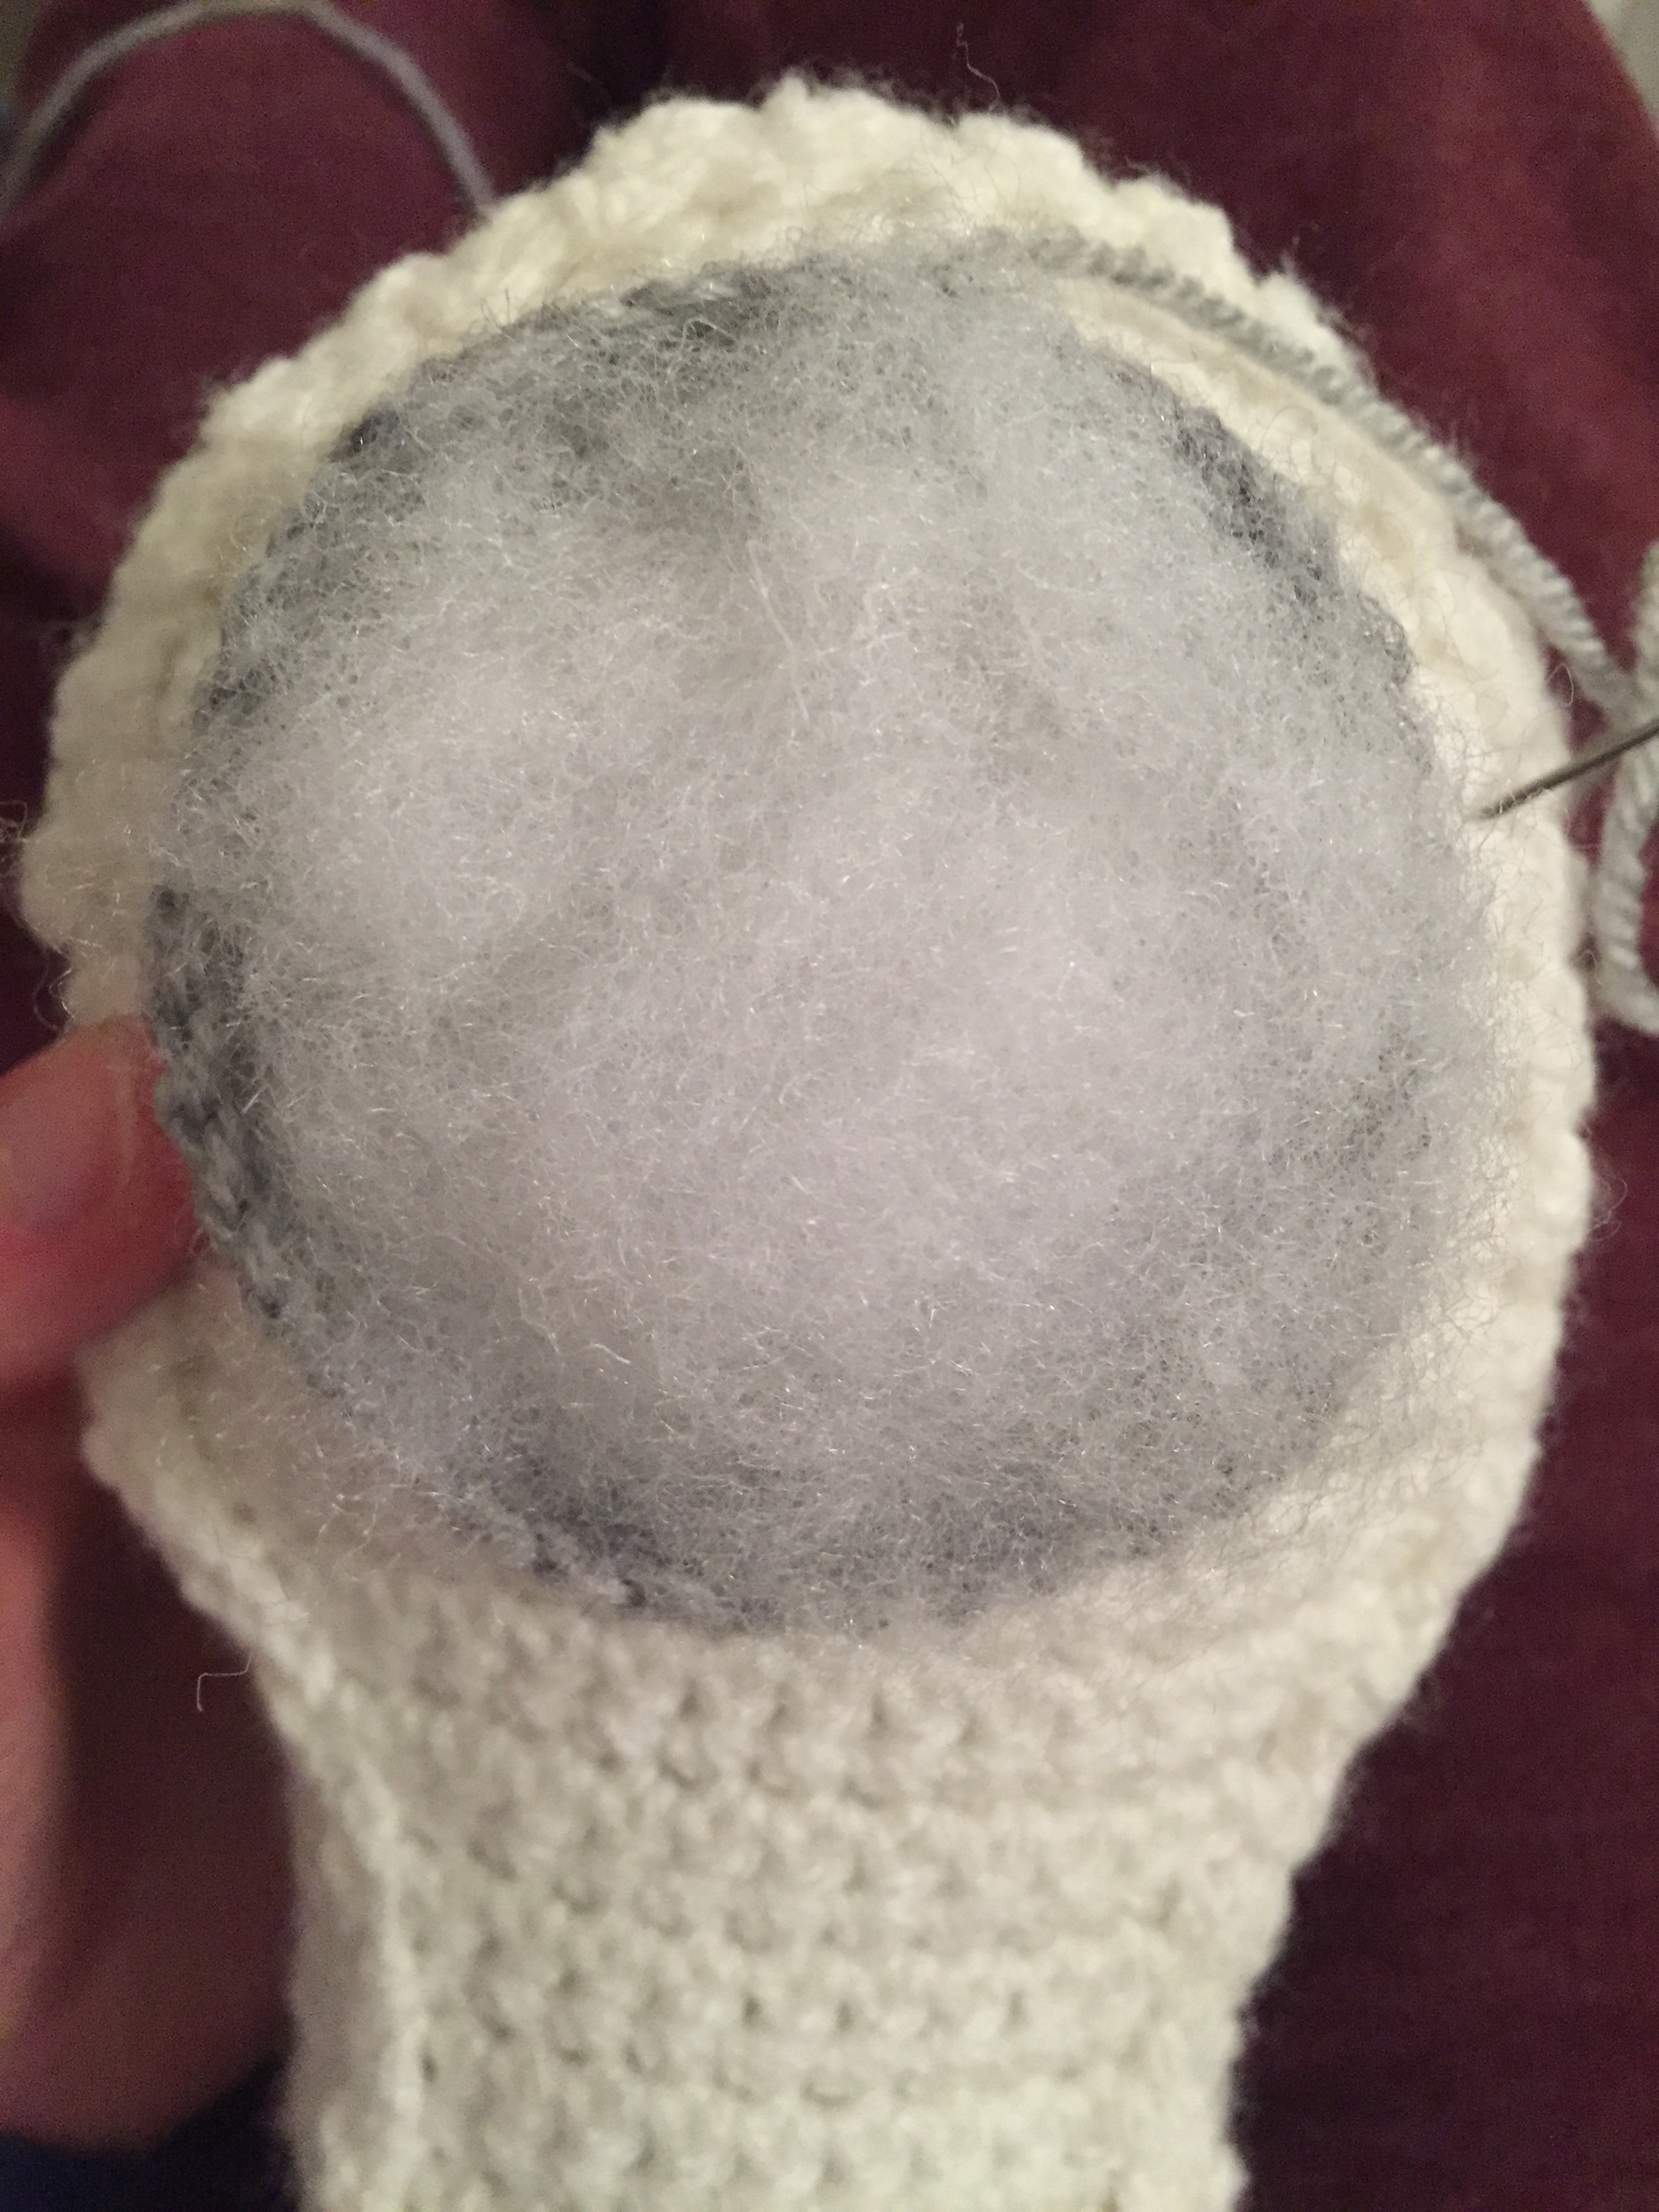
Stuff body, leaving an inch or so empty at the top to stuff in a few rows time.
Round 75: sc2tog, 8sc. Repeat around.
Round 76: sc2tog, 7sc. Repeat around.
Round 77: sc2tog, 6sc. Repeat around.
Round 78: sc2tog, 5sc. Repeat around.
Round 79: sc2tog, 4sc. Repeat around.
Round 80: sc2tog, 3sc. Repeat around.
Round 81: sc2tog, 2sc. Repeat around.
Stuff the rest of the body.
Round 82: sc2tog, sc. Repeat around.
Round 83-84: sc2tog, sc. Repeat around.
Do one final sc2tog and fasten off.
Head Details:
Blue top circle:
In blue:
Make a magic ring, ch1, 8sc into ring.
Round 1: 2sc into each sc.
Round 2: 2sc into same stitch, sc. Repeat around.
Round 3: 2sc into same stitch, 2sc. Repeat around.
Fasten off, leaving long thread to attach.
Sew onto top of the head in the centre.
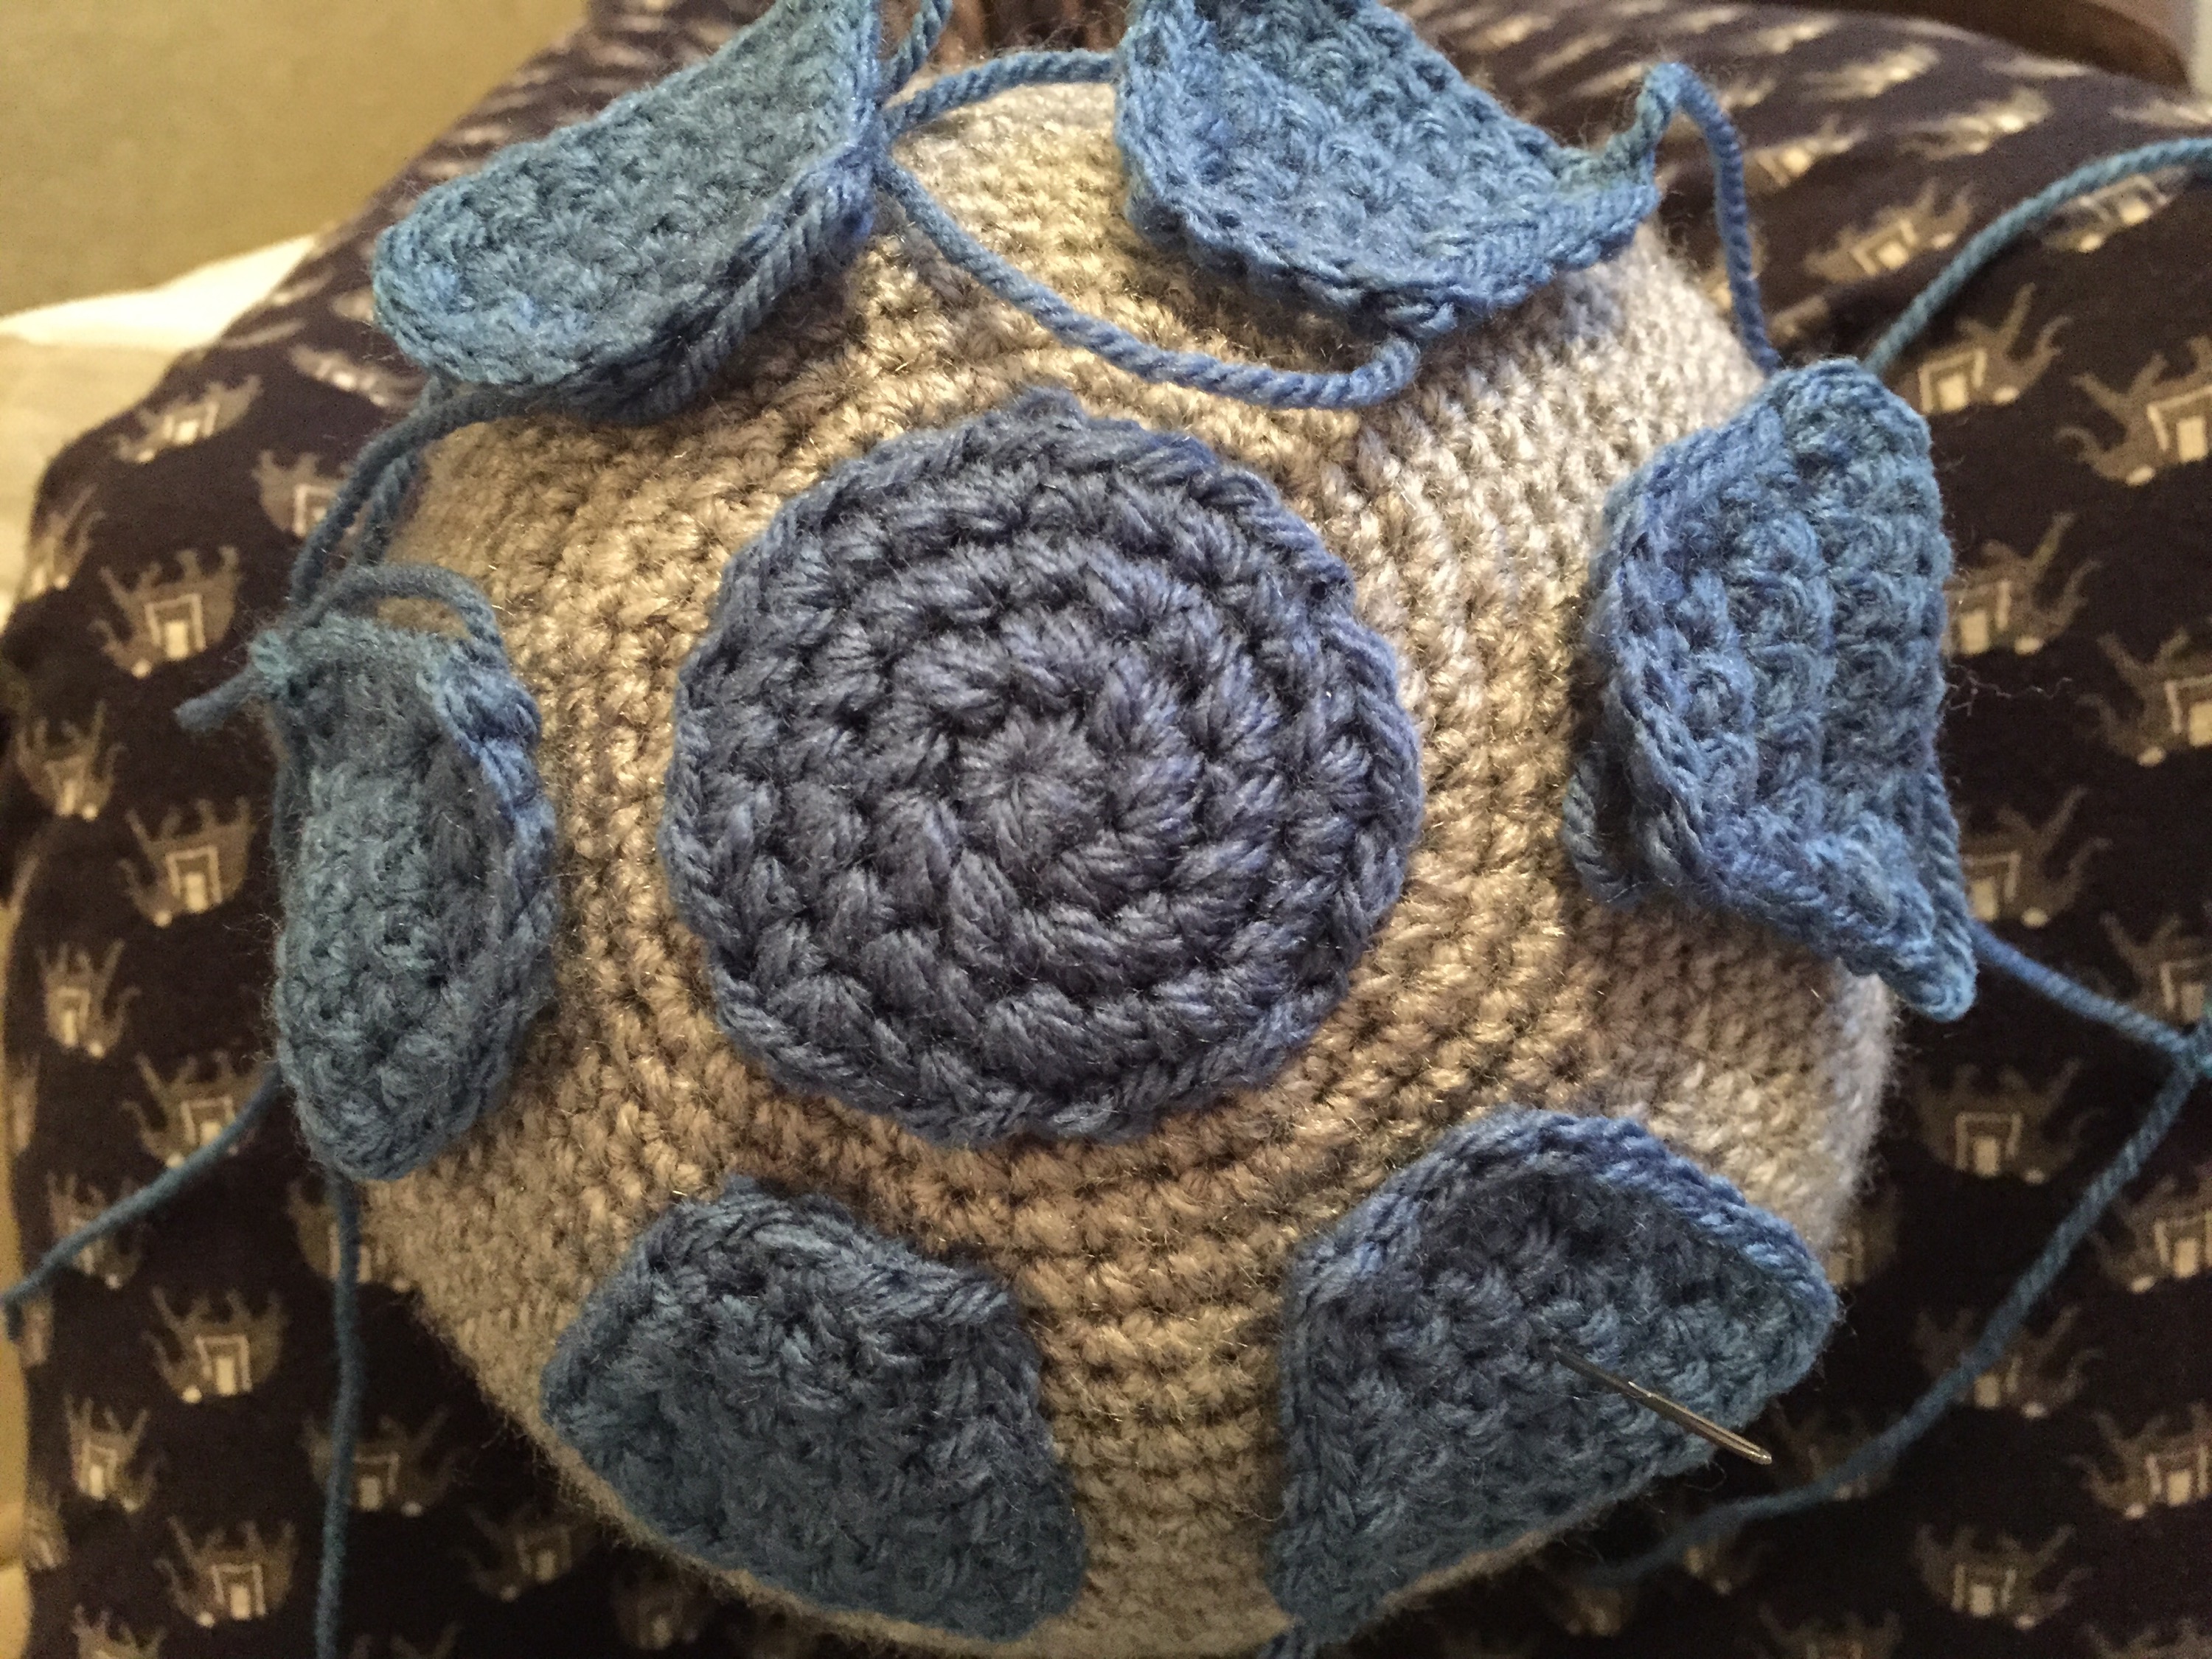
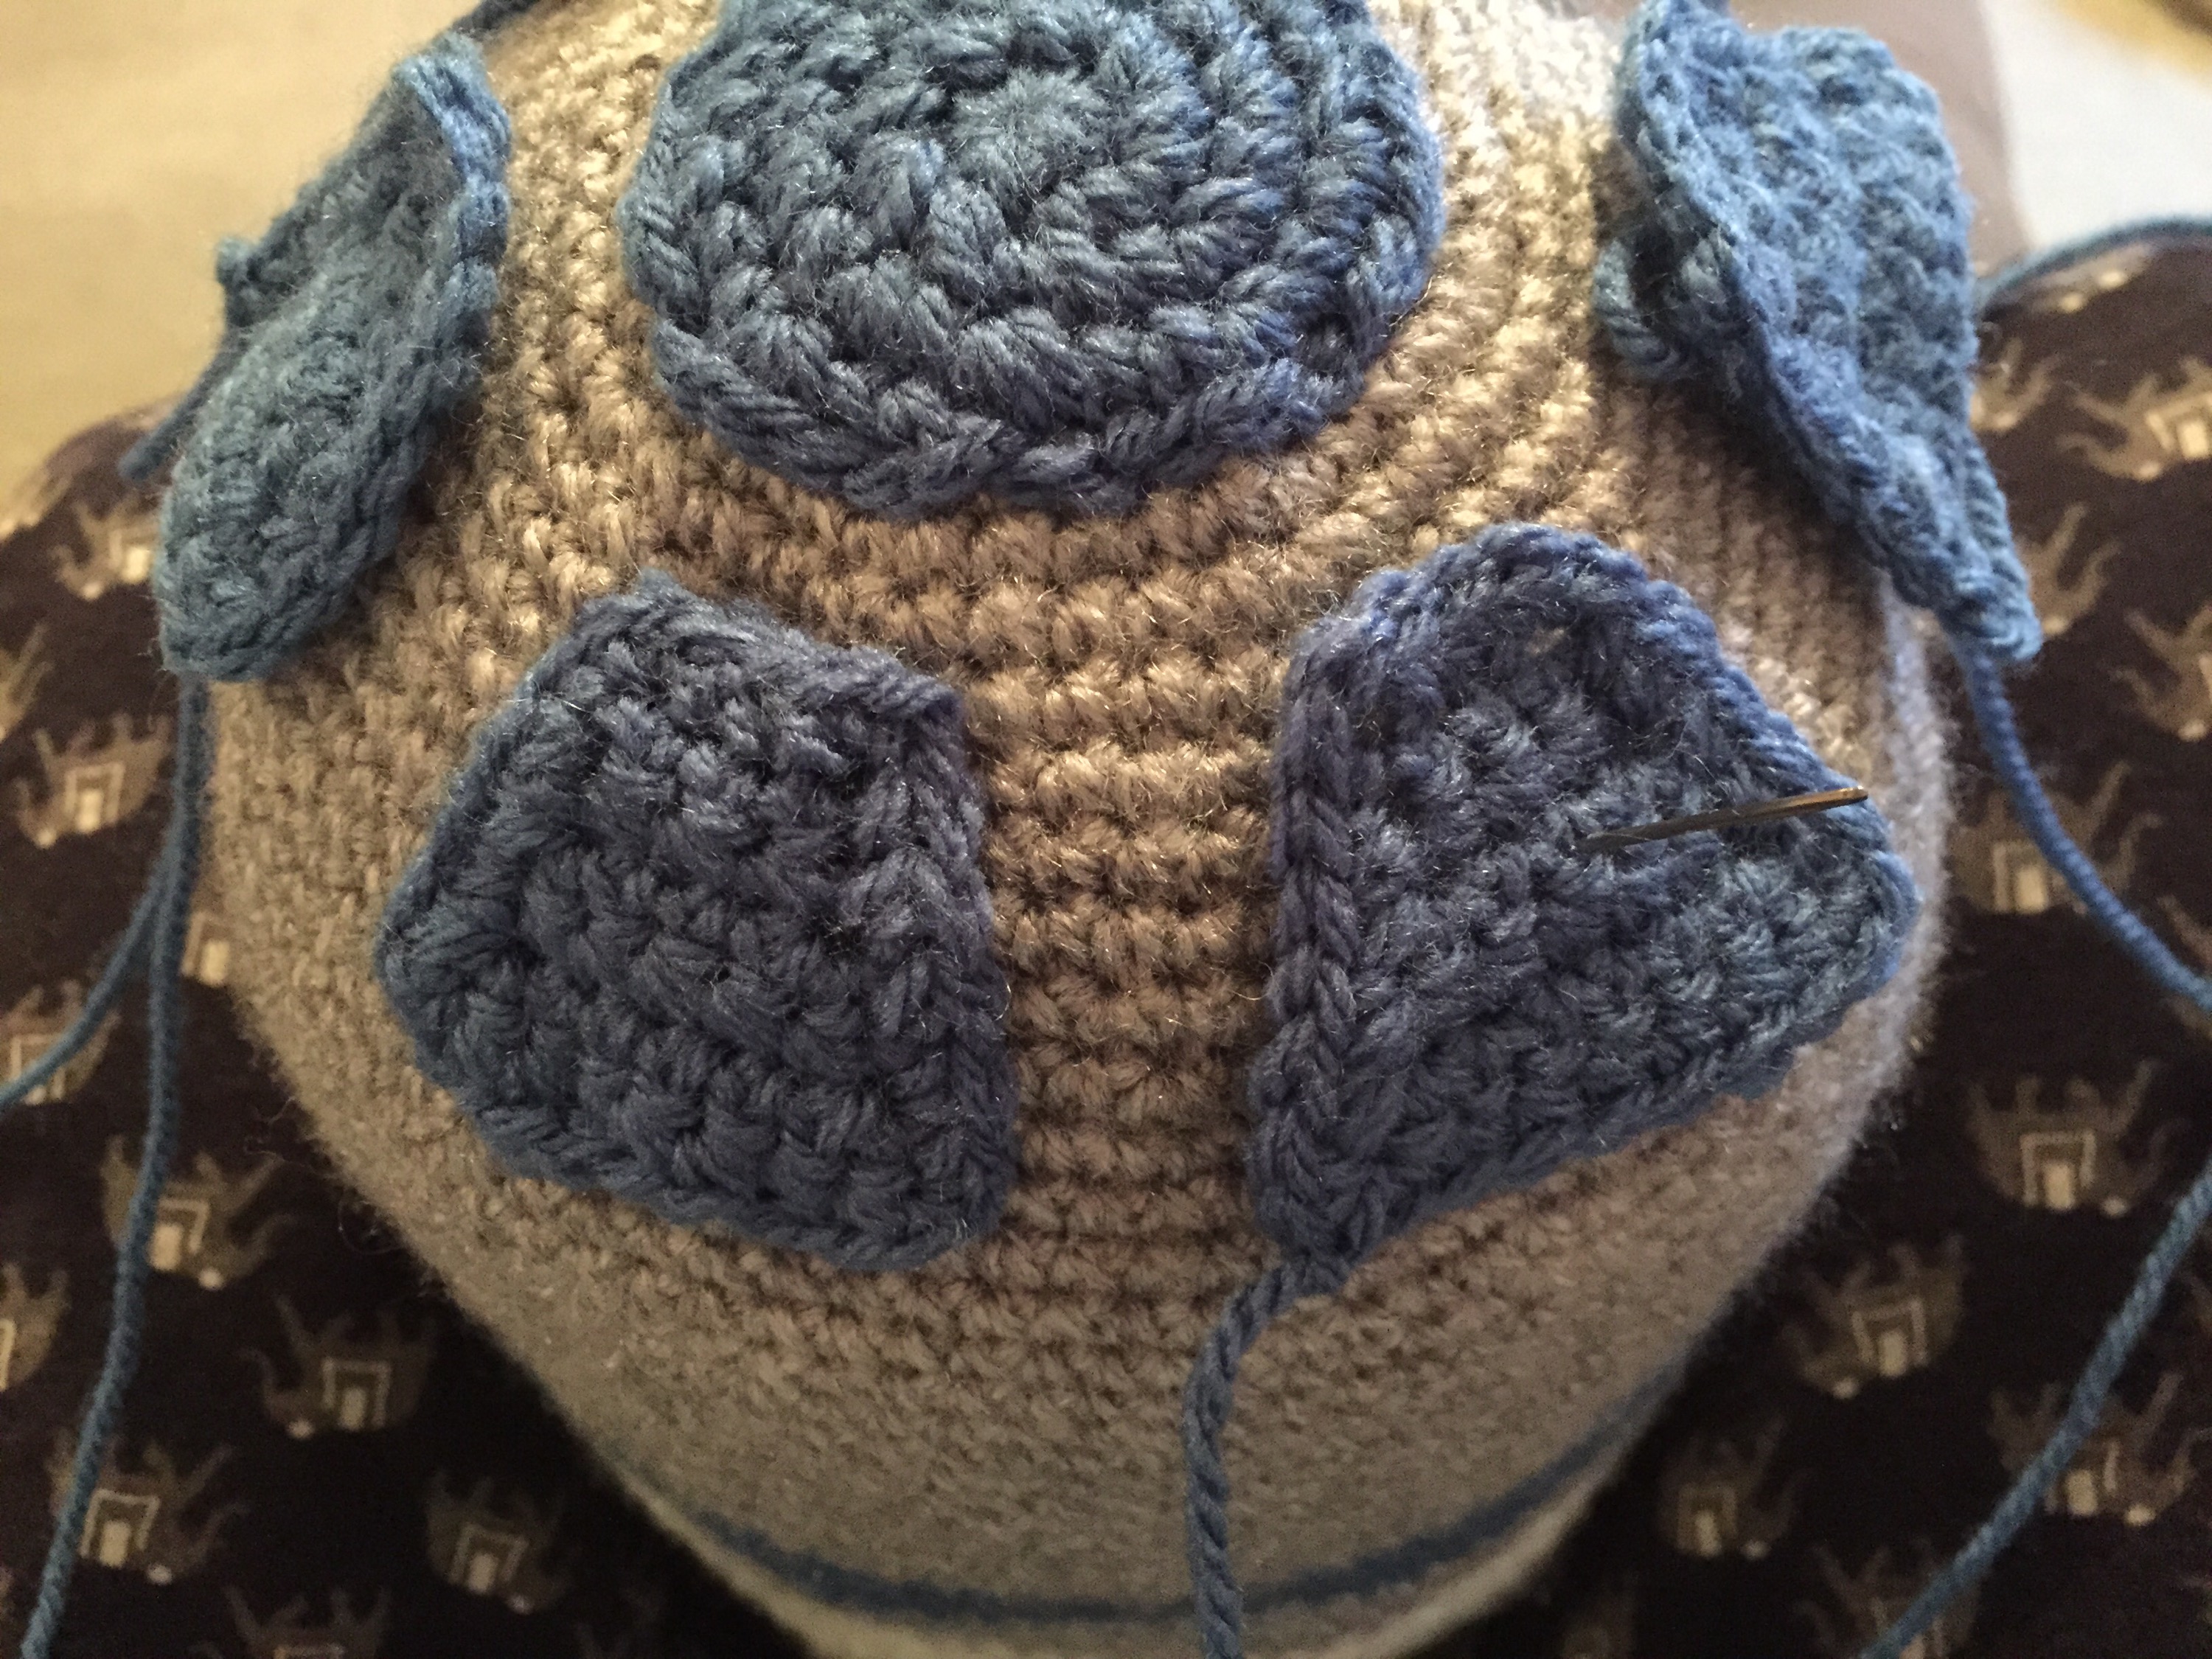
Blue side shapes (around under the top circle):
Make 6 of these, in blue:
ch5.
Row 1: sc into 2nd ch from hook, sc along row.
Row 2: ch1 (doesn’t count as a stitch) sc along row.
Row 3: ch1 (doesn’t count as a stitch) 2sc into same stitch, 2sc, 2sc into same stitch.
Row 4: ch1 (doesn’t count as a stitch) sc along row.
Row 5: ch1 (doesn’t count as a stitch) 2sc into same stitch, 4sc, 2sc into same stitch.
Row 6: ch1 (doesn’t count as a stitch) sc along row, and continue to school all the way around the edge, putting 2sc into each corner, slip stitch into first sc to fasten off.
Sew on to the body 3 rows down from the blue circle leaving a gap of 4sc between each one.
Front Camera:
Blue square part:
In blue:
ch8.
Row 1: sc into 2nd ch from hook, sc rest of row.
Row 2-7: ch1 (doesn’t count as a stitch) sc along row.
Now working in rounds around the edge:
Round 1: ch1 (doesn’t count as a stitch) sc around all four edges, slip stitch into top of the first ch1.
Round 2: ch1 (doesn’t count as a stitch) working into back loops only, sc around all four edges, slip stitch into top of the first ch1.
Fasten off leaving long thread to attach.
Black round camera part:
In black:
Make a magic ring, ch1, 6sc into ring.
Round 1: 2sc into each stitch.
Fasten off leaving long thread to attach.
Place small amount of stuffing into blue square and place and sew onto front of the head in the middle, then sew black round piece on to the middle of the blue square.
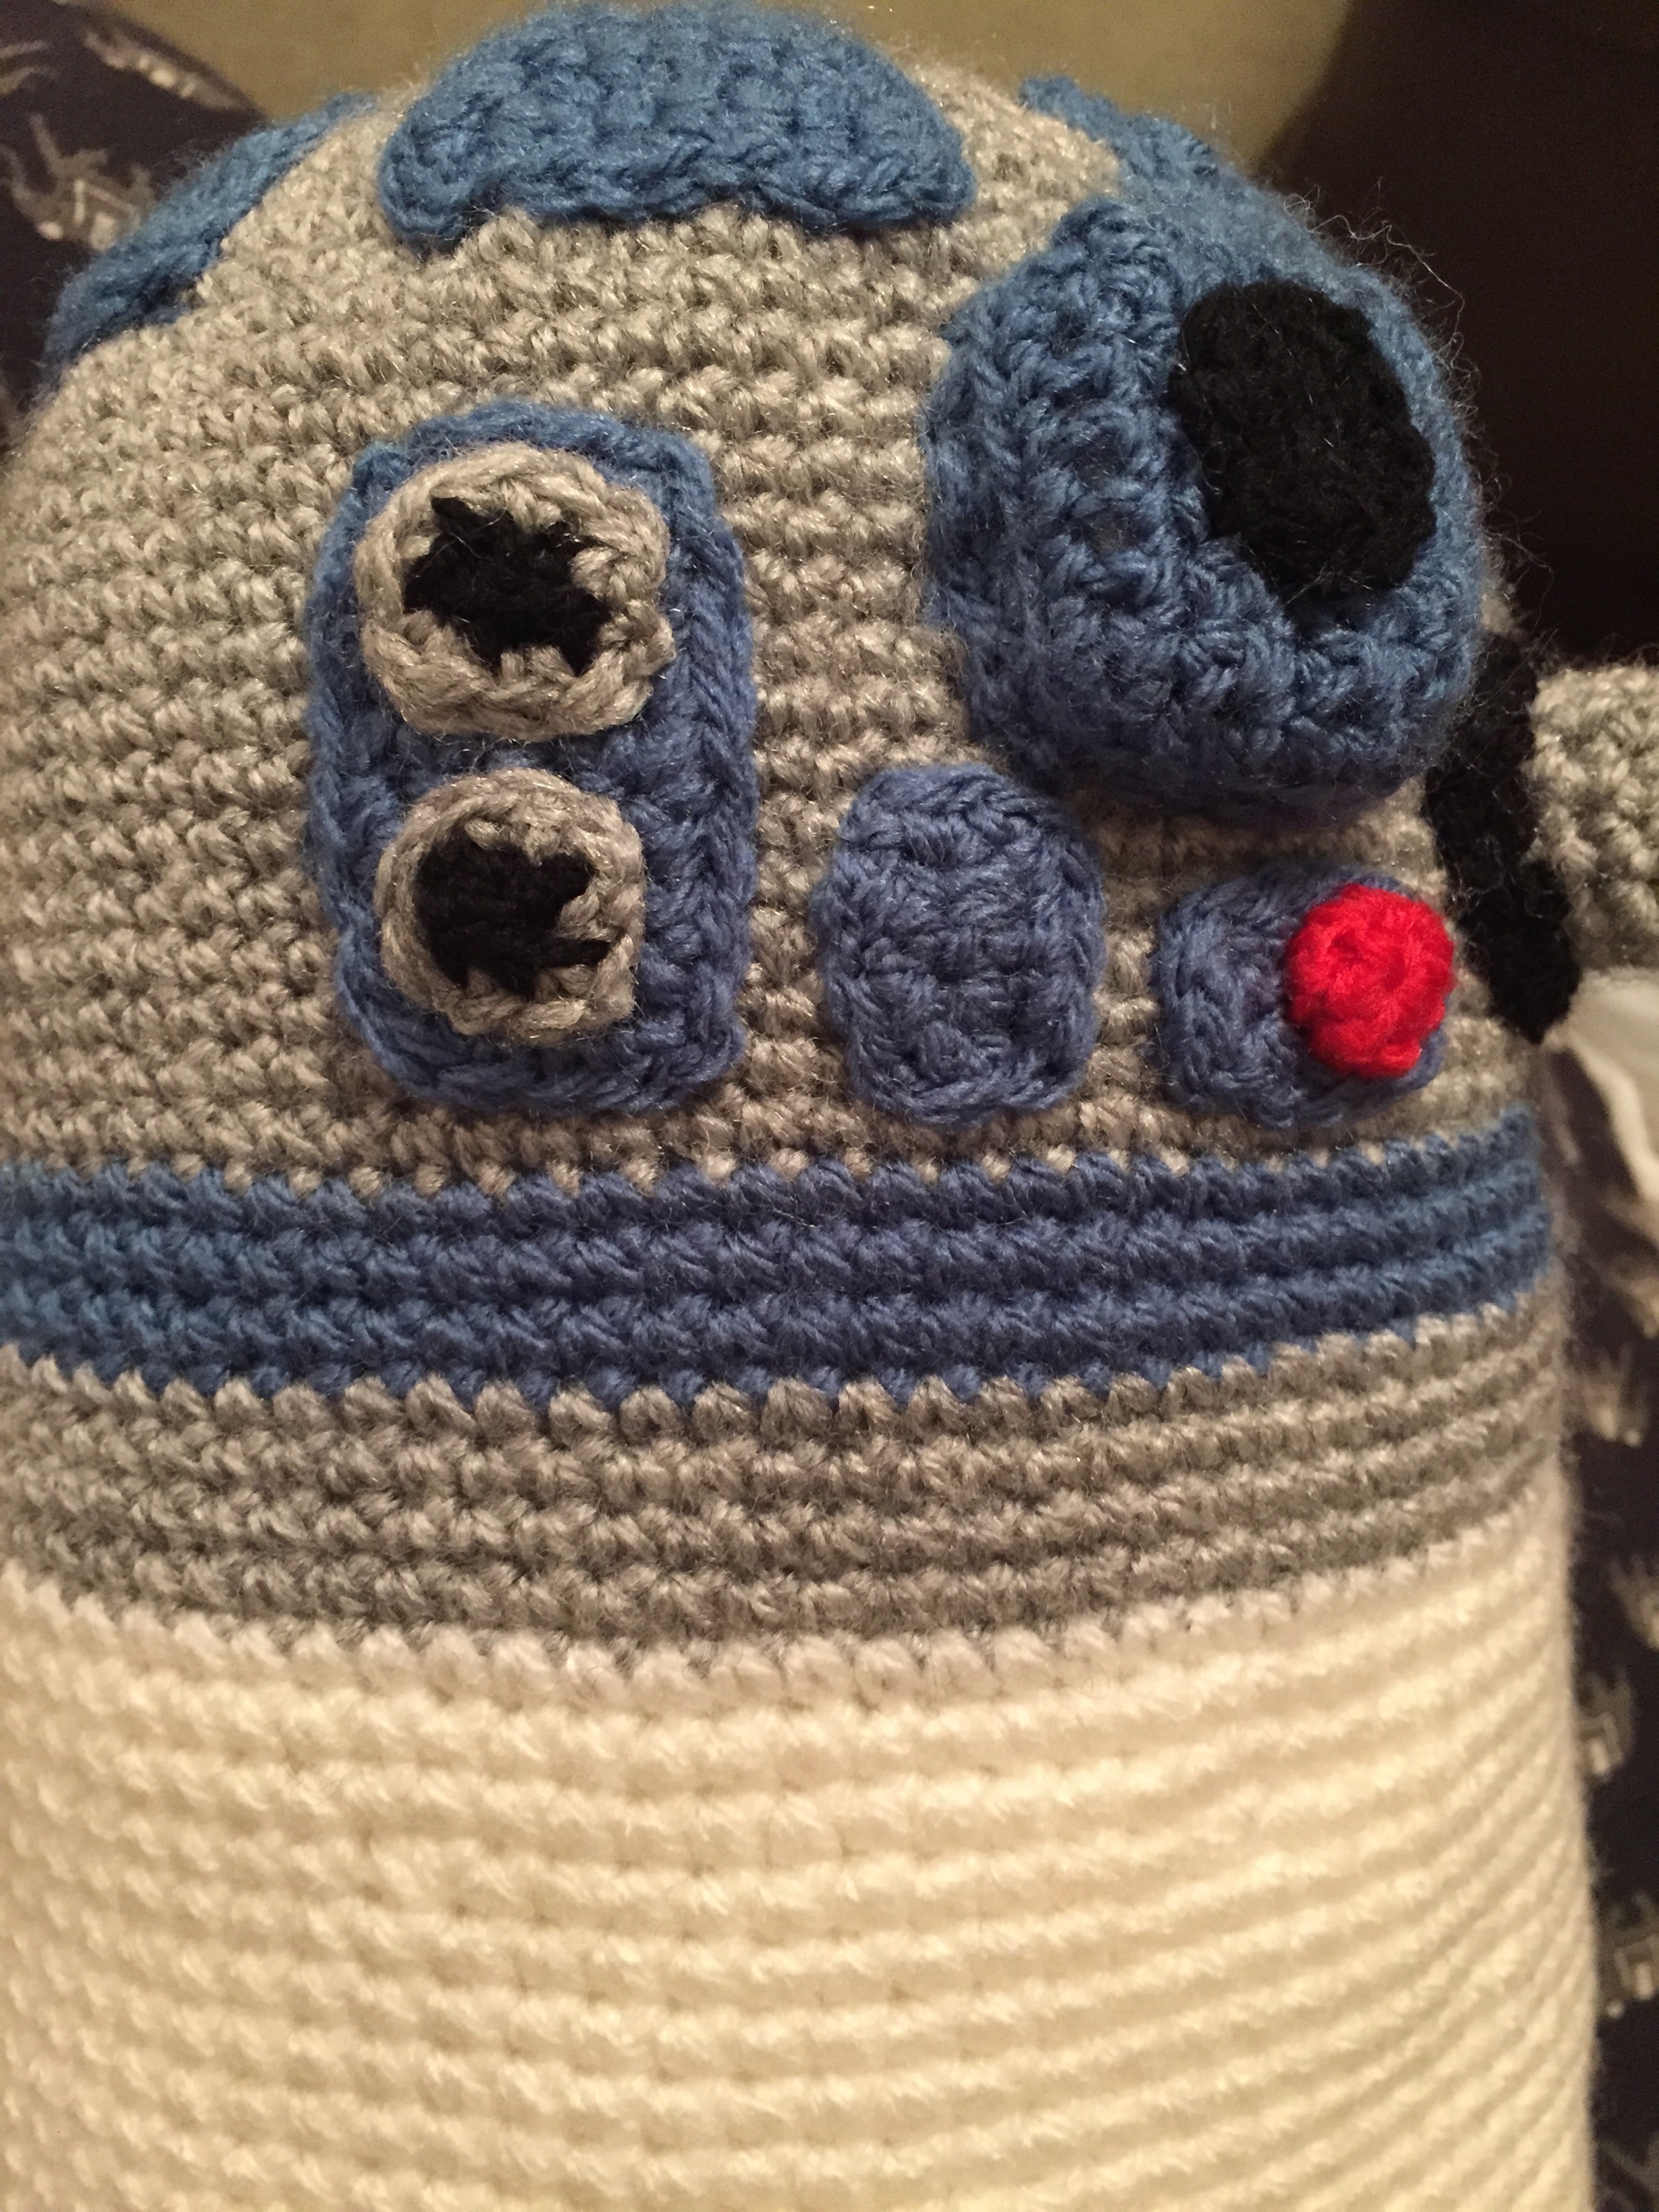
Grey round part:
In grey:
Make a magic ring, ch1, 6sc into ring.
Round 1: 2sc into each stitch.
Round 2: working in back loops only, sc around.
Round 3-4: sc around.
Change to black:
Round 5: 2sc into each stitch.
Place stuffing into piece and sew onto body beneath and to the right of the blue camera part.
Blue section with red spot:
In blue:
ch5.
Row 1: sc into second ch from hook and sc along rest of row.
Round 1: ch1 (doesn’t count as a stitch) sc around all four edges, slip stitch into top of the first ch1.
Fasten off leaving long thread to attach. Sew on beneath blue square with black dot (front camera).
In red:
Make a magic ring, ch1. 6sc into ring.
Fasten off and sew onto the blue square on the right hand side. Then sew onto the body.
Blue square next to blue section with red spot:
In blue:
ch3.
Row 1: sc into 2nd ch from hook, sc along rest of row.
Row 2-3: ch1 (doesn’t count as a stitch) sc along row.
Round 1: ch1 (doesn’t count as a stitch) sc around all four edges, slip stitch into top of the first ch.
Fasten off leaving long thread to attach, sew onto body next to the red spot section.
Blue rectangle with grey and black square pieces:
In blue:
ch5.
Row 1: sc into 2nd ch from hook, sc along rest of row.
Row 2-7: ch1 (doesn’t count as a stitch) sc along row.
Round 1: ch1 (doesn’t count as a stitch) sc around all four edges, slip stitch into top of the first ch1.
Square pieces – make 2
In black:
ch3.
Row 1: sc into 2nd ch from hook, sc along rest of row.
Change to grey:
Round 1: ch1 (doesn’t count as a stitch) sc around all four edges, slip stitch into top of the first ch1.
Fasten off leaving long thread to attach.
Sew the blue rectangle onto the body and then sew the black and grey pieces on.

Small rectangle next to blue rectangle with black and grey square rectangles:
In blue:
ch3.
Row 1: sc into 2nd ch from hook, sc along rest of row.
Row 2-7: ch1 (doesn’t count as a stitch) sc along row.
Round 1: ch1 (doesn’t count as a stitch) sc around all four edges, slip stitch into top of the first ch1.
Fasten off leaving long thread to attach, sew onto body next to black and grey rectangle piece.
Large rectangle:
In blue:
ch8.
Row 1: sc into 2nd ch from hook, sc along rest of row.
Row 2-7: ch1 (doesn’t count as a stitch) sc along row.
Round 1: ch1 (doesn’t count as a stitch) sc around all four edges, slip stitch into top of the first ch1.
Fasten off leaving long thread to attach, sew onto body next to the small rectangle.
Larger horizontal rectangle:
In blue:
ch9.
Row 1: sc into 2nd ch from hook, sc along rest of row.
Row 2-7: ch1 (doesn’t count as a stitch) sc along row.
Round 1: ch1 (doesn’t count as a stitch) sc around all four edges, slip stitch into top of the first ch1.
Fasten off leaving long thread to attach, sew onto body next to the larger rectangle.

Rectangle with grey line detail:
In blue:
ch6.
Row 1: sc into 2nd ch from hook, sc along rest of row.
Row 2-7: ch1 (doesn’t count as a stitch) sc along row.
Round 1: ch1 (doesn’t count as a stitch) sc around all four edges, slip stitch into top of the first ch1.
Fasten off leaving long thread to attach, sew onto body next to the larger rectangle.
Fasten off leaving long thread to attach.
In grey complete a line of sc surface stitches starting 1 row down, and 1sc in from the right completing 3sc in total, then turn and compete 1 surface dc down and again turn and go back along the row back to the start of the surface stitches
Sew on to body next to rectangle.
Back telescope:
In black:
Make a magic ring, ch1. 8sc into ring.
Round 1: 2sc into each stitch.
Round 2: sc around on back loops only.
Round 3-4: sc around.
Fasten off leaving thread to attach
Sew onto body next to rectangle with grey line detail, placing a small amount of stuffing in.
Large blue rectangle with red spot:
In blue:
ch6.
Row 1: sc into second ch from hook and sc along rest of row.
Row 2-7: sc along row.
Round 1: ch1 (doesn’t count as a stitch) sc around all four edges, slip stitch into top of the first ch1.
Fasten off leaving long thread to attach. Sew on beneath blue square with black dot.
In red:
Make a magic ring, ch1. 6sc into ring.
Round 1: 2sc into each stitch.
Fasten off and sew onto the blue square onto the left middle of the rectangle. Then sew onto body next to the back telescope.
Two large matching blue rectangles:
Make two of these rectangles.
In blue:
ch3.
Row 1: sc into second ch from hook and sc along rest of row.
Row 2-7: sc along row.
Round 1: ch1 (doesn’t count as a stitch) sc around all four edges, slip stitch into top of the first ch1.
Fasten off leaving long thread to attach.
Sew onto body next to rectangle with red spot.
Two small matching blue rectangles:
Make two of these.
In blue:
ch9, then sc into second ch from hook and down the rest of the ch (8sc) then go back up the other side of the foundation ch (8sc) finishing with a slip stitch into the first sc.
Fasten off leaving long thread to attach. Sew onto body next to previous two matching rectangles.
Legs:
Main leg – make 2:
In cream:
ch9.
Row 1: sc into 2nd ch from hook and along rest of row.
Row 2: ch1 (doesn’t count as a stitch) 2sc into first stitch, 6sc, 2sc into last stitch.
Row 3: ch1 (doesn’t count as a stitch) 2sc into first stitch, 8sc, 2sc into last stitch.
Row 4: ch1 (doesn’t count as a stitch) 2sc into first stitch, 10sc, 2sc into last stitch.
Row 5: ch1 (doesn’t count as a stitch) 2sc into first stitch, 12sc, 2sc into last stitch.
Row 6: ch1 (doesn’t count as a stitch) 2sc into first stitch, 14sc, 2sc into last stitch.
Row 7-17: ch1 (doesn’t count as a stitch) sc along row.
Row 18: ch1 (doesn’t count as a stitch) sc2tog, 14sc, sc2tog.
Row 19: ch1 (doesn’t count as a stitch) sc2tog, 12sc, sc2tog.
Row 20: ch1 (doesn’t count as a stitch) sc2tog, 10sc, sc2tog.
Row 21: ch1 (doesn’t count as a stitch) sc along row.
Row 22: ch1 (doesn’t count as a stitch) sc2tog, 8sc, sc2tog.
Row 23-31: ch1 (doesn’t count as a stitch) sc along row.
Row 32: ch1 (doesn’t count as a stitch) sc2tog, 6sc, sc2tog.
Row 33: ch1 (doesn’t count as a stitch) sc along row.
Row 34: ch1 (doesn’t count as a stitch) sc2tog, 4sc, sc2tog.
Row 35: ch1 (doesn’t count as a stitch) sc along row.
Fasten off.
Long strip to join the front and back leg pieces:
In cream:
ch8.
Row 1: sc into 2nd ch from hook, sc along rest of row.
Row 2-91: ch1 (doesn’t count as a stitch) sc along row.
Fasten off, leaving long thread to sew together.
Sew the front and back leg pieces together by placing the long piece in between the front and back piece and sewing one side to the front piece and then the other to the back piece, ensuring you stuff the leg before fully closing it off.

Foot:
Side pieces – make 2:
In cream:
ch11.
Row 1: sc into 2nd ch from hook and sc along row.
Row 2: ch1 (doesn’t count as a stitch) 2sc into same stitch, 8sc, 2sc into same stitch.
Row 3: ch1 (doesn’t count as a stitch) sc along row.
Row 4: ch1 (doesn’t count as a stitch) 2sc into same stitch, 10sc, 2sc into same stitch.
Row 5: ch1 (doesn’t count as a stitch) sc along row.
Row 6: ch1 (doesn’t count as a stitch) 2sc into same stitch, 12sc, 2sc into same stitch.
Row 7: ch1 (doesn’t count as a stitch) sc along row.
Row 8: ch1 (doesn’t count as a stitch) 2sc into same stitch, 14sc, 2sc into same stitch.
Row 9: ch1 (doesn’t count as a stitch) sc along row.
Row 10: ch1 (doesn’t count as a stitch) 2sc into same stitch, 16sc, 2sc into same stitch.
Row 11: ch1 (doesn’t count as a stitch) sc along row.
Row 12: ch1 (doesn’t count as a stitch) 2sc into same stitch, 18sc, 2sc into same stitch.
Fasten off.
Front and back pieces – Make 2:
In cream:
ch9.
Row 1: sc into 2nd ch from hook, sc rest of row.
Row 2: ch1 (doesn’t count as a stitch) 2sc into same stitch, 6sc, 2sc into same stitch.
Row 3: ch1 (doesn’t count as a stitch) sc along row.
Row 4: ch1 (doesn’t count as a stitch) 2sc into same stitch, 8sc, 2sc into same stitch.
Row 5: ch1 (doesn’t count as a stitch) sc along row.
Row 6: ch1 (doesn’t count as a stitch) 2sc into same stitch, 10sc, 2sc into same stitch.
Row 7: ch1 (doesn’t count as a stitch) sc along row.
Row 8: ch1 (doesn’t count as a stitch) 2sc into same stitch, 12sc, 2sc into same stitch.
Row 9: ch1 (doesn’t count as a stitch) sc along row.
Row 10: ch1 (doesn’t count as a stitch) 2sc into same stitch, 14sc, 2sc into same stitch.
Row 11: ch1 (doesn’t count as a stitch) sc along row.
Row 12: ch1 (doesn’t count as a stitch) 2sc into same stitch, 16sc, 2sc into same stitch.
Top piece:
In cream:
ch9.
Row 1: sc into 2nd ch from hook, sc along rest of row.
Row 2-10: ch1 (doesn’t count as a stitch) sc along row.
Fasten off.
Bottom piece:
In cream:
ch21.
Row 1: sc into 2nd ch from hook, sc along rest of row.
Row 2-22: ch1 (doesn’t count as a stitch) sc along row.
Fasten off.
Sew the side pieces to the front and back pieces, then sew the top piece on, stuff the foot then sew the bottom piece on. Next sew this foot part onto the leg.
Leg detail:
Grey Circle at top of leg – make 2:
In grey:
Make a magic ring, ch1.
Round 1: 2sc into each stitch.
Round 2: 2sc into same stitch, sc. Repeat around.
Round 3: 2sc into same stitch, 2sc. Repeat around.
Round 4: sc around.
Fasten off leaving long thread to attach.
Sew grey circle onto the outside of the leg at the top.

Blue detail on side of leg – make 2:
8sc.
Row 1: sc into second ch from hook, sc along rest of row.
Row 2-18: ch1 (doesn’t count as a stitch) sc along row.
Fasten off.
Fasten on 8 rows down on one side, ch1 then 8sc up along the rows, then sc along the top edge, and 8sc down the rows on the next side.
Turn leaving the remaining stitches unworked, ch1 (doesn’t count as a stitch) then sc back around the sc stitches just completed.
Fasten off.
Sew the long leg detail at the top to the edge of the sc completed around the edge of the leg detail.
Put padding into top end of blue leg detail and start to sew onto the leg at the bottom of the grey circle, then sew the rest of blue detail onto the leg.


Foot wire detail – Make 4:
In a beige colour:
ch6, slip stitch into first ch to make a round.
Row 1: ch1 (doesn’t count as a stitch) sc around.
Row 2-18: sc around.
Fasten off leaving thread to attach.
Sew on two to each foot, sewing one end in the middle of the foot and sewing the other end around into the inside of the foot. Sew the second just below the first.
Grey Leg connector to the body:
In grey:
ch40.
Slip stitch into first sc to make a round.
Round 1: ch1 (doesn’t count as a stitch) sc around.
Round 2-3: sc around.
Fasten off leaving length to attach.
Sew the grey leg connector onto the leg then sew onto the body.
Body details – front:
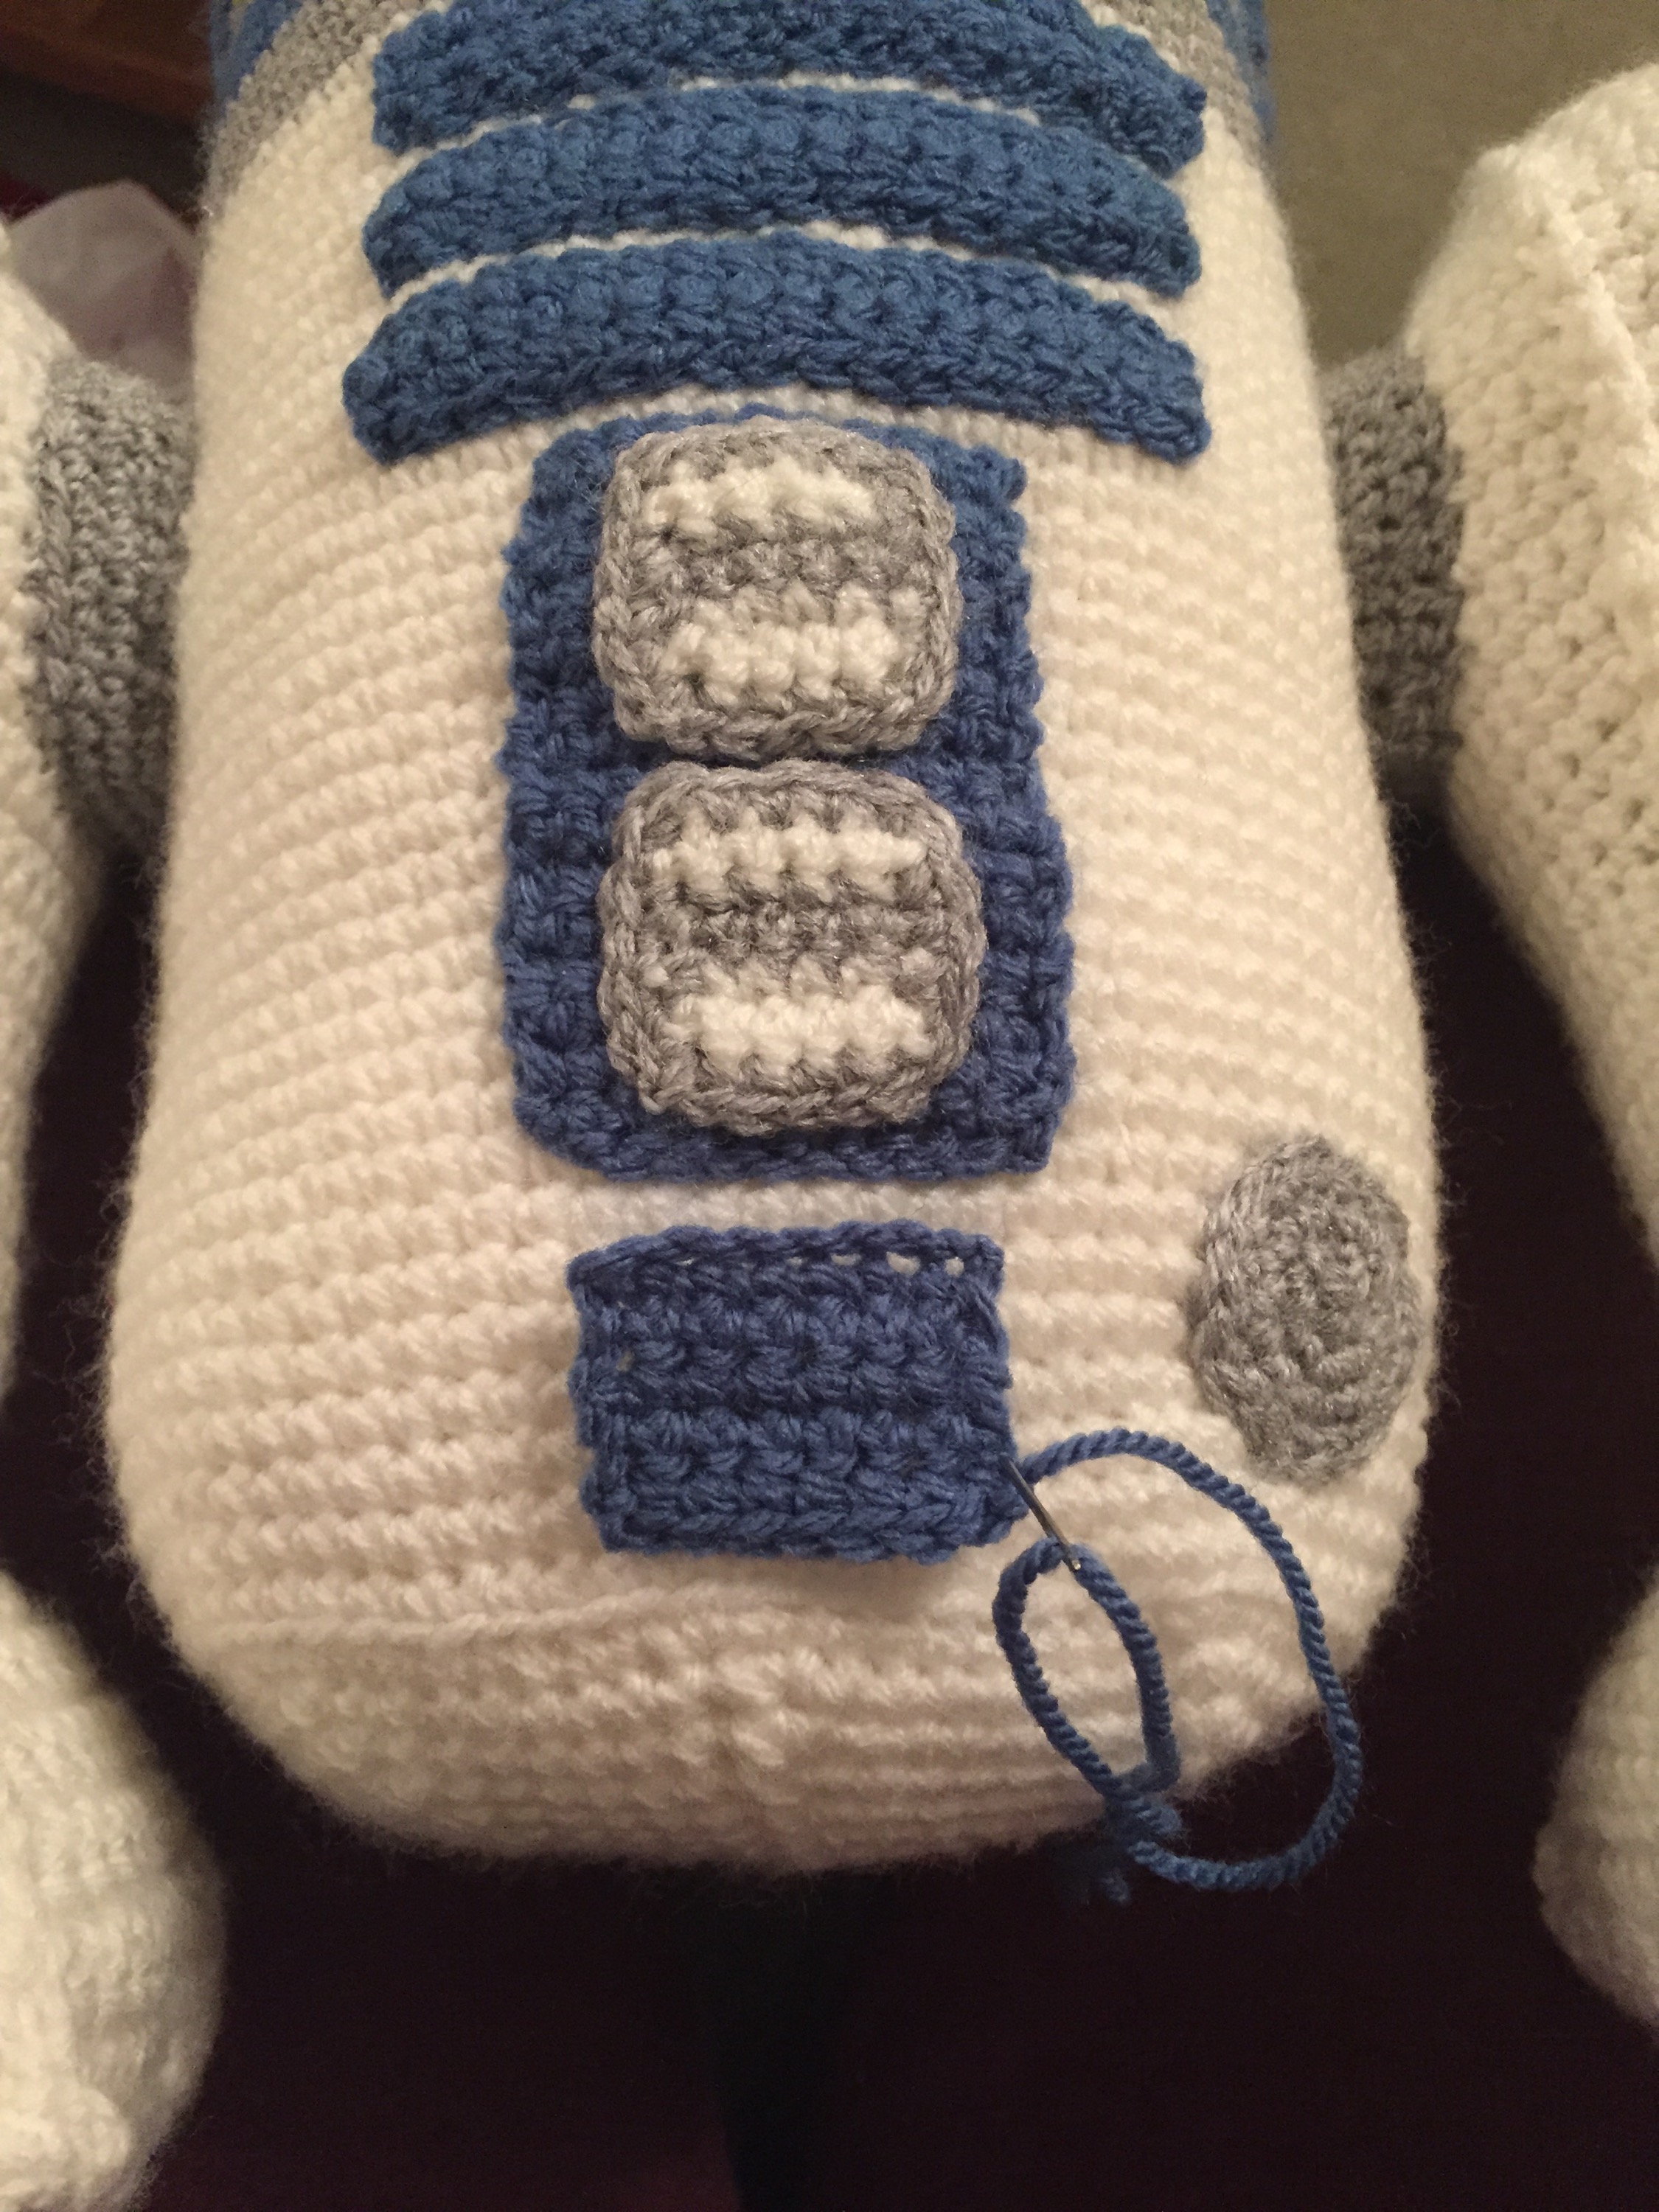
Blue strips on front – make 3:
In blue:
ch18.
Row 1: sc into 2nd ch from hook, sc along rest of row.
Row 2: ch1 (doesn’t count as a stitch) 2sc into same sc, sc along row, 2sc into last sc.
Row 3: ch1 (doesn’t count as a stitch) sc2tog, sc along row, sc2tog in the last 2sc.
Fasten off leaving length to attach.
Sew each on at the top of the body in the middle beneath the grey band.


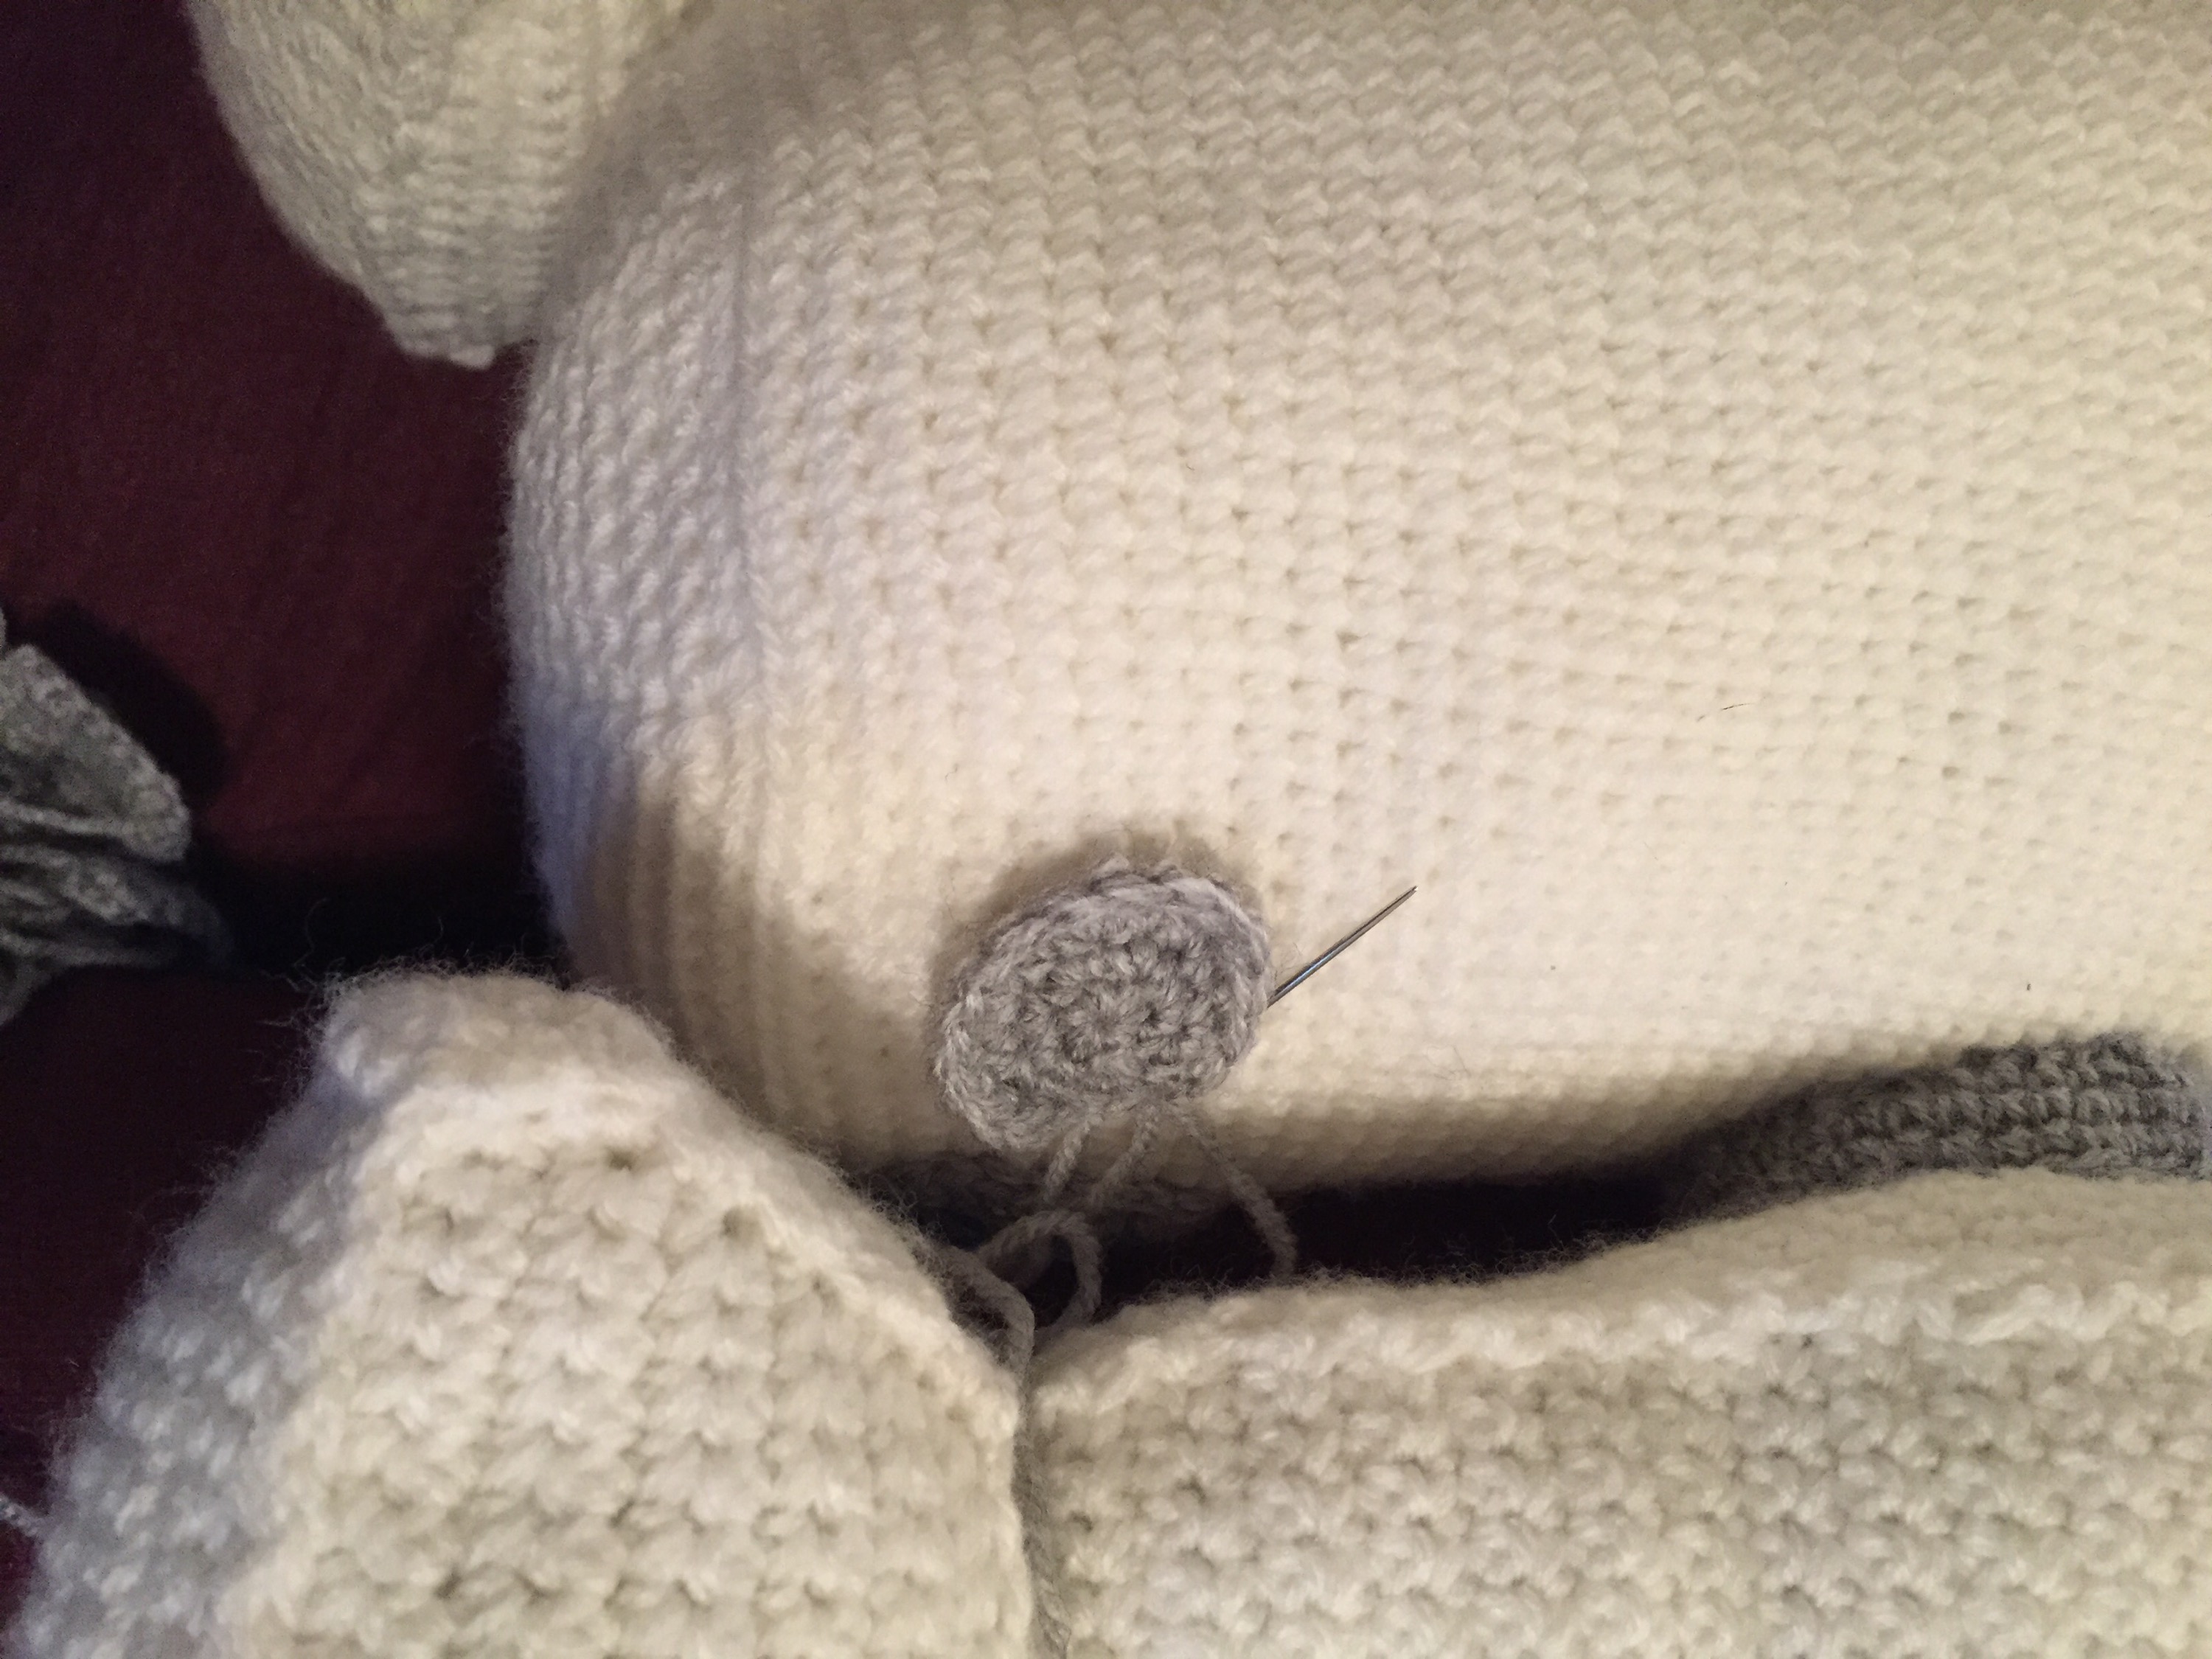
Grey circle detail:
Make a magic ring, ch1, 6sc into ring.
Round 1: 2sc into same sc. Repeat around.
Round 2: 2sc into same sc, sc. Repeat around.
Round 3: sc around.
Fasten off leaving thread to attach.
Sew onto the body at the bottom right.

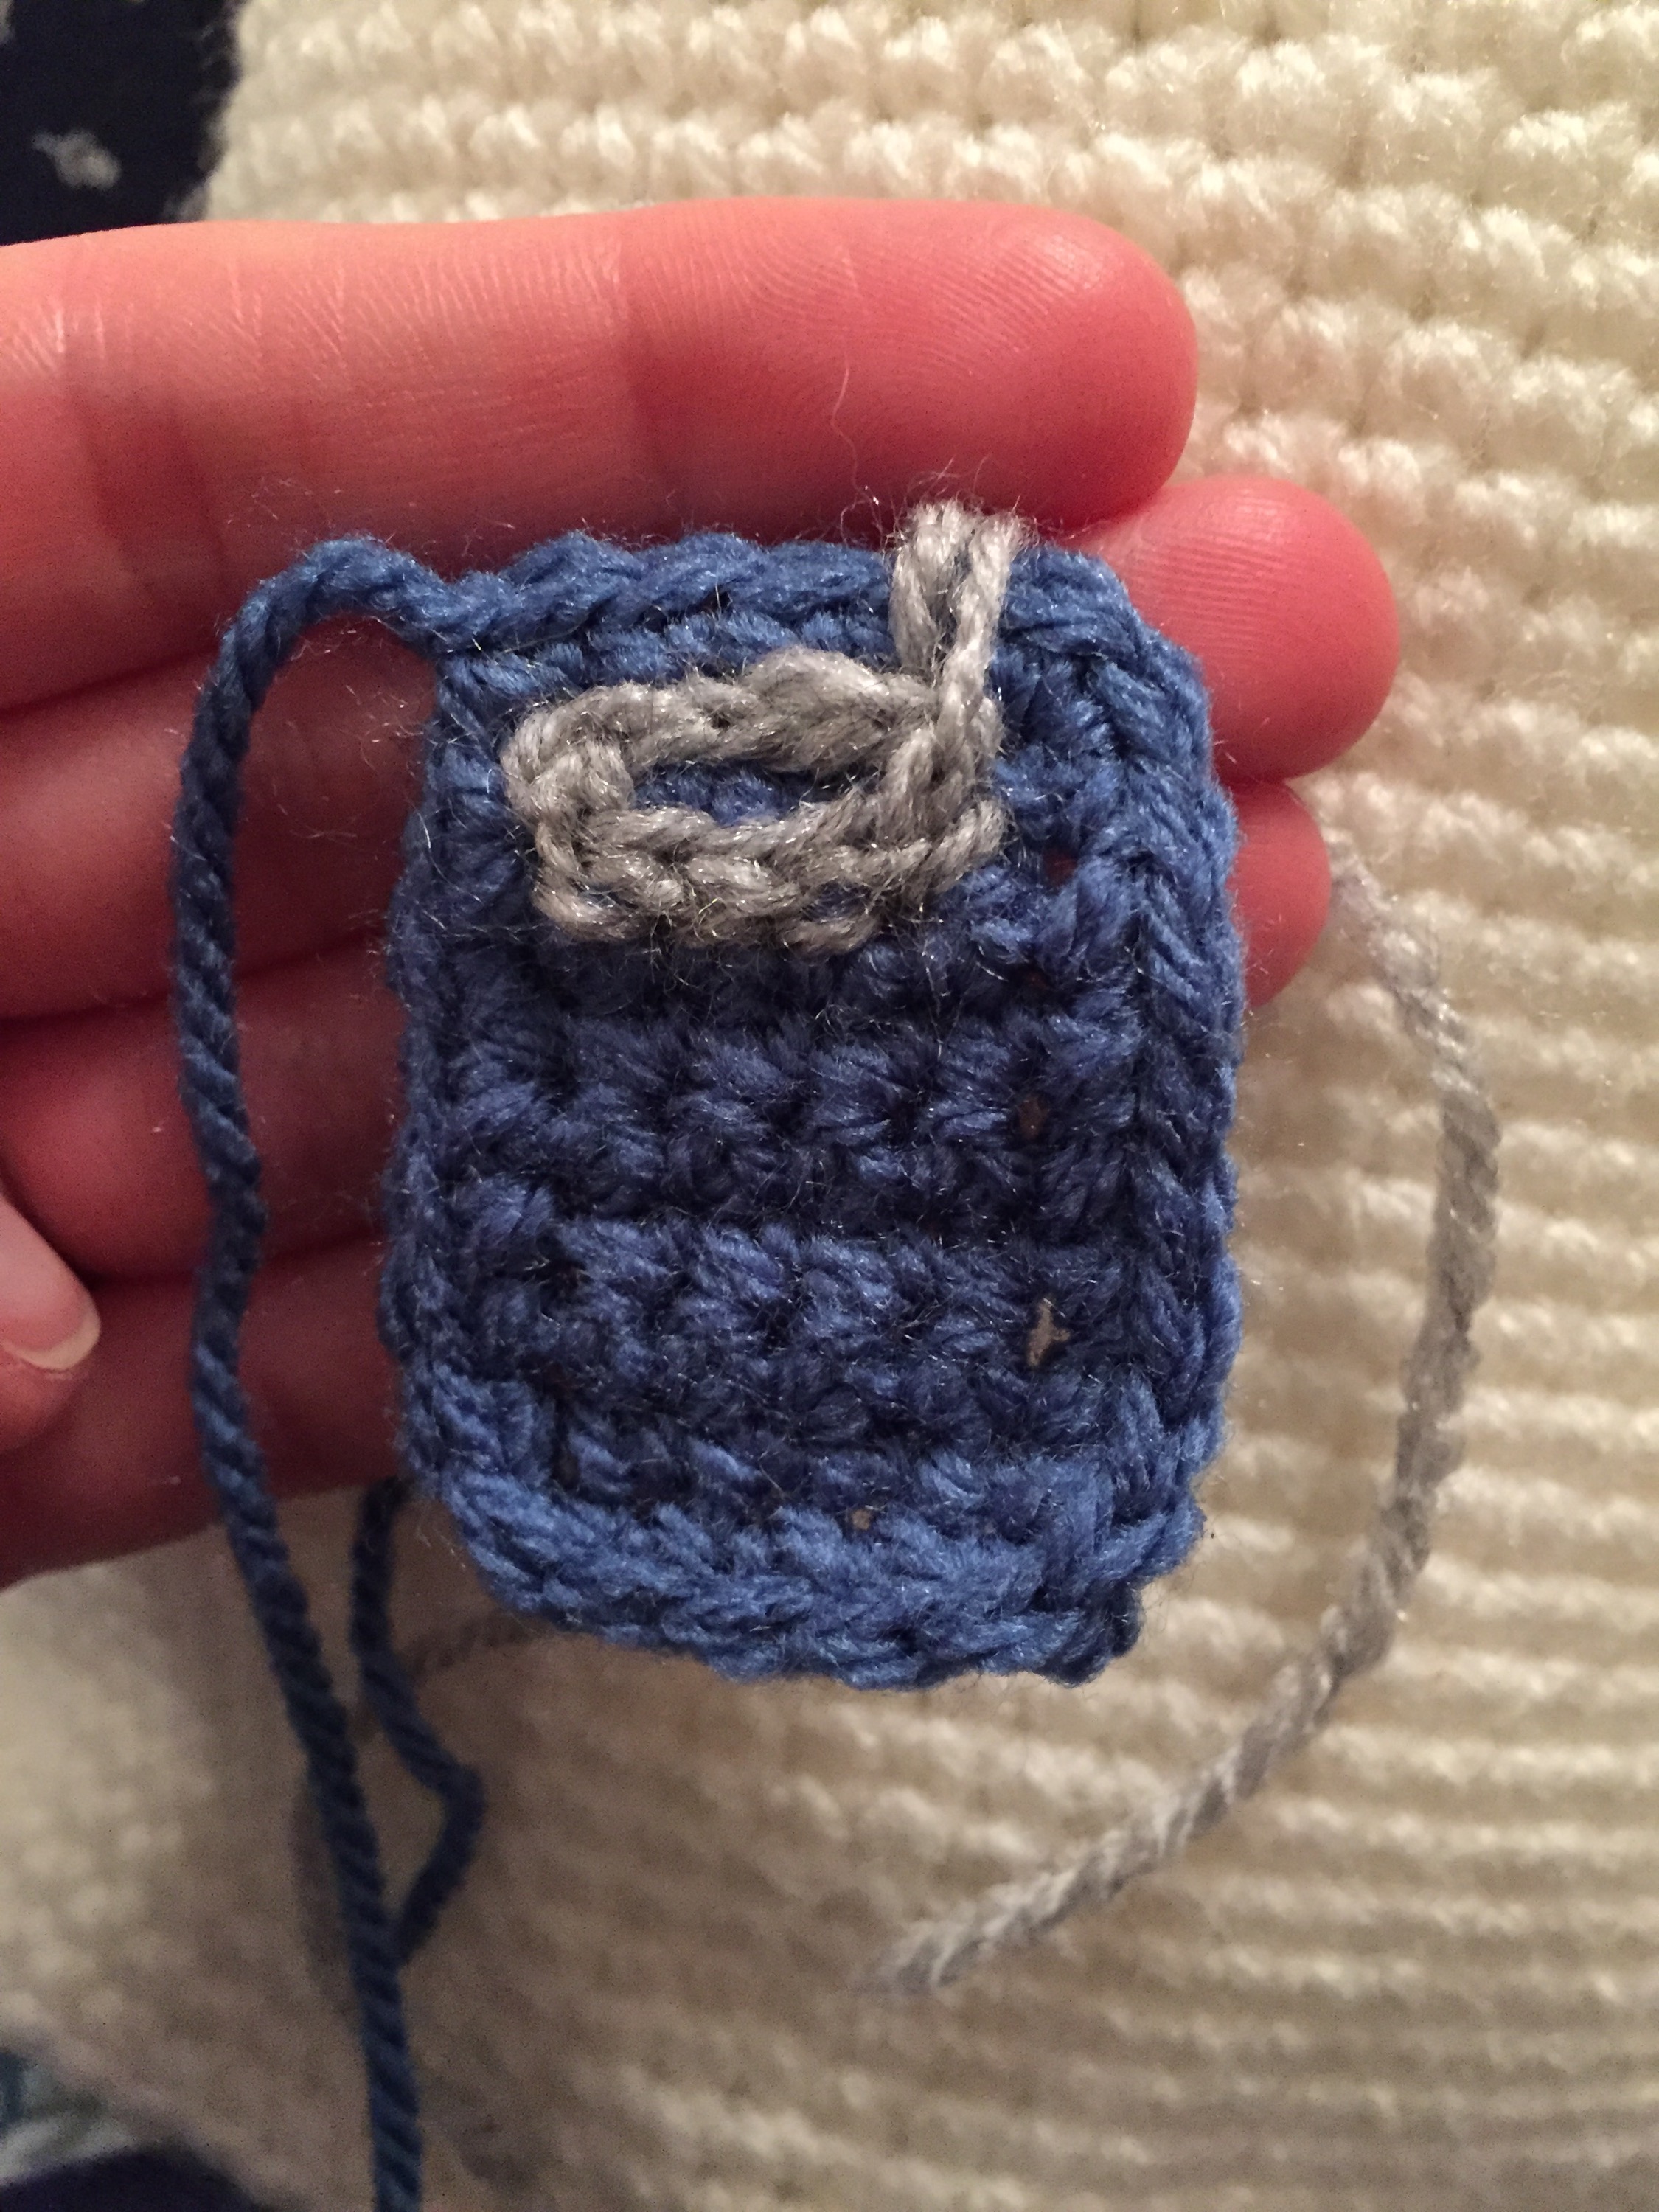
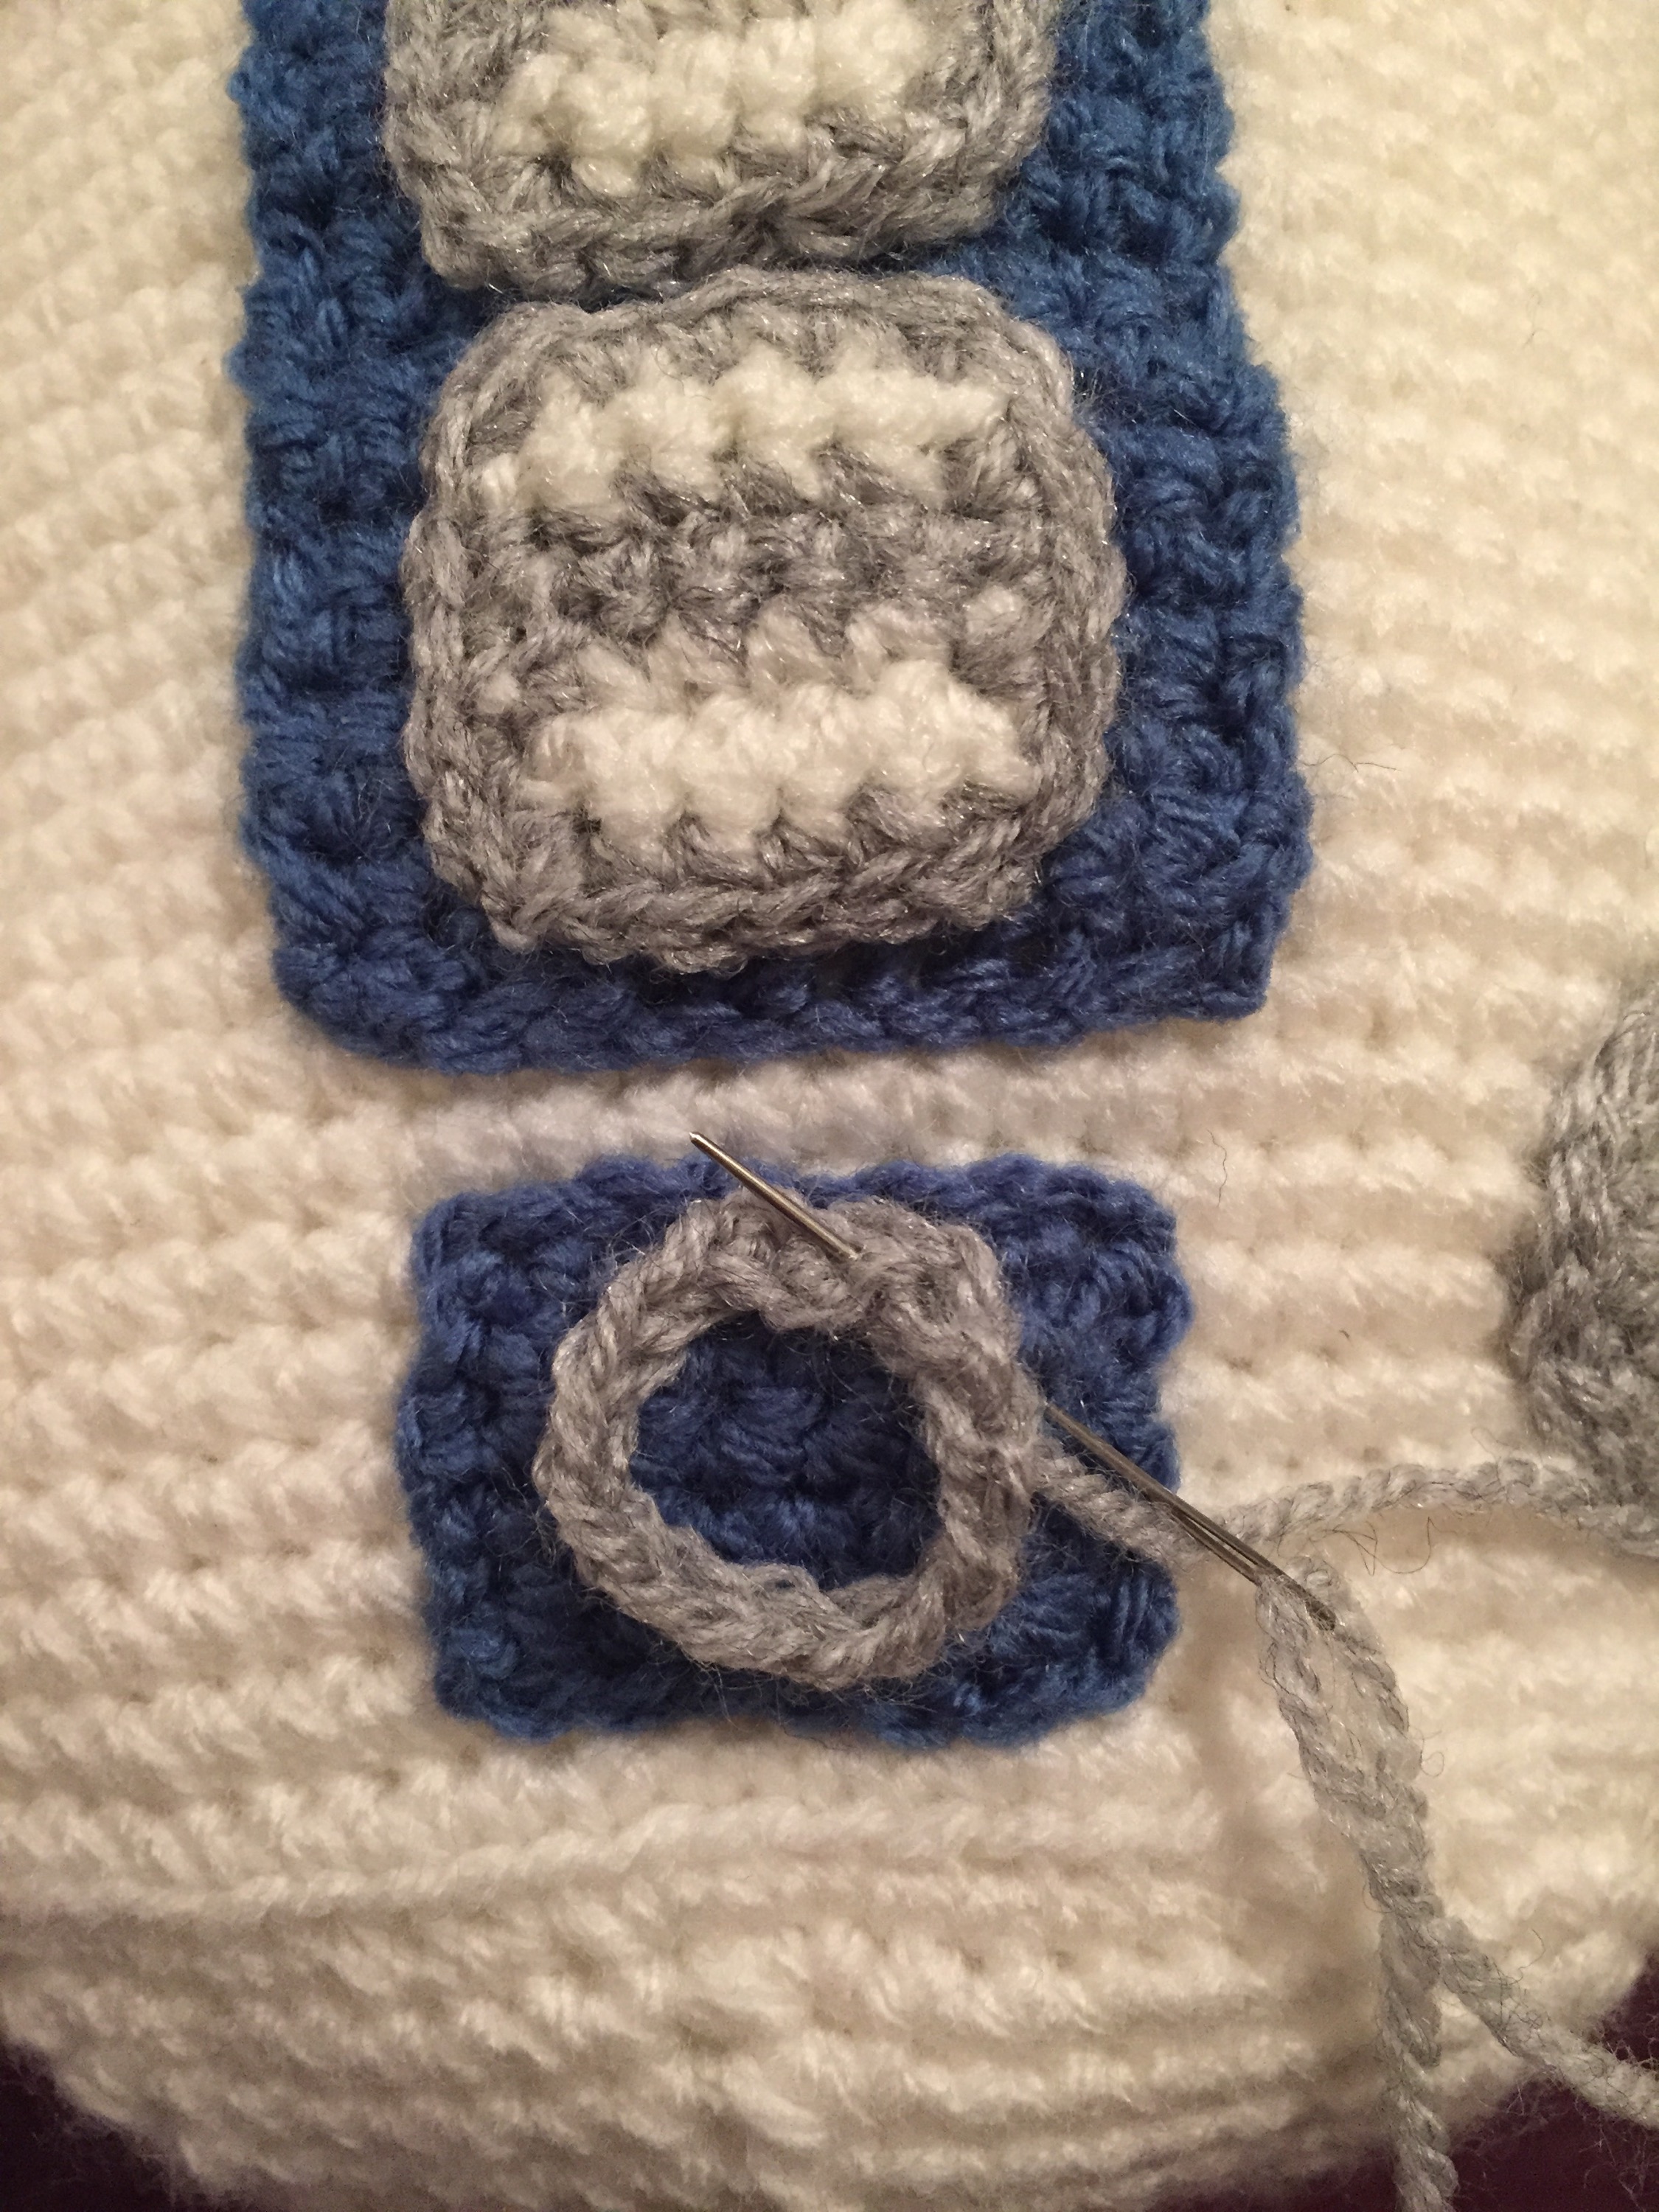
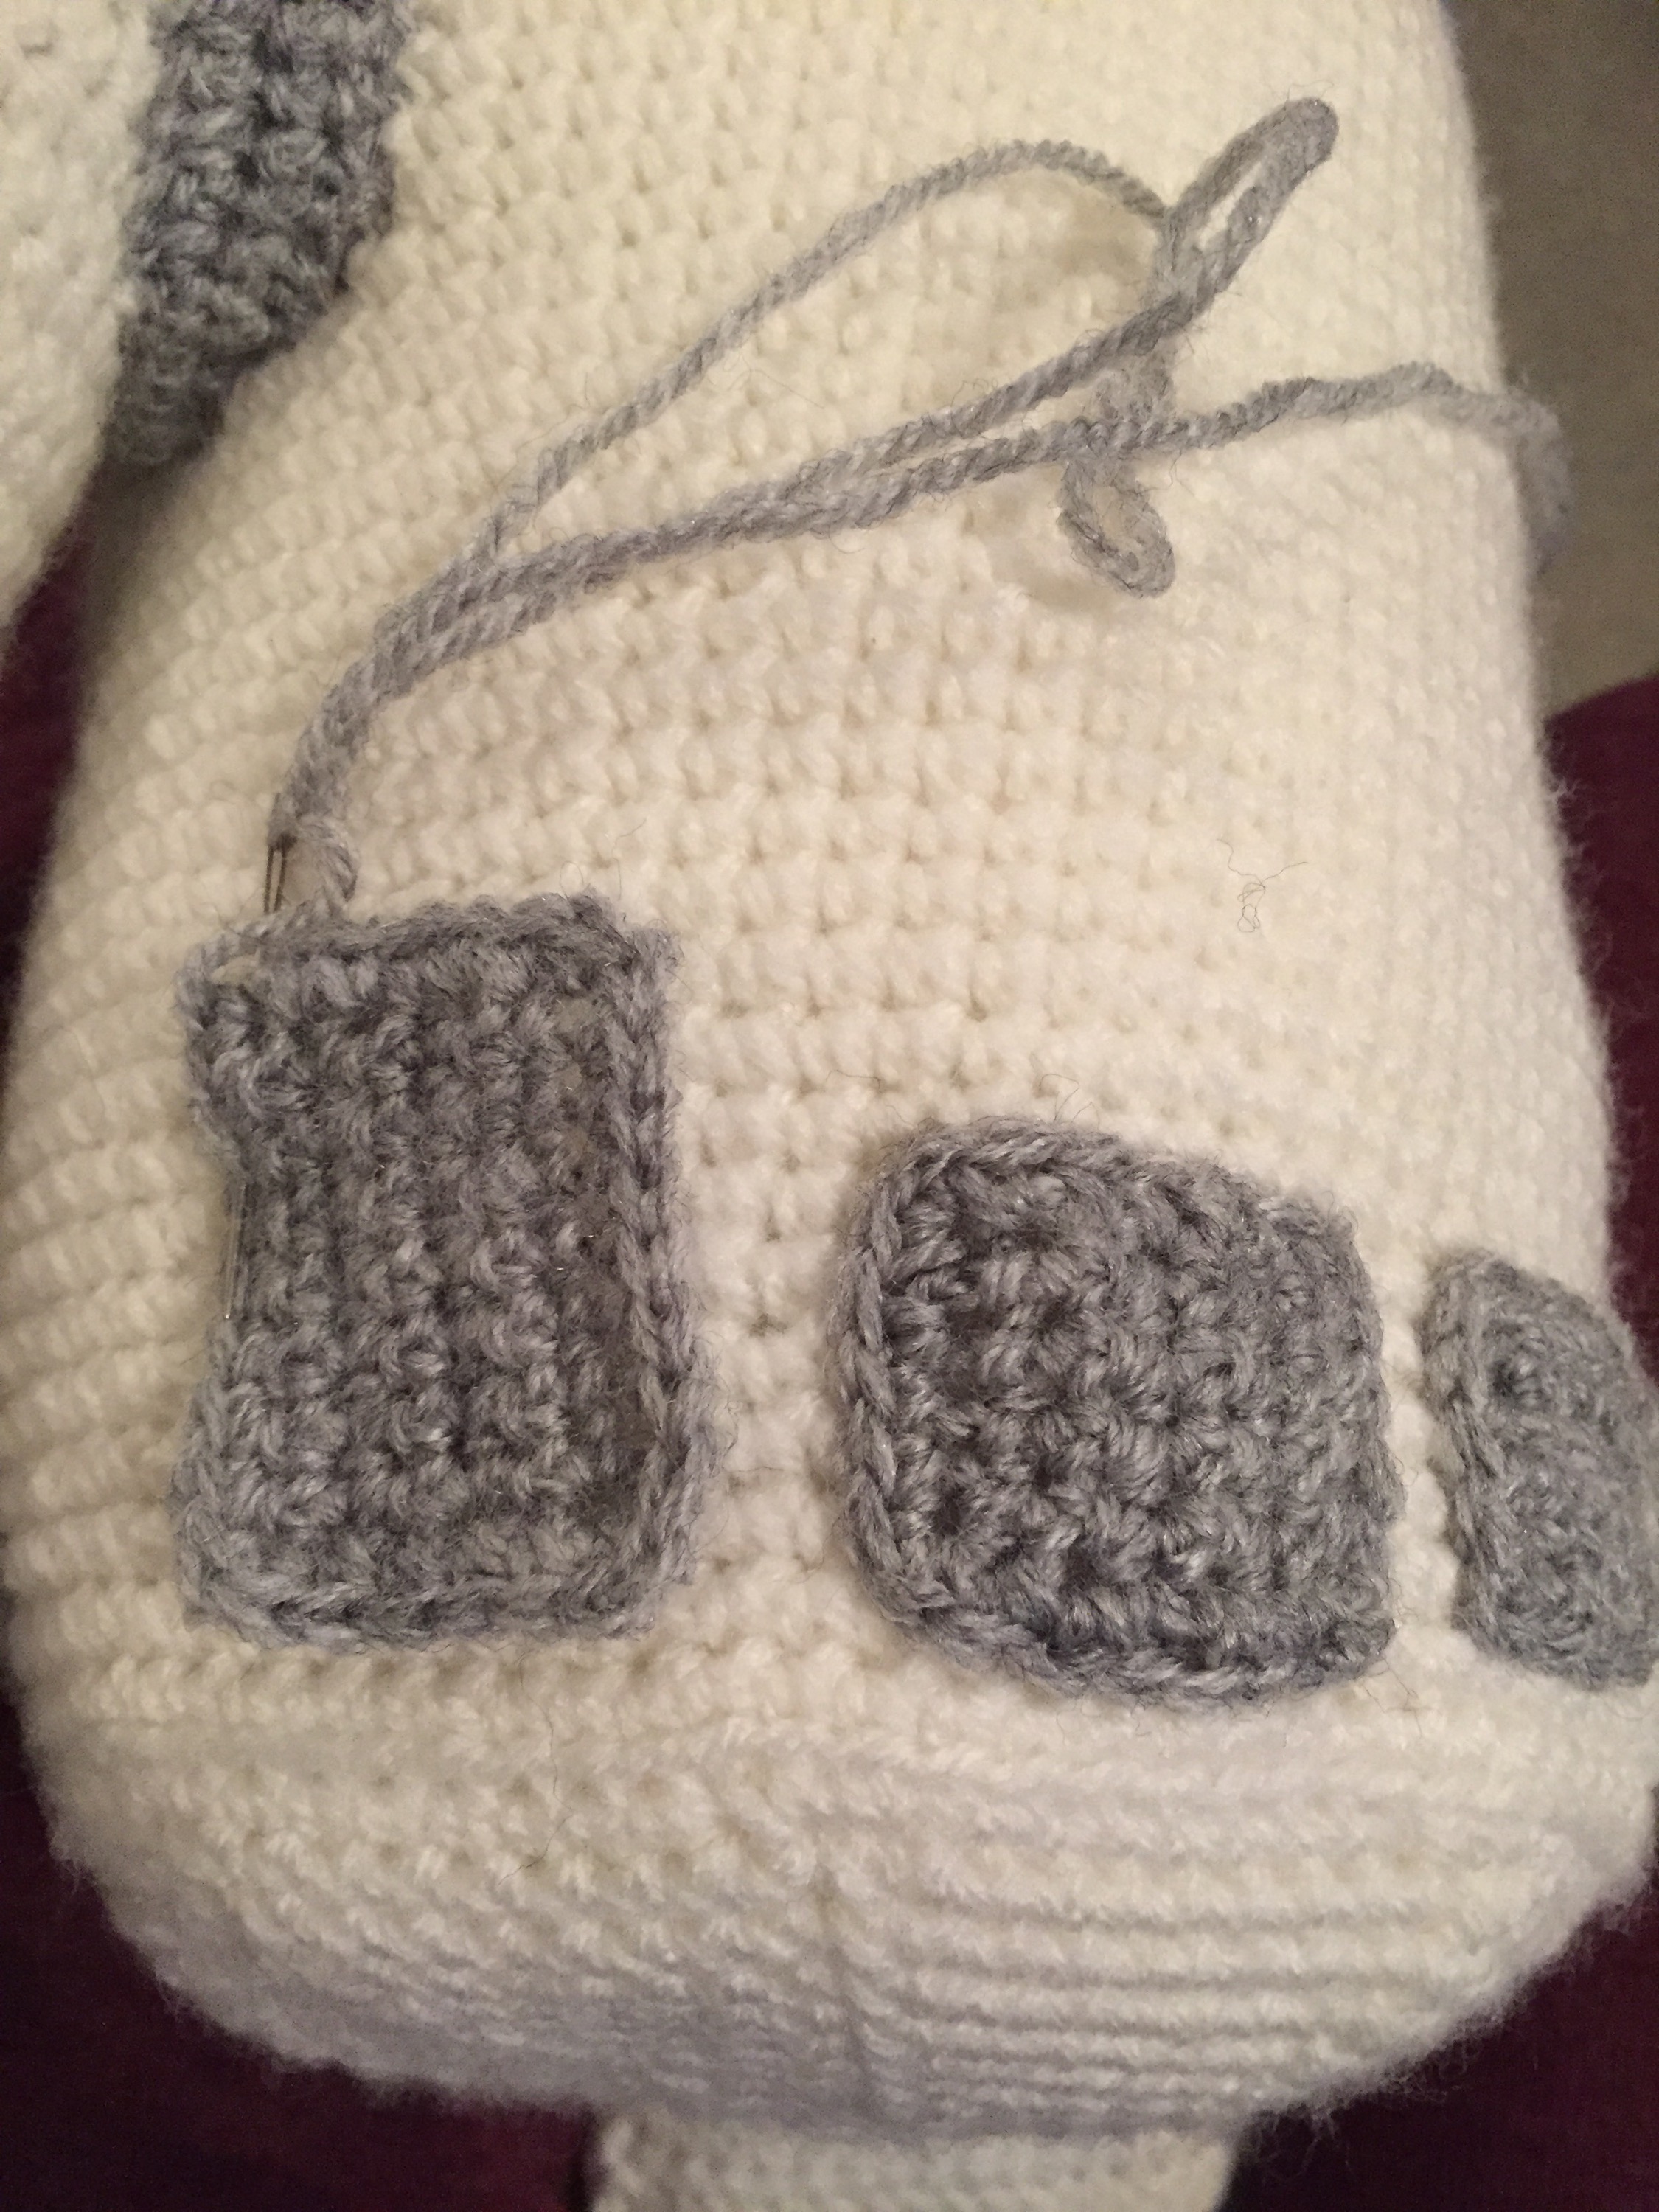
Blue panel with 2 grey squares detail:
Blue panel:
In blue:
ch11.
Row 1: sc into 2nd ch from hook, sc along rest of row.
Row 2-15: ch1 (doesn’t count as a stitch) sc along row.
Fasten off, leaving length to attach.
Grey squares – make 2:
In cream:
ch6.
Row 1: sc into 2nd ch from hook, sc along rest of row.
Change to grey (without fastening off):
Row 2-3: ch1 (doesn’t count as a stitch) sc along rest of row.
Change back to white (without fastening off):
Row 4-5: ch1 (doesn’t count as a stitch) sc along rest of row.
Change back to grey:
ch1 and sc around all 4 edges, slip stitch into ch1 at start of round.
Fasten off leaving thread to attach.
Sew onto the blue panel, it will be quite a tight fit so one will go very close to the top edge and one will be very close to the bottom edge with a very small gap in between.
Sew on the completed blue panel onto the front of the body just beneath (leave one row) and in the middle of the three blue stripes.

Small blue rectangle:
In blue:
ch8.
Row 1: sc into 2nd ch from hook, sc along rest of row.
Row 2-5: ch1 (doesn’t count as a stitch) sc along rest of row.
Fasten off leaving length to attach.
Sew onto body 1 row beneath and in the middle of the blue panel with grey squares.
Next in grey, ch12 slip stitch into first ch to make a round. Fasten off leaving thread to attach and sew this circle onto the blue rectangle.
Small grey rectangle:
In grey:
ch6.
Row 1: sc into 2nd ch from hook, sc along rest of row.
Row 2-6: ch1 (doesn’t count as a stitch) sc along rest of row.
ch1, sc around all four edges, slip stitch into ch1 at start to finish. Fasten off leaving long thread to attach.
Sew on to body with the shortest side next to small blue square.
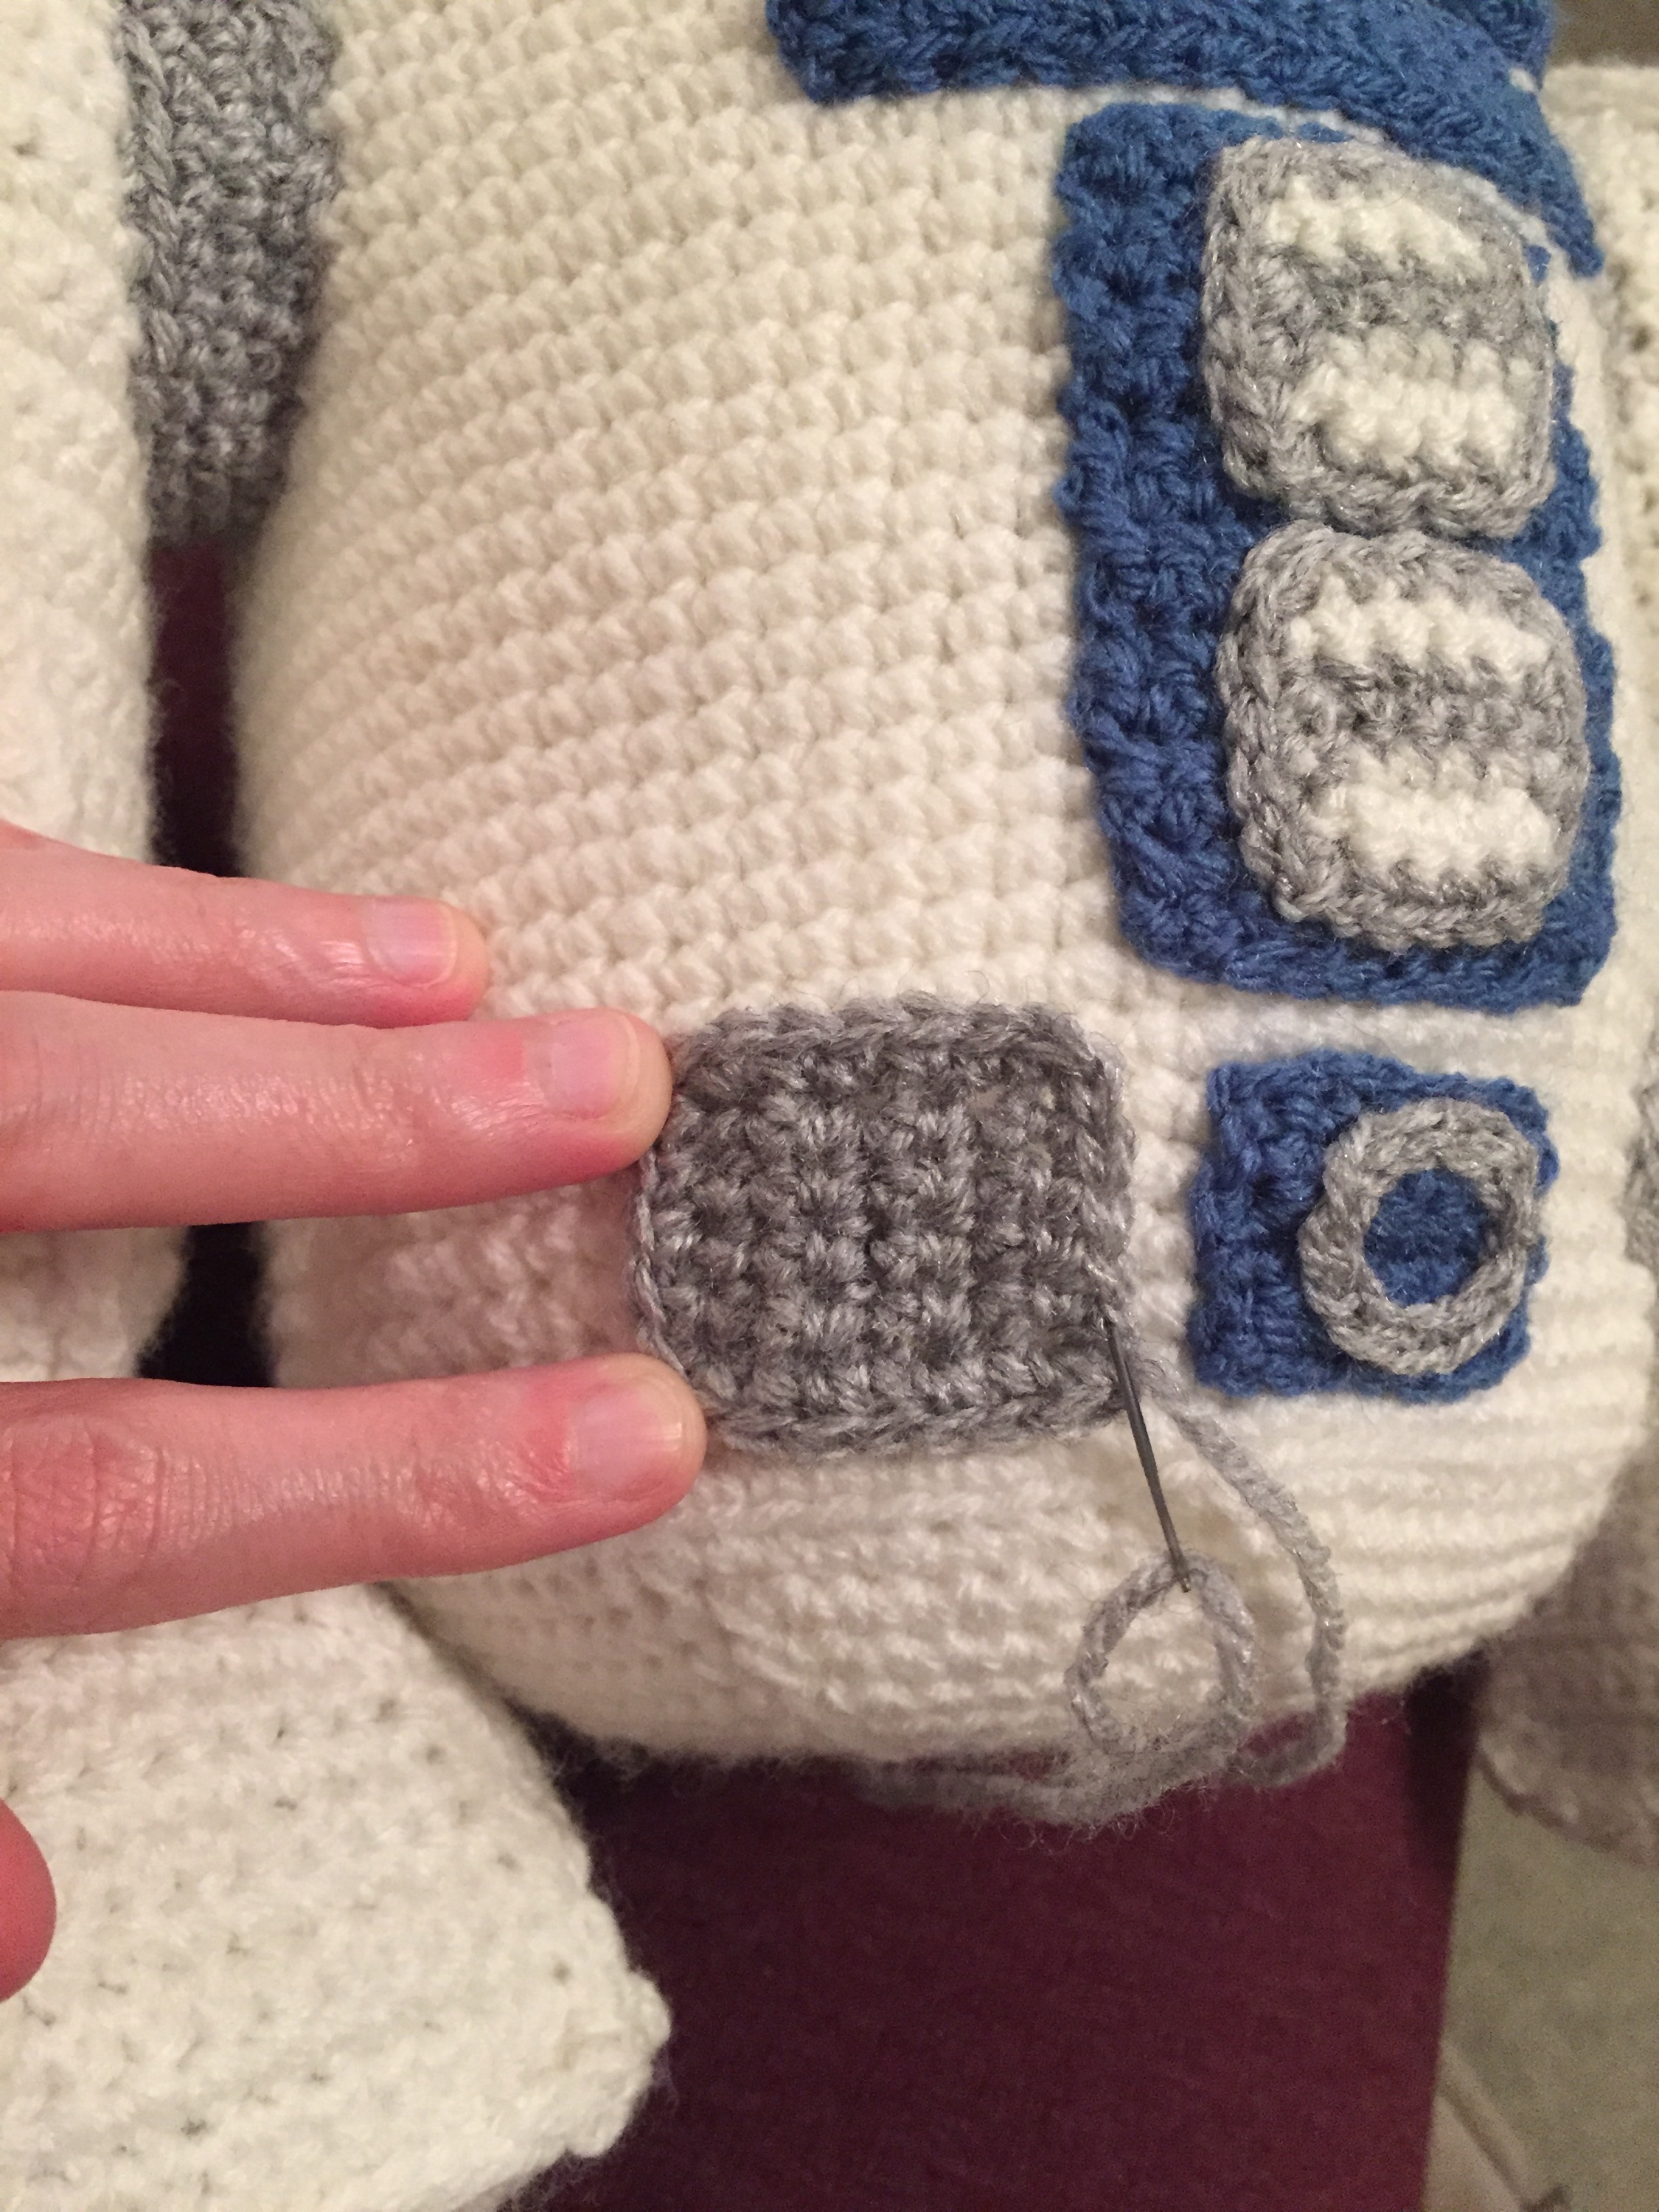
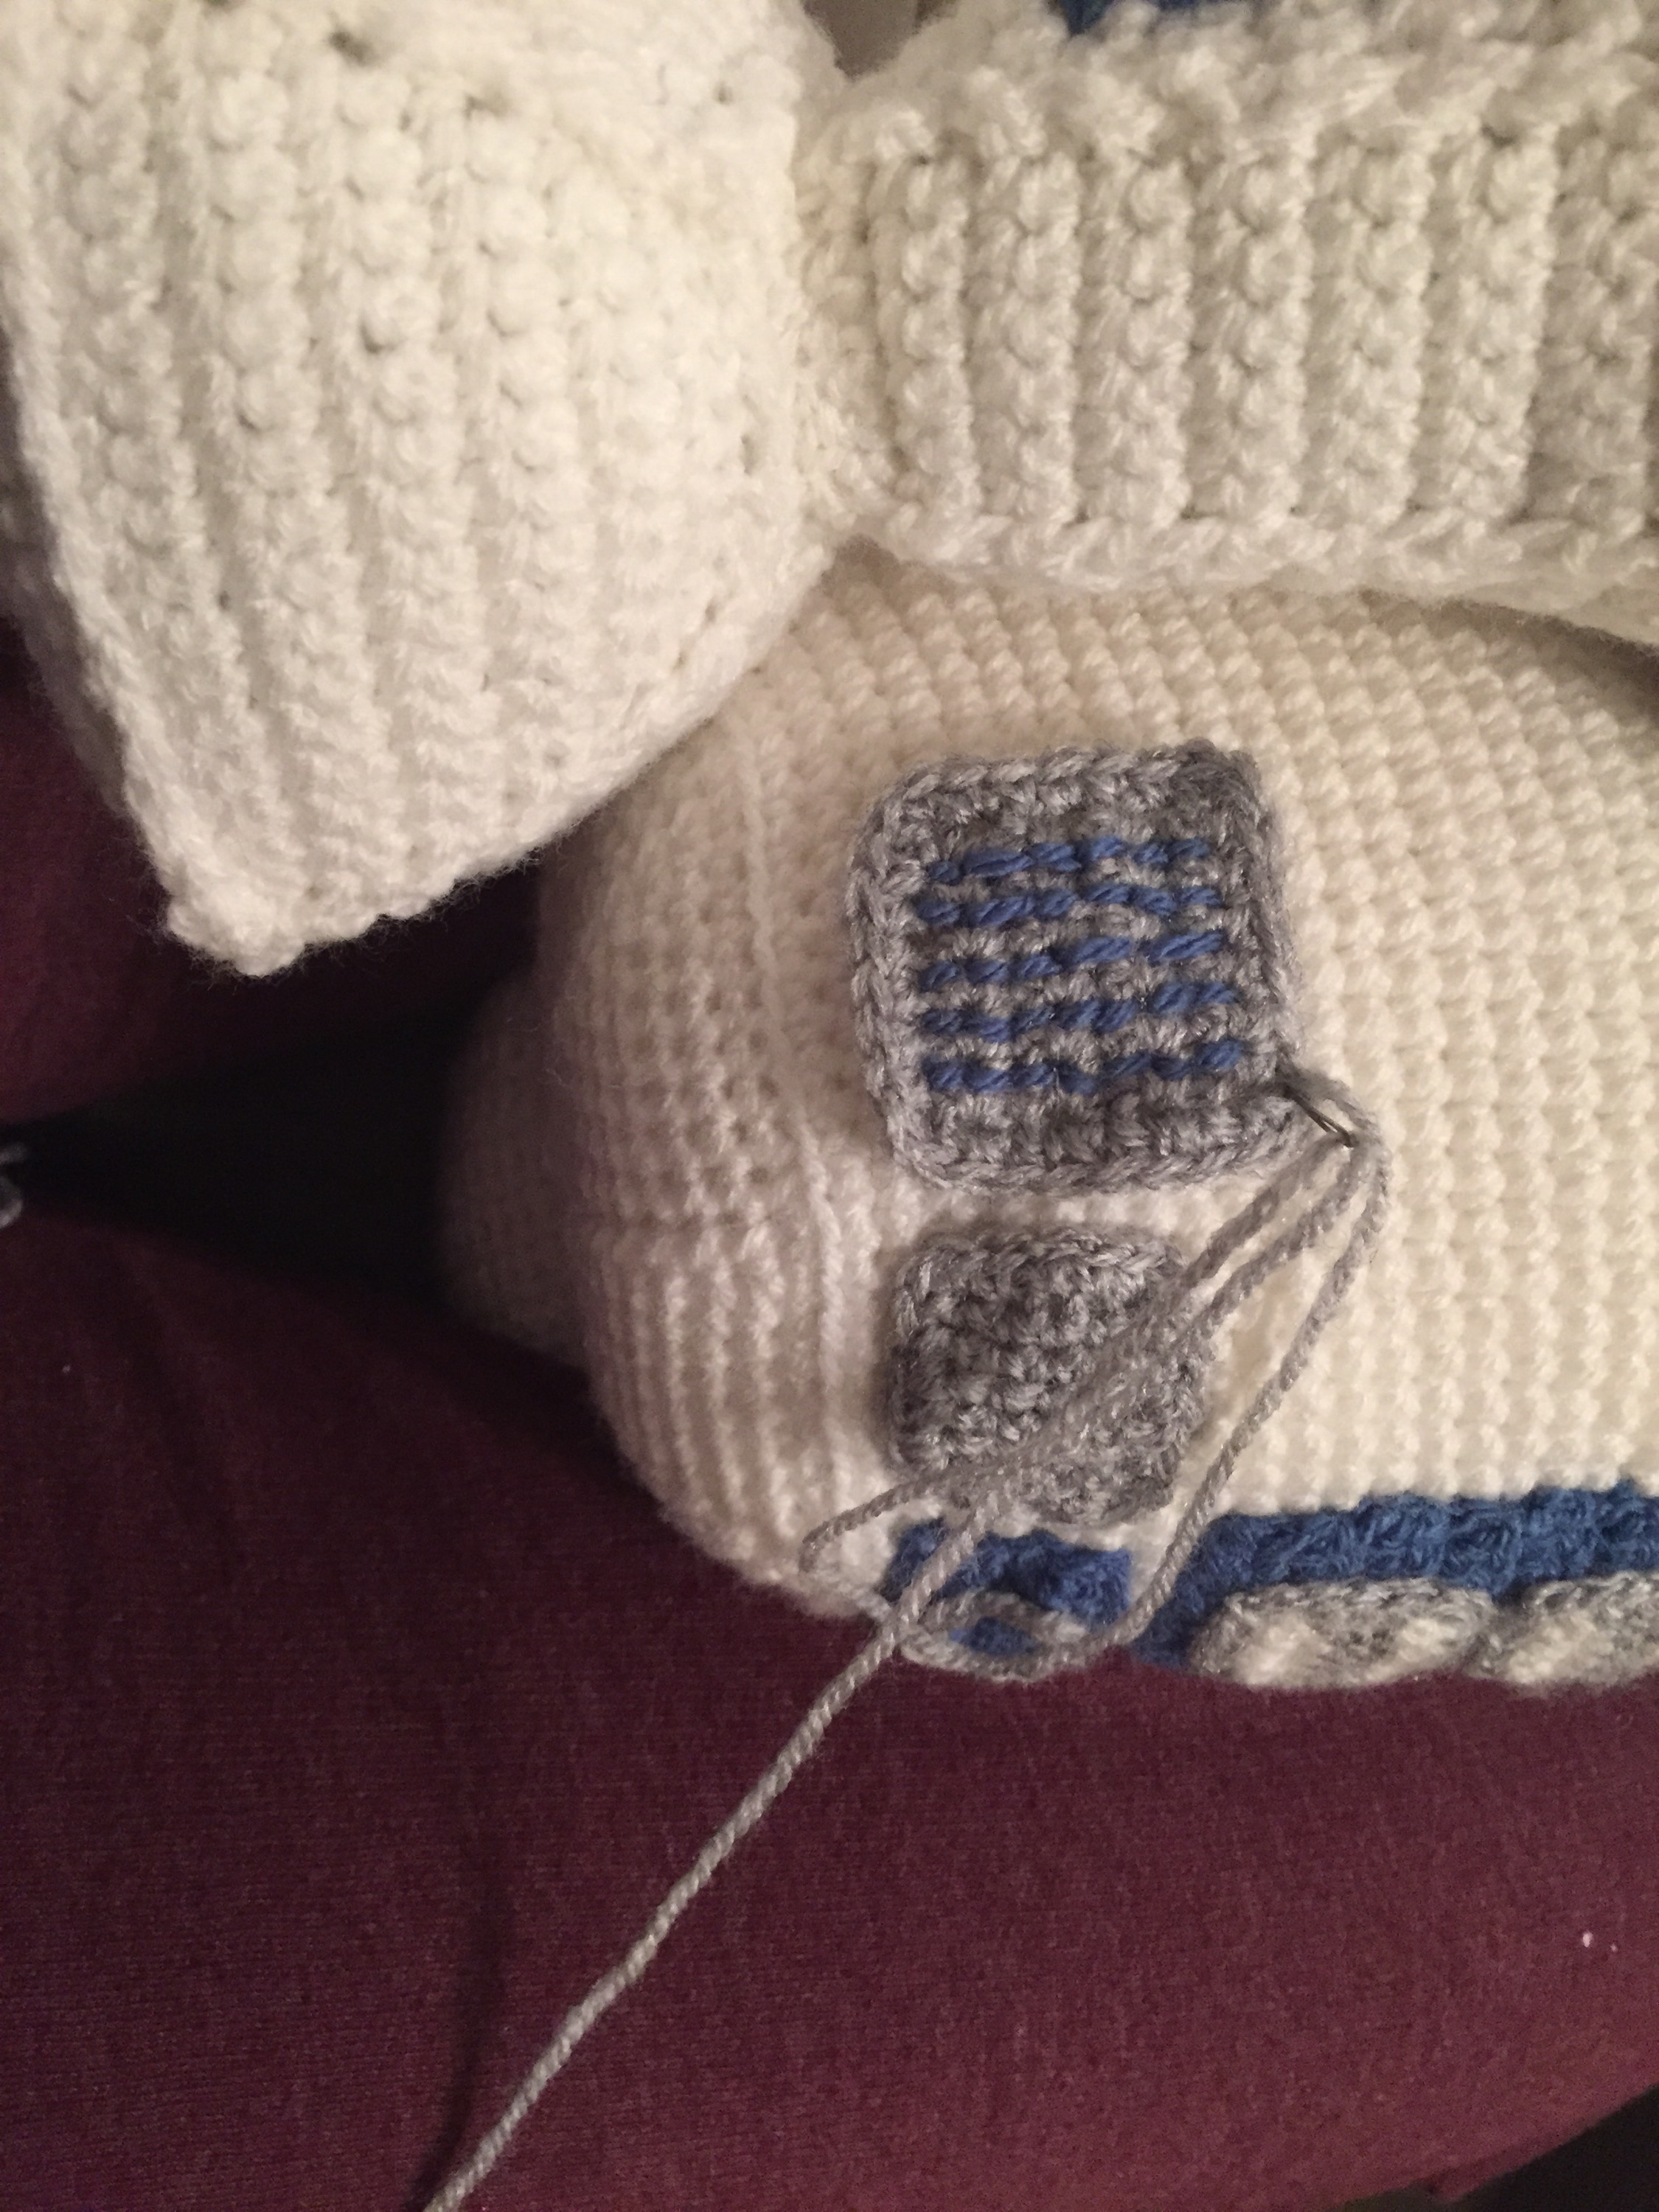
Large grey square:
In grey:
ch8.
Row 1: sc into 2nd ch from hook, sc along rest of row.
Row 2-6: ch1 (doesn’t count as a stitch) sc along rest of row.
ch1, sc around all four edges, slip stitch into ch1 at start to finish. Fasten off leaving long thread to attach.
In blue hand sew five vertical lines equally spaced apart.
Sew on next to small grey square.
Blue 6 line detail – make 6:
These lines go next to the blue panel with grey squares.
ch7, fasten off leaving thread to attach.
Sew onto body next to the blue panel (5sc away) with grey squares, leaving 1 row between each line.
Body details – back:
Grey Circle detail:
In grey:
Make a magic ring, ch1, 6sc into ring.
Round 1: 2sc into same sc. Repeat around.
Round 2: 2sc into same sc, sc. Repeat around.
Round 3: sc around.
Fasten off leaving thread to attach.
Sew onto the body at the bottom right.
Grey rectangles – make 2:
ch6.
Row 1: sc into 2nd ch from hook, sc along rest of row.
Row 2-6: ch1 (doesn’t count as a stitch) sc along rest of row.
ch1, sc around all four edges, slip stitch into ch1 at start to finish. Fasten off leaving long thread to attach.
Sew one next to the small grey circle, with the long side facing the base. The second goes next to the small grey square, again with the long side facing the base.

Large grey rectangle:
In grey:
ch8.
Row 1: dc into 2nd ch from hook, sc along rest of row.
Row 2-6: ch1 (doesn’t count as a stitch) sc along rest of row.
ch1, sc around all four edges, slip stitch into ch1 at start to finish. Fasten off leaving long thread to attach.
Sew on next to the small rectangle, with the shortest side facing the bottom.
In cream sew on one horizontal line and 4 vertical lines.
Small grey square:
In grey:
ch5.
Row 1: sc into 2nd ch from hook, sc along rest of row.
Row 2-4: ch1 (doesn’t count as a stitch) sc along rest of row.
ch1, sc around all four edges, slip stitch into ch1 at start to finish. Fasten off leaving long thread to attach.
Sew on next to the small great rectangle.


Leave a comment