
You can never have too many spiders at Halloween – only fabric ones that is!
I was so pleased with my quilted patchwork spider I decided to make another fabric spider for Halloween. I wanted this to be a bit different to the previous spider so decided to make the body out of patchwork hexagons using one of my favourite patch working methods – English paper piecing.
I really enjoy patchworking with this method, using the paper templates gives such sharp edges and it’s so easy to do – although it is a bit more time consuming than using a machine. Since I was going to hand sew all the hexagons together I decided I would use on my hand stitching for the whole spider, it’s nice to get a break from the machine every now and then!
Similarly to the previous spider I was lucky to receive some of The Craft Cotton Company fabric and the Brights fat quarter bundle was perfect for this – the Orange and green colours are ideal for Halloween and the navy provides a perfect darker contrast. I was a bit nervous on how it would look in all different colours rather than just in black and white but I think it’s really worked out we, and is s great contrast to the other patchwork spider. I hope I have enough time to make a few more of these, it would be great to have them all in different sizes!
Hexagon patchwork spider tutorial:
Materials:
Brights fat quarter set by The Craft Cotton Company.
- Ruler.
- Paper.
- Pencil.
- Scissors.
- Toy Stuffing.
- Pins.
- Thread.
- Needle.
- White felt.
- Black felt.
Hexagon patchwork spider – Hexagons:
For this I made hexagons which were 4 cm long on each side, but you could do as big or as small as you want.
- Need in total: 14 hexagons, 6 diamonds (instructions for the diamonds come later).

- You can choose whatever colour combination you would like, I’ve chosen to use a bright green, bright orange and a dark navy from the Craft Cotton Company fat quarter set in Brights.
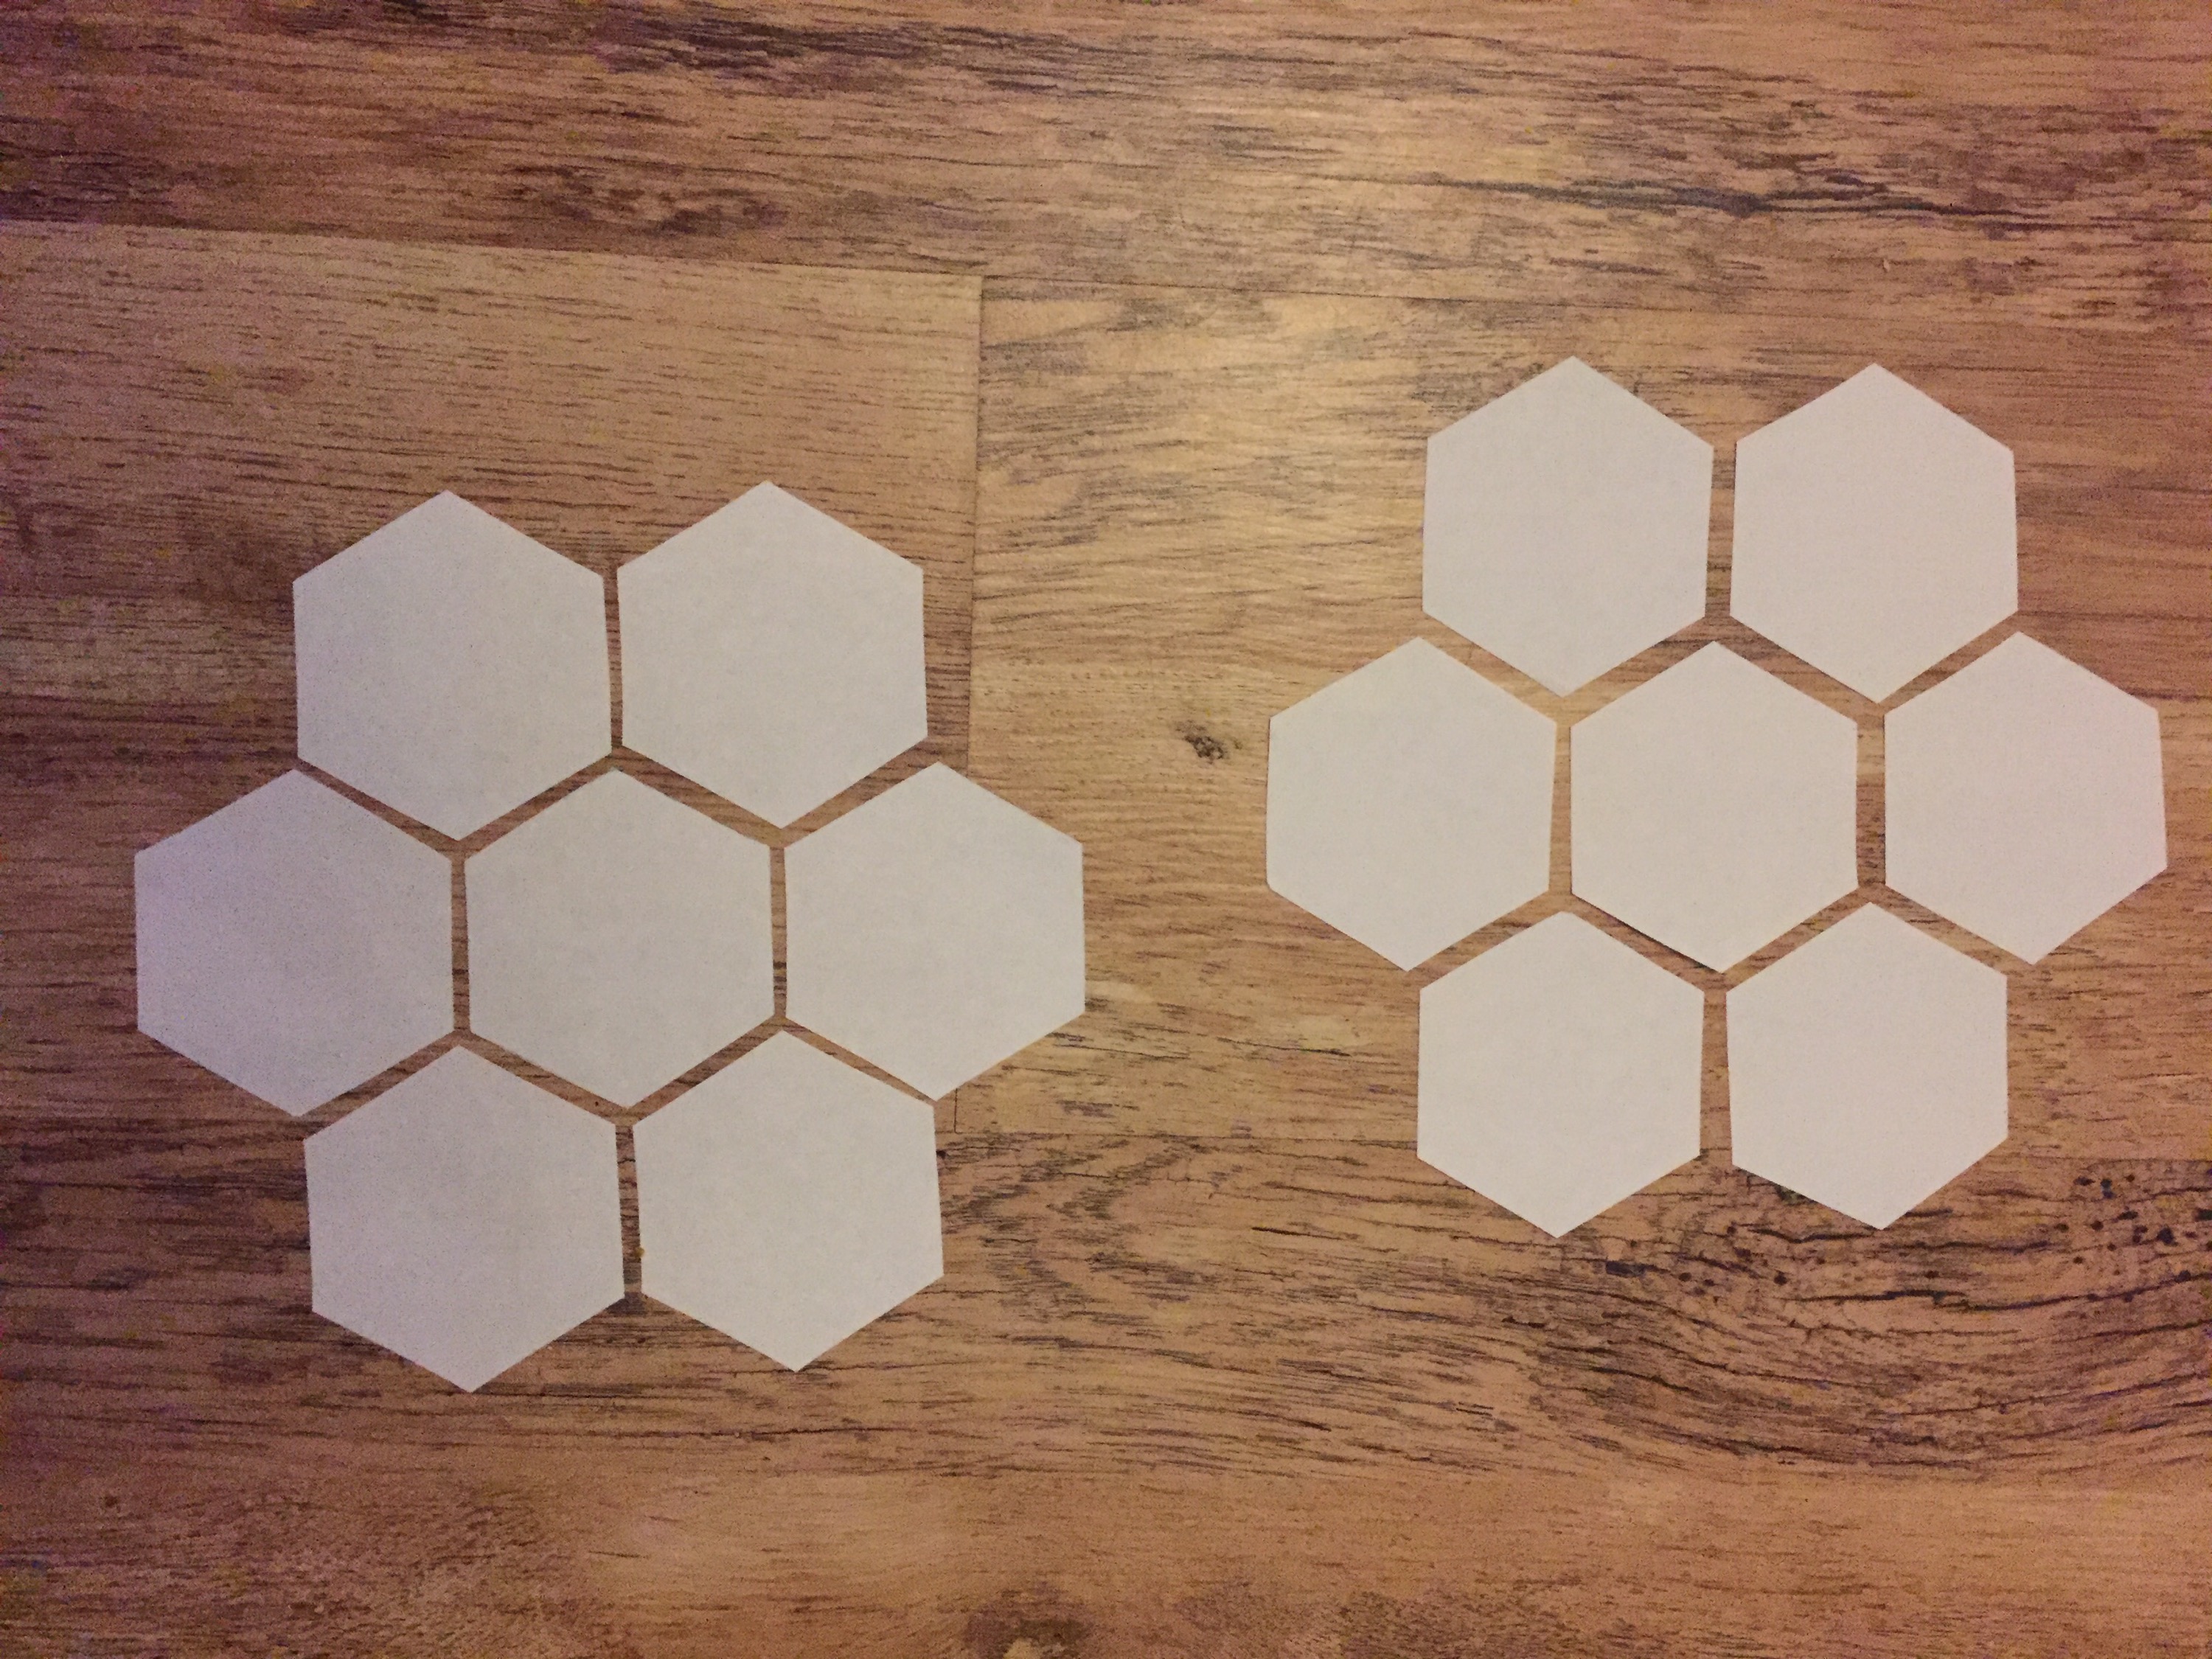
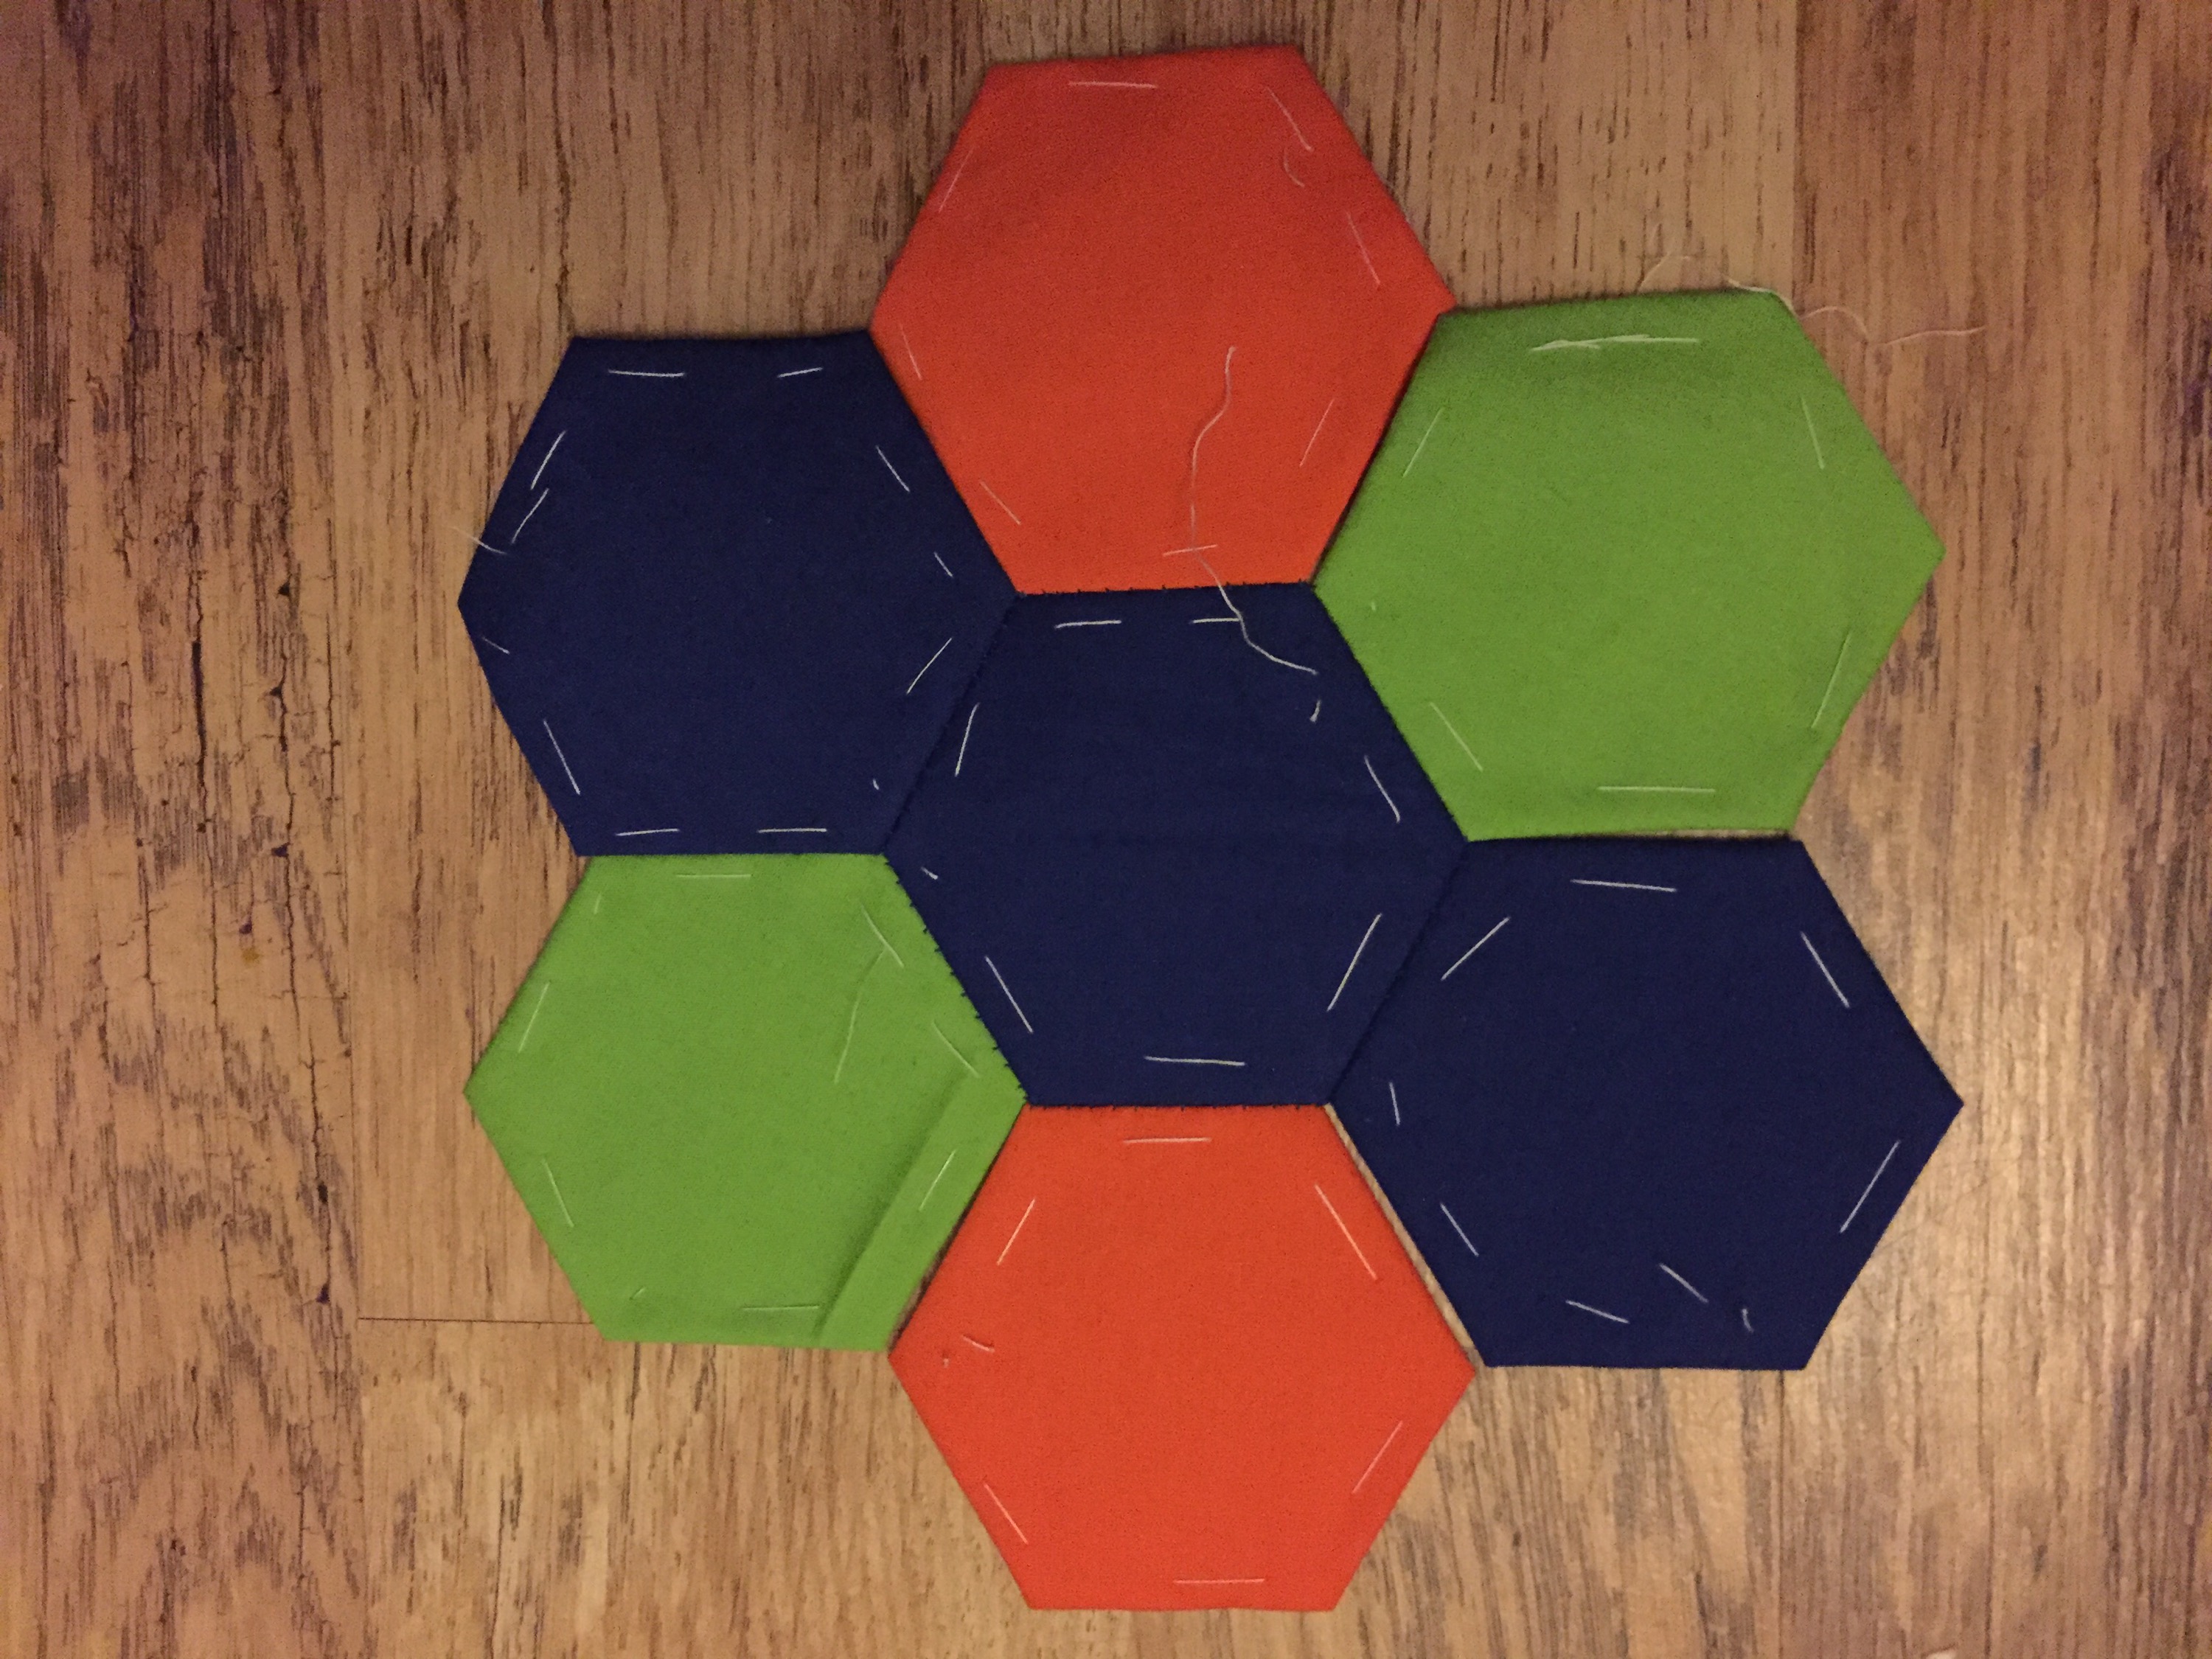
- I wanted the top and bottom of mine to be mirrored so to make this easier for sewing the individual hexagons together and making sure I got them all in the right places.
- I laid the top pieces out right side up and the bottom side pieces in the same position but facing right side down as this the positioning I wanted once the body has been sewn all together. I alternated between the colours and chose to use the layout in the picture below.


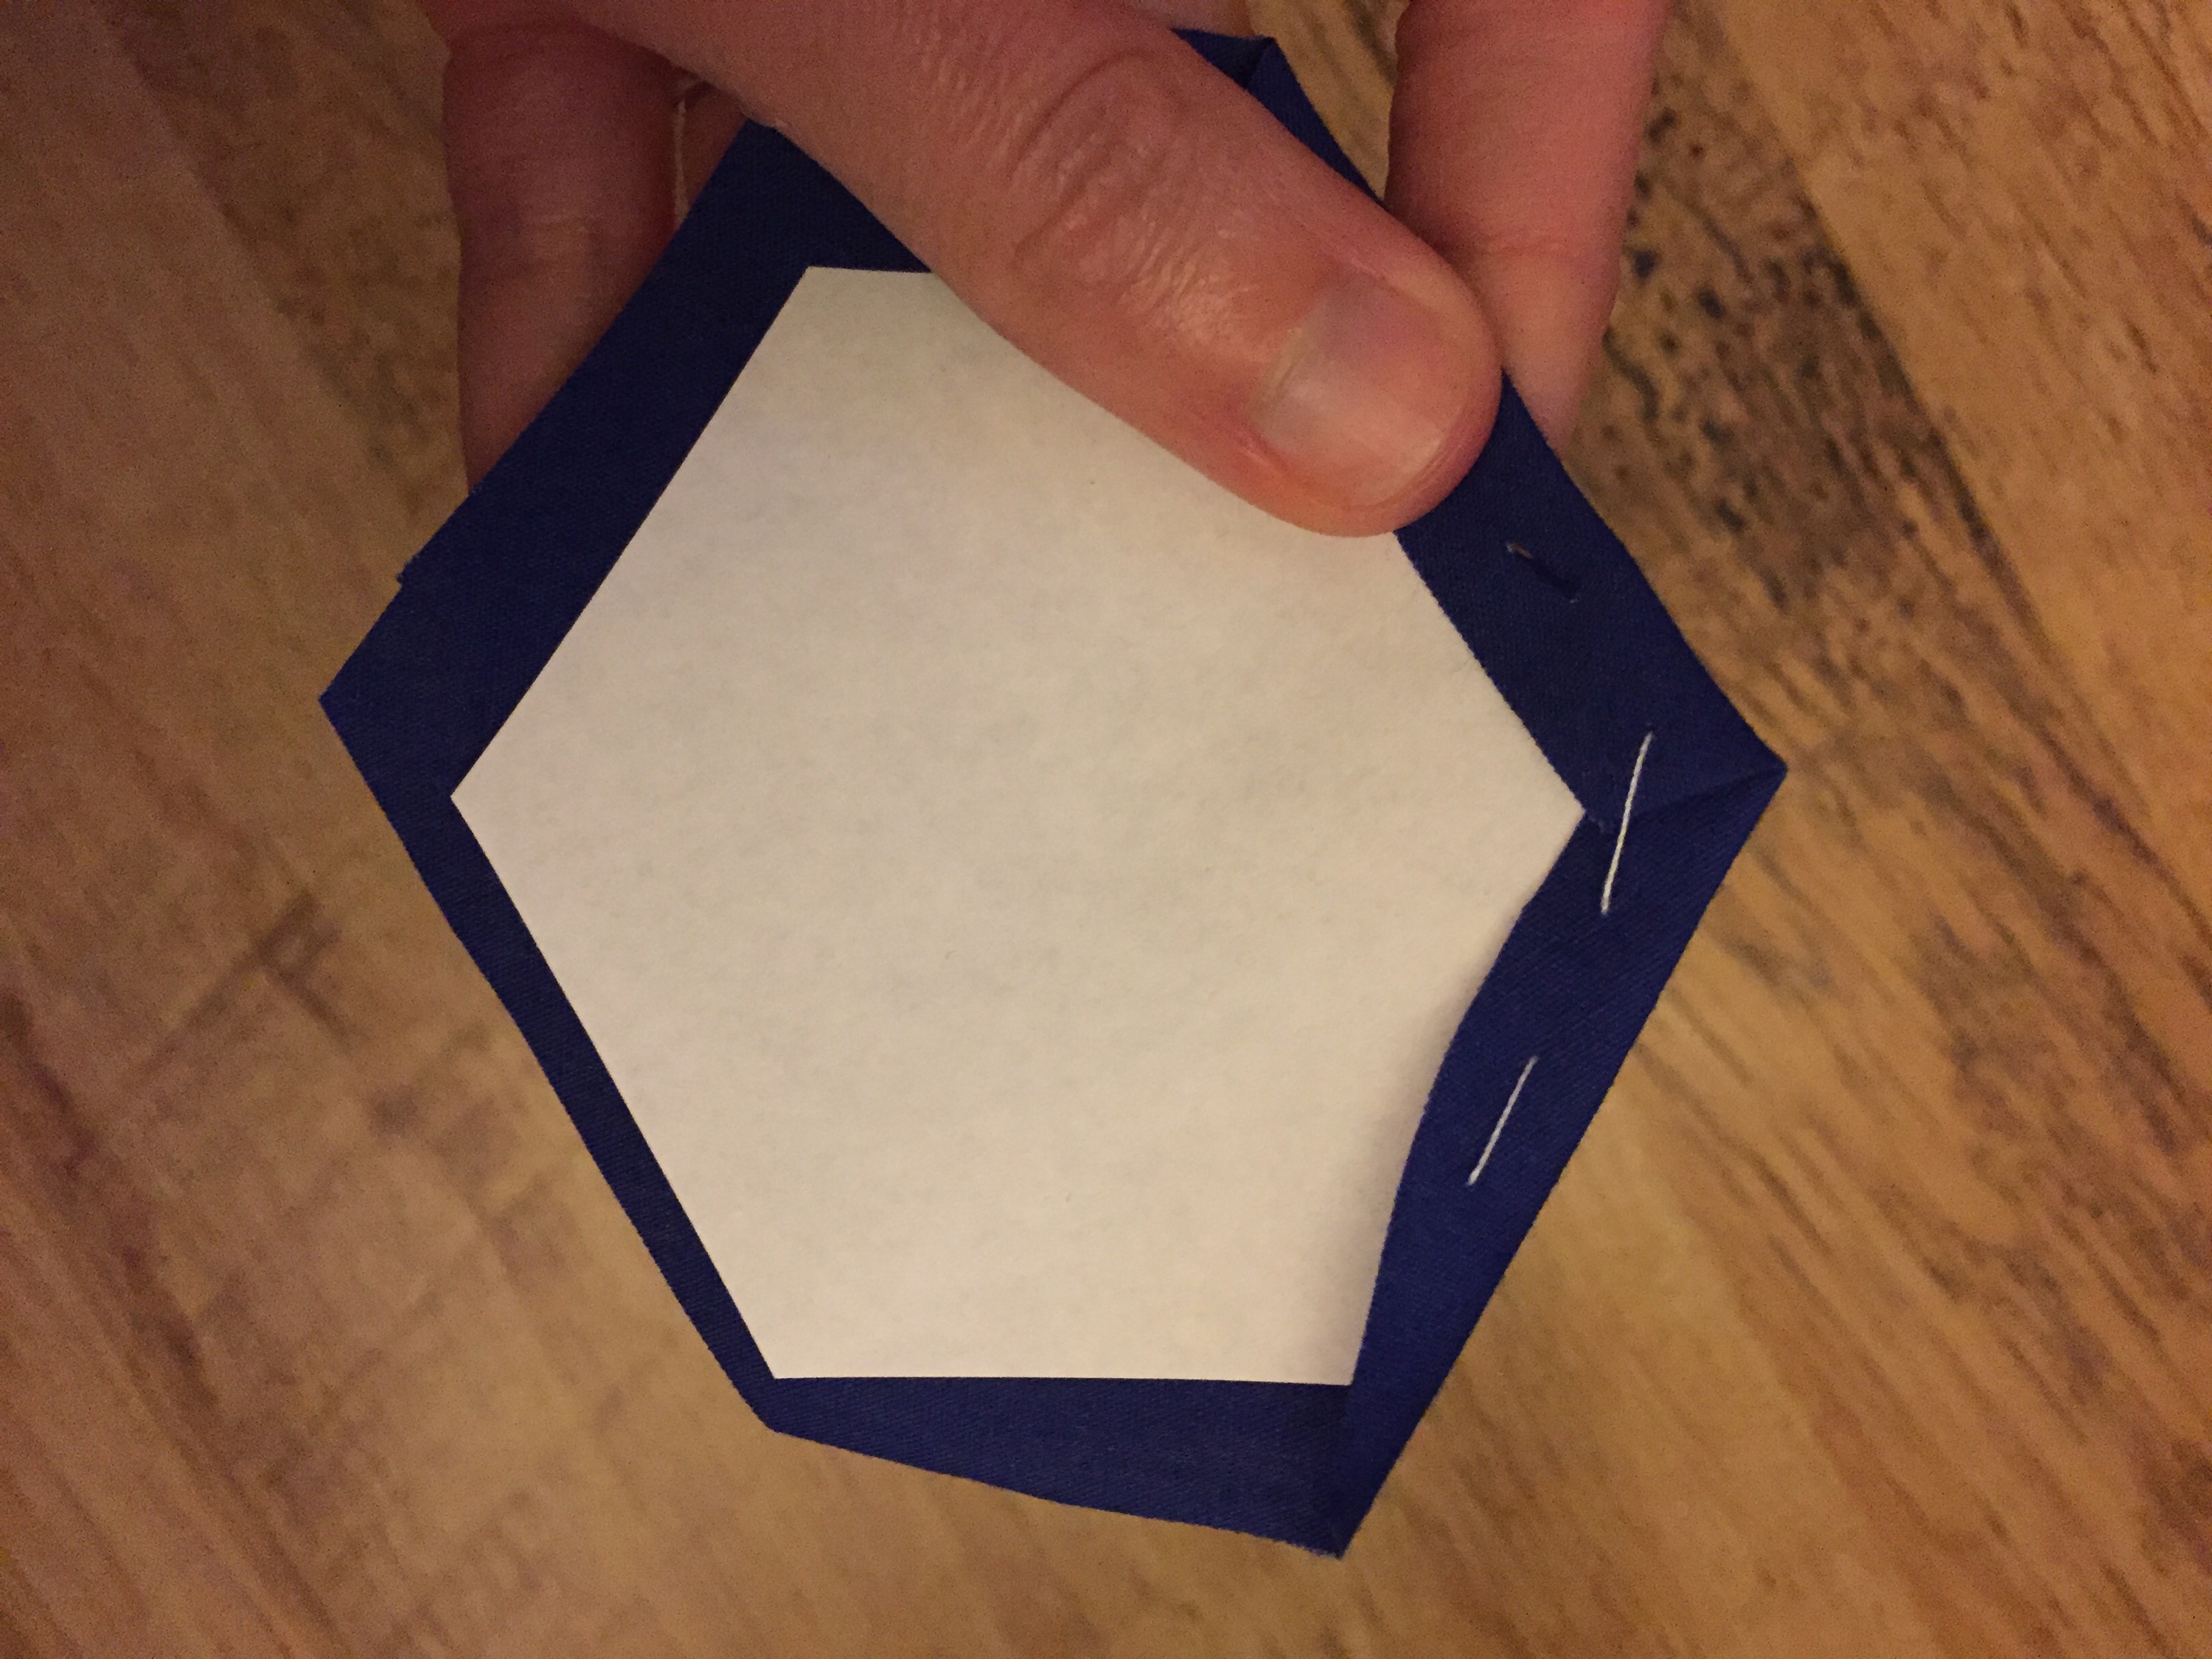
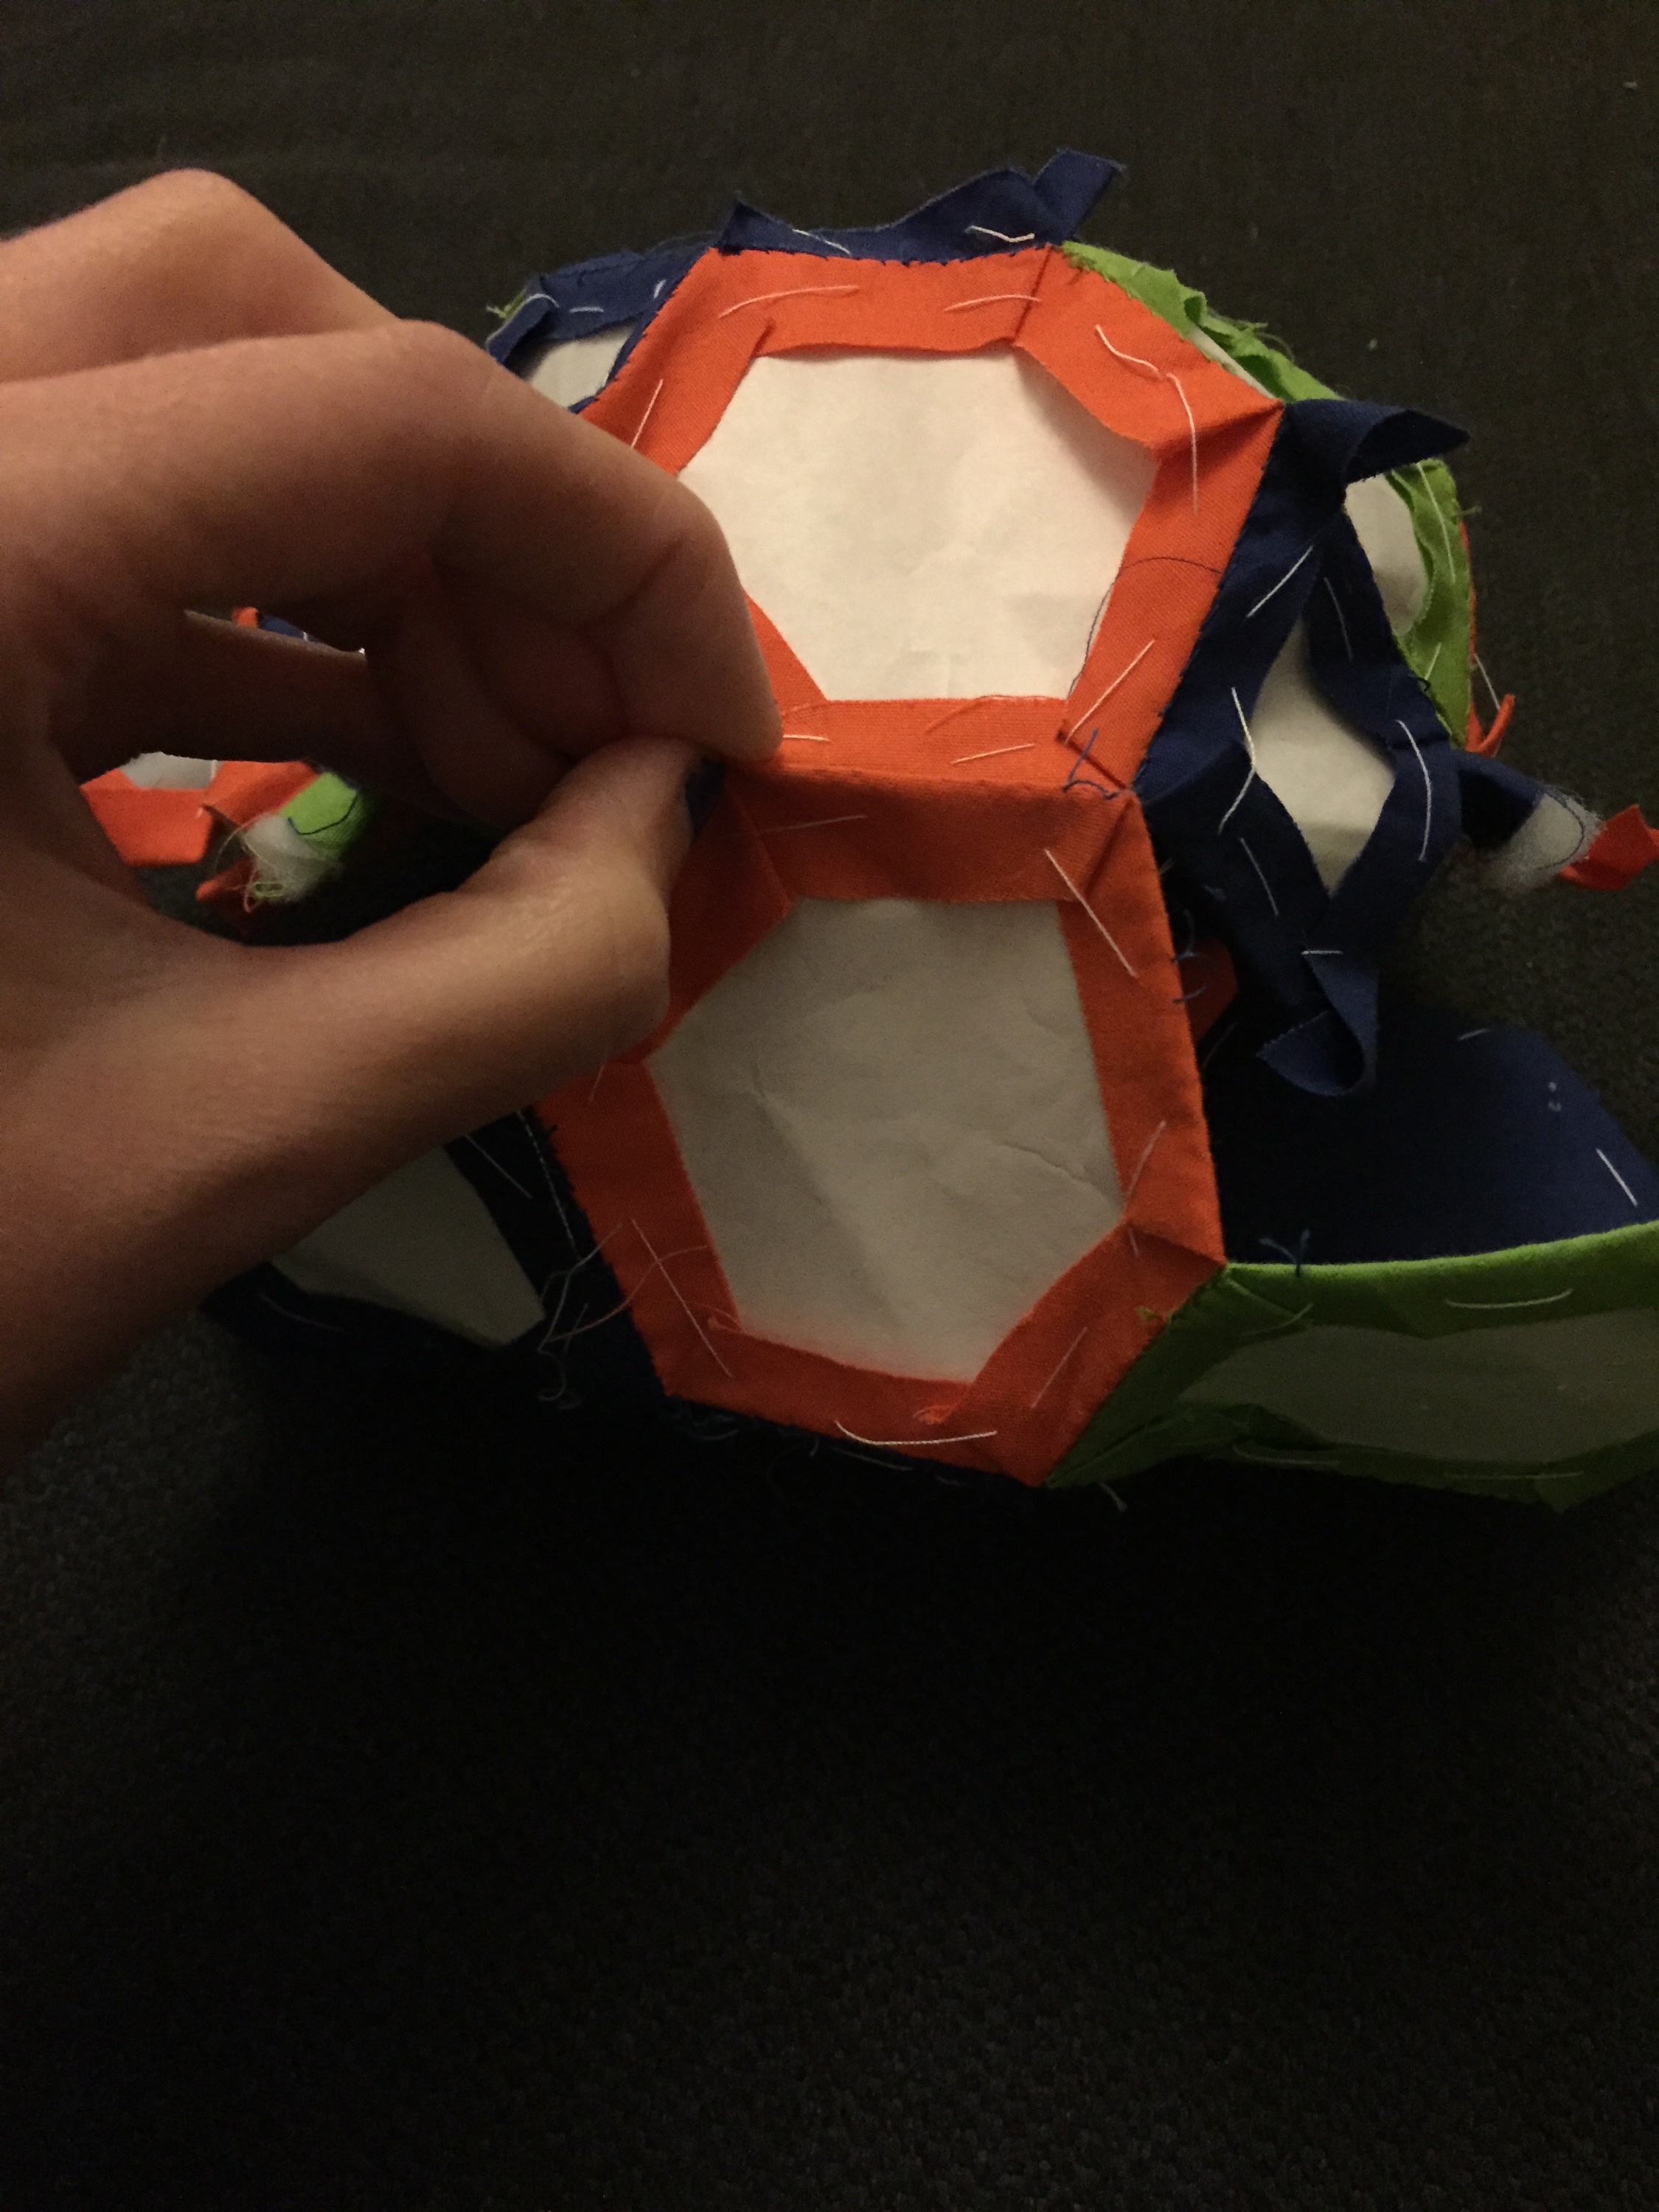
- Next you need to cut out the fabric, make sure you leave a 1cm seam allowance around the hexagon template. Now tack stitch the fabric onto the template by turning the seam allowance around the template and tacking around the edge, repeat this for all the hexagons.


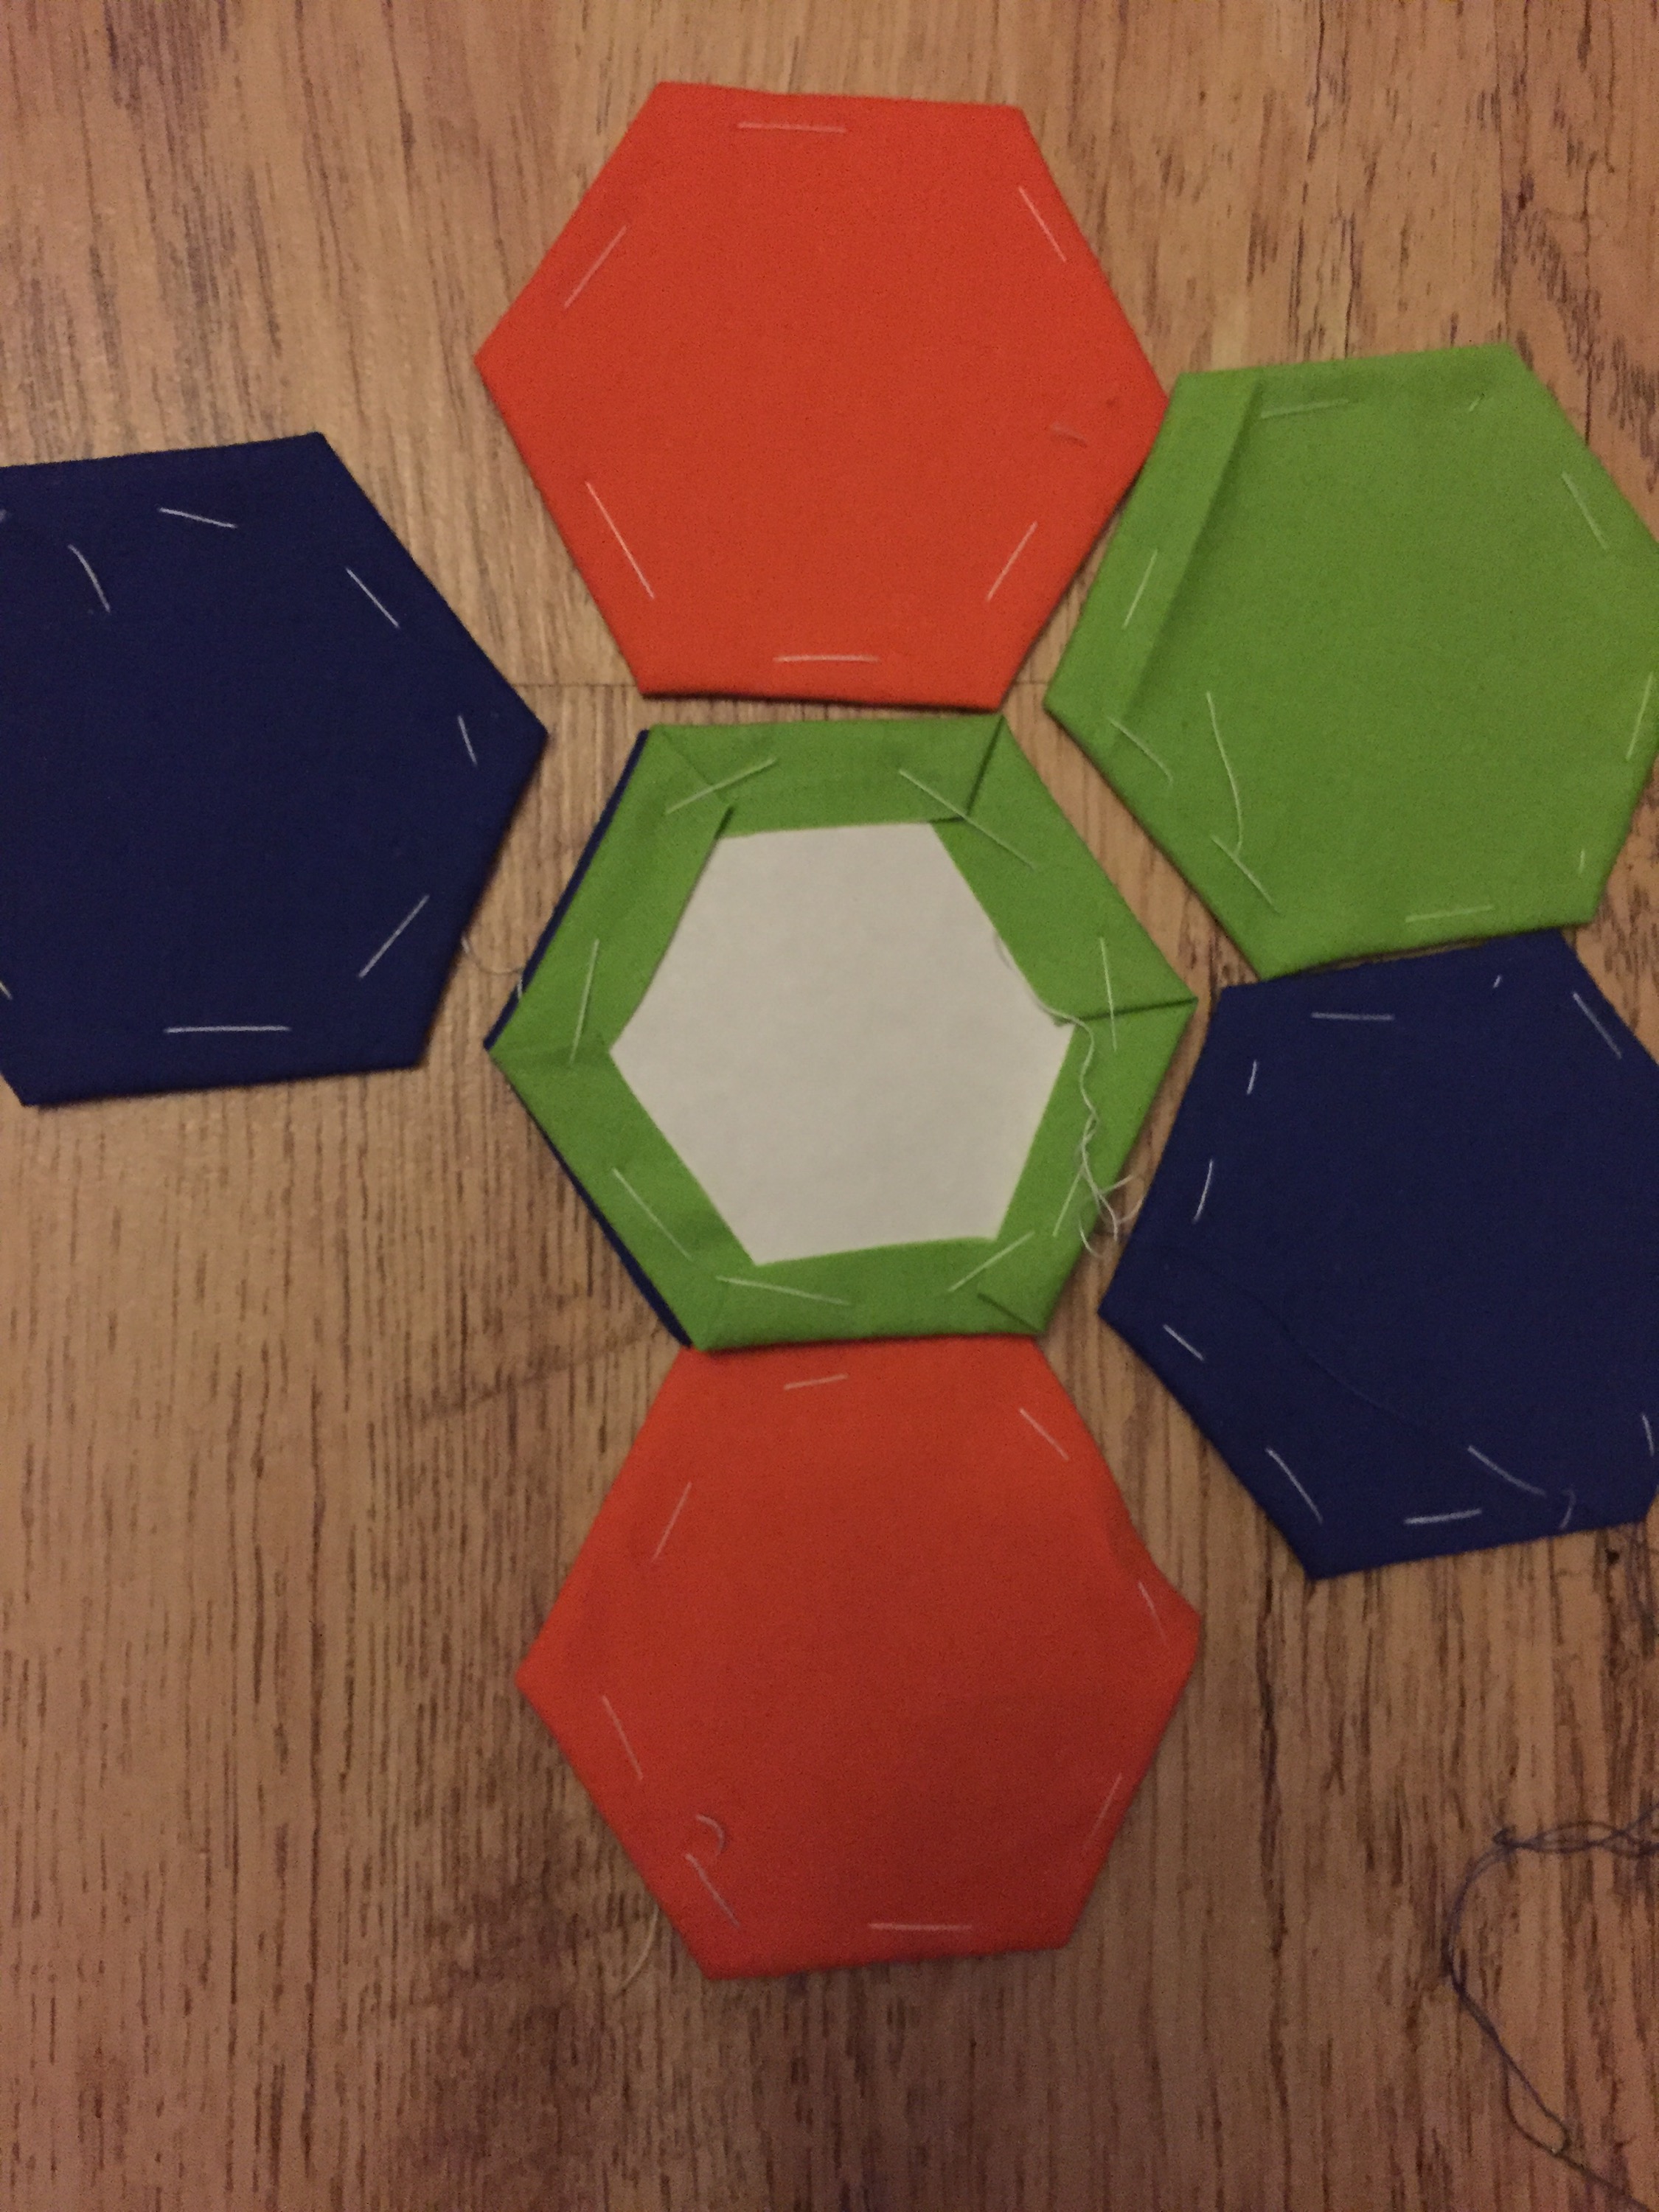
- Now your ready to start putting them together: I joined the top and bottom sections together separately so I didn’t get too confused with all the hexagons and start getting them in the wrong place! To join them together take two hexagons and place right side together and sew down the side seam to join them using a colour similar to one of the hexagons.
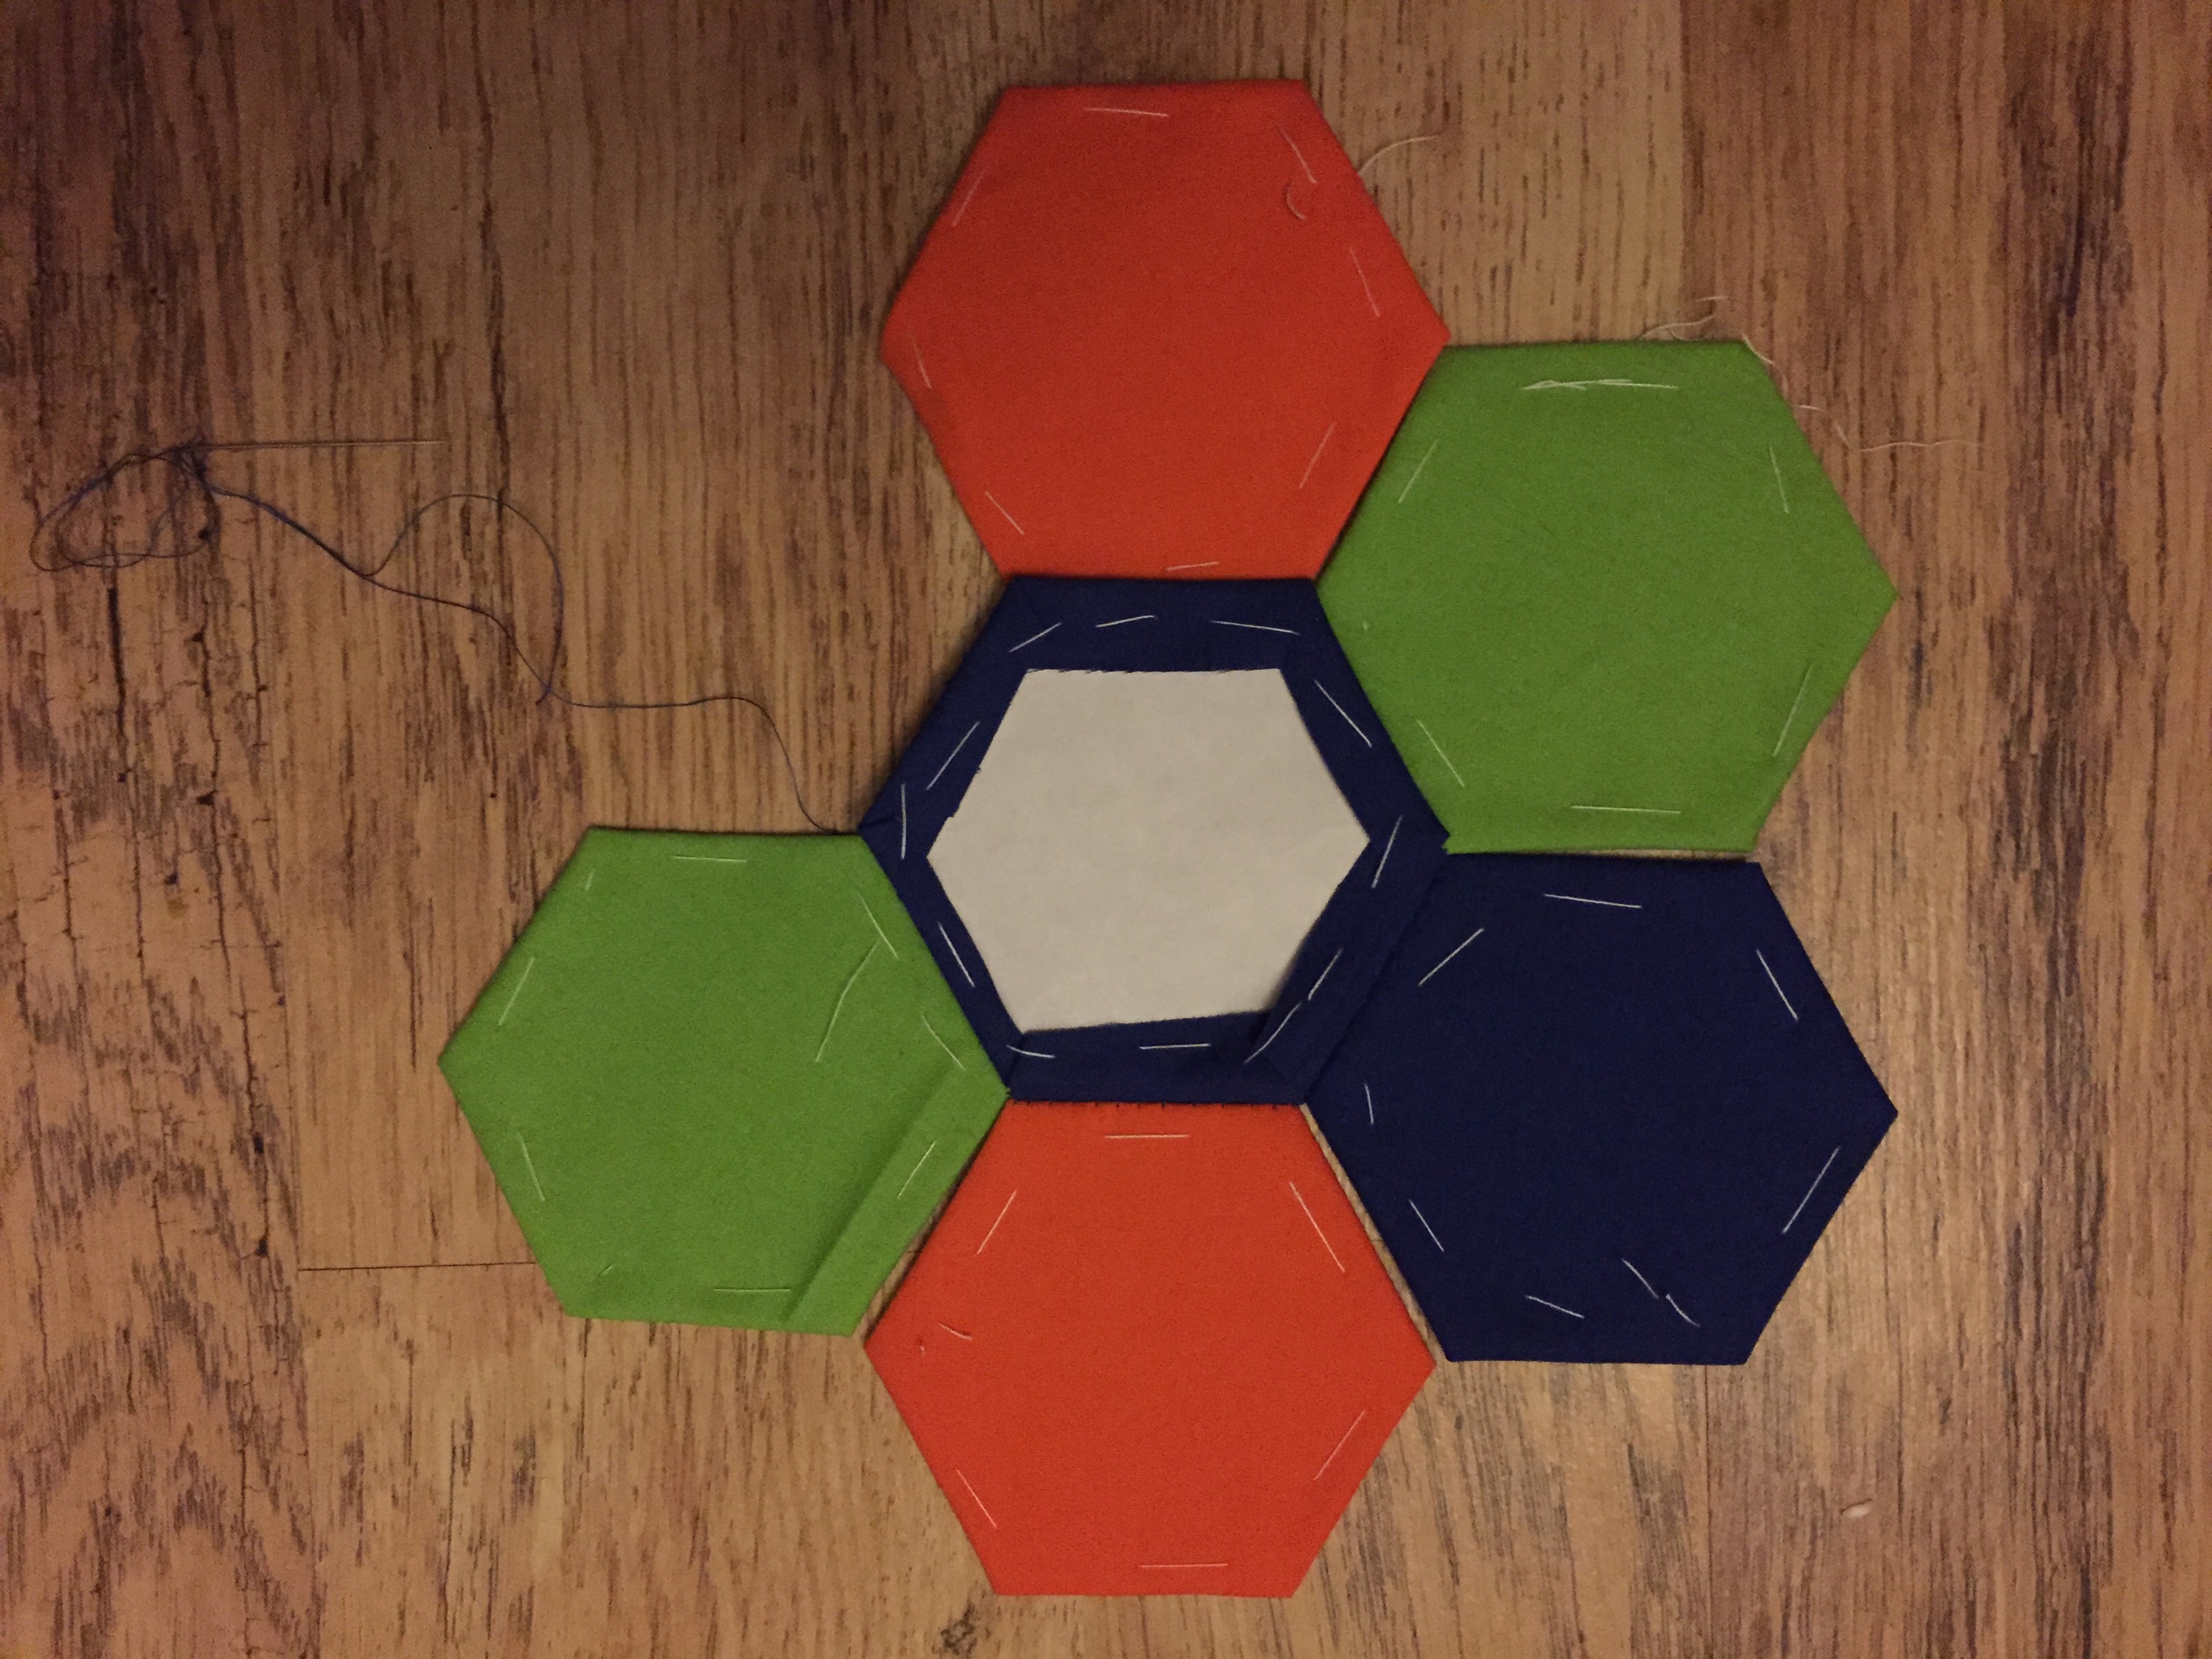
- Repeat this until all the hexagons of the top and then the bottom are joined together. I started by sewing one side of each of the hexagons surrounding the middle piece to the middle piece, then I sewed each side of the surrounding ones together.


Hexagon patchwork spider – Diamonds:
- Now you have the top and bottom sections completed, you need to make the diamonds. To make the diamond template: take 4 of the hexagon templates and lay them out in two rows on top of each other, this will leave a triangular shape in between the four hexagons, place a piece of paper in this gap and draw the diamond shape, cut it out and there is your diamond template.
- You will need 6 of these, I chose to do 2 in each of the three colours. Now sew these diamonds onto the top piece in between the hexagons by placing the right sides together and sewing down the seams, the positions and the colour layout I chose I shown on the picture.


Hexagon patchwork spider – The Legs:
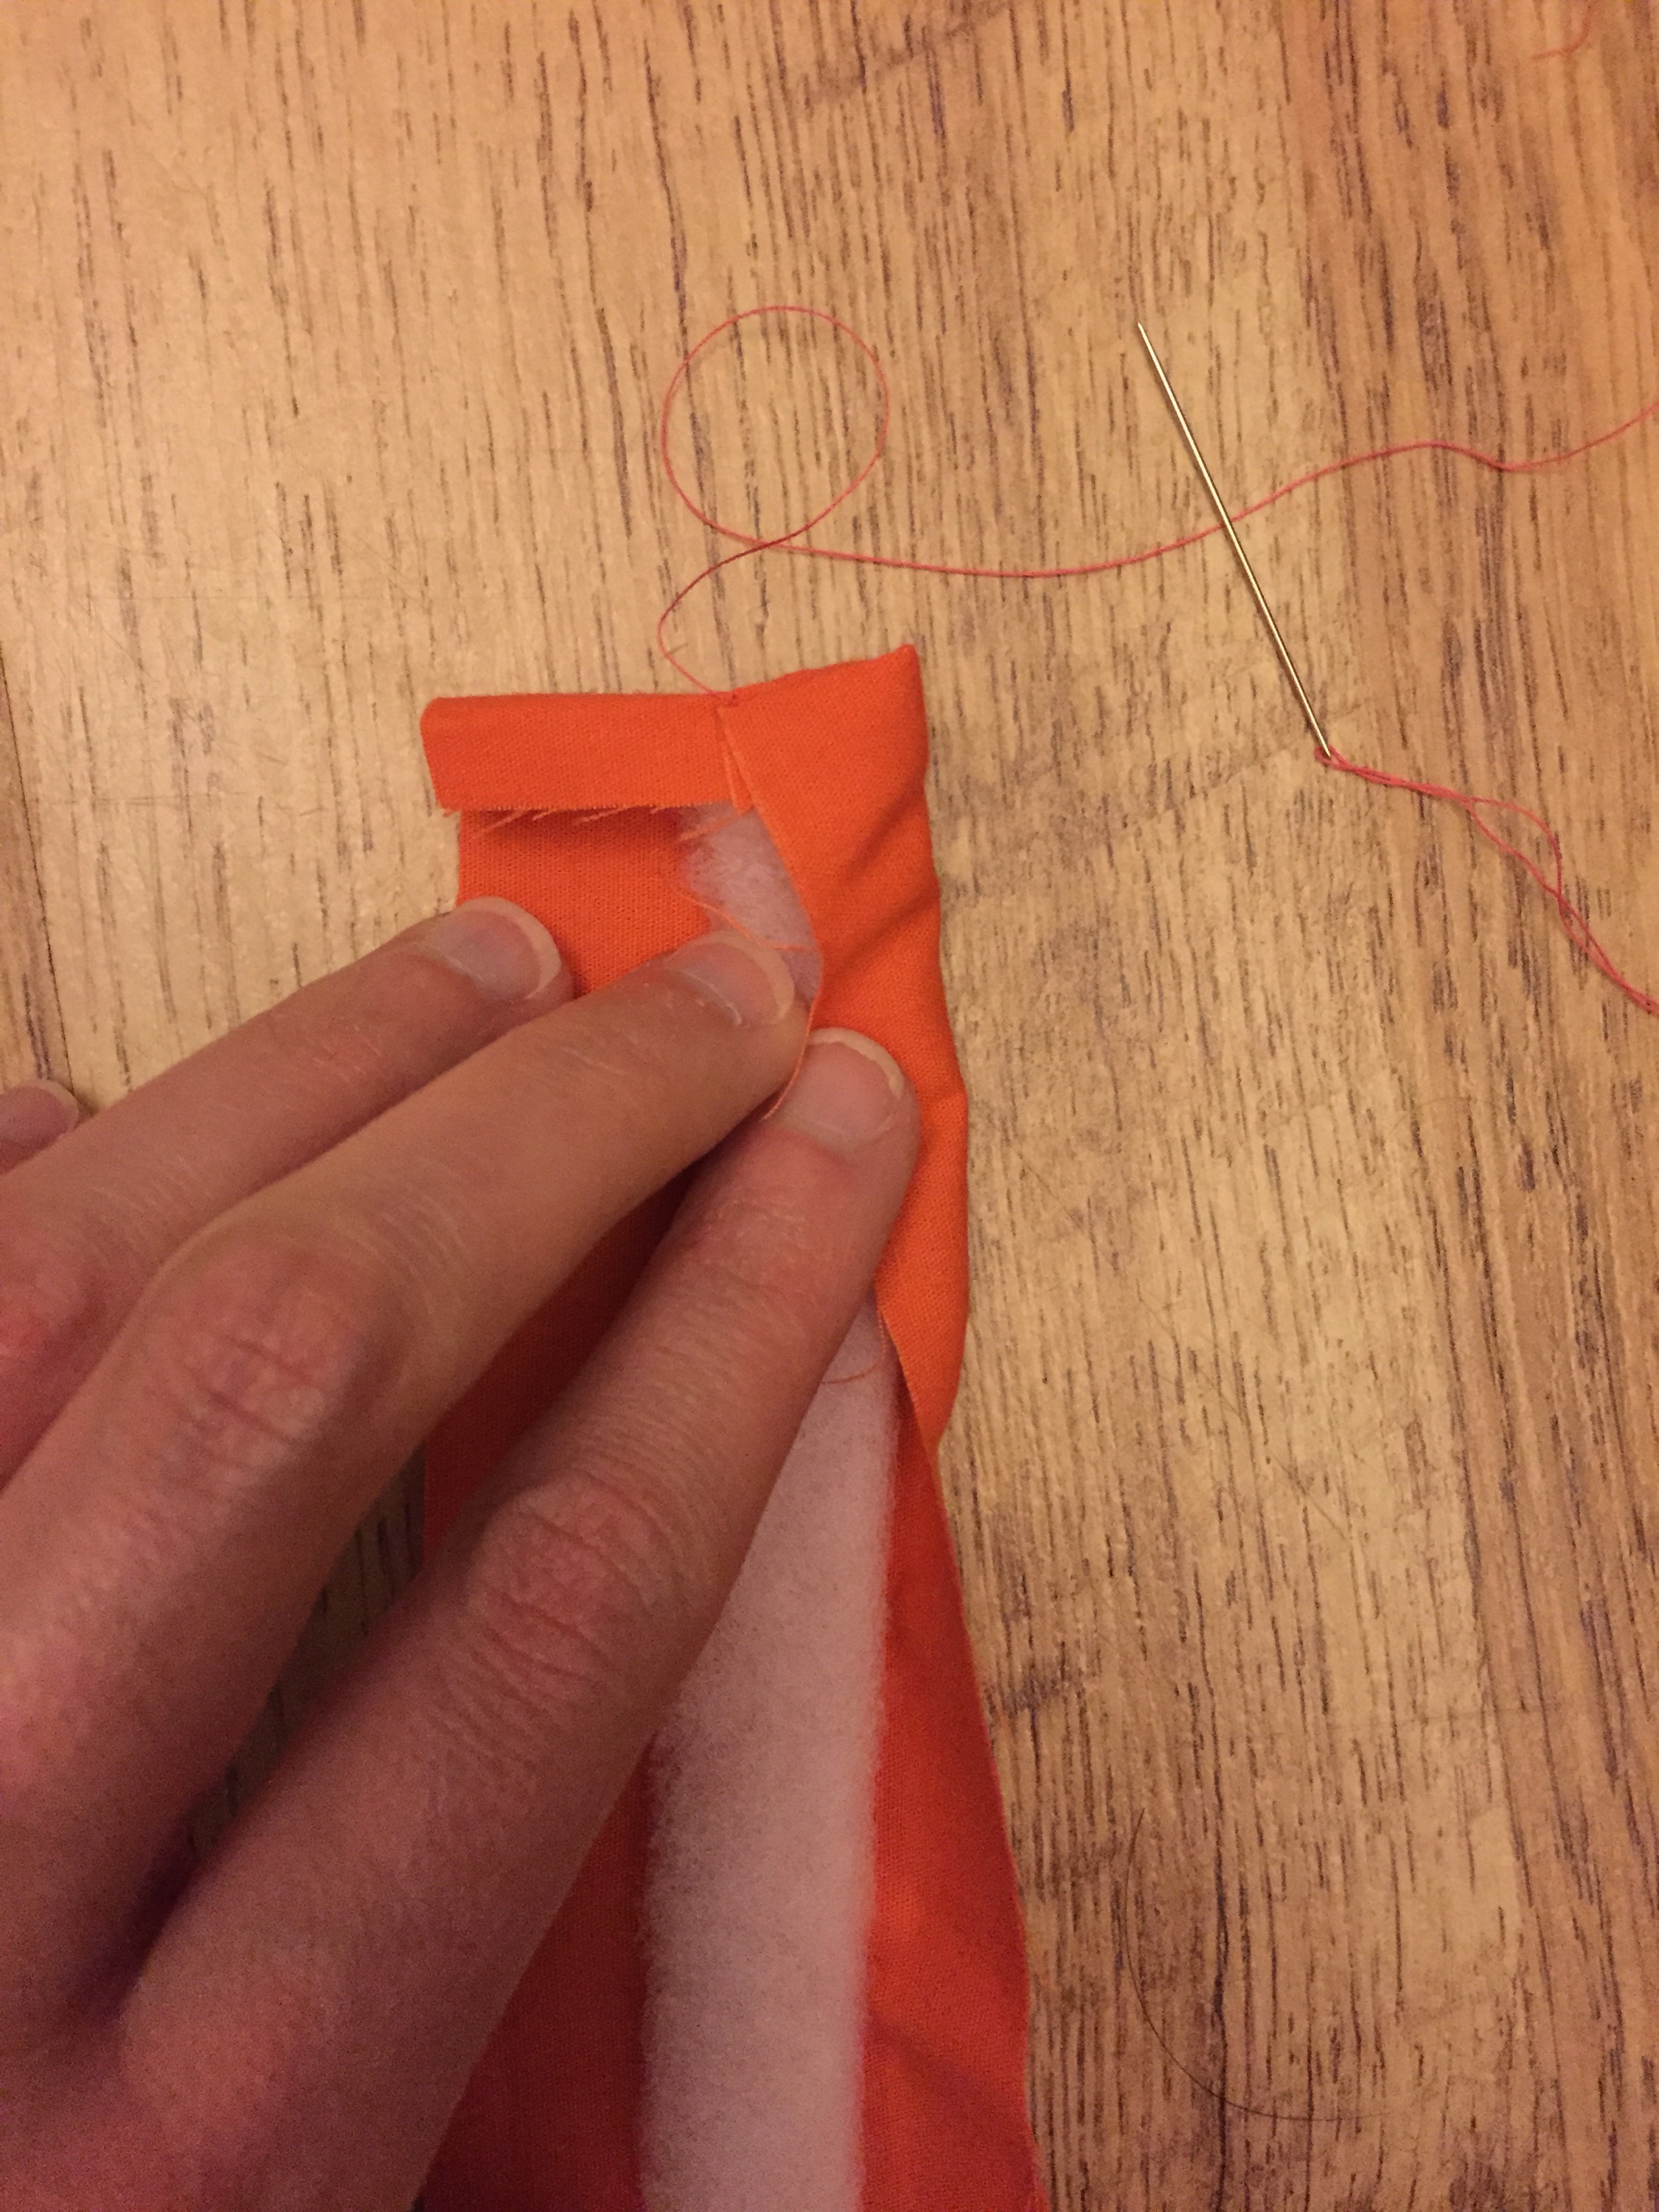
- Cut a paper template 5cm wide and 20cm long. Now cut out 8 legs in different colours. Now for the leg filling – cut out a template 3cm wide and 19cm long and cut out some batting, fold the batting in half and place inside the centre of fabric leg.
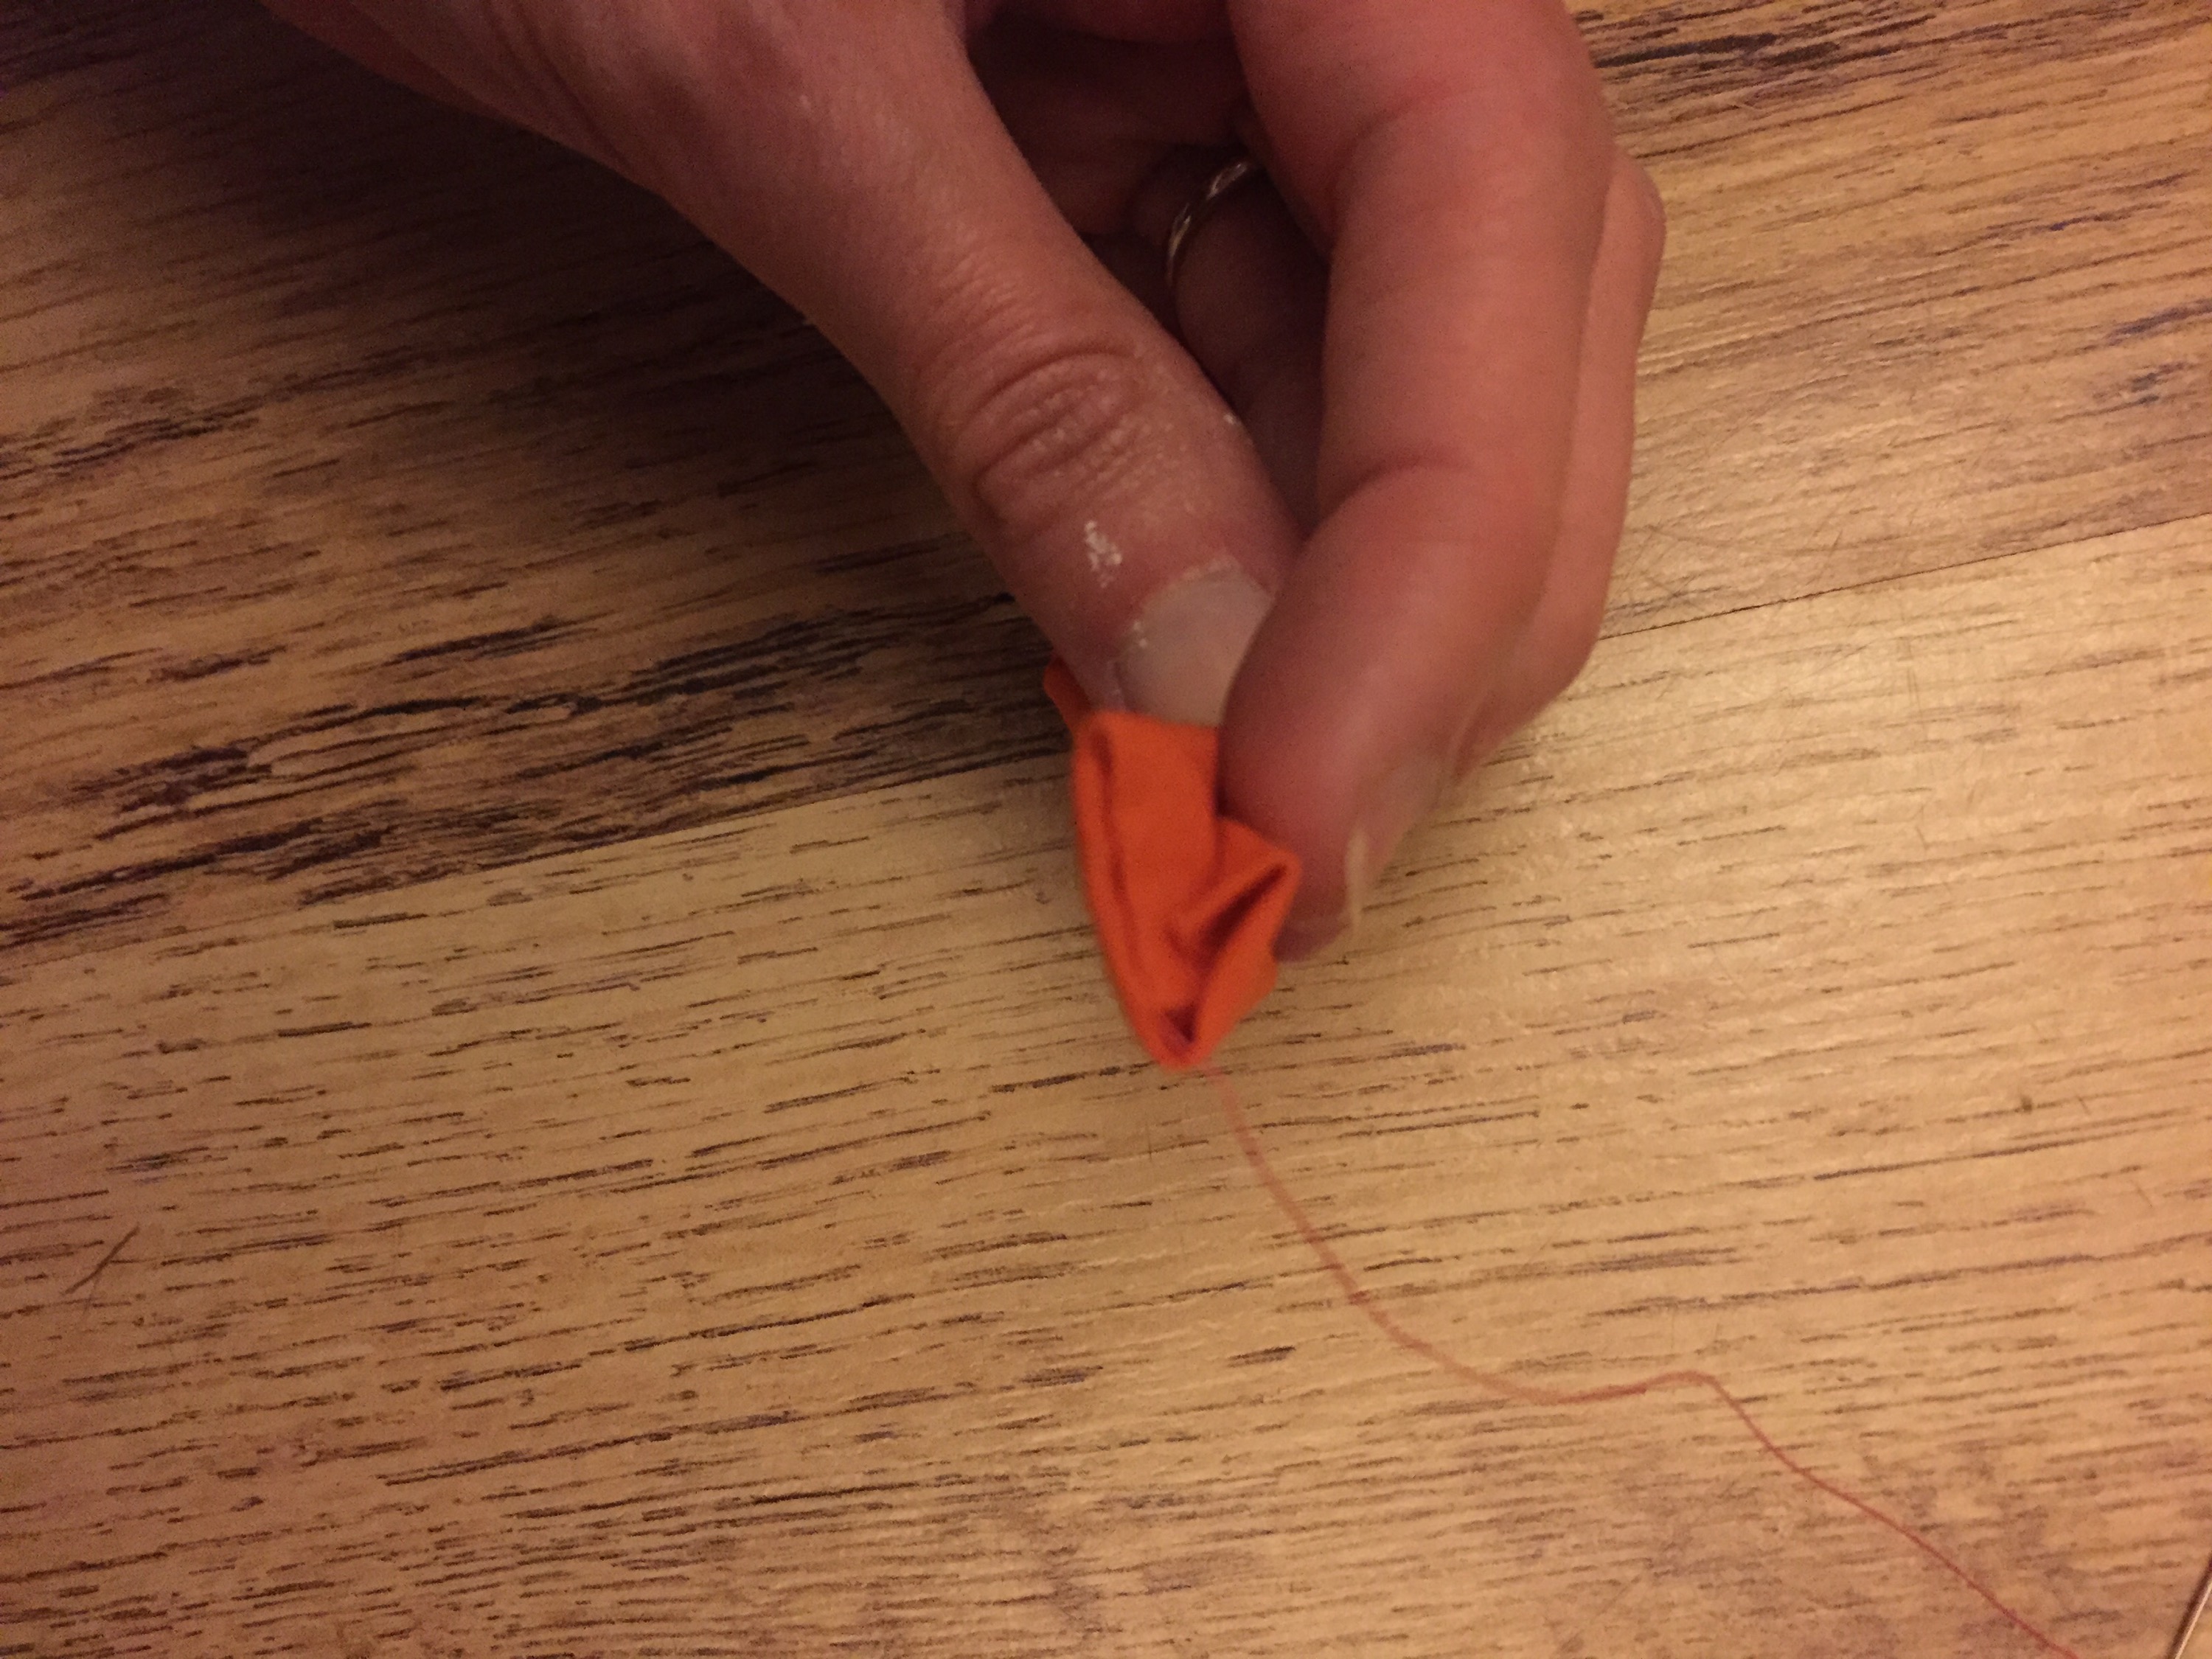
- Now fold over the bottom short edge of the fabric, then fold over one side of the long edge of the fabric and slip stitch along the bottom of the leg to seal, then fold over the other side of the fabric tucking it under itself to make a seam and slip stitch down the side of the leg to seal.
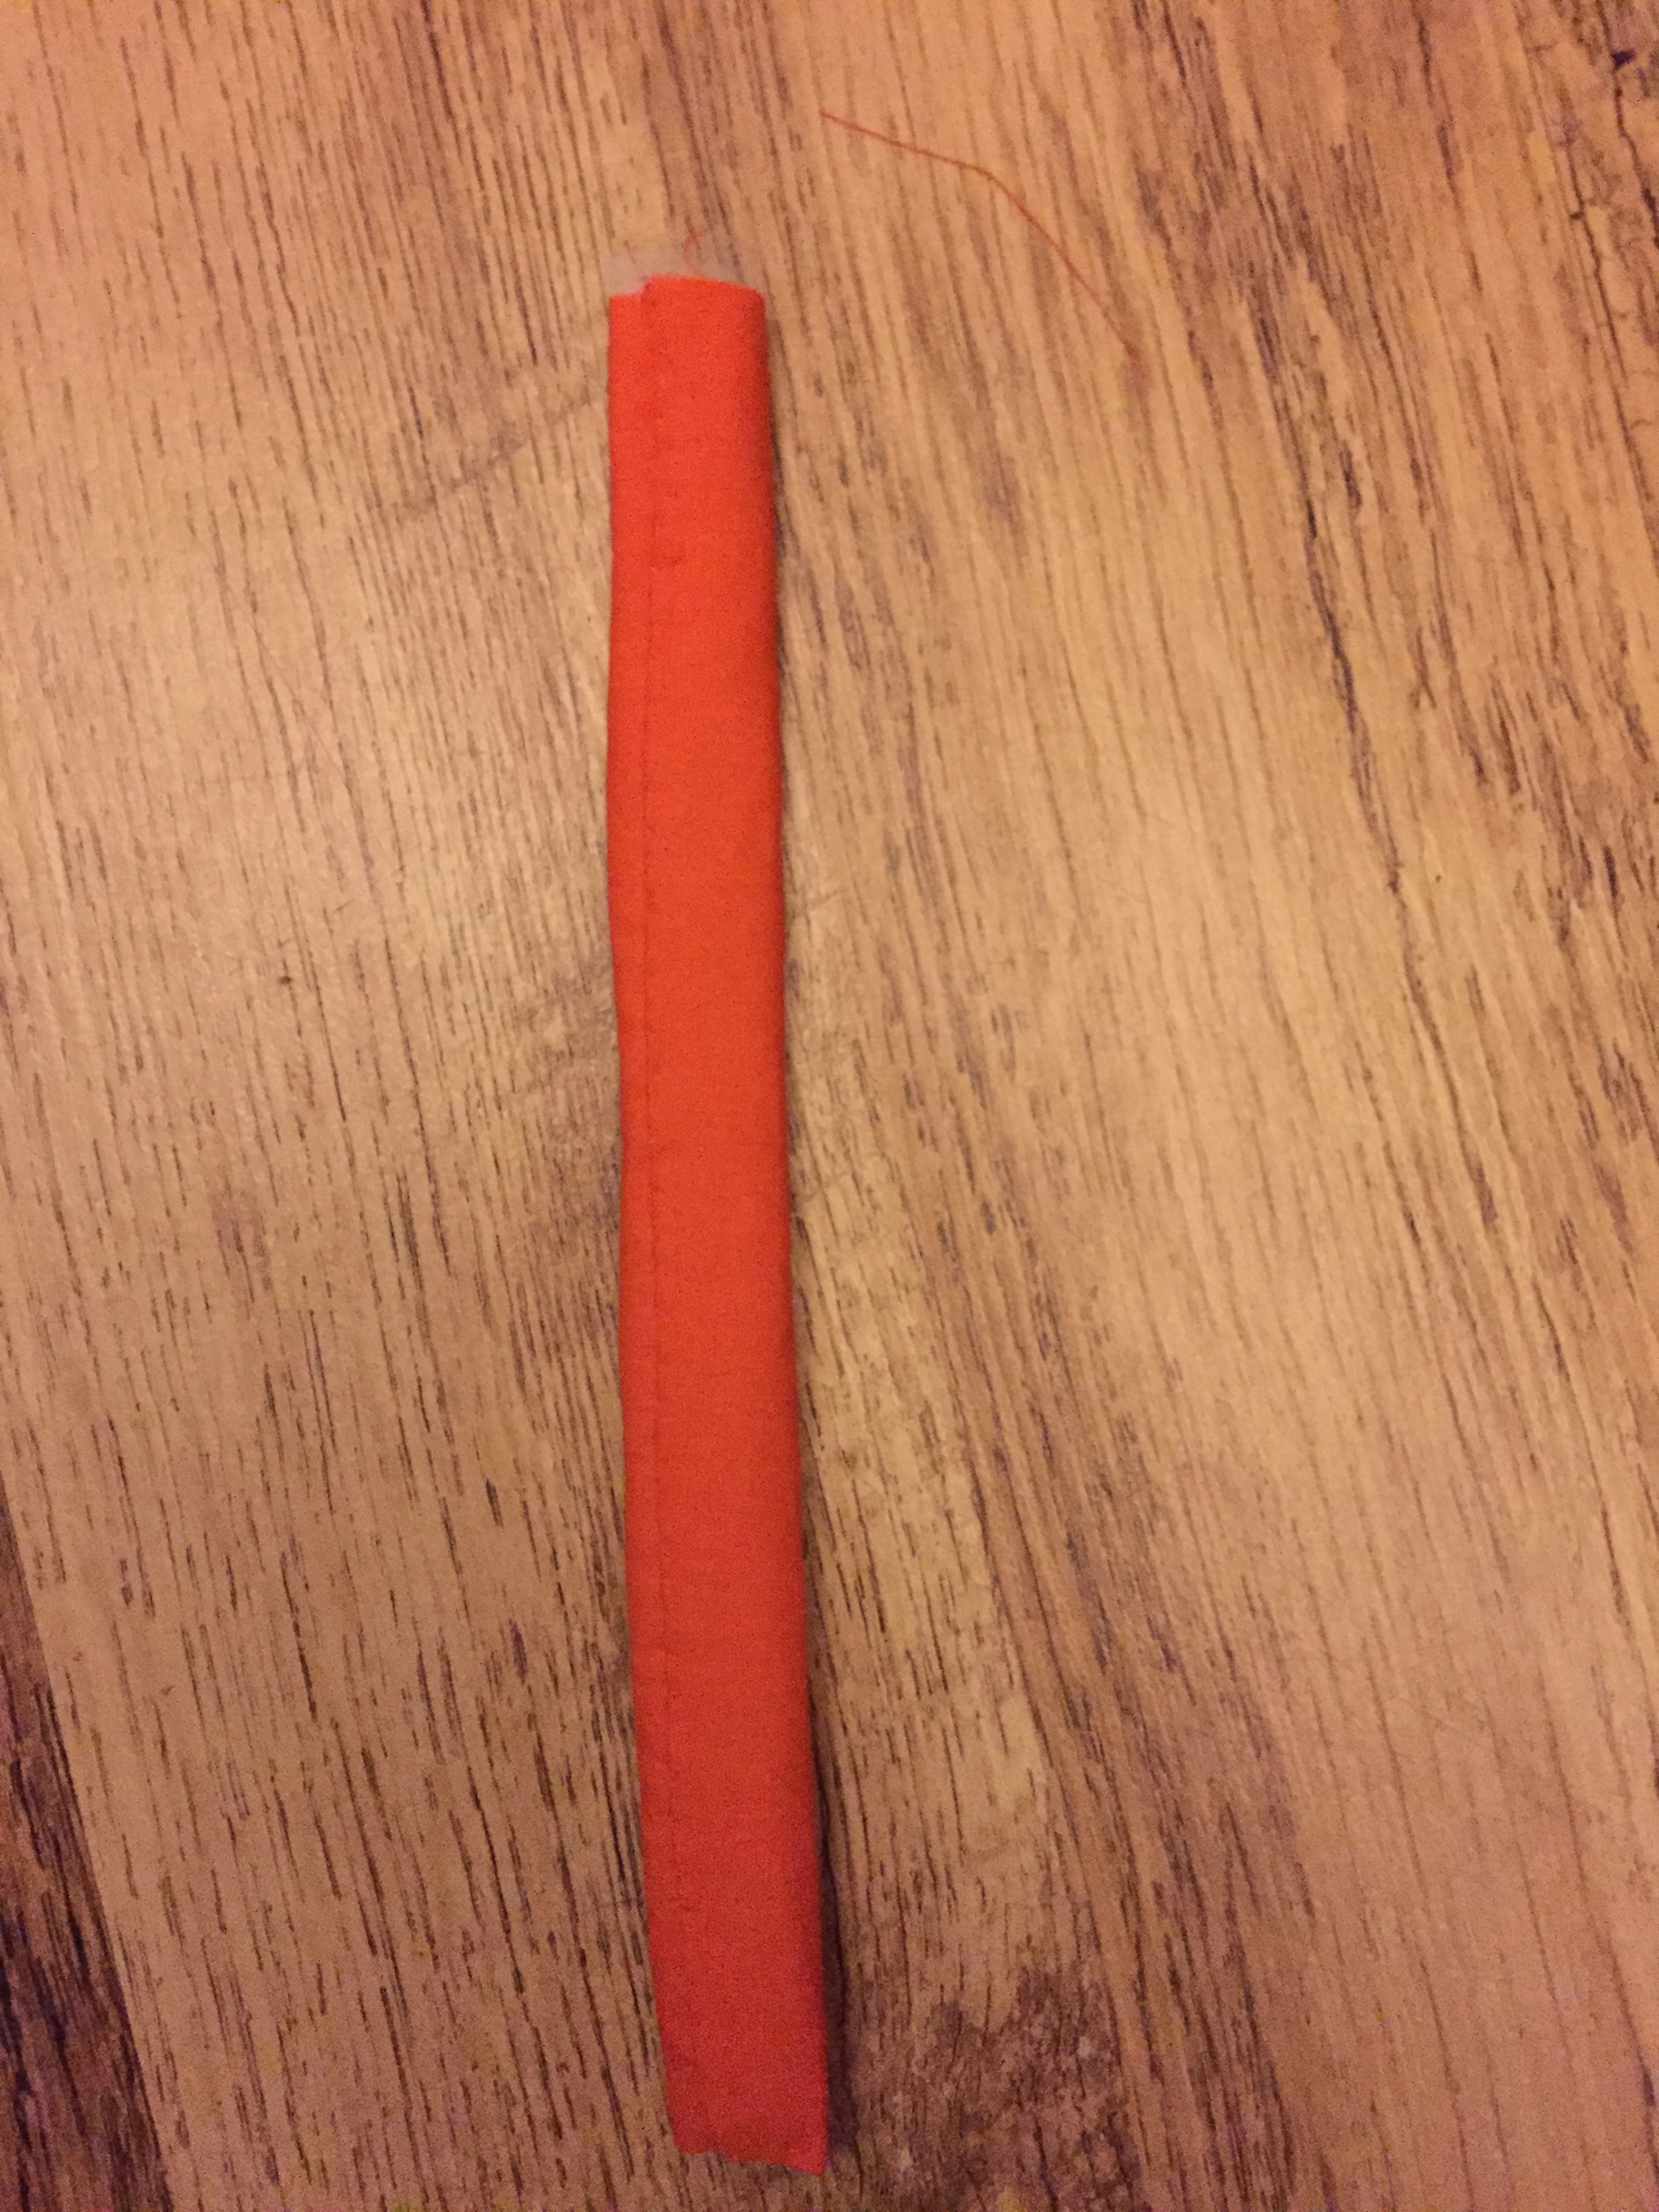
- Now to create the bend – sew a line across the leg 8cm from the top.


Hexagon patchwork spider – Sewing the body together:
- Pin the legs to the body four on each side, with 2 legs to a hexagon side separated by a diamond infill piece. Pin them to the right side of the body with 1cm of the top of the leg hanging over the outside edge.


- Now pin the top and bottom pieces together with right sides together keeping the legs tucked in on the inside and sew around to join the top and bottom pieces together making sure when you sew those sides with the legs on that the 1cm of the top of the leg is sewn in on the inside between the top and bottom, leaving 3 hexagon sides unsewn so you can turn it the right way around.
- Before turning take out the tacking stitch and the paper templates, turn right side around then stuff and hand sew the 3 sides closed.


Hexagon patchwork spider – Eyes:
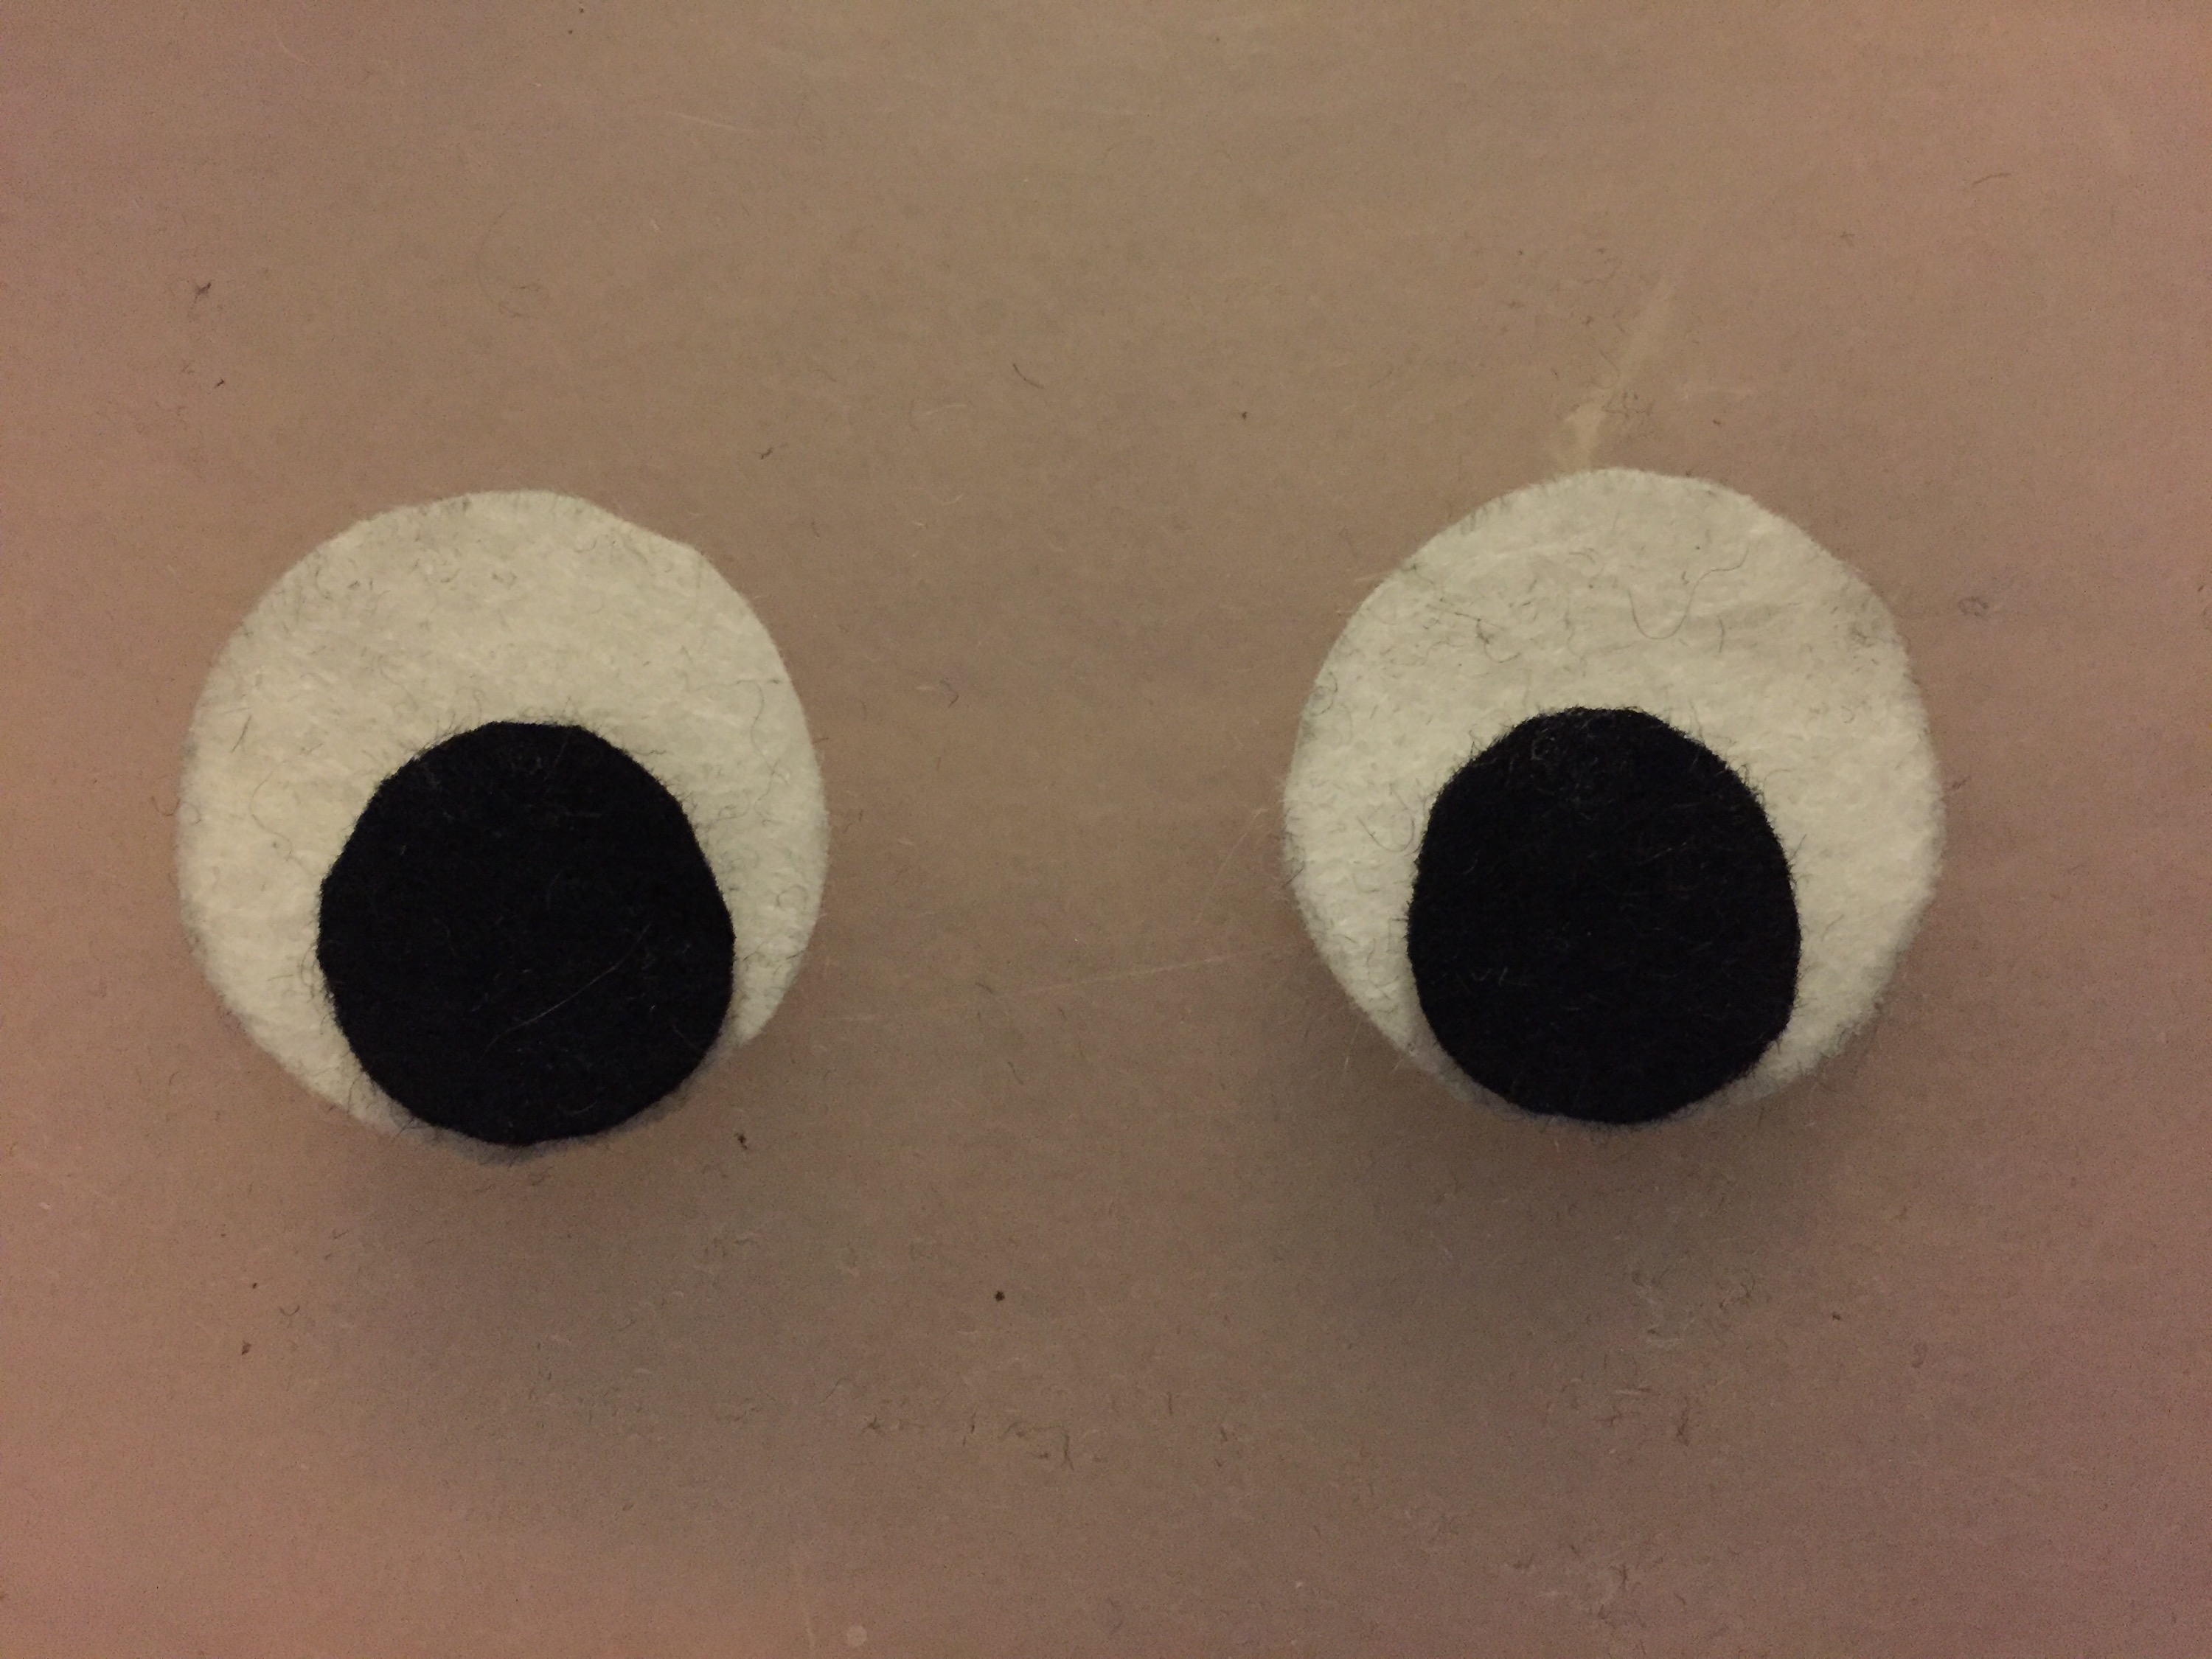
- In white felt cut out two round eyes, I drew around a cotton reel to get the size I wanted.
- In black cut out 2 circles, I drew around a smaller cotton reel for this.
- Next place the black pupils in the white eyes – position then in a place you like best – its a great way of getting different expressions depending on where you put the pupils!
- Now sew them onto the head in your desired position.
Hexagon patchwork spider – Teeth:
- Cut two small triangles out of white felt and sew onto the spider for the teeth. I just did a line of stitching along the top of the tooth so the bottom half of the tooth remains unsewn.
- All finished!


He is very happy with his spider friend too – Tutorial is also available for this giant quilted patchwork spider.


Leave a comment