
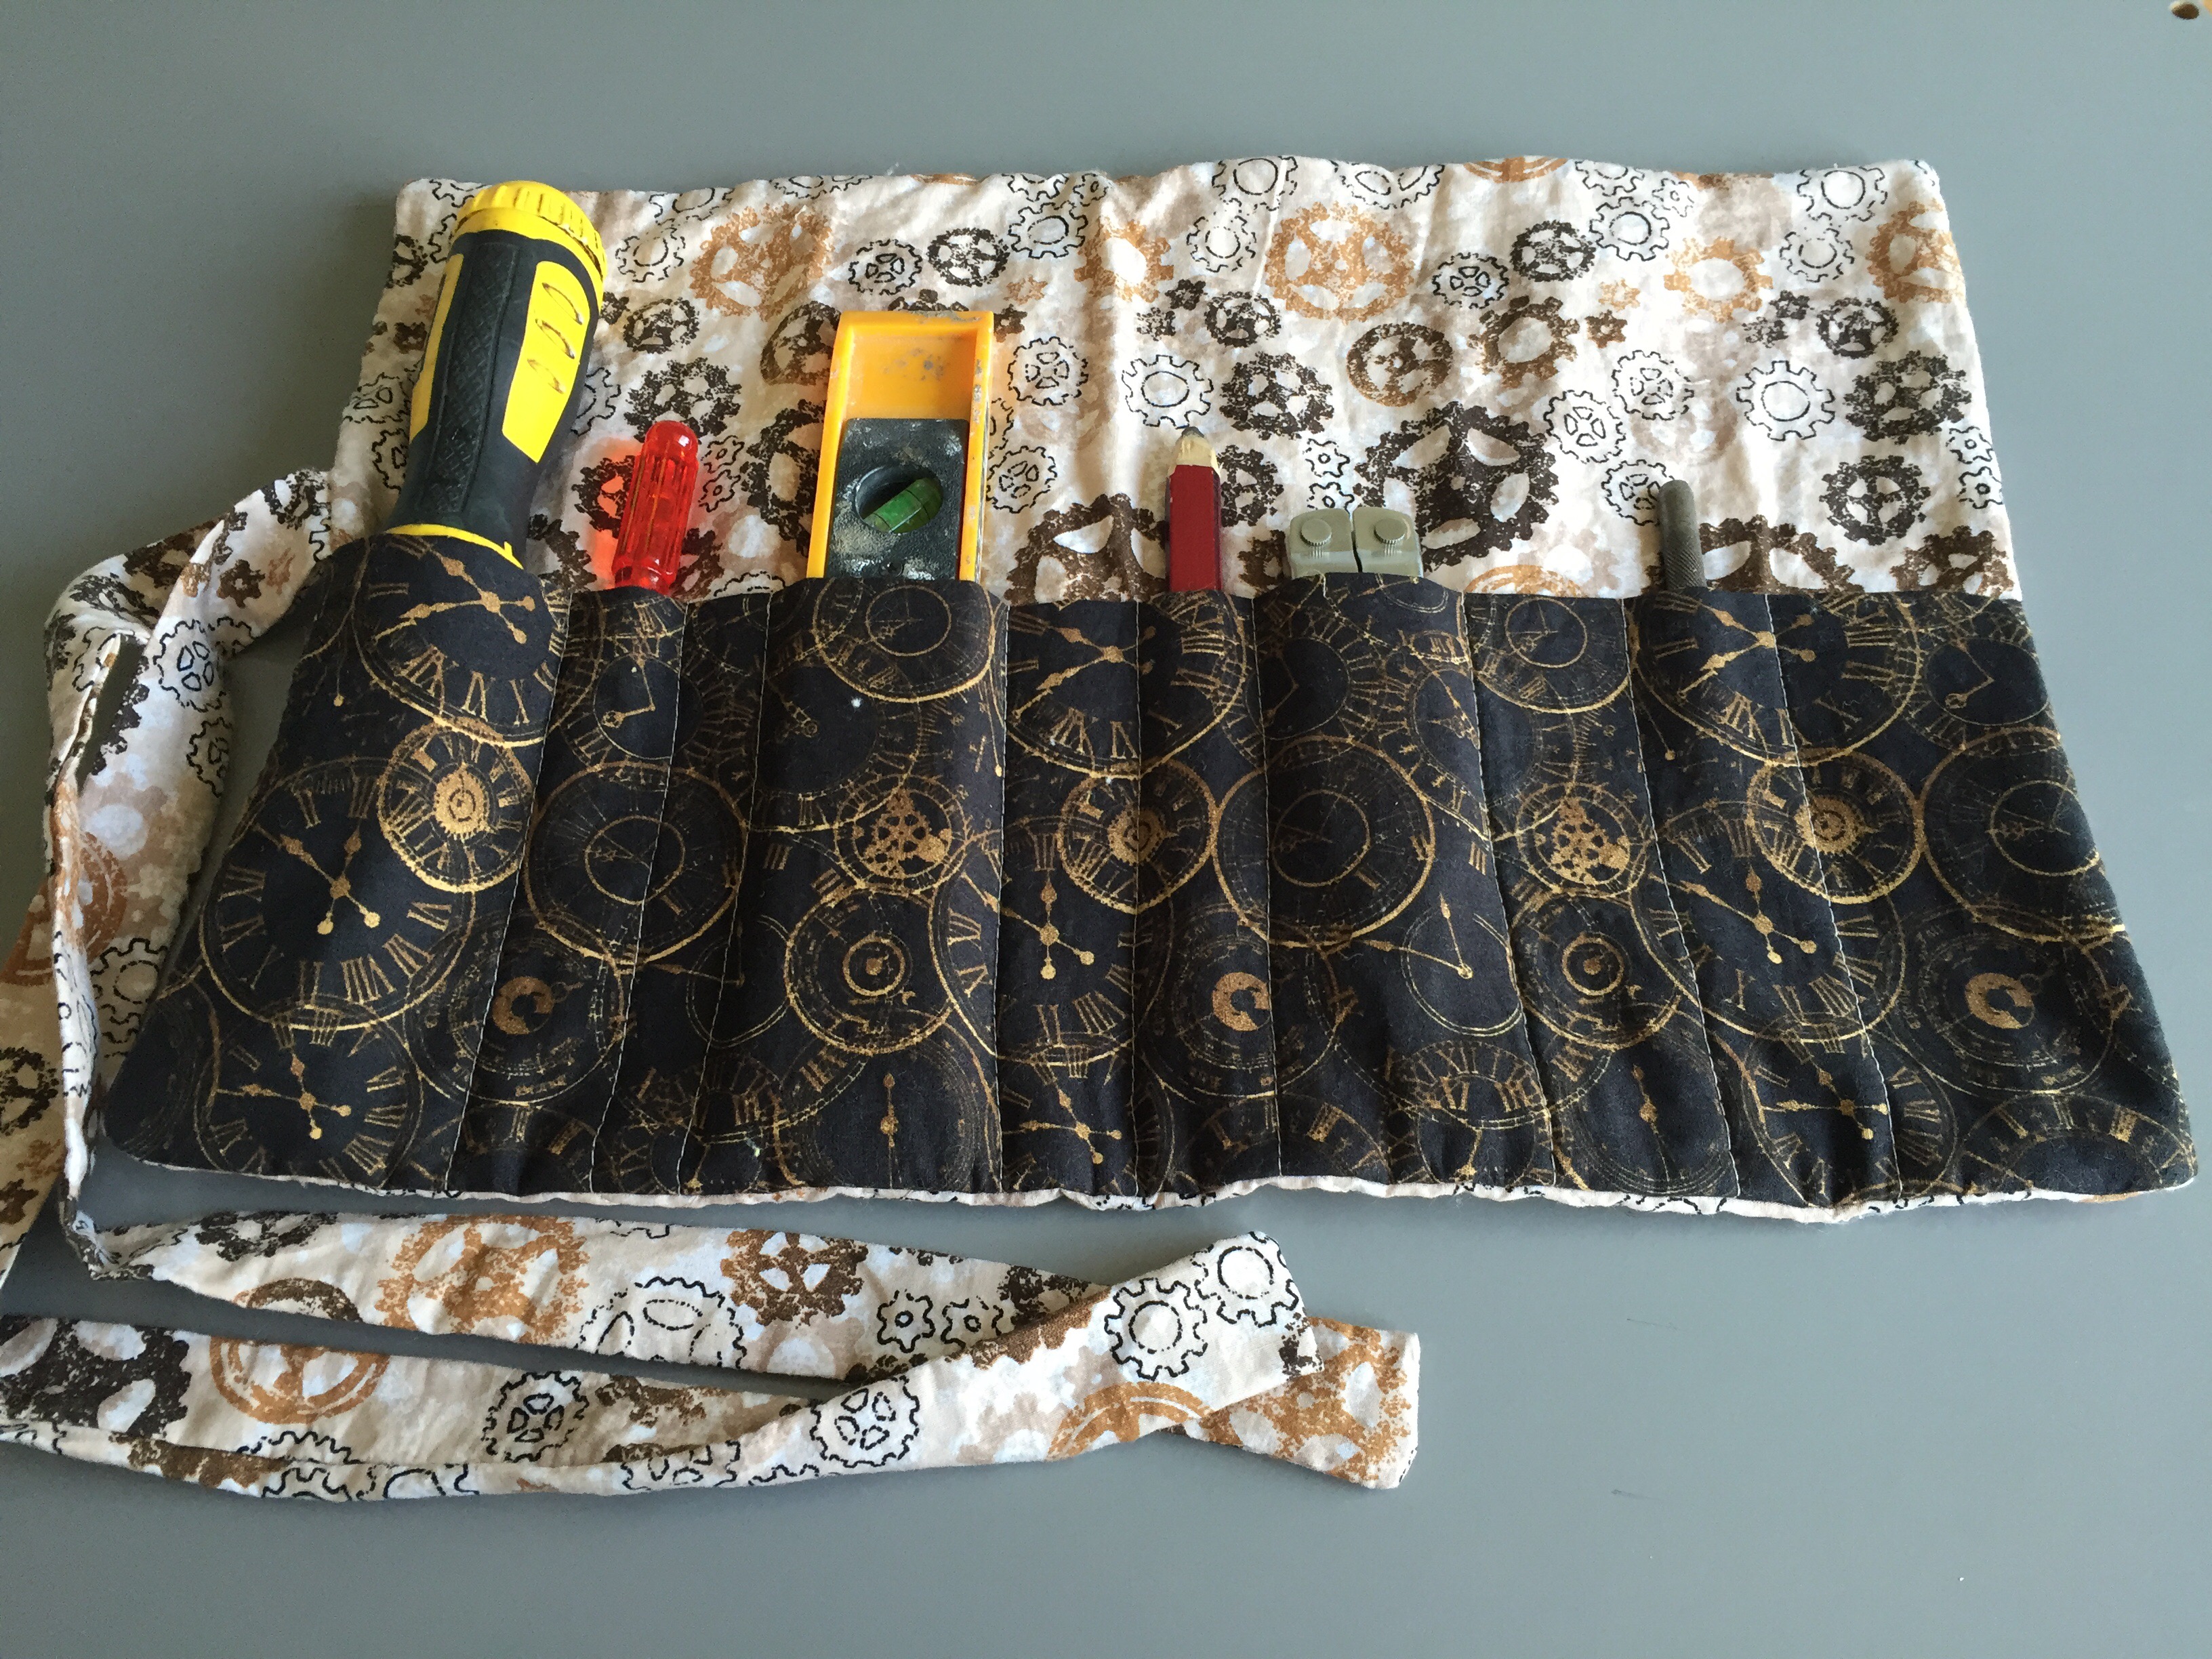
I was asked by the Craft Cotton Company to put something together for Father’s Day and as soon as I saw these fabrics I knew they would be perfect. I had the idea of putting together a pattern for a tool roll for all those DIY loving dads, giving them a place to keep their favourite tools together that can easily be carried around, no excuses for misplacing tools anymore!
Originally published in 2016 this post has had a little makeover and is now back.
Fabric gifted by The Craft Cotton Company.
Sewing Tutorial: Fabric Tool Roll
Materials
- Fabric:
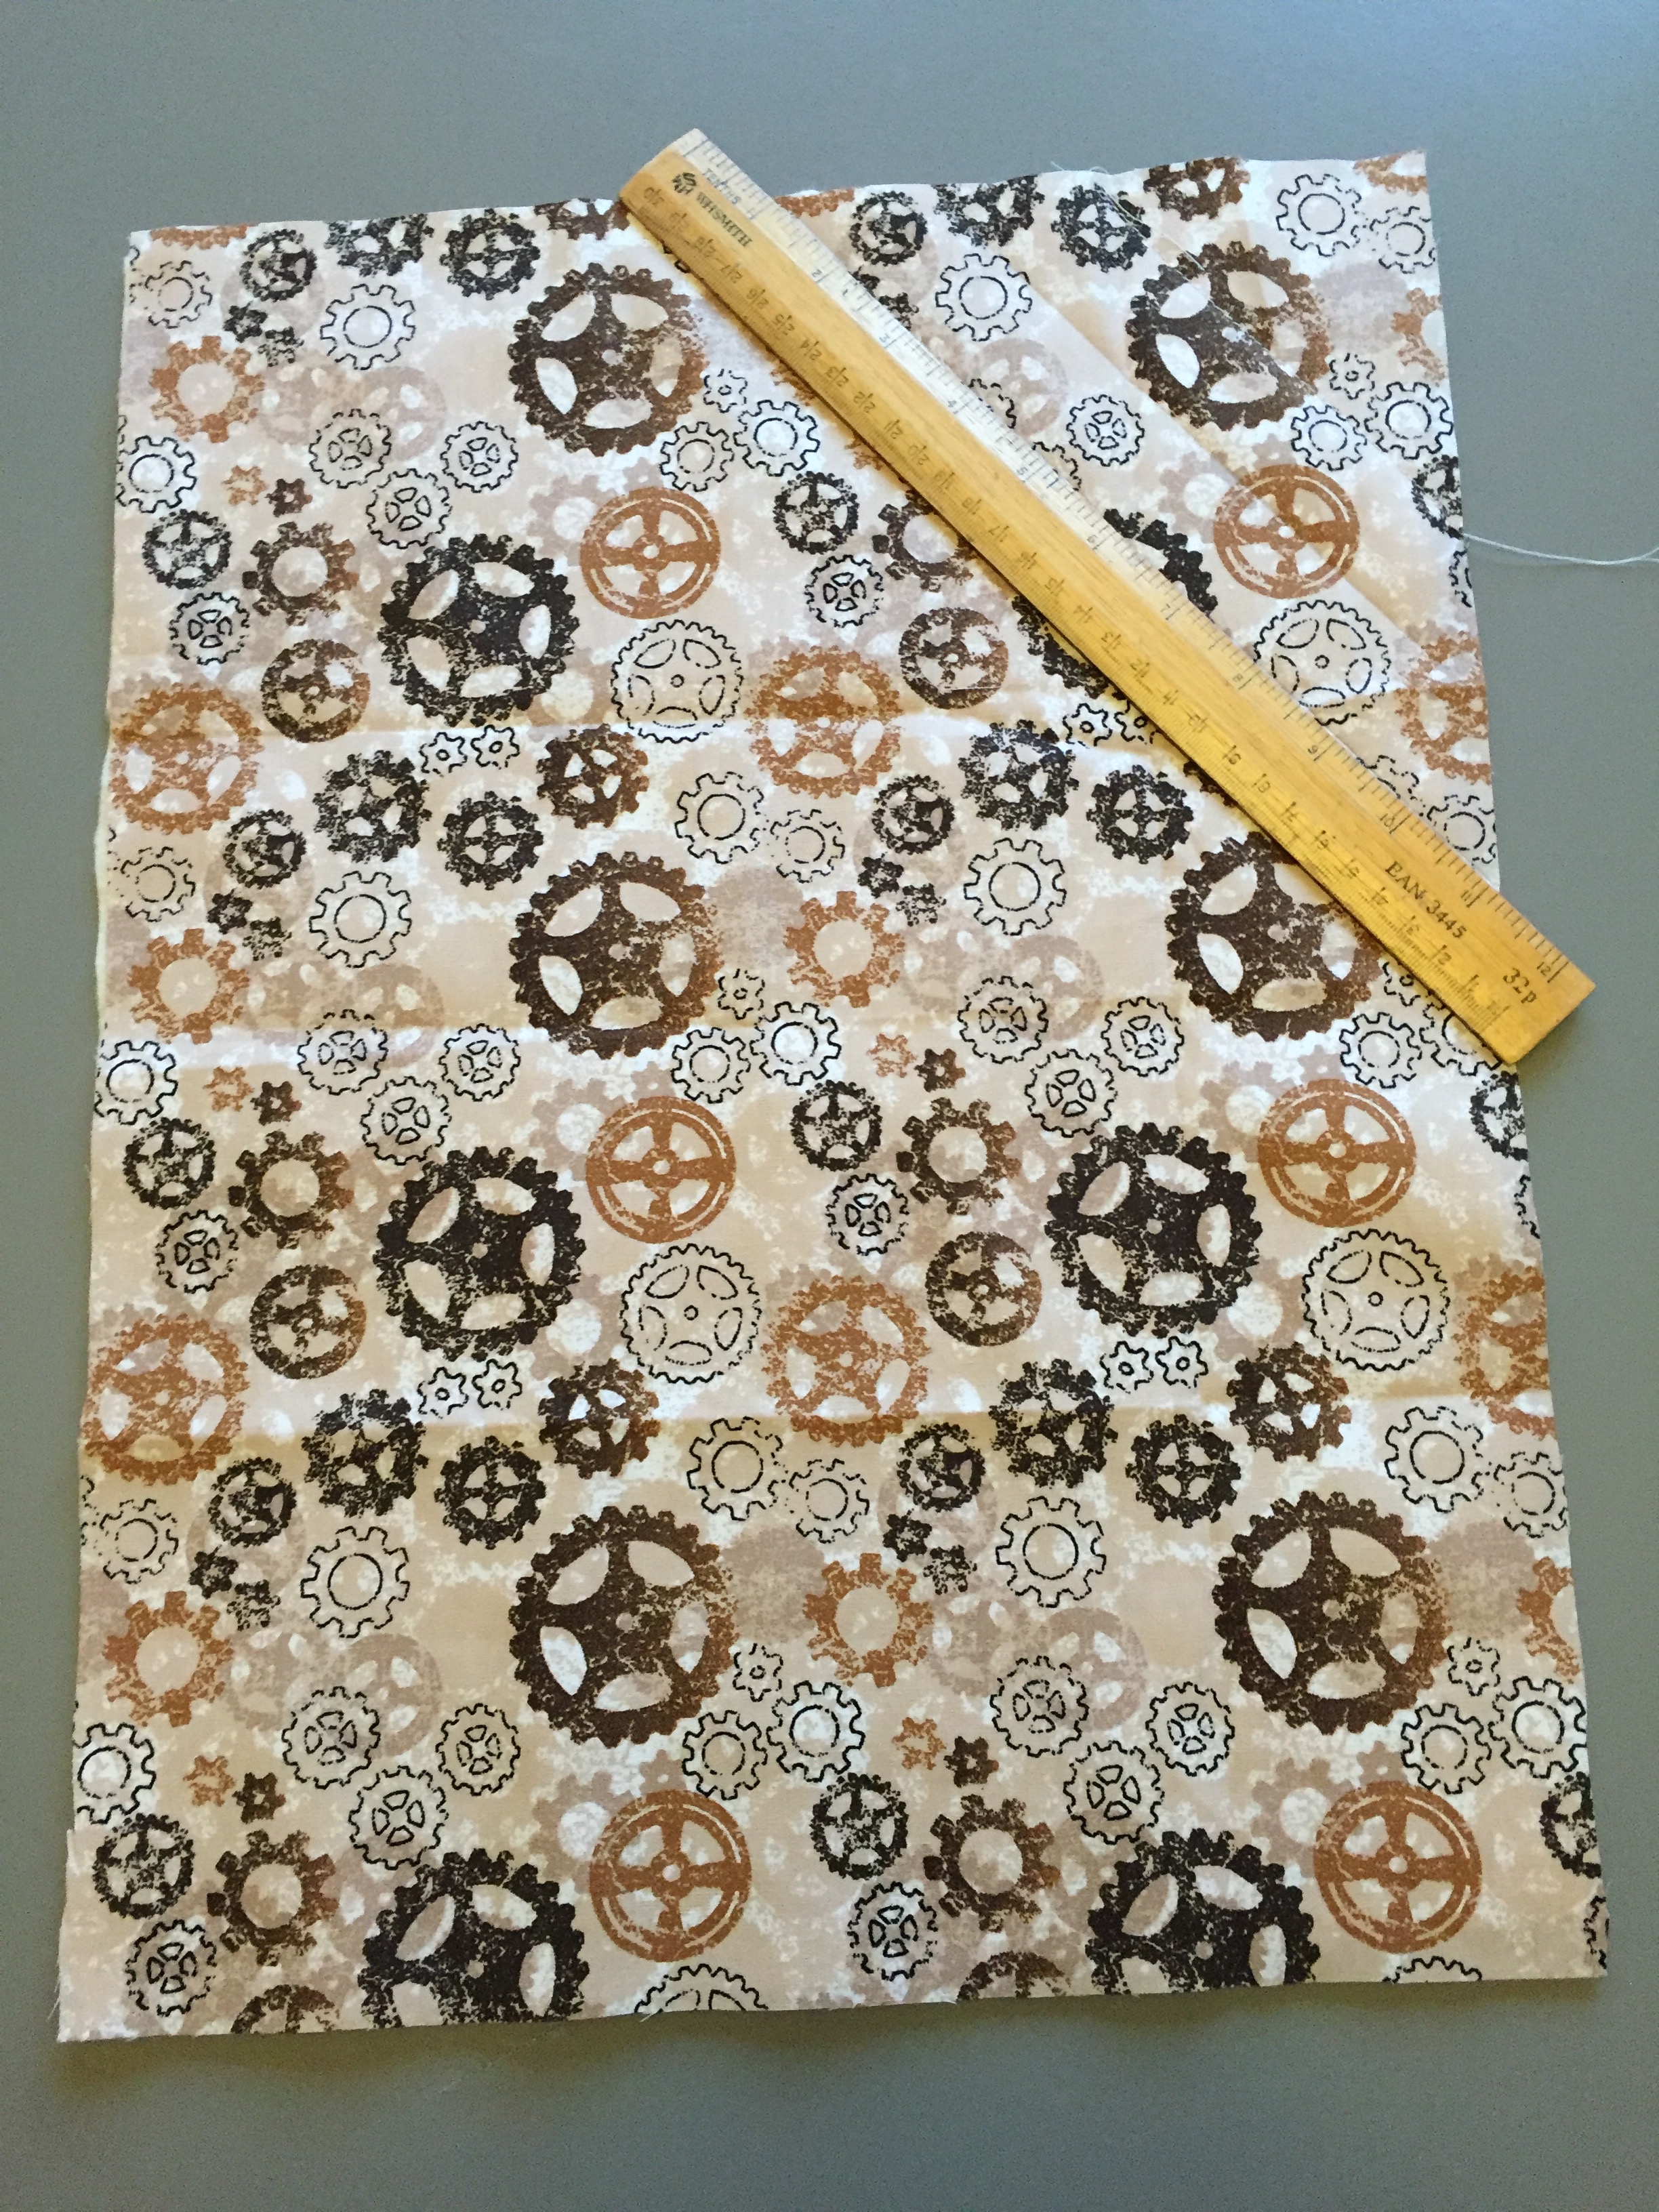
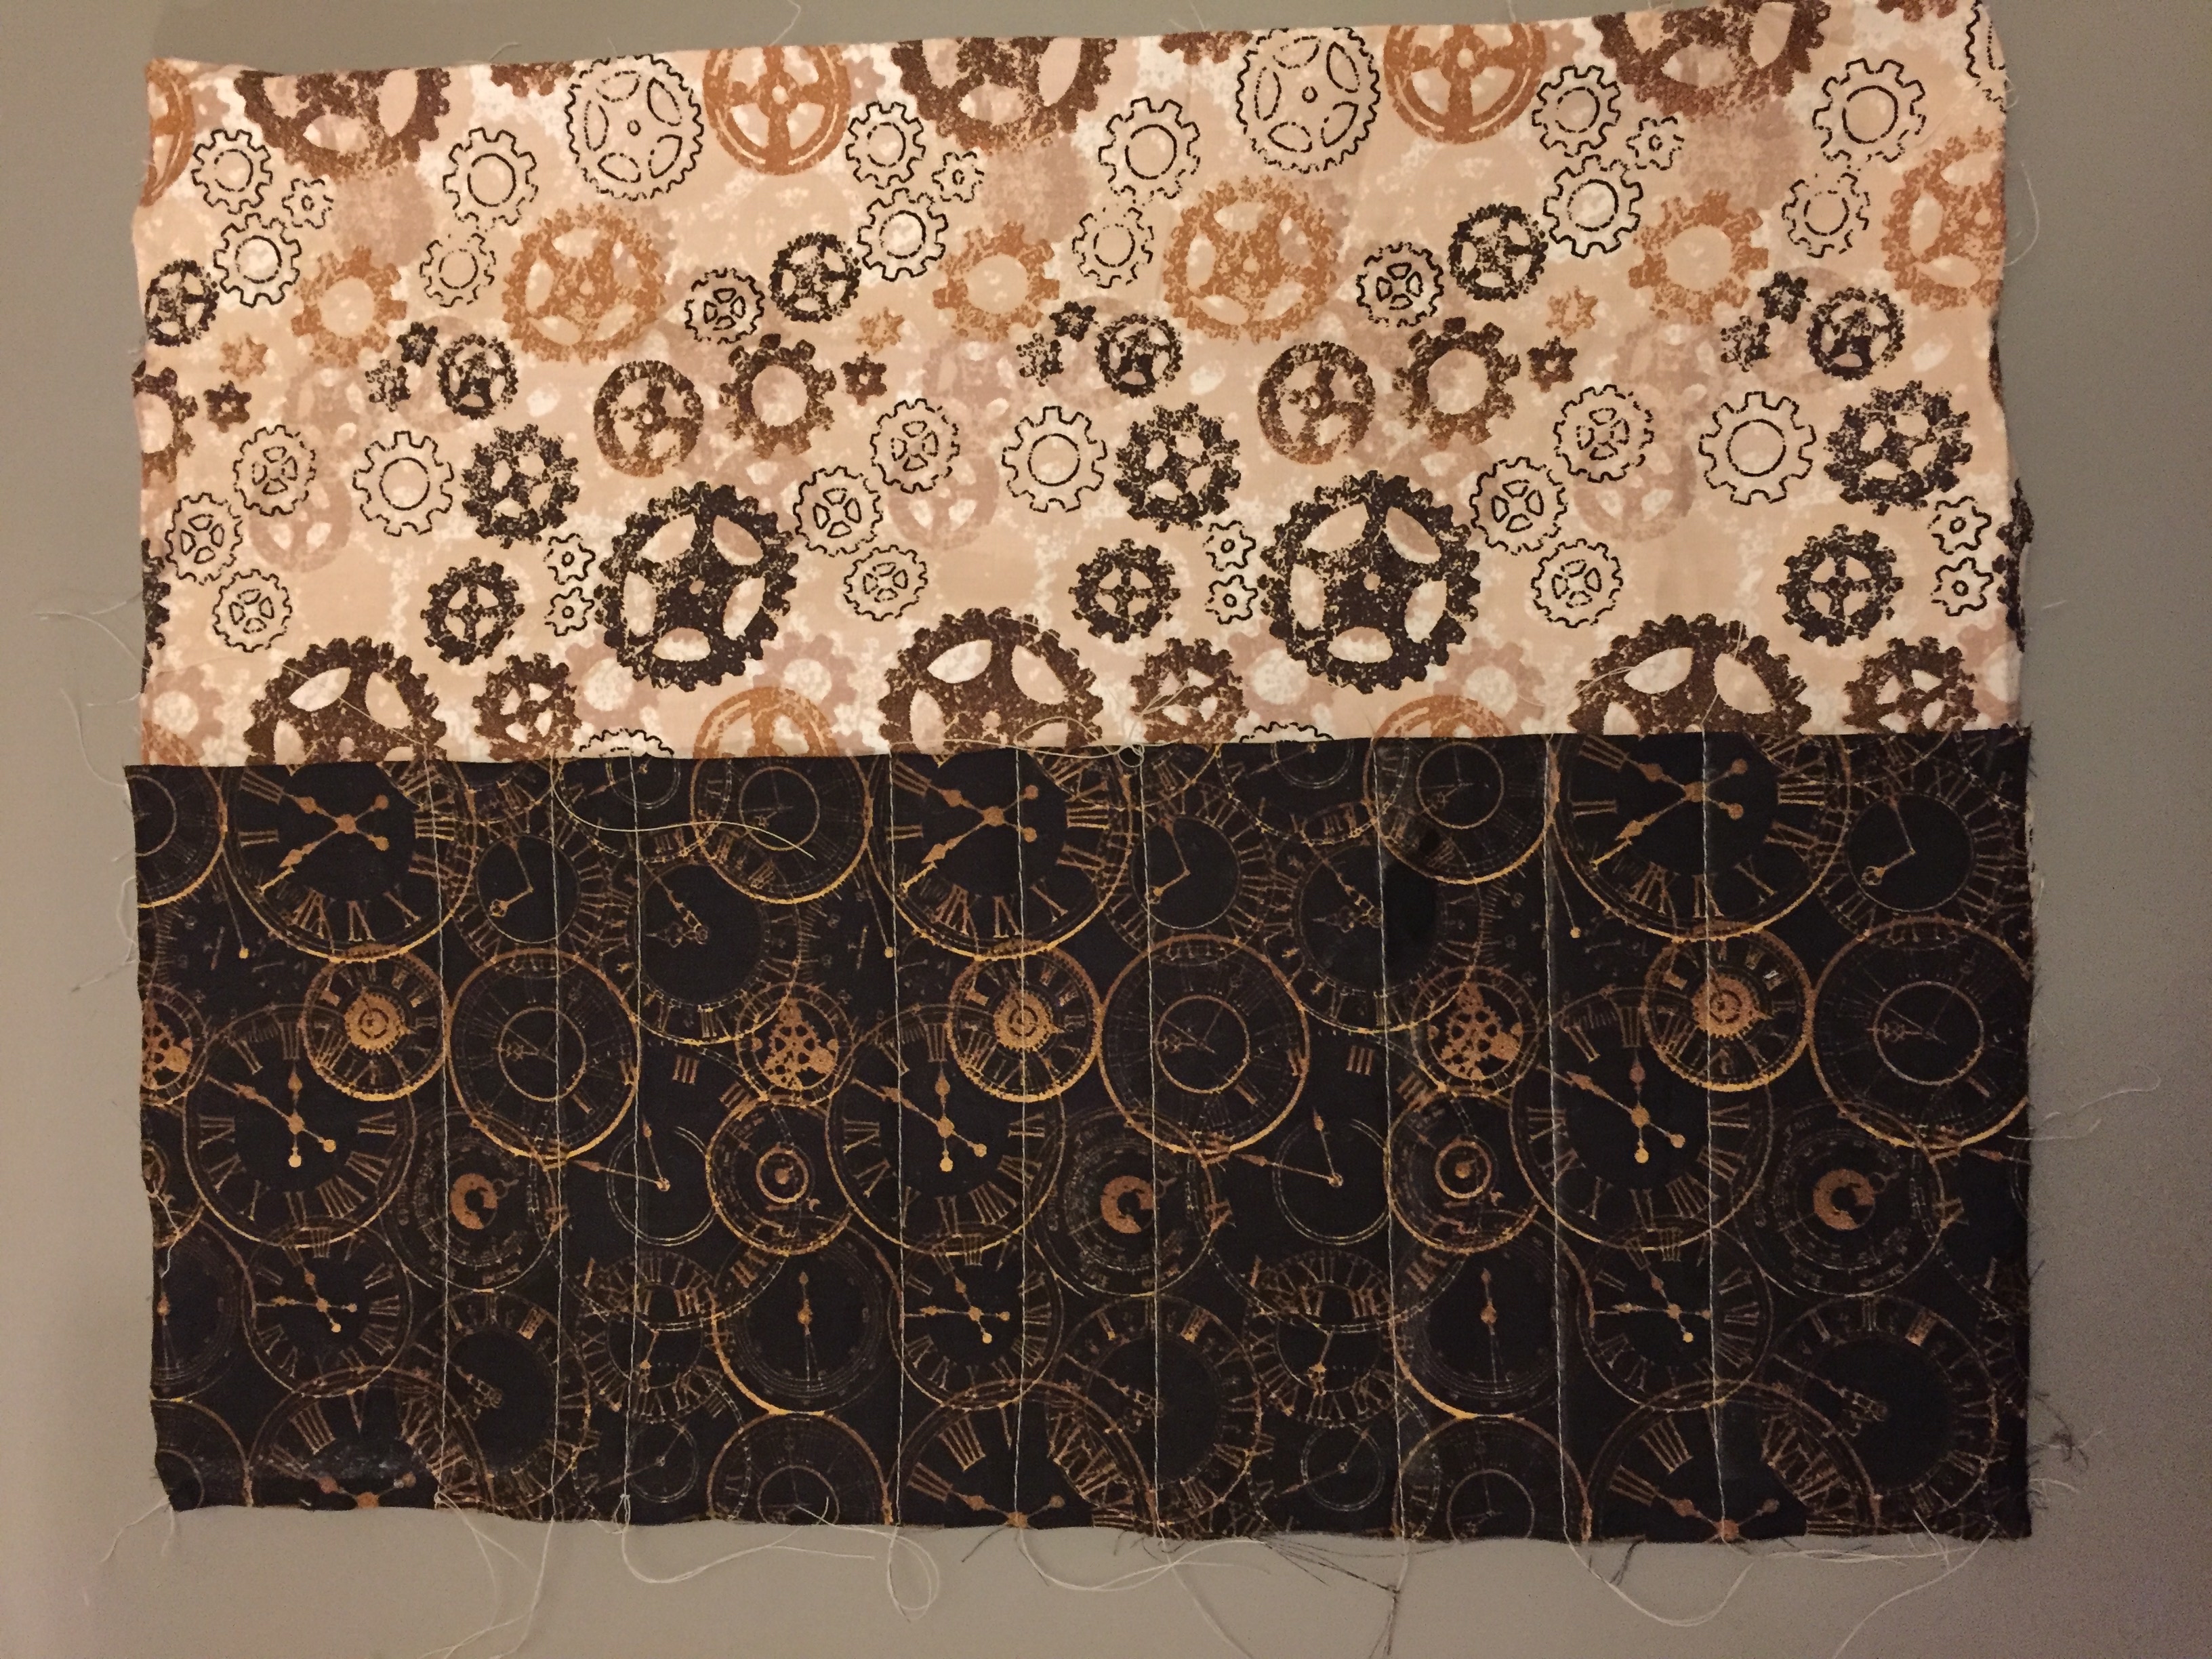
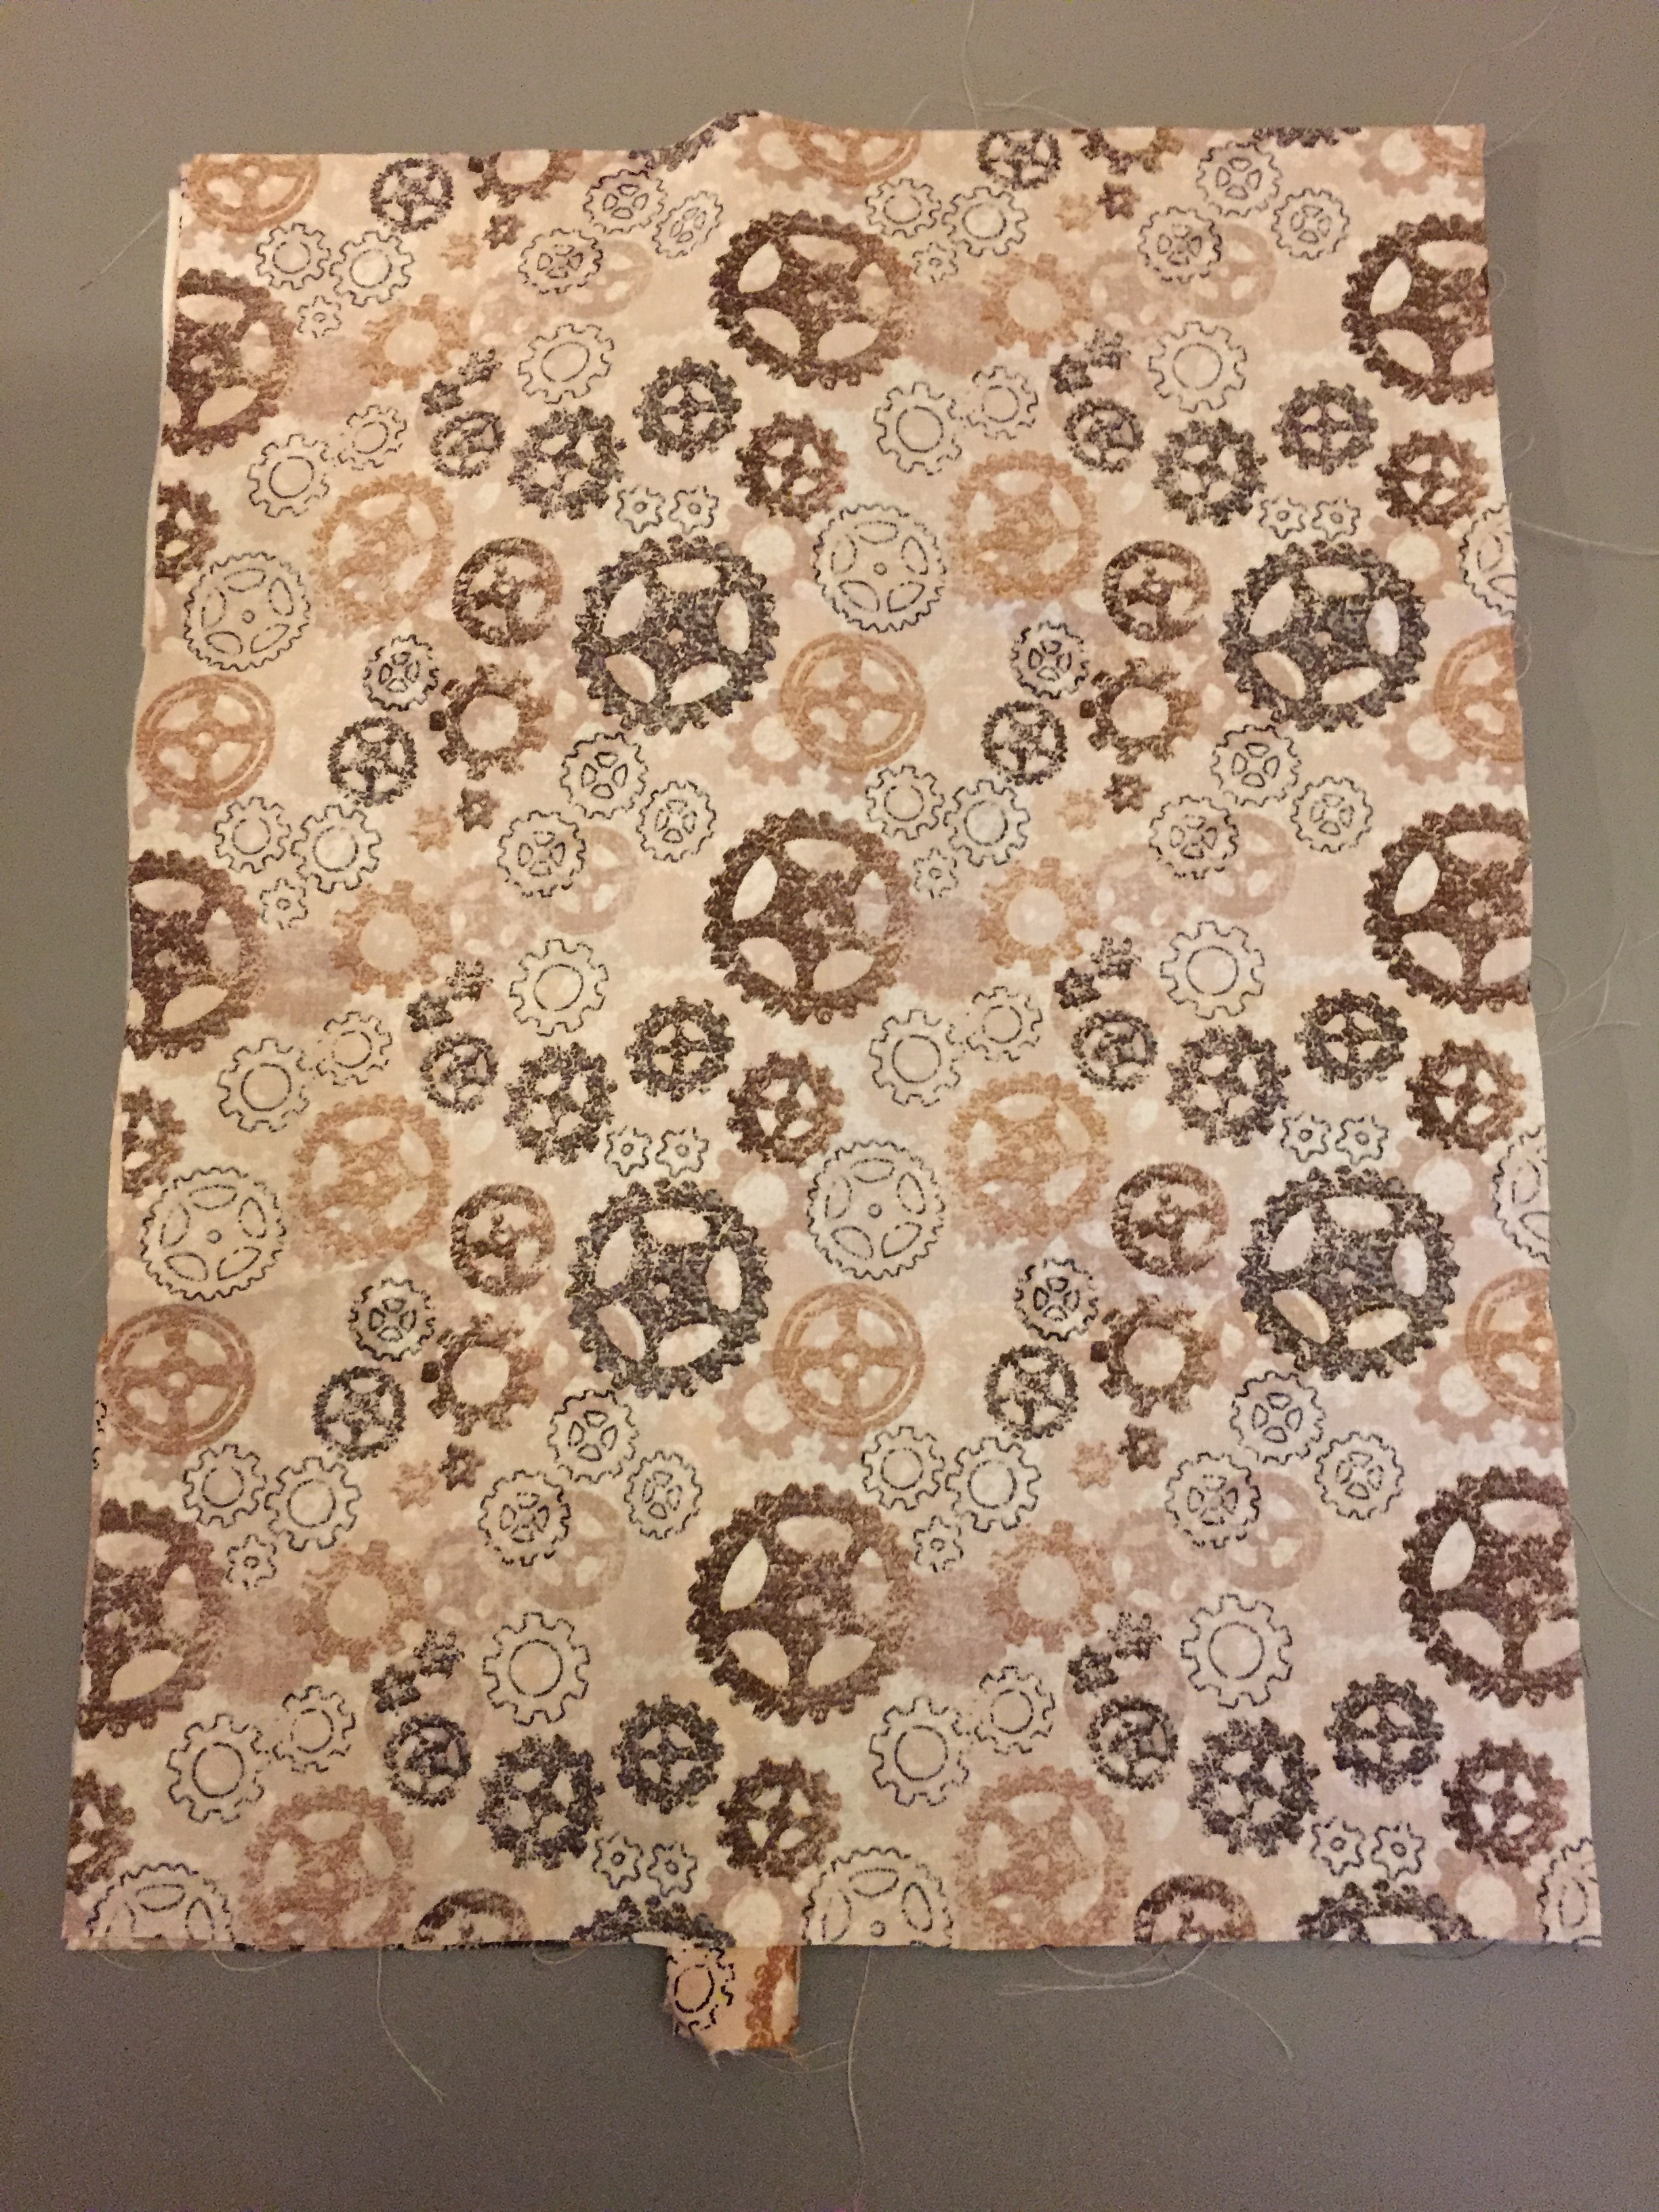
- 2 pieces Steampunk cogs fabric by The Craft Cotton Company: 44cmx34cm.
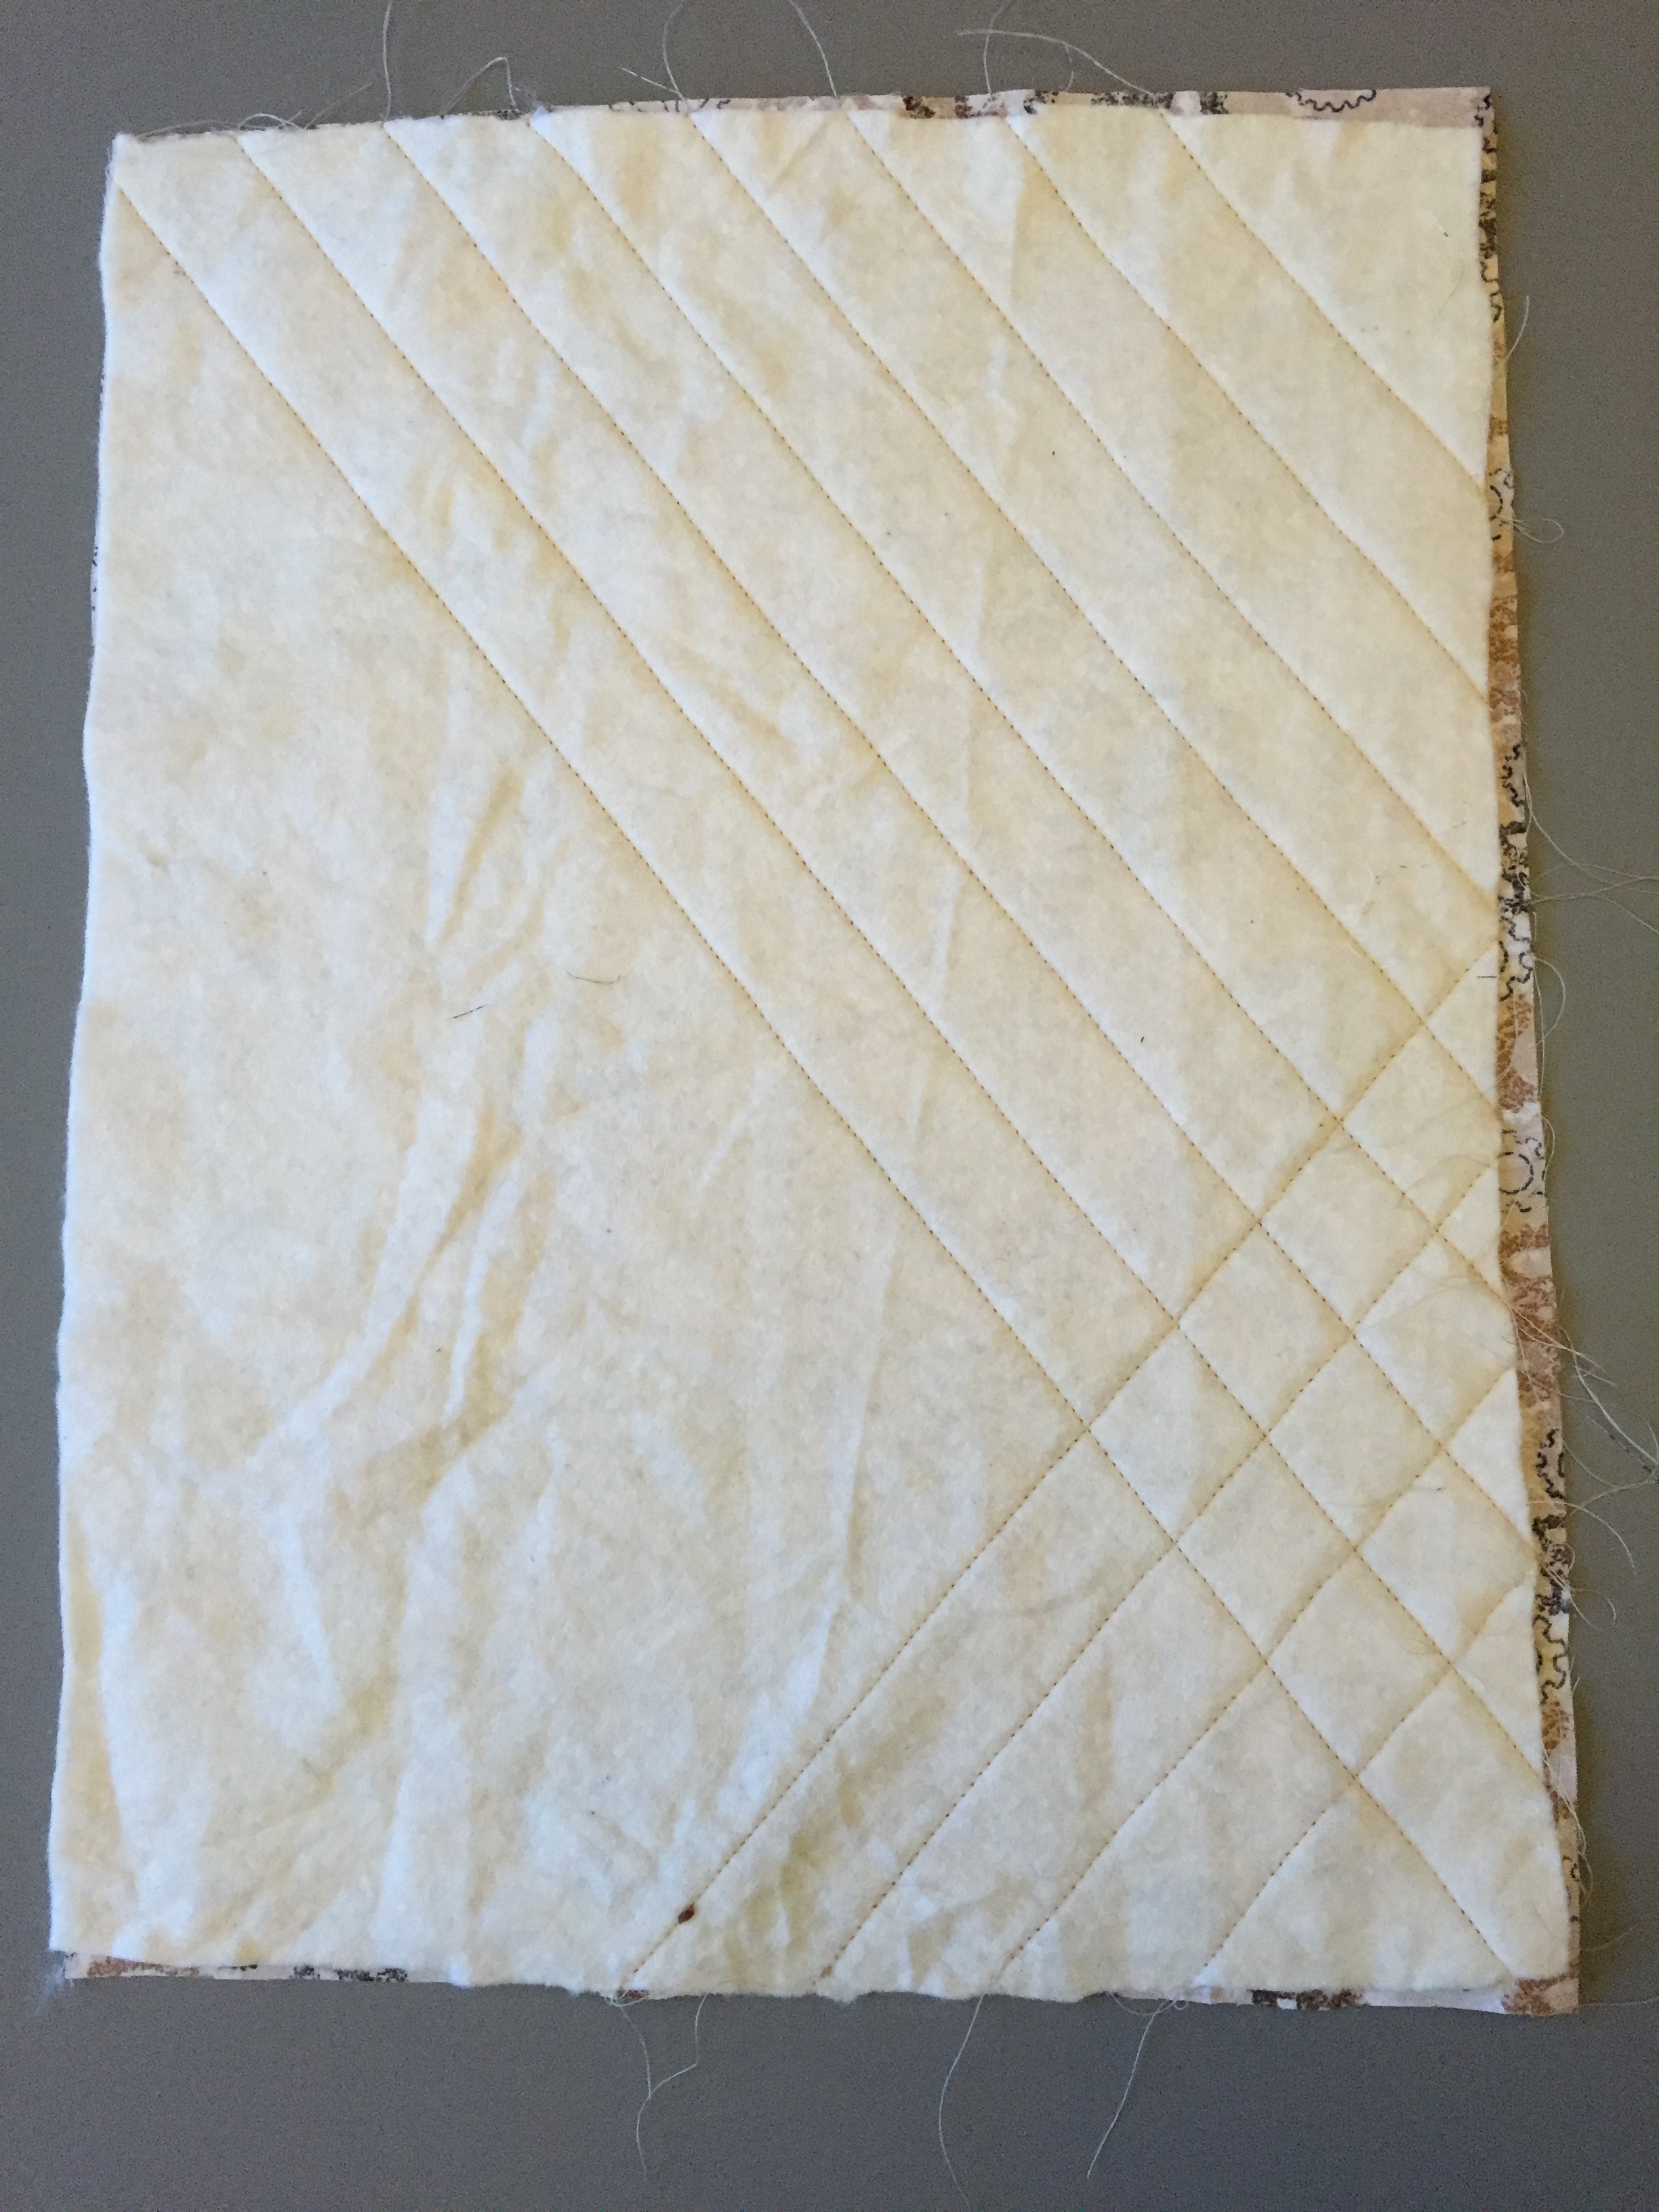
- 1 piece wadding: 43cmx33cm.
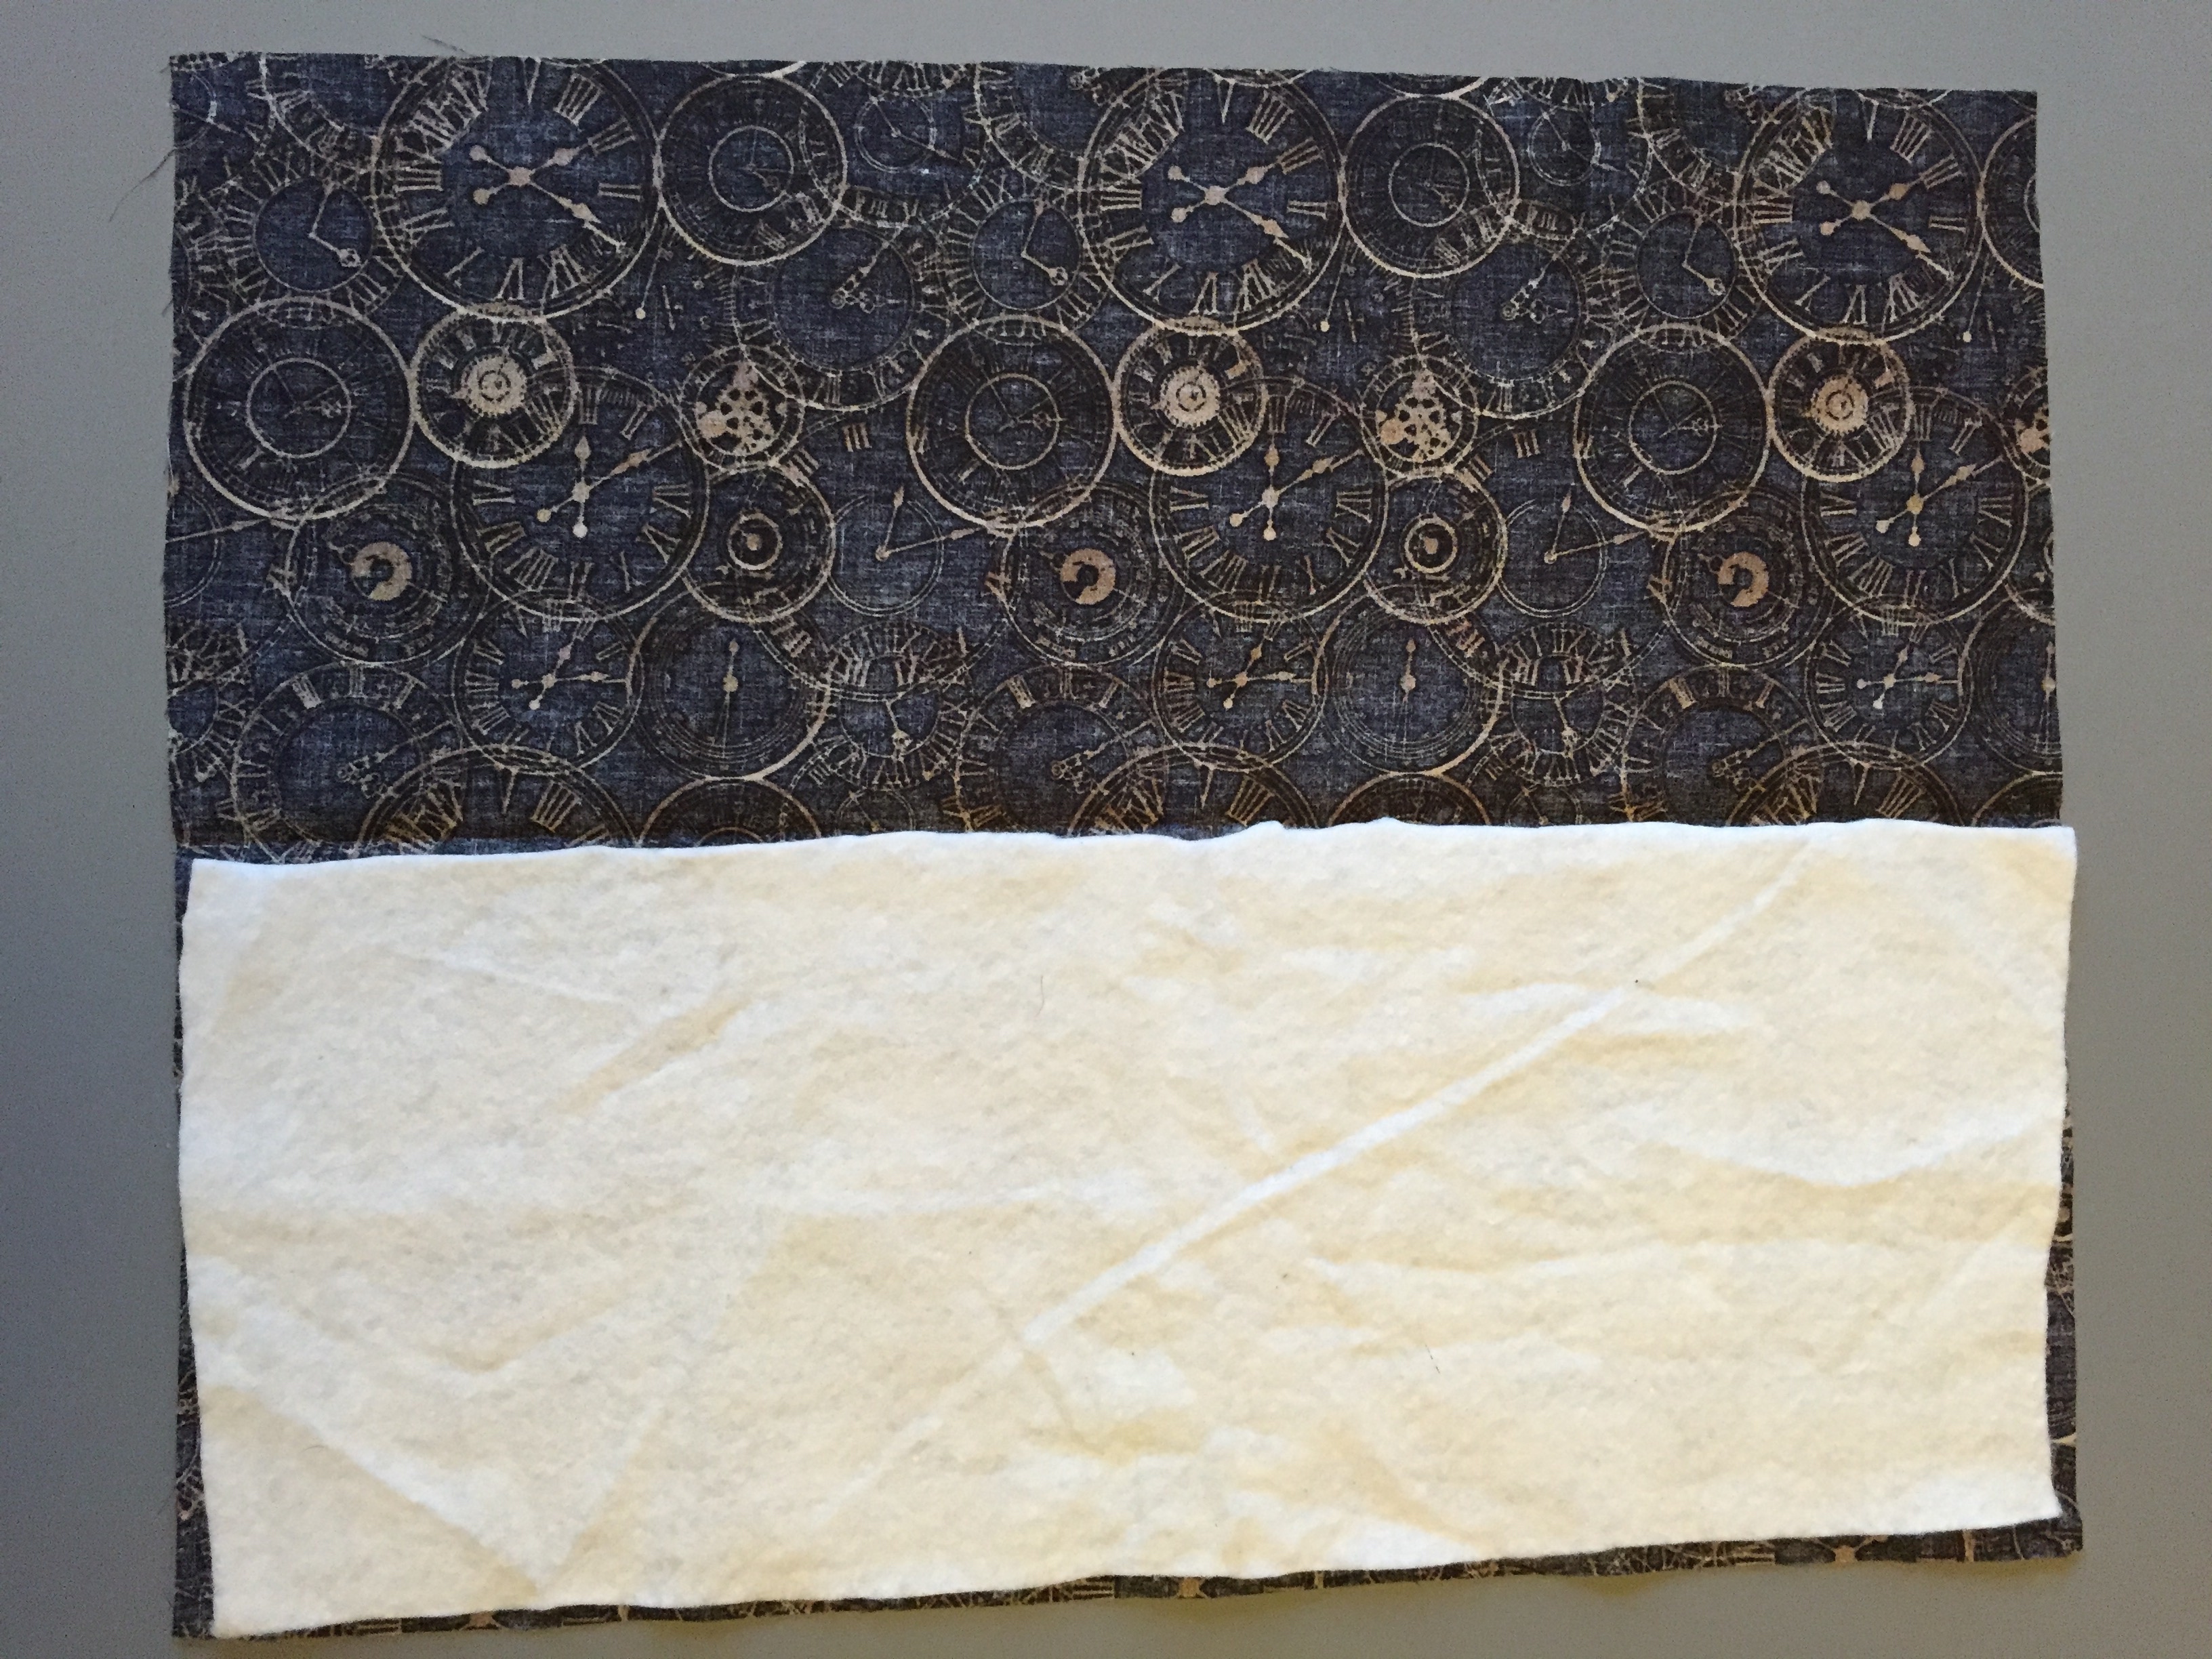
- 1 piece of Steampunk clocks fabric by The Craft Cotton Company: 36cmx44cm.
- 1 piece wadding: 17x43cm.
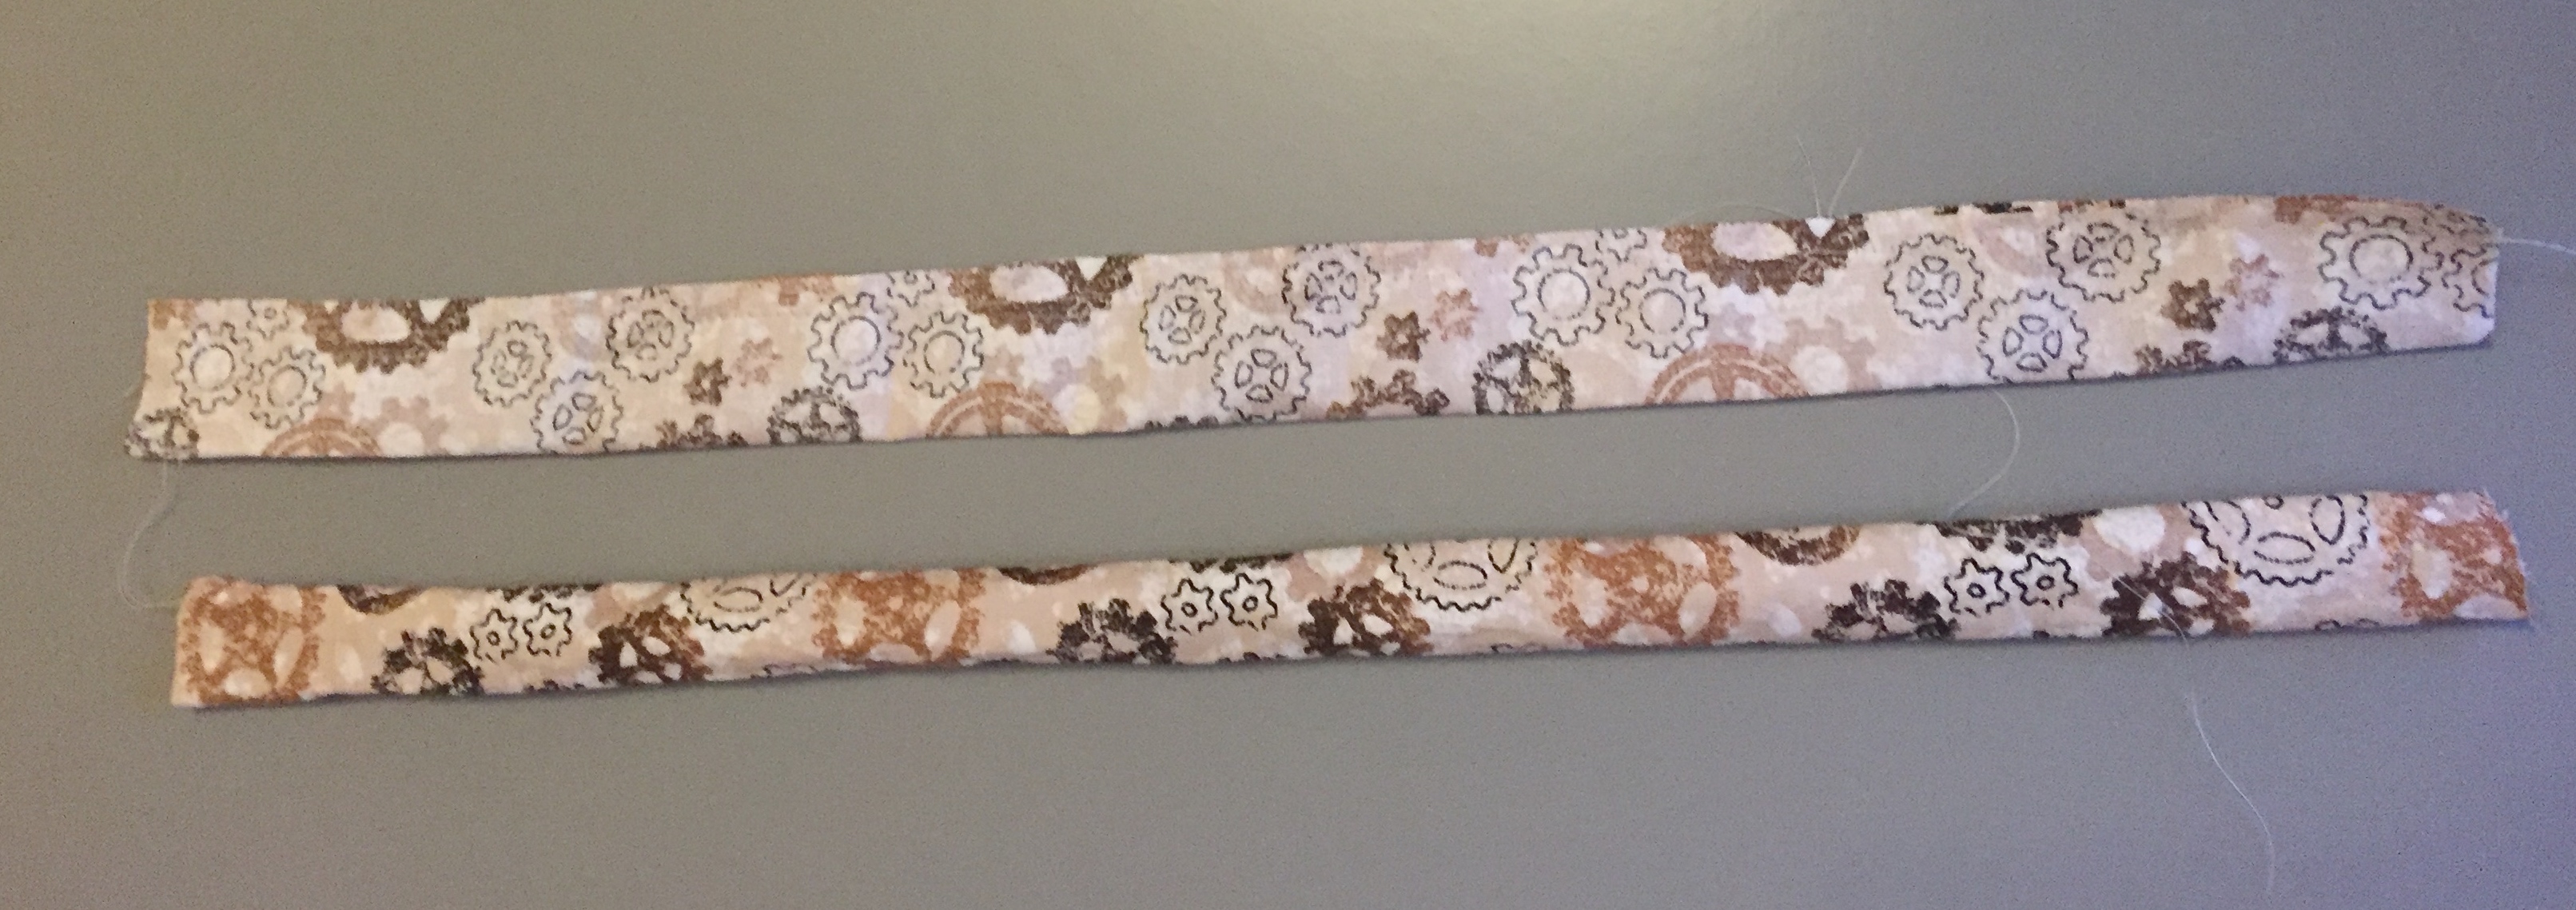
- 2 Steampunk cogs fabric by The Craft Cotton Company: 50cmx7cm (Or two pieces of ribbon 50cm long).
- Scissors.
- Pins.
- Needle.
- Thread.
- Ruler.
- Tape measure.
SEWING TUTORIAL: FABRIC TOOL ROLL
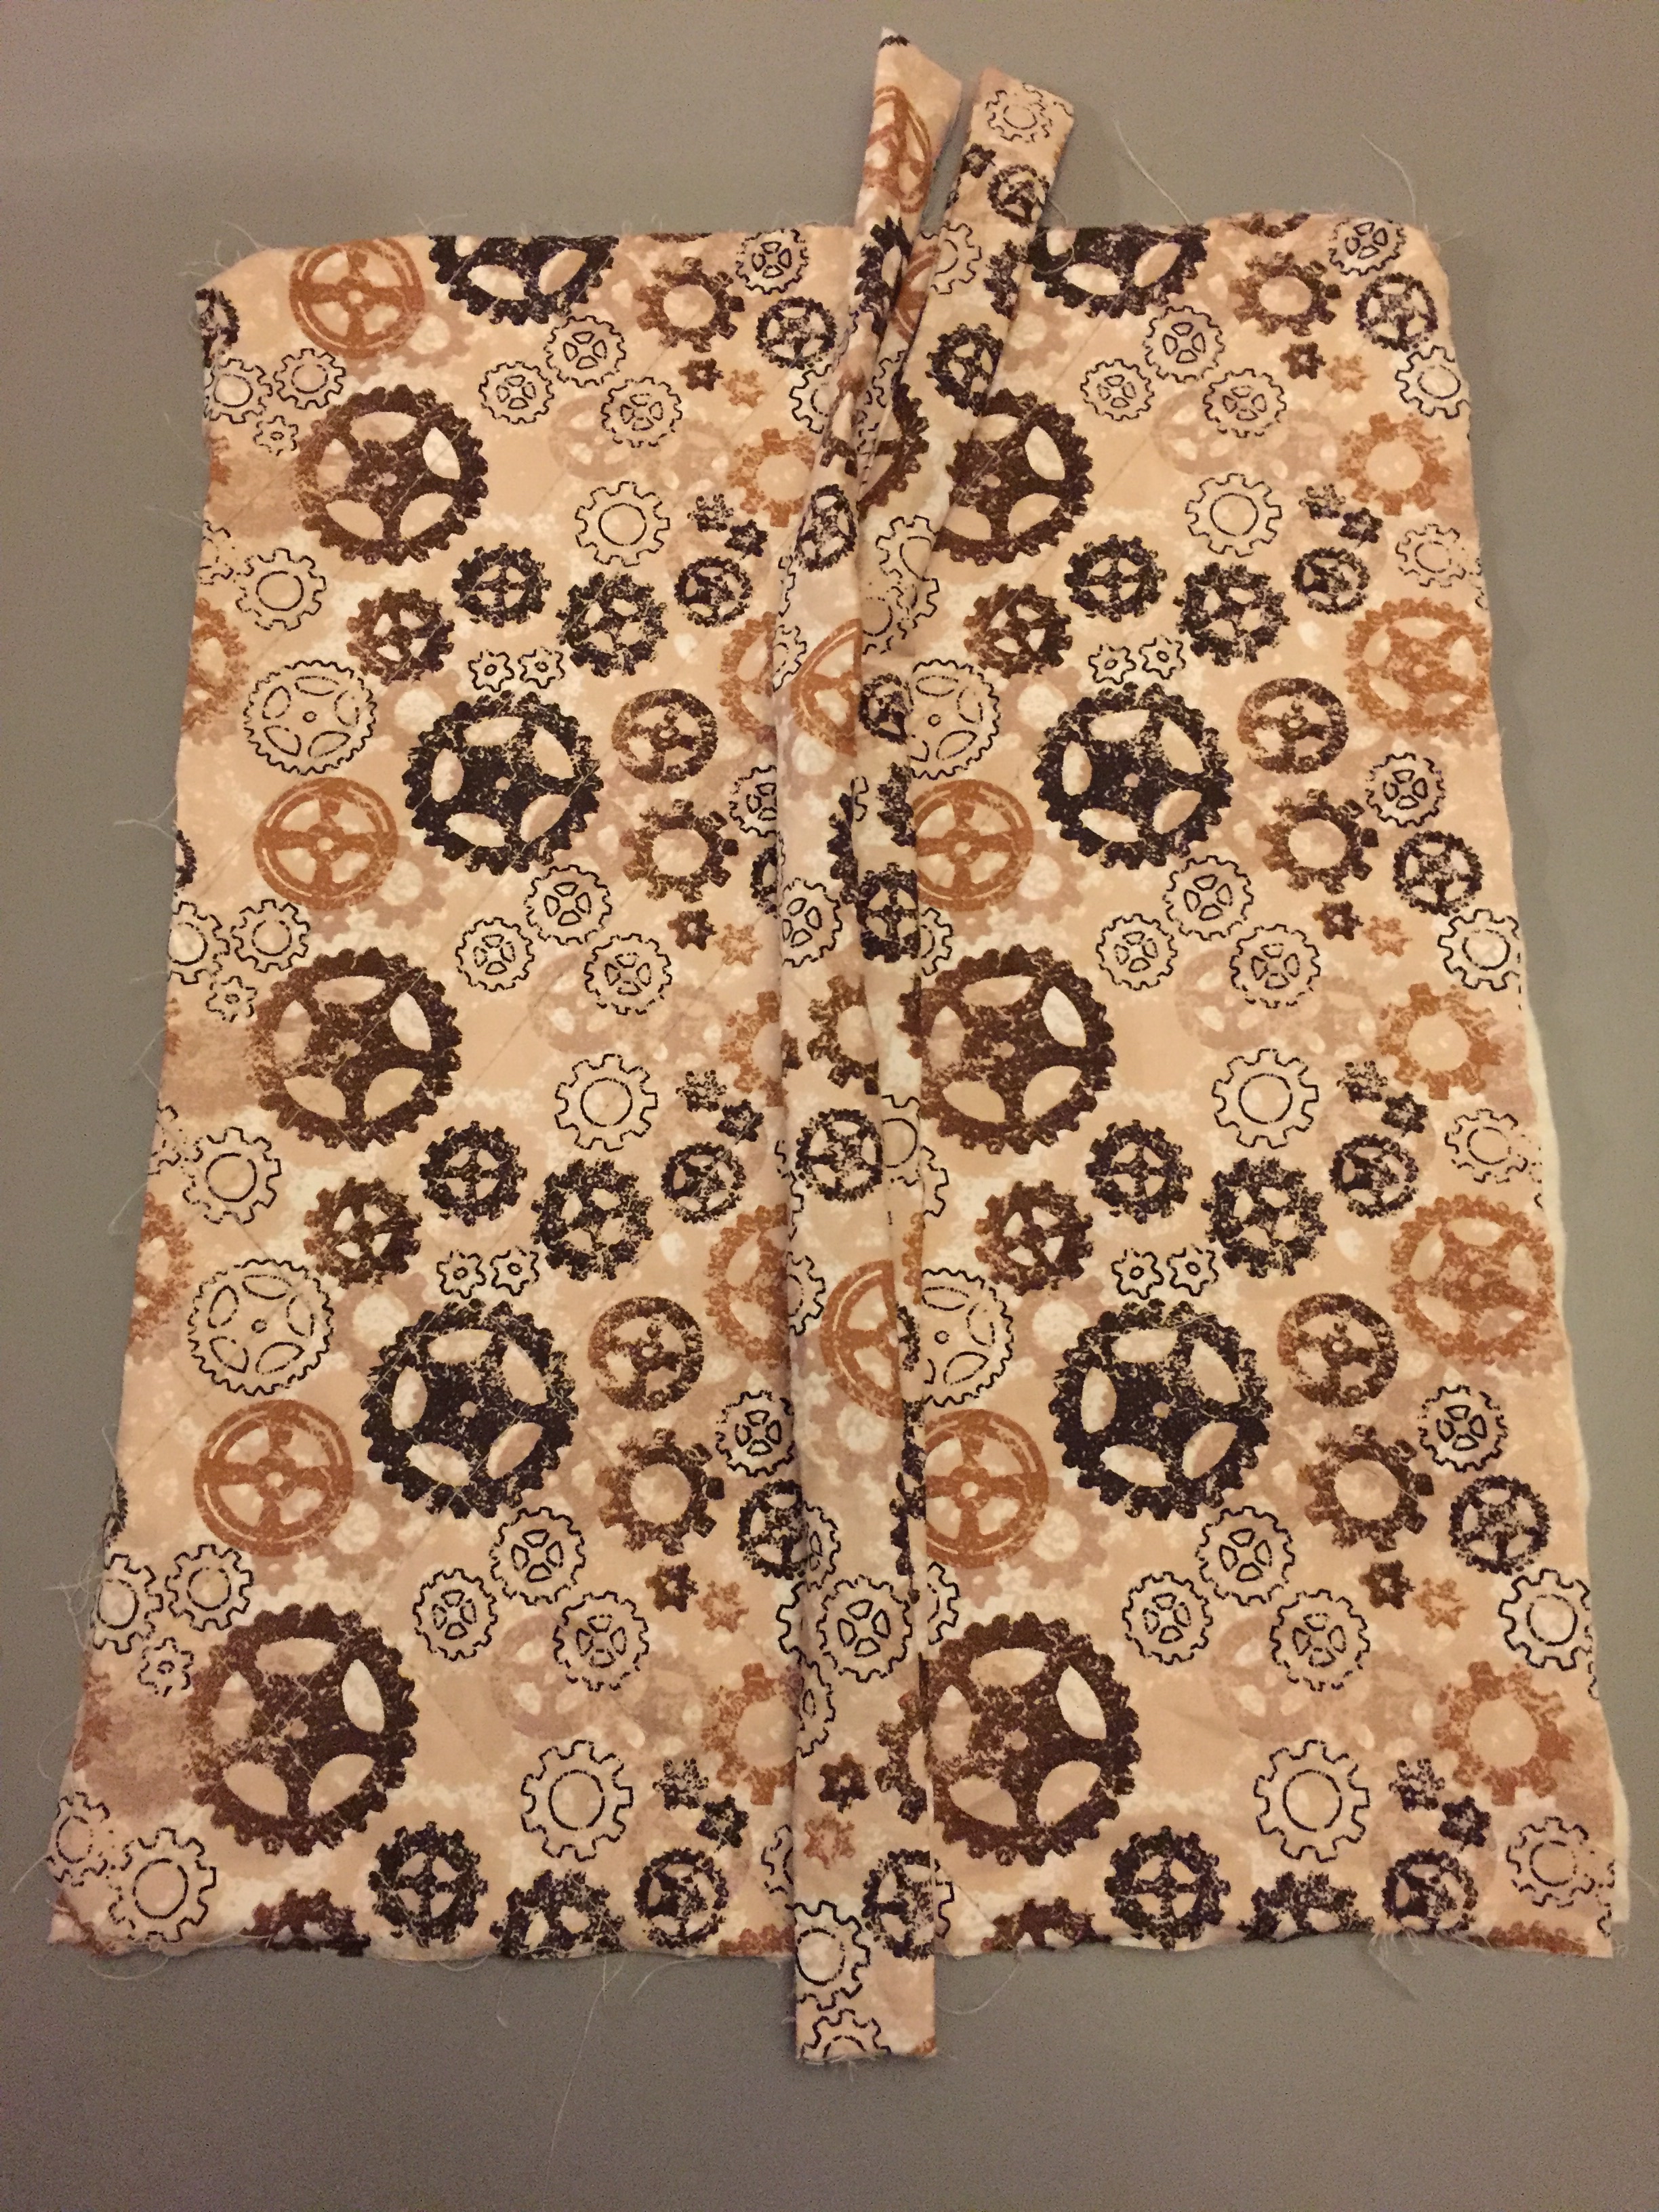
- Take the piece of 43x33cm wadding and place onto the wrong side of one of the 44x34cm cog fabric pieces. Add quilted detail – I used a ruler to mark out diagonal lines from the two bottom corners, but you can add any detail you like.
- If using ribbon to tie the roll, ignore this step:
- Fold the 50x7cm fabric strips in half sideways with right sides together. Sew along the bottom and down the side leaving the top edge unsewn. Turn the right way around. Repeat to make the second one.
- Take the clocks fabric piece and lay the 17x43cm wadding piece along the bottom of the fabric then fold the top over.

- Place the 44x35cm cogs fabric piece (without the quilted detail) right side up and place the pocket along the bottom edge. Sew lines down the black clock fabric at varying distances apart to create sections for the tools.
- Take the quilted fabric piece and place right side facing up. Place the two fabric ties on the left hand side half way down with their raw edge 1cm hanging over the edge of the quilted fabric piece. Next place the cog fabric with pocket attached right side facing down and pin to secure all components, make sure the loose ends of the ties are tucked in at this point or you will end up sewing them into the seam. Sew around all the edges leaving a gap of 10cm for turning. Turn the right way and slip stitch close the seam.

Take a look over at this and other great ideas over on the Craft Cotton Company blog.

Leave a comment