
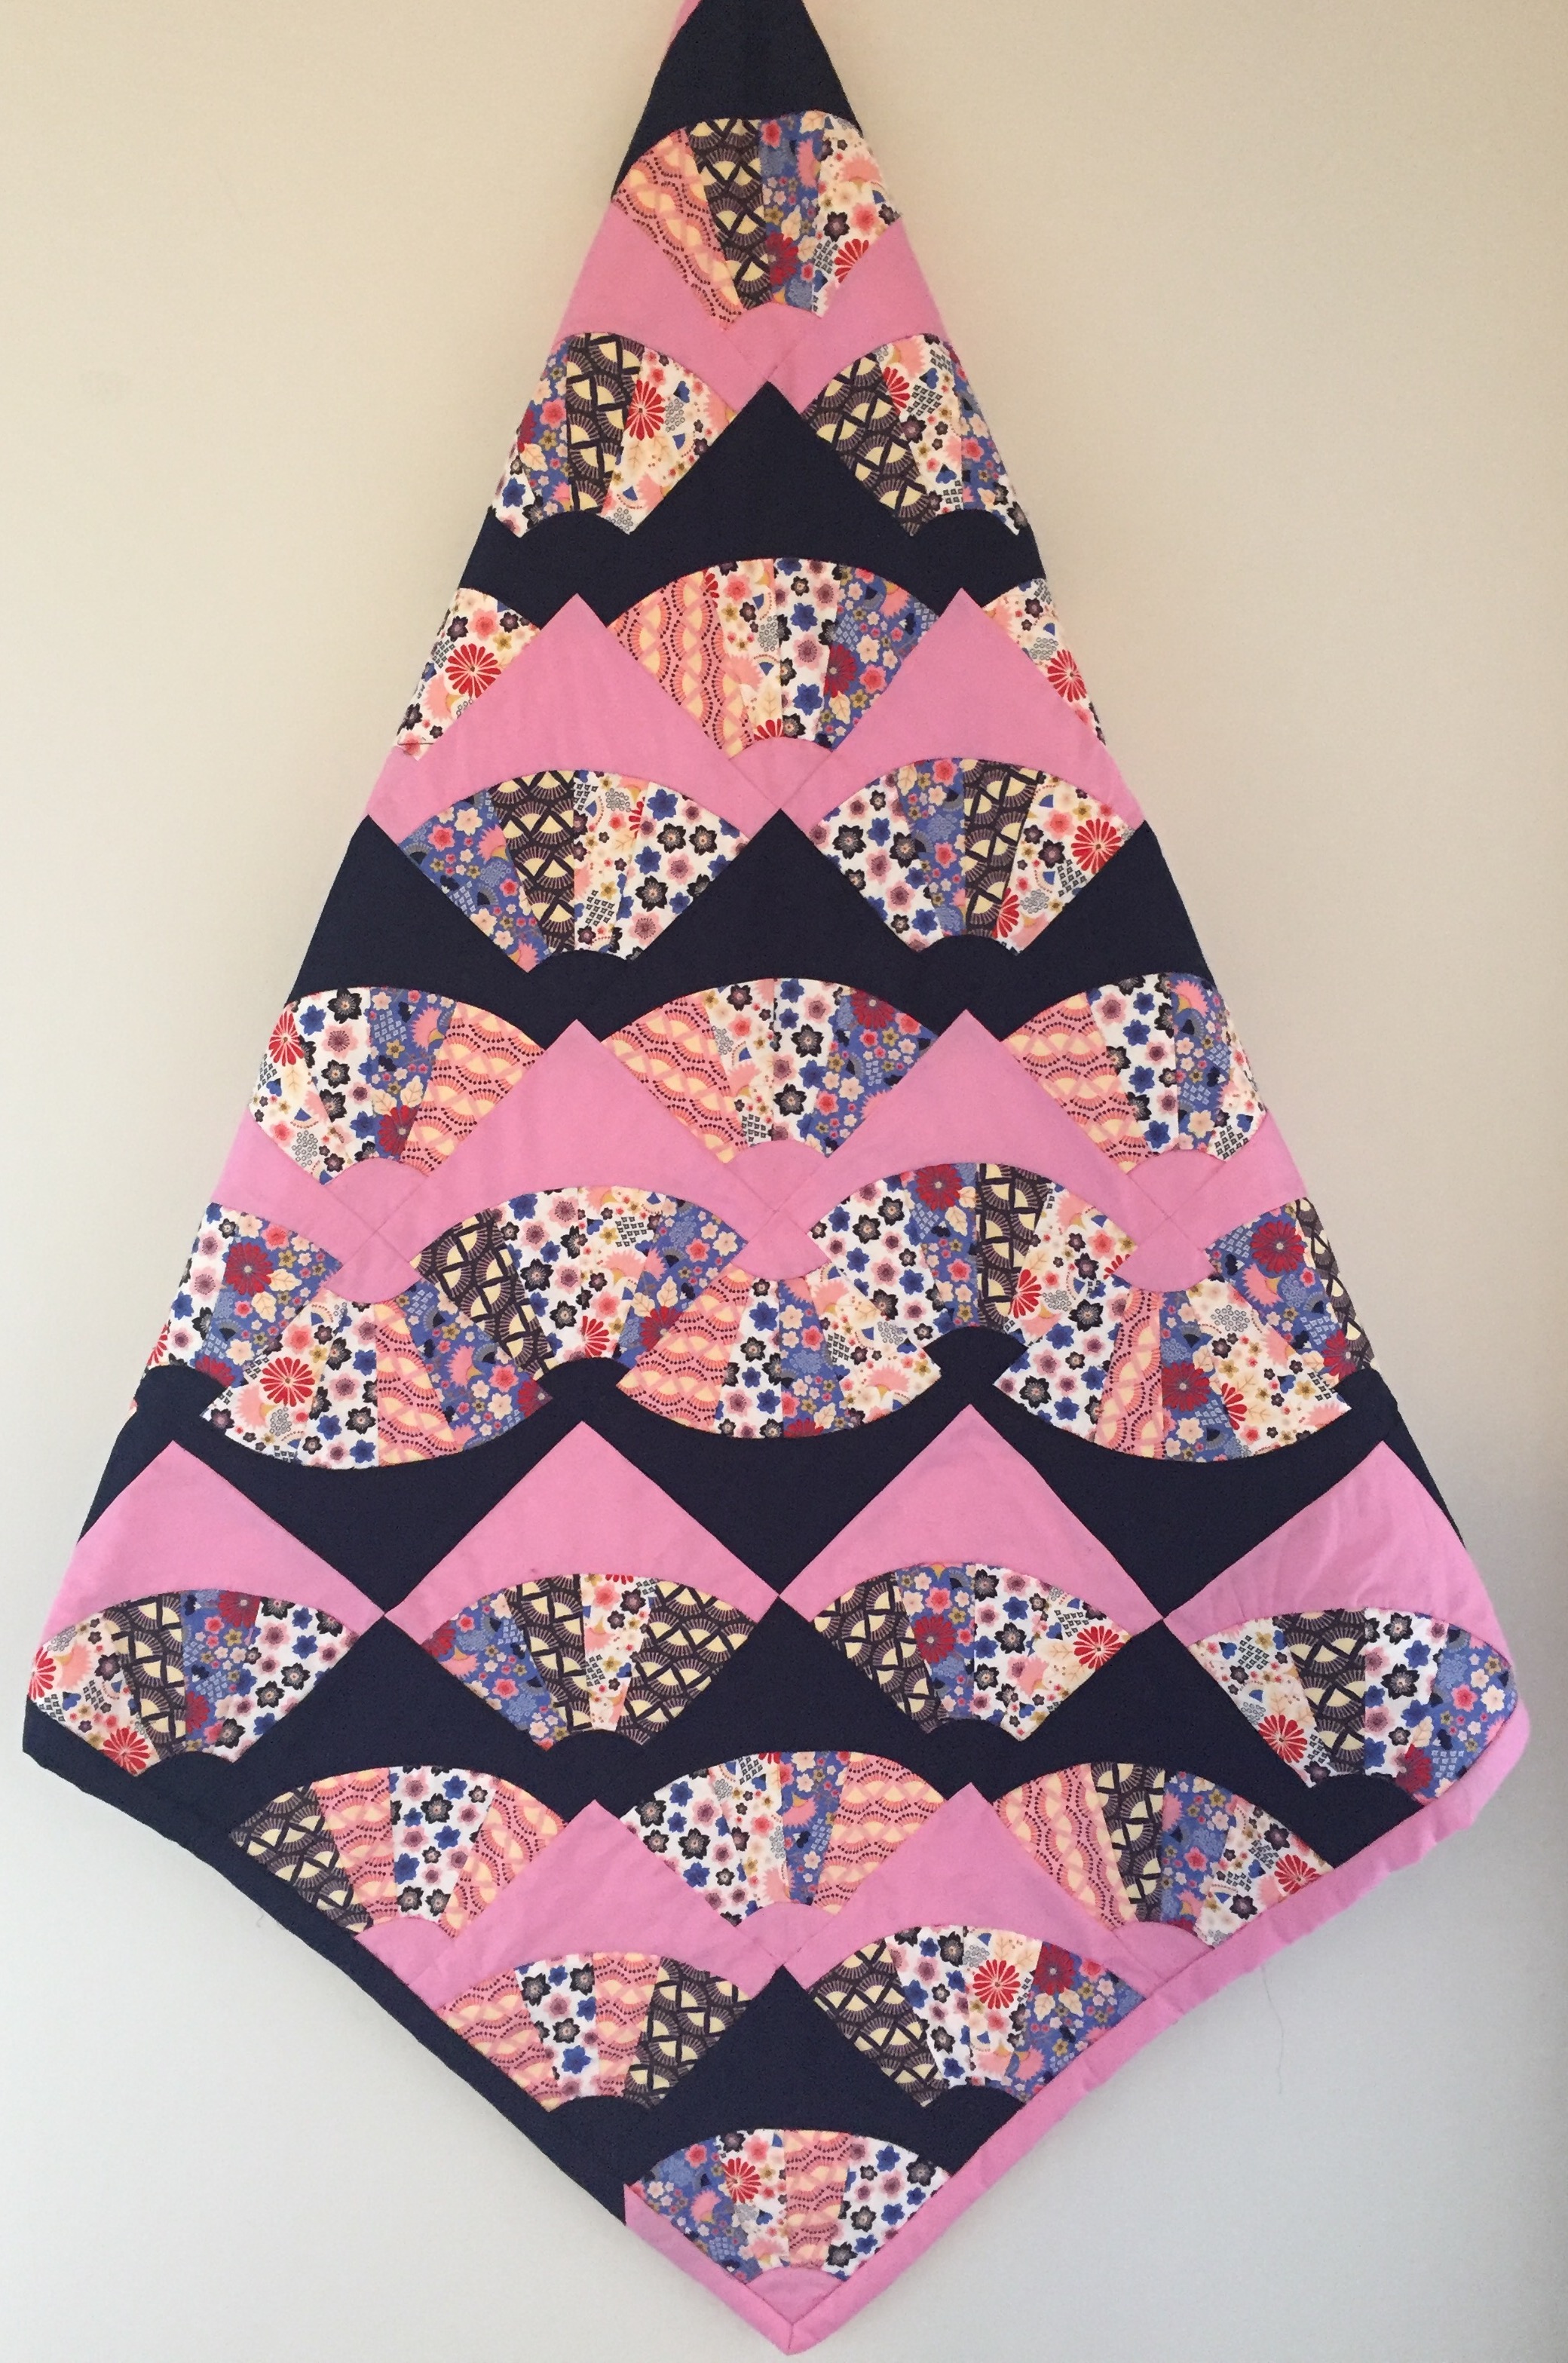
I received some lovely Japanese Florals fabric by The Craft Cotton Company and decided to do a fan block quilt. I must admit was a little daunted about all the curves – I don’t think I have ever sewn so may curved edges before, however, I made sure I took my time (I’m terrible for flying off at speed and then wondering why it all went wrong!) and all the blocks came together without too many problems – I have to admit there were one or two I got a bit carried with and in my haste hadn’t pinned properly so had to redo – getting carried and going to quickly is always my downfall!
Originally published in 2018, this post has had a little update.
Sewing Tutorial: Patchwork Curved Fan Block Quilt
Materials
- Japanese Florals fat quarter set by The Craft Cotton Company.
- 115×115 cm Cotton fabric by The Craft Cotton Company in:
- Red.
- Pink.
- Dark blue.
- 115 x 115 cm batting.
- Thread.
- Needle.
- Scissors.
- Ruler.
- Pencil.
- Pins.
- Paper.
Patchwork Curved Fan Block Quilt Sewing Tutorial
- On a piece of paper draw a square 15x15cm, within this square draw two curved lines to create 2 circle quarters. Then split the larger circle quarter section into 4.

- Cut out to make your pattern pieces.
- Cut out the fabric pieces leaving a 0.5cm seam allowance:
- Using the fat quarter fabrics for the larger circle quarter.
- Using pink and dark blue fabrics for the smaller circle quarter and the surrounding edge piece leaving.
- To sew the pieces together:
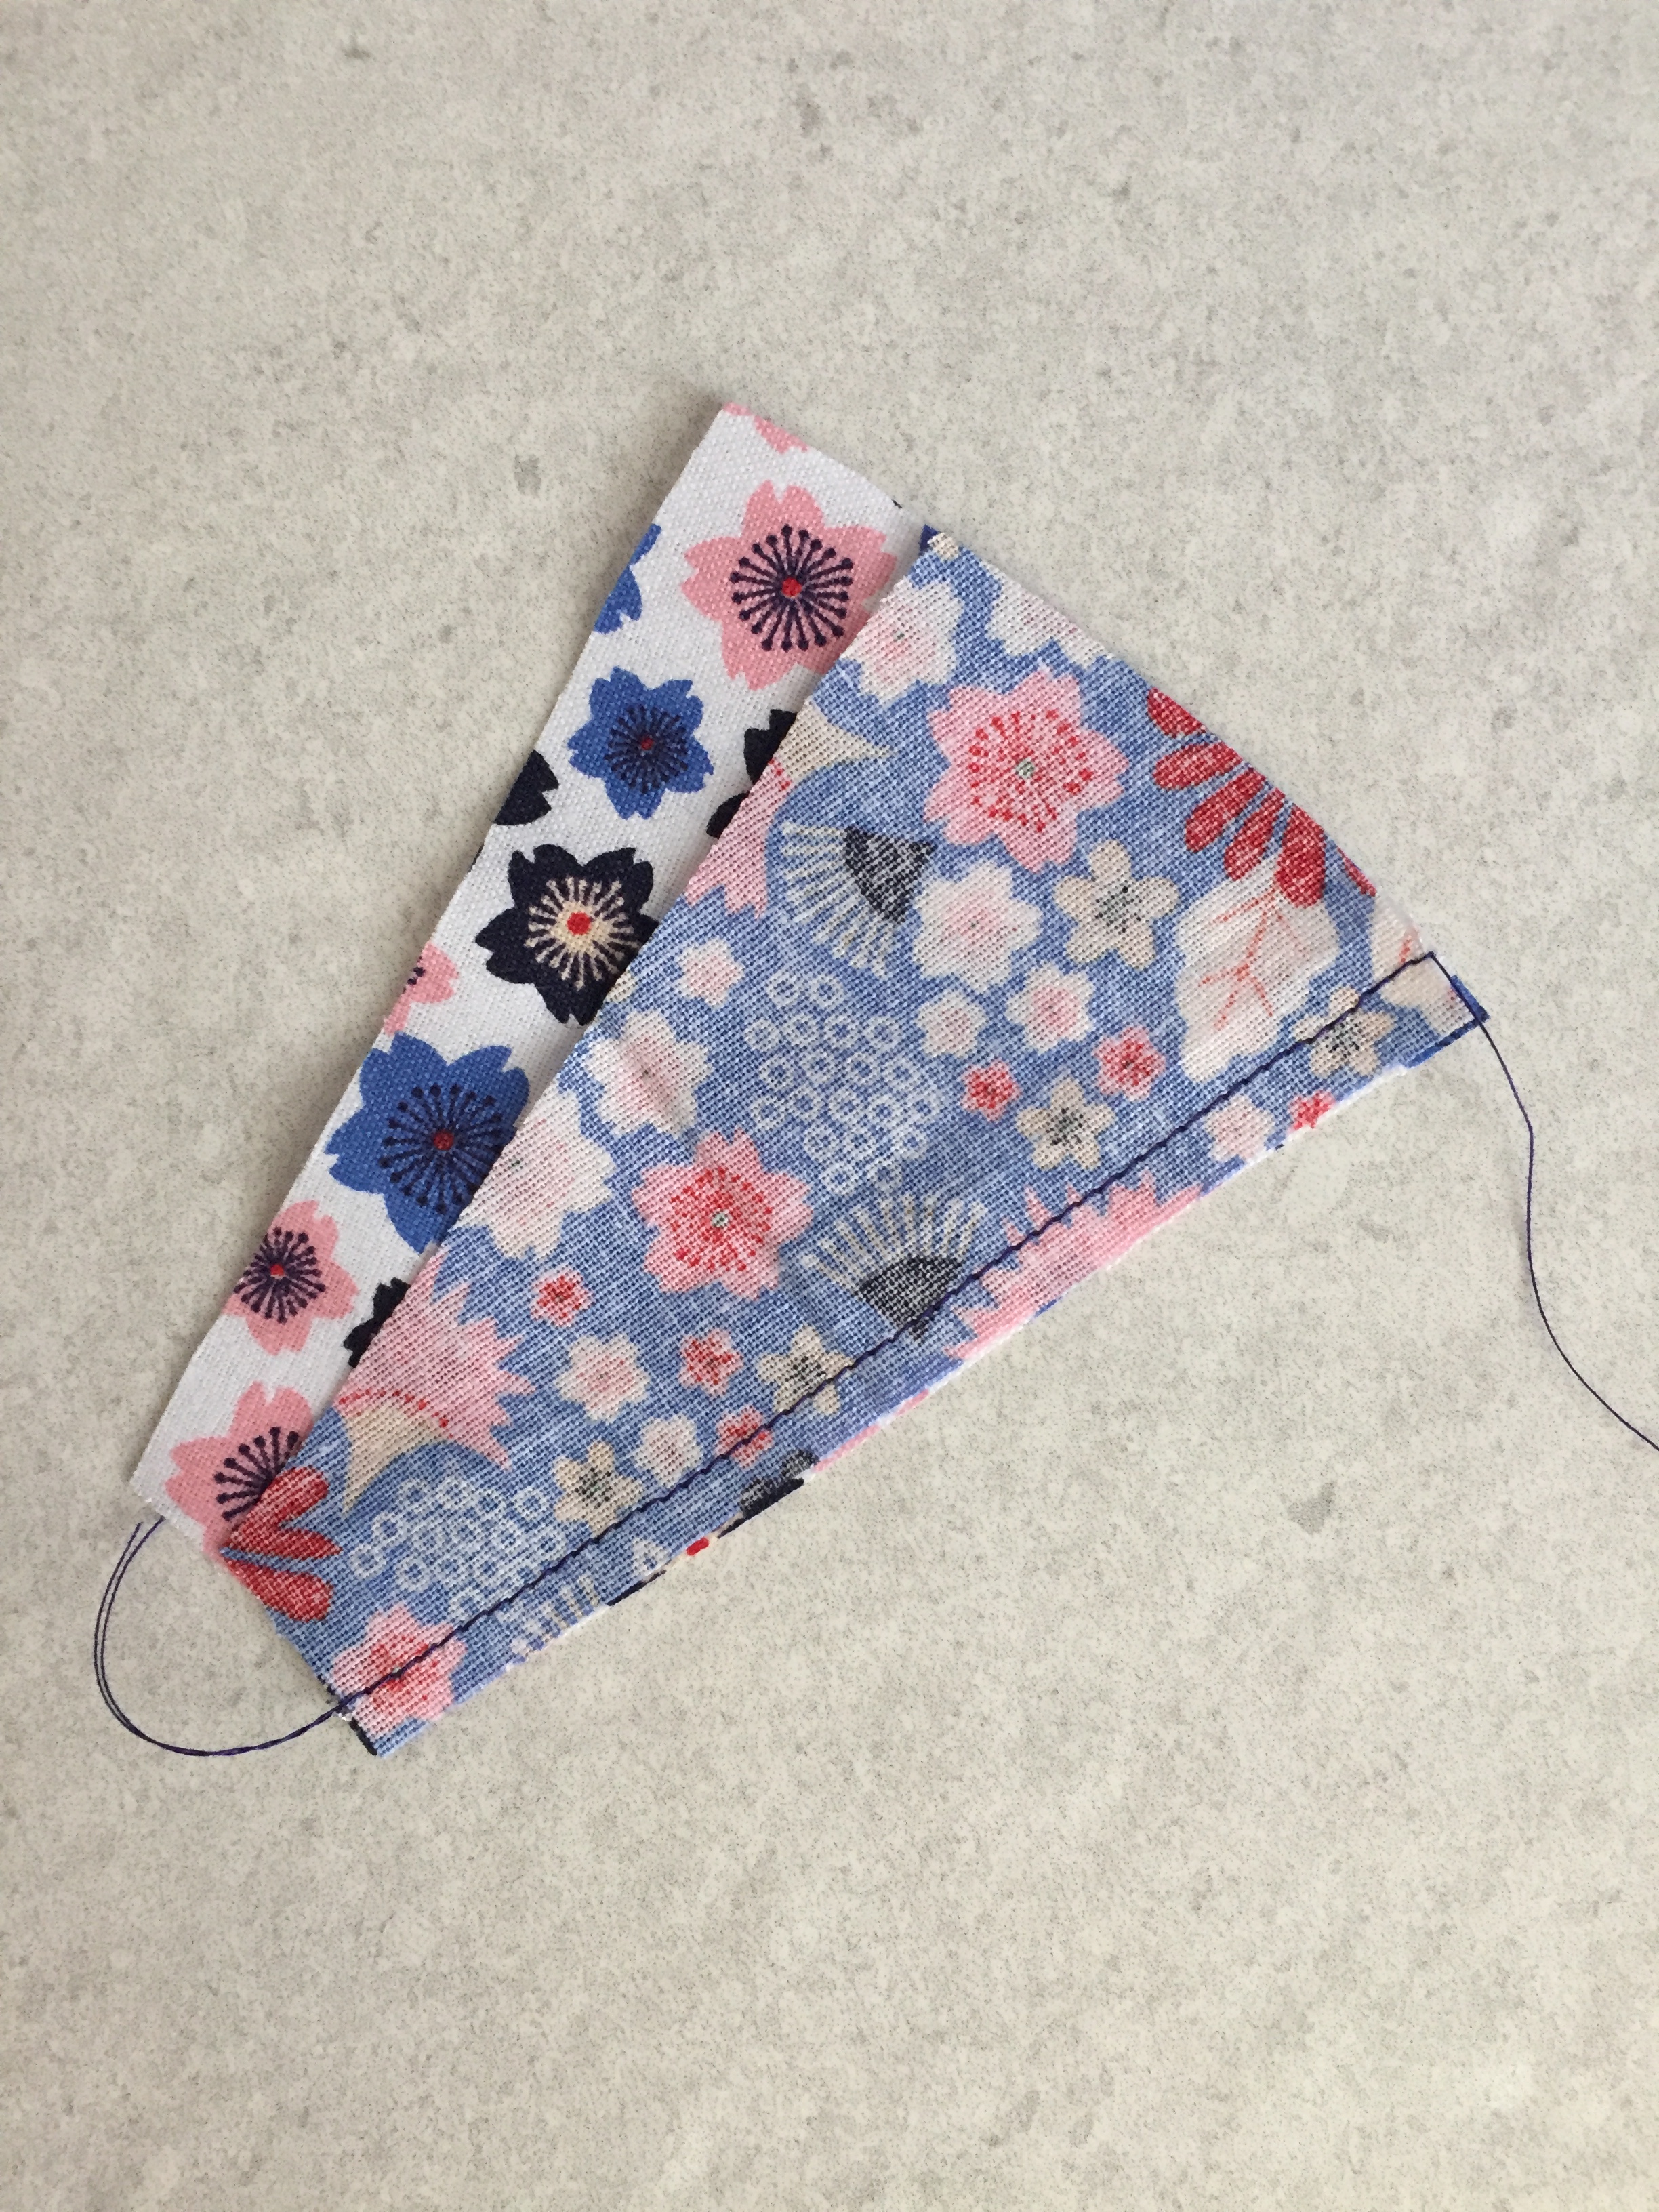
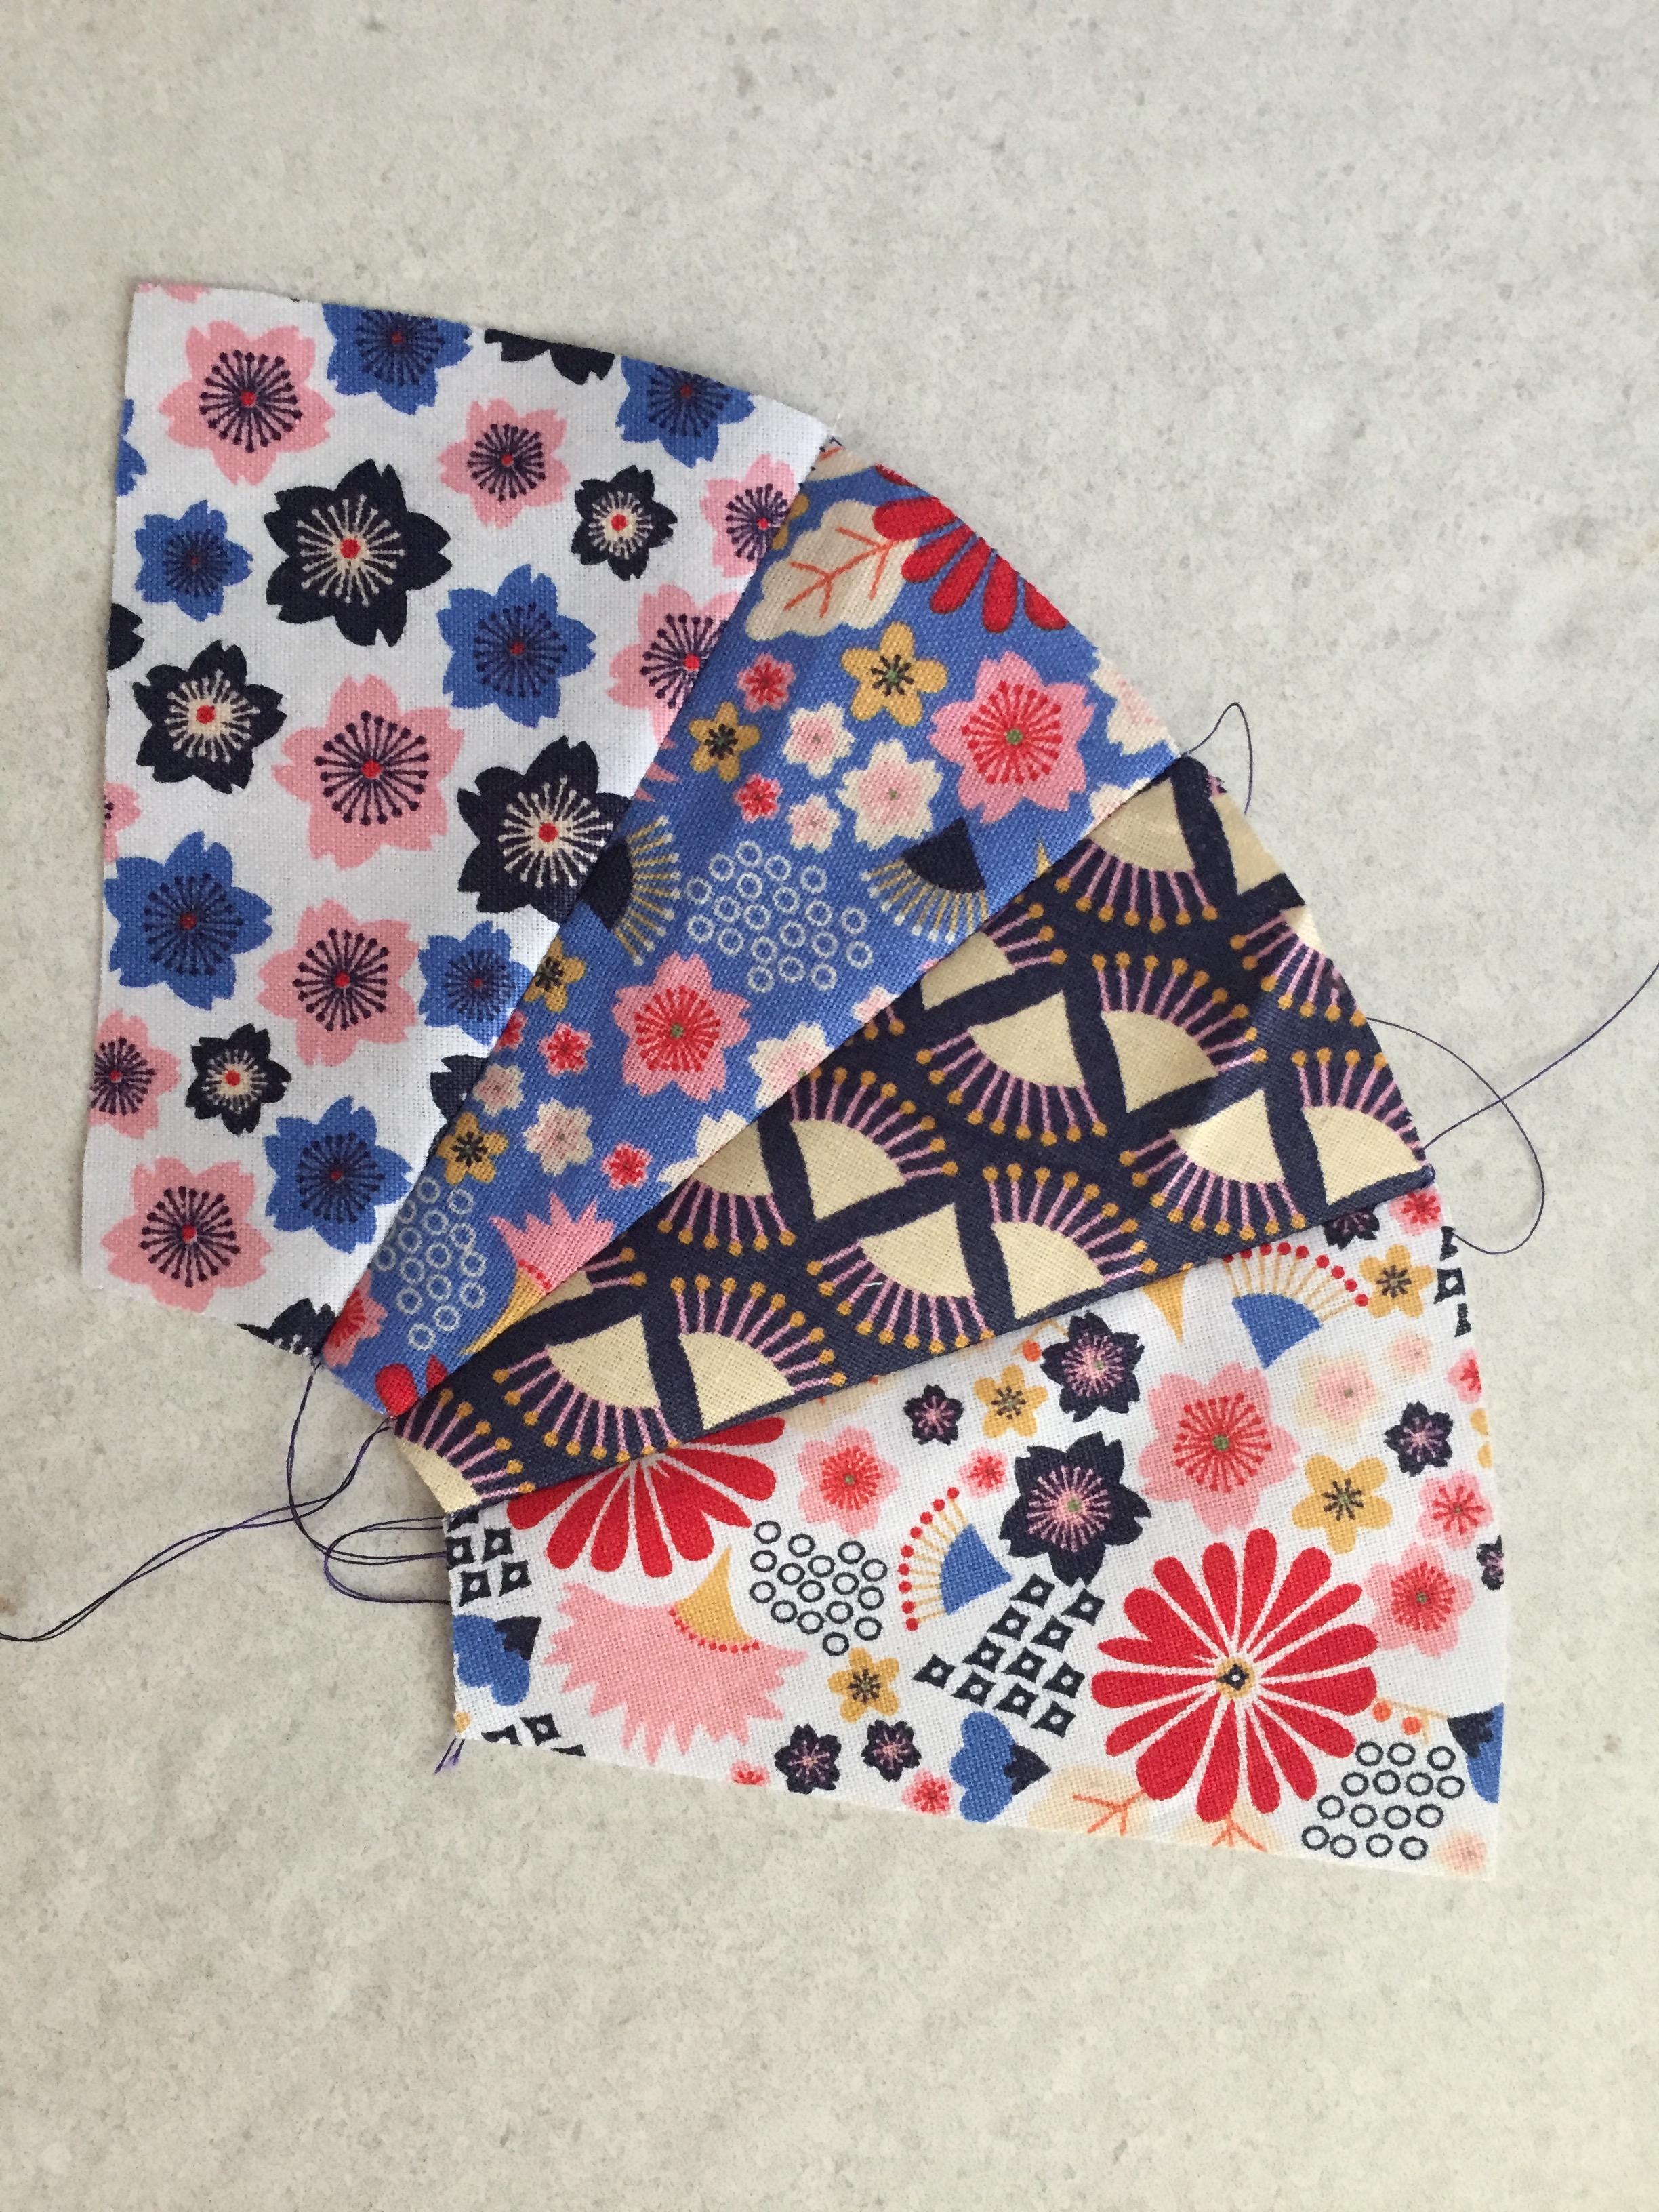
- Take 4 of the larger circle quarter fabric pieces and sew the first two sections together placing right sides together and sewing down the side edge.
- Repeat this with the remaining section pieces until all 4 are sewn together. Press.
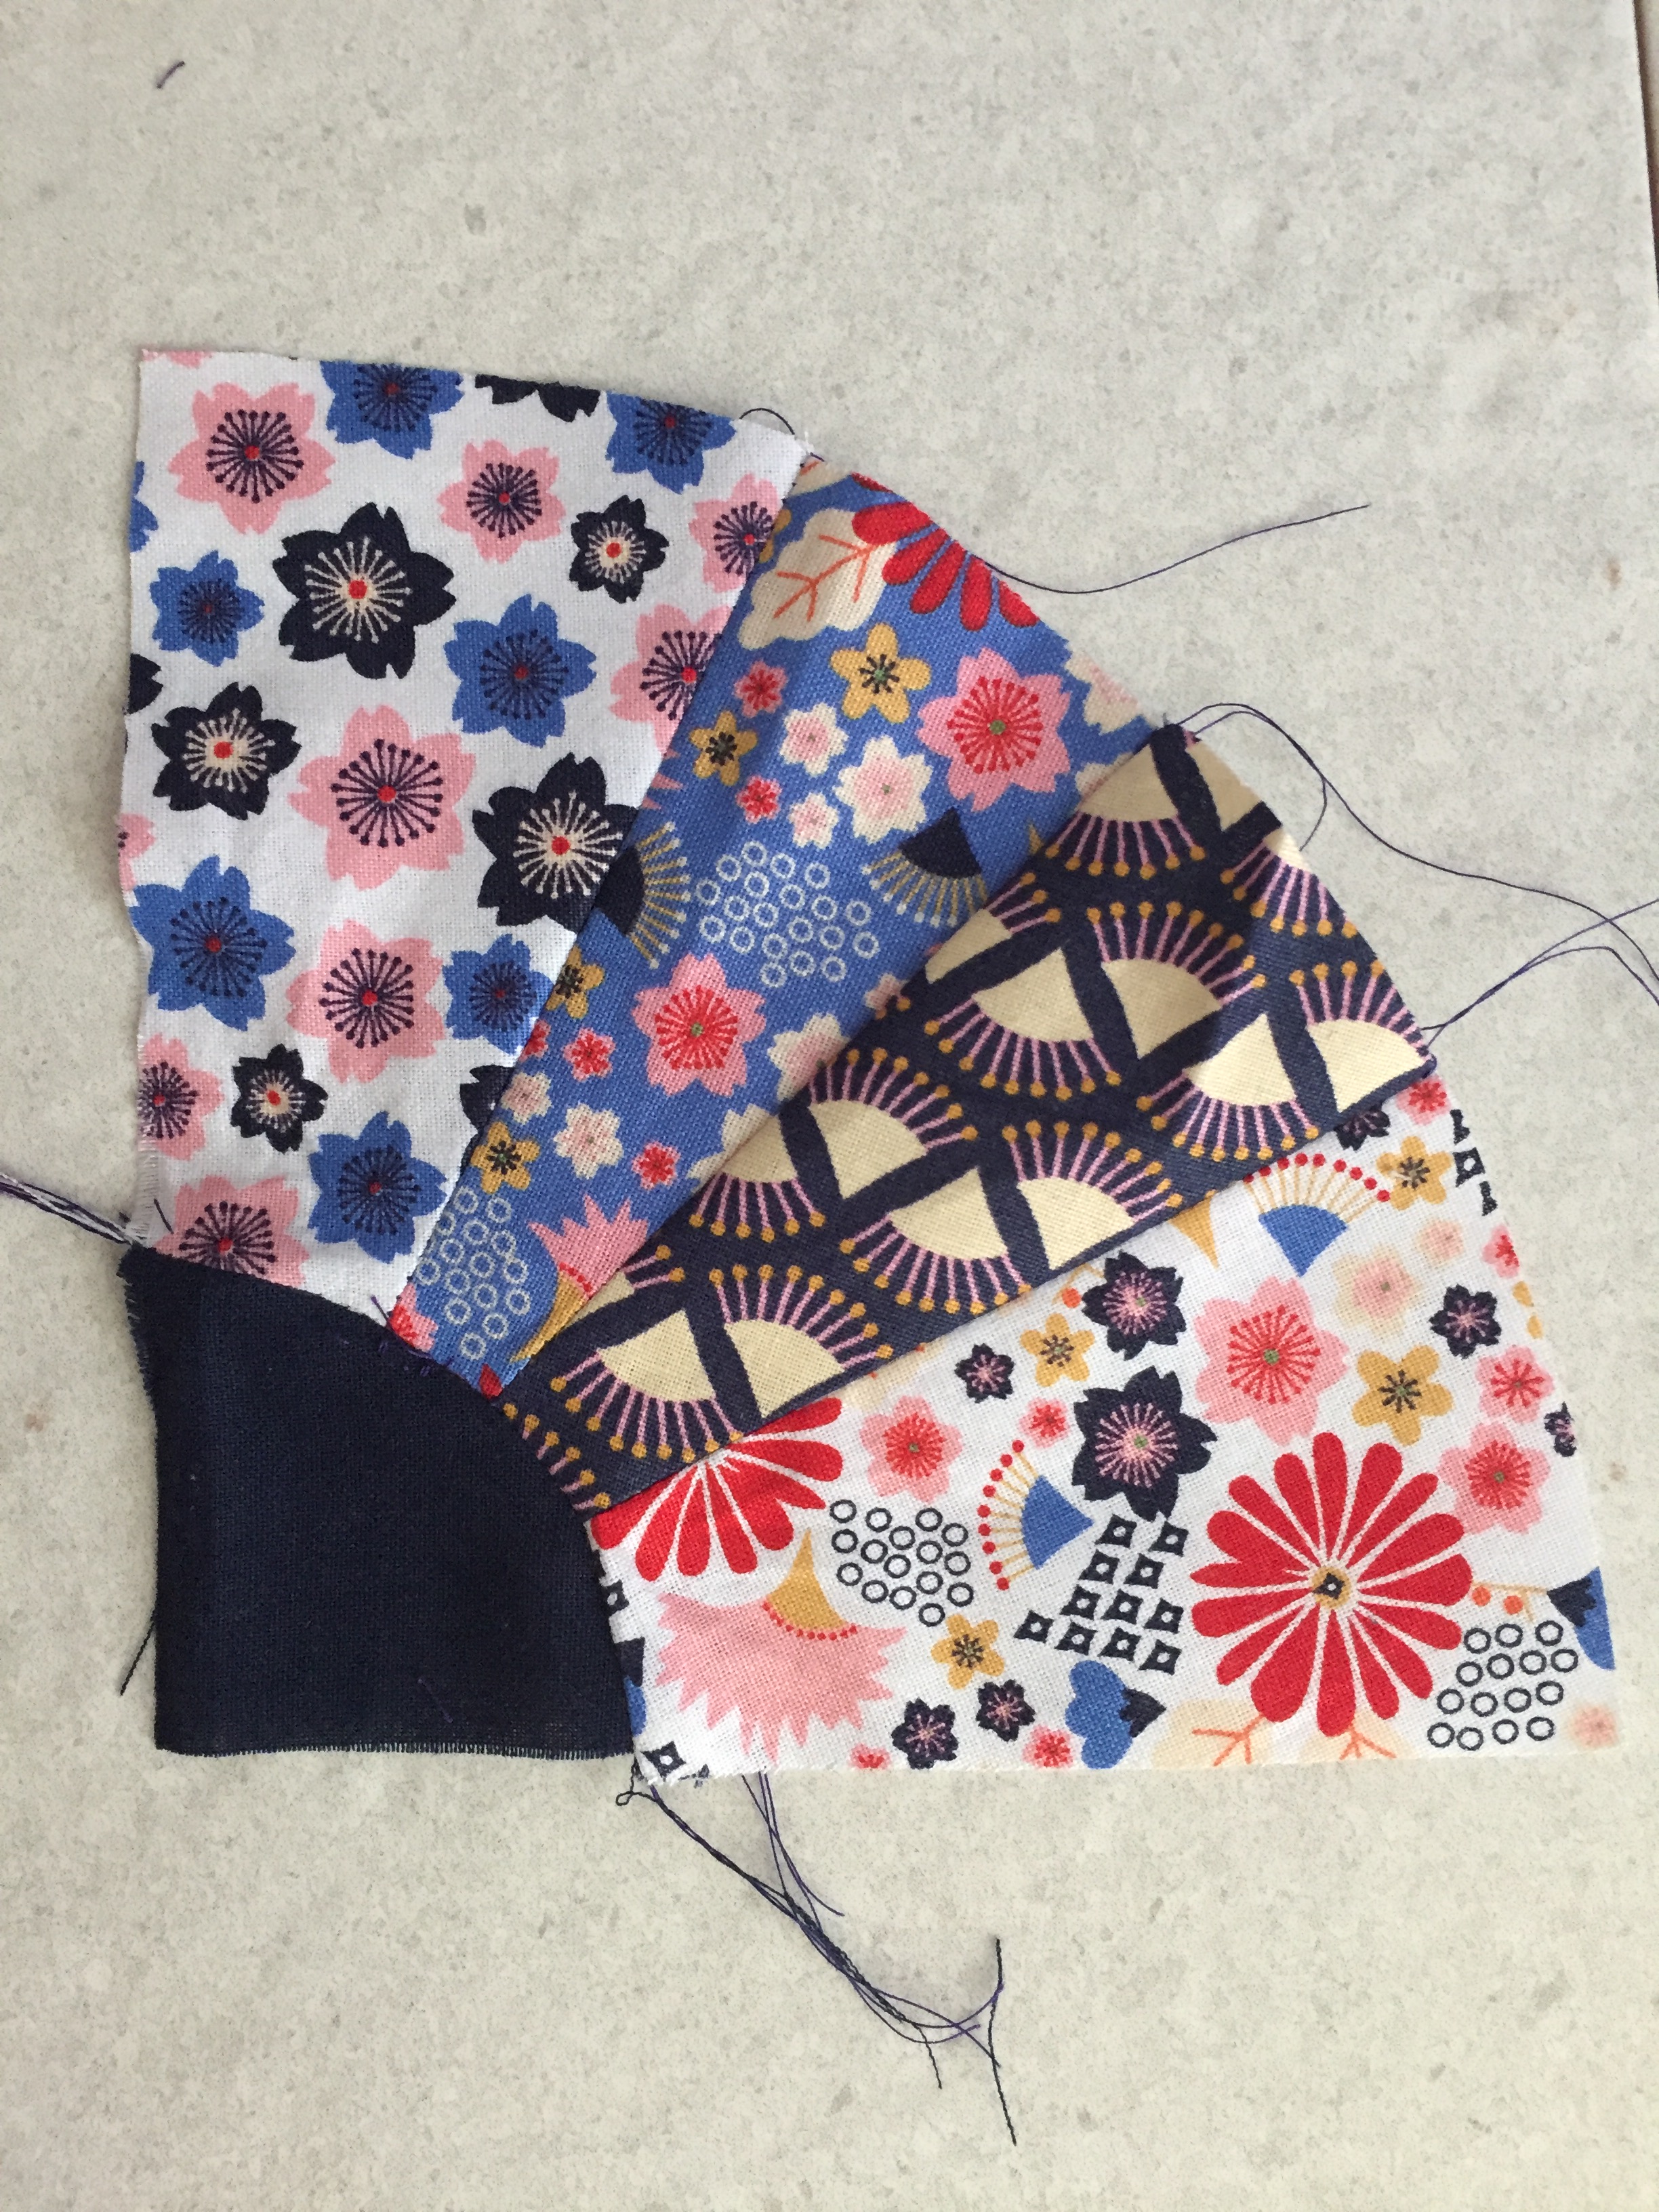
- Take one of the smaller circle quarter plain fabric pieces and pin along the bottom edge of the larger circle quarter and sew to secure.
- Take the surrounding edge piece and pin along the top edge of the larger circle quarter, pin and sew to secure.
- Press and trim if required to square off the completed block.
- Repeat this process with the remaining patchwork pieces.


- Layout the patchwork blocks alternating between the pink and blue surrounding edge pieces, turn one of the blocks on each of the rows shown on the picture to create the winding effect that runs diagonally across the quilt.
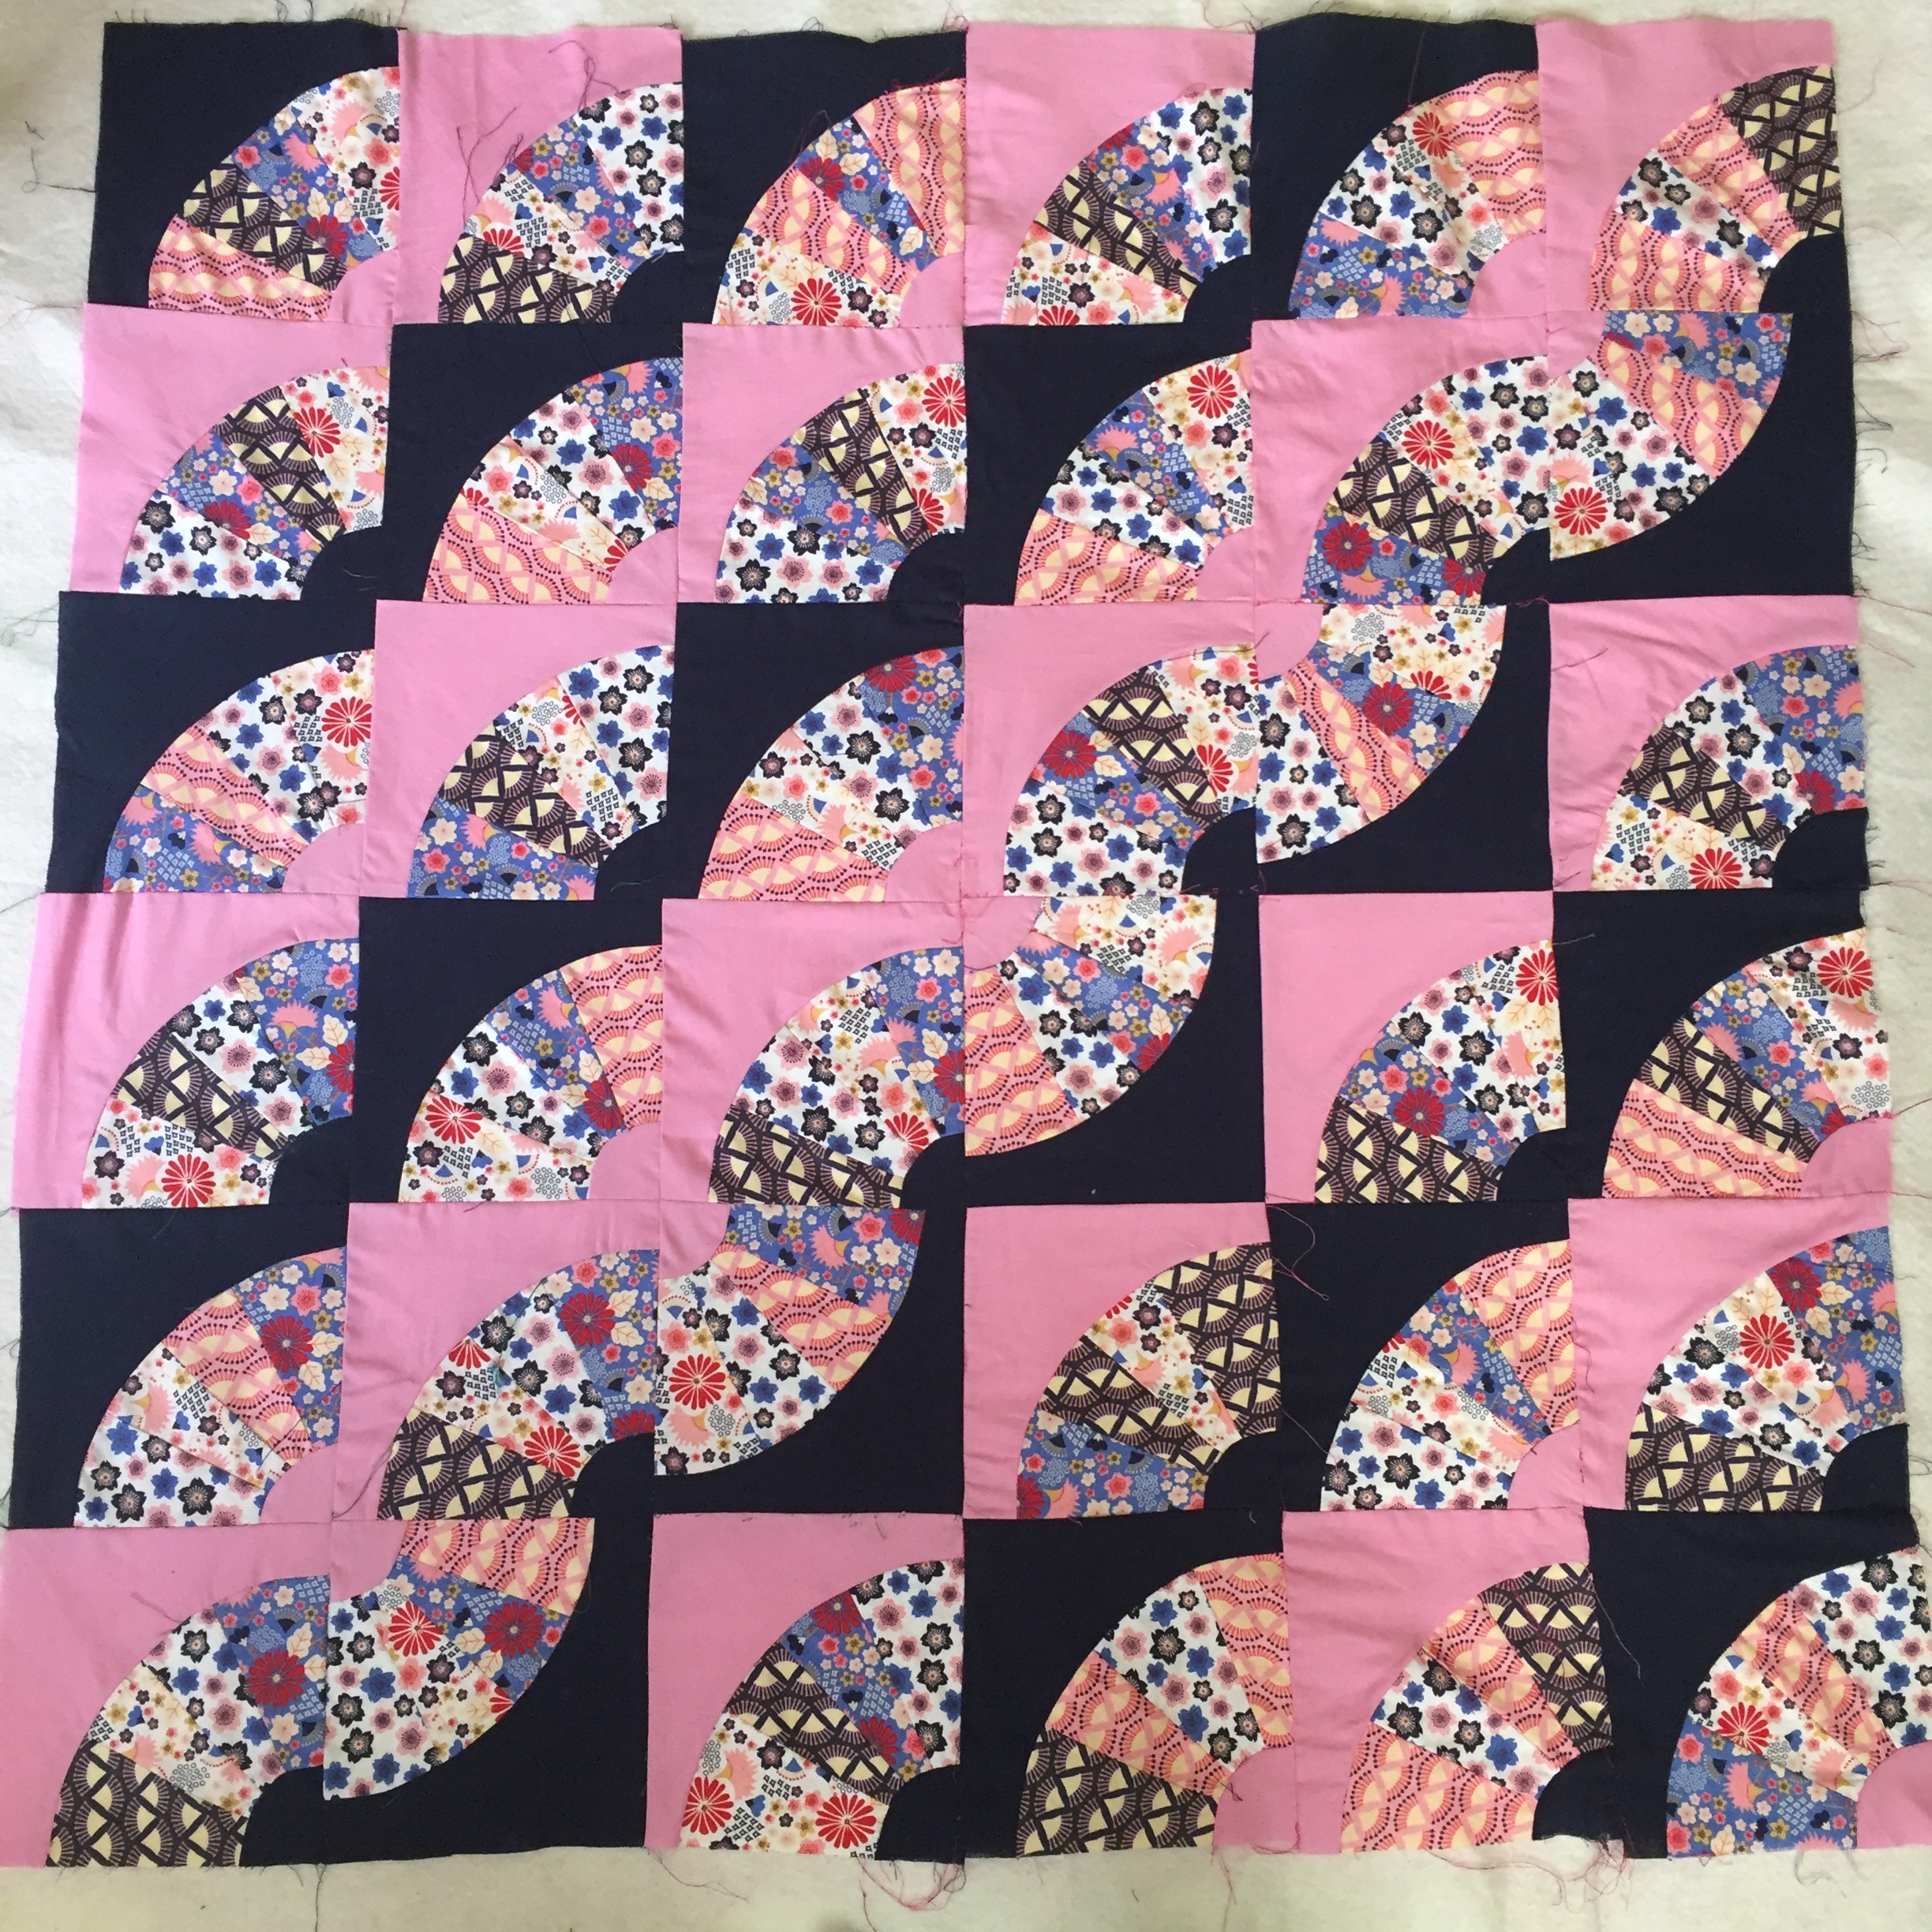
- Sew the blocks together one row at a time, then sew the rows together to create the quilt top.
- Lay the red fabric backing piece right side down, place the batting on top then lay the quilt top right side up on top. Pin to secure then add quilted detail by sewing along the top edge of the small and larger circle quarters.
- Make the binding by cutting 8cm wide strips of fabric from the remaining fat quarters, pink and blue fabric. Sew together to create a strip 4m long. Fold this strip in half and press.
- At the starting end fold the edge inwards to create a diagonal edge, fold the strip back down and press again.

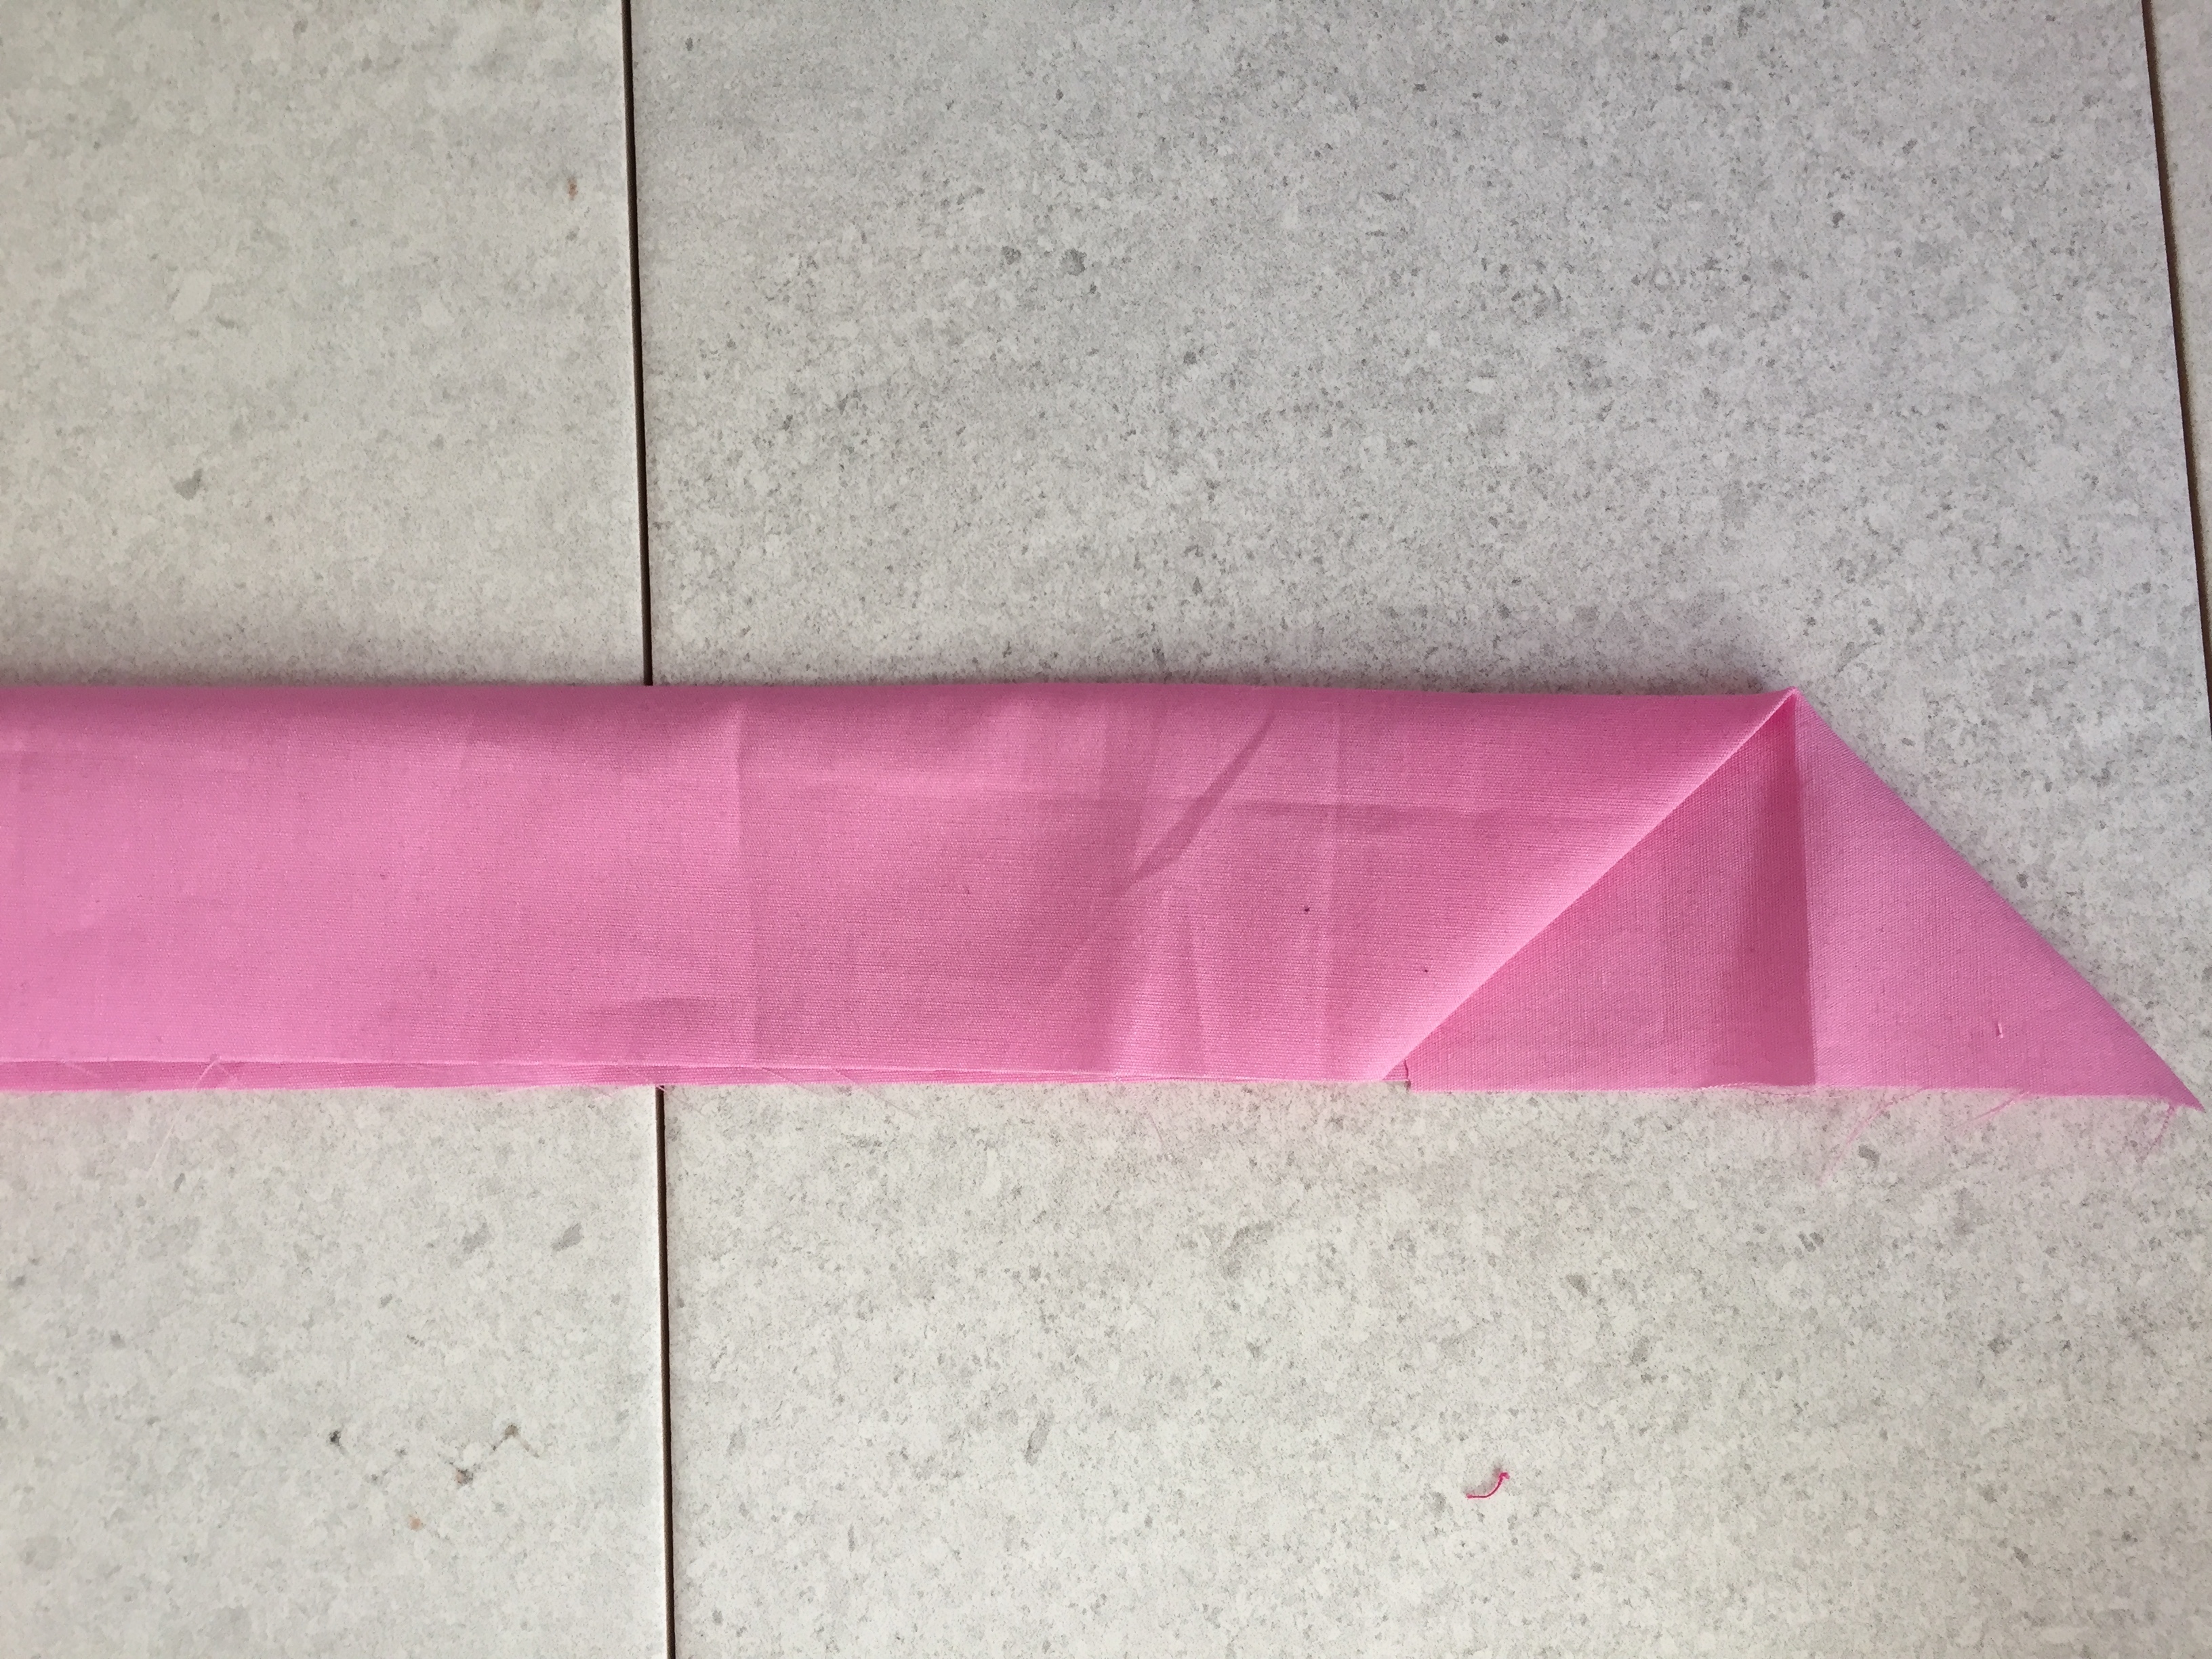
- Pin the binding so its raw edge is against the raw edge of the quilt, pin and sew around the edge to secure. Then fold the top edge of the binding over to the other side of the quilt. Pin and slip stitch to secure.

The tutorial to make one is also available over on The Craft Cotton Company blog.

Leave a comment