
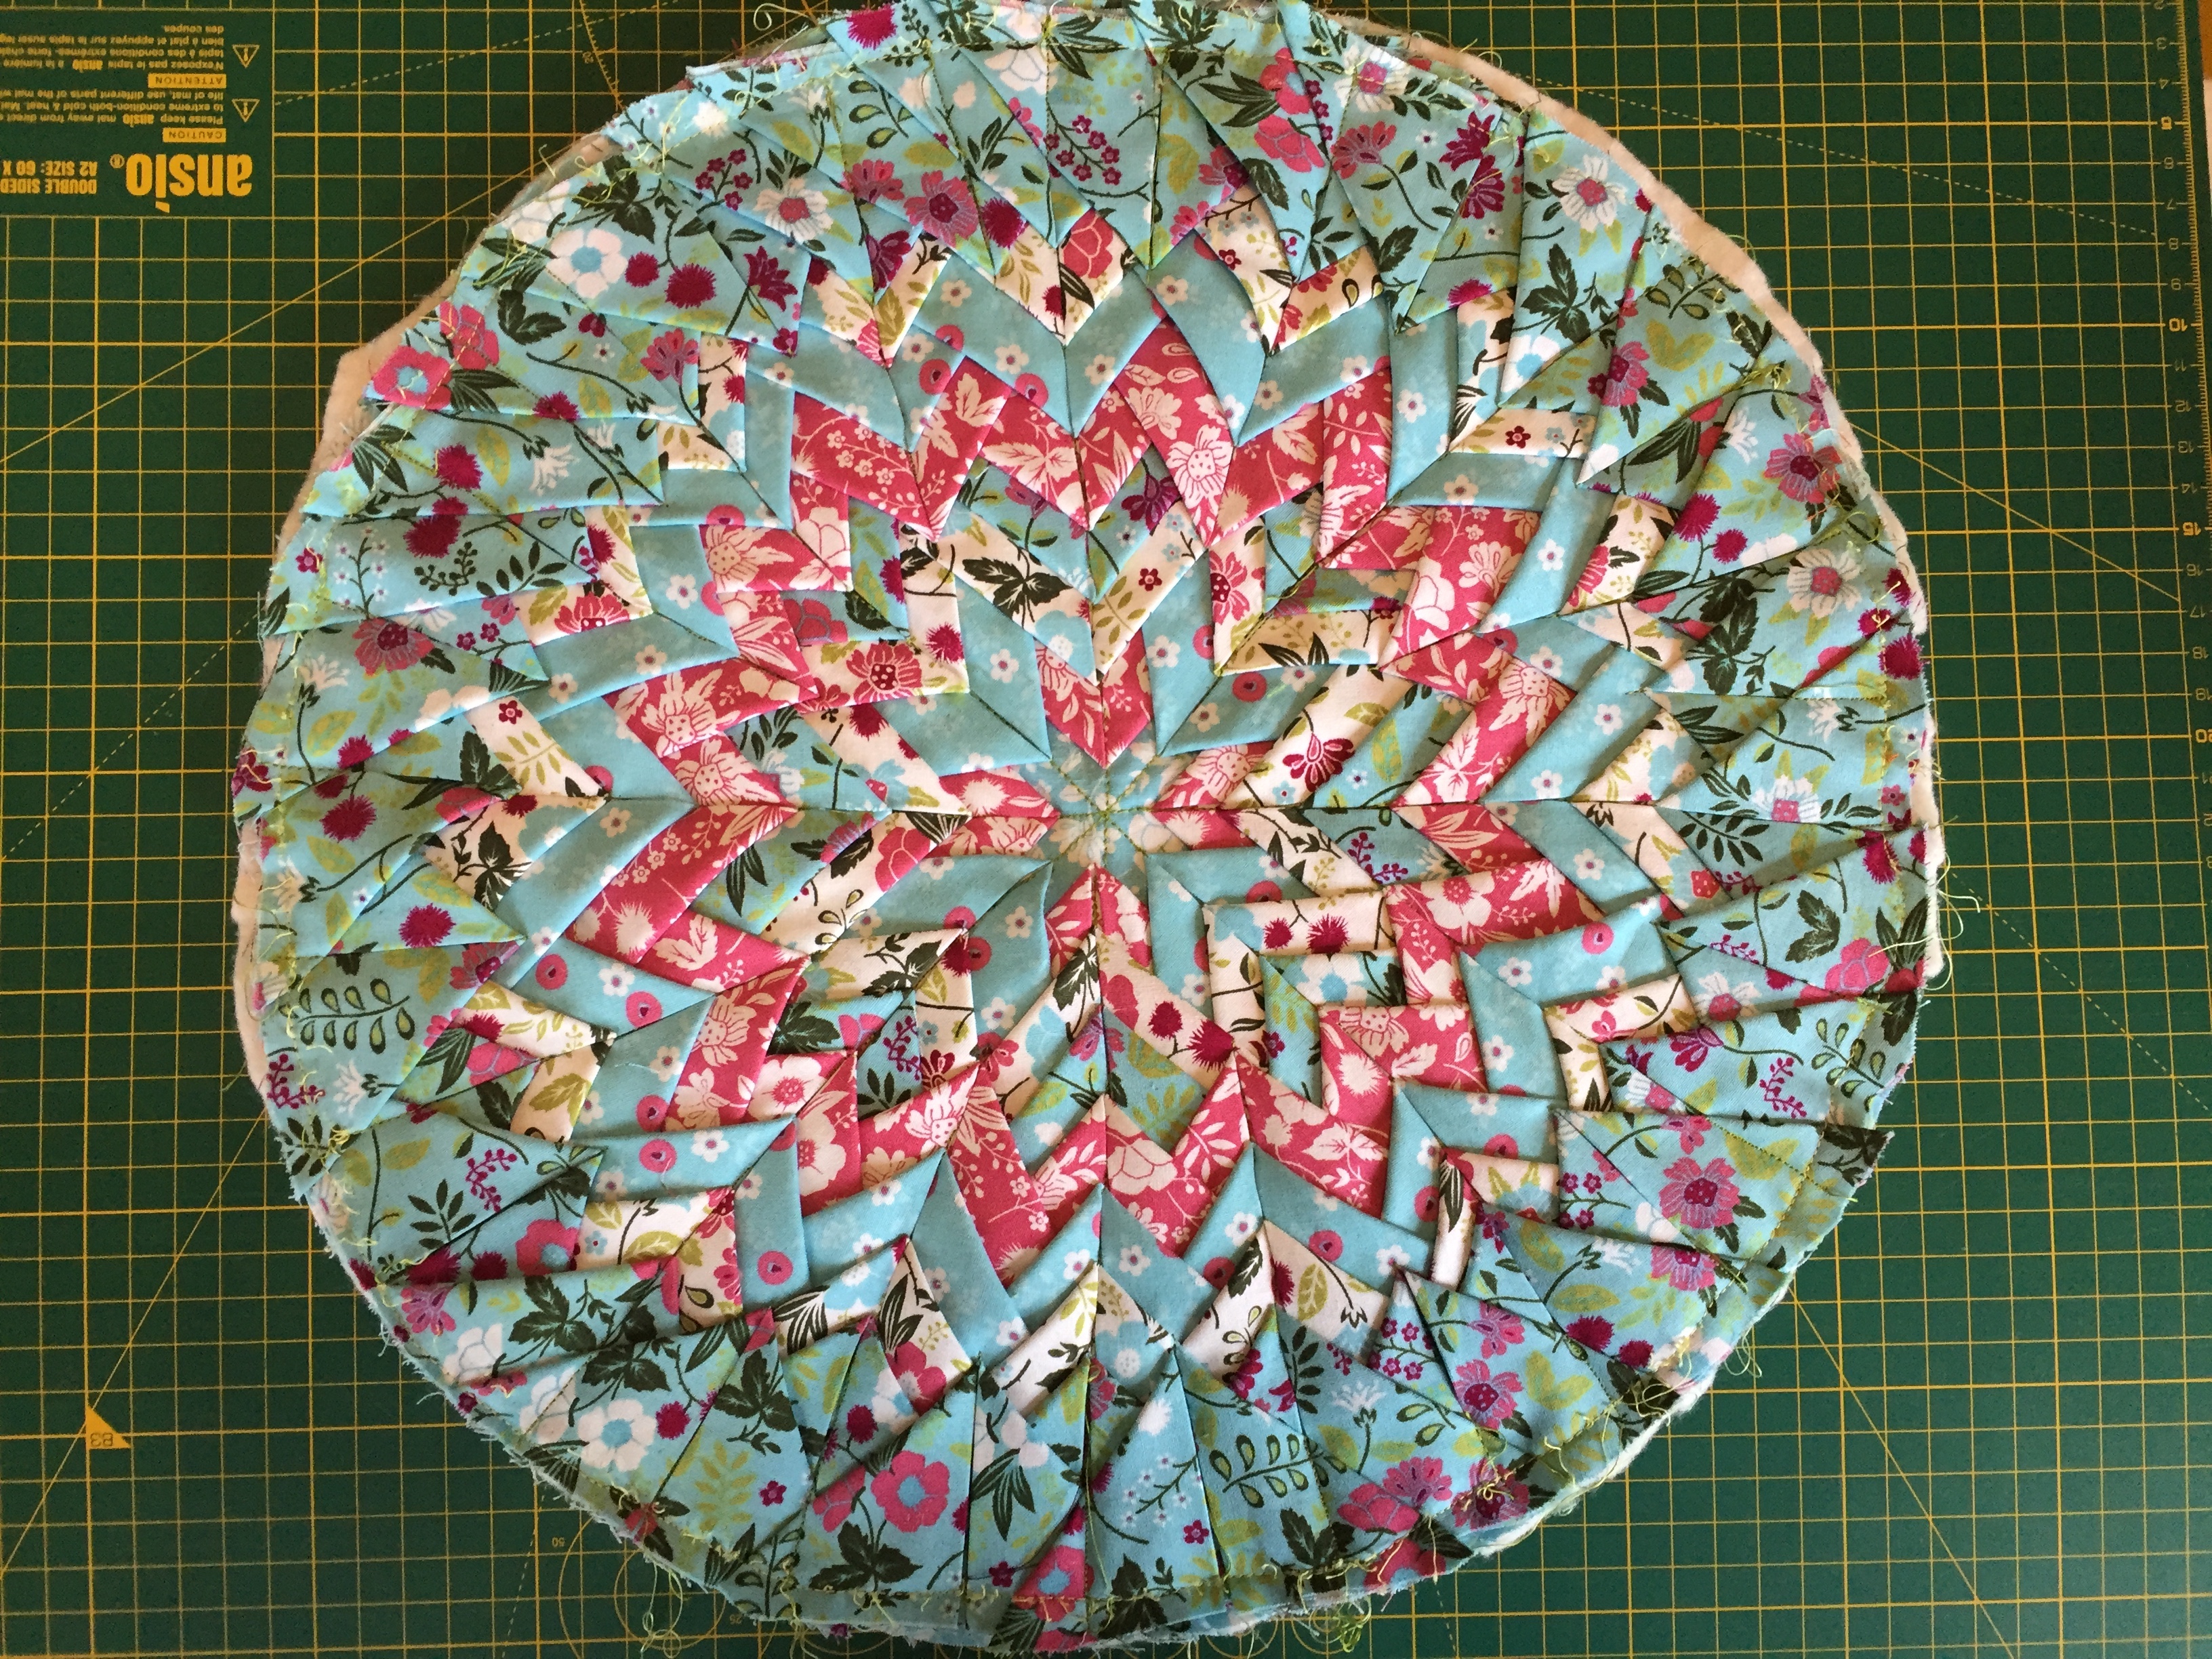
A few triangles later a folded star cushion emerged….
I’ve been looking at folded star/pine burr quilt designs for a little while now and have been wanting to see if I could make one. I received some gorgeous floral fabric from The Craft Cotton Company and decided it was now or never and would give it a try by making a cushion cover.
I seriously underestimated just how many triangles would go into making the cushion cover, but after a few extra cutting out and ironing sessions I had enough to put it all together. I was surprised how easy it was to make the folded triangles and put the star pattern together – the effect looks much more complicated when you see it all finished, the main thing was trying to keep all the gaps between the triangles the same distance, if the gap started to change it effected the overall pattern.
I really enjoyed making this and will be making another one soon – possibly a square cushion or maybe a quilt, although the amount of triangles needed does scare me slightly!
Fabric gifted by The Craft Cotton Company.
Sewing Tutorial: Folded Star/Pine Burr Patchwork Cushion
Materials
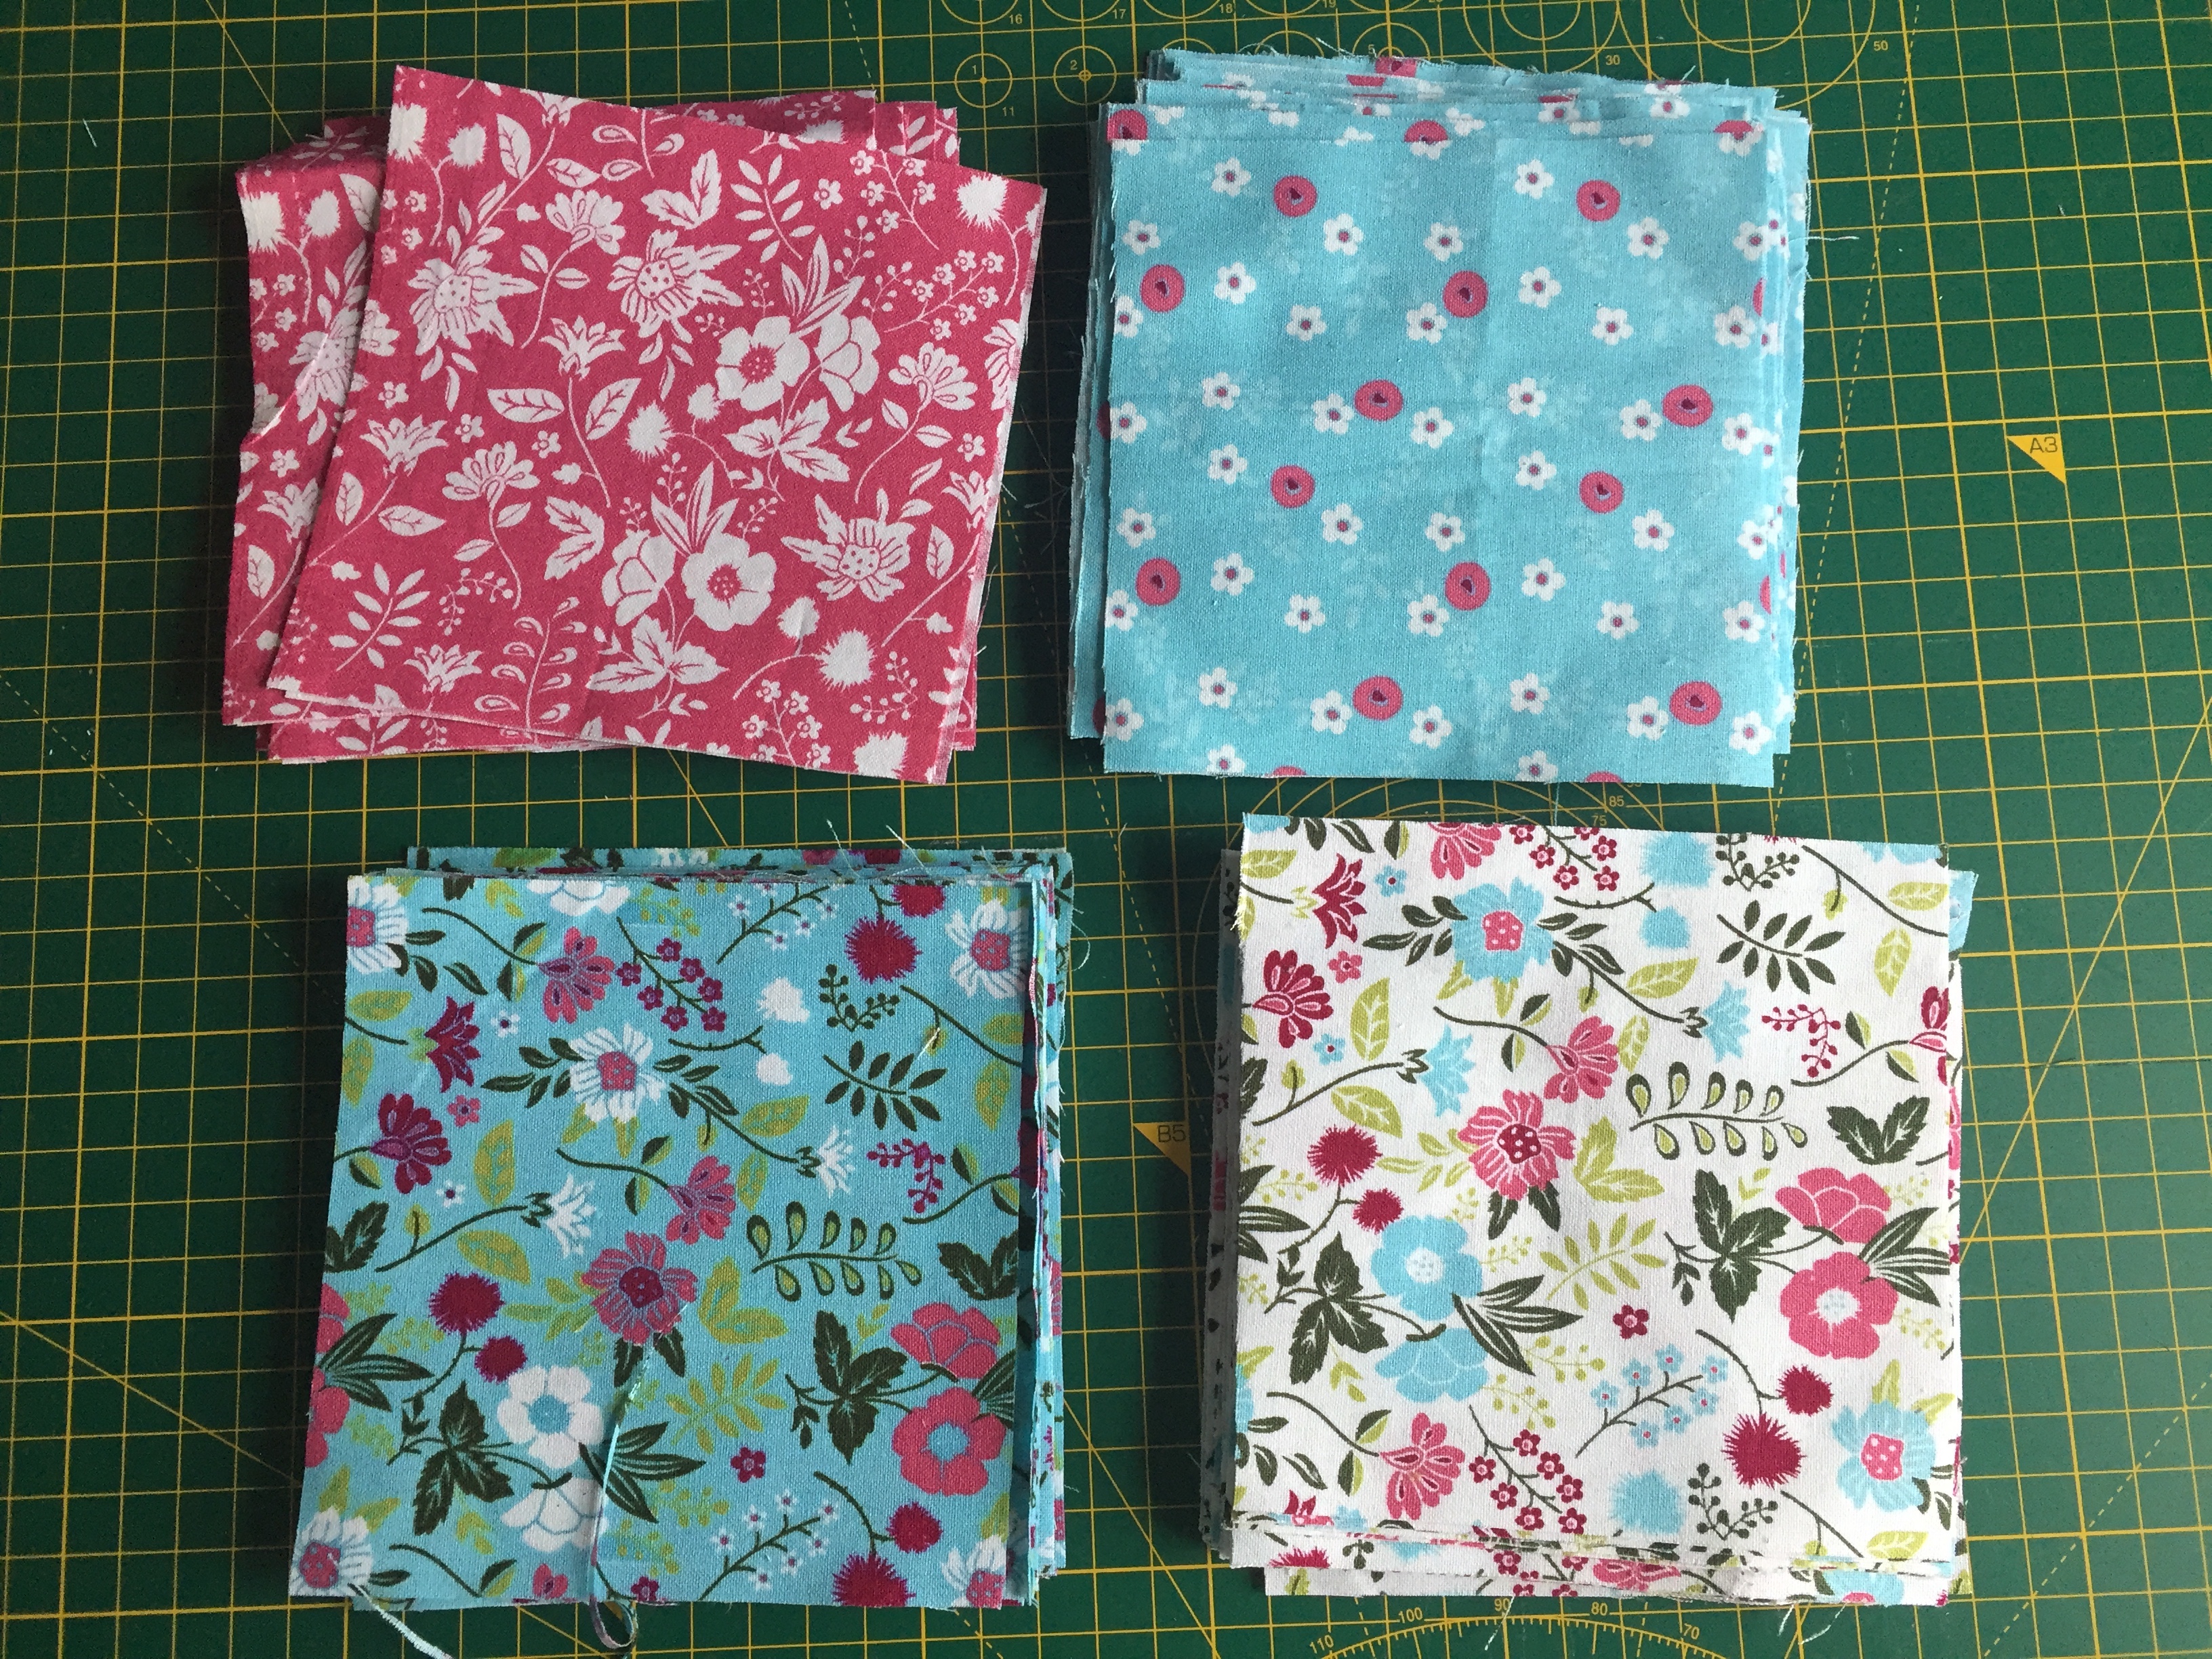
- Floral fabric by The Craft Cotton Company:
- ½ metre of 5 different patterns.
- Batting.
- Scissors.
- Ruler.
- Pencil.
- Thread.
- Needle.
- Pins.
- Stuffing.
Sewing Tutorial: Folded Star/Pine Burr Patchwork Cushion
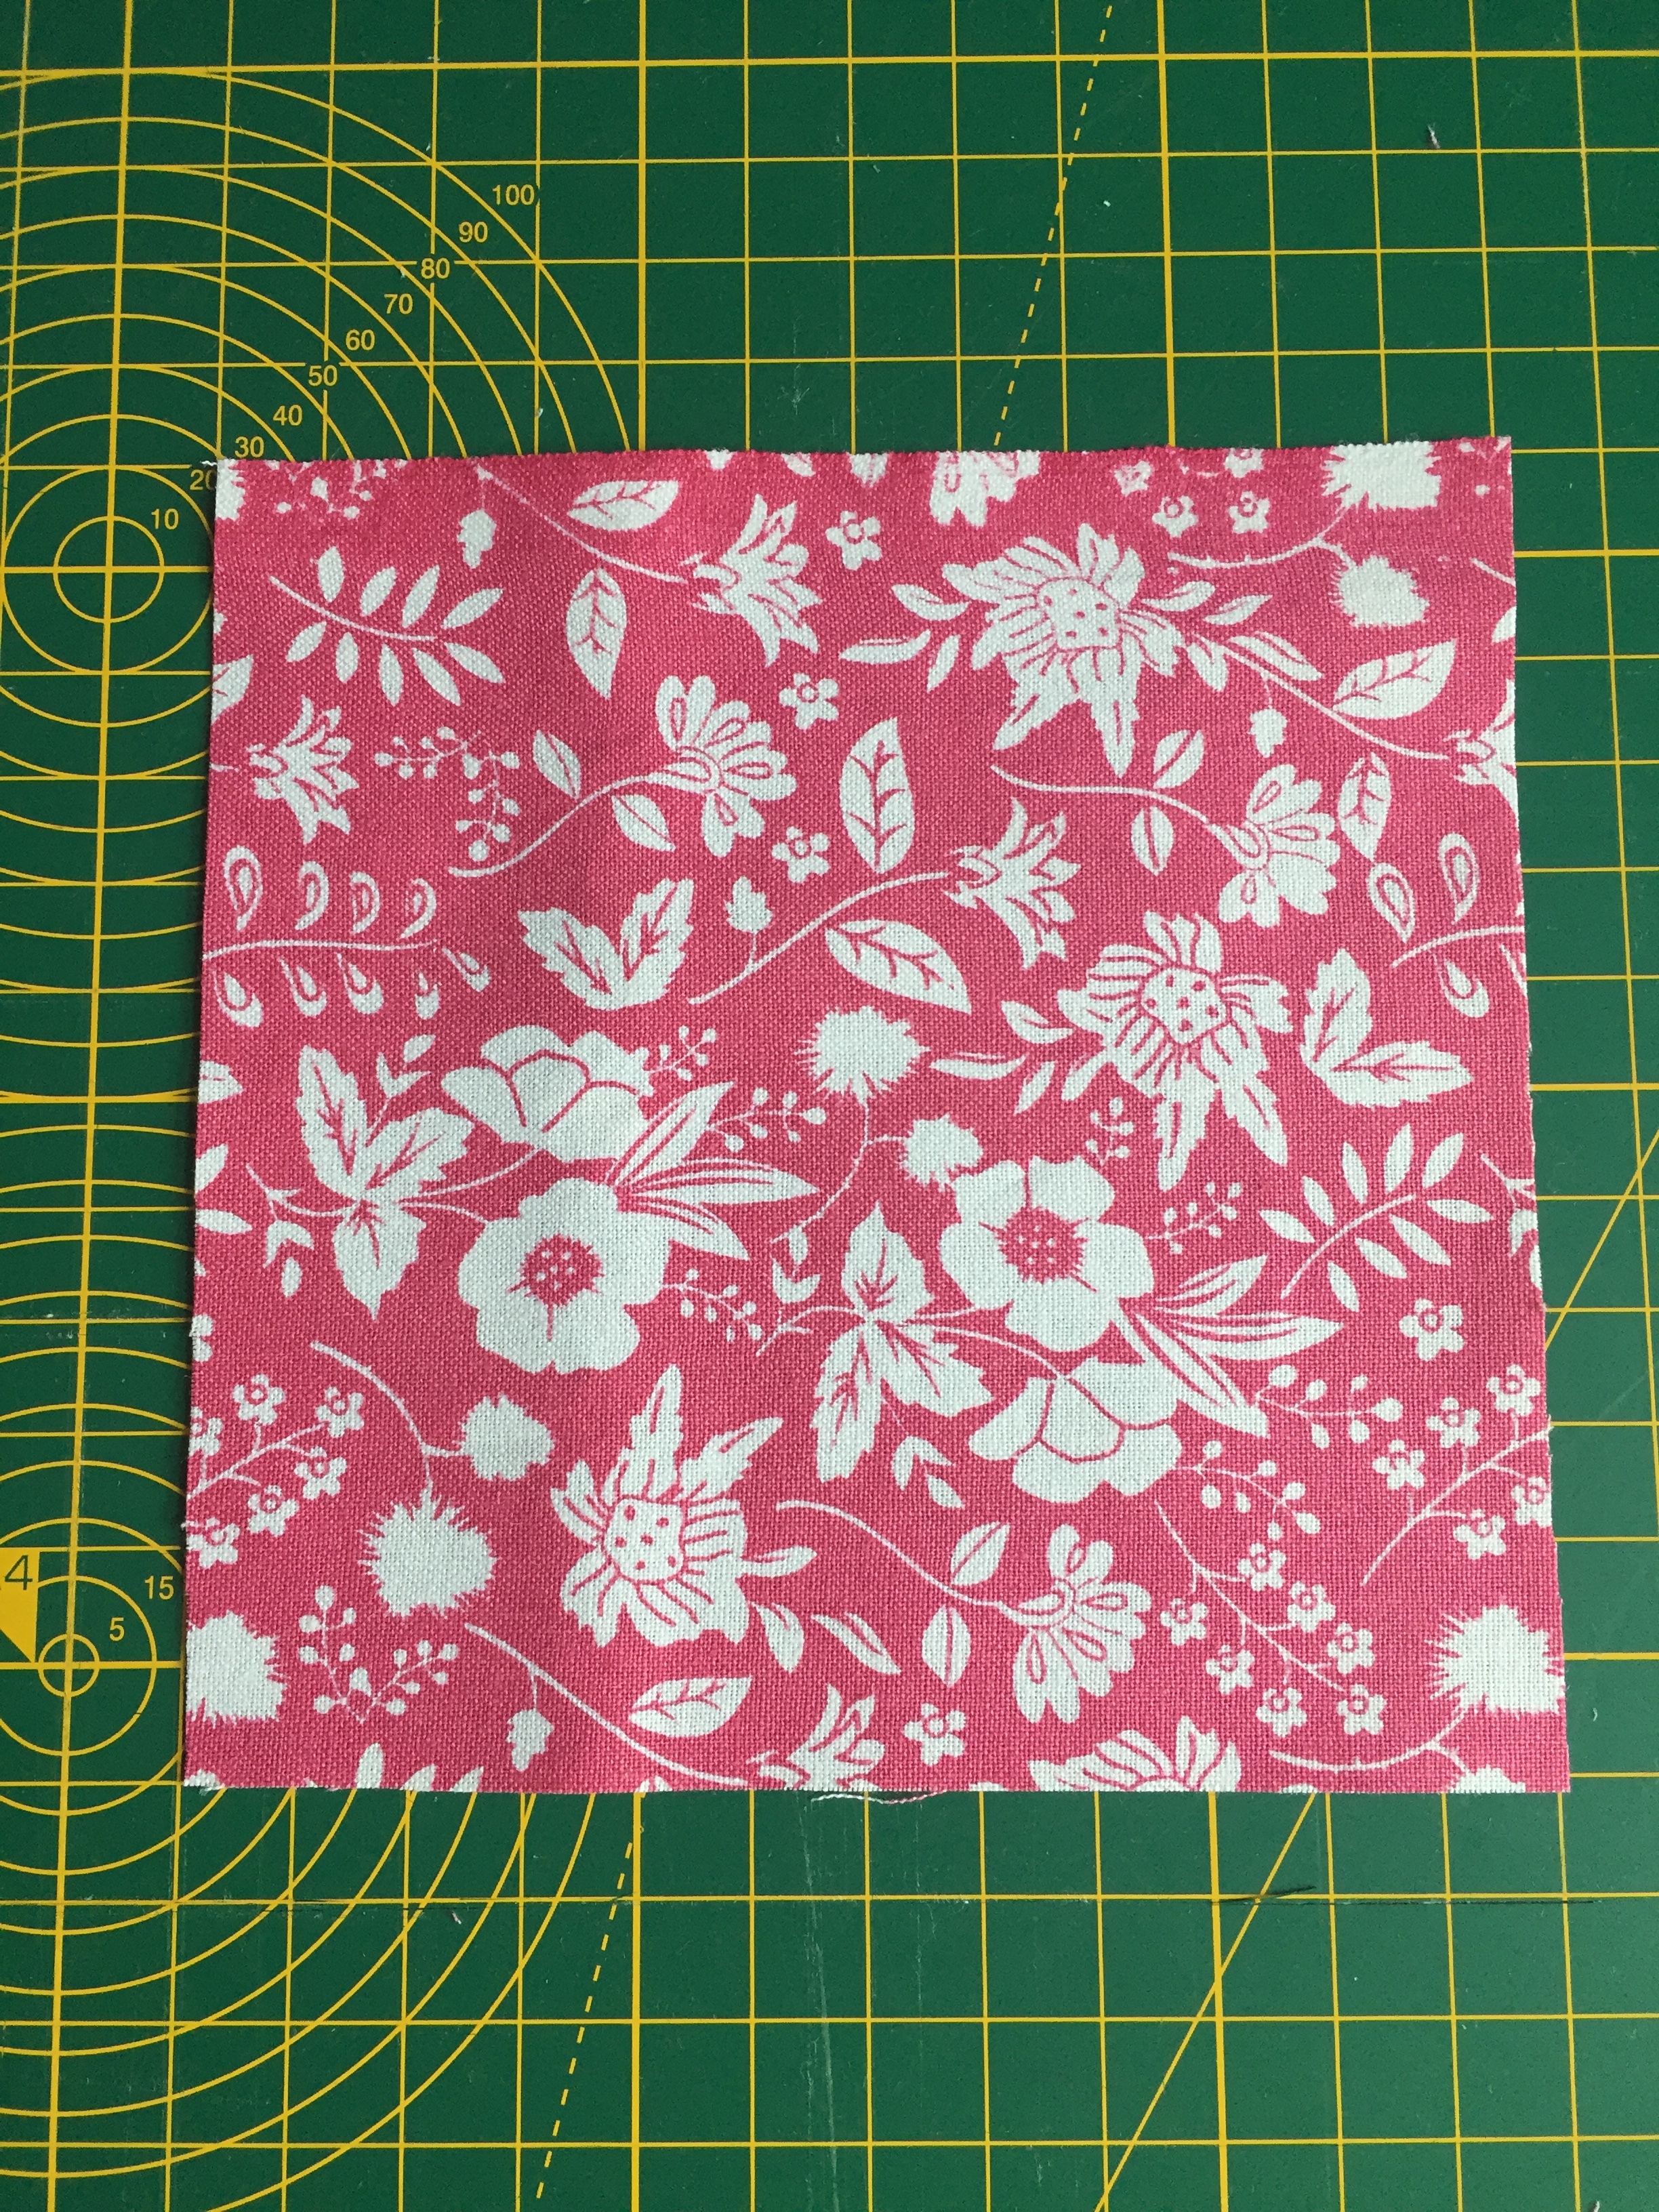
- To make the squares you will need to cut 12×1 cm squares out of 4 of the different fabric patterns:
- 20 pink.
- 20 blue with white and pink flower detail.
- 24 white with flower detail.
- 40 blue with flower and leaf detail.
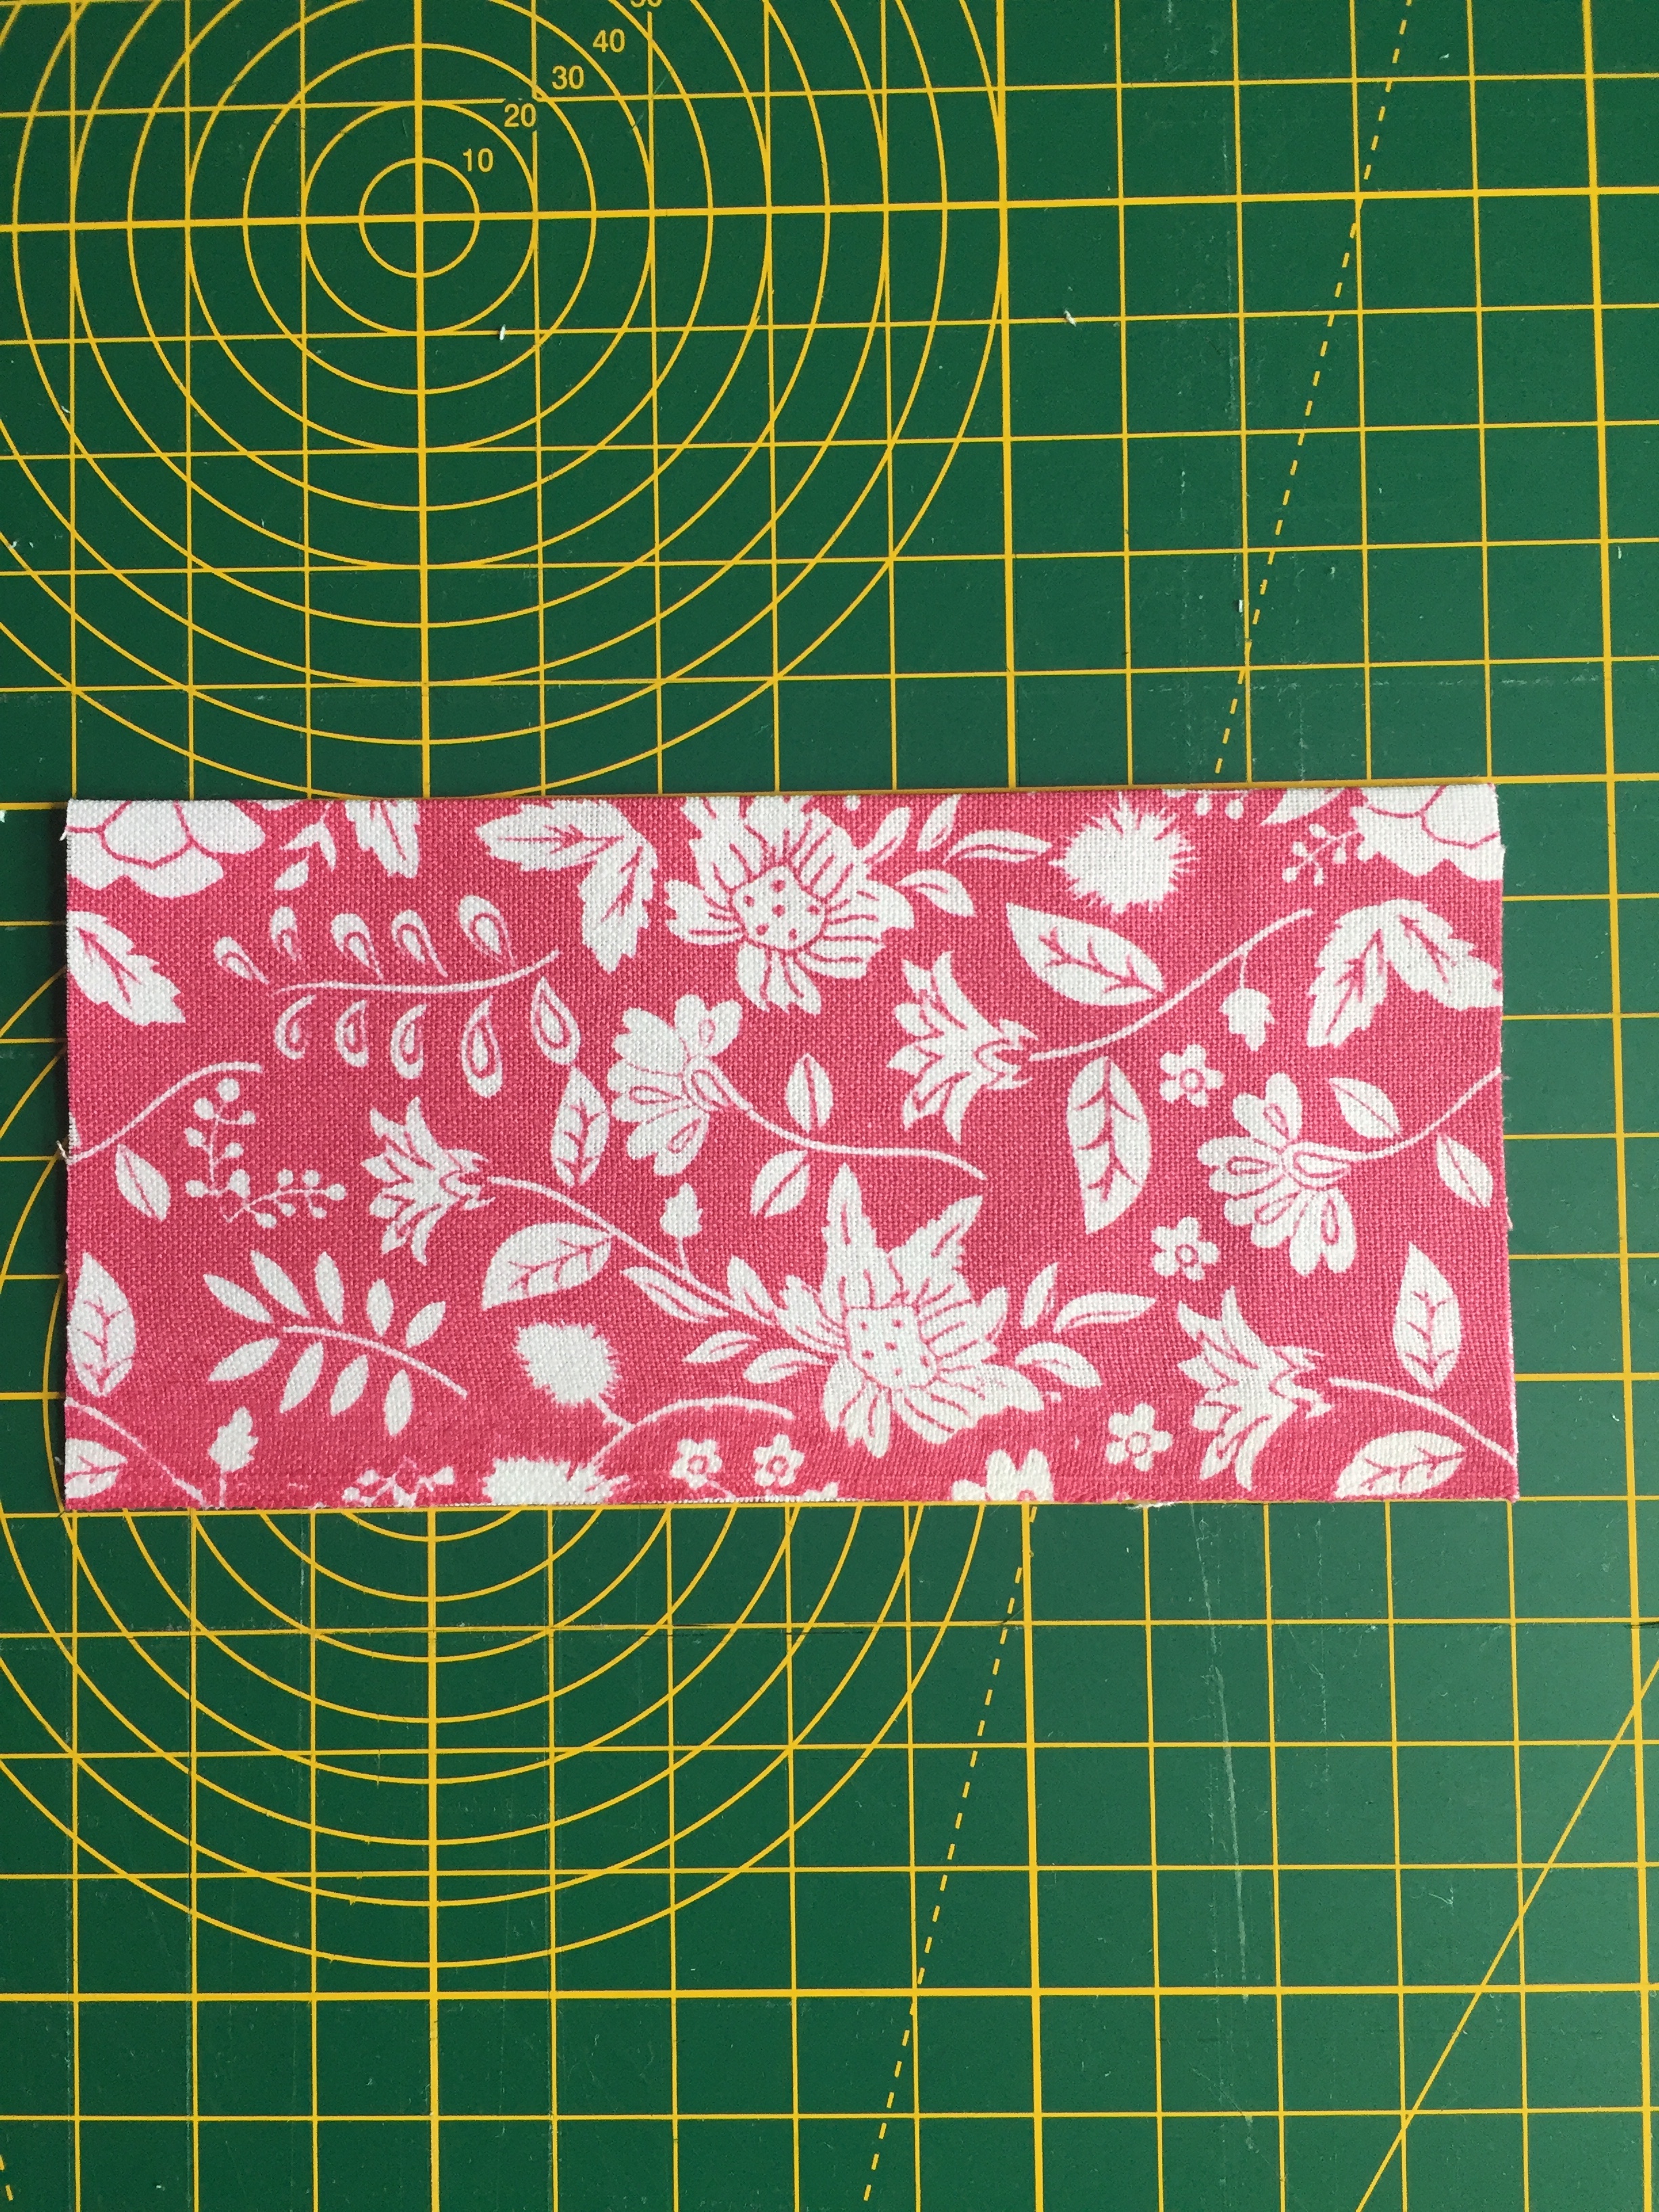
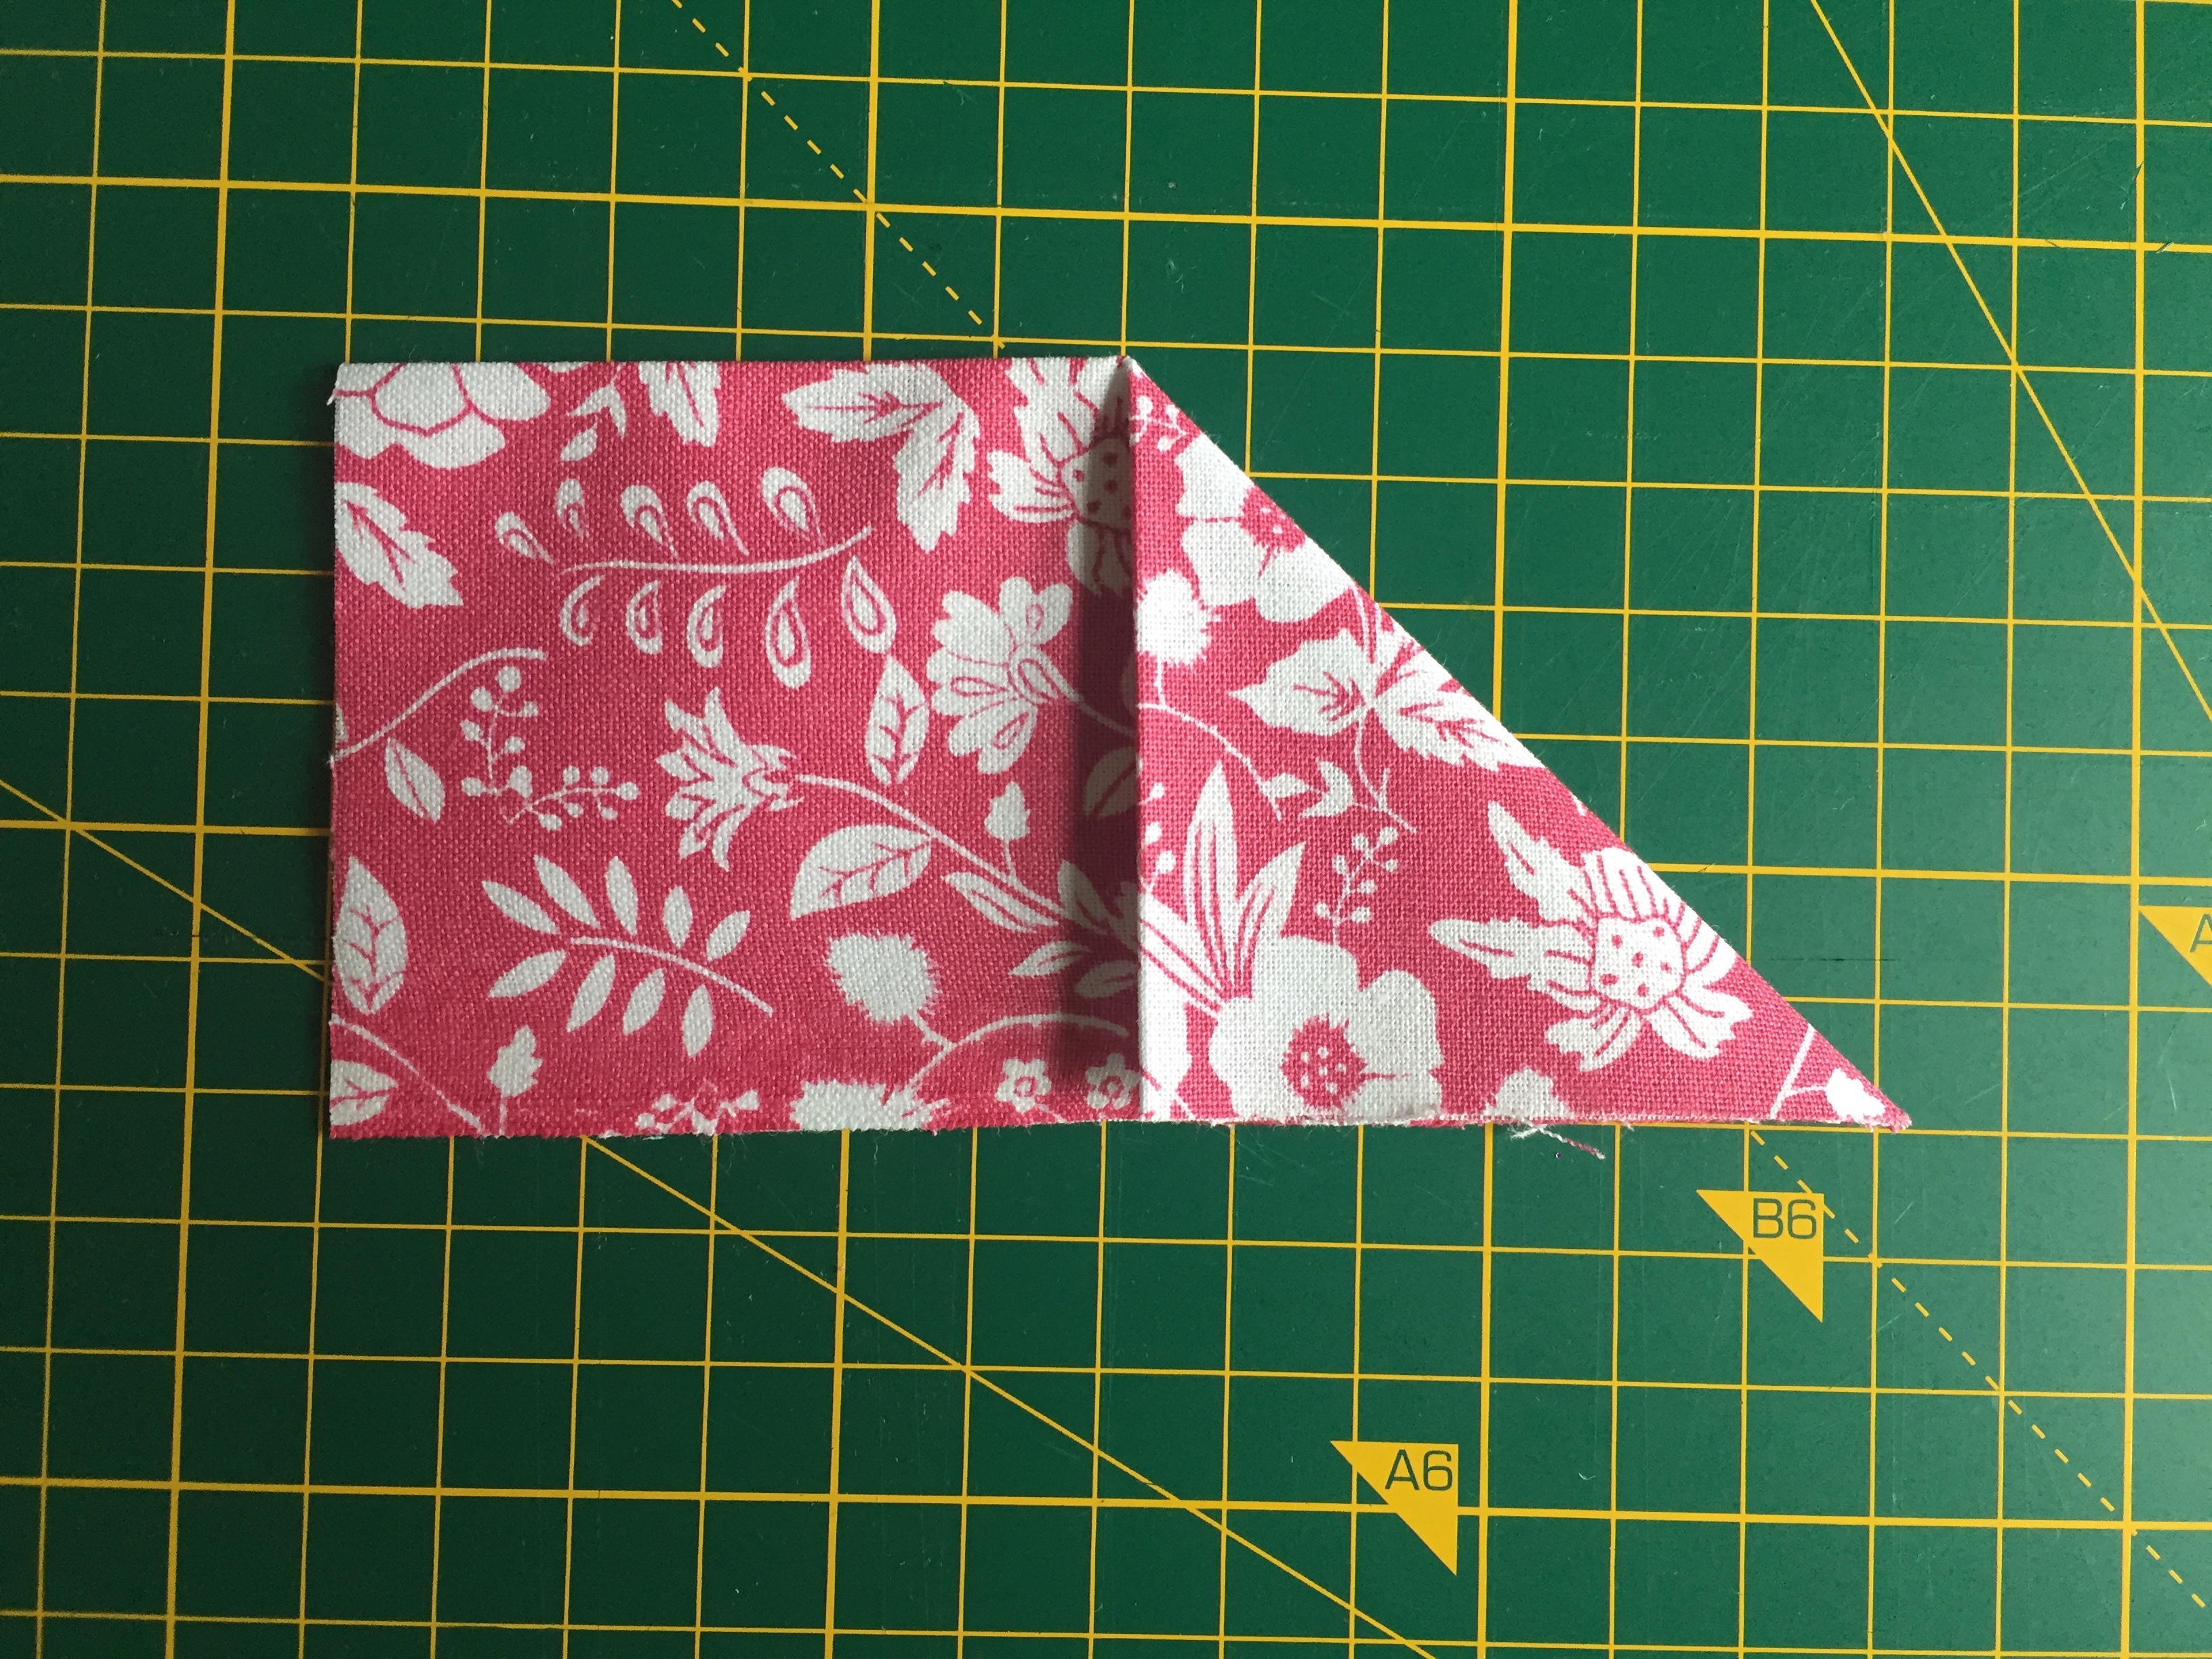
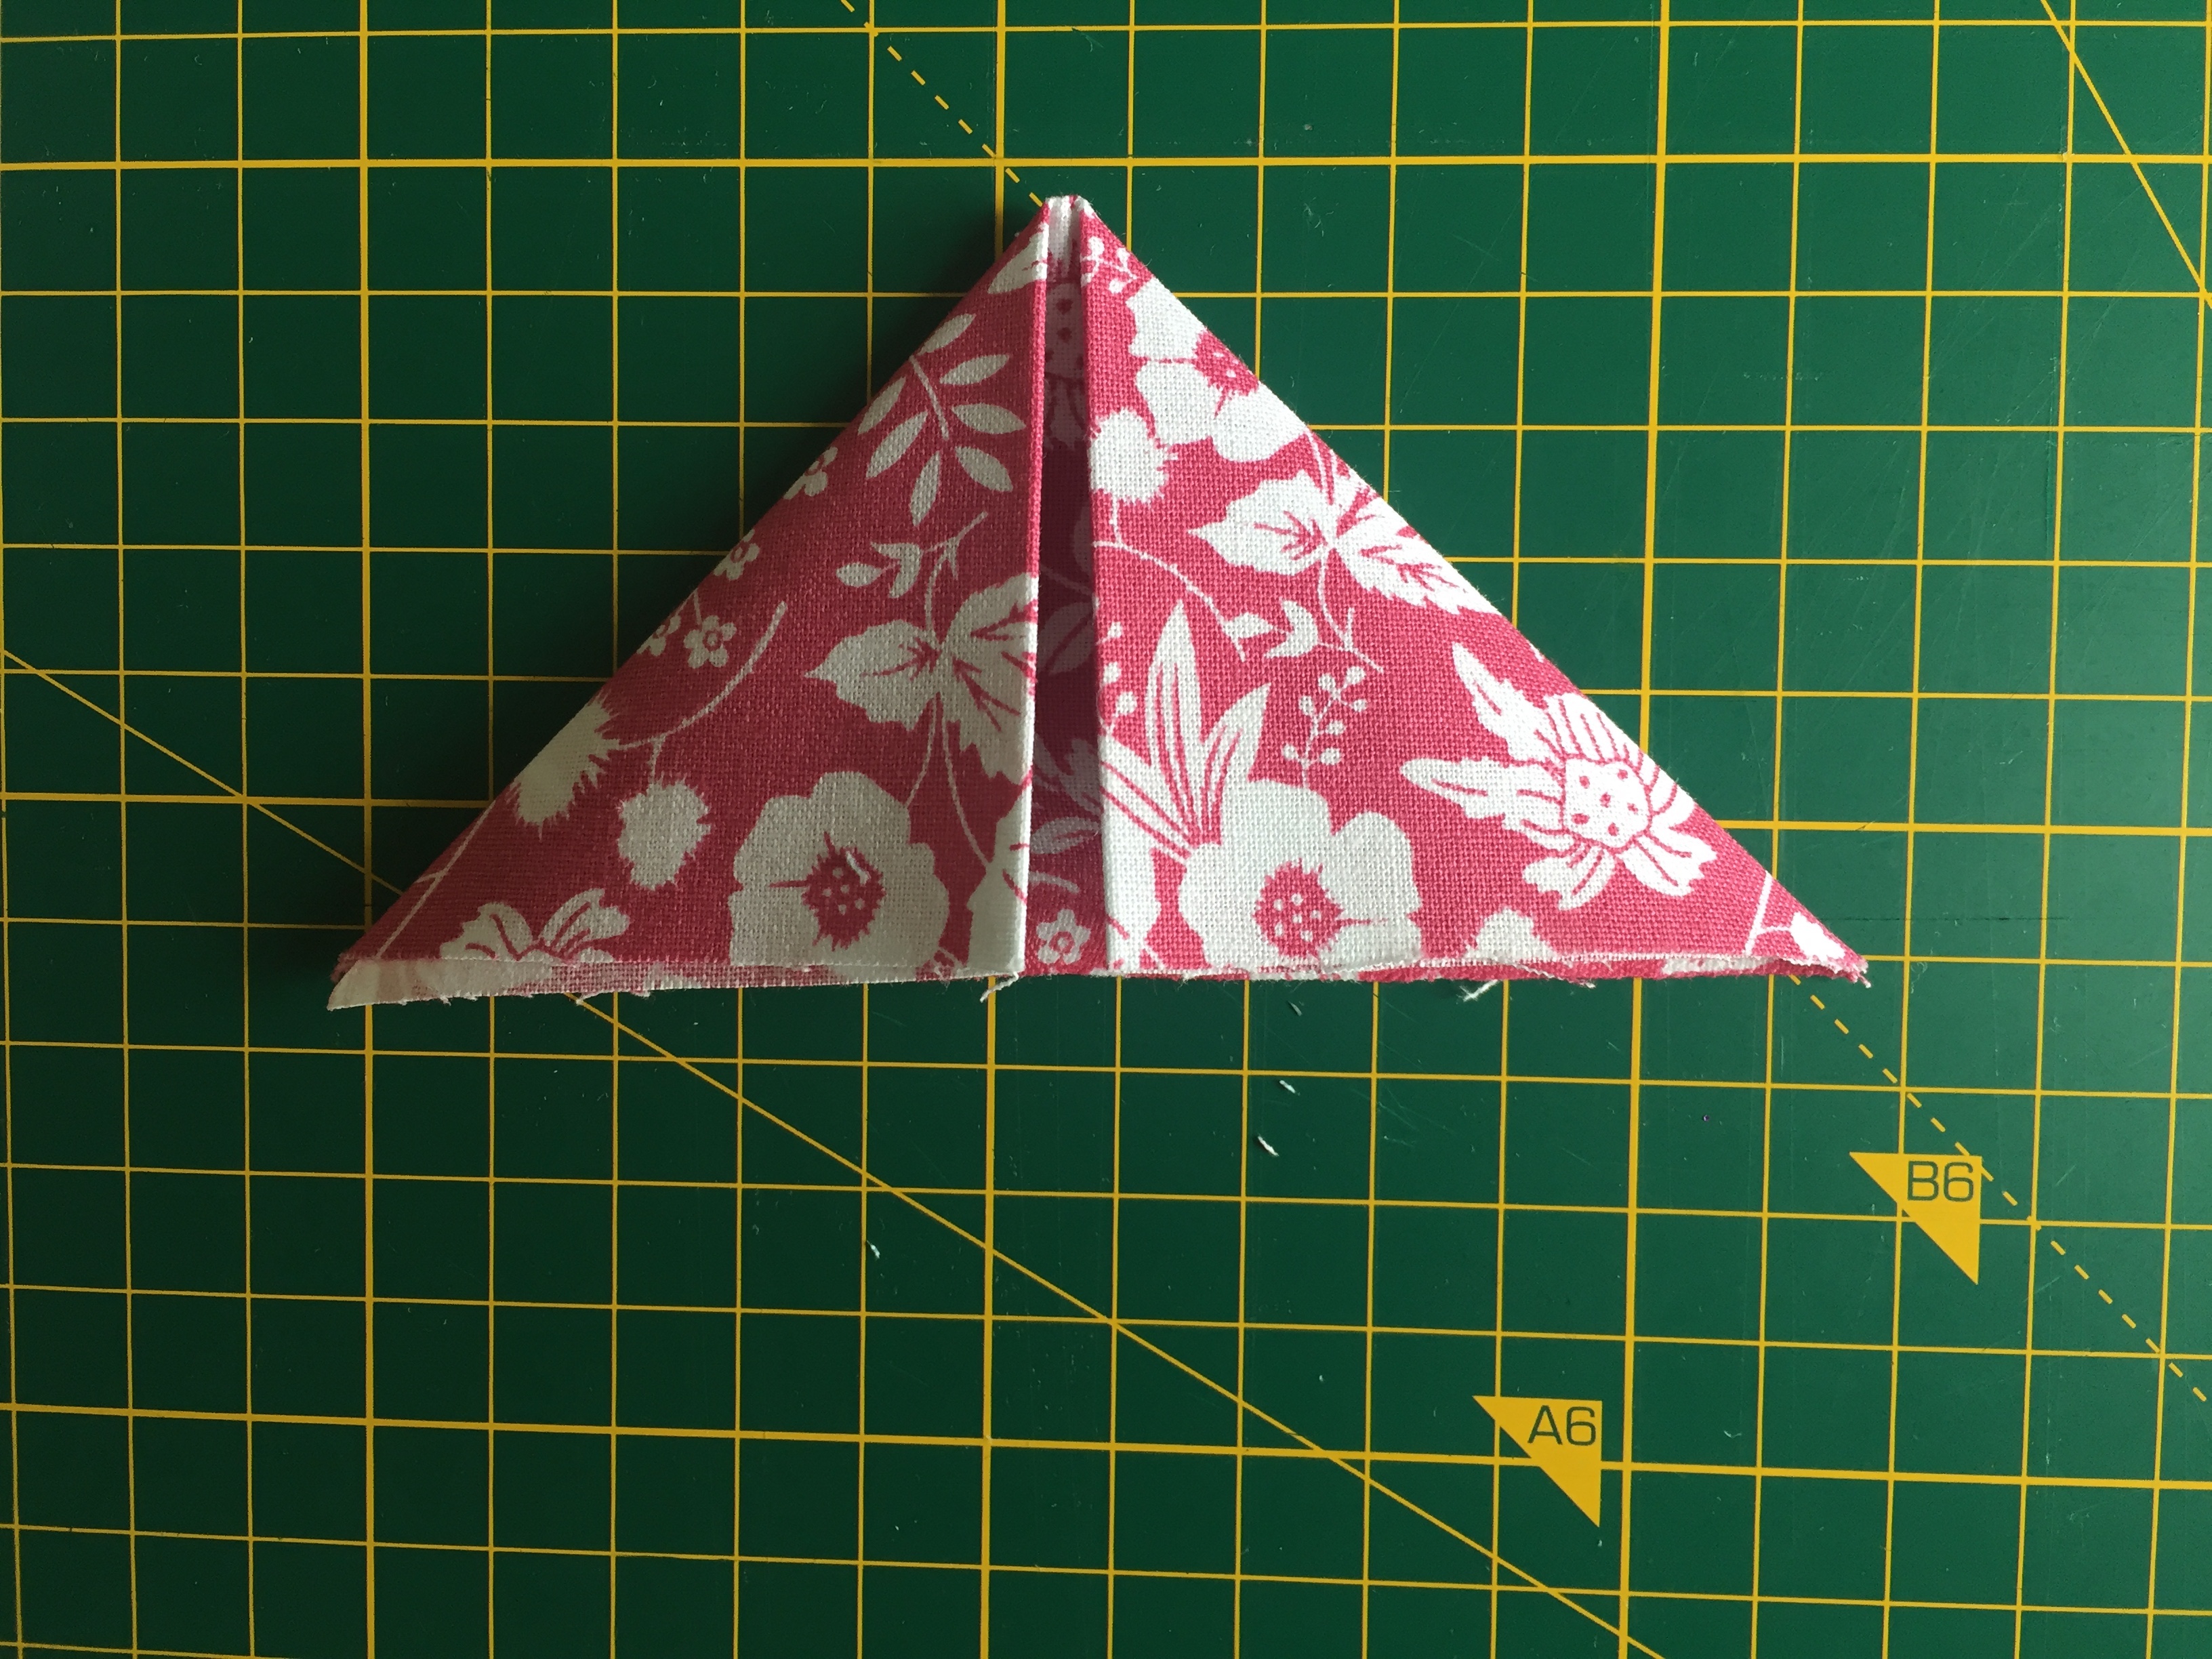
- To make the folded triangles fold a square in half and press, next fold in the top right hand corner of the folded edge to the middle of the bottom edge, and fold the top left corner of the folded edge to the middle of the bottom edge and press. Repeat for all the squares.
- Take the blue fabric with white flowers and cut a square of fabric 50x50cm, this forms the front. Fold the fabric in half and half again to making a quarter and press, this will leave lines showing the middle point of the fabric.
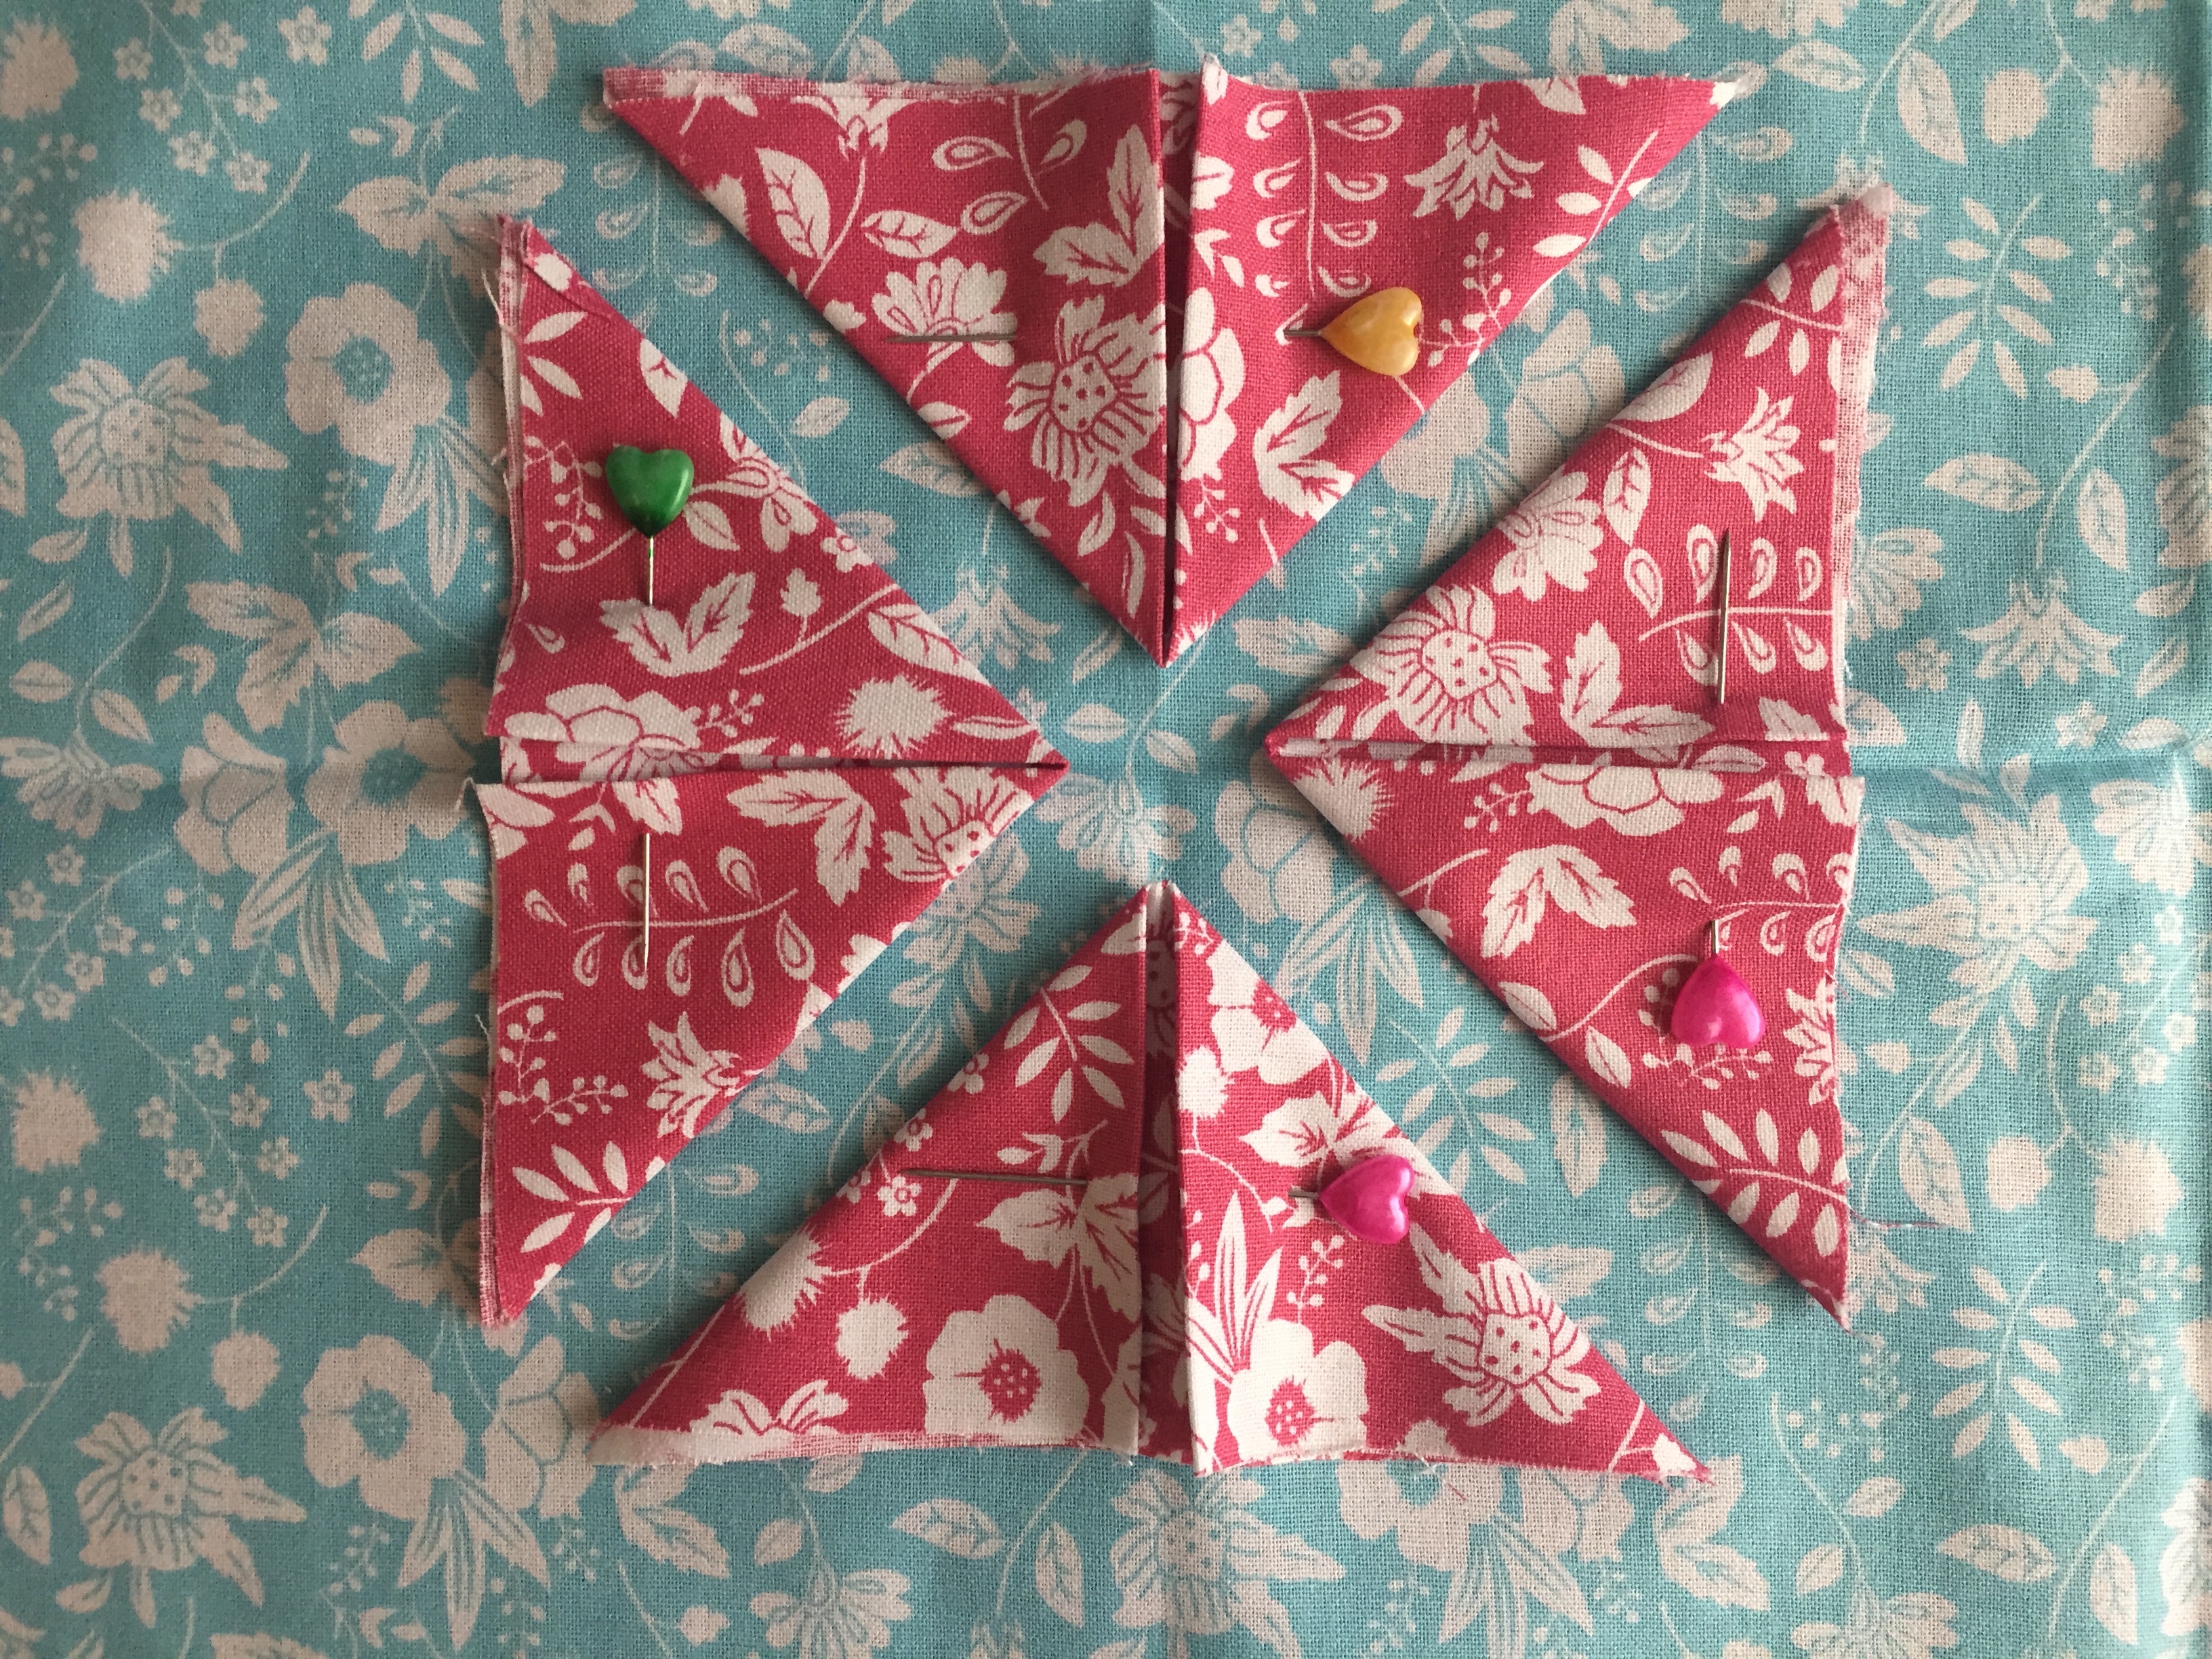
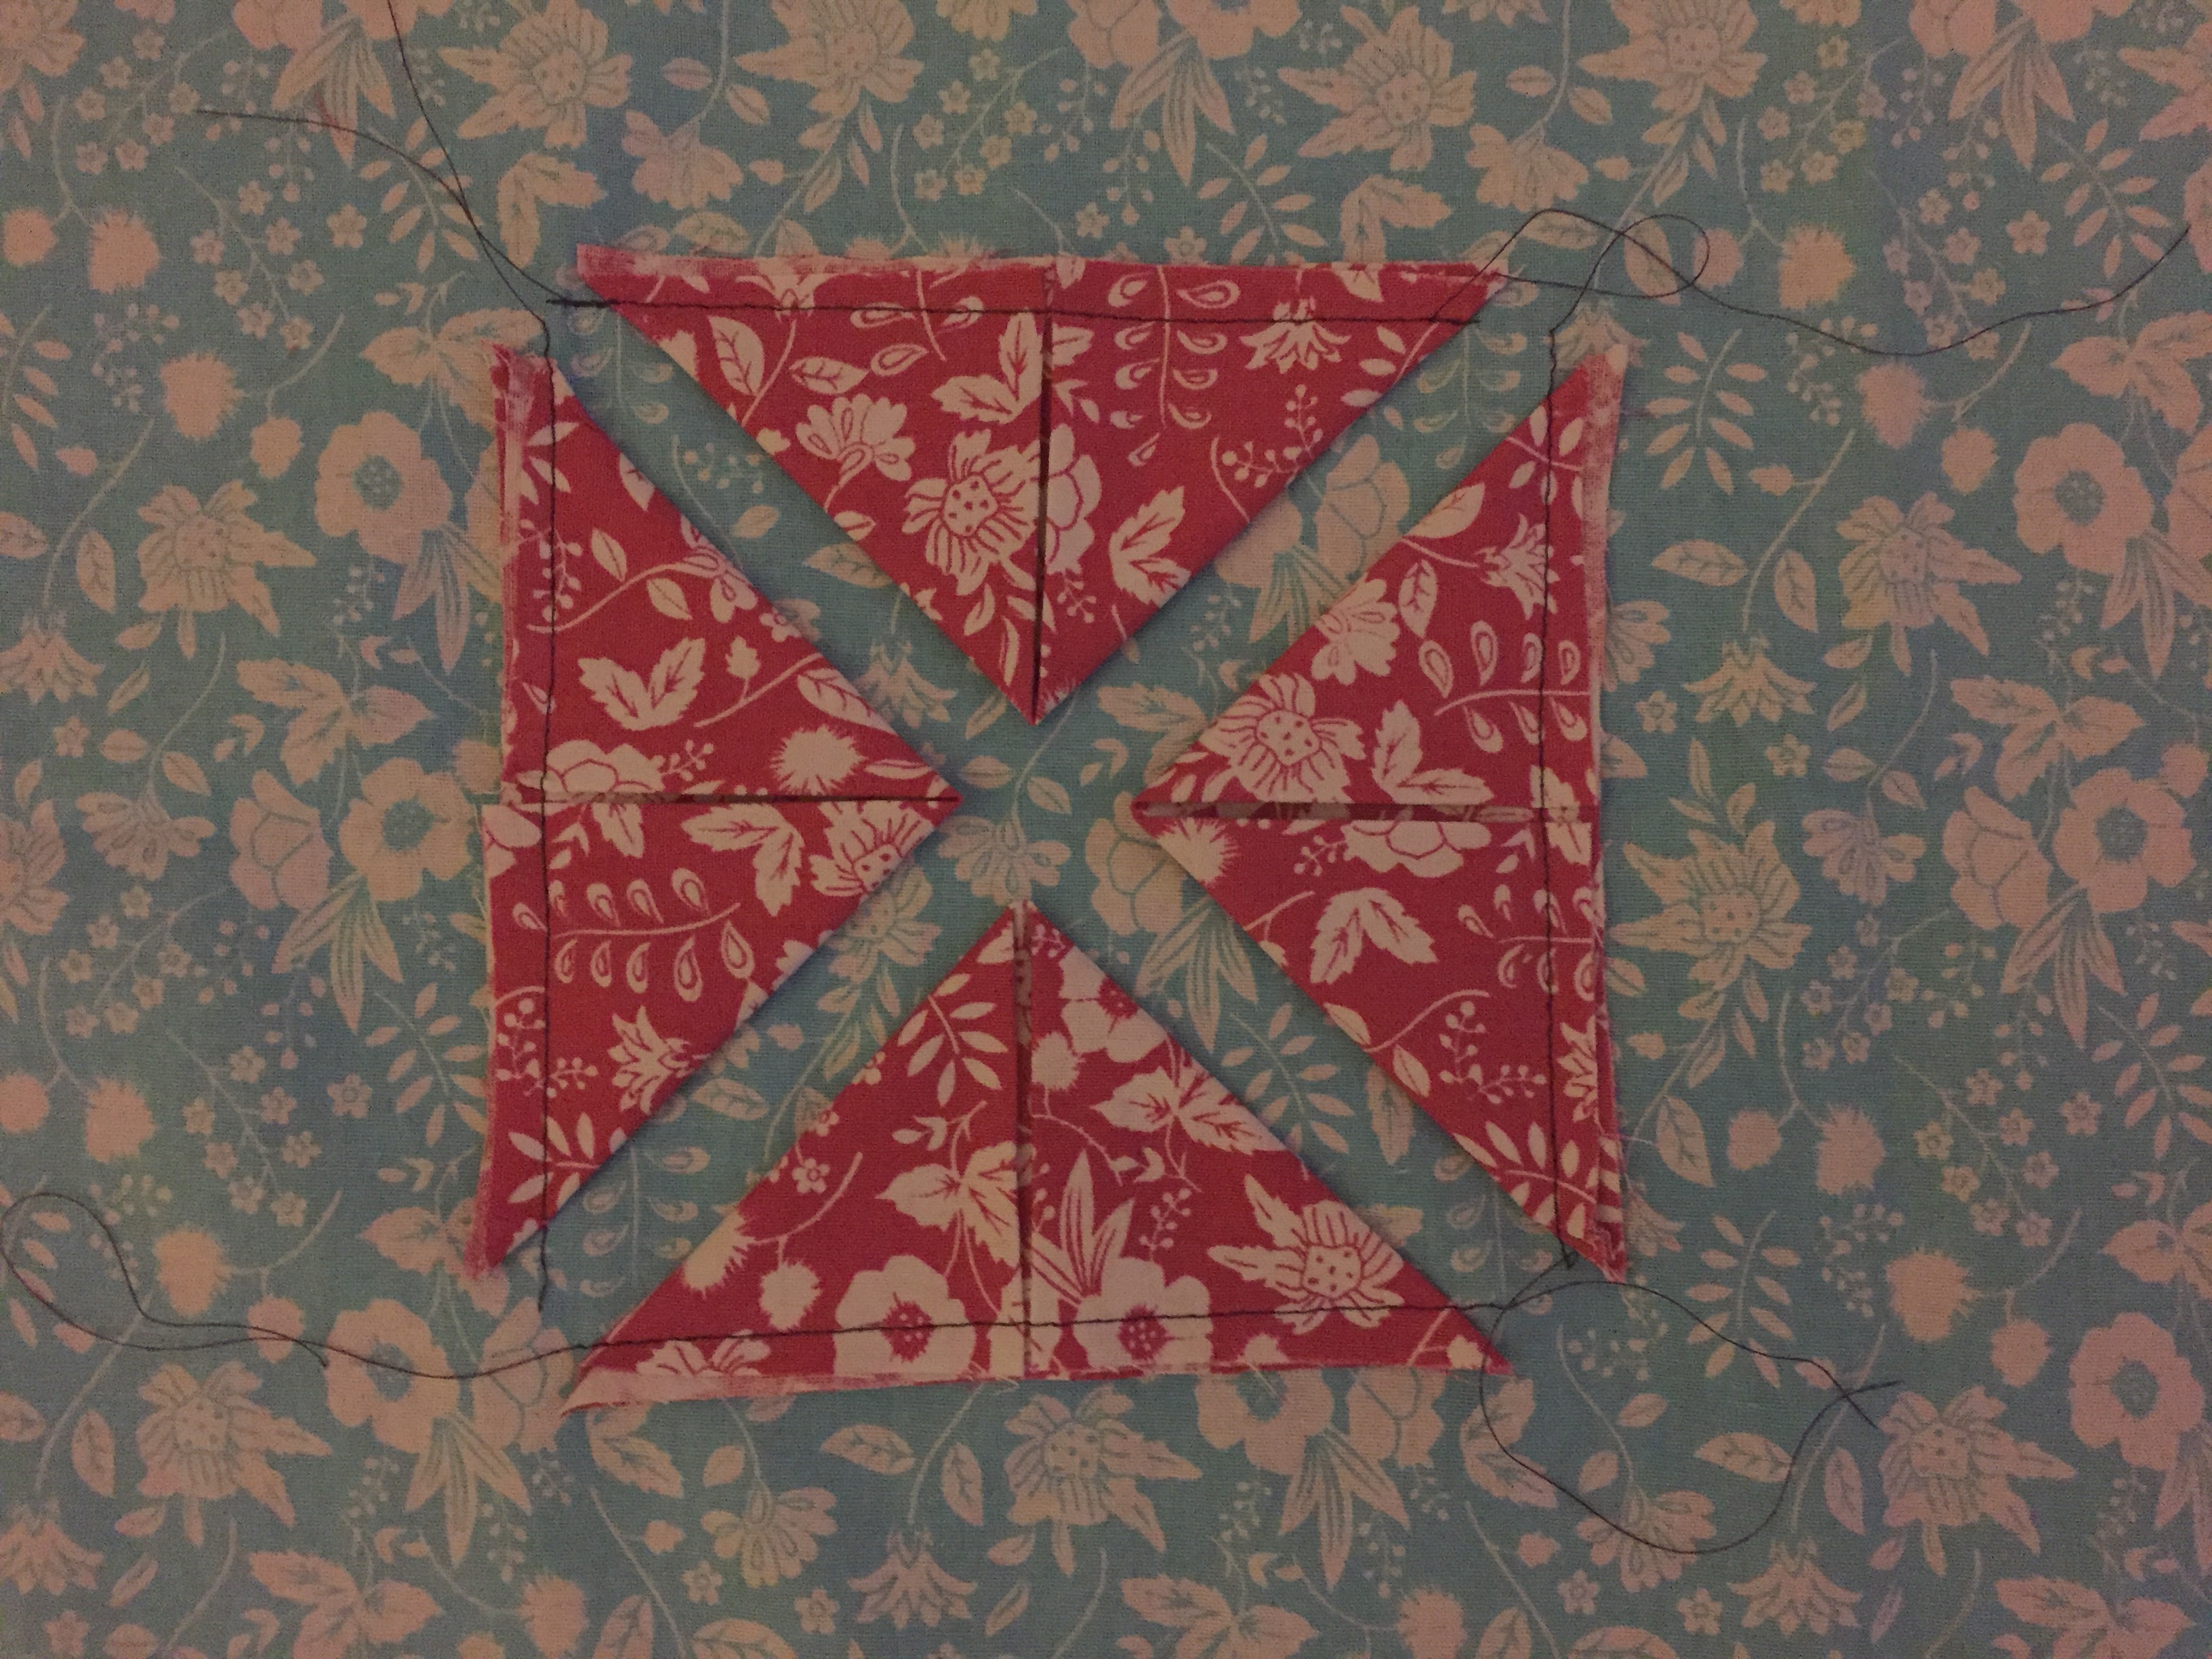
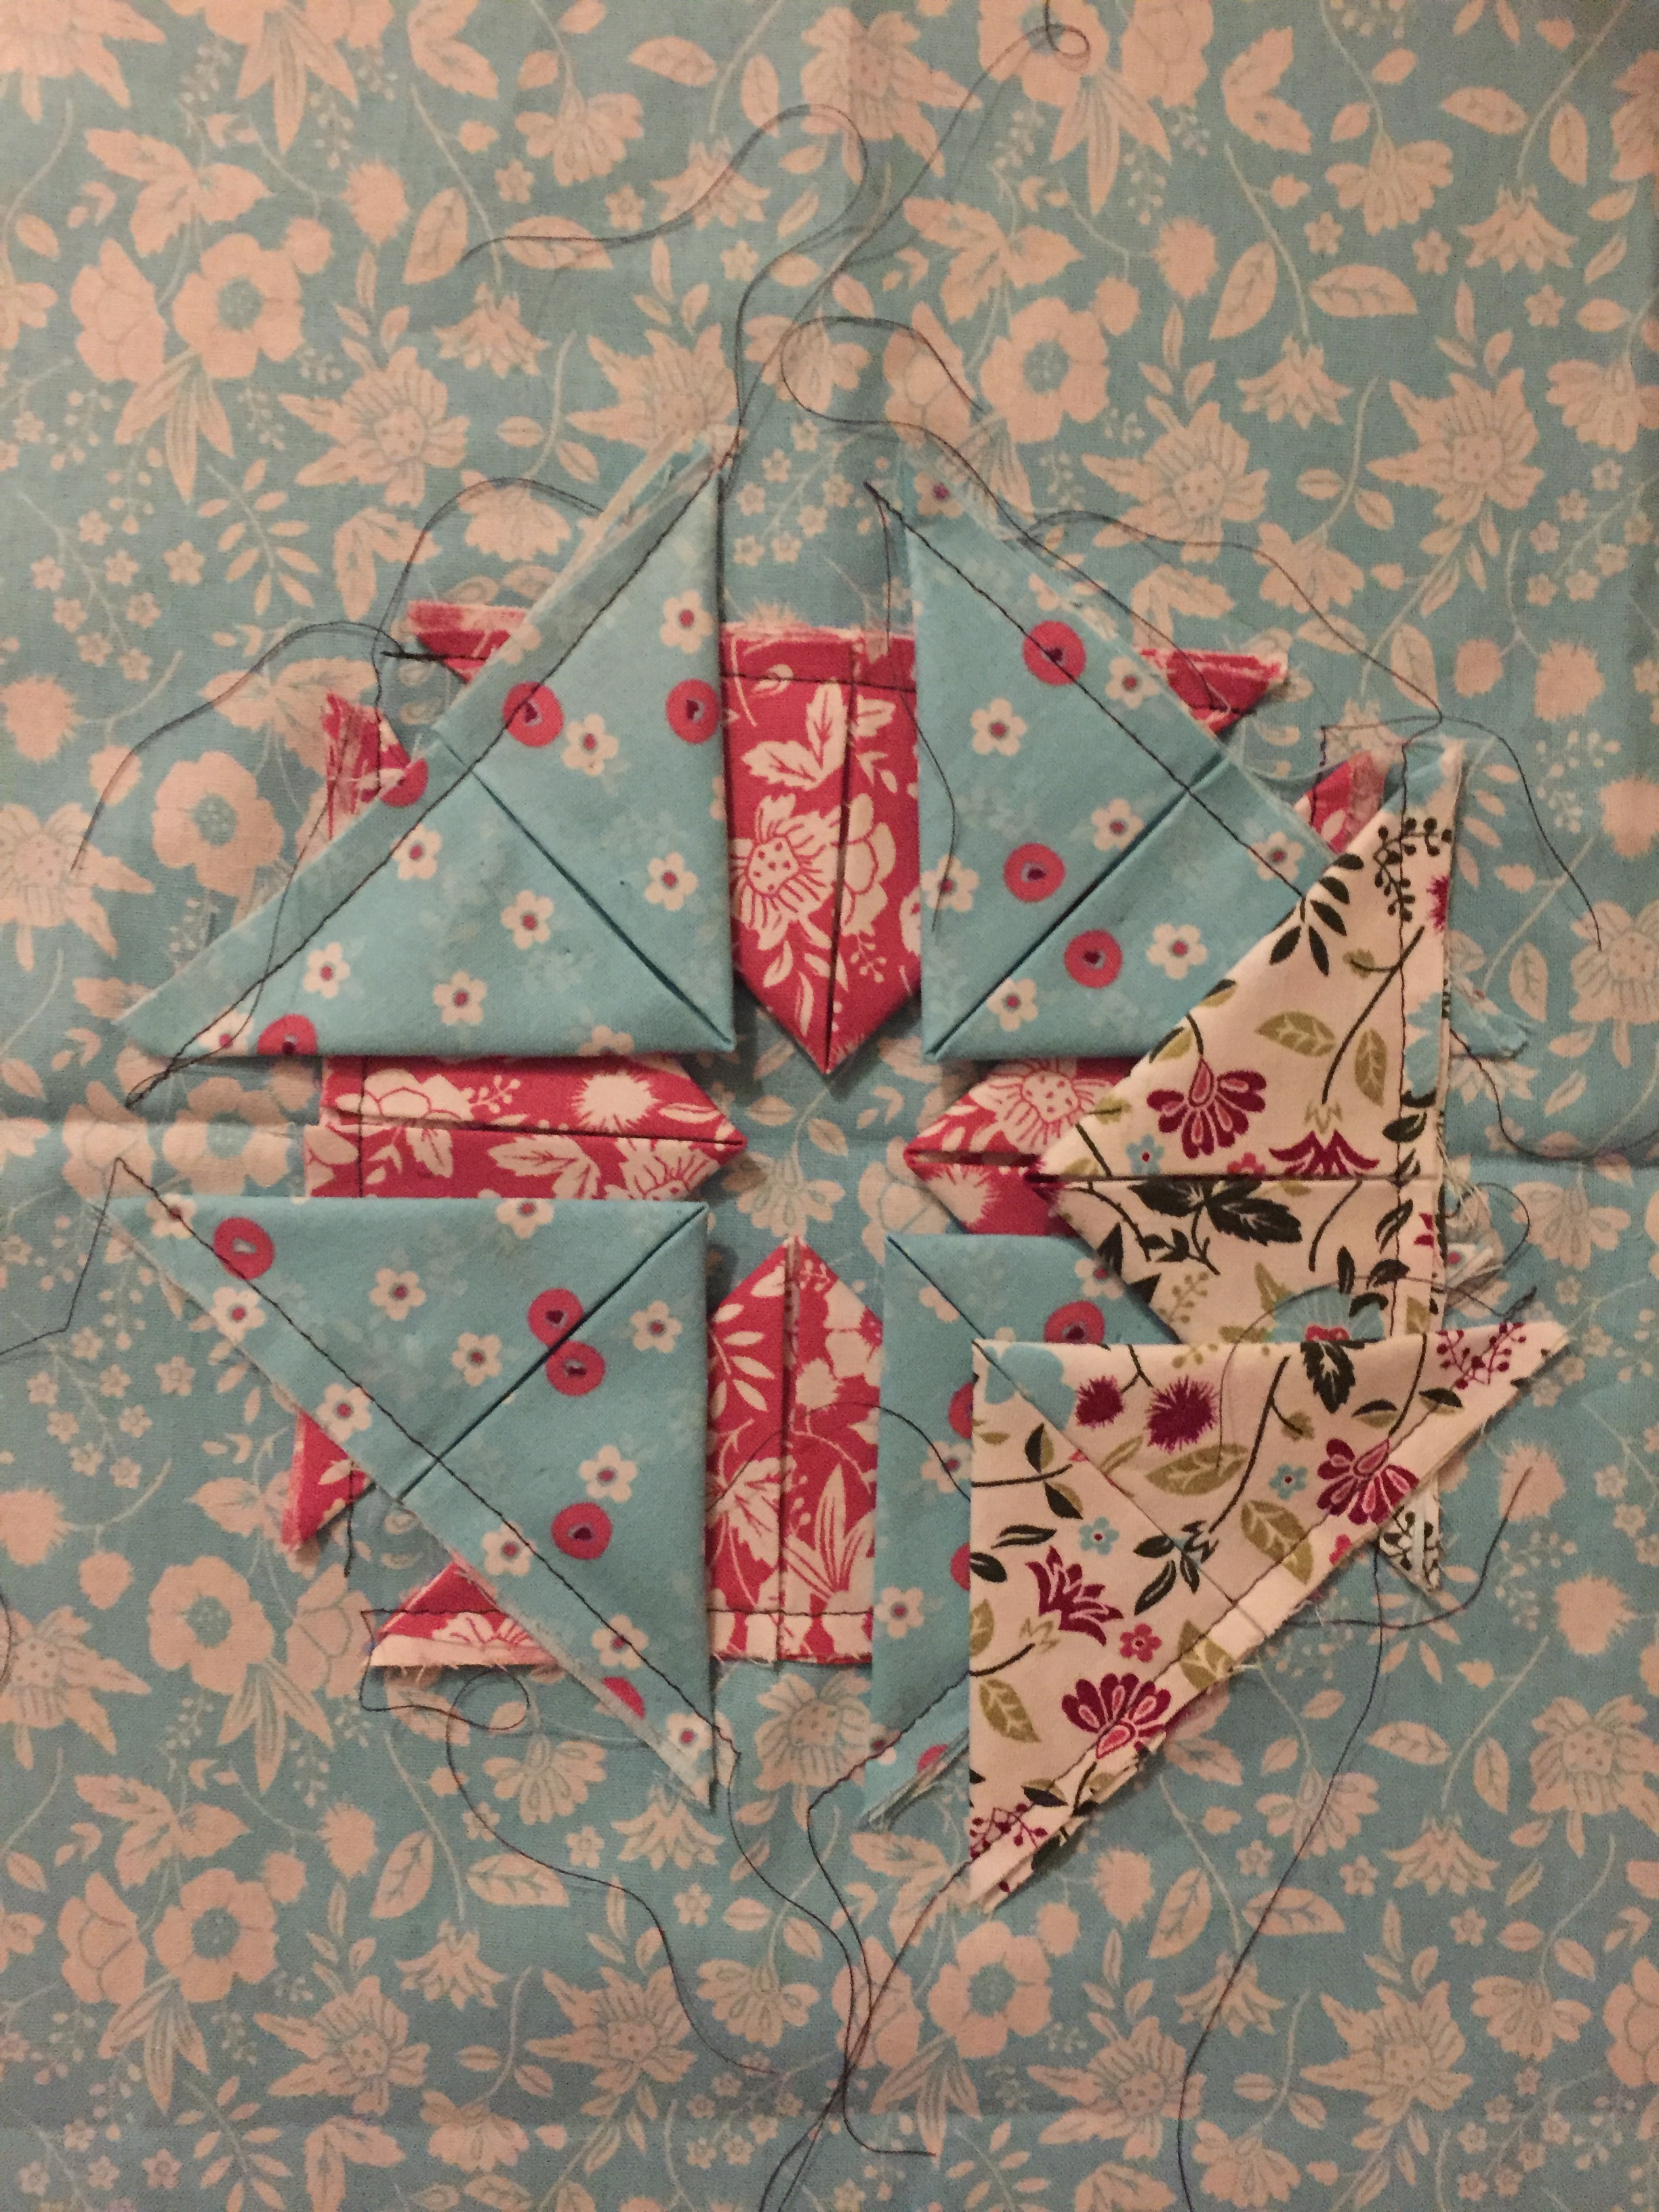
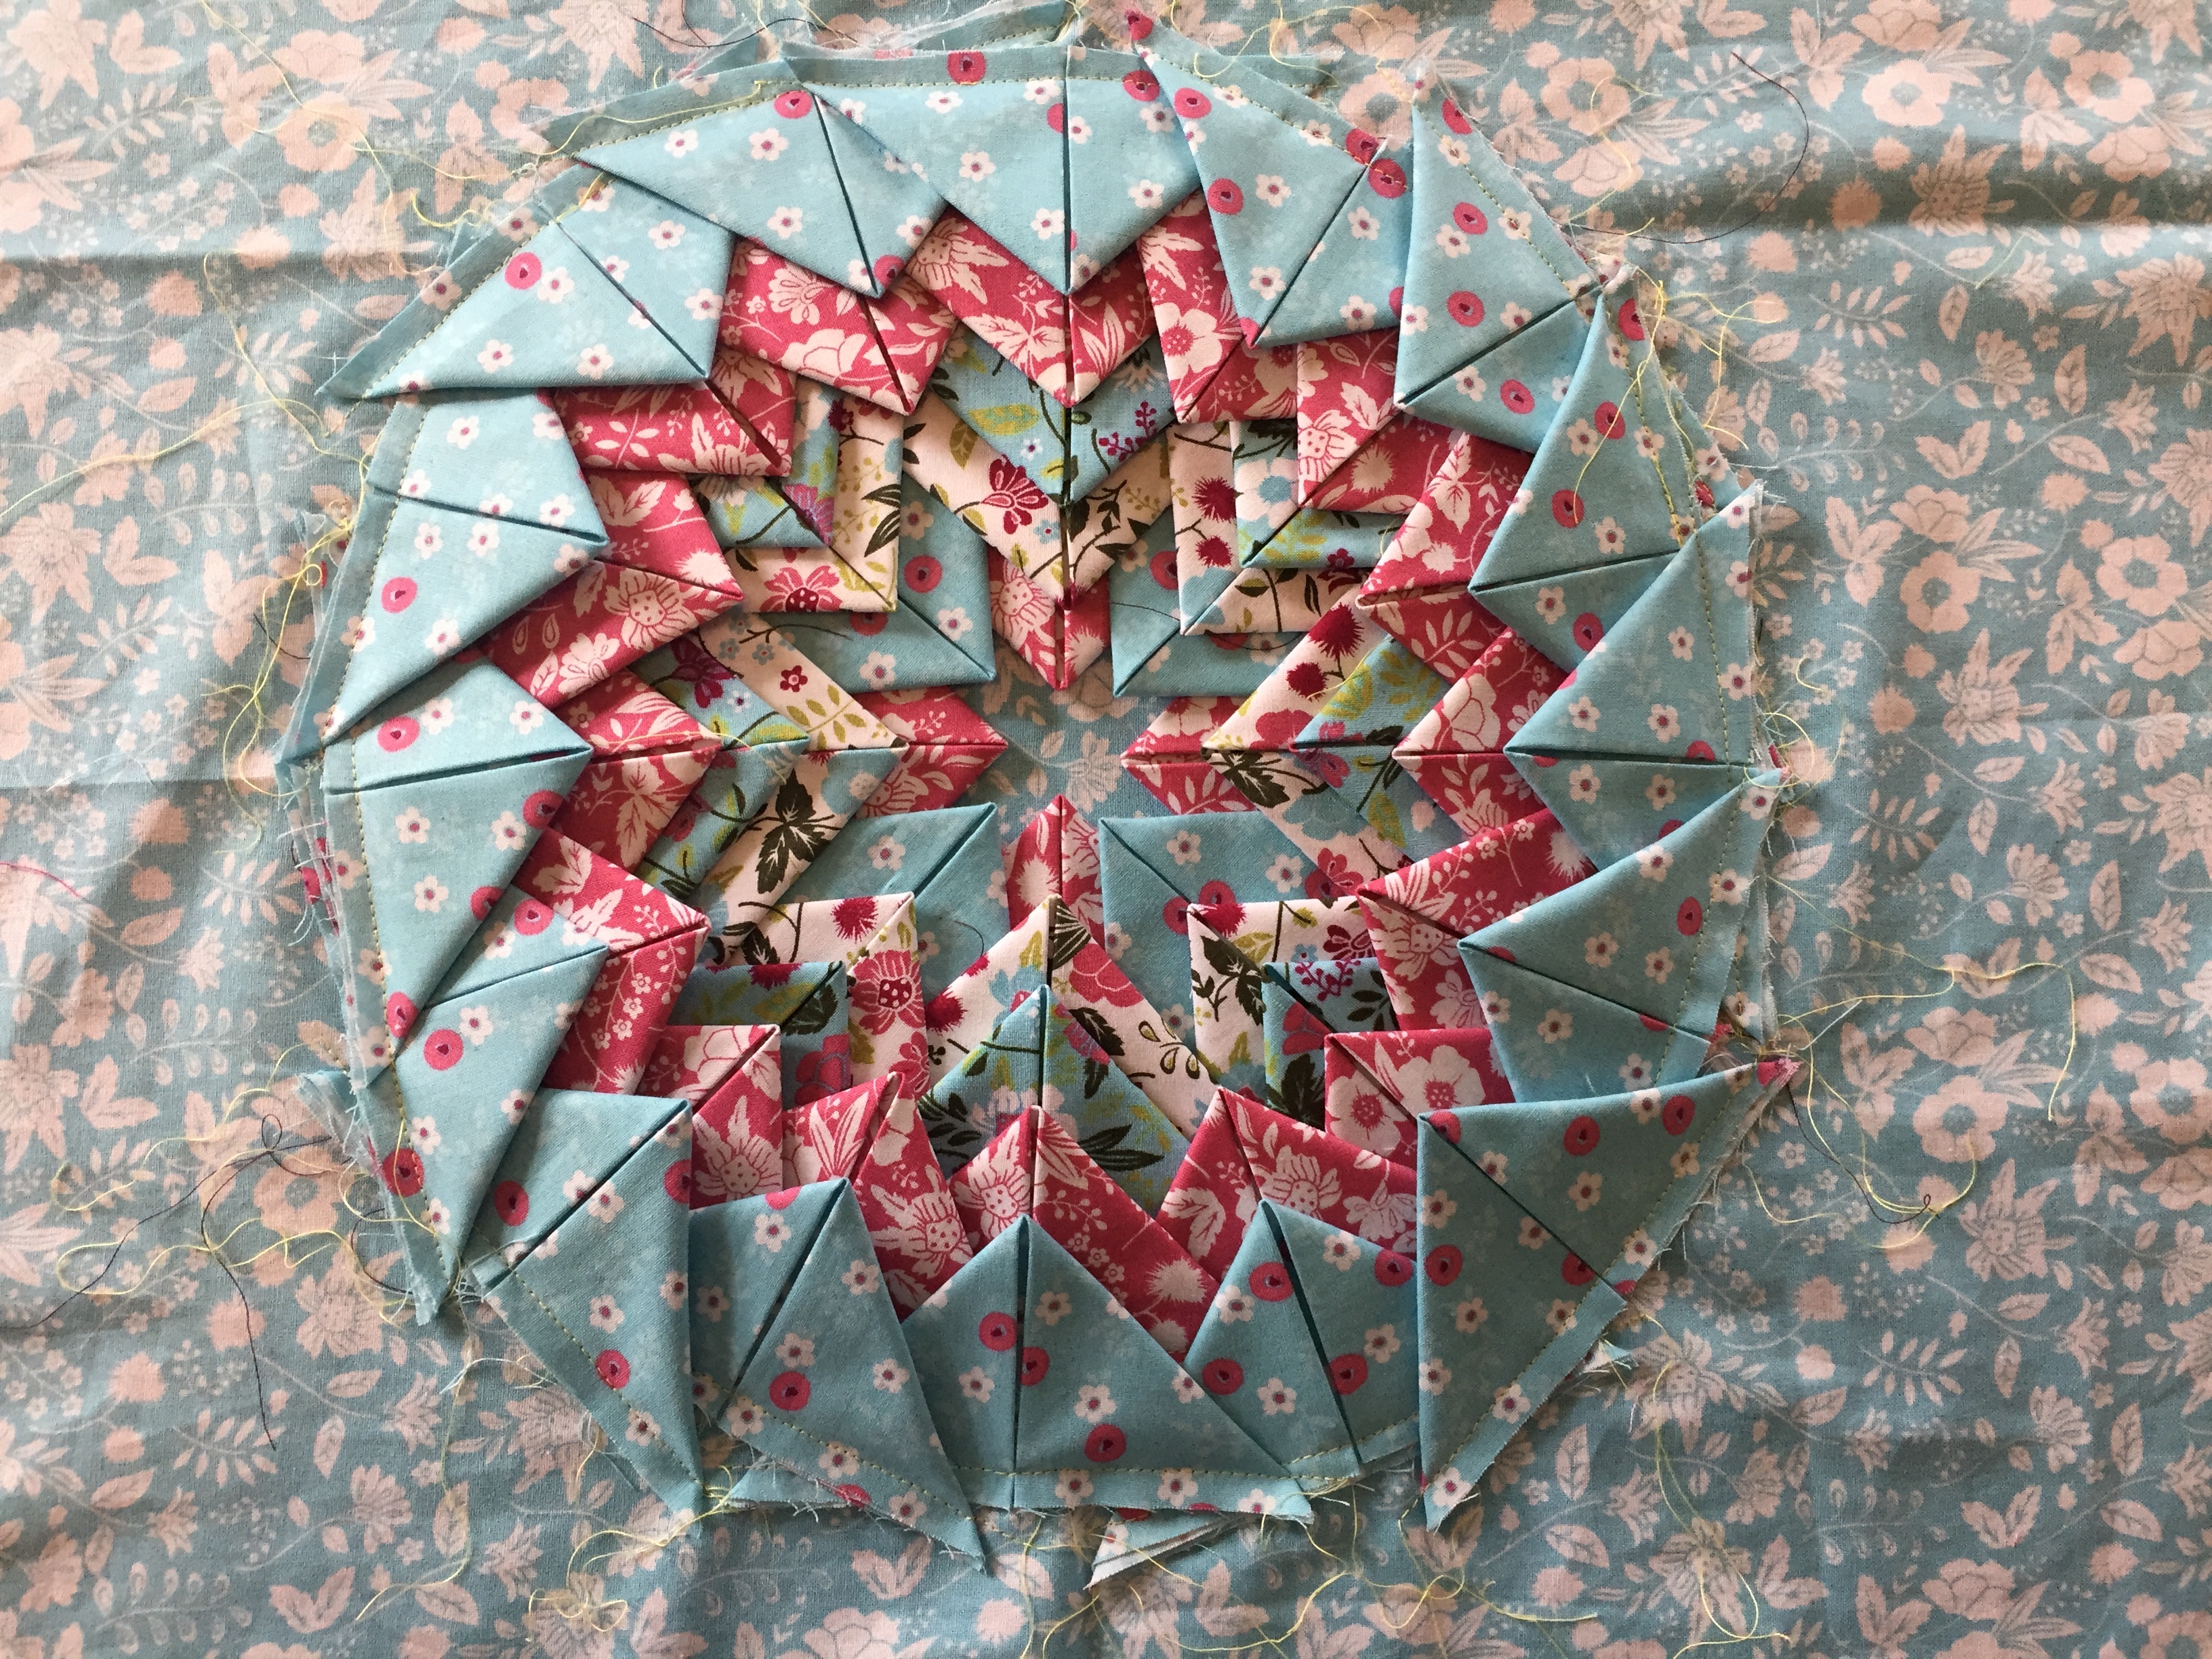
- Round 1: Take 4 of the pink fabric triangles and lay them with their centre points 1 cm from the middle point of the fabric. Pin to secure, then sew along the bottom edge of the triangles to secure into place.
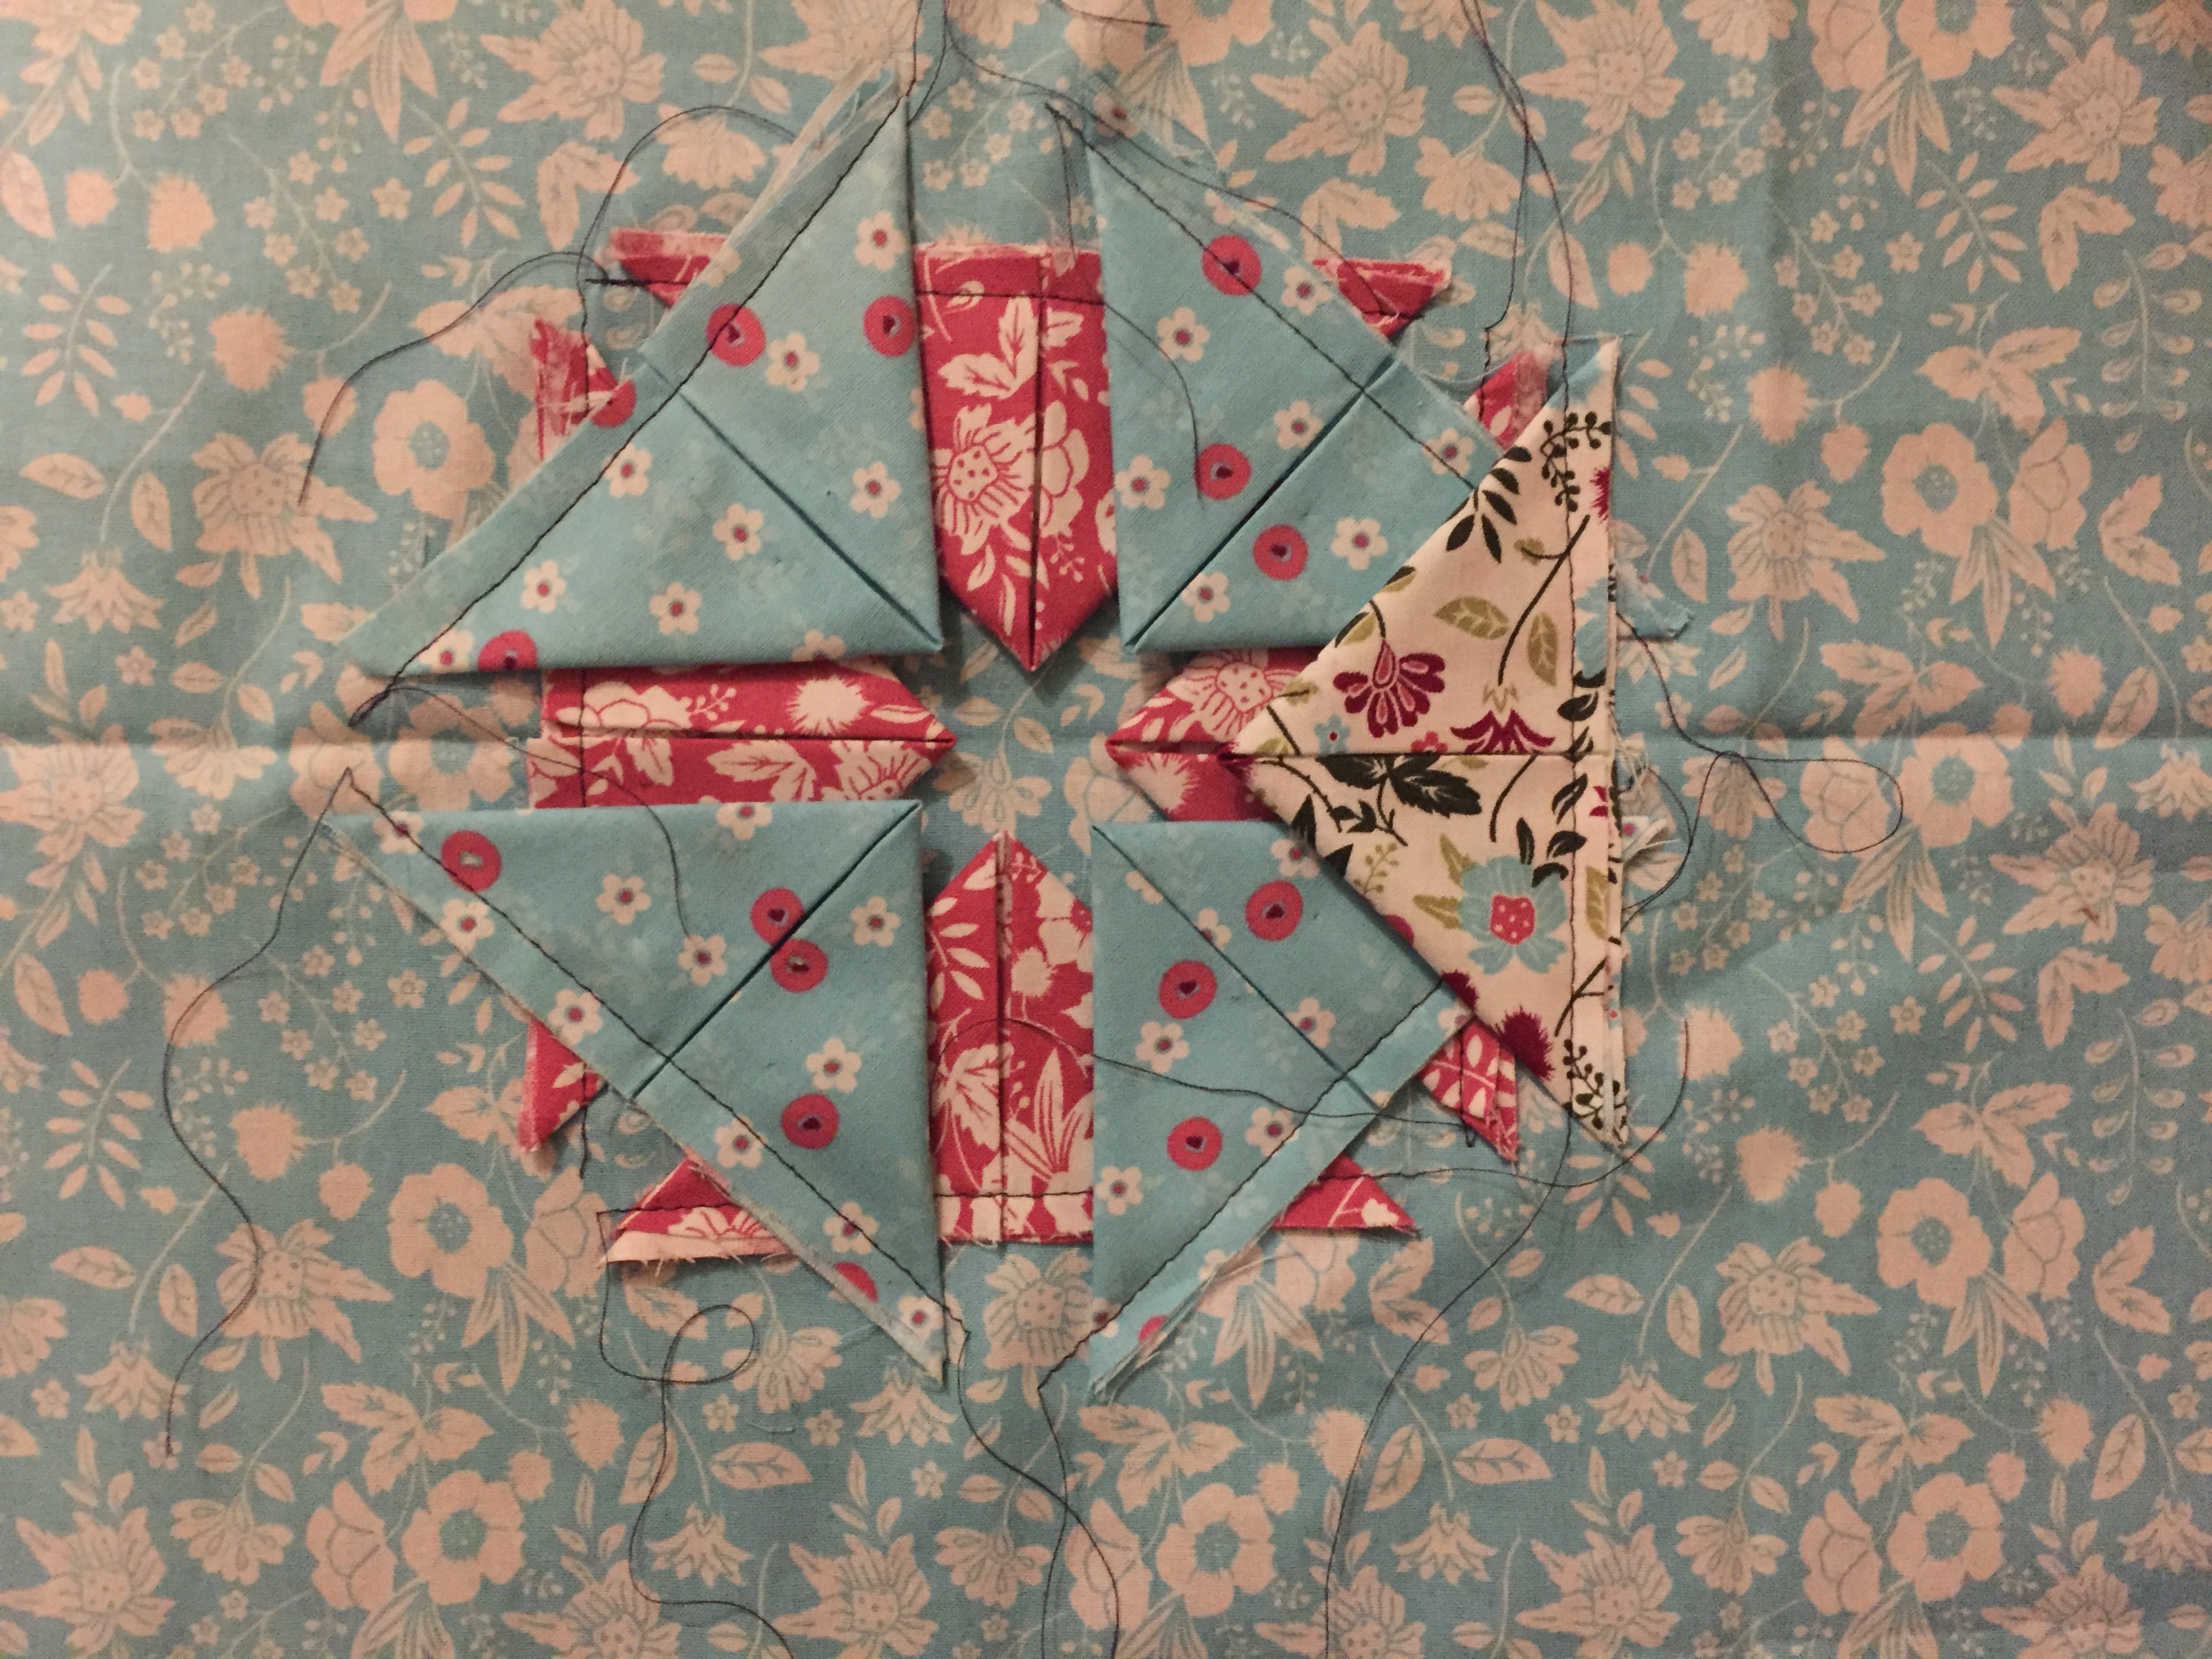
- Round 2: Take 4 of the blue with white and pink flower detail fabric triangles and place so they are positioned with their central line in the middle of the gaps left between the pink triangles and 2cm from the middle point of the fabric. Use a ruler to check they line up, then pin and sew into place.

- Round 3: using 8 of the white fabric with flower detail triangles place them in the same locations as the pink and blue with white and pink flower triangles but set them back 2 cm from the points of these. Use a ruler to check they line up and pin and sew to secure.
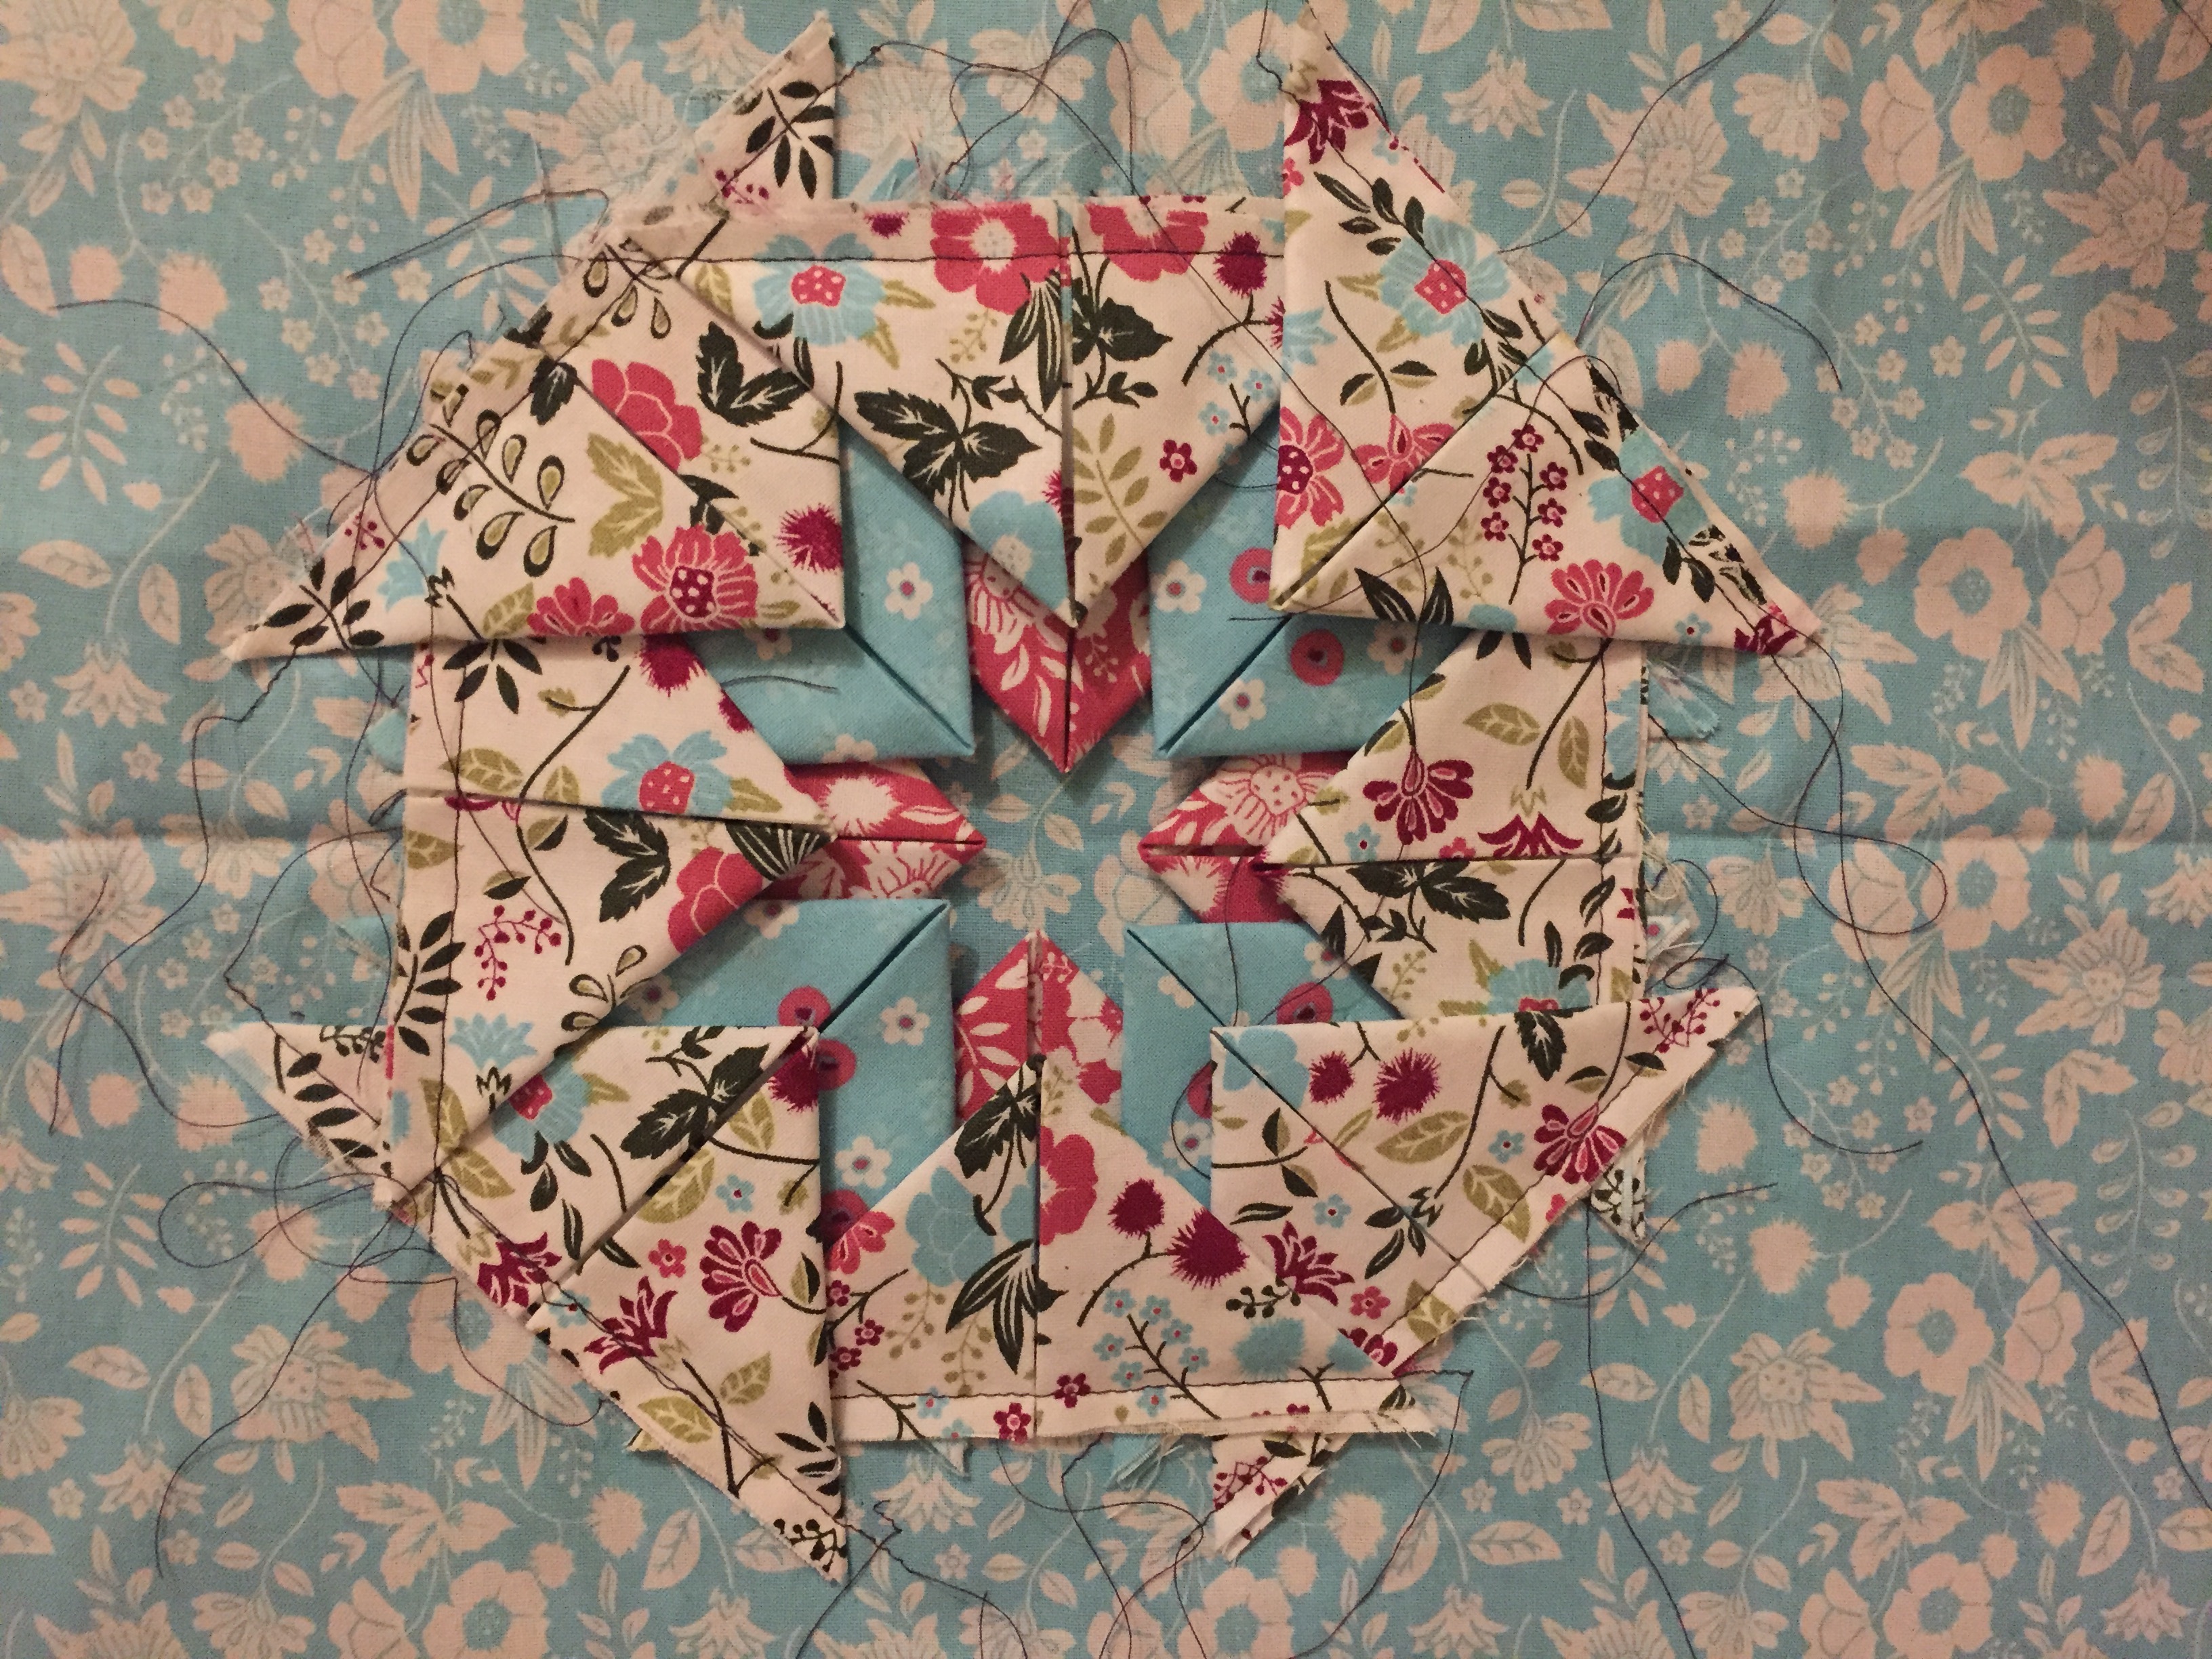
- Round 4: use 8 of the blue with flower and leaf detail triangles, again lining them up 2cm back from the points of the previous rounds triangles. Pin and sew to secure.
- Round 5: using 16 of the pink fabric triangles, placing them 2cm back from the points of the previous rounds triangles, and also placing them in the gaps between the previous rounds triangles, with the central line of the triangle in the gap between. Pin and sew to secure.
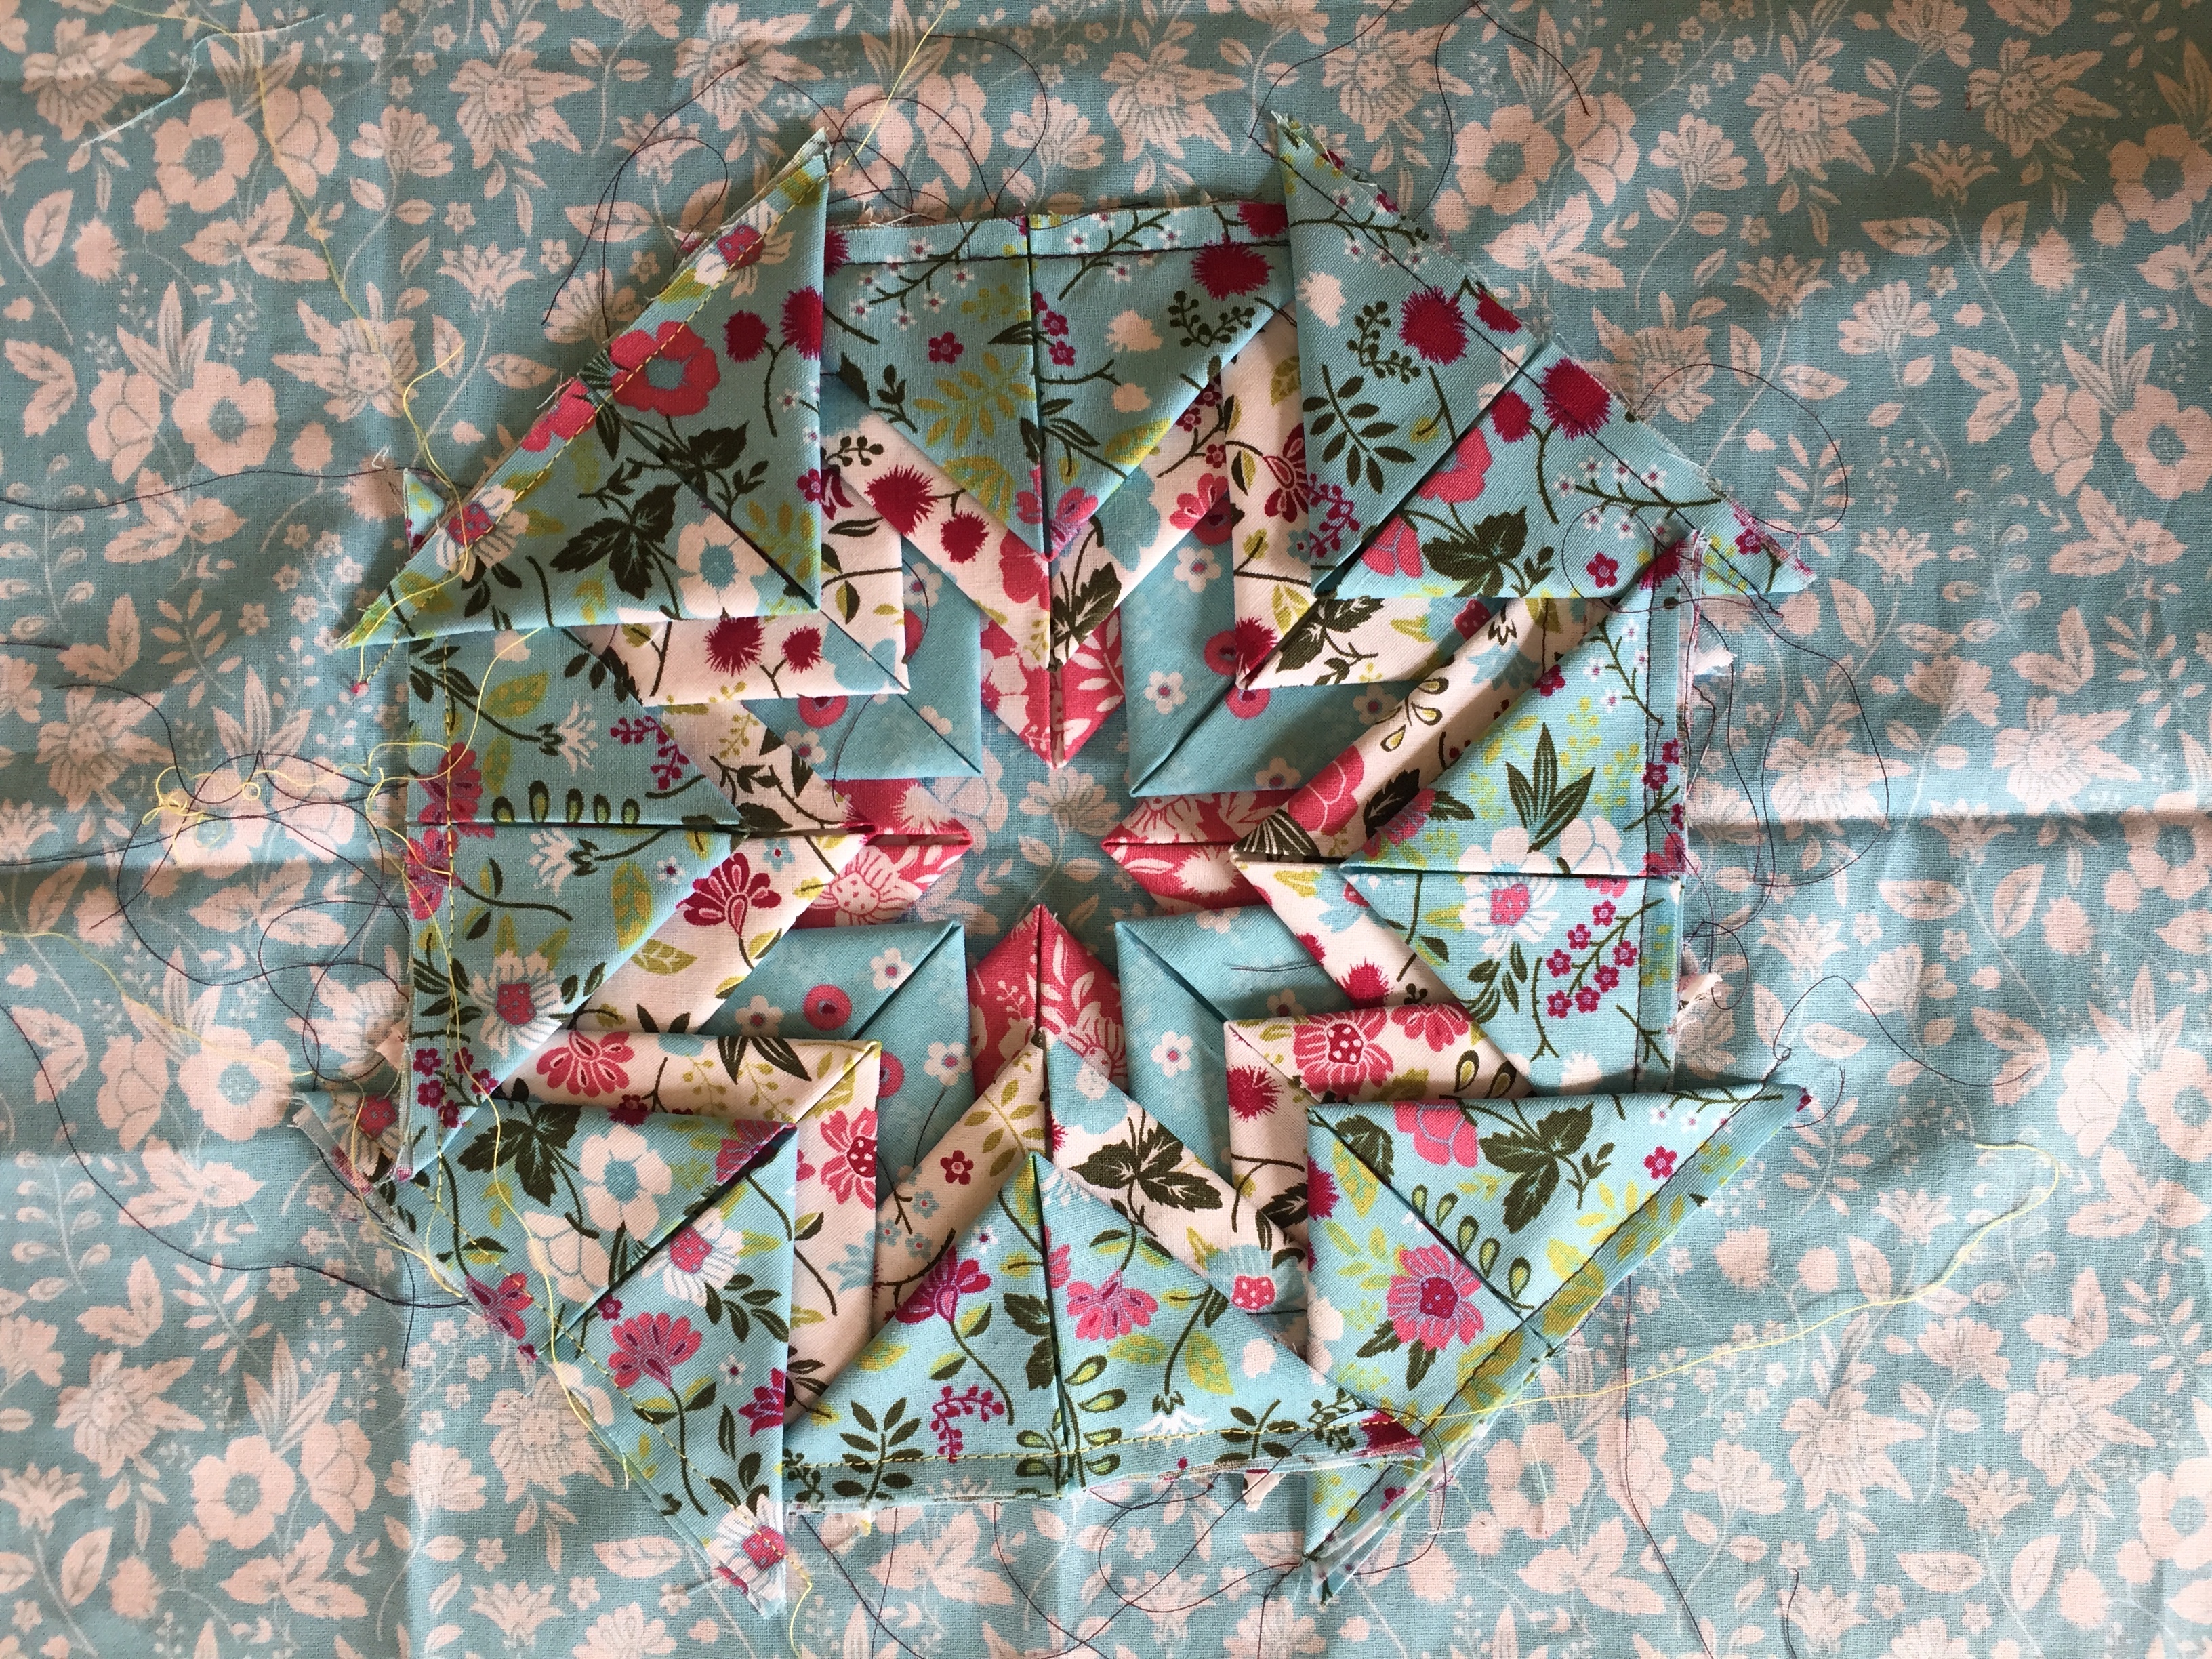
- Round 6: use 16 blue with white and pink flower fabric triangles, placing them 2cm back from the points of the previous rounds triangles. Pin and sew to secure.
- Round 7: 16 white with flower fabric triangles, placing them 2 cm back from the points of the previous rows triangles. Pin and sew to secure.
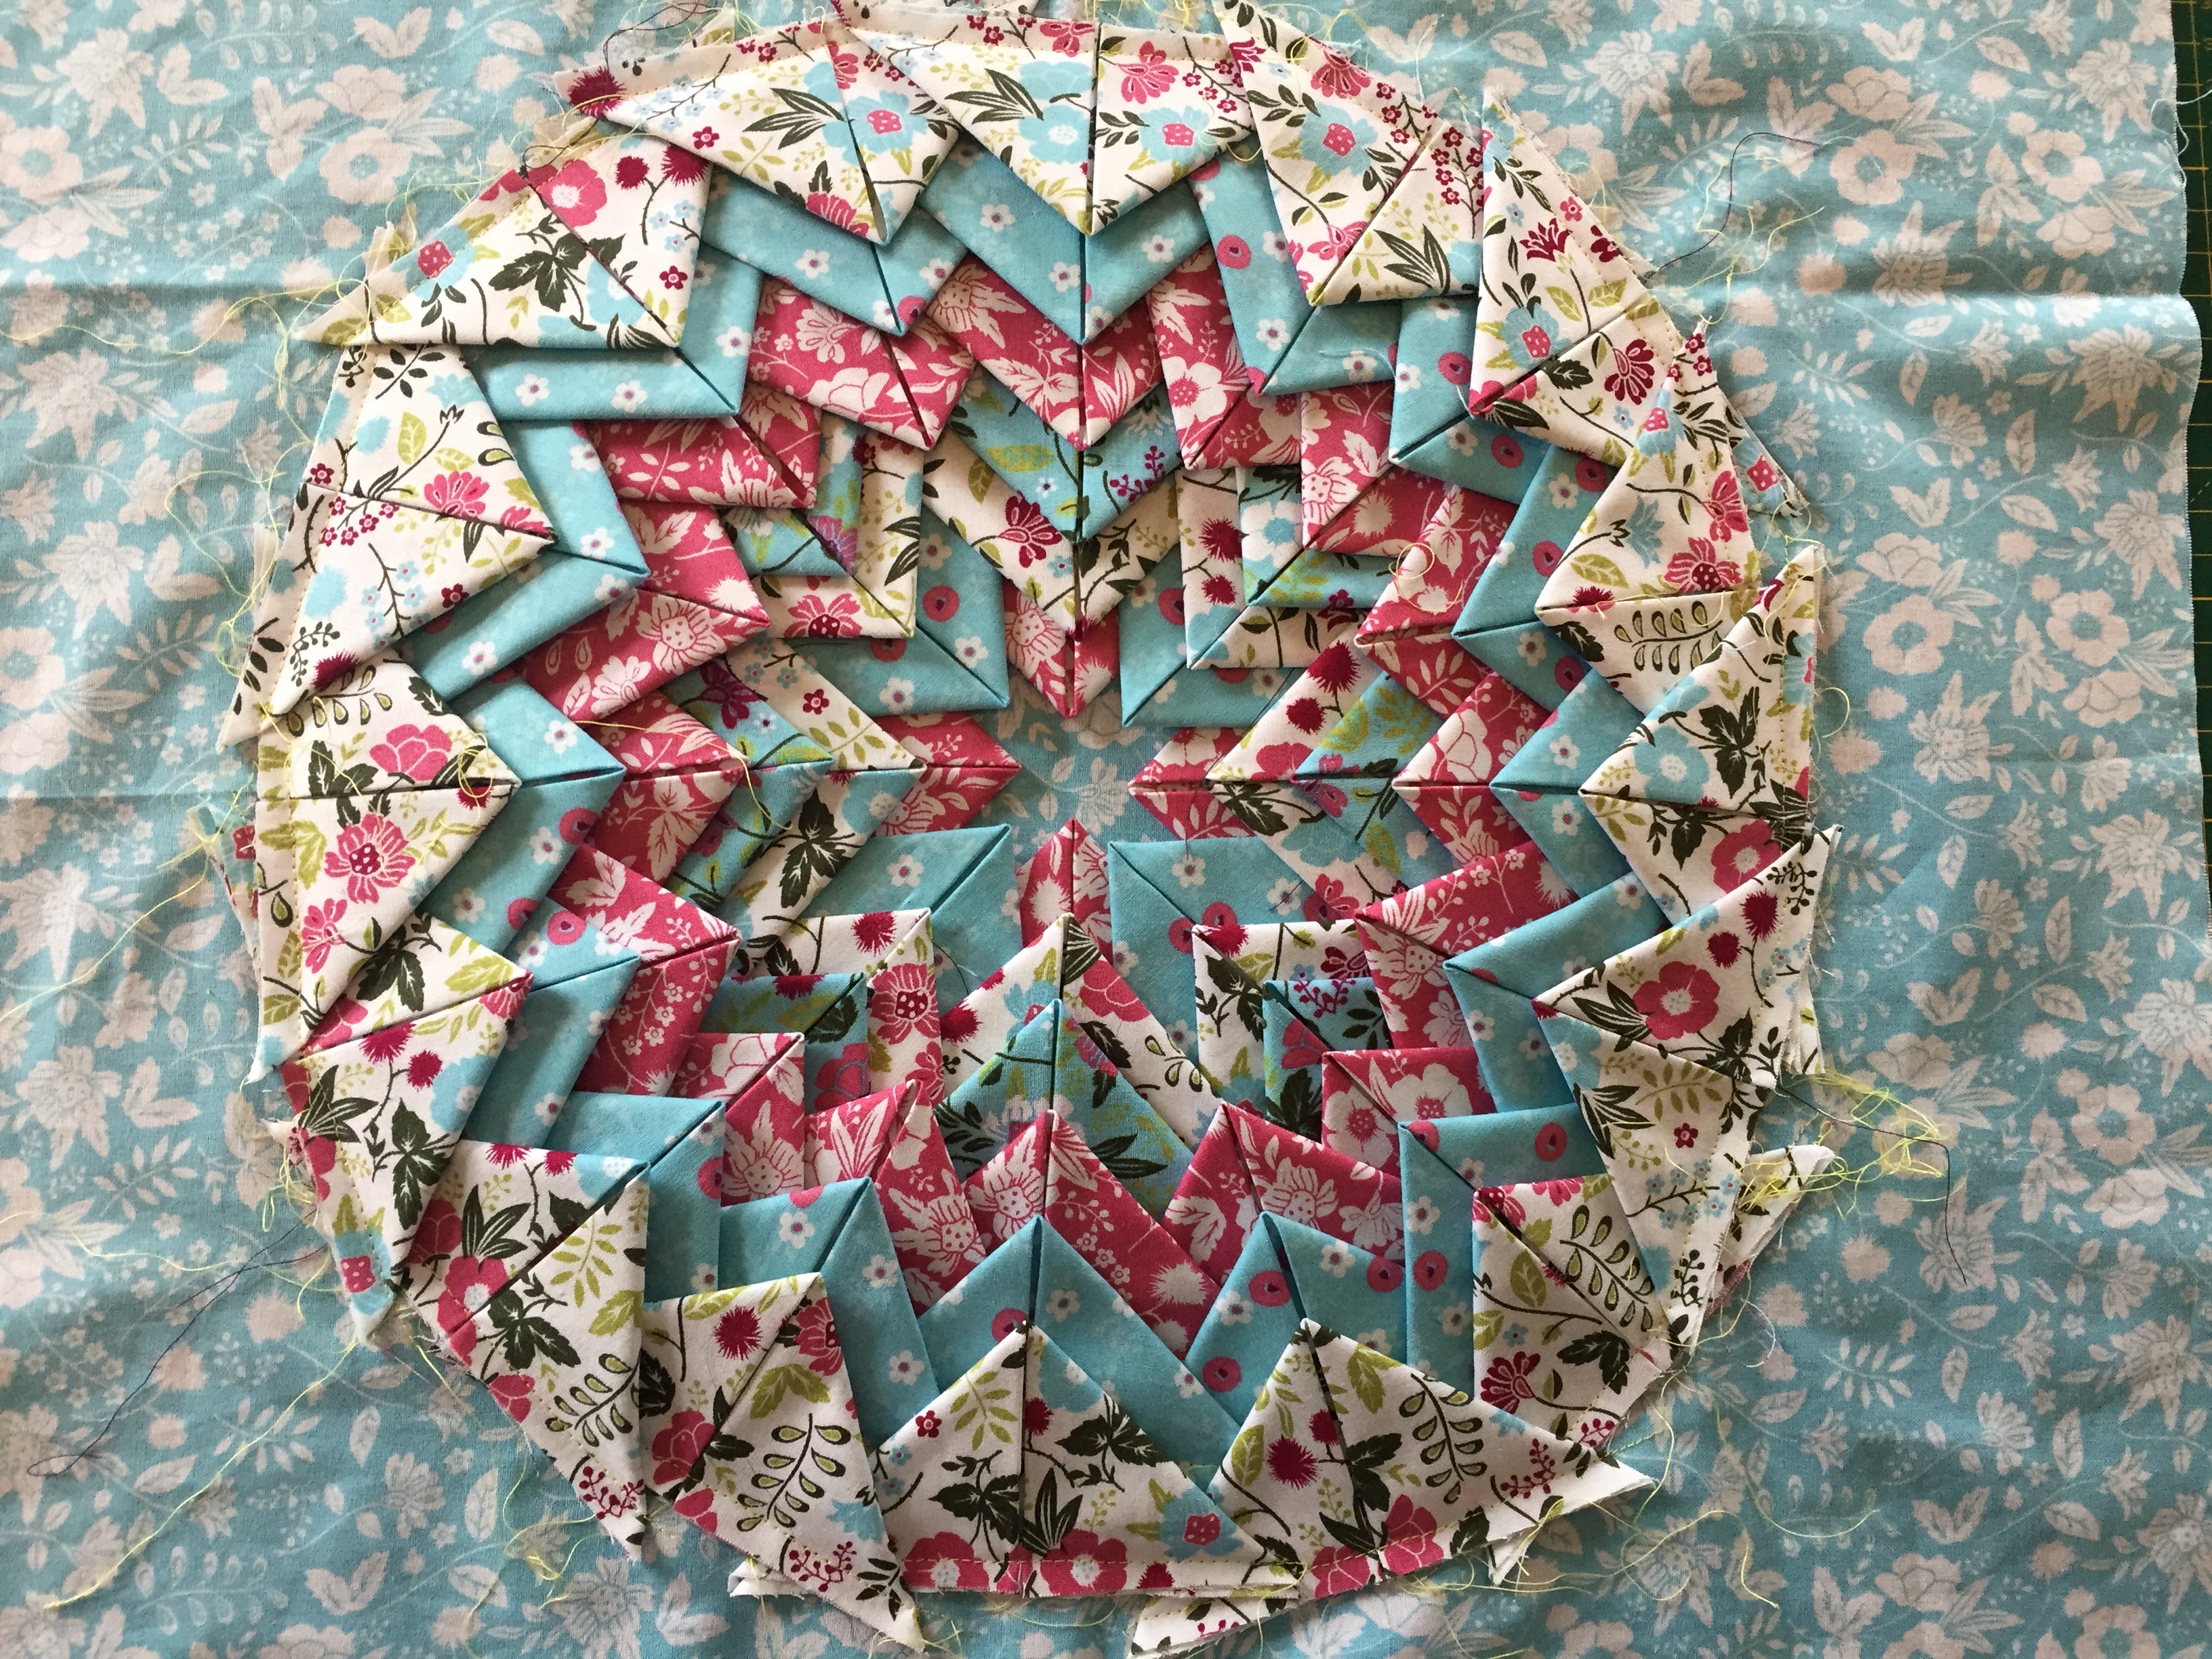
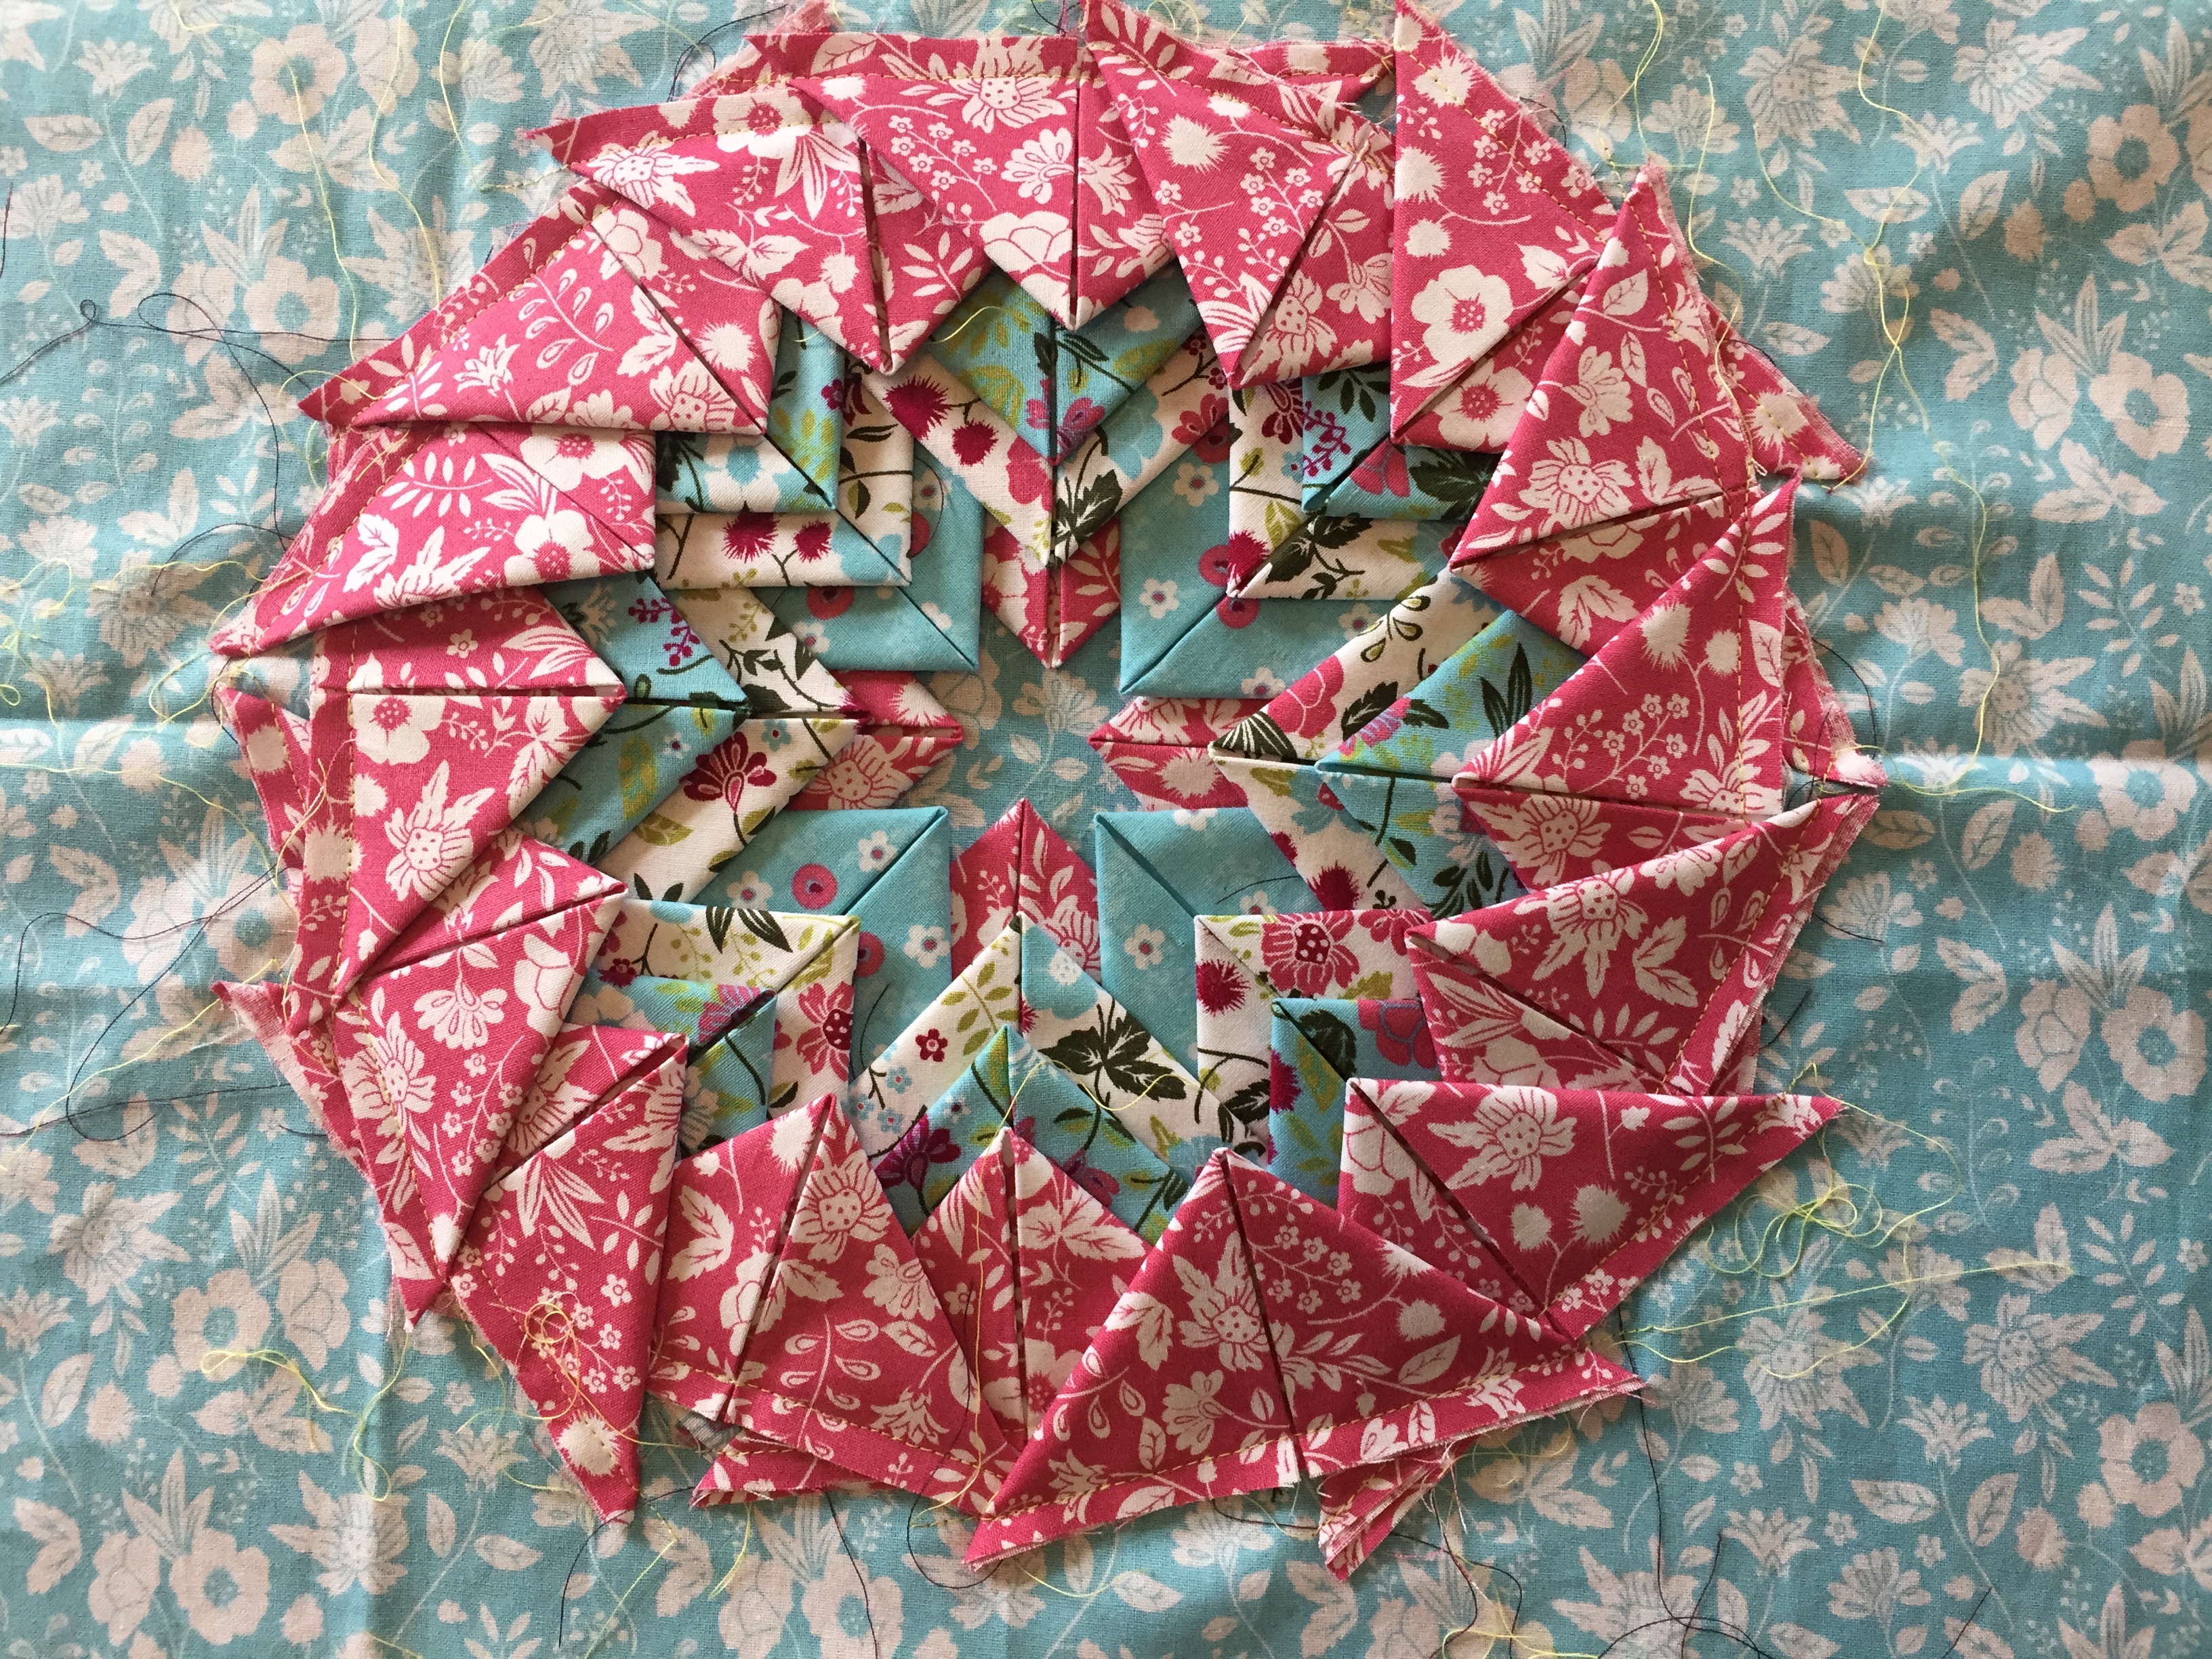
- Round 8: 32 blue with flower and leaves fabric triangles, placing them 2cm back from the points of the previous rounds triangles, and also placing them in the gaps between the previous rounds triangles, with the central line of the triangle in the gap between. Pin and sew to secure.
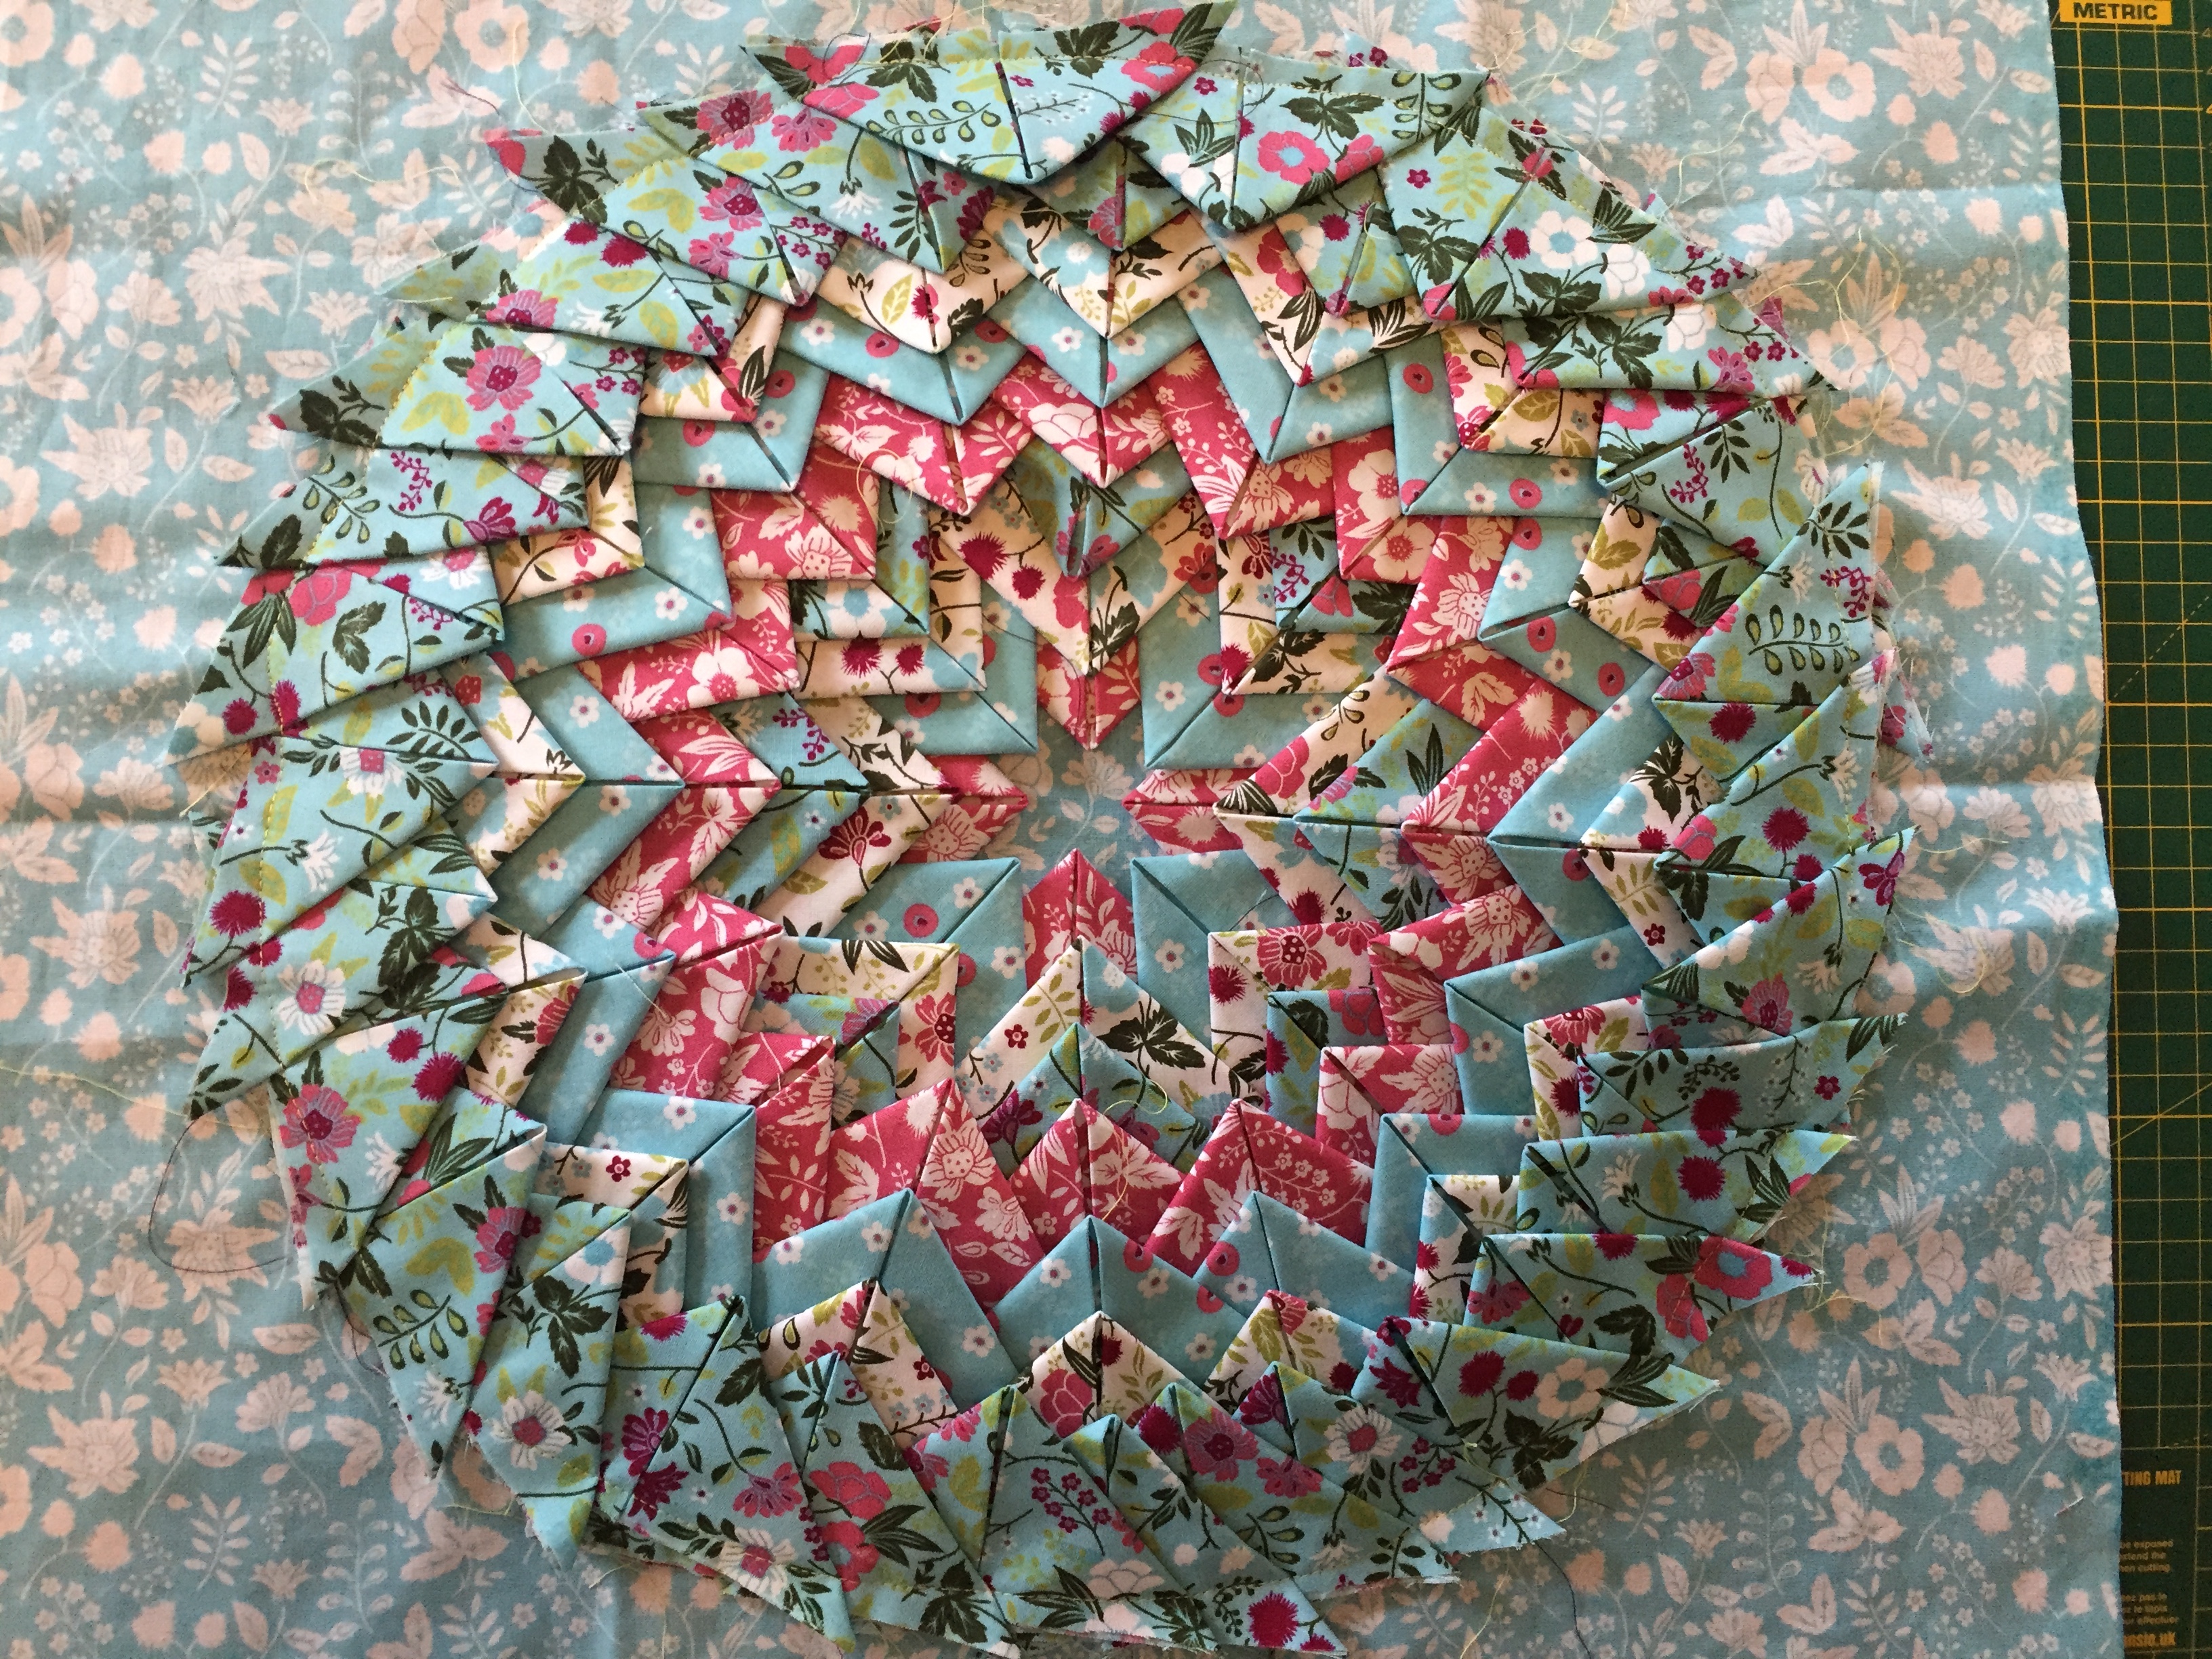
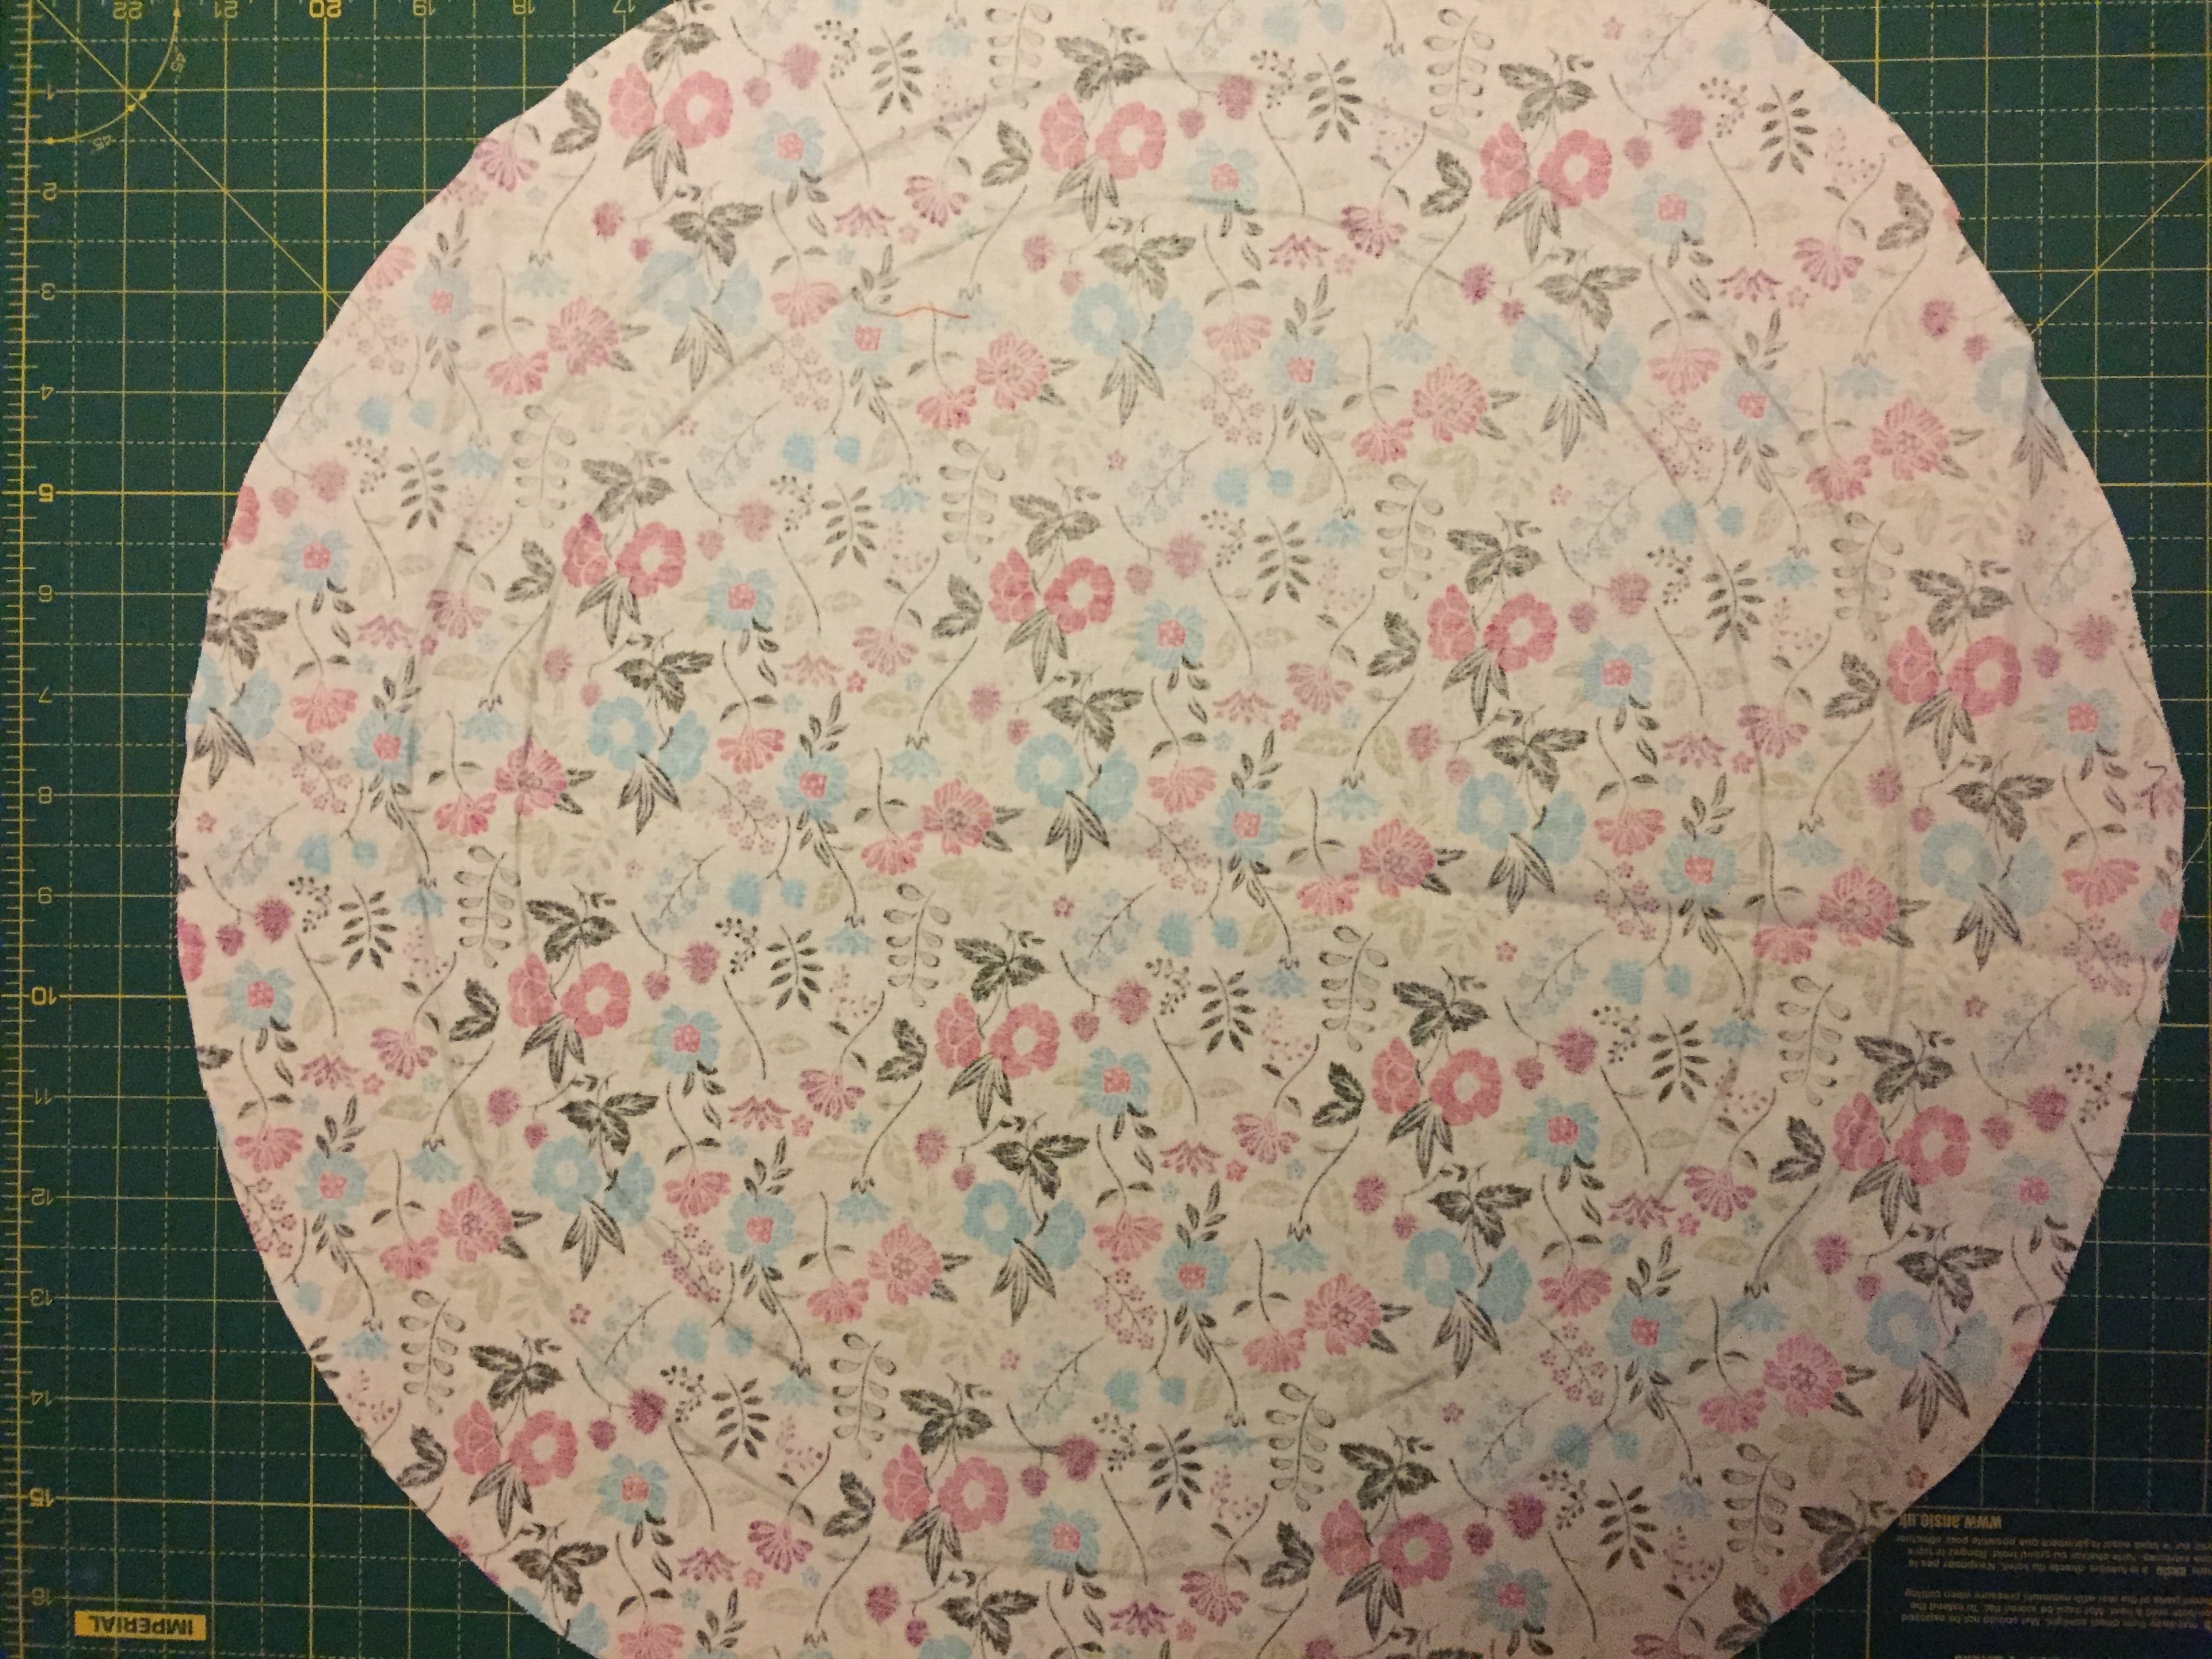
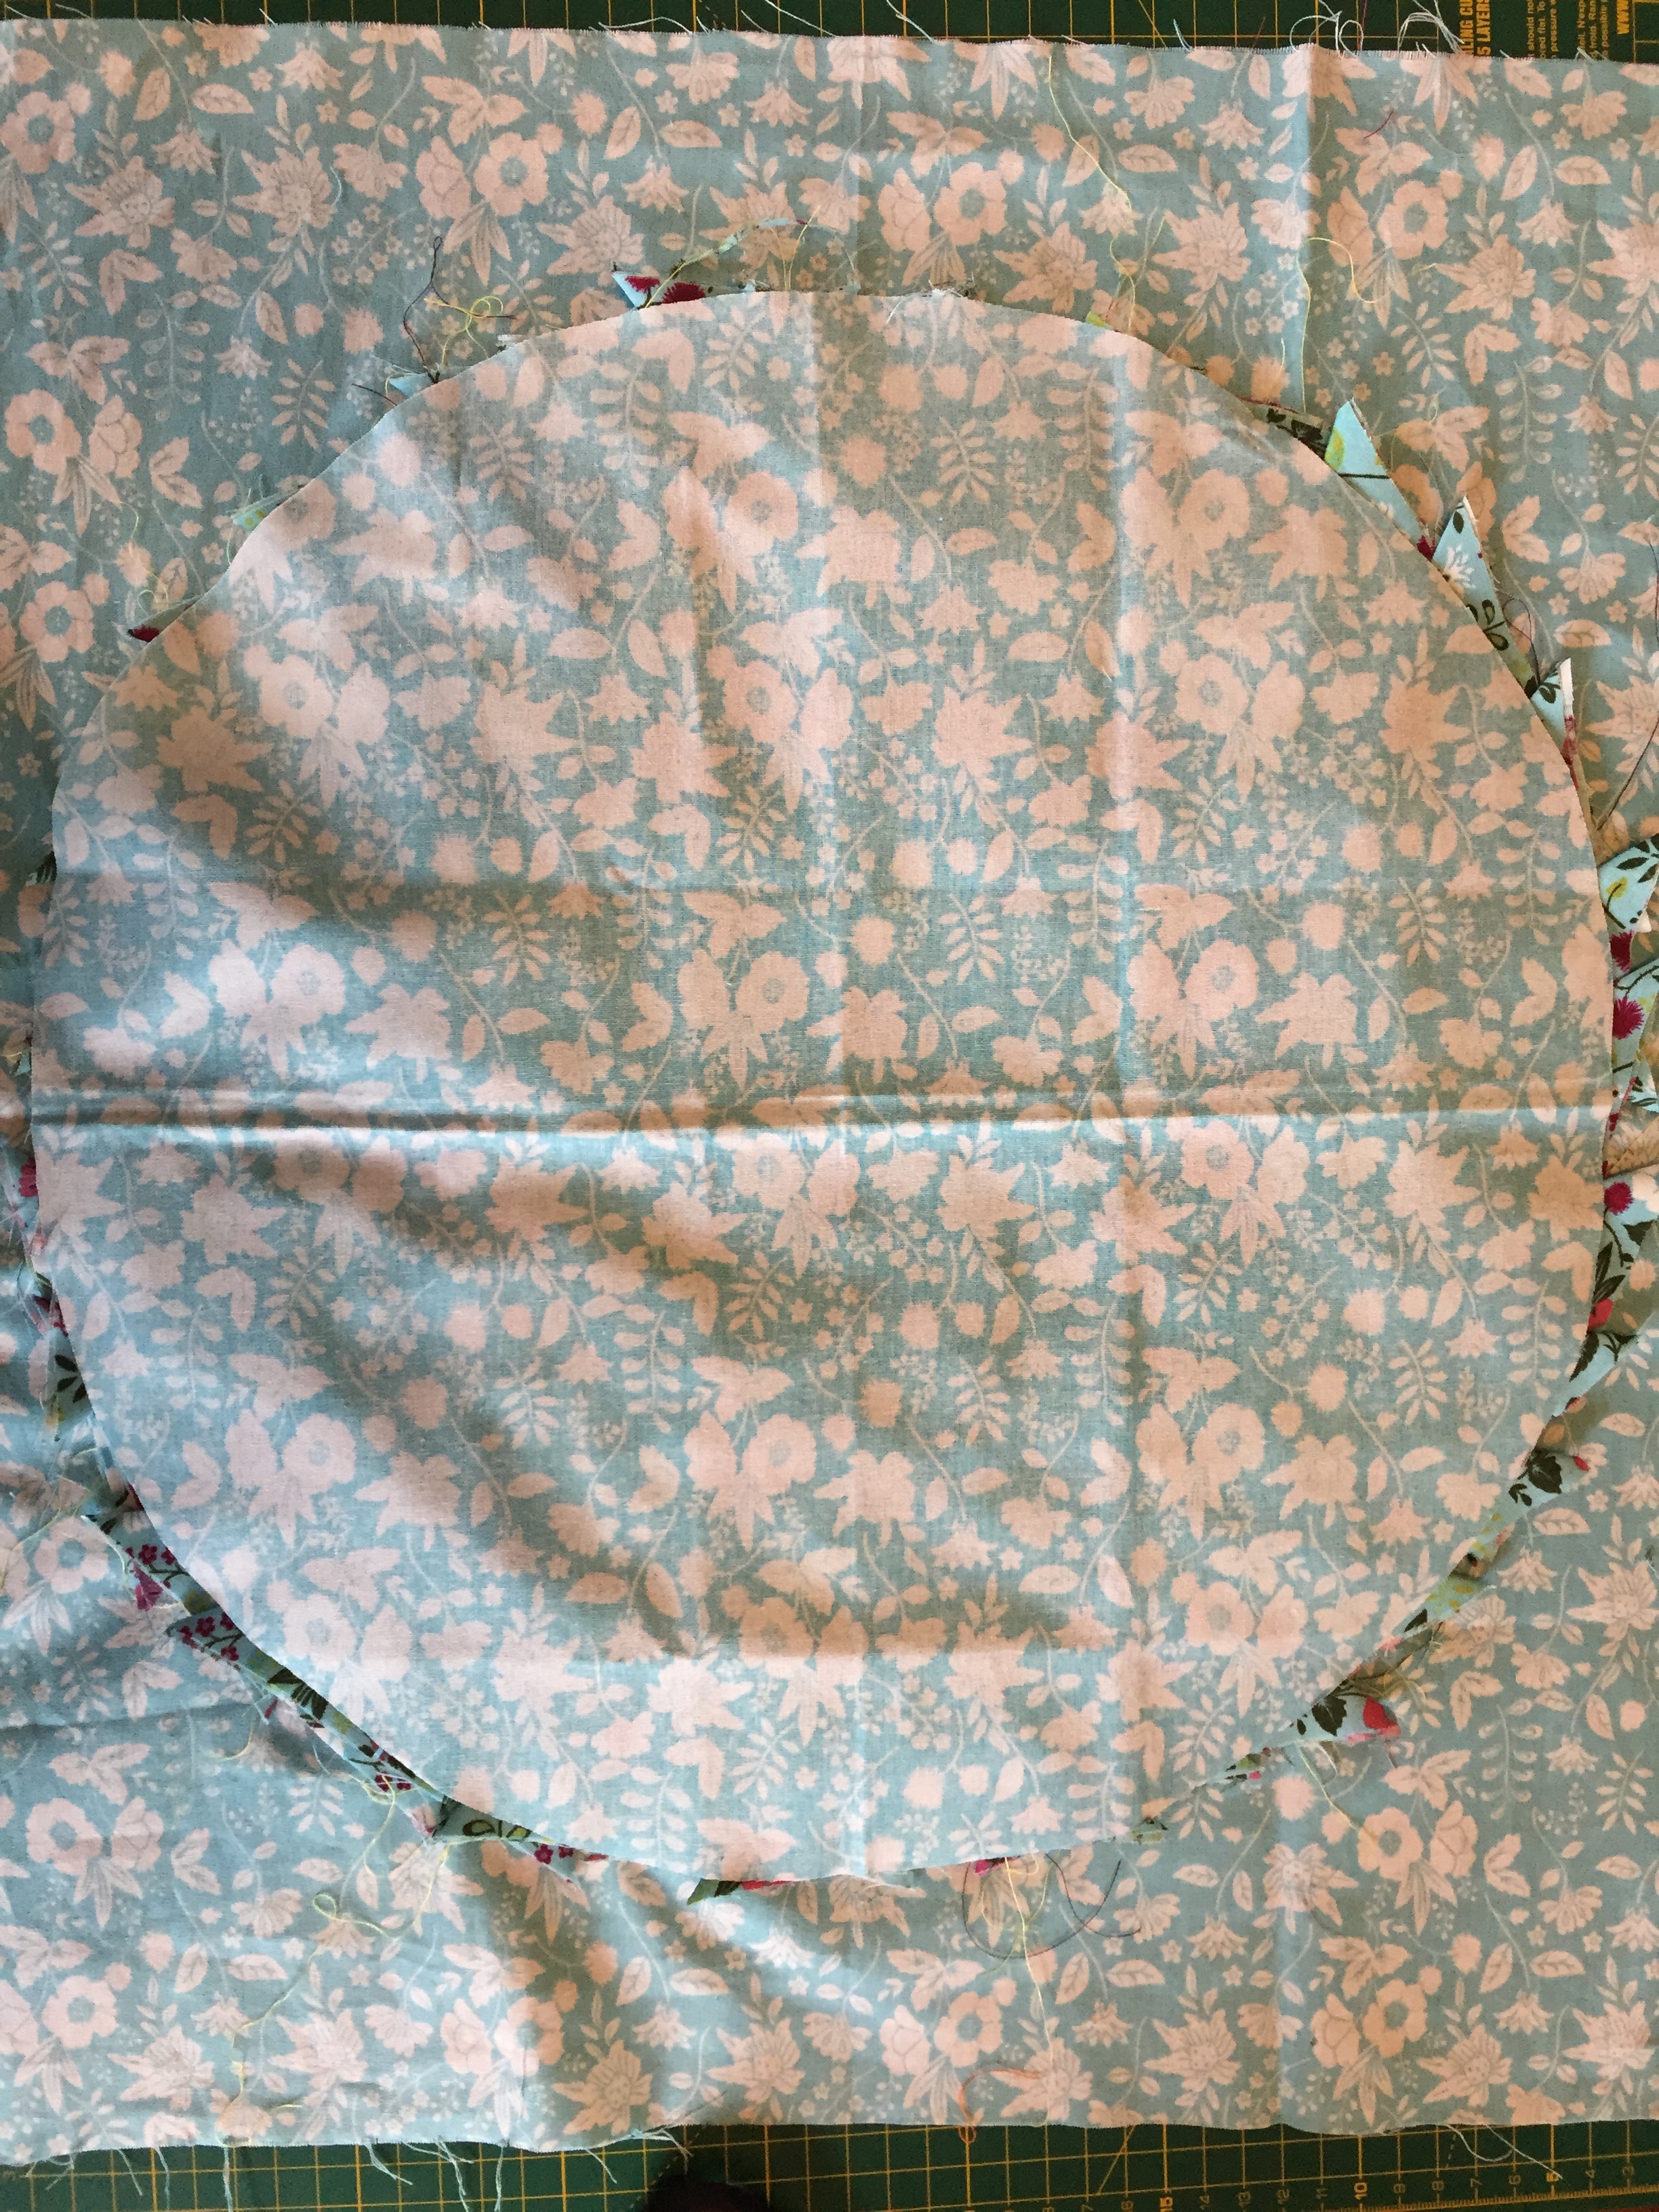
- Cut the excess square fabric away to leave you with a round. Cut a piece of batting the same size and add the quilted detail by sewing down the central line of the triangles.
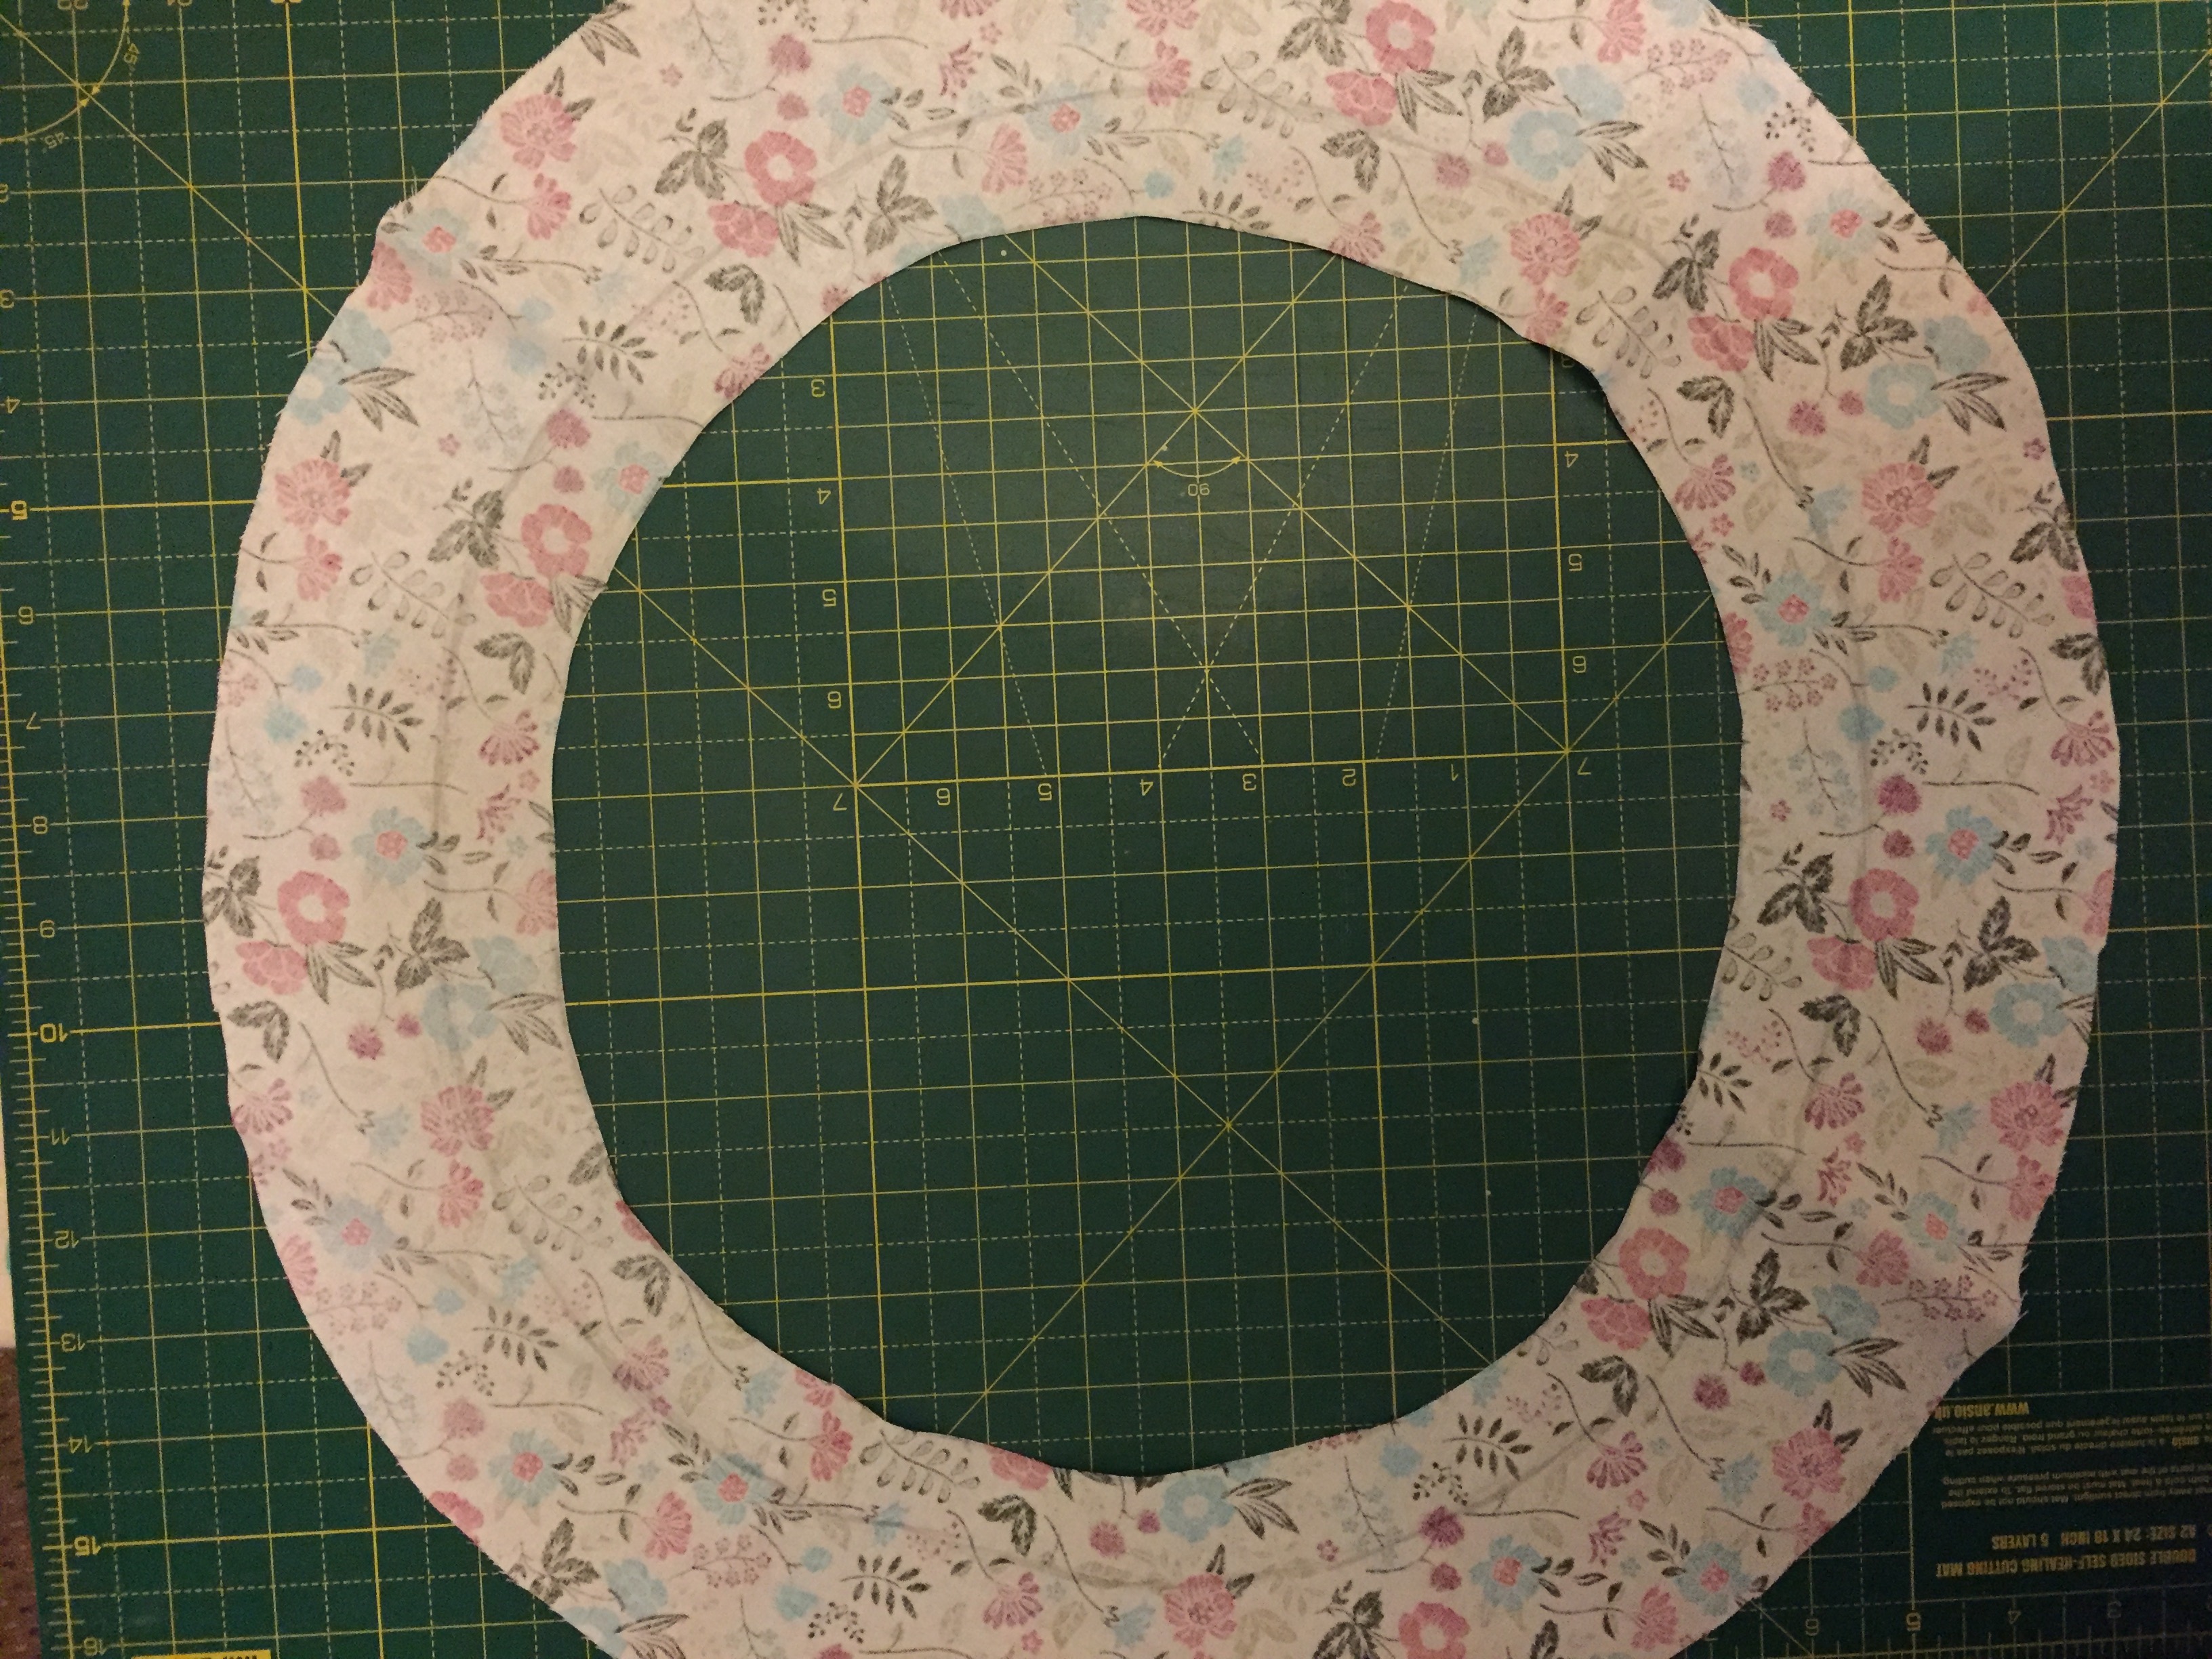
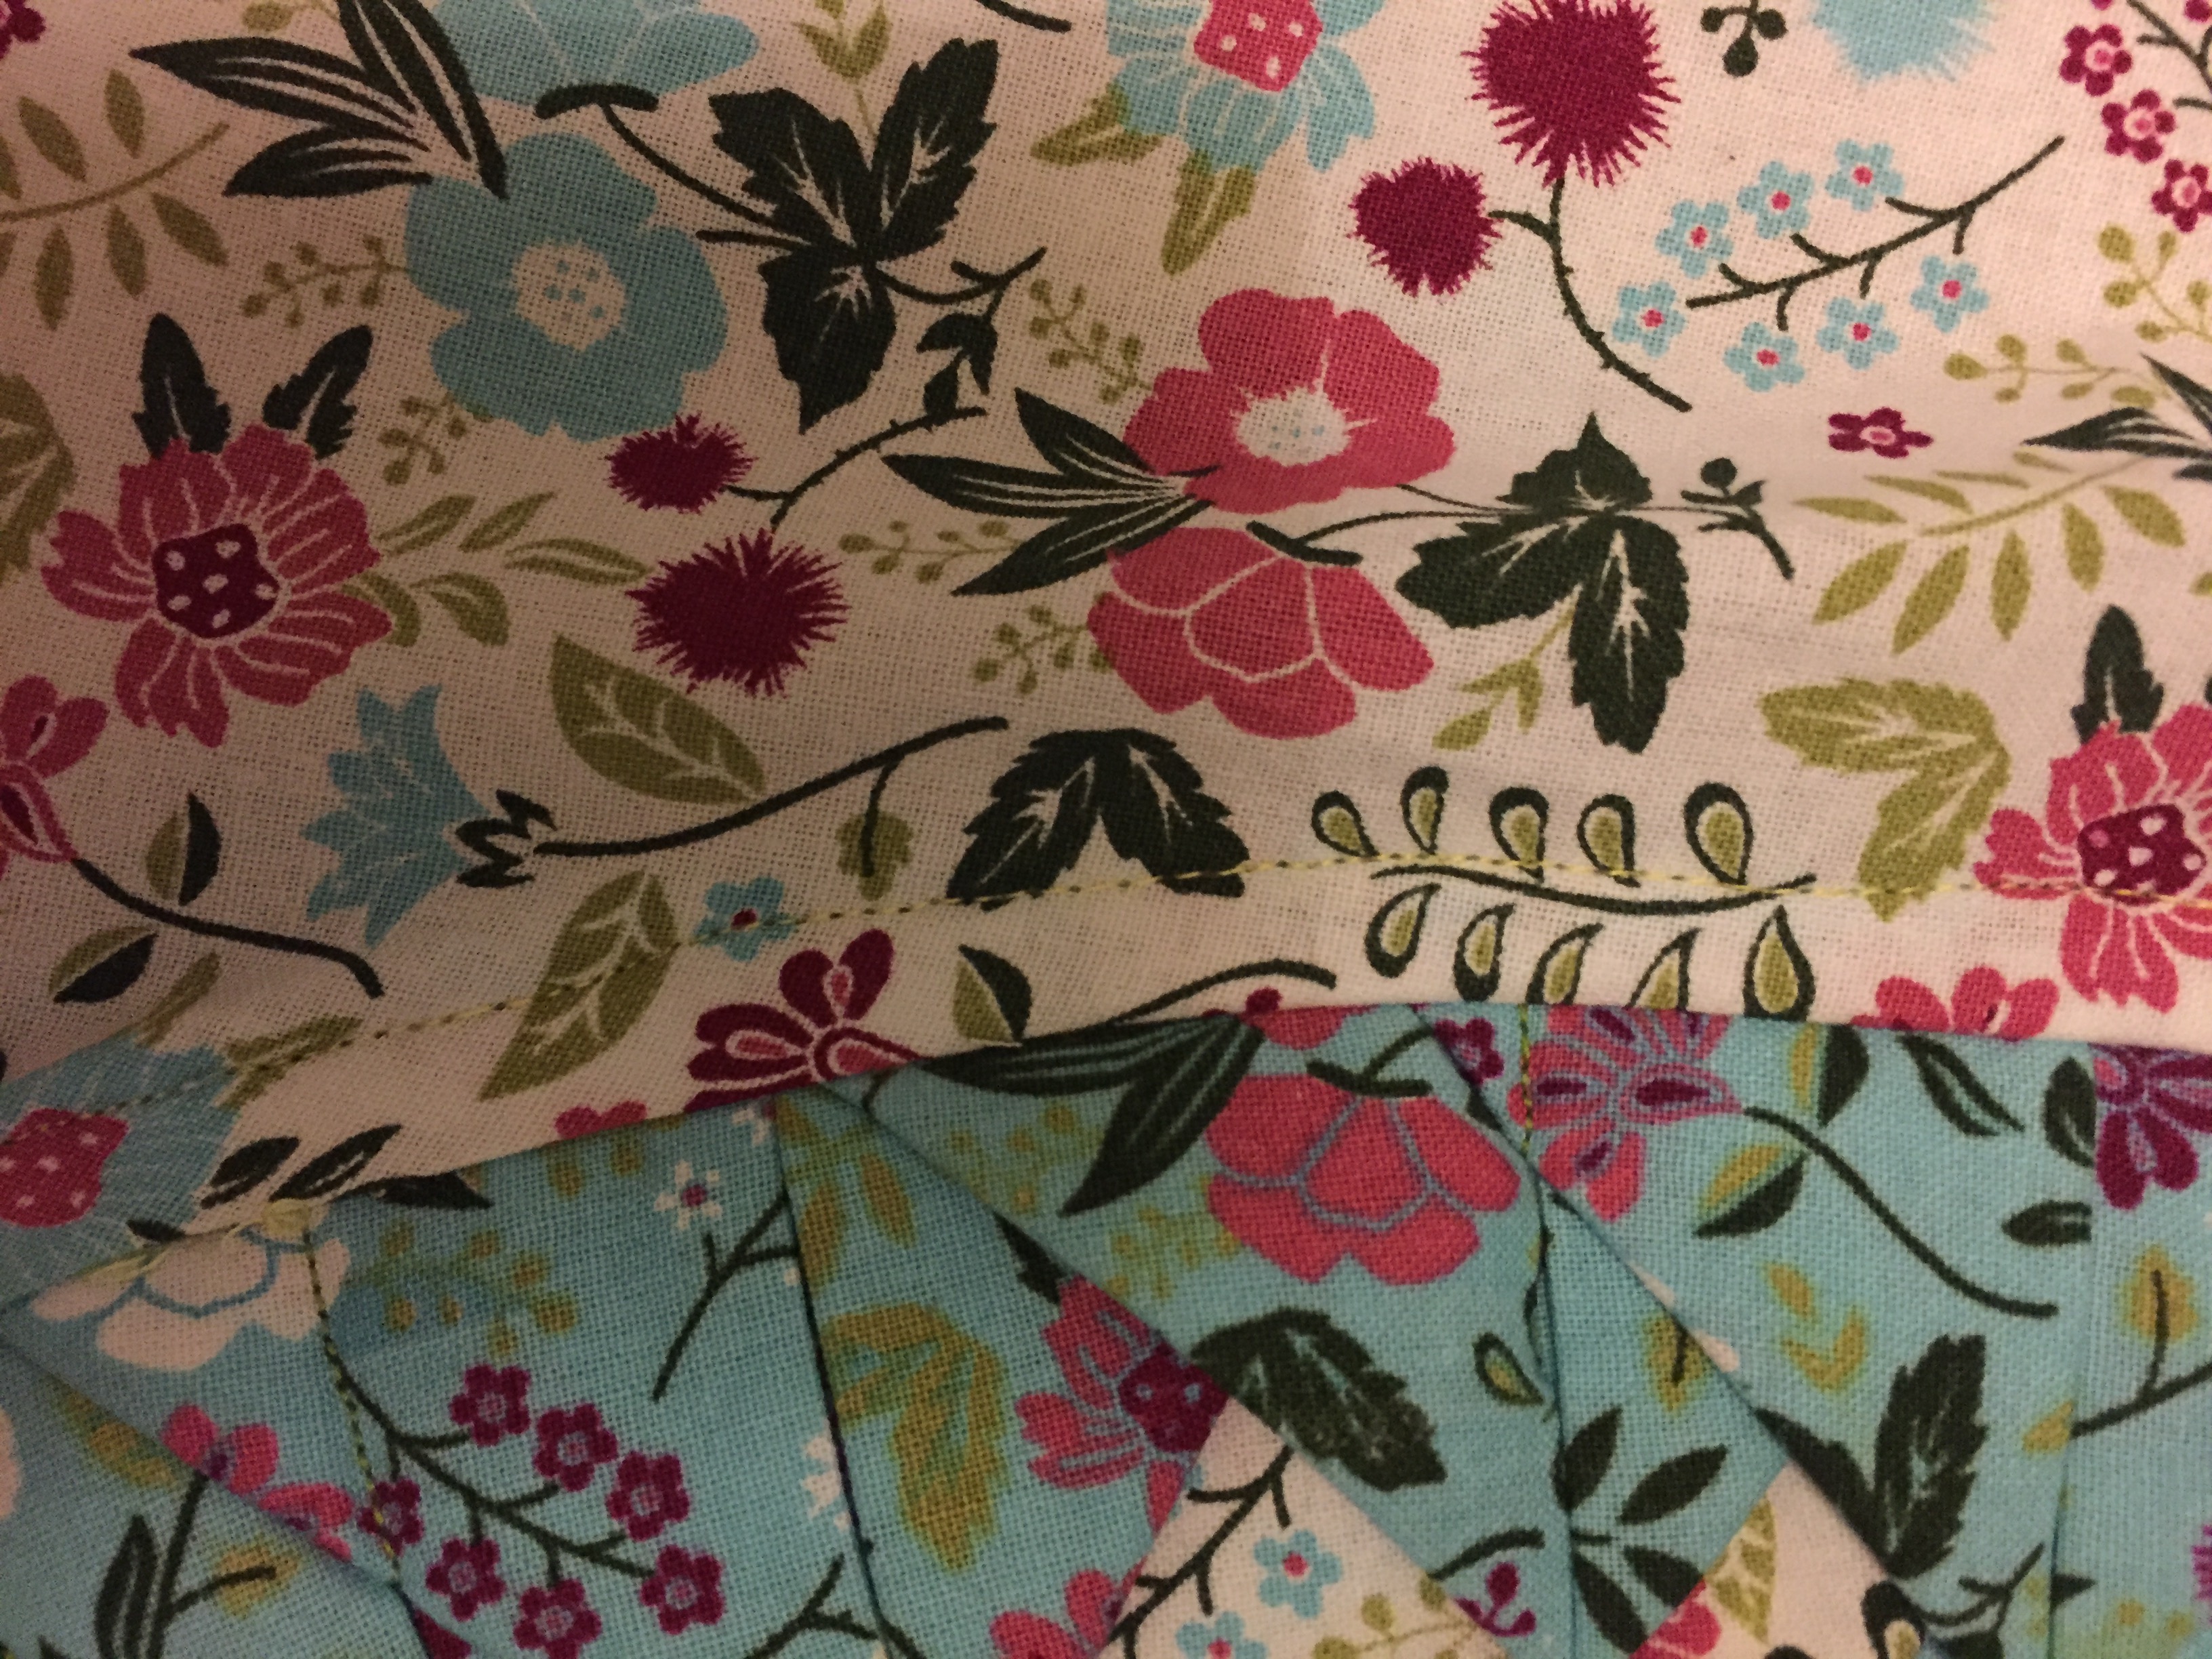
- Take the white with flower detail fabric and place the folded square front piece in the middle, draw around this front piece. Next draw a circle around which is 6 cm bigger than the front piece along with a circle which is 3cm smaller than the front piece and cut out to give you a circular band.
- Lay the circular band right side up on top of the front piece, then fold the outside edge of this circular band inward and positioning the band so its inside edge is against the outside edge of the front piece, pin and sew to secure.
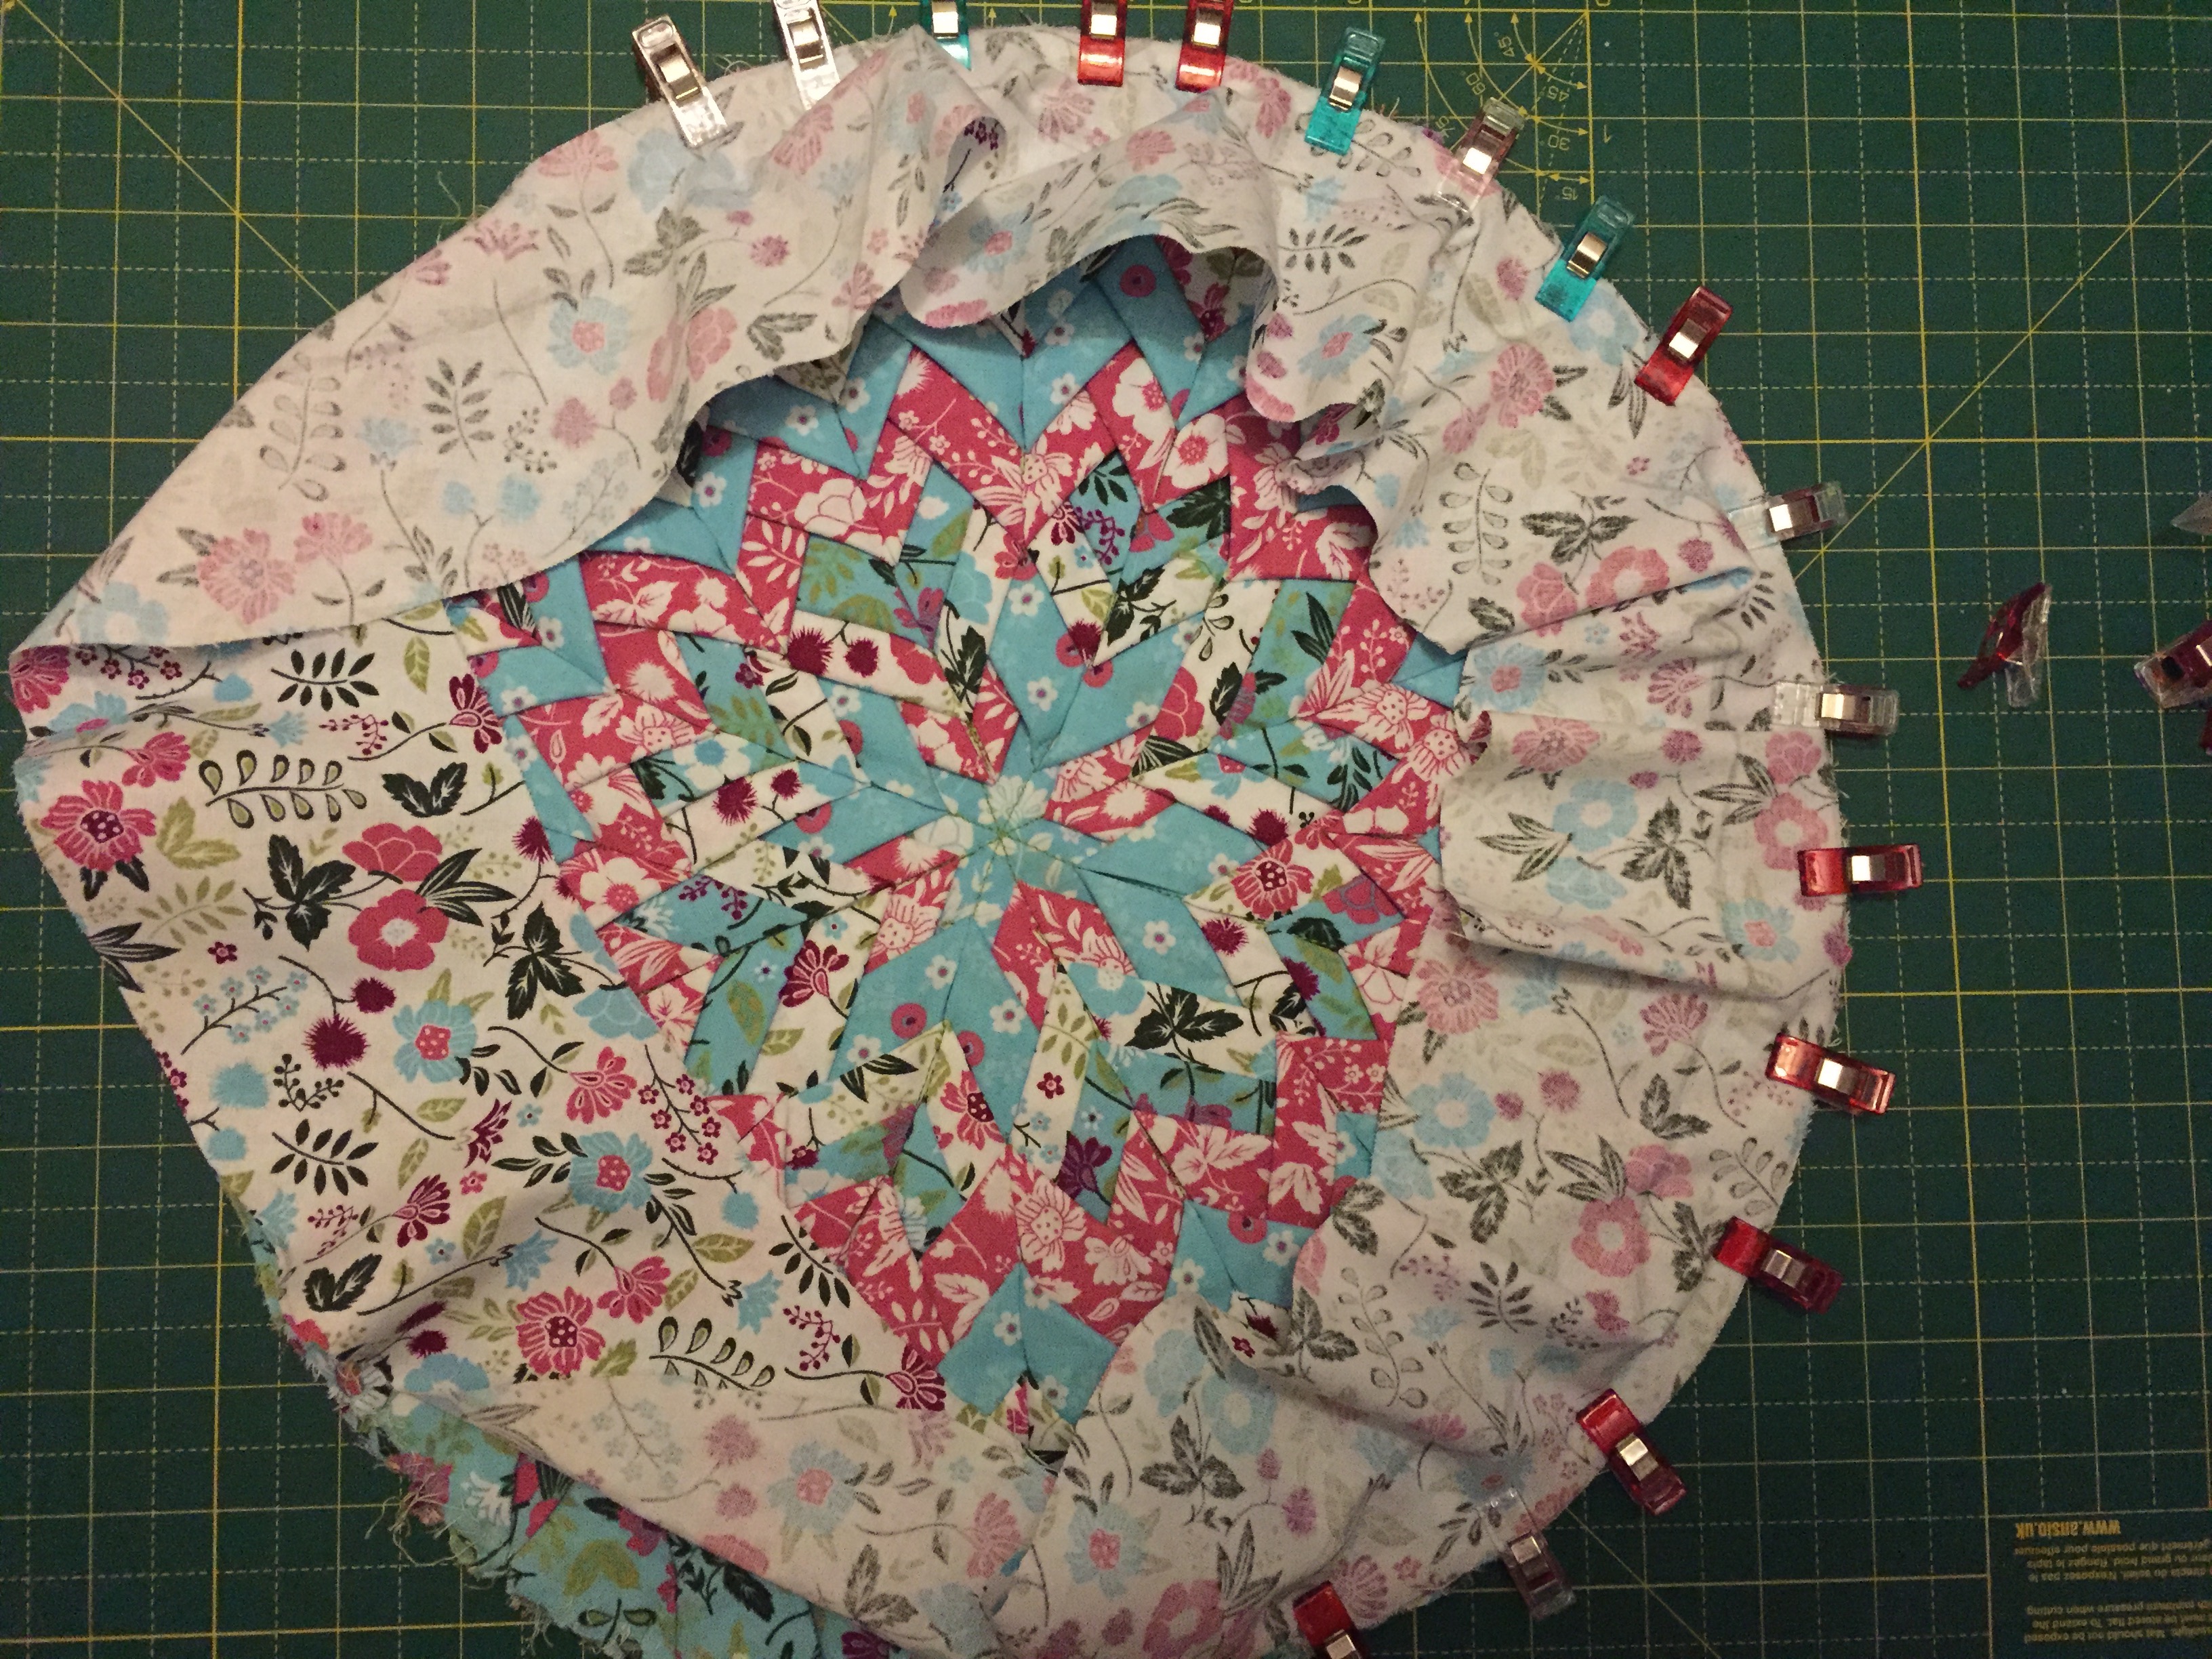
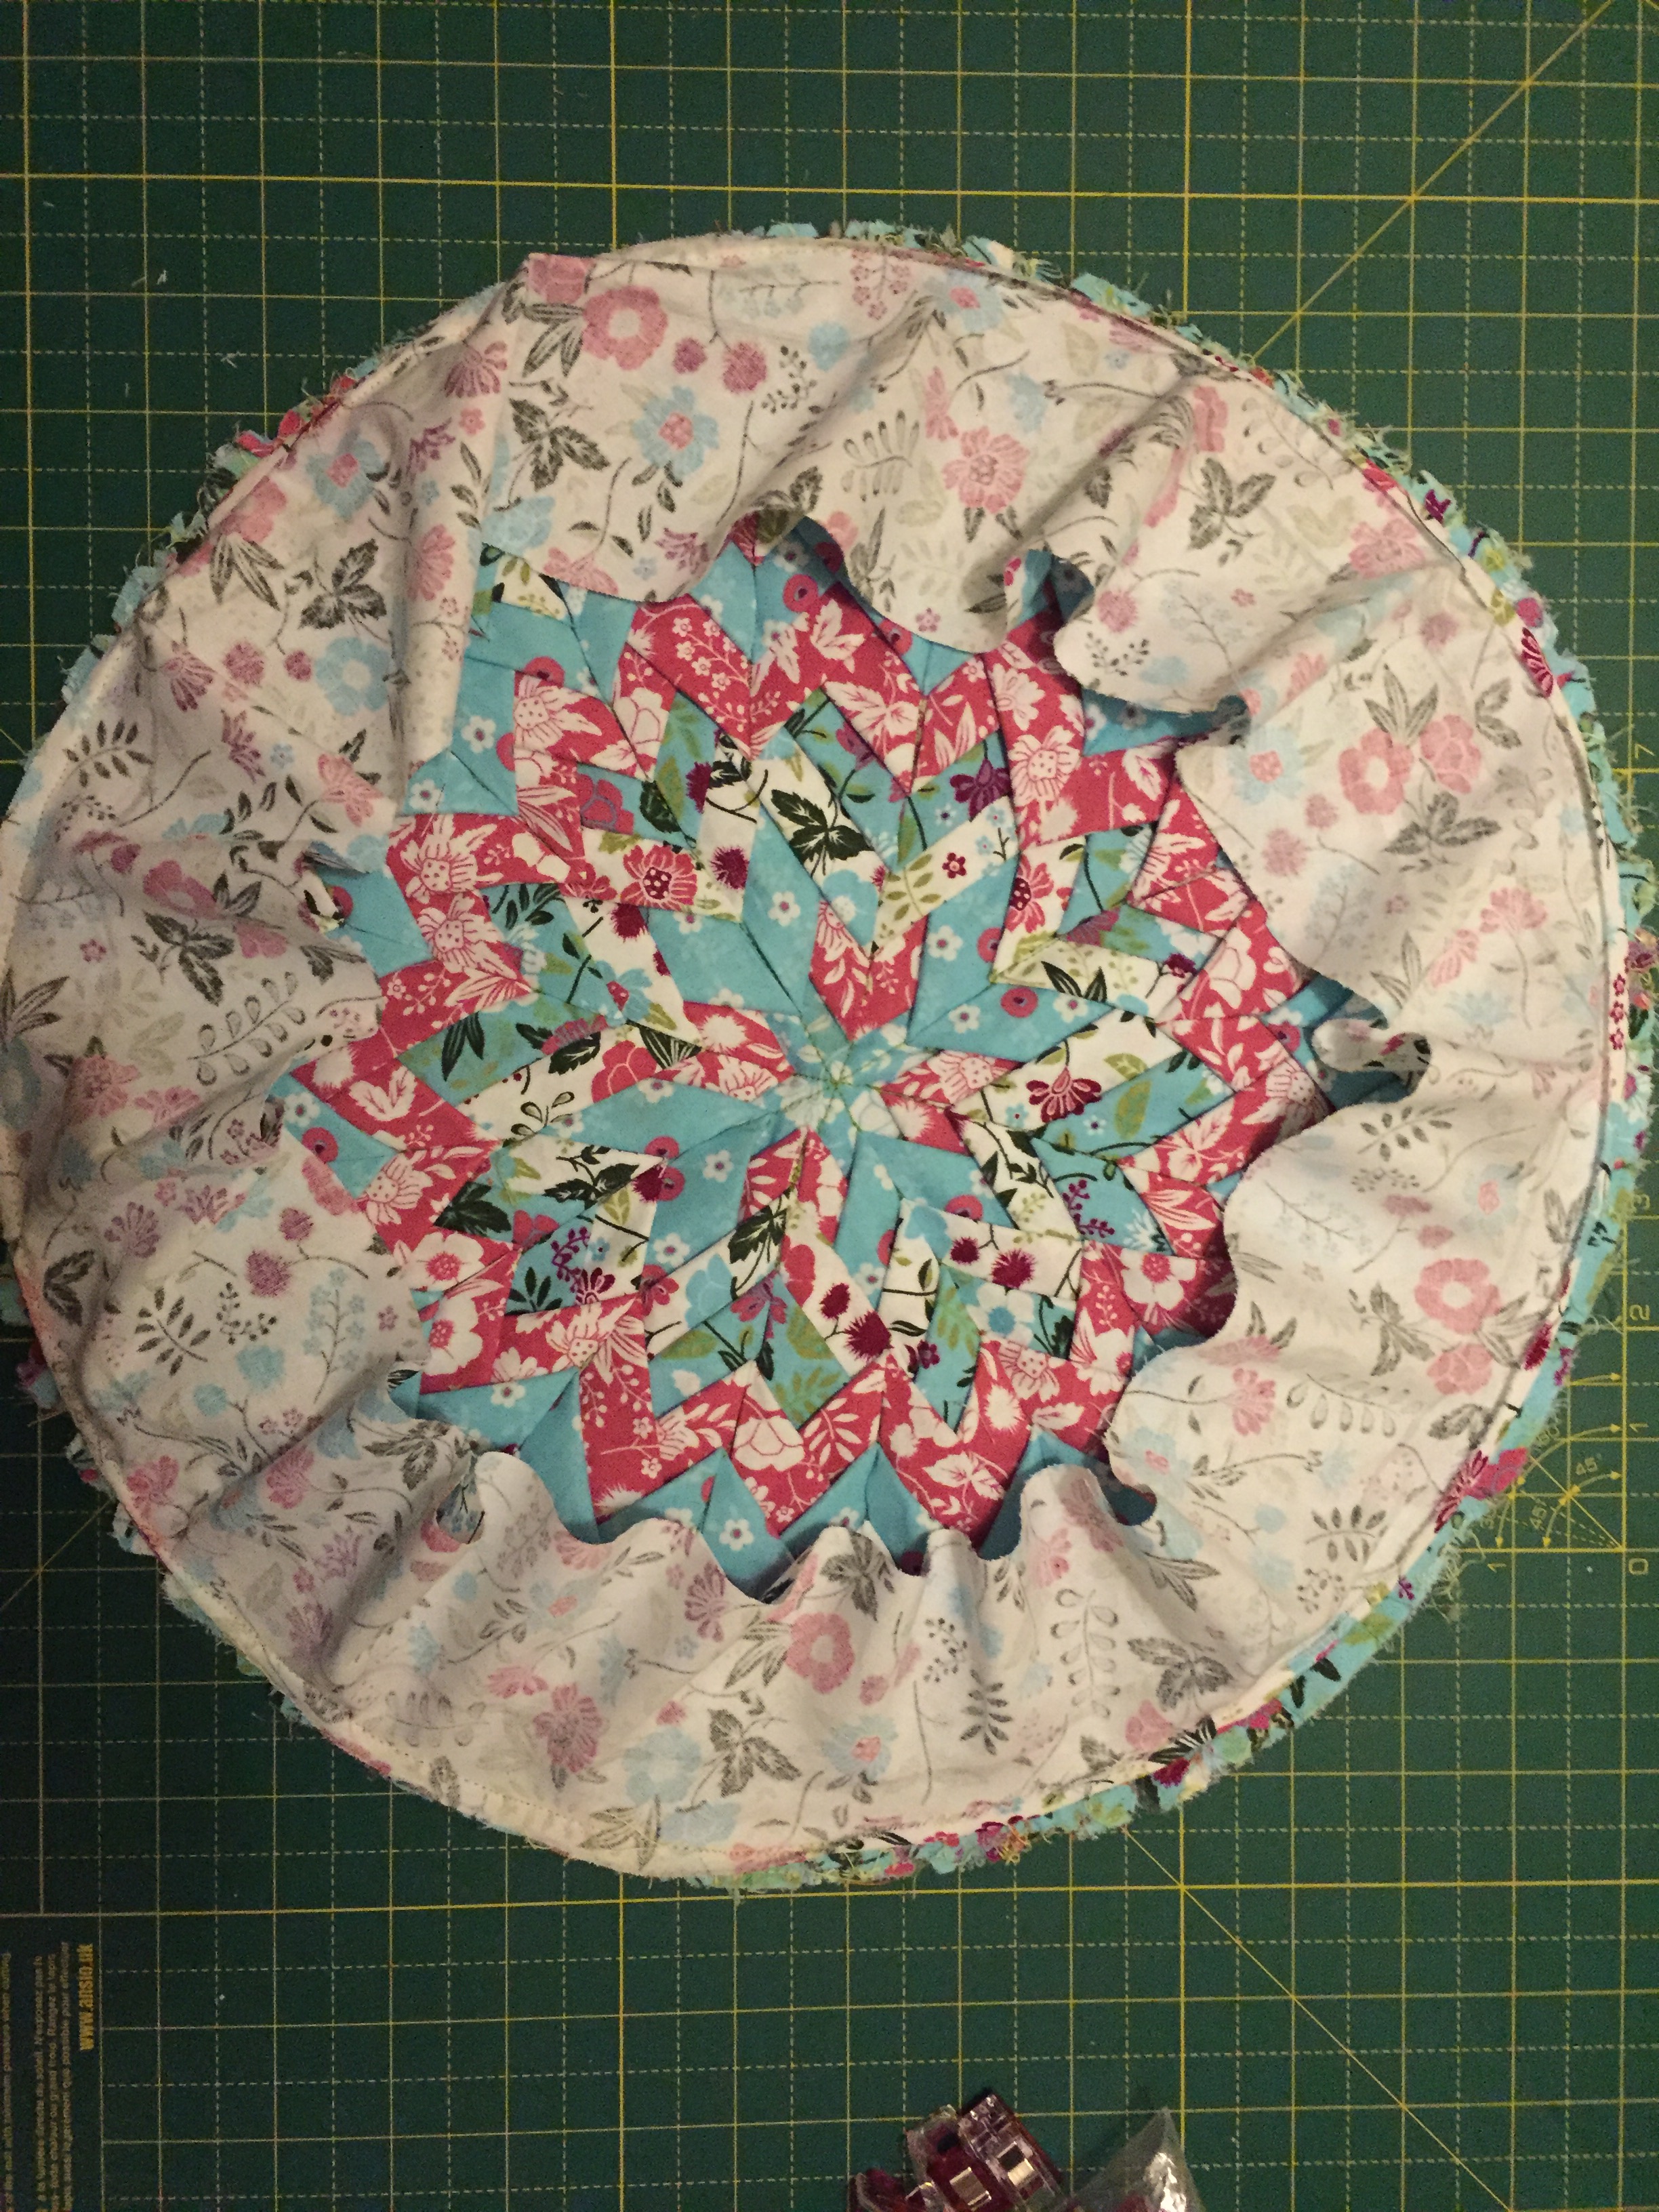
- Open the fabric band right side out, press flat and sew a line around 1cm from the edge of the front piece.
- Take the blue fabric with white flower detail and place the front piece on top and cut a piece the same size to make a back. Place the front and back right sides together and sew around the edge leaving a 10 cm gap for turning. Turn out the right way, stuff the pillow and slip stitch to close the gap.


The tutorial to make one of these is also available over on The Craft Cotton Company blog

Leave a comment