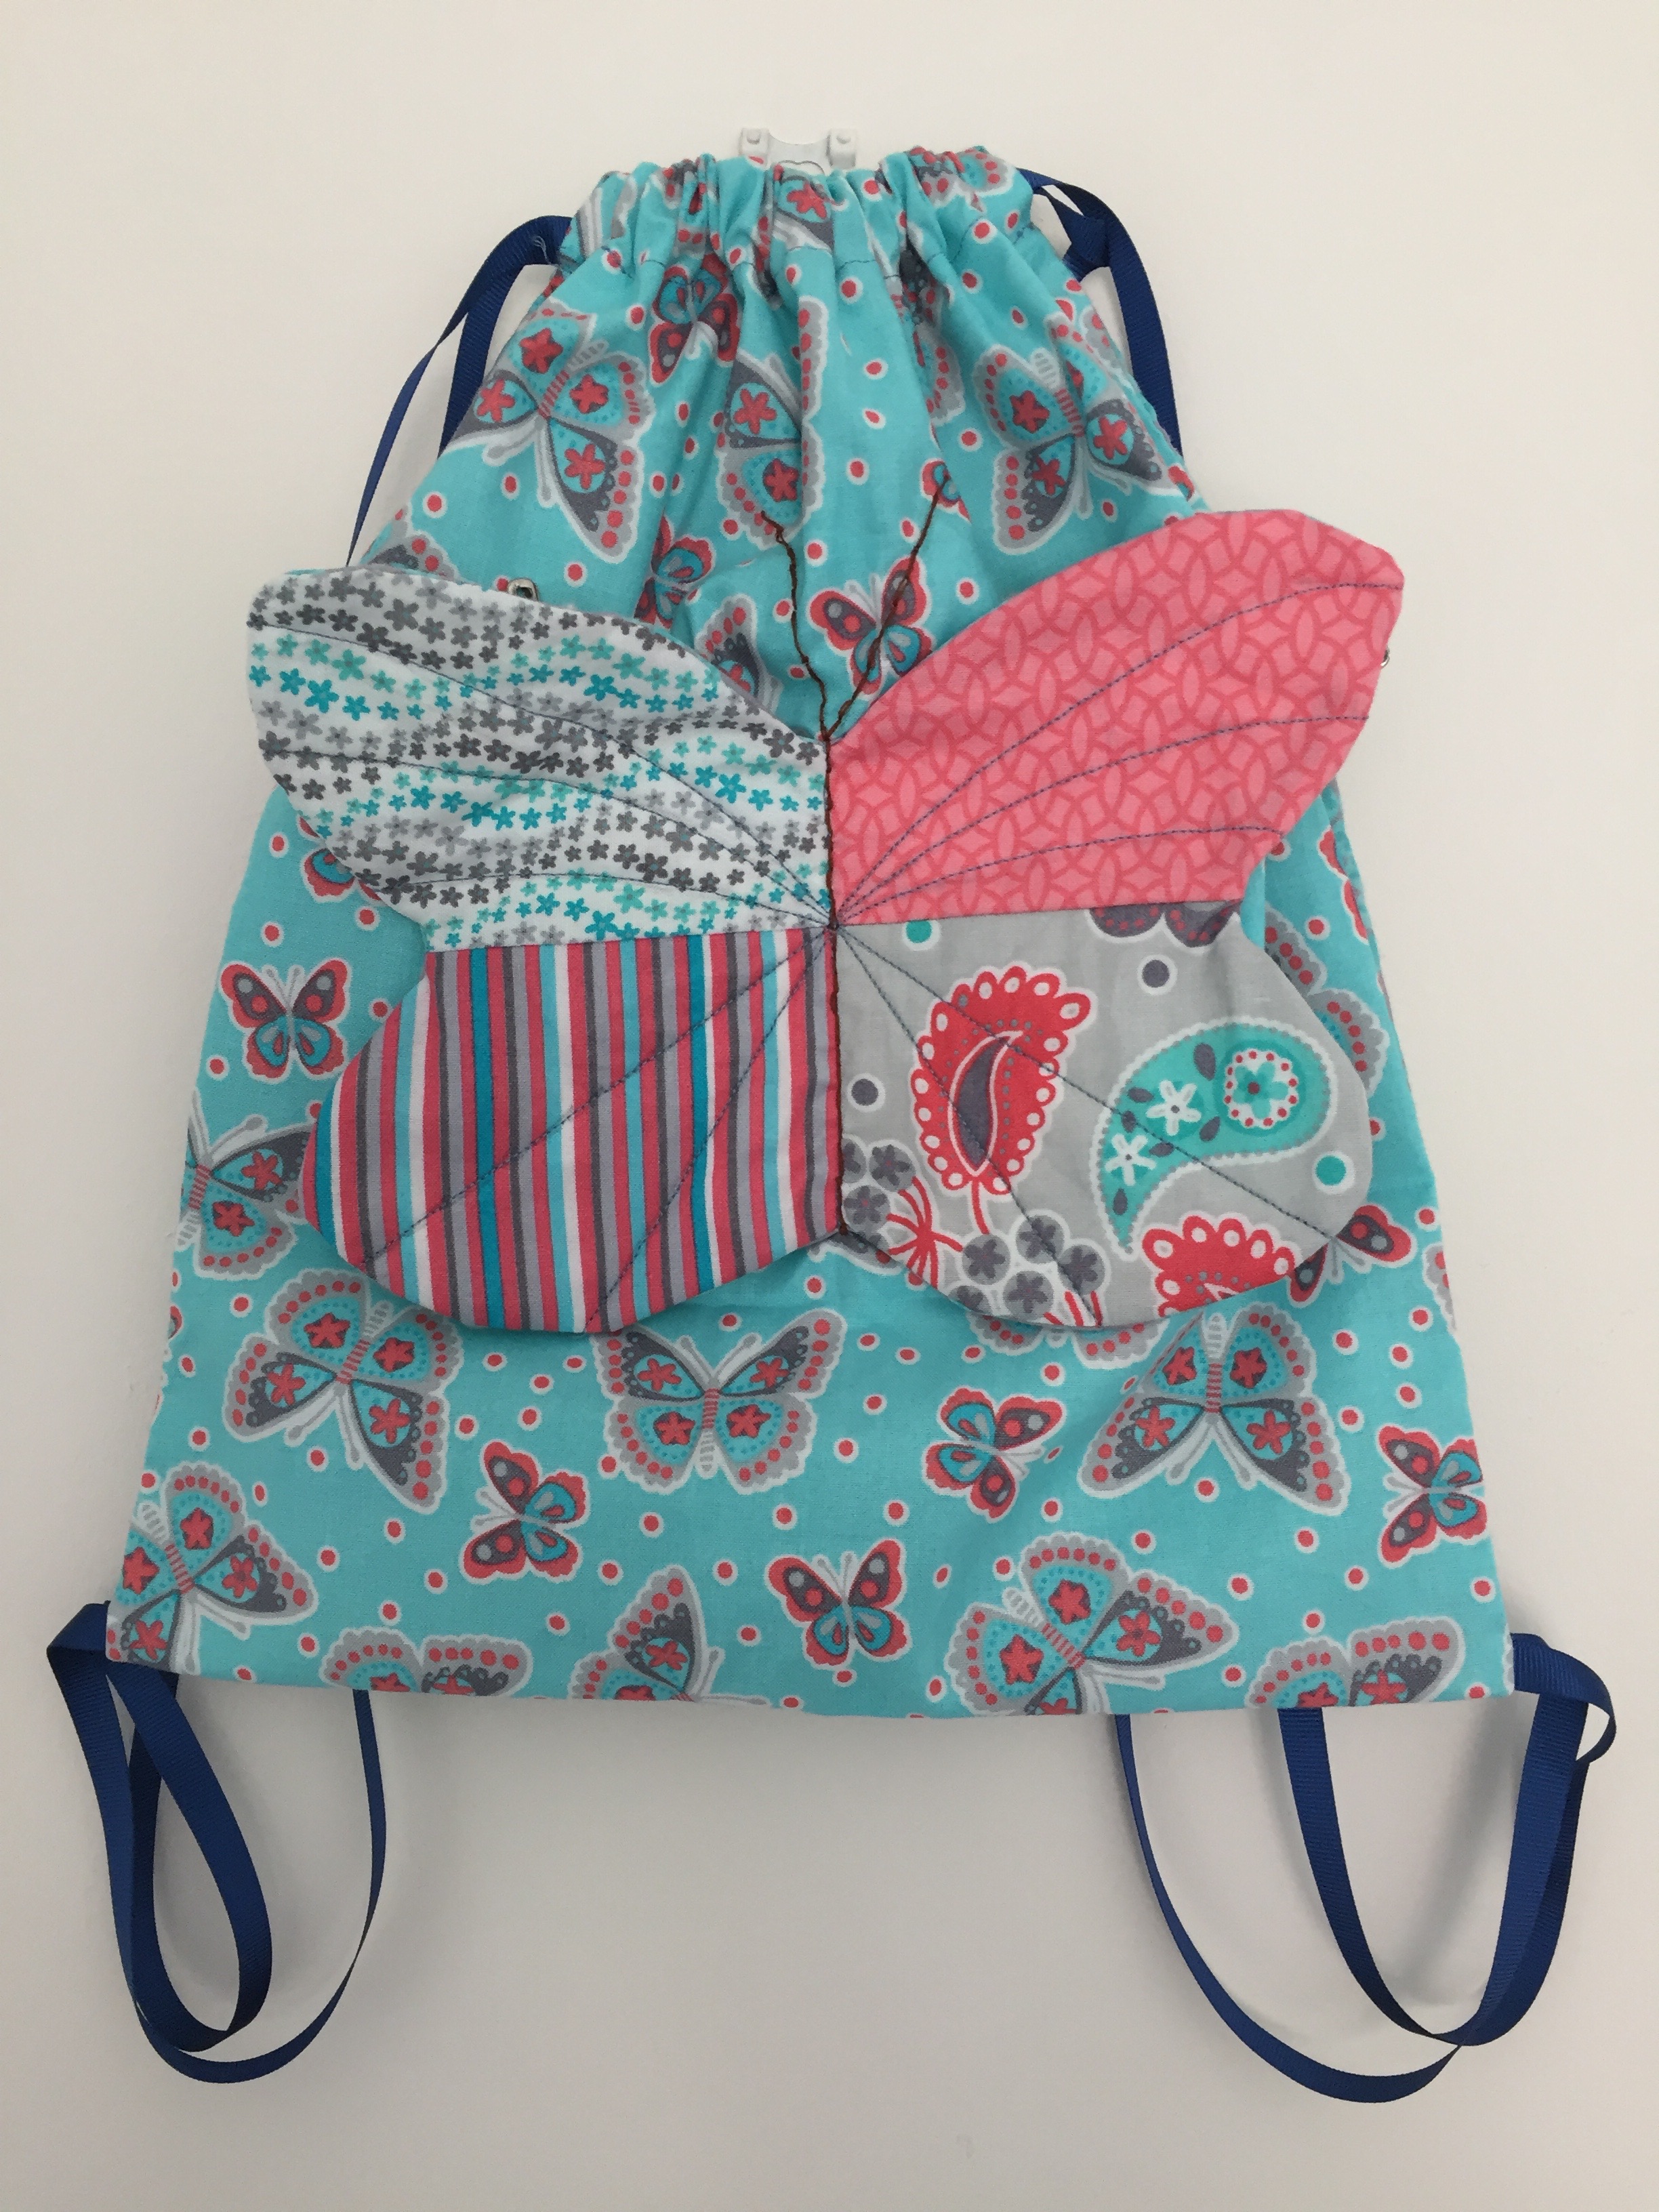
Time to flutter away with a butterfly drawstring bag….
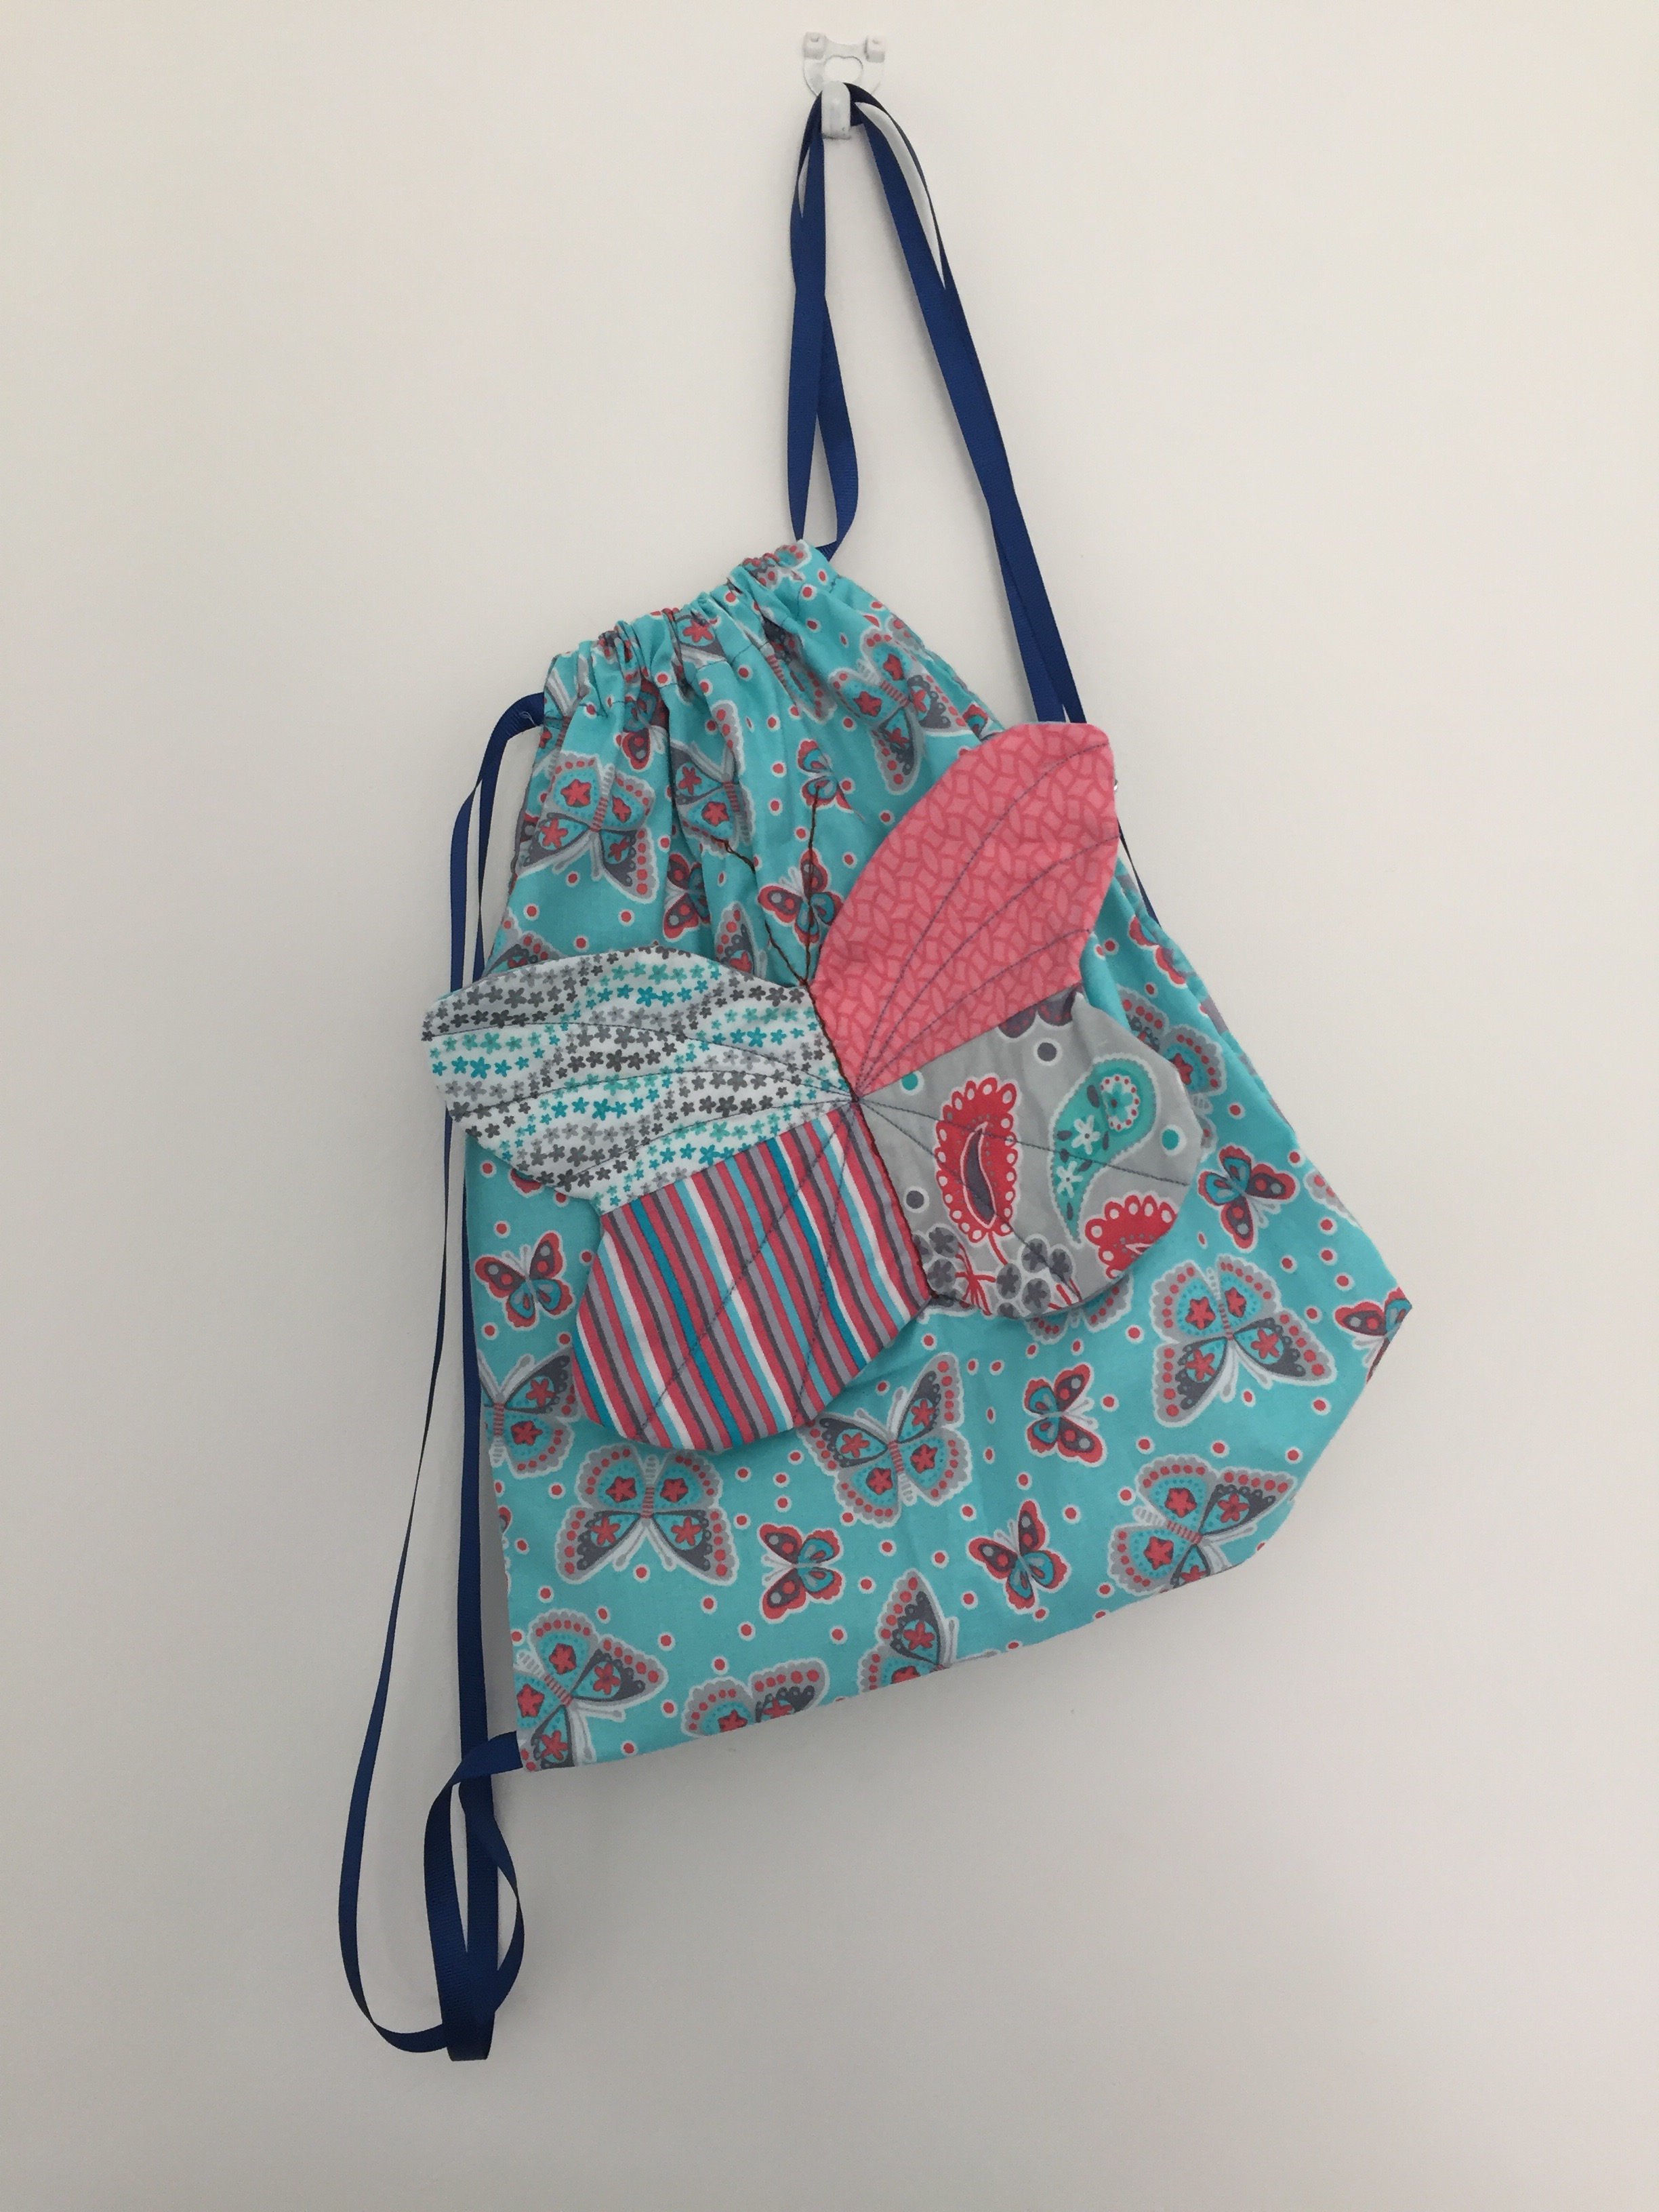
I received some fat quarters from the The Craft Cotton Company and the butterfly details on the material gave me the idea to make a butterfly themed drawstring bag.
Fabric was gifted by The Craft Cotton Company.
Originally published in 2017, this tutorial has had a little makeover and is now back!.
Sewing Tutorial: Children’s Butterfly Drawstring Bag
Materials
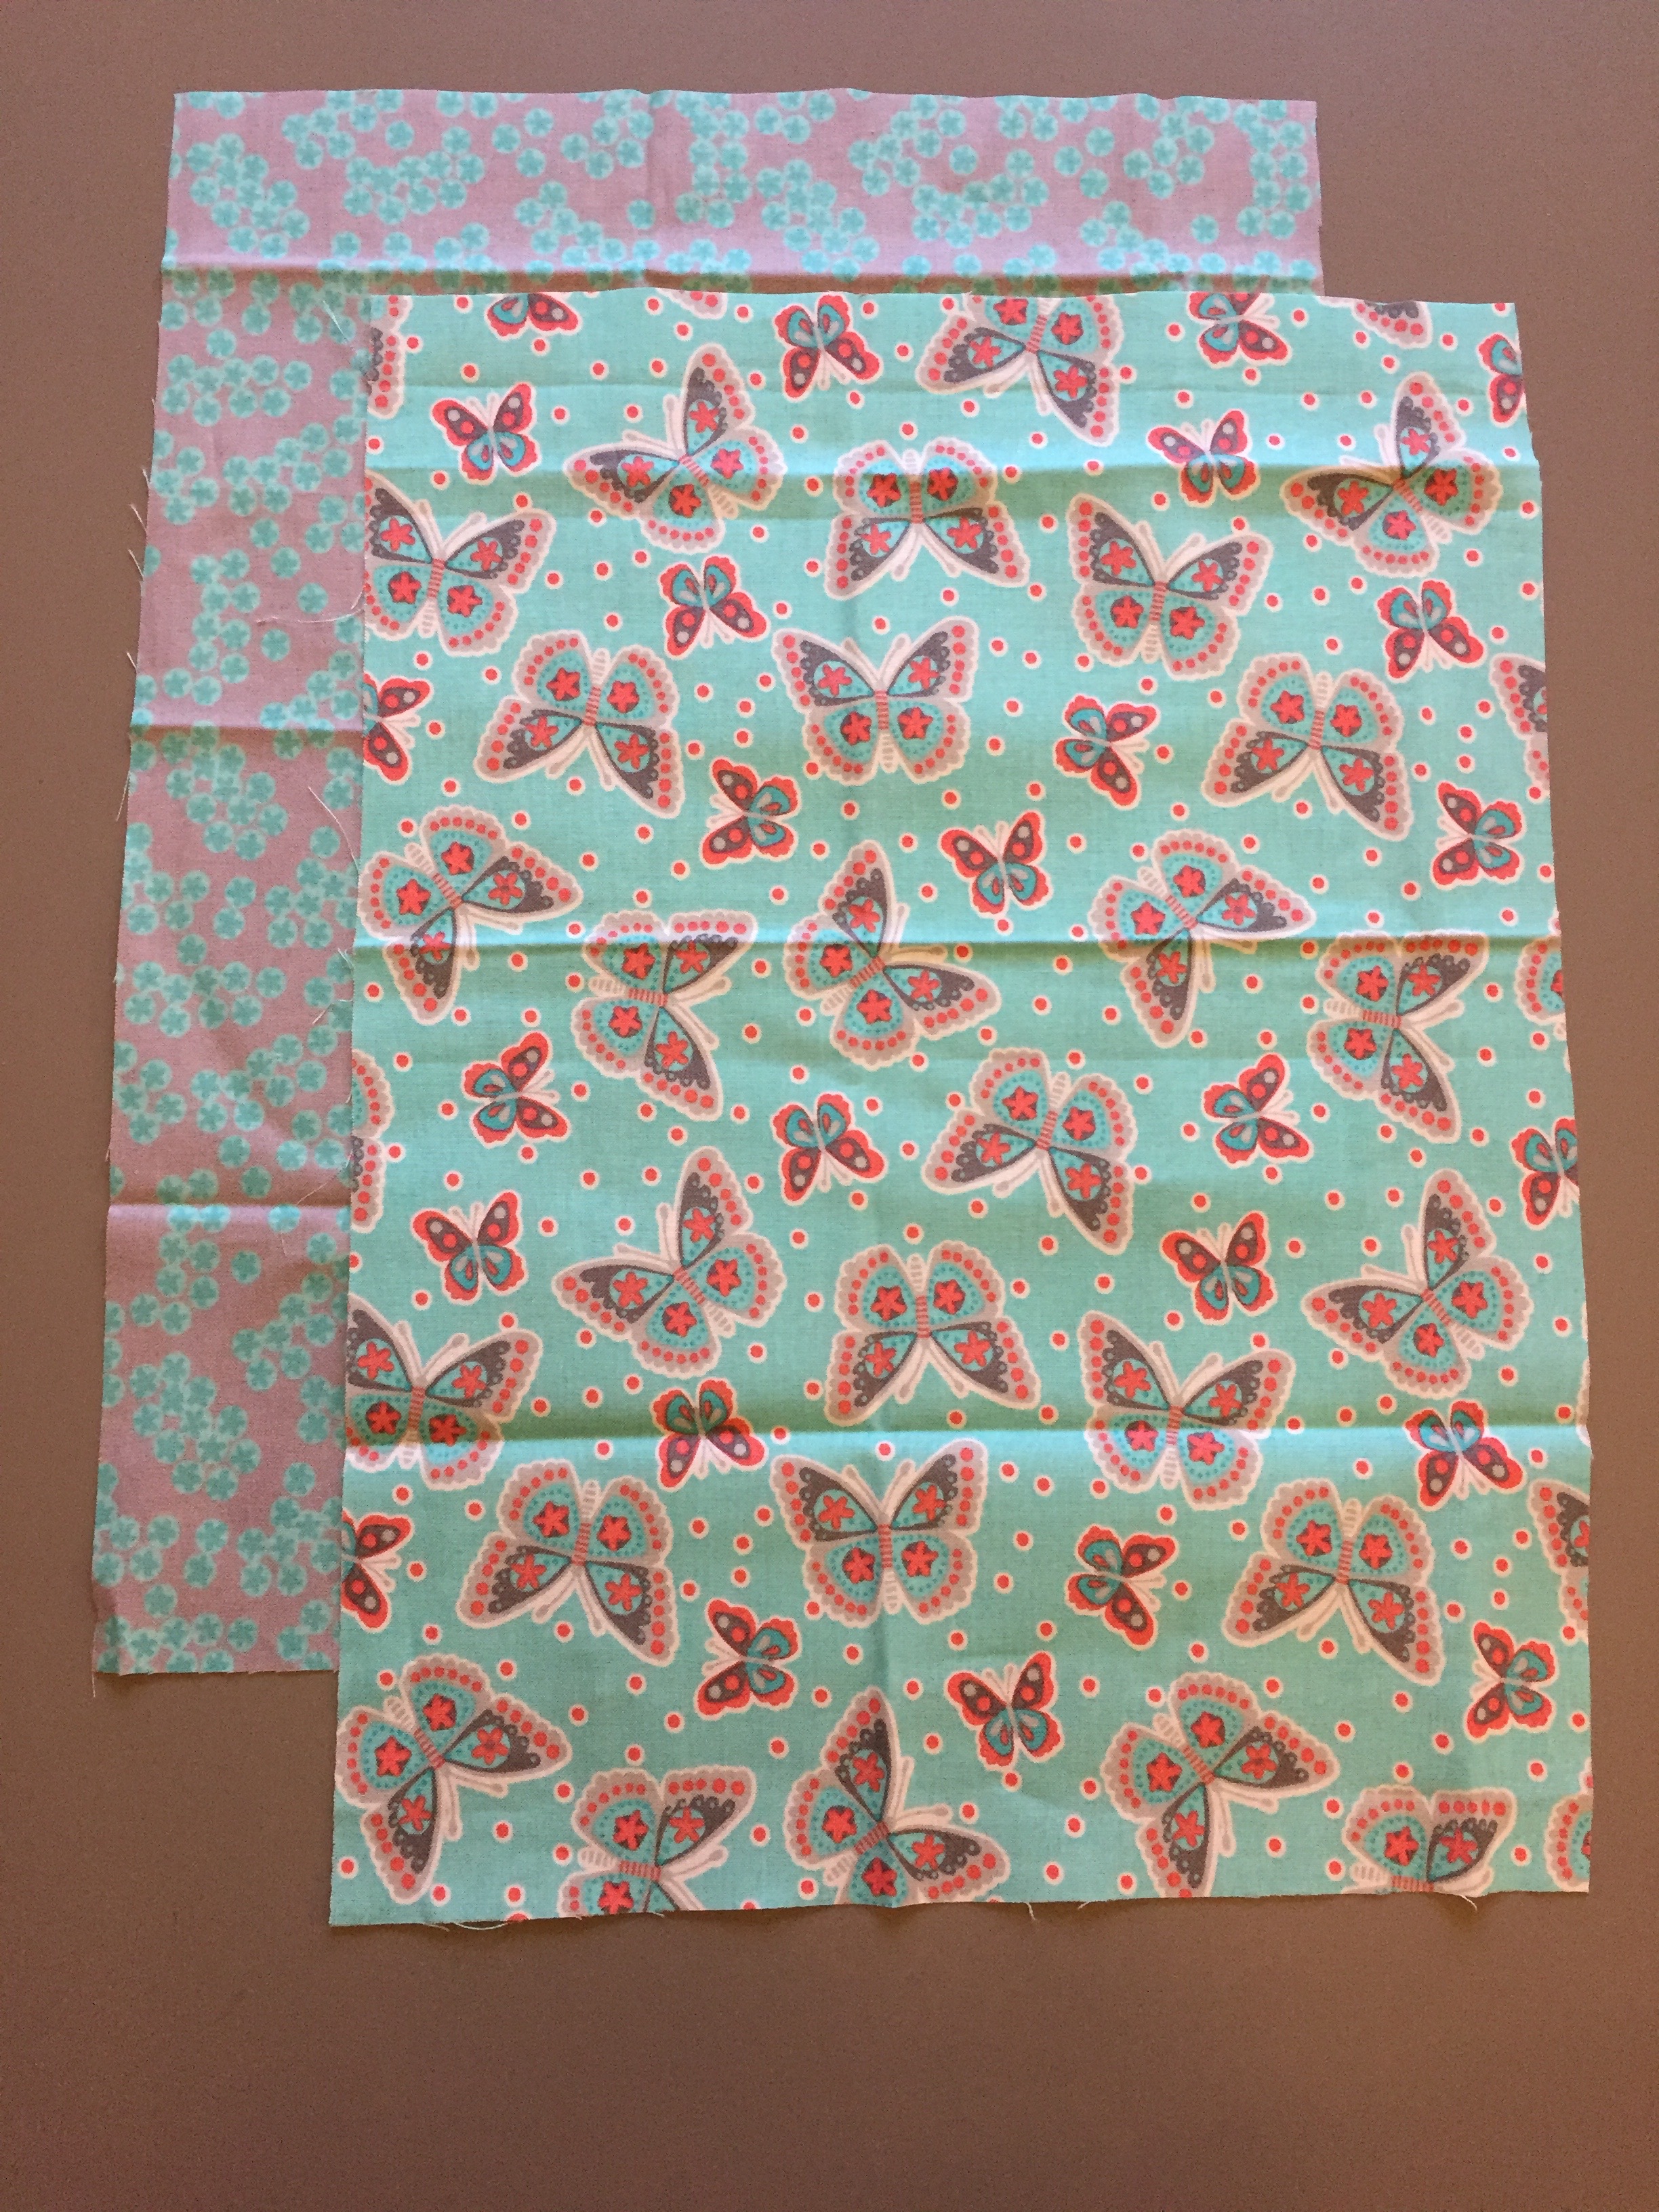
- Grayson Fat quarter set by The Craft Cotton company.
- Batting.
- Thread.
- Embroidery thread (brown).
- Ribbon: 2.6 m (blue).
- Scissors.
- Pencil.
- Paper.
- Needle.
- Pins.
- Ruler.
Sewing Tutorial: Children’s Butterfly Drawstring Bag
- Take 2 of the fat quarter pieces and cut a piece 30x40cm in size from each. This makes the front and back pieces.
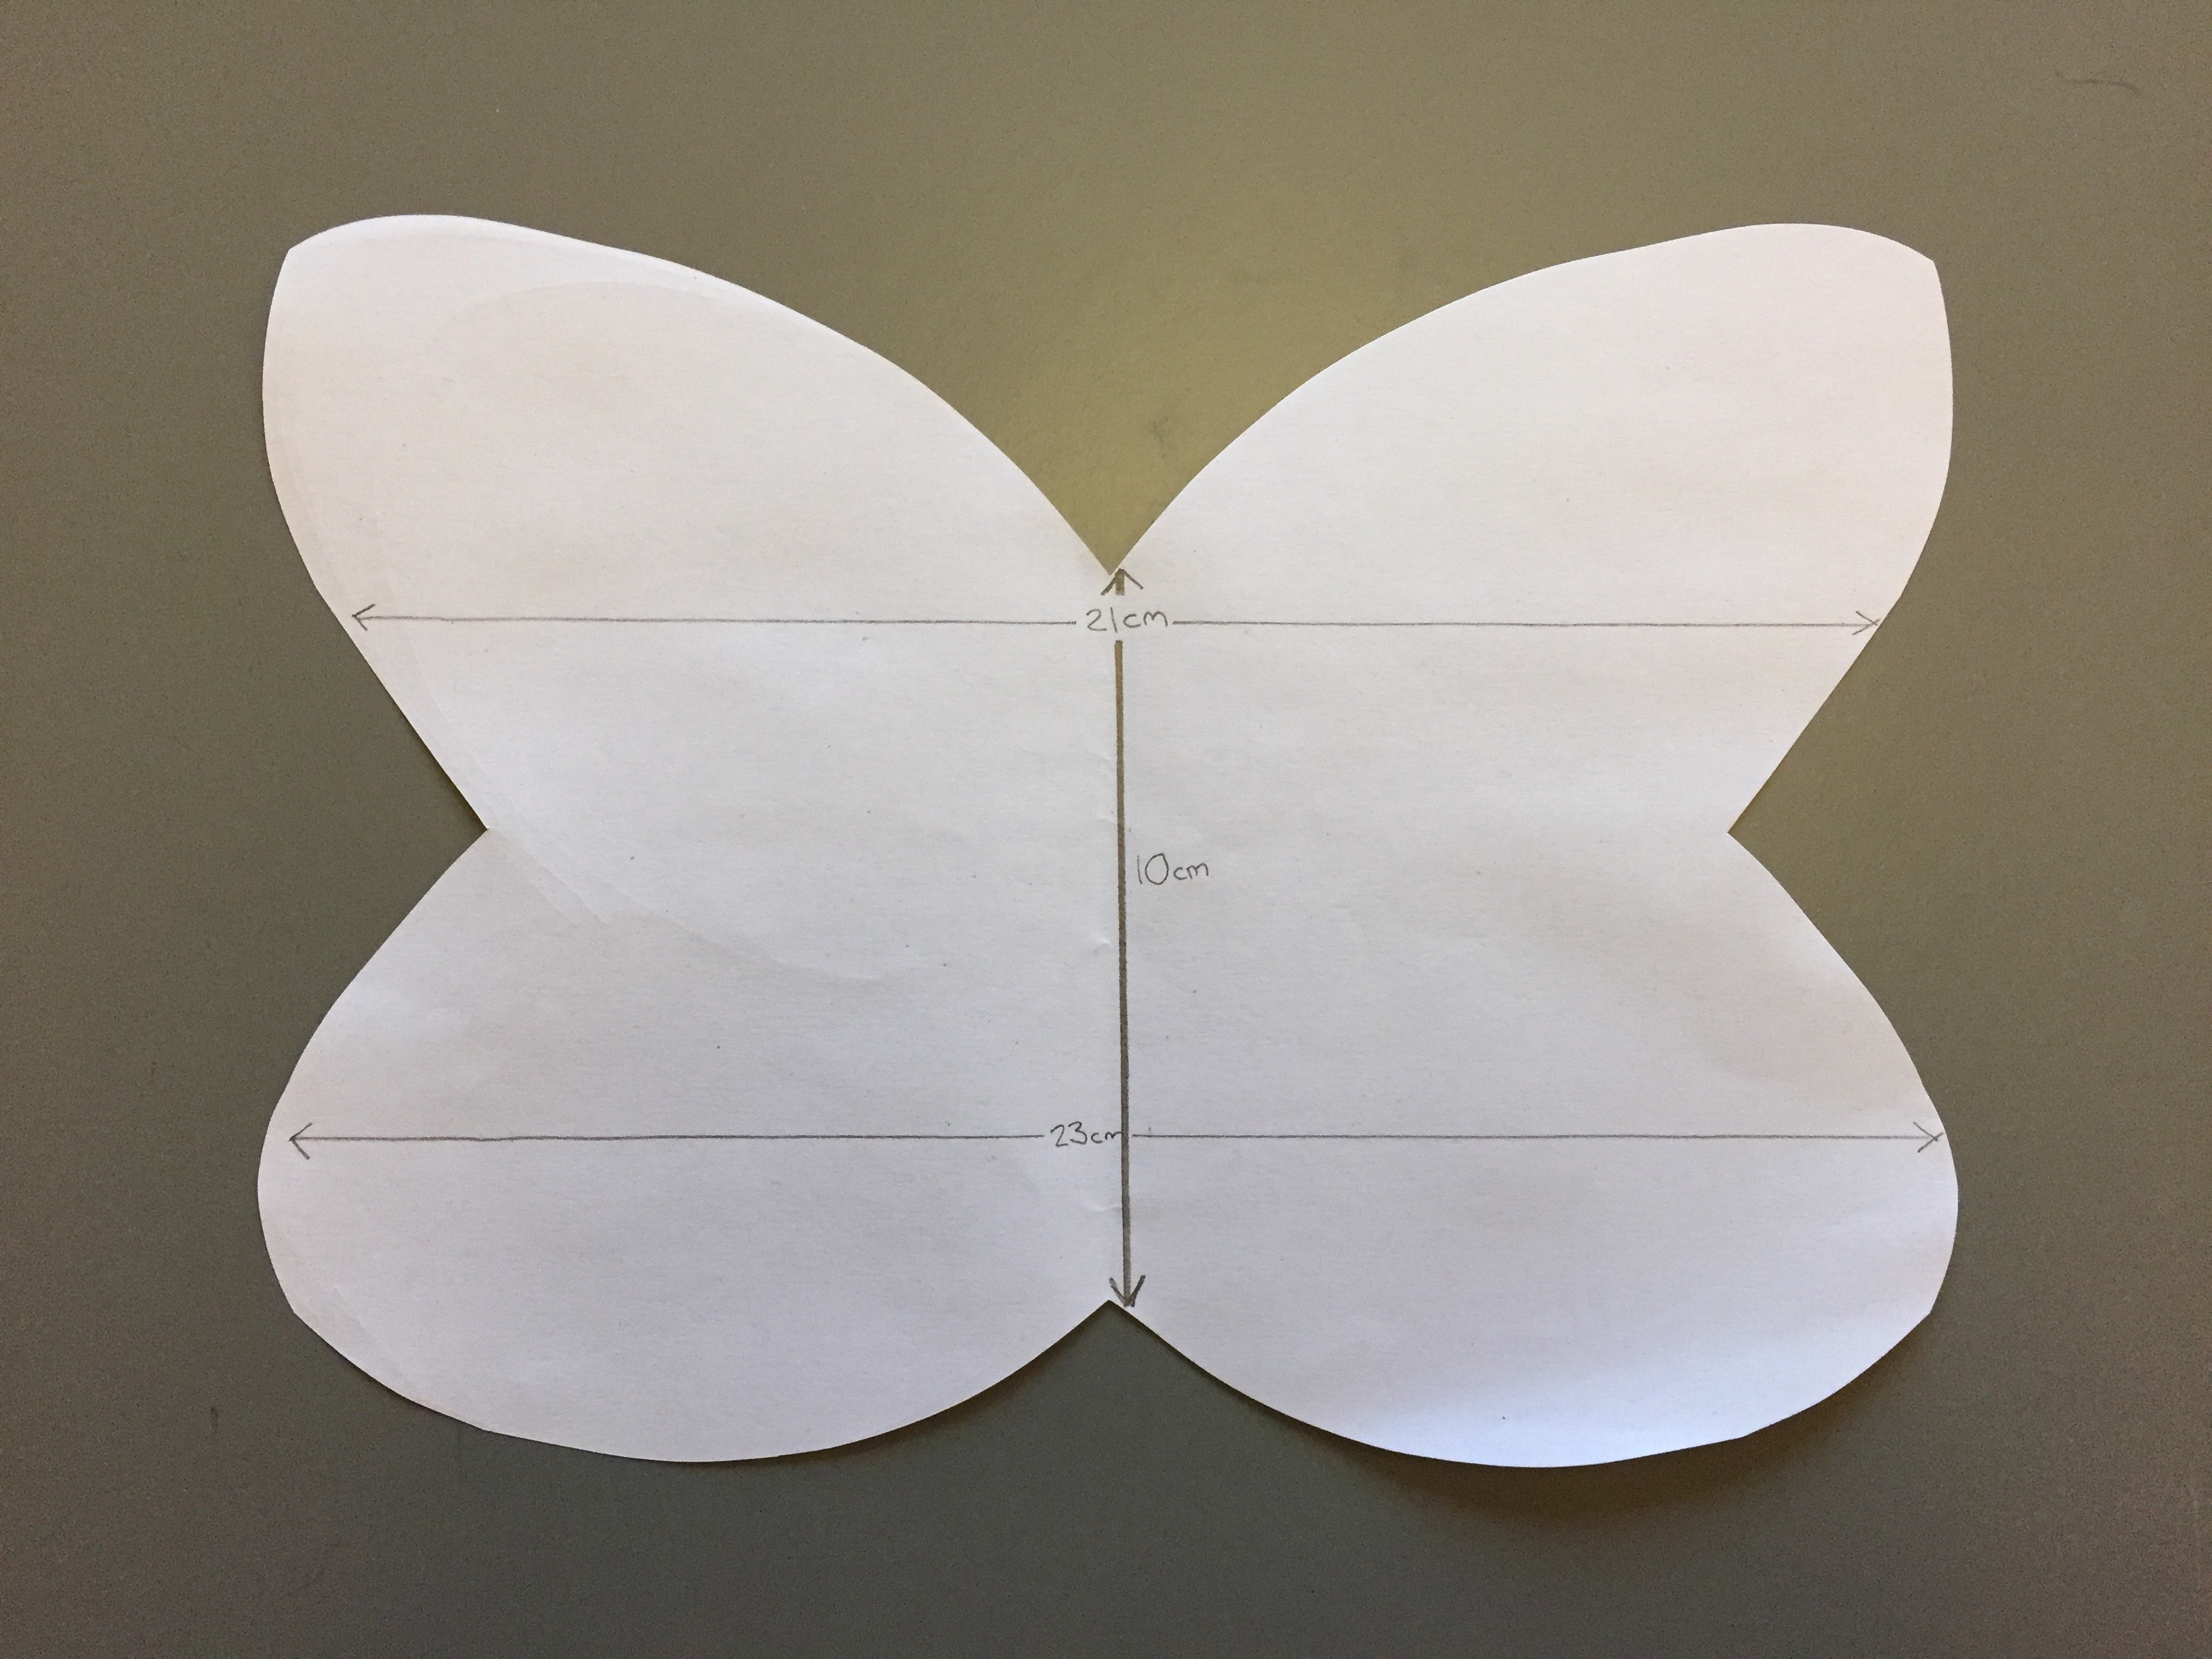
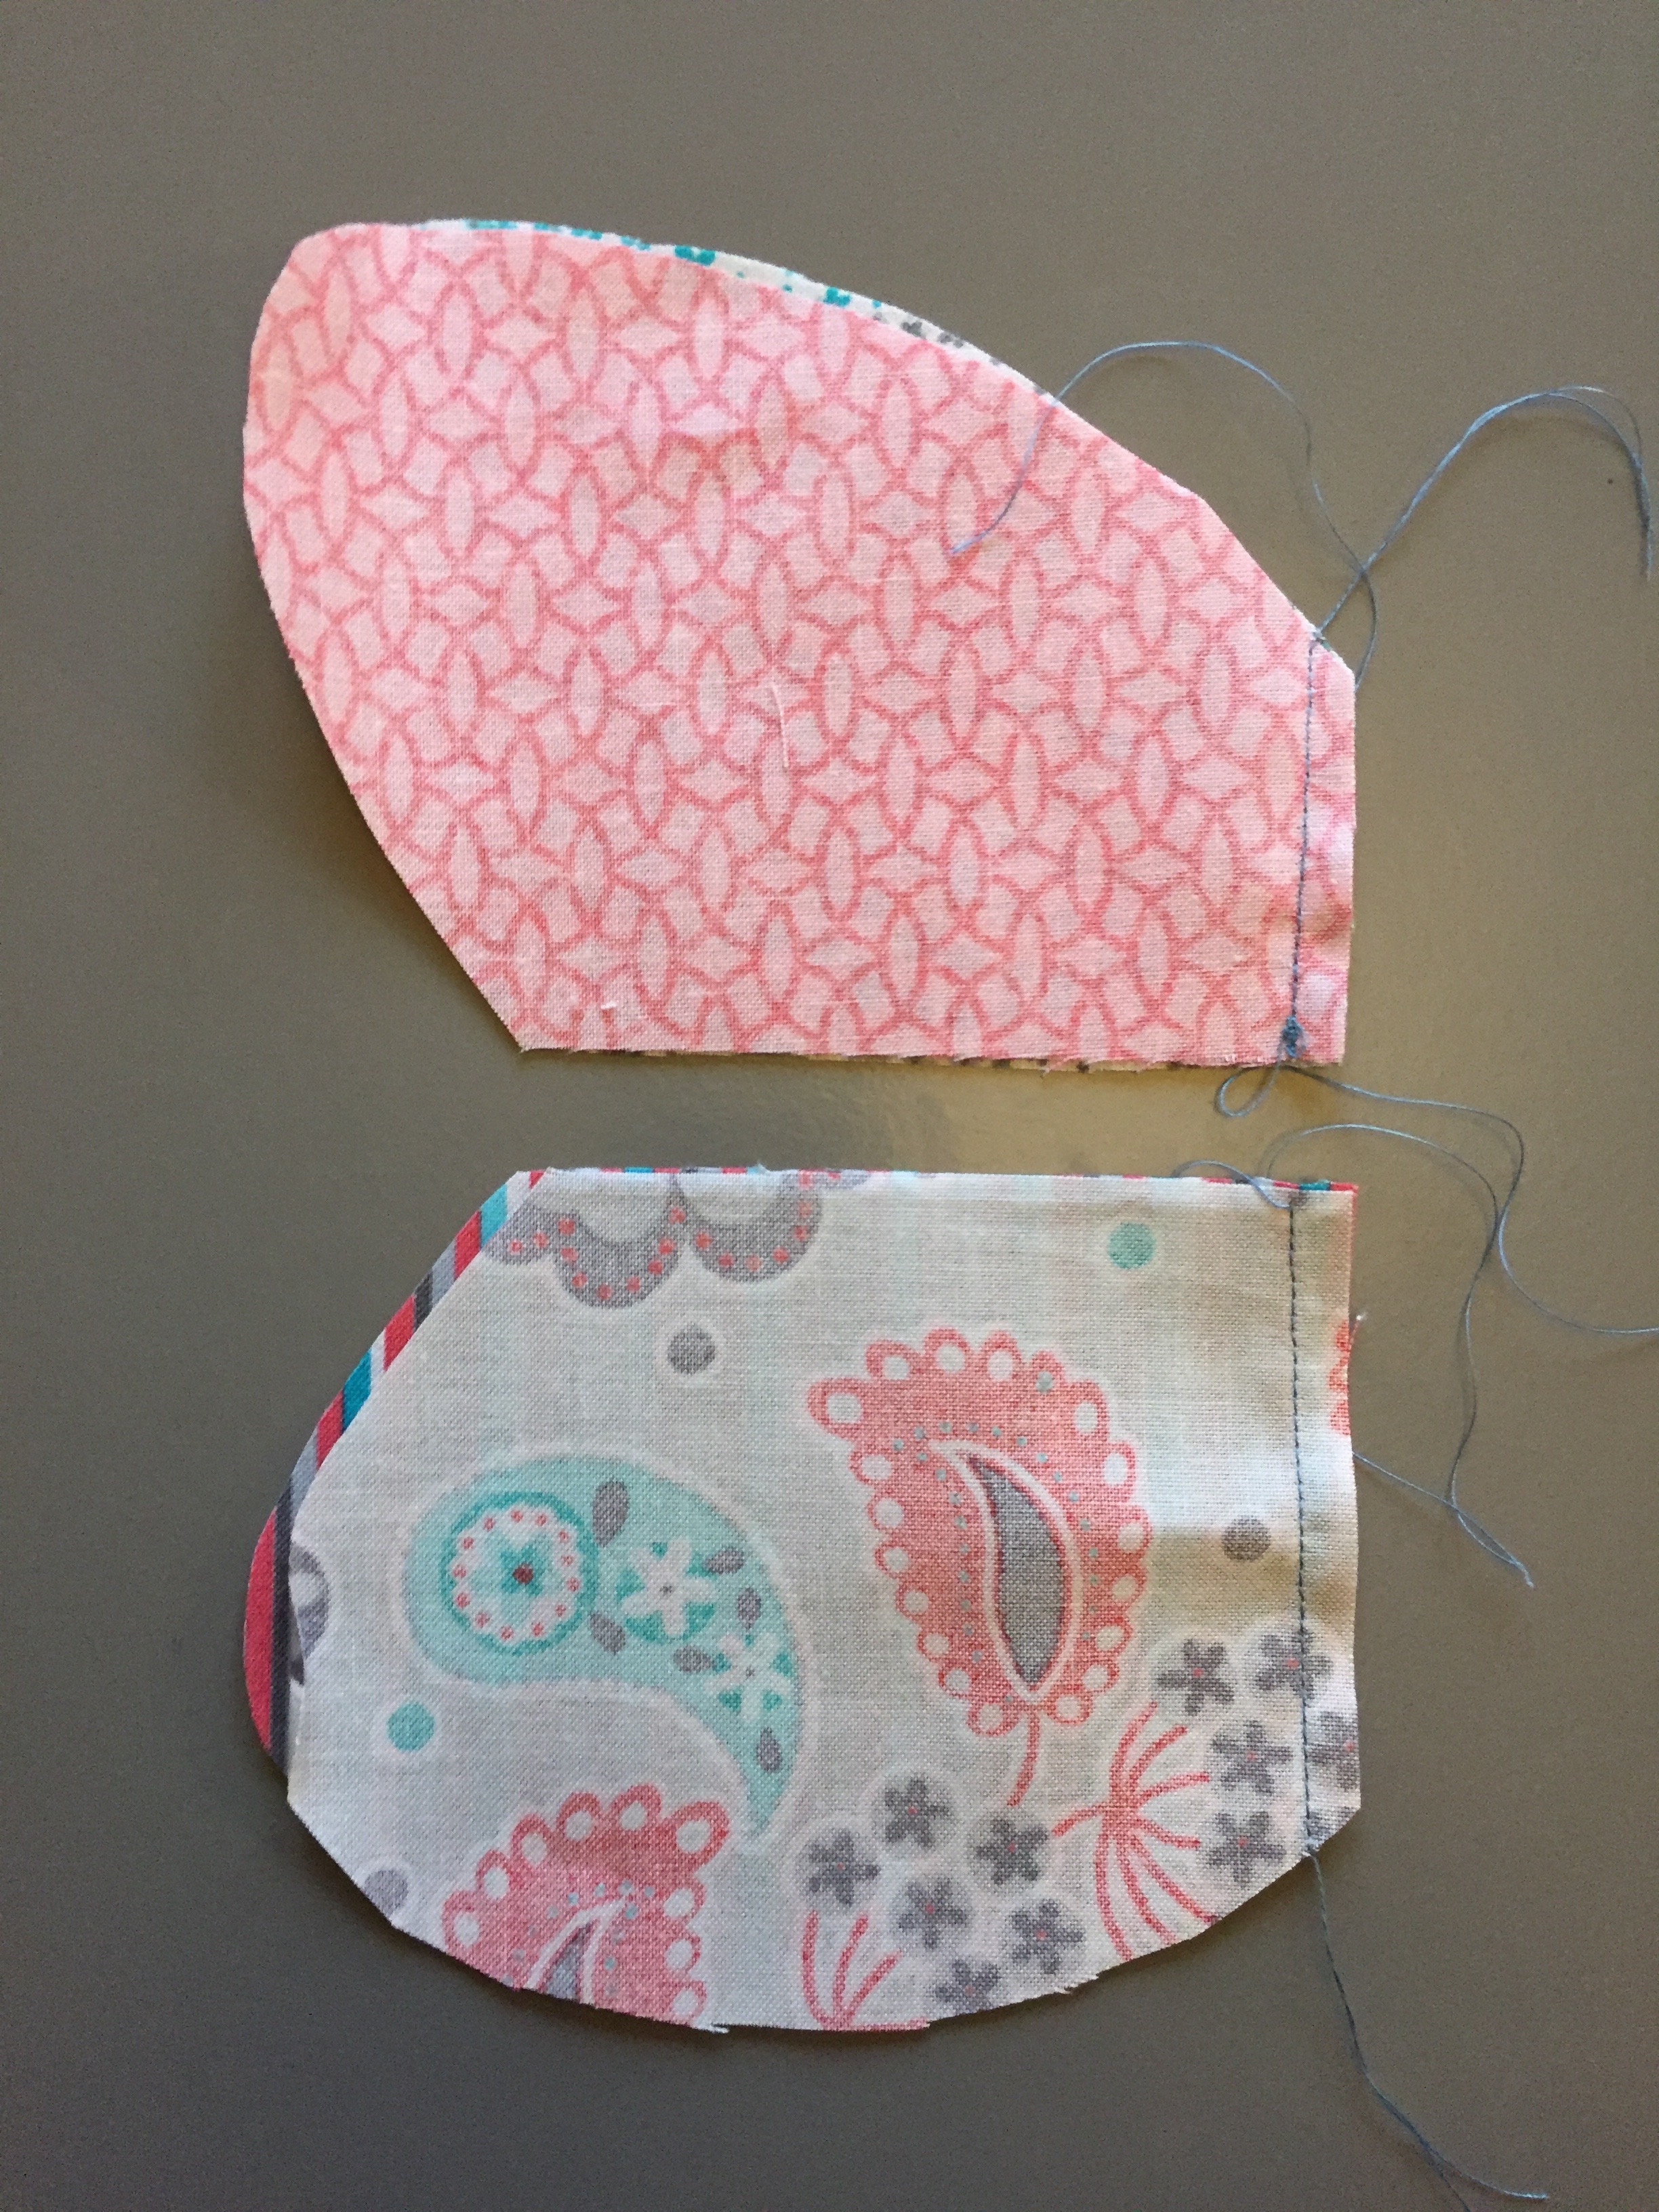
- Draw out a butterfly shape on paper and cut out. Cut into 4 sections, then use the templates to cut each section out of a different fat quarter leaving a 0.5cm seam allowance.

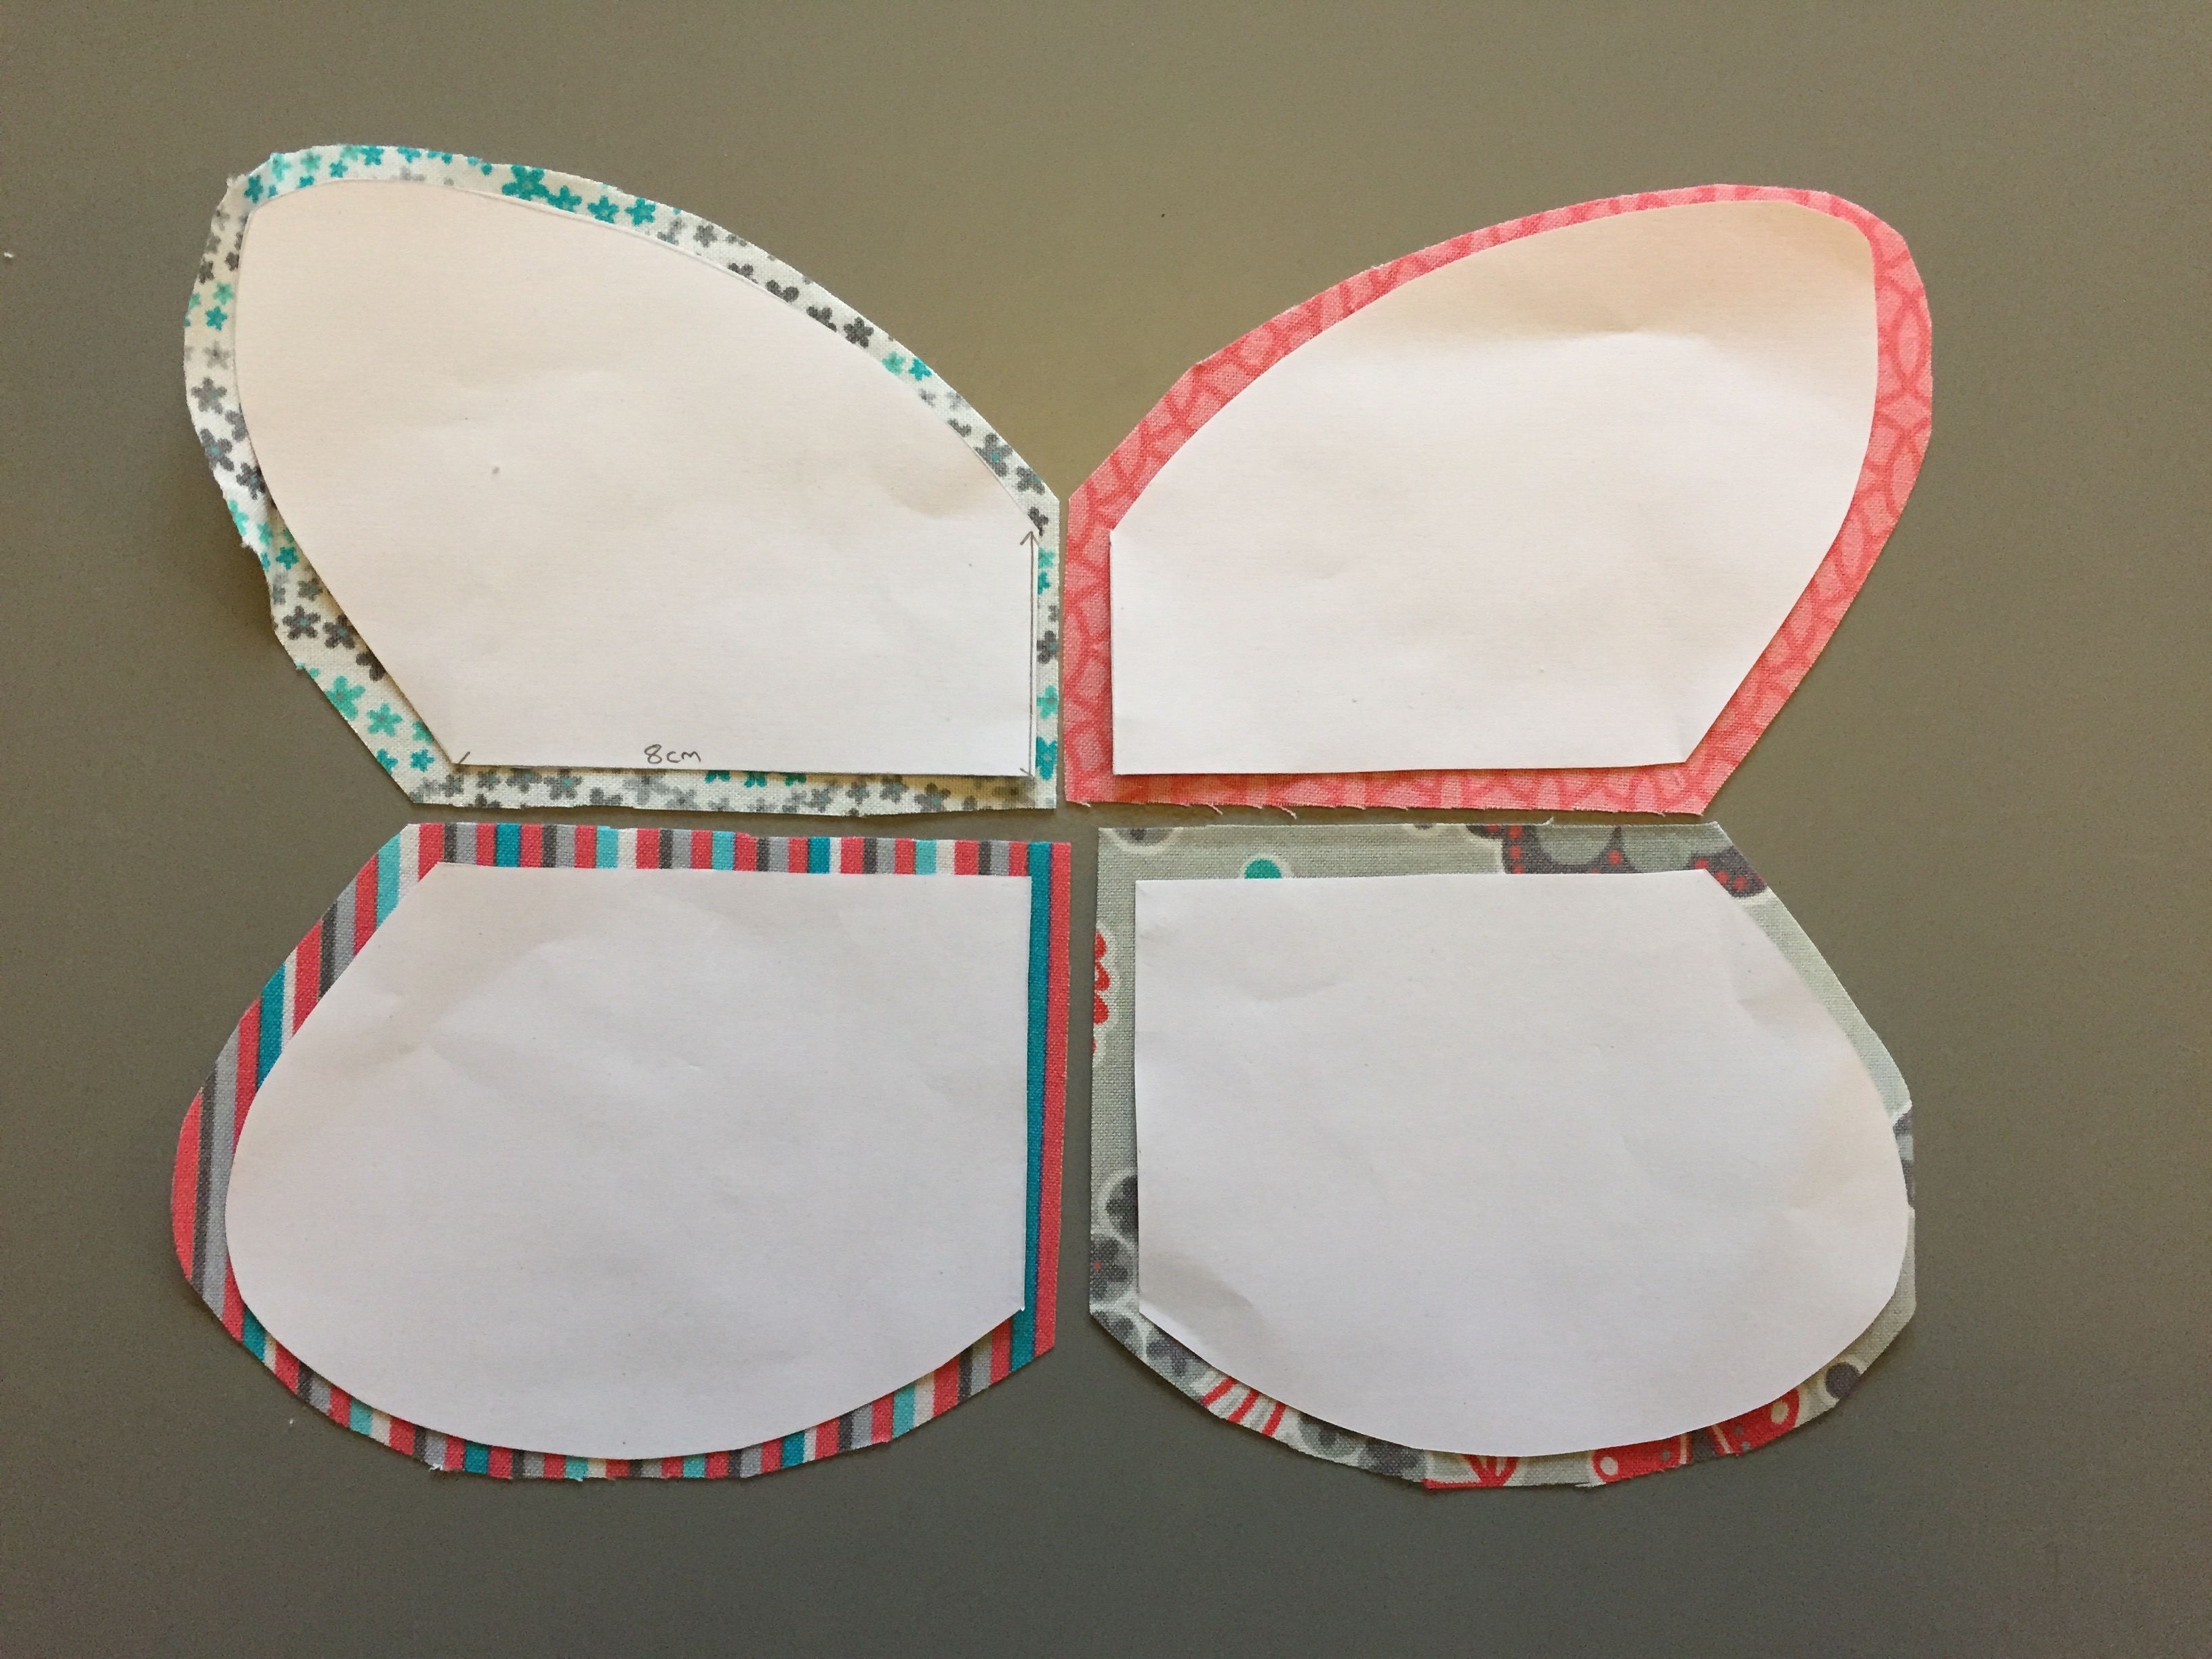
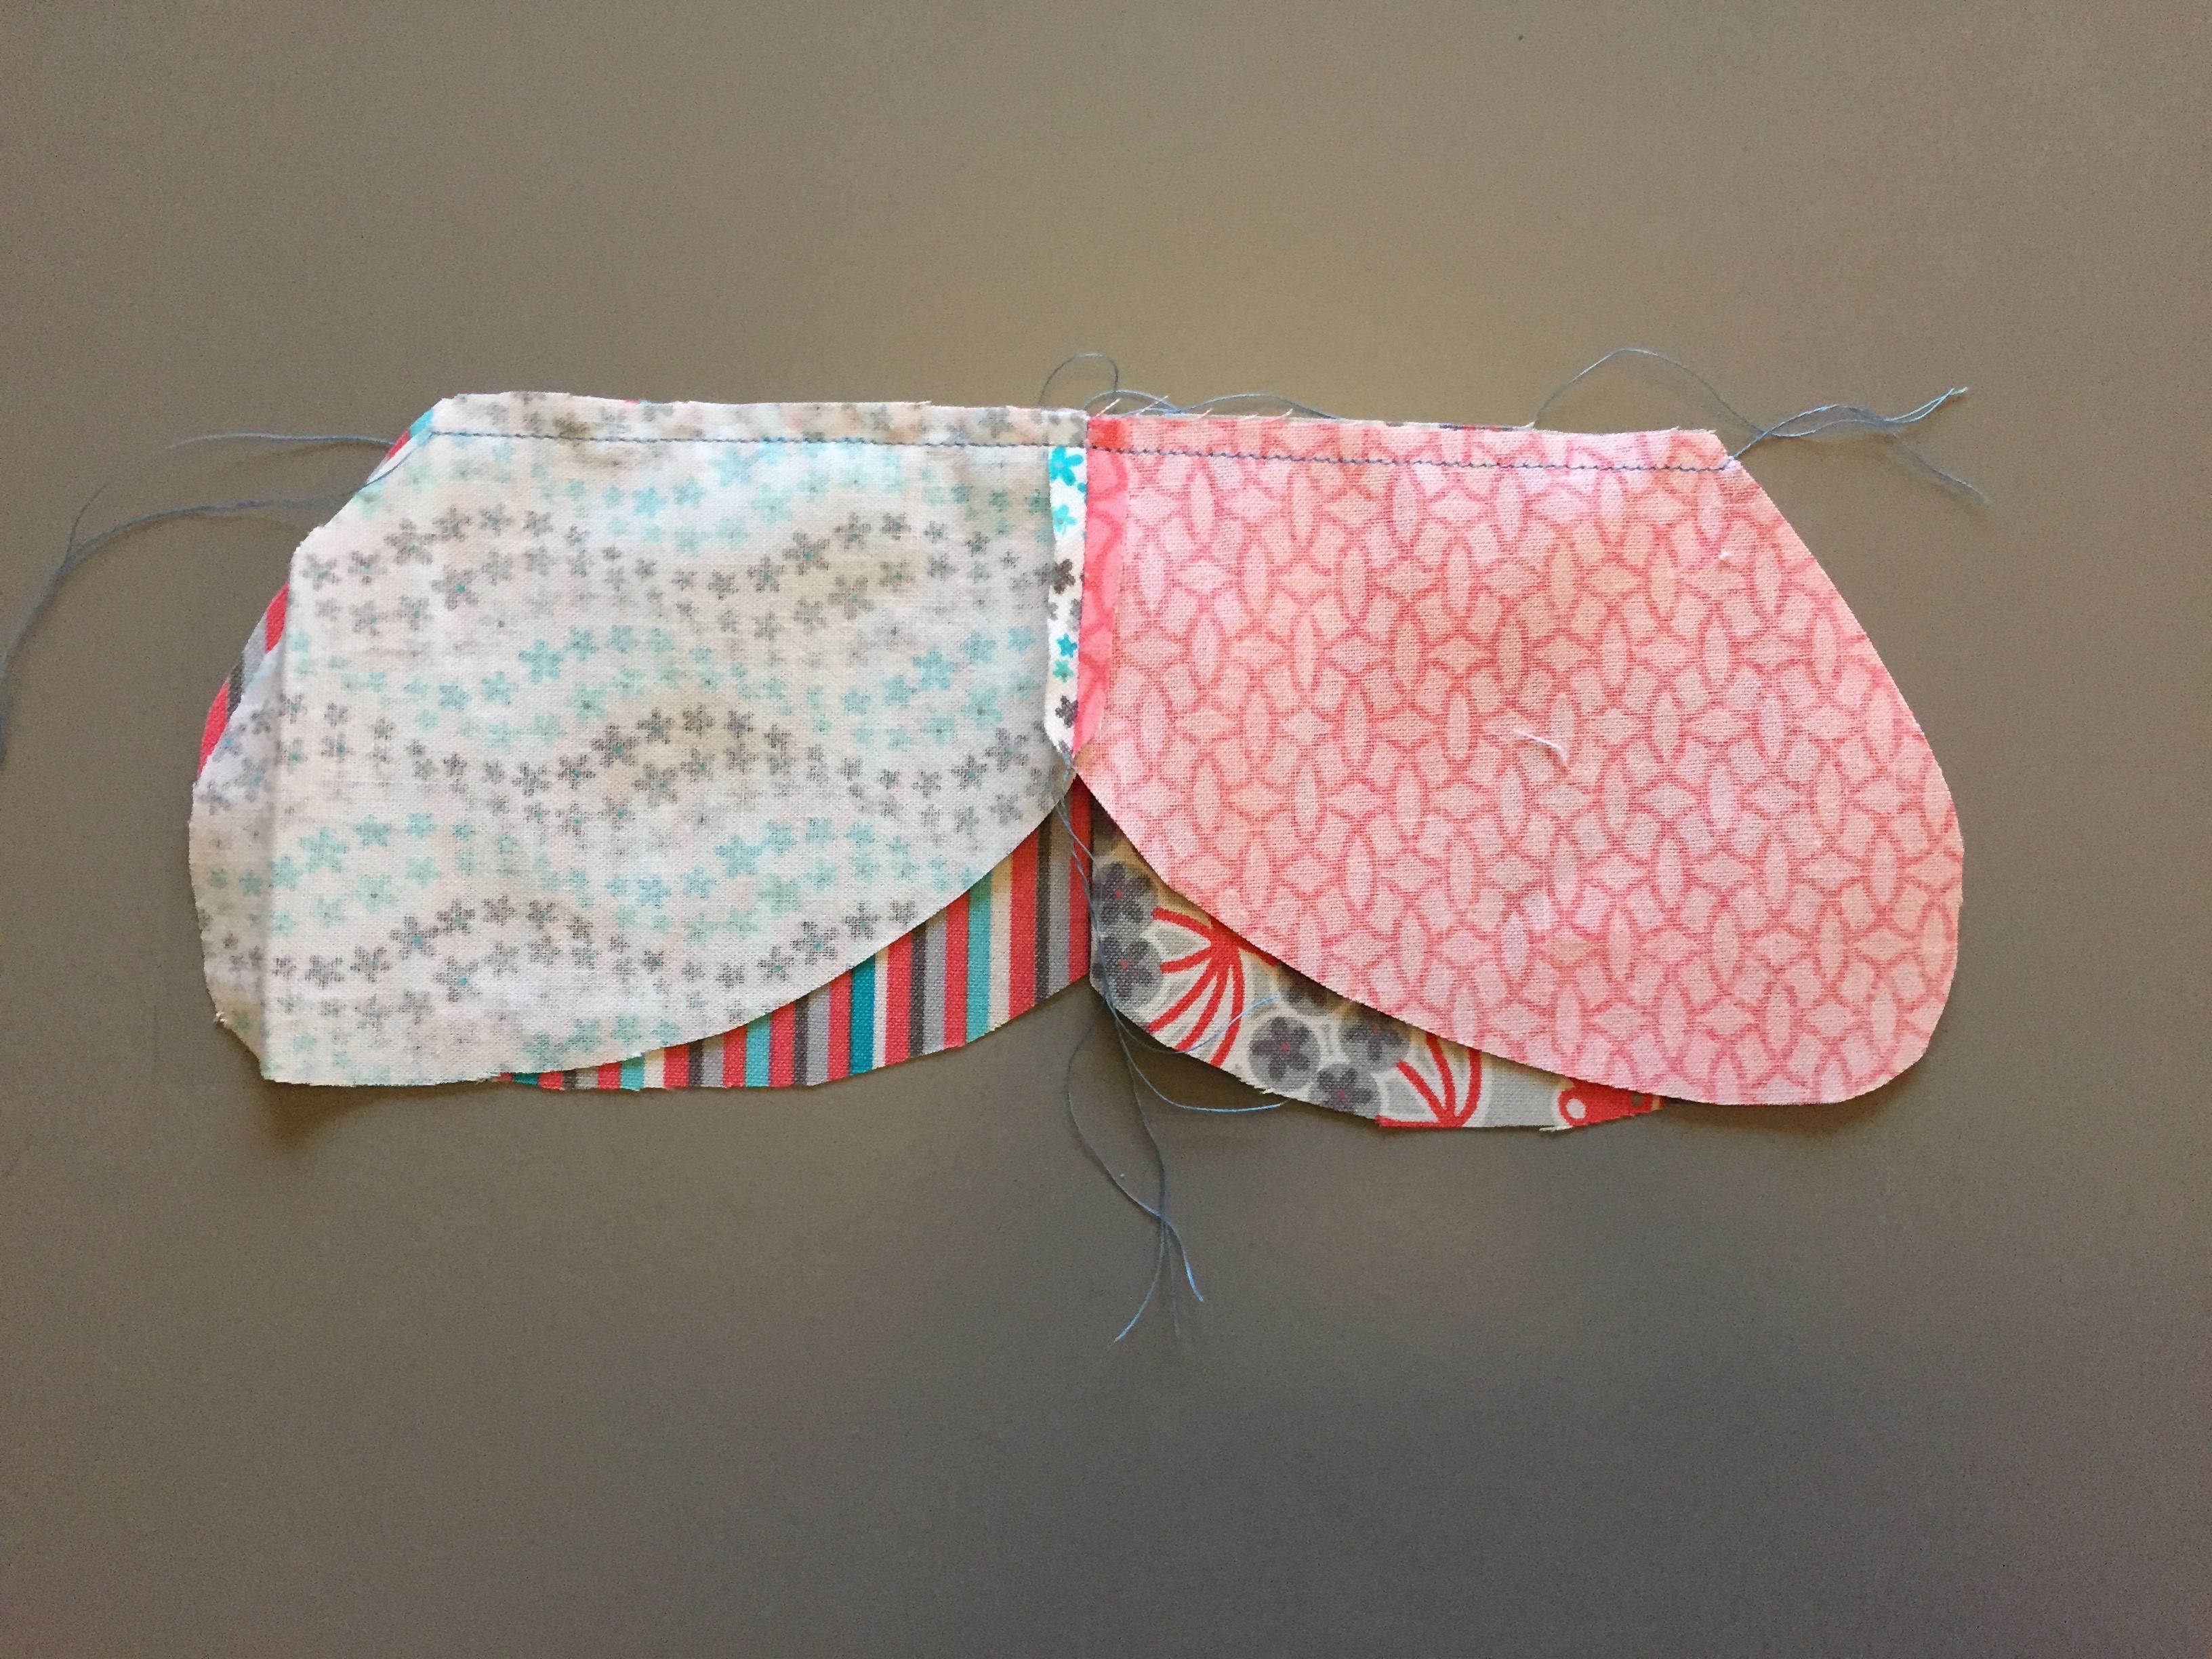
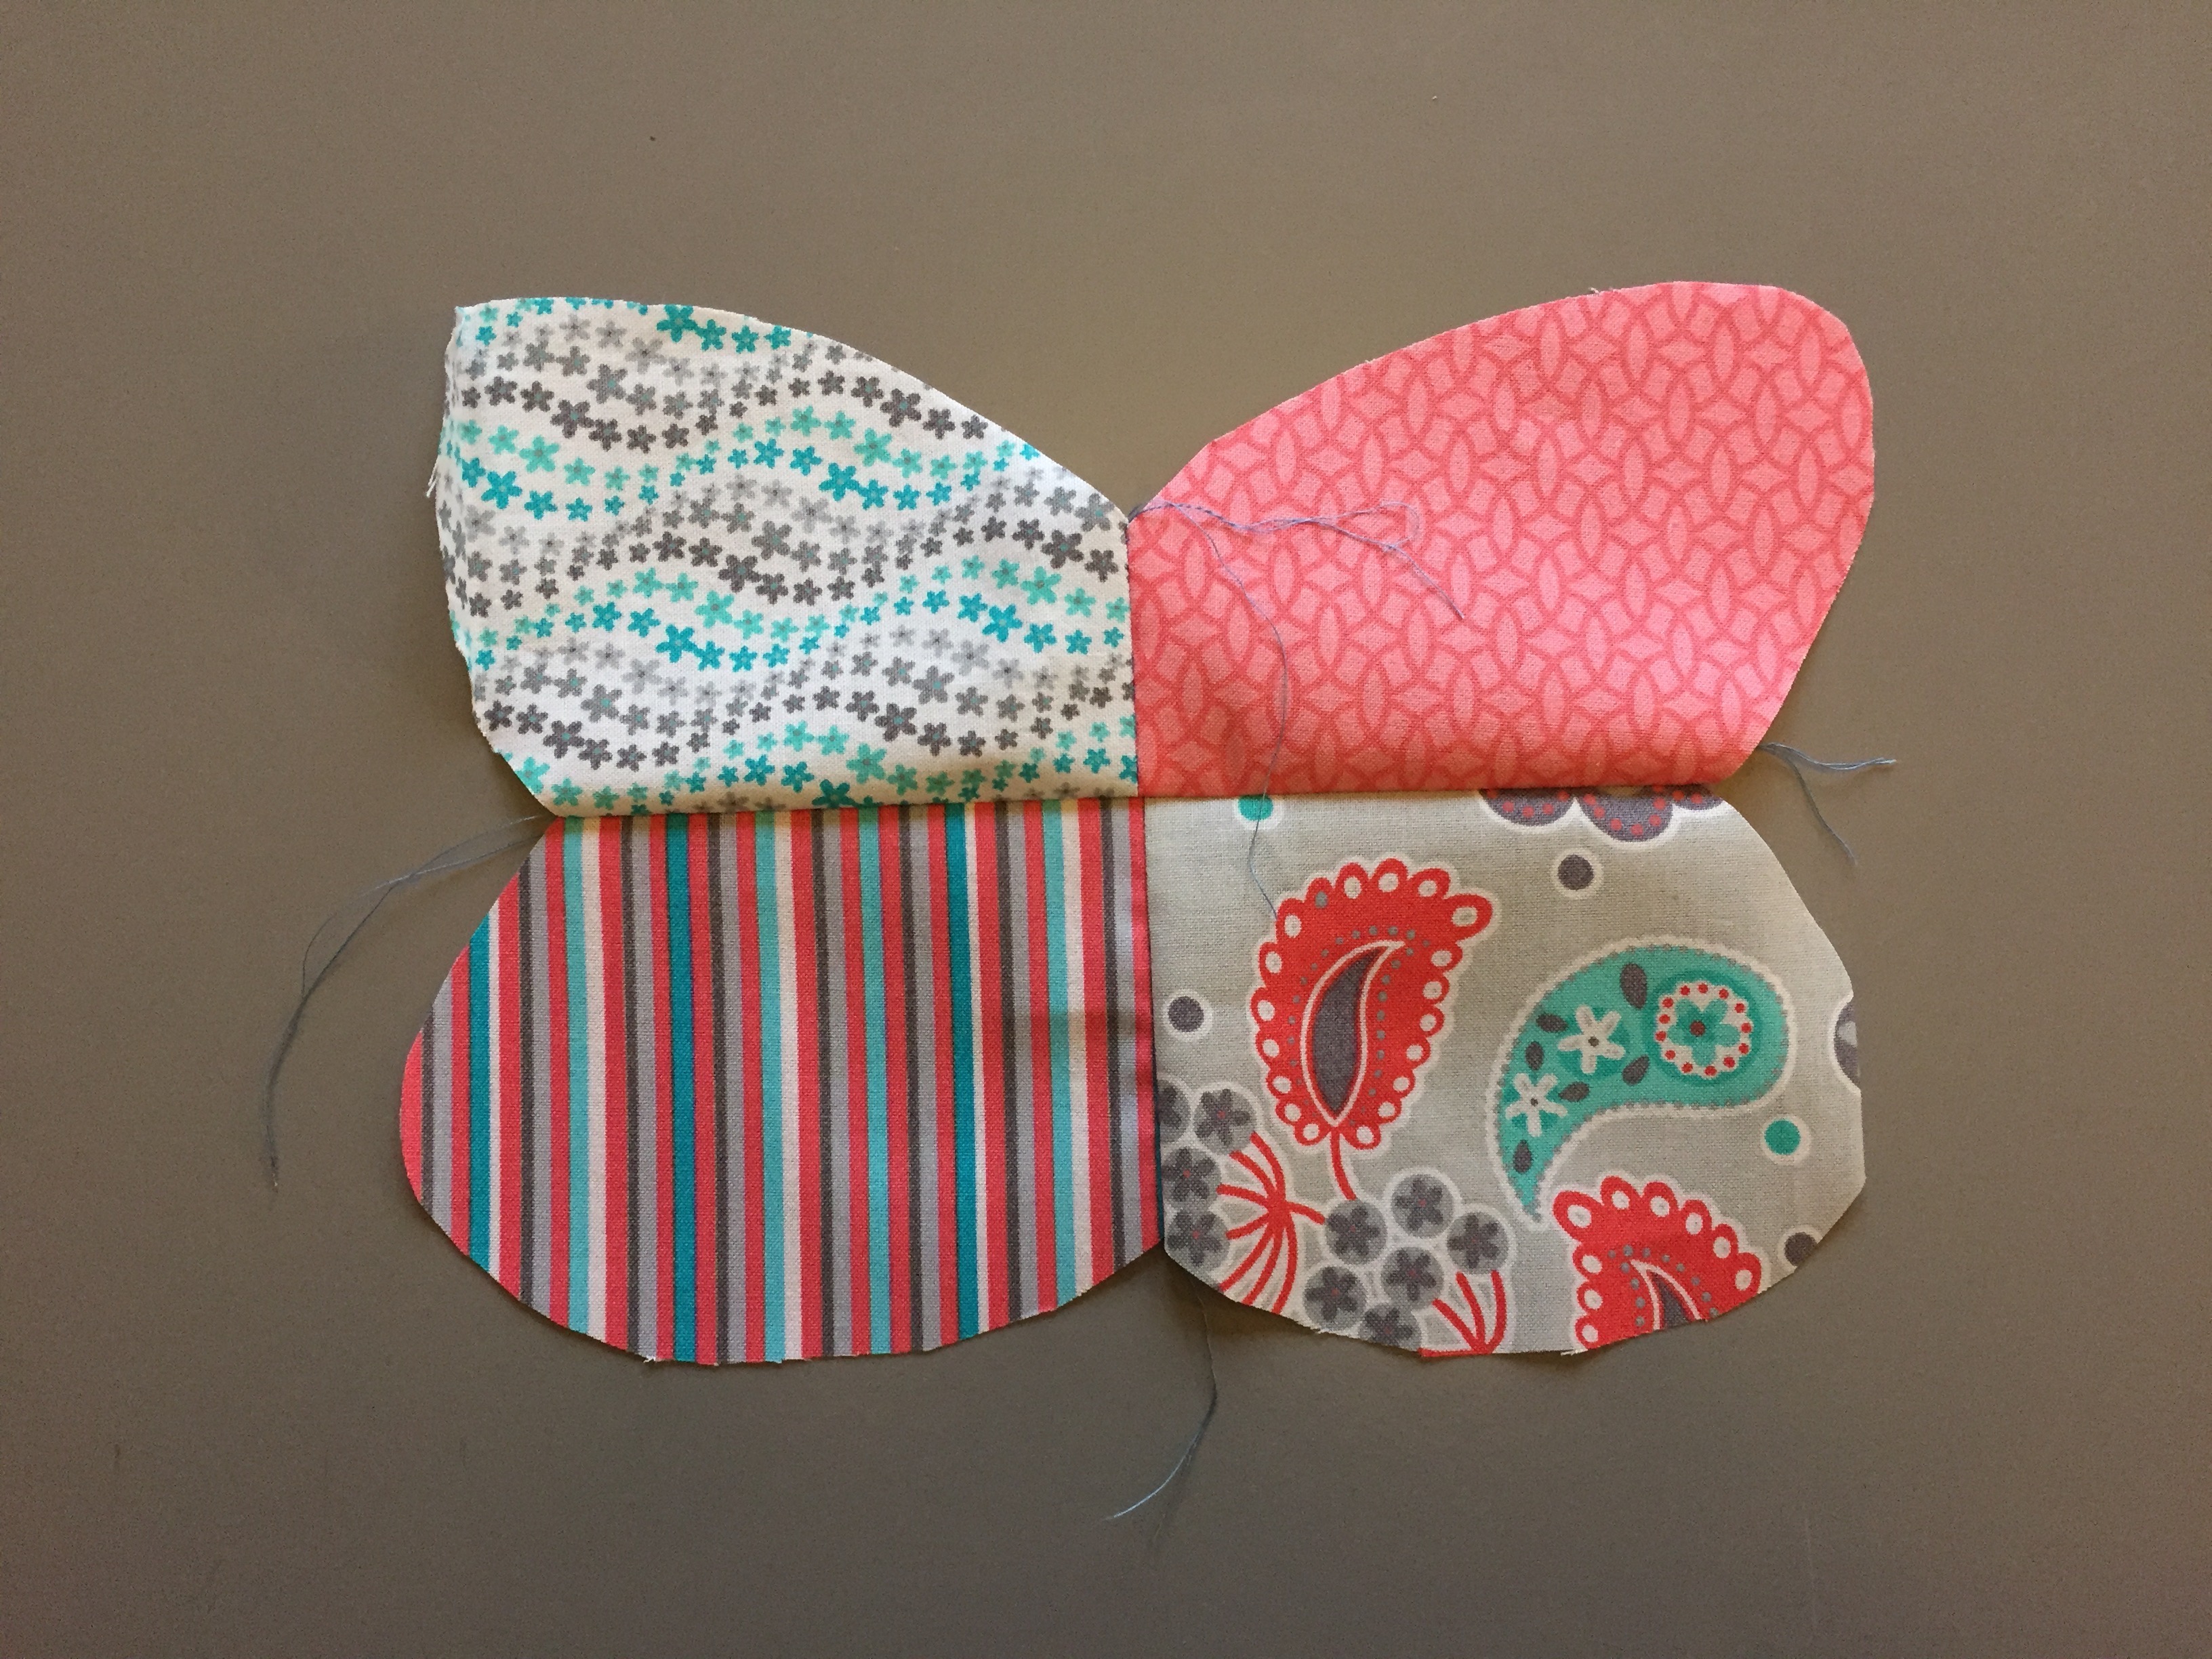
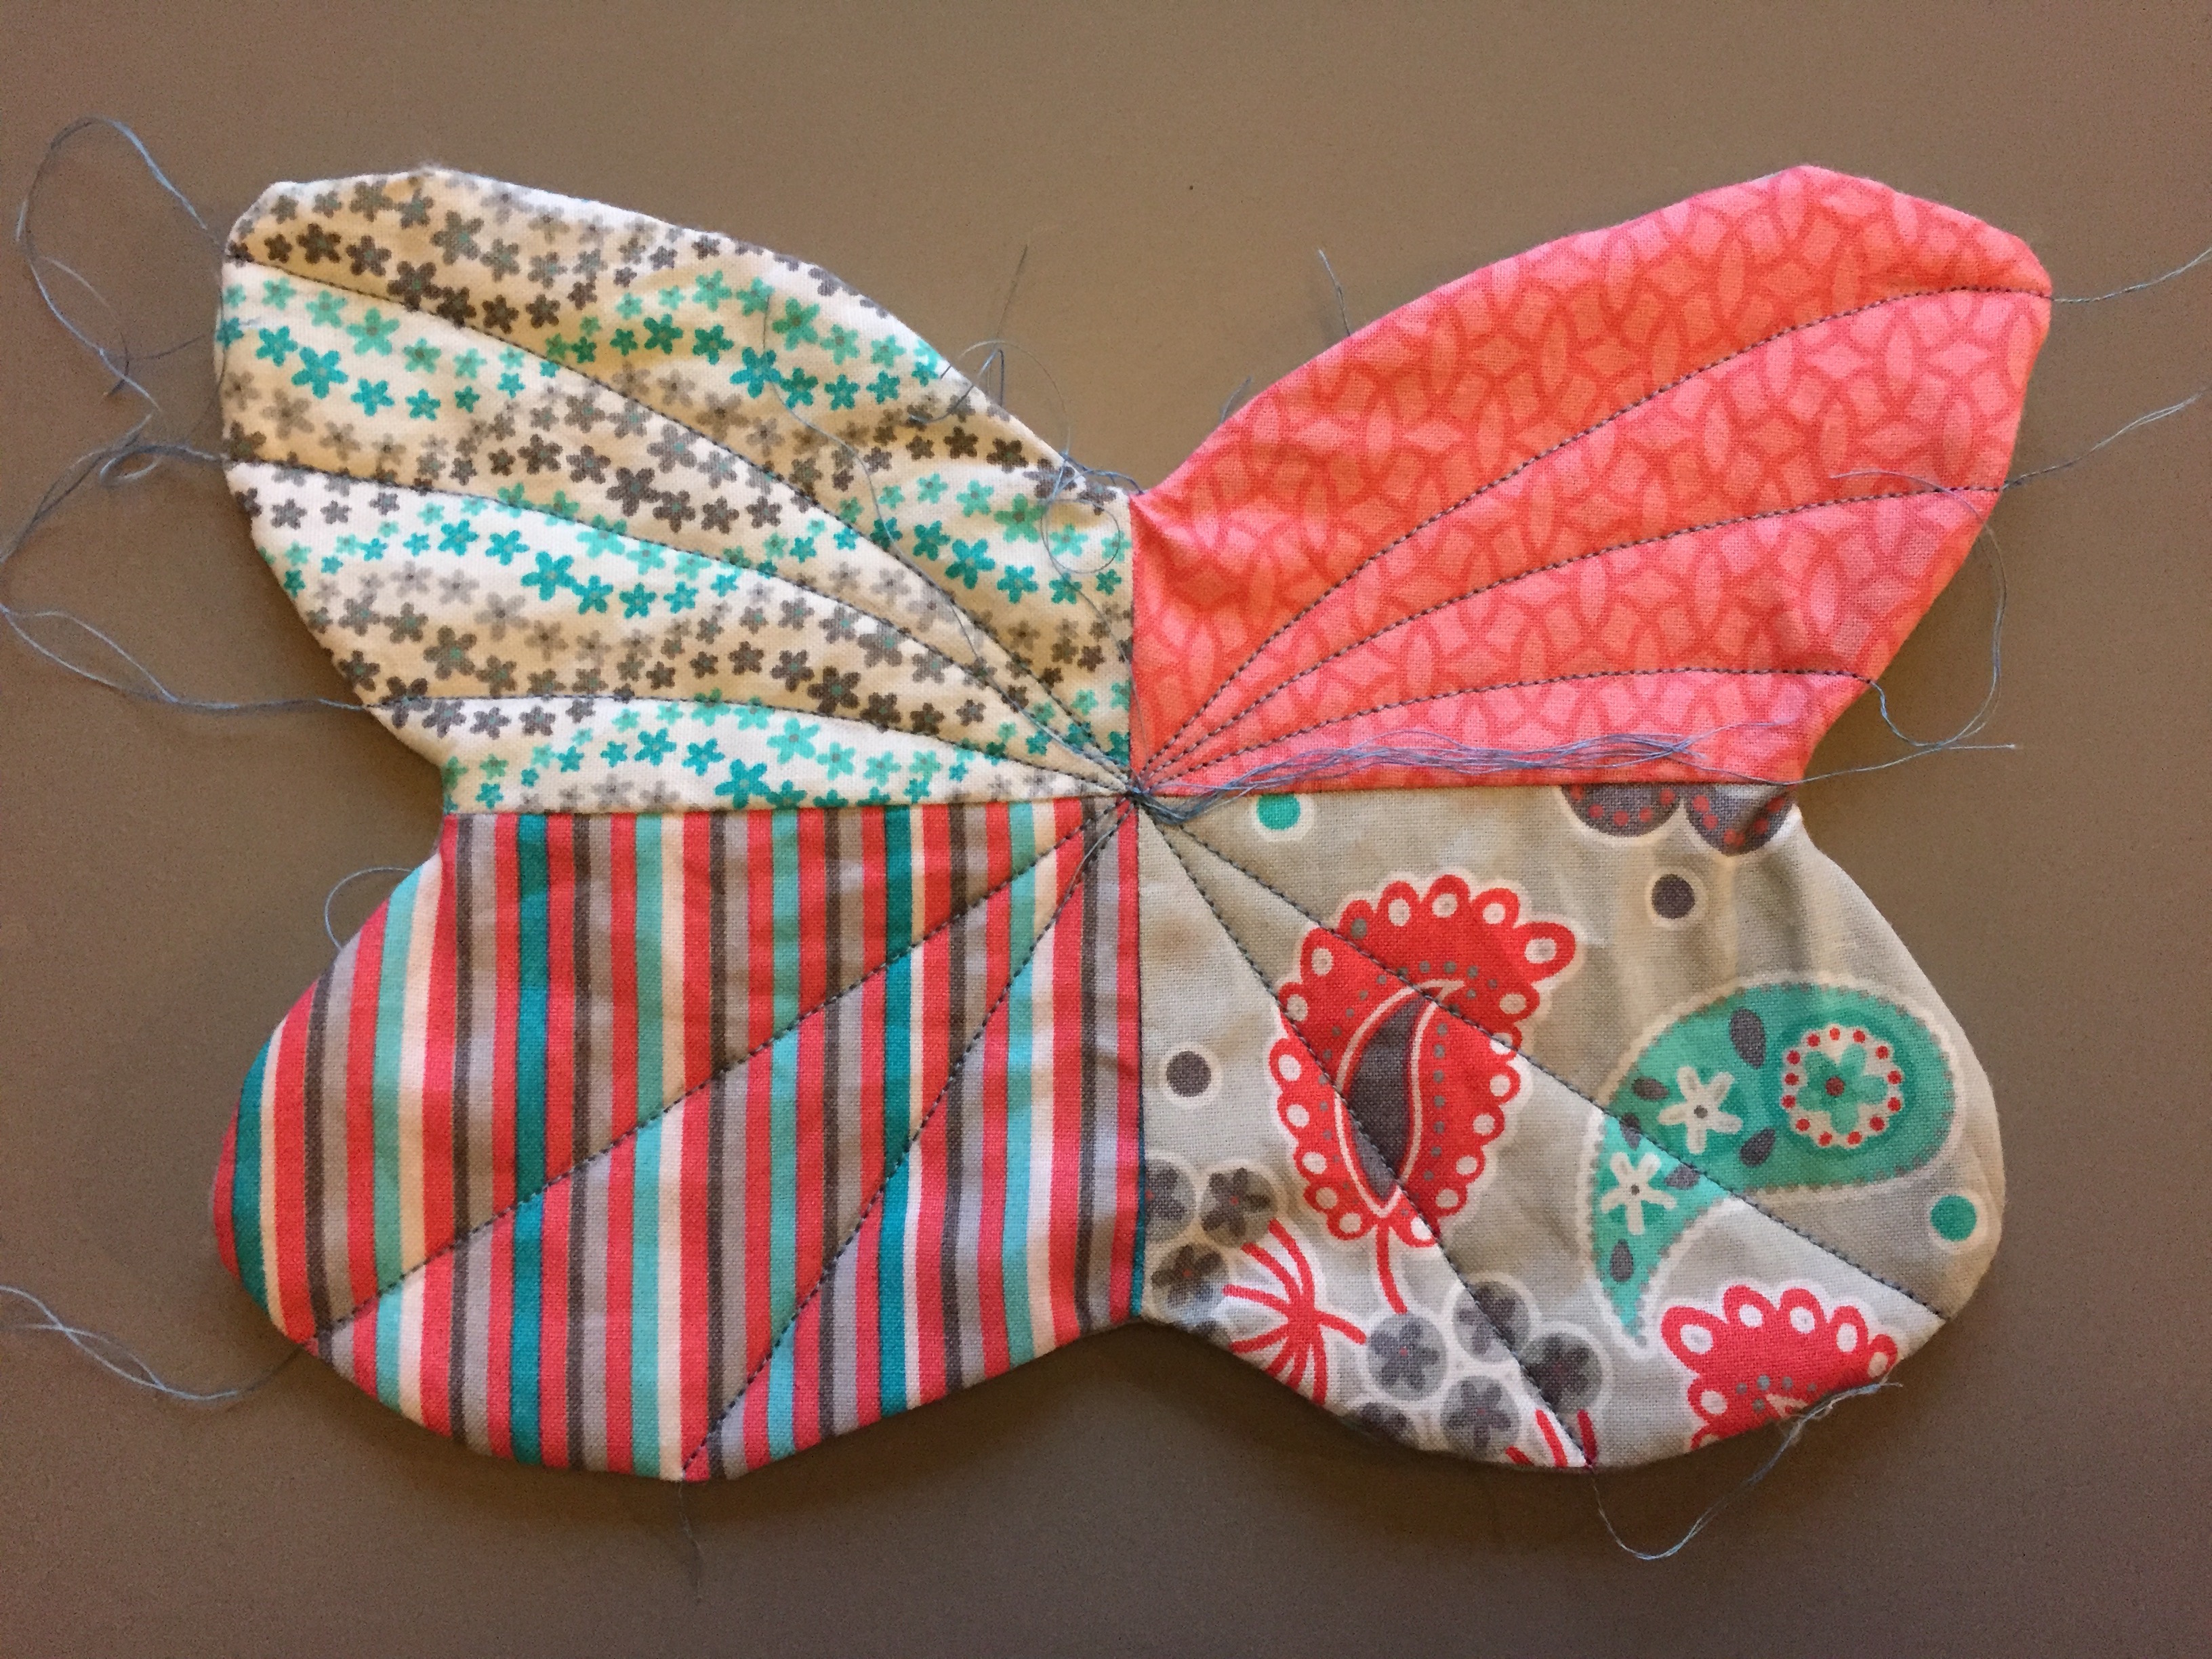
- Sew the four butterfly pieces together.
- Using the joined patchwork butterfly as a template cut out a piece of batting and a piece of fabric from one of the fat quarters (making the butterfly backing piece).
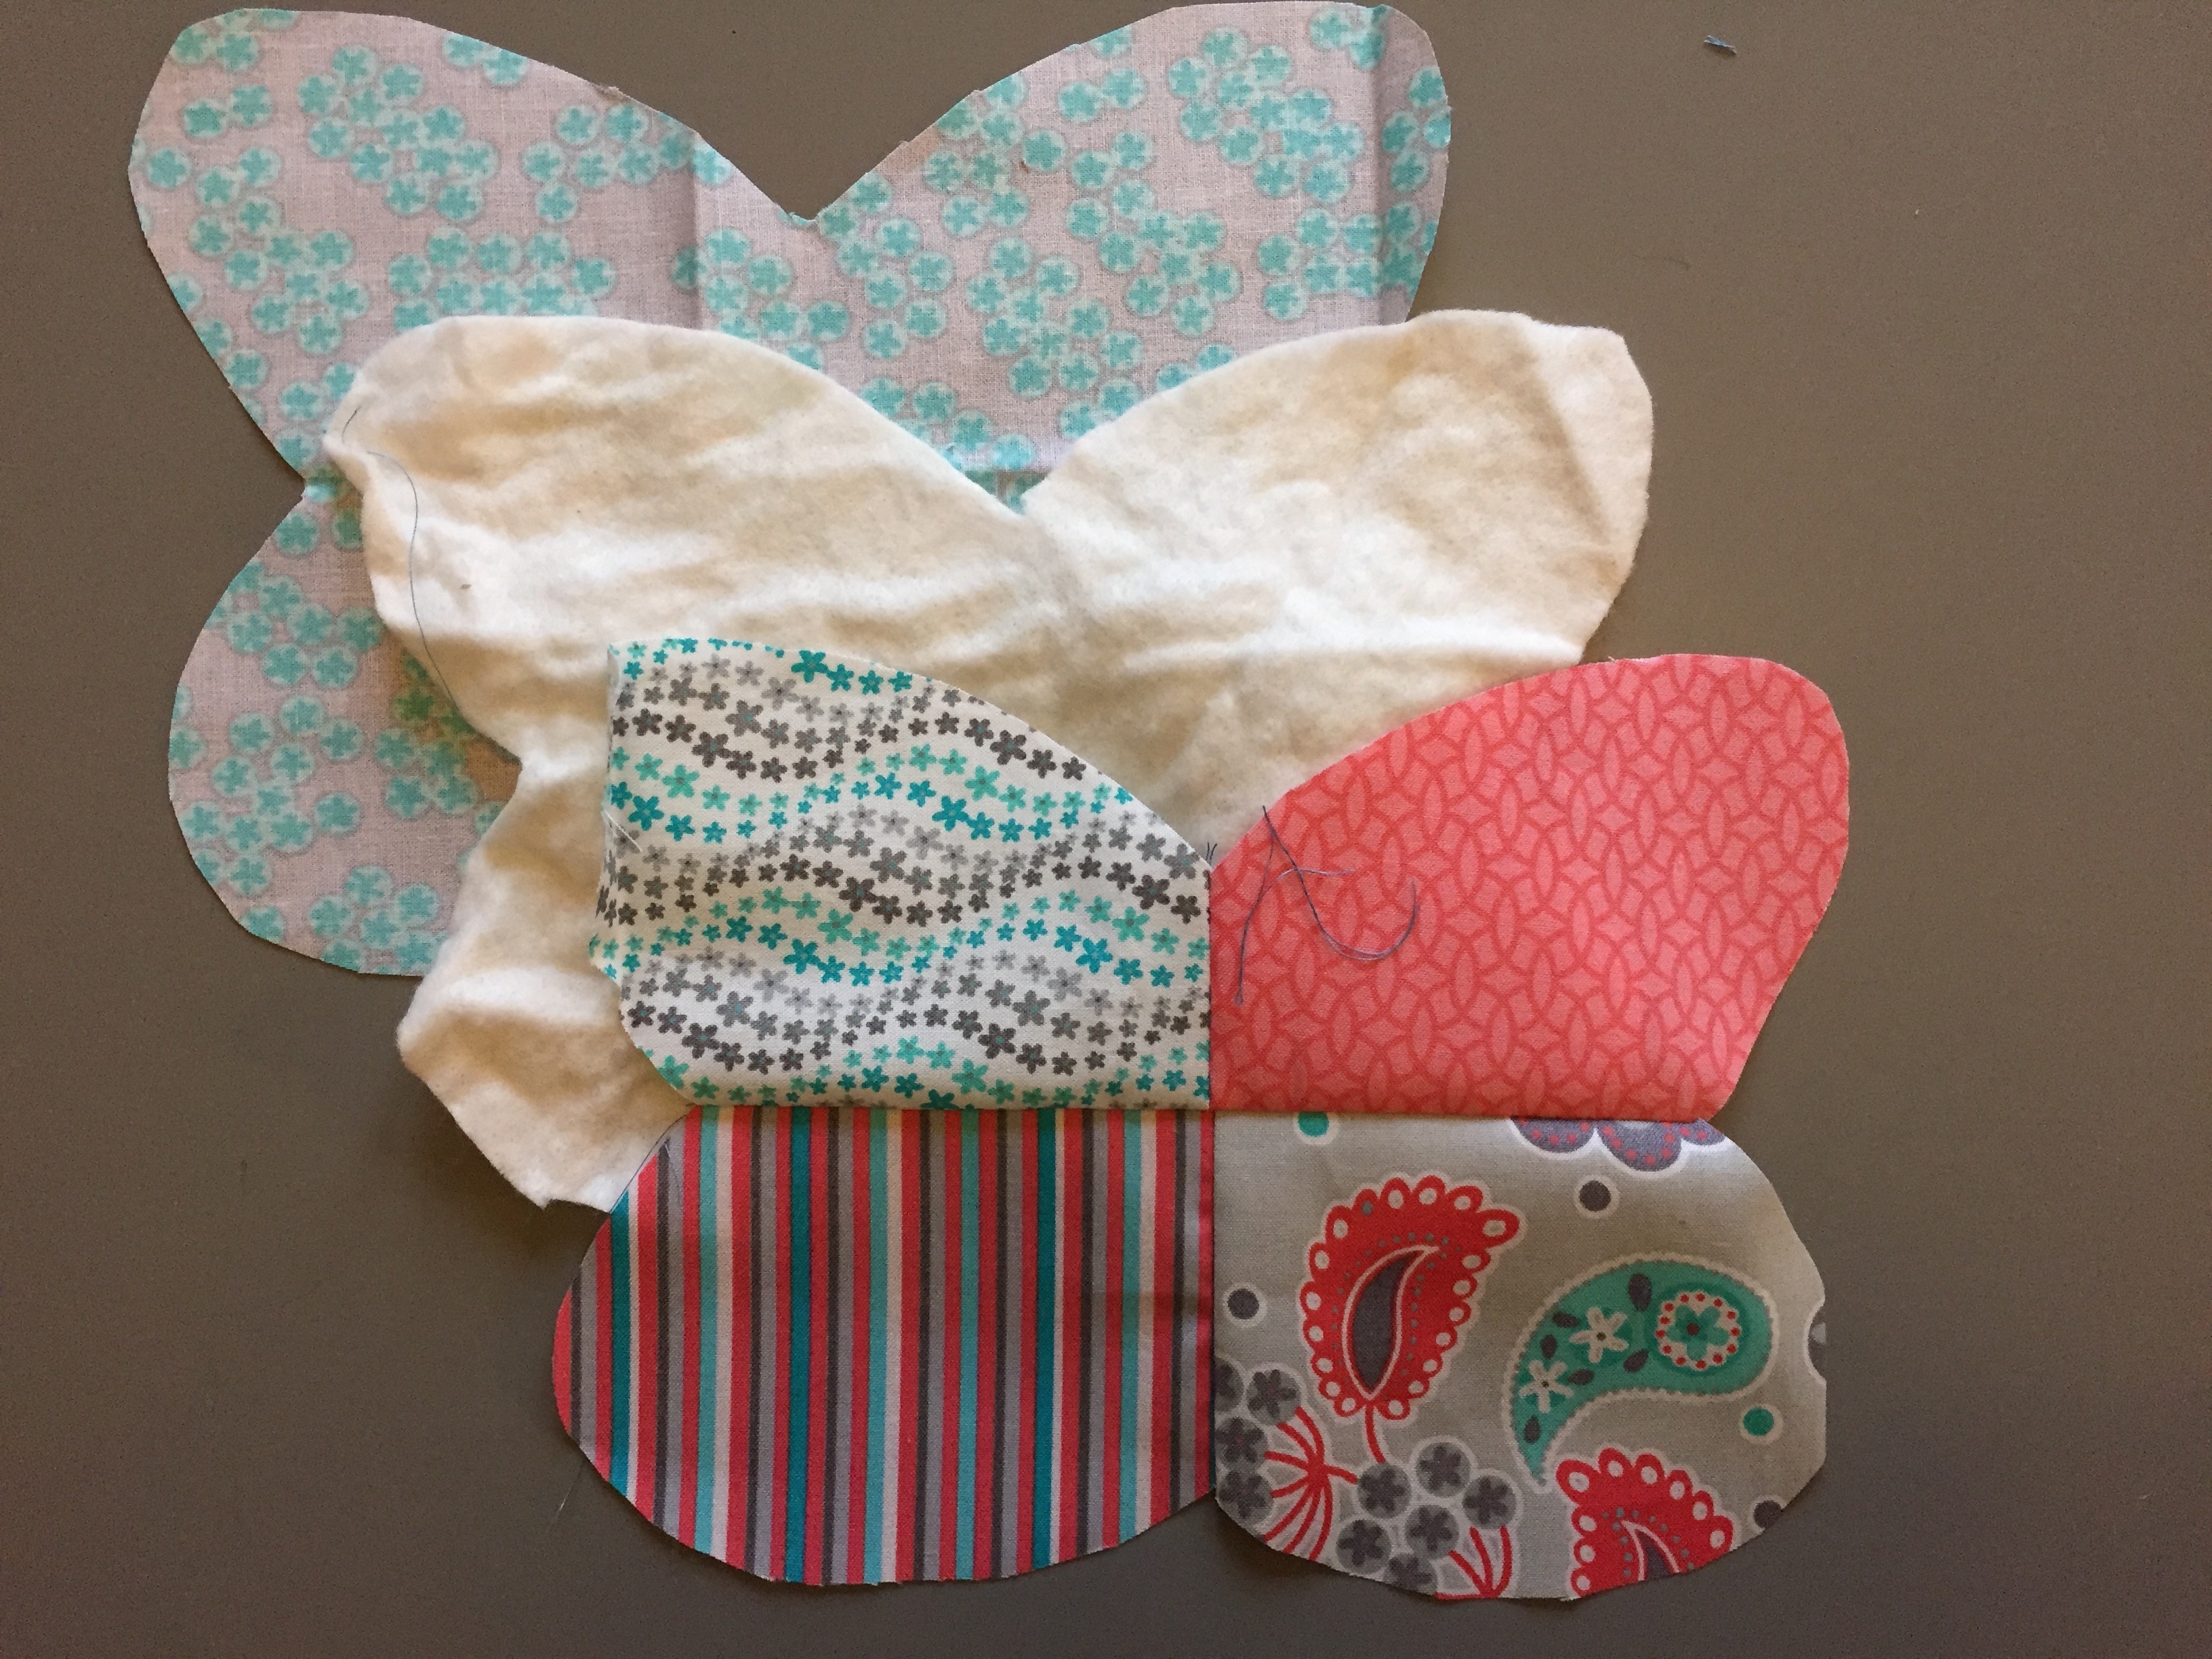
- Place the batting piece down first then the butterfly backing piece right side up on top, next place the patchwork front right side down. Sew around leaving a 5 cm gap for turning, turn the butterfly the right way out and slip stitch close the gap.

- Add quilted detail to the butterfly.
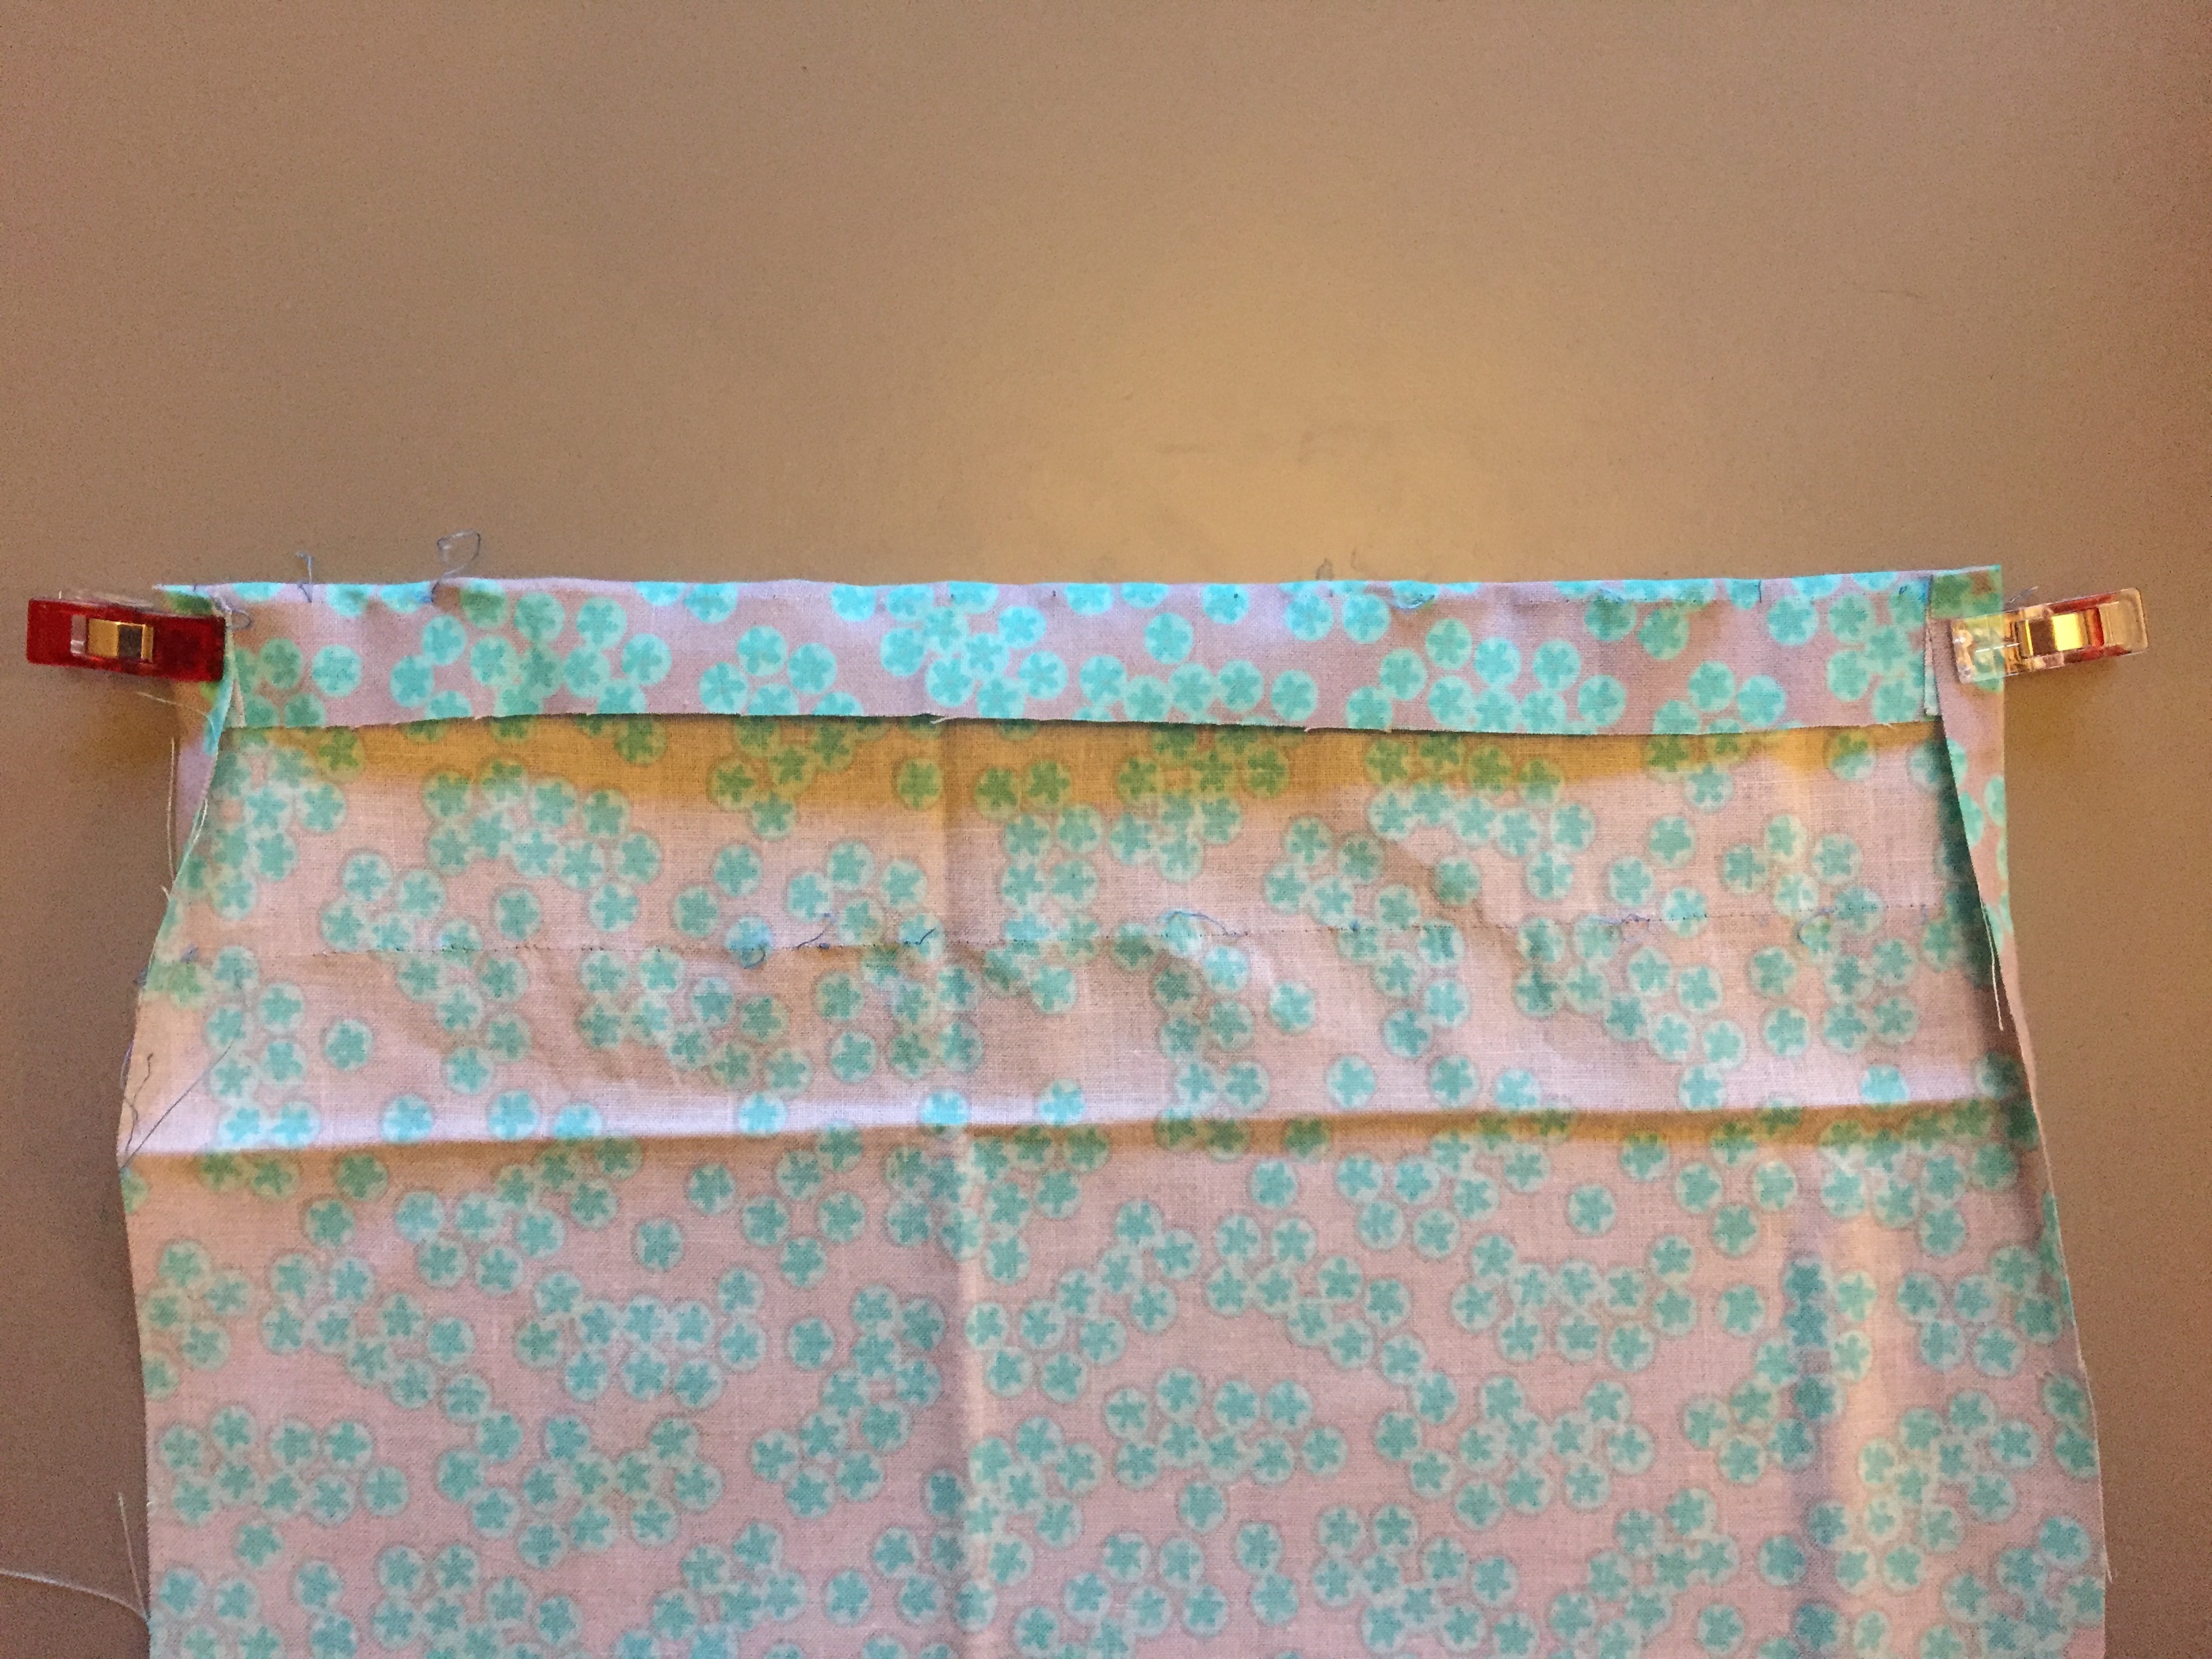
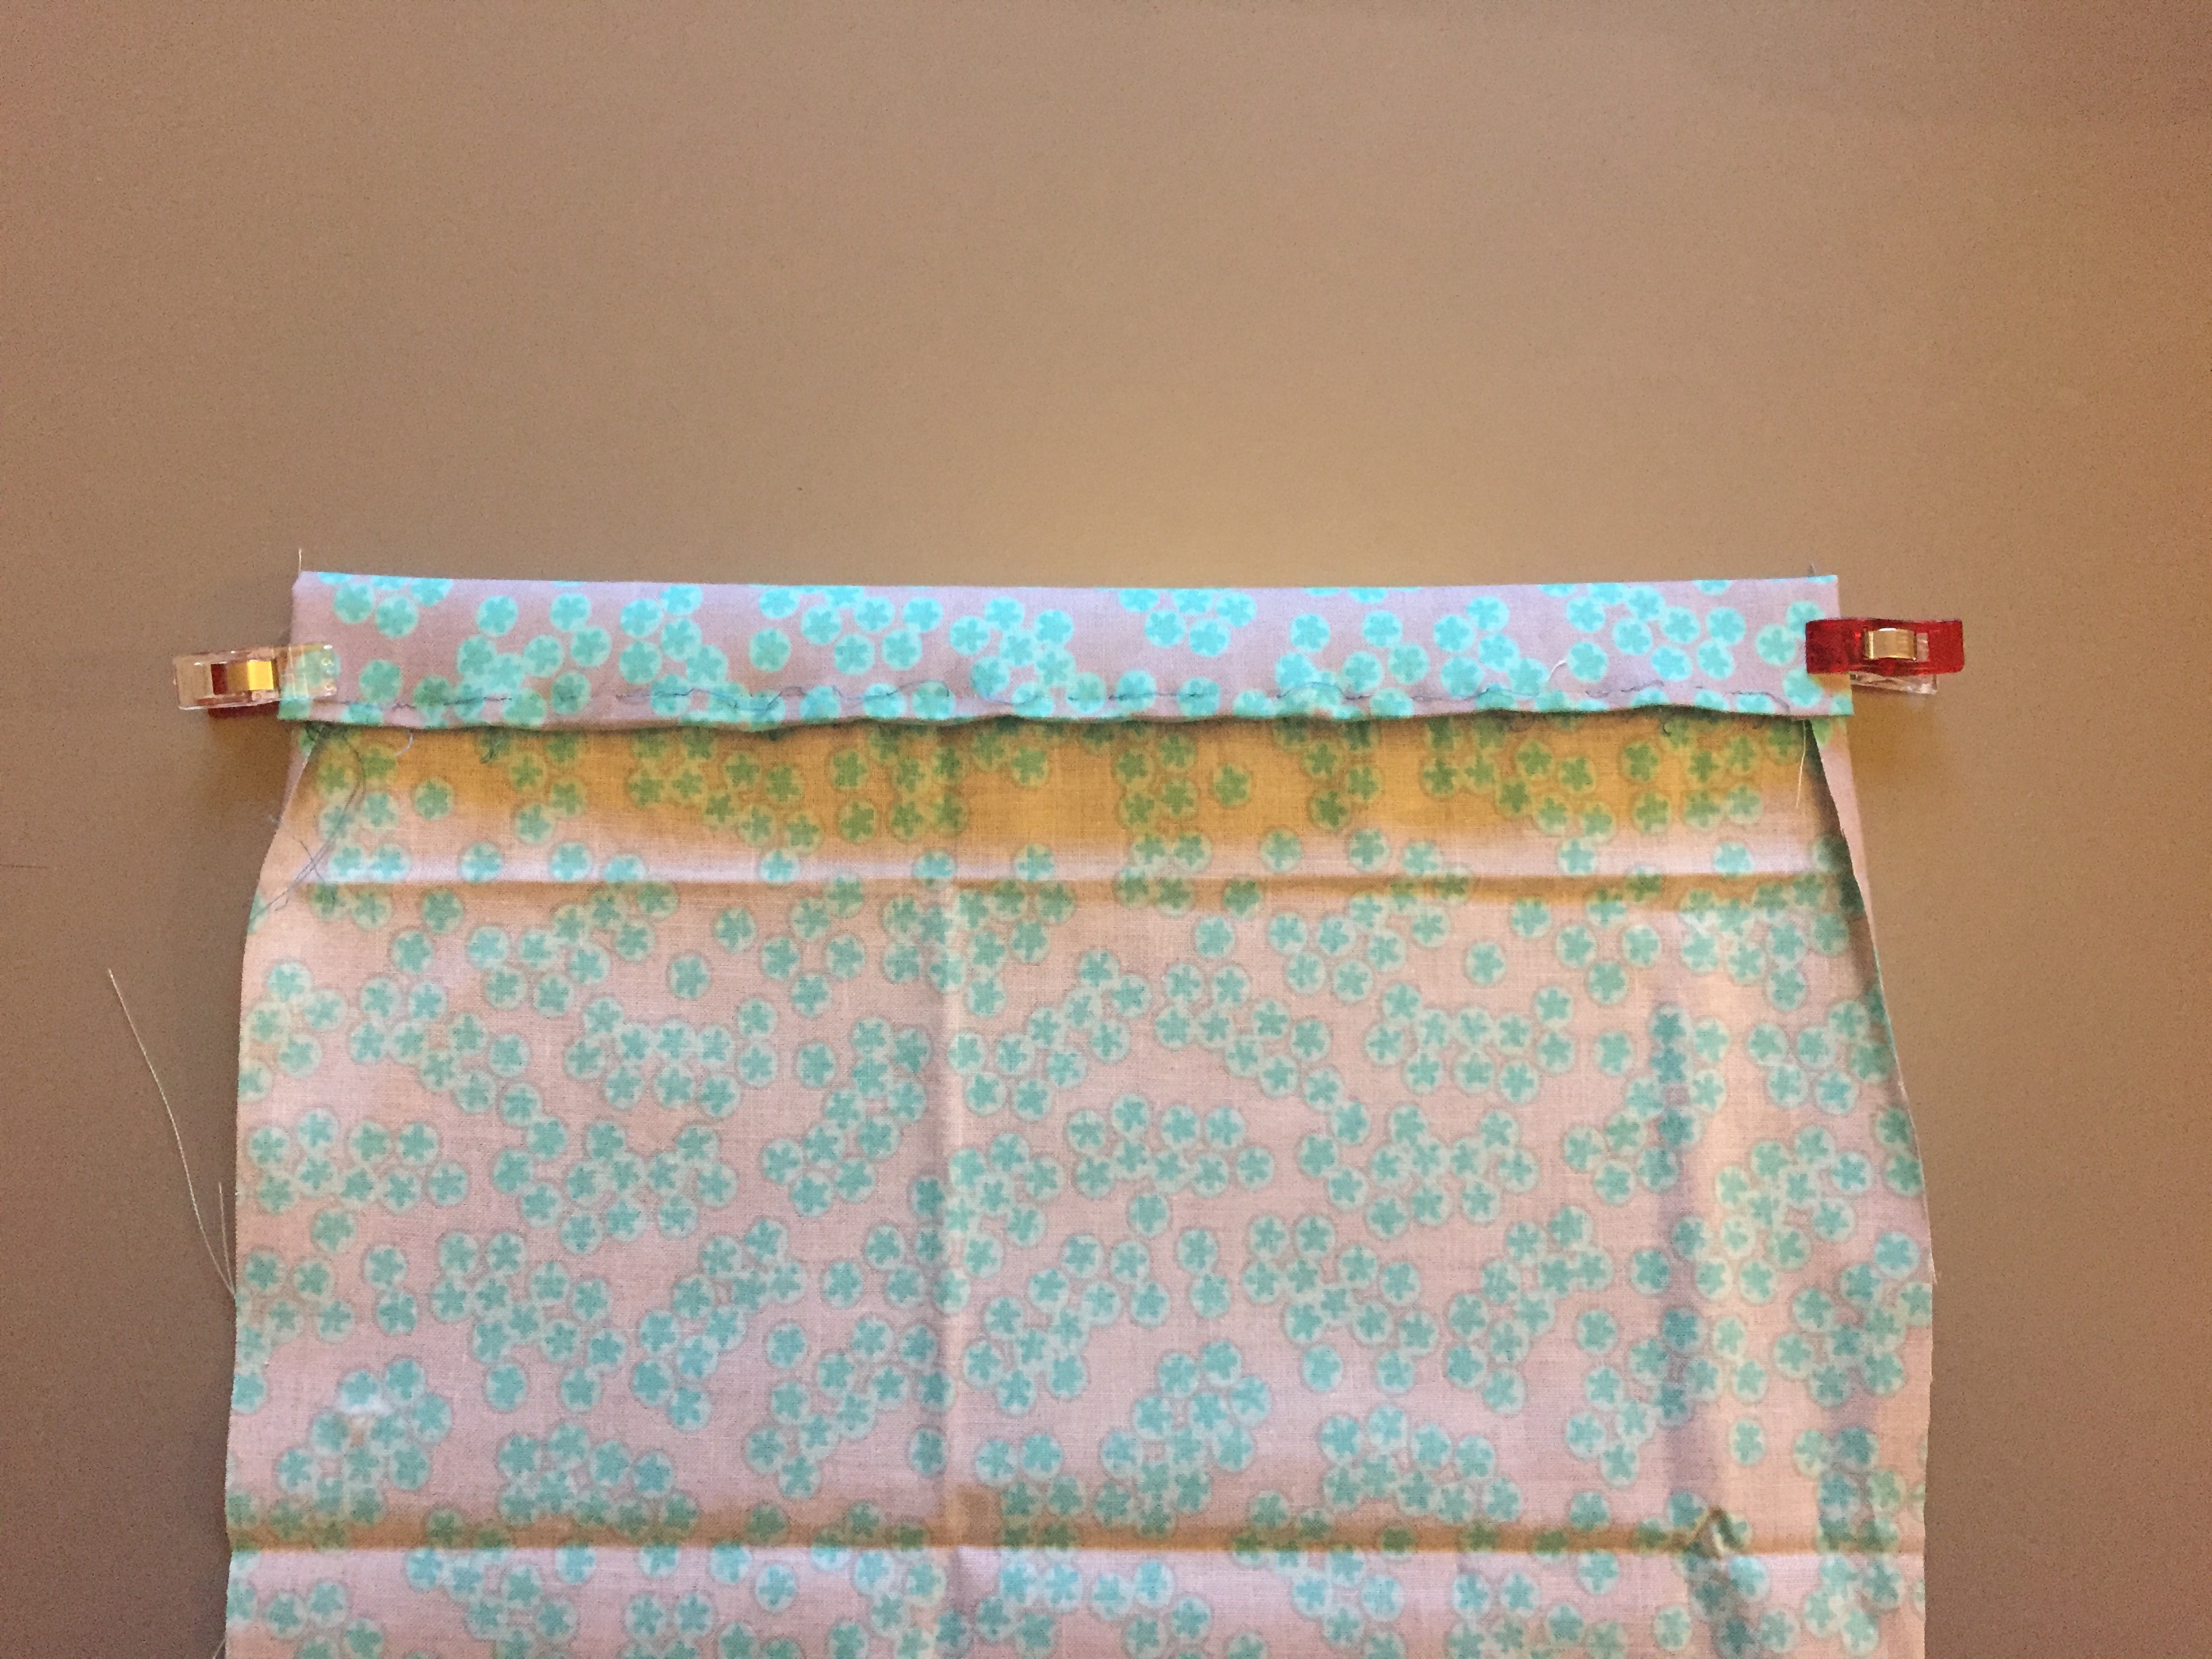
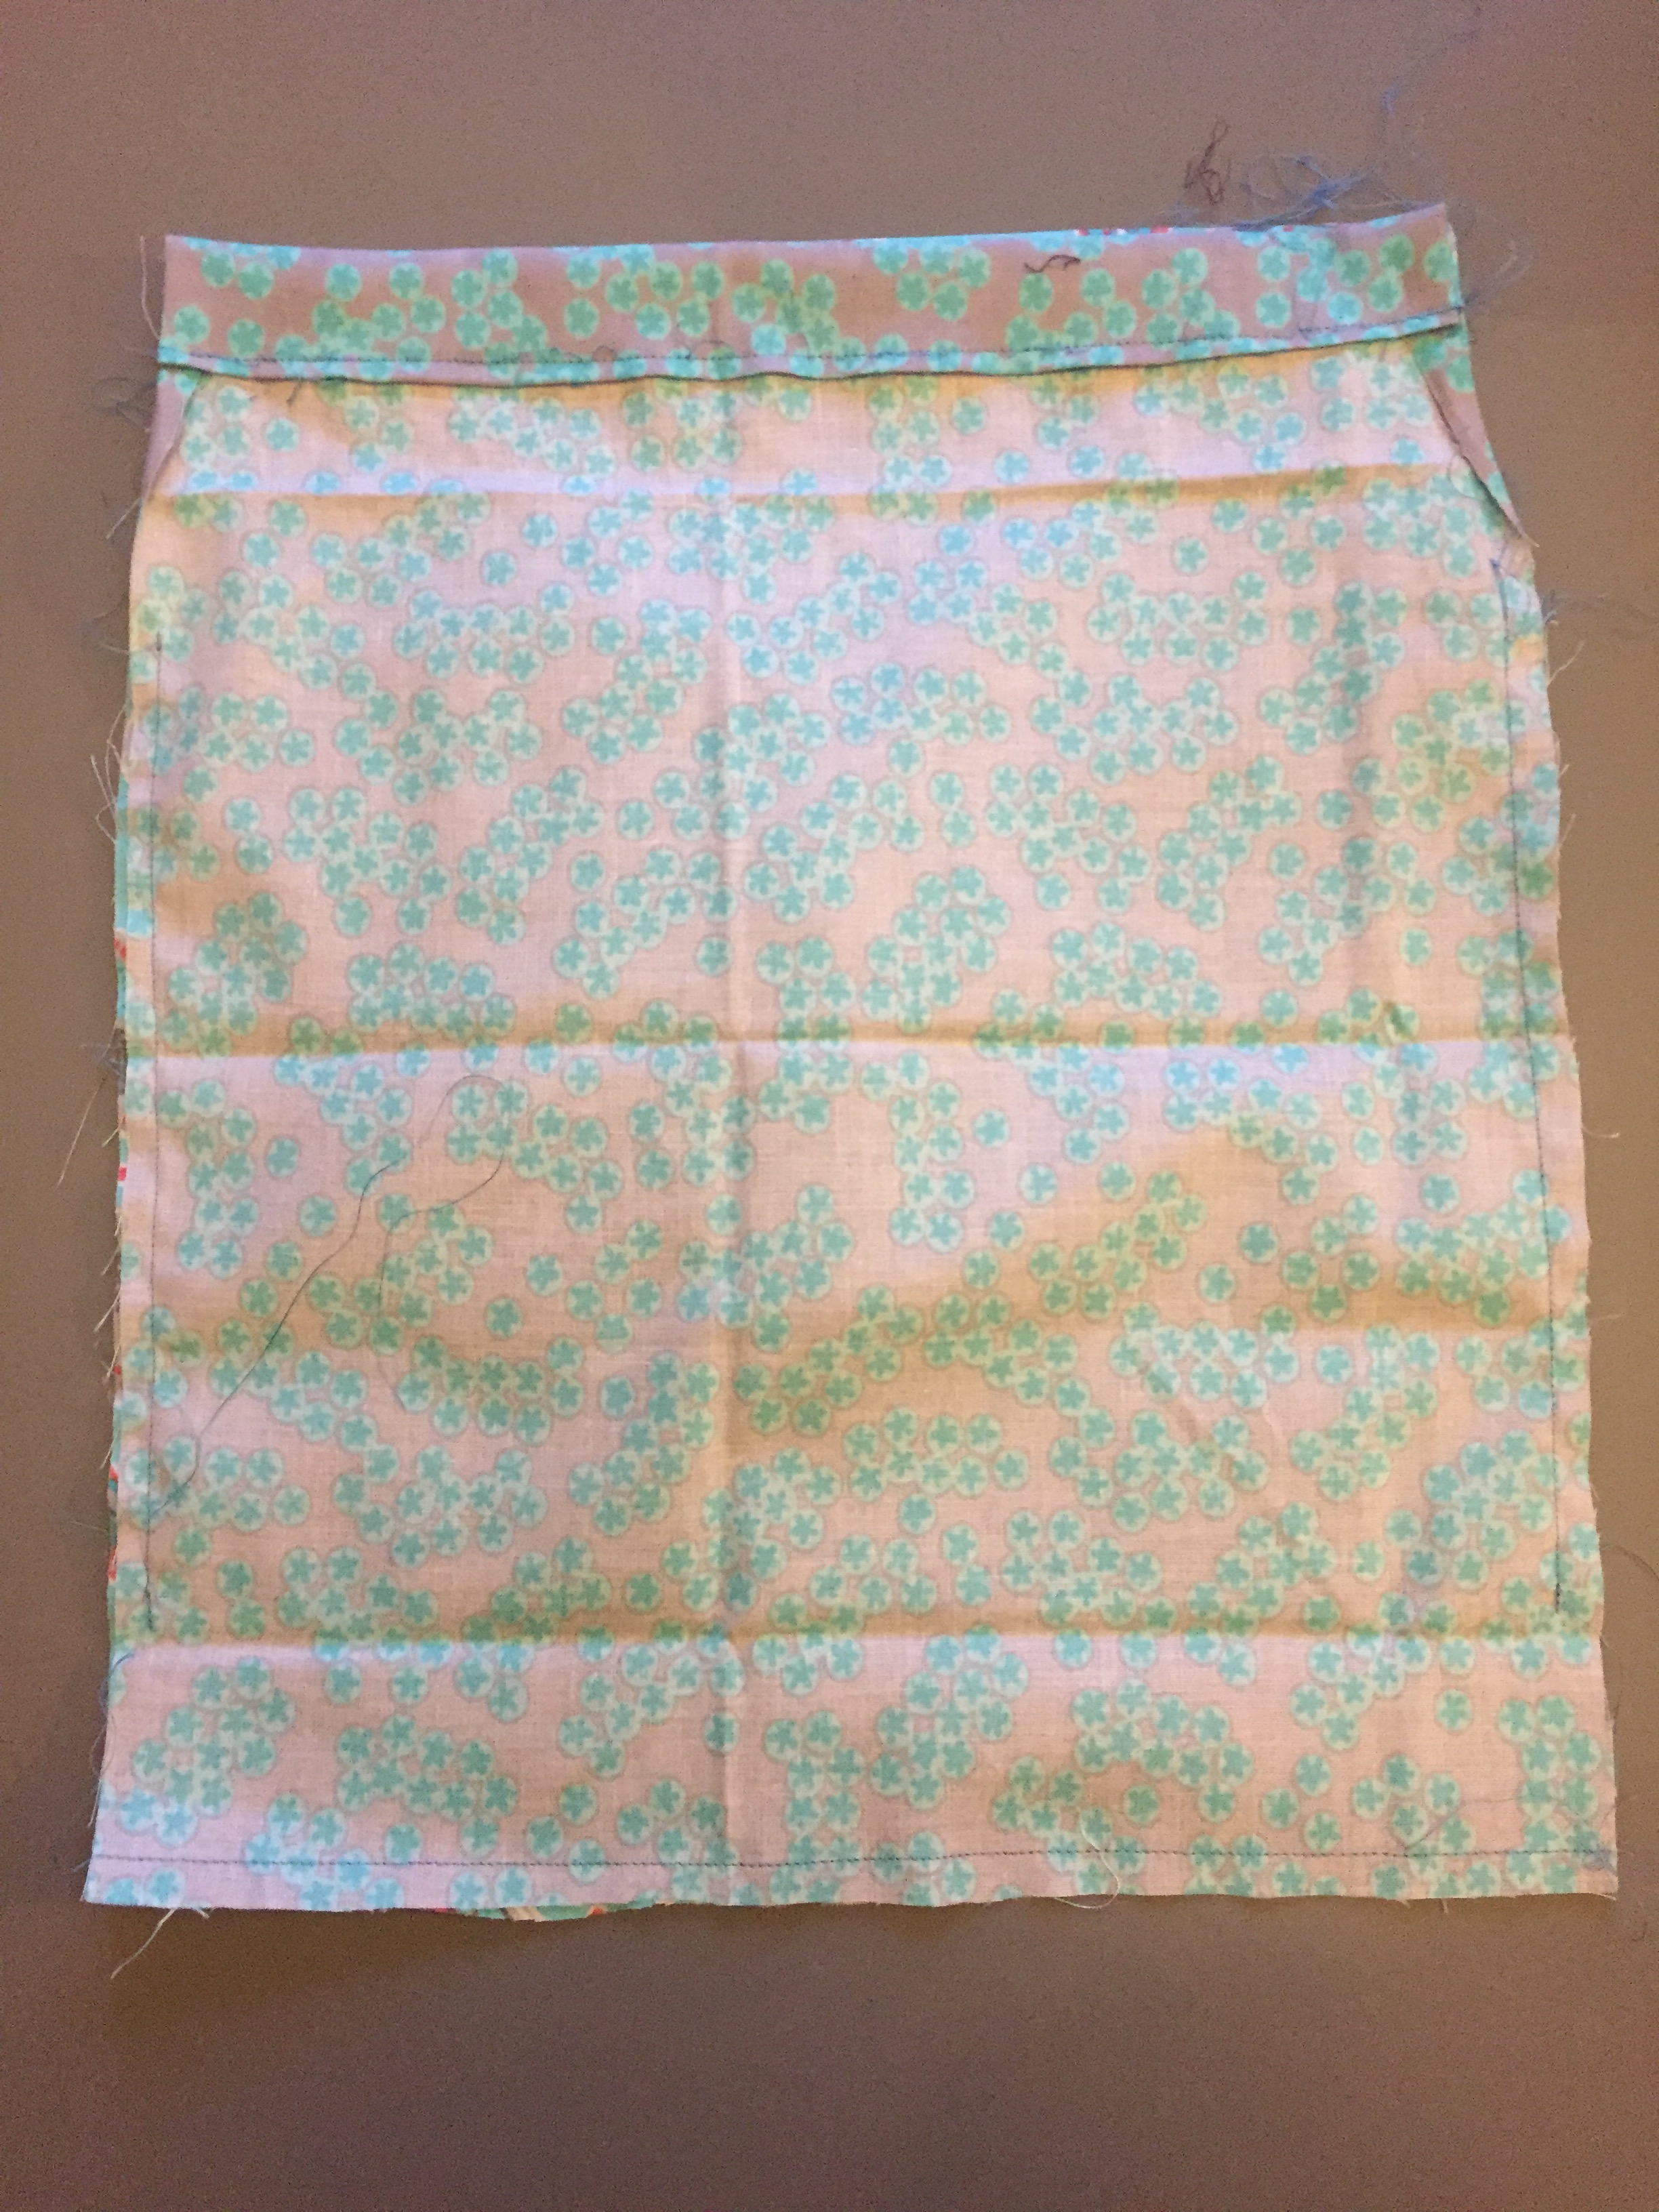
- Take the front bag piece and turn over the top edge by 2cm and the side edge in by 1cm, then fold the top edge over again by 3cm. sew along the bottom edge of the folded top to secure. Repeat with the back piece.
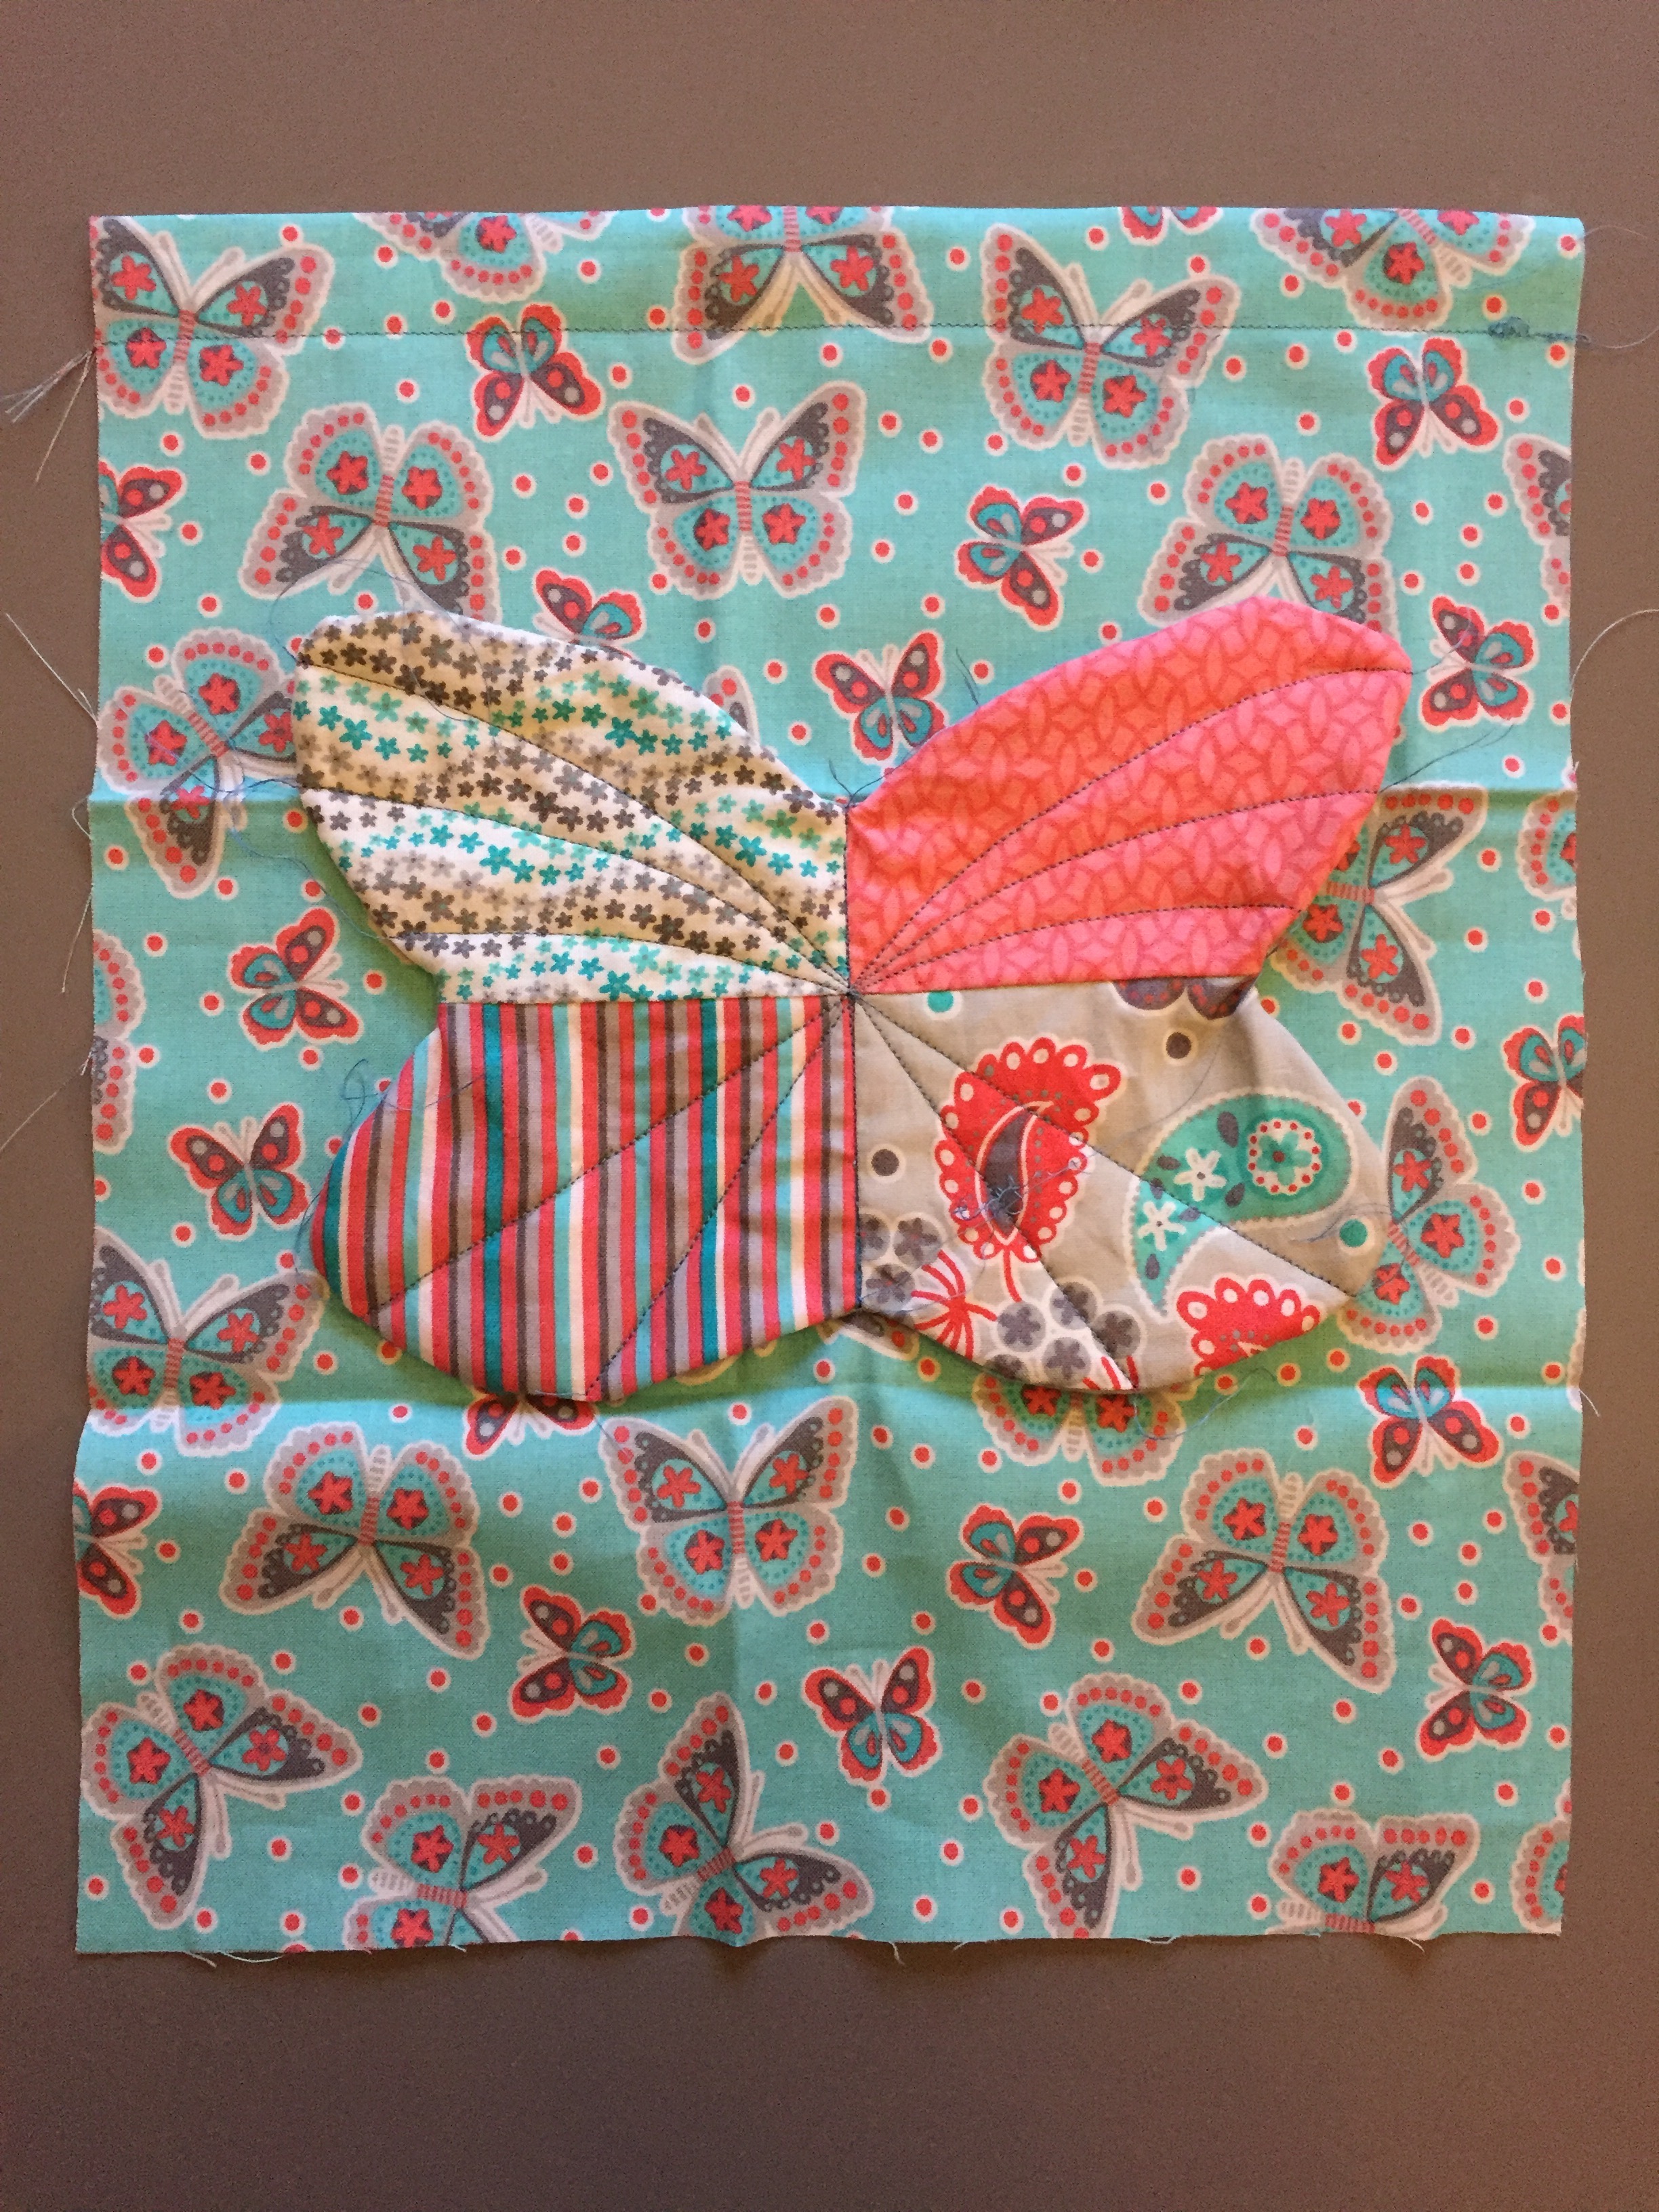
- Sew the butterfly onto the bag front, sewing a line down the middle of the butterfly.
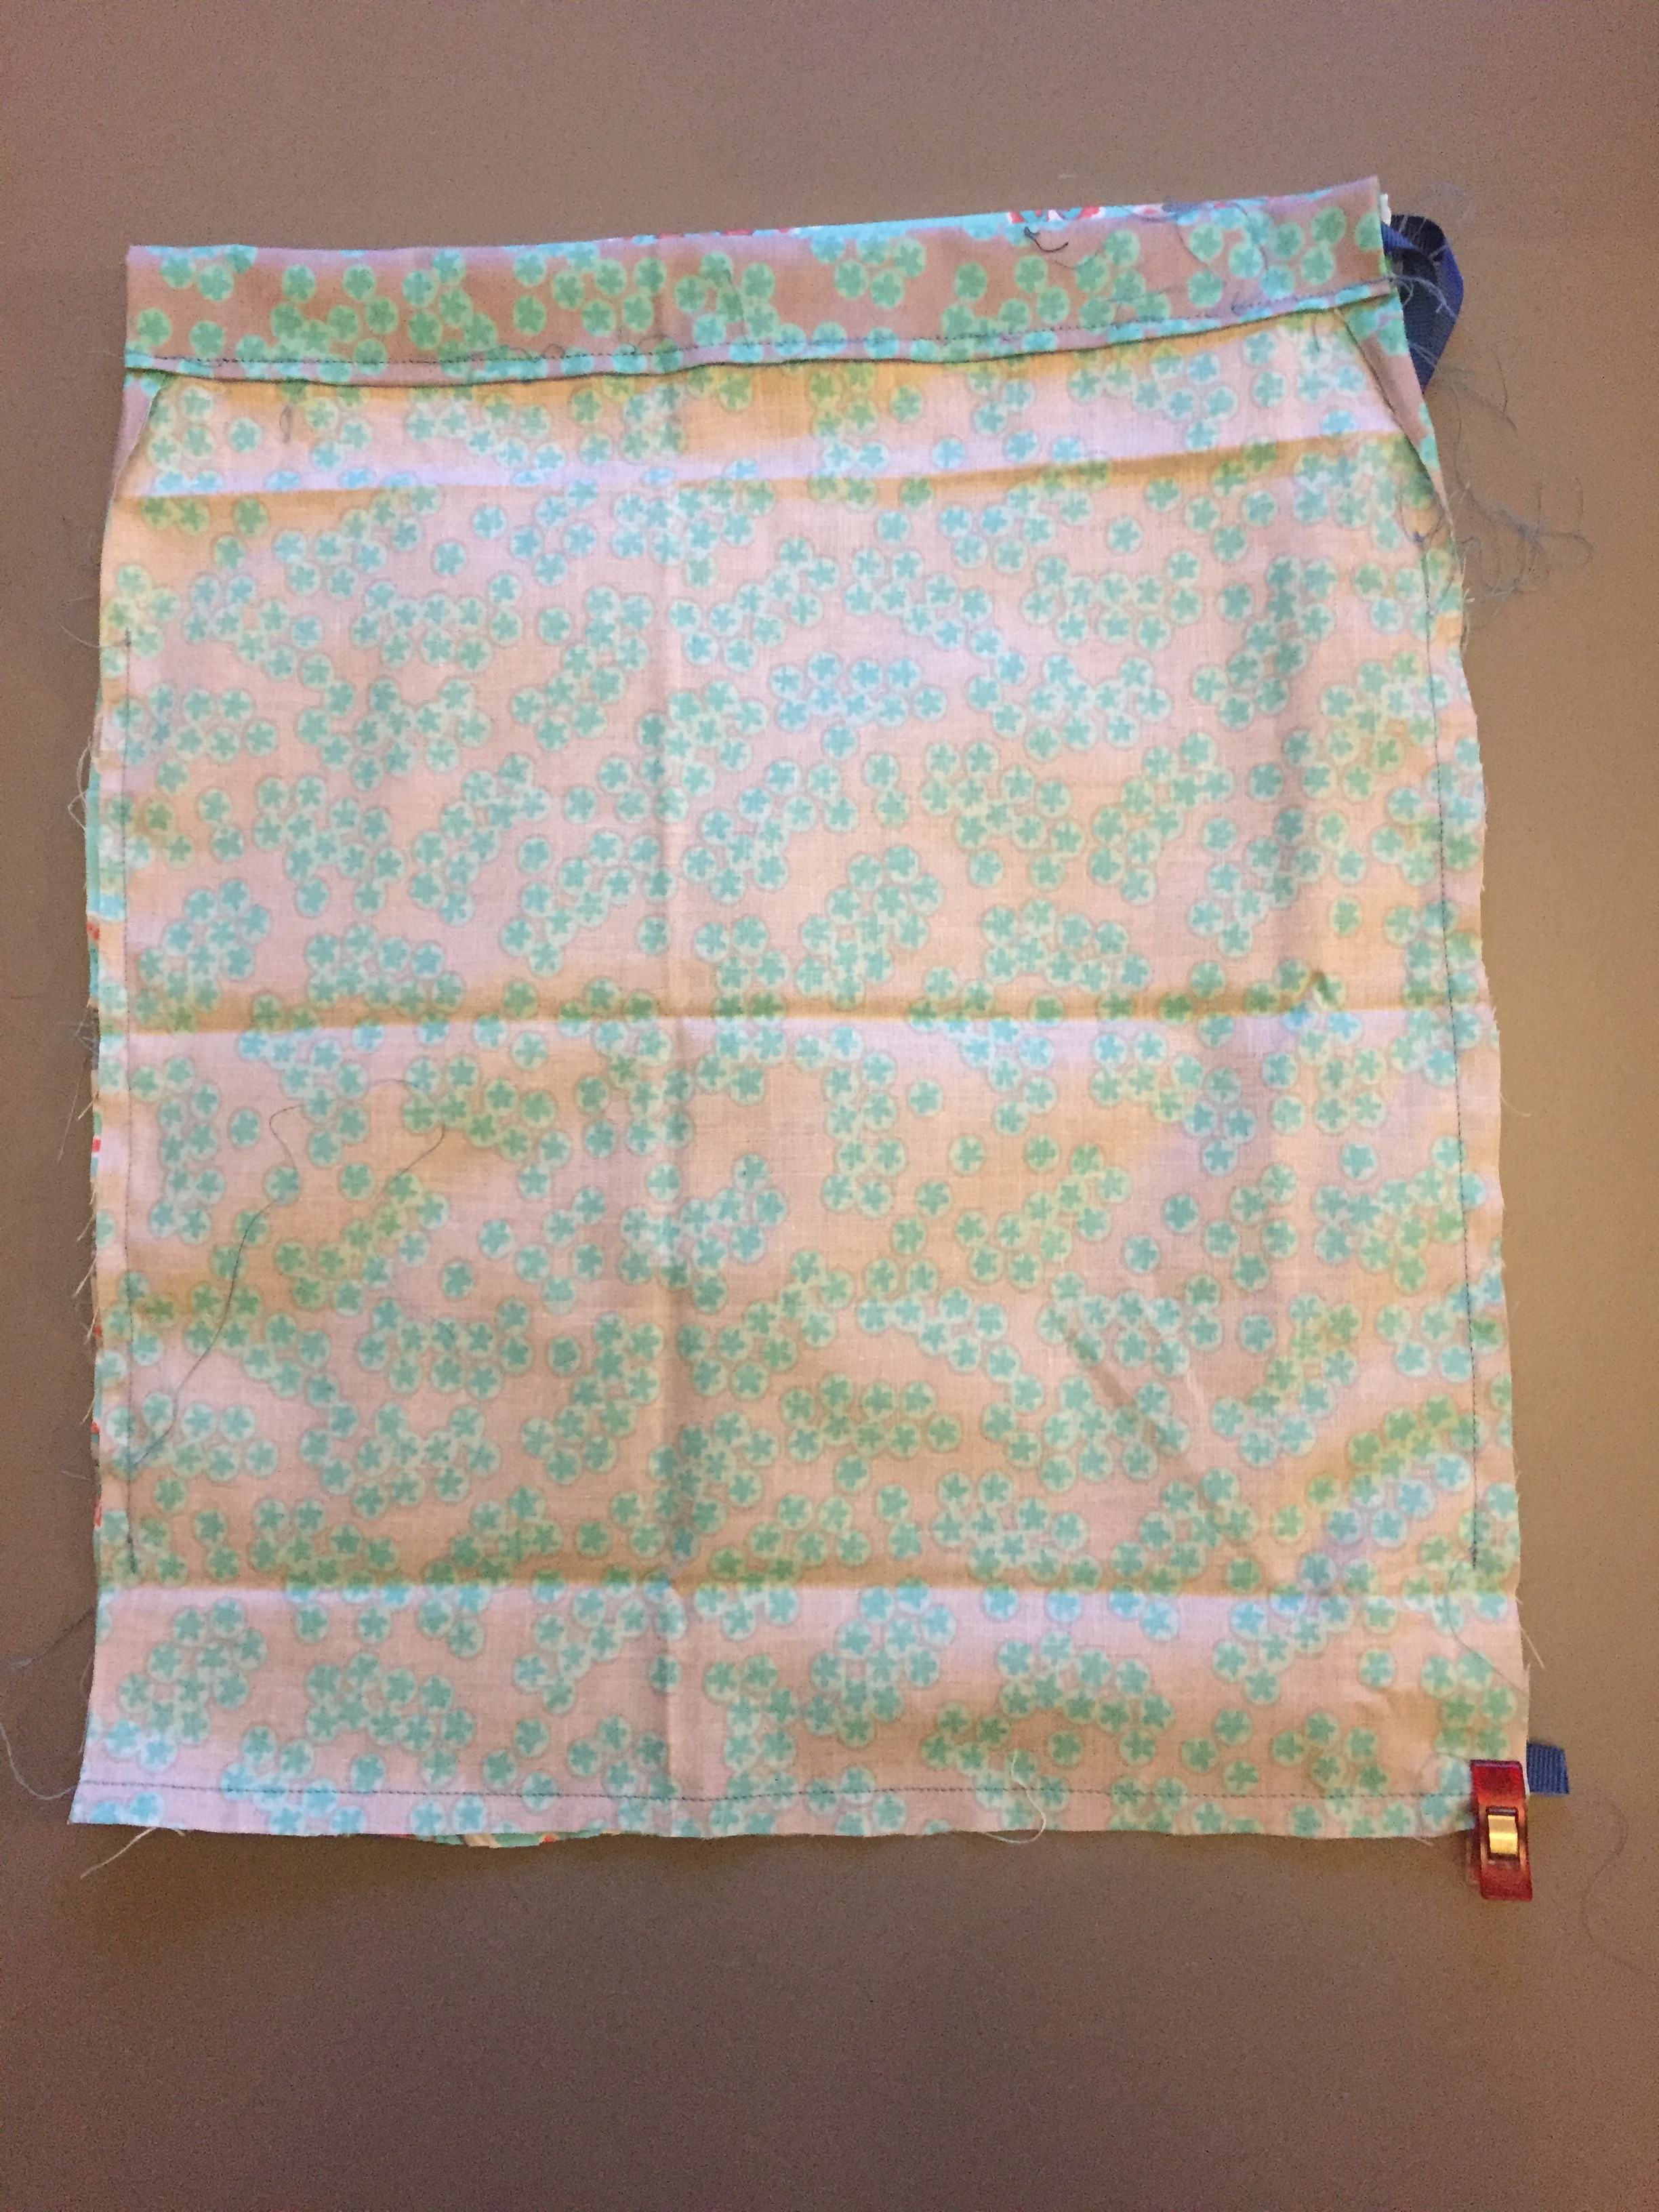
- Pin the front and back right sides together and sew along the bottom of the bag, then down each side starting 5cm from the bottom of the top folded edge and leaving a 5cm gap at the bottom.
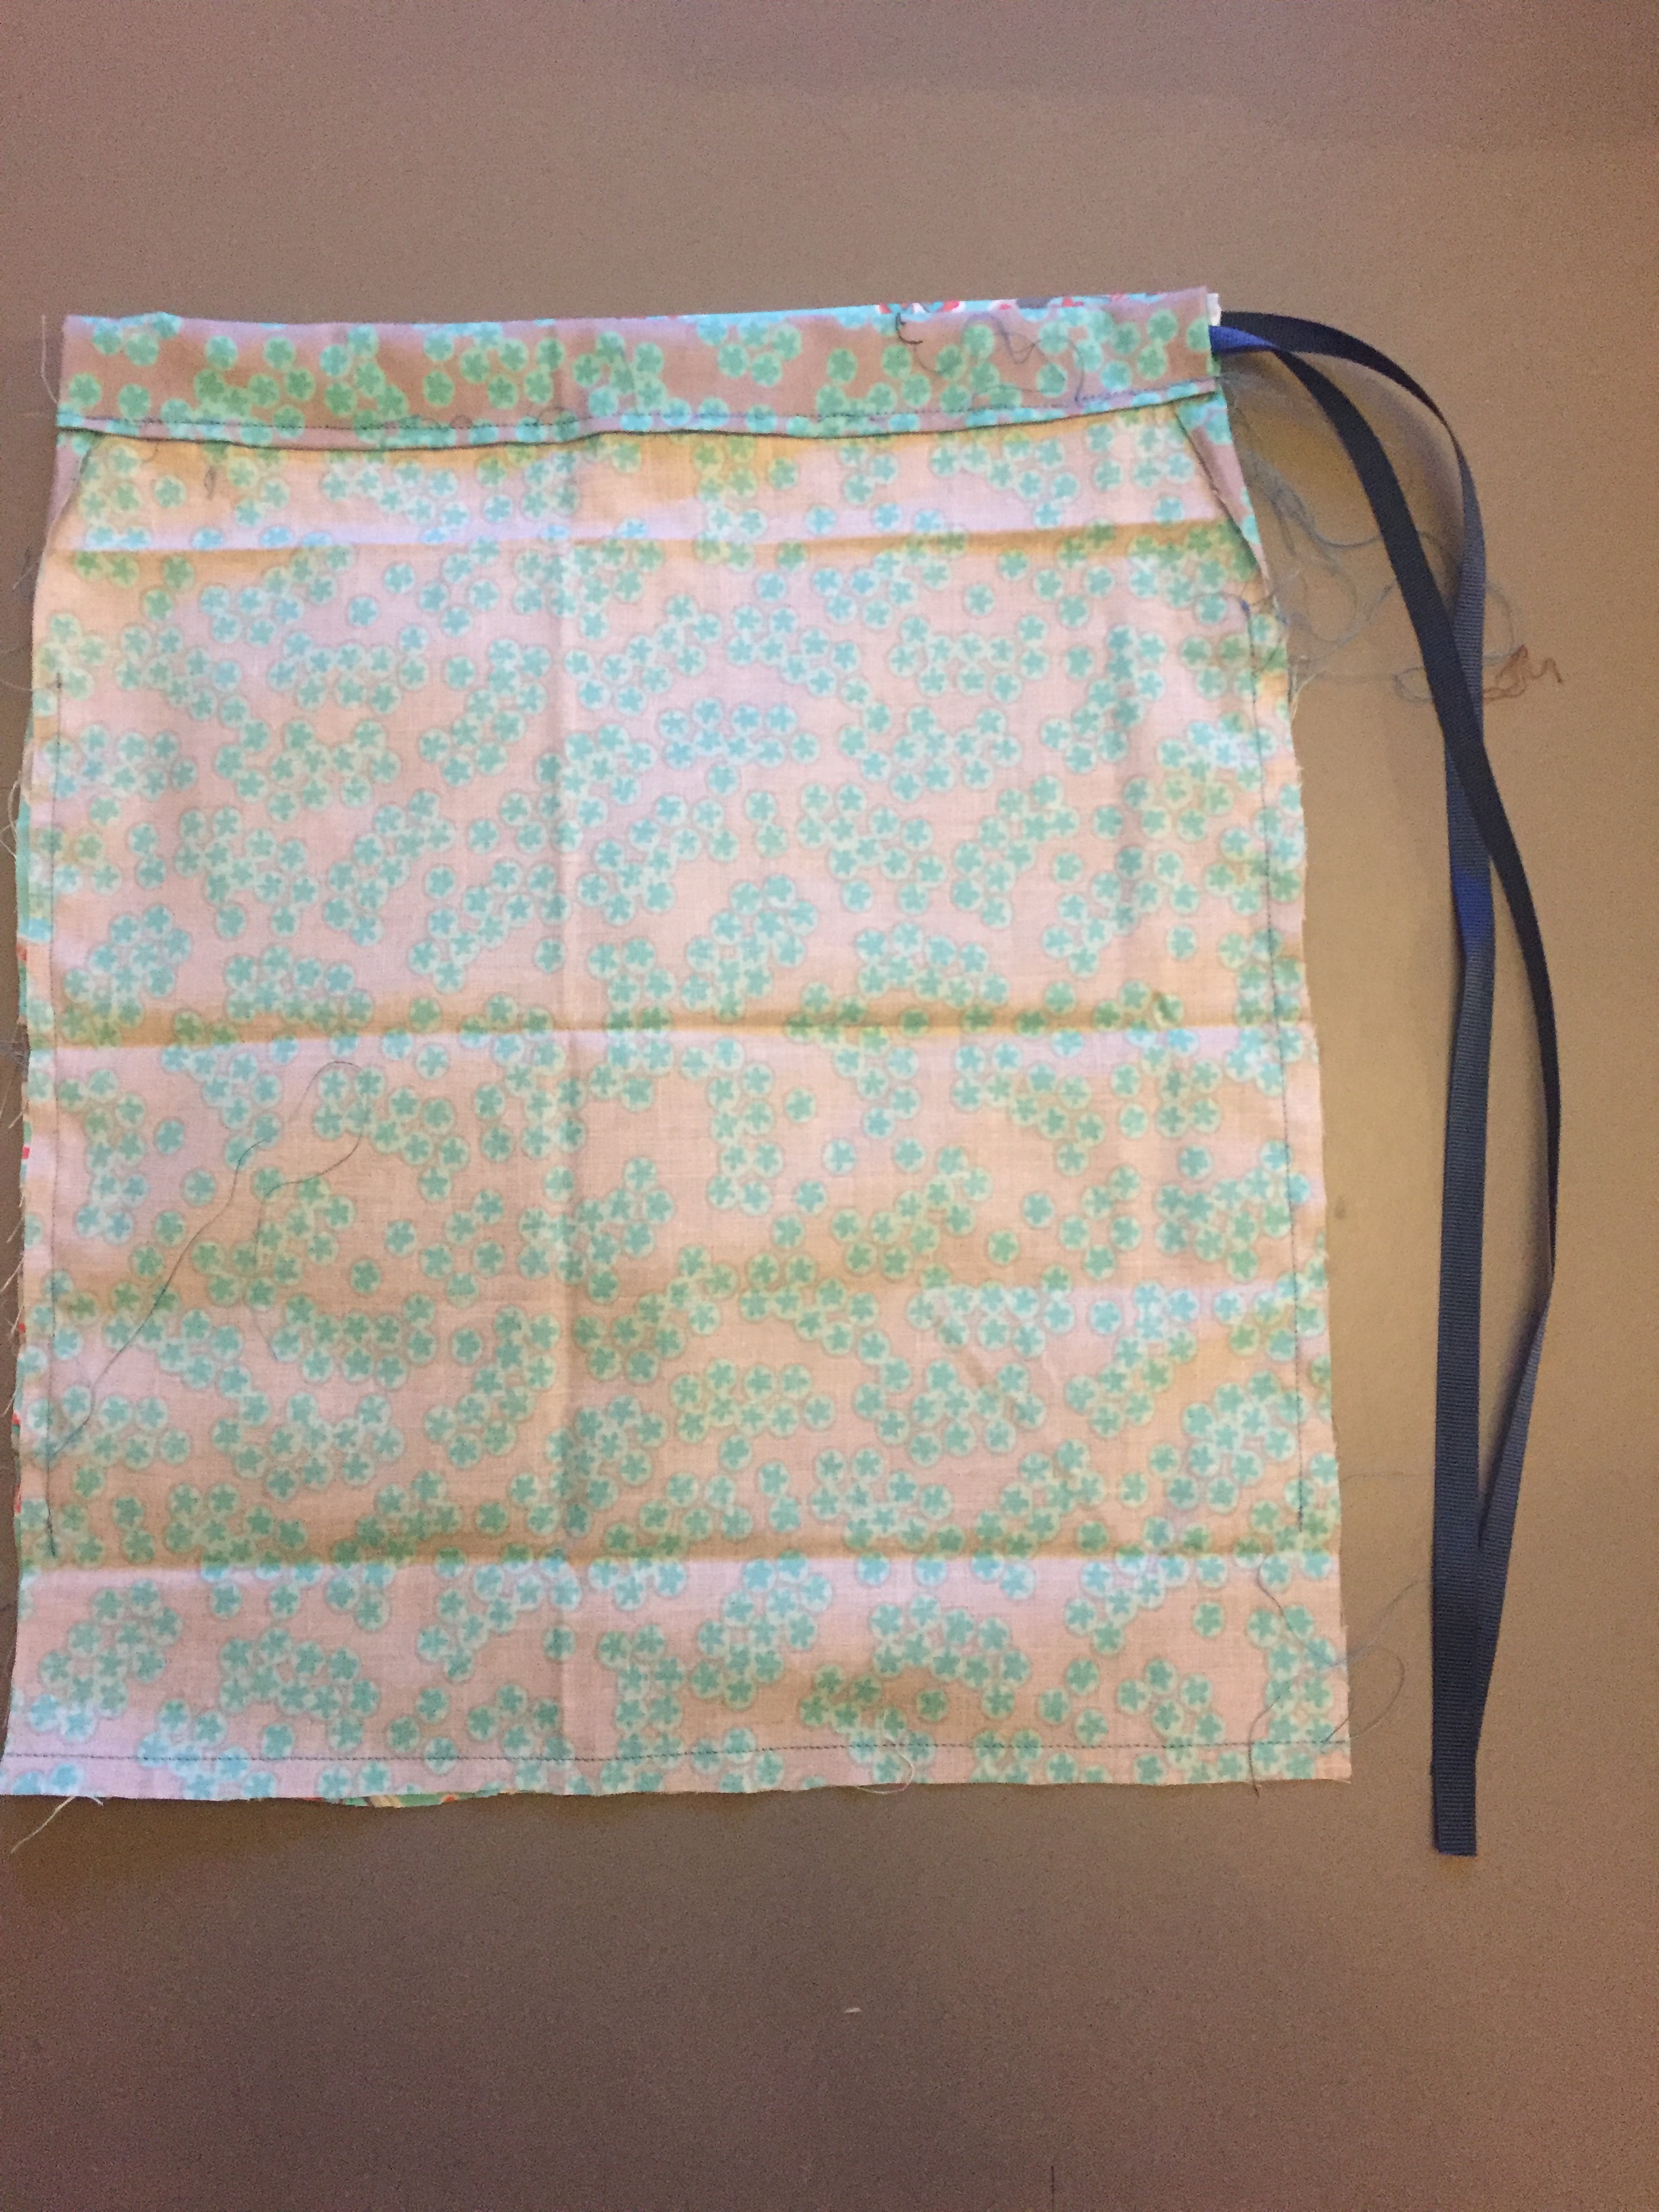
- Take the ribbon and cut in half so you have 2 1.3m long pieces. Thread the ribbon through the top of the bag, taking one piece and threading it from the left side right around the top of the bag and back out the left side, and the other piece from the right side right around the top of the bag and back out the right side. Take the ends of the ribbon and pull them down the inside of the bag (which is still inside out) and pull out of the 5 cm gap at the bottom of each side, so the left hand ribbon comes out the bottom left side and the right side ribbon comes out the bottom right. Pin in place and sew to secure.

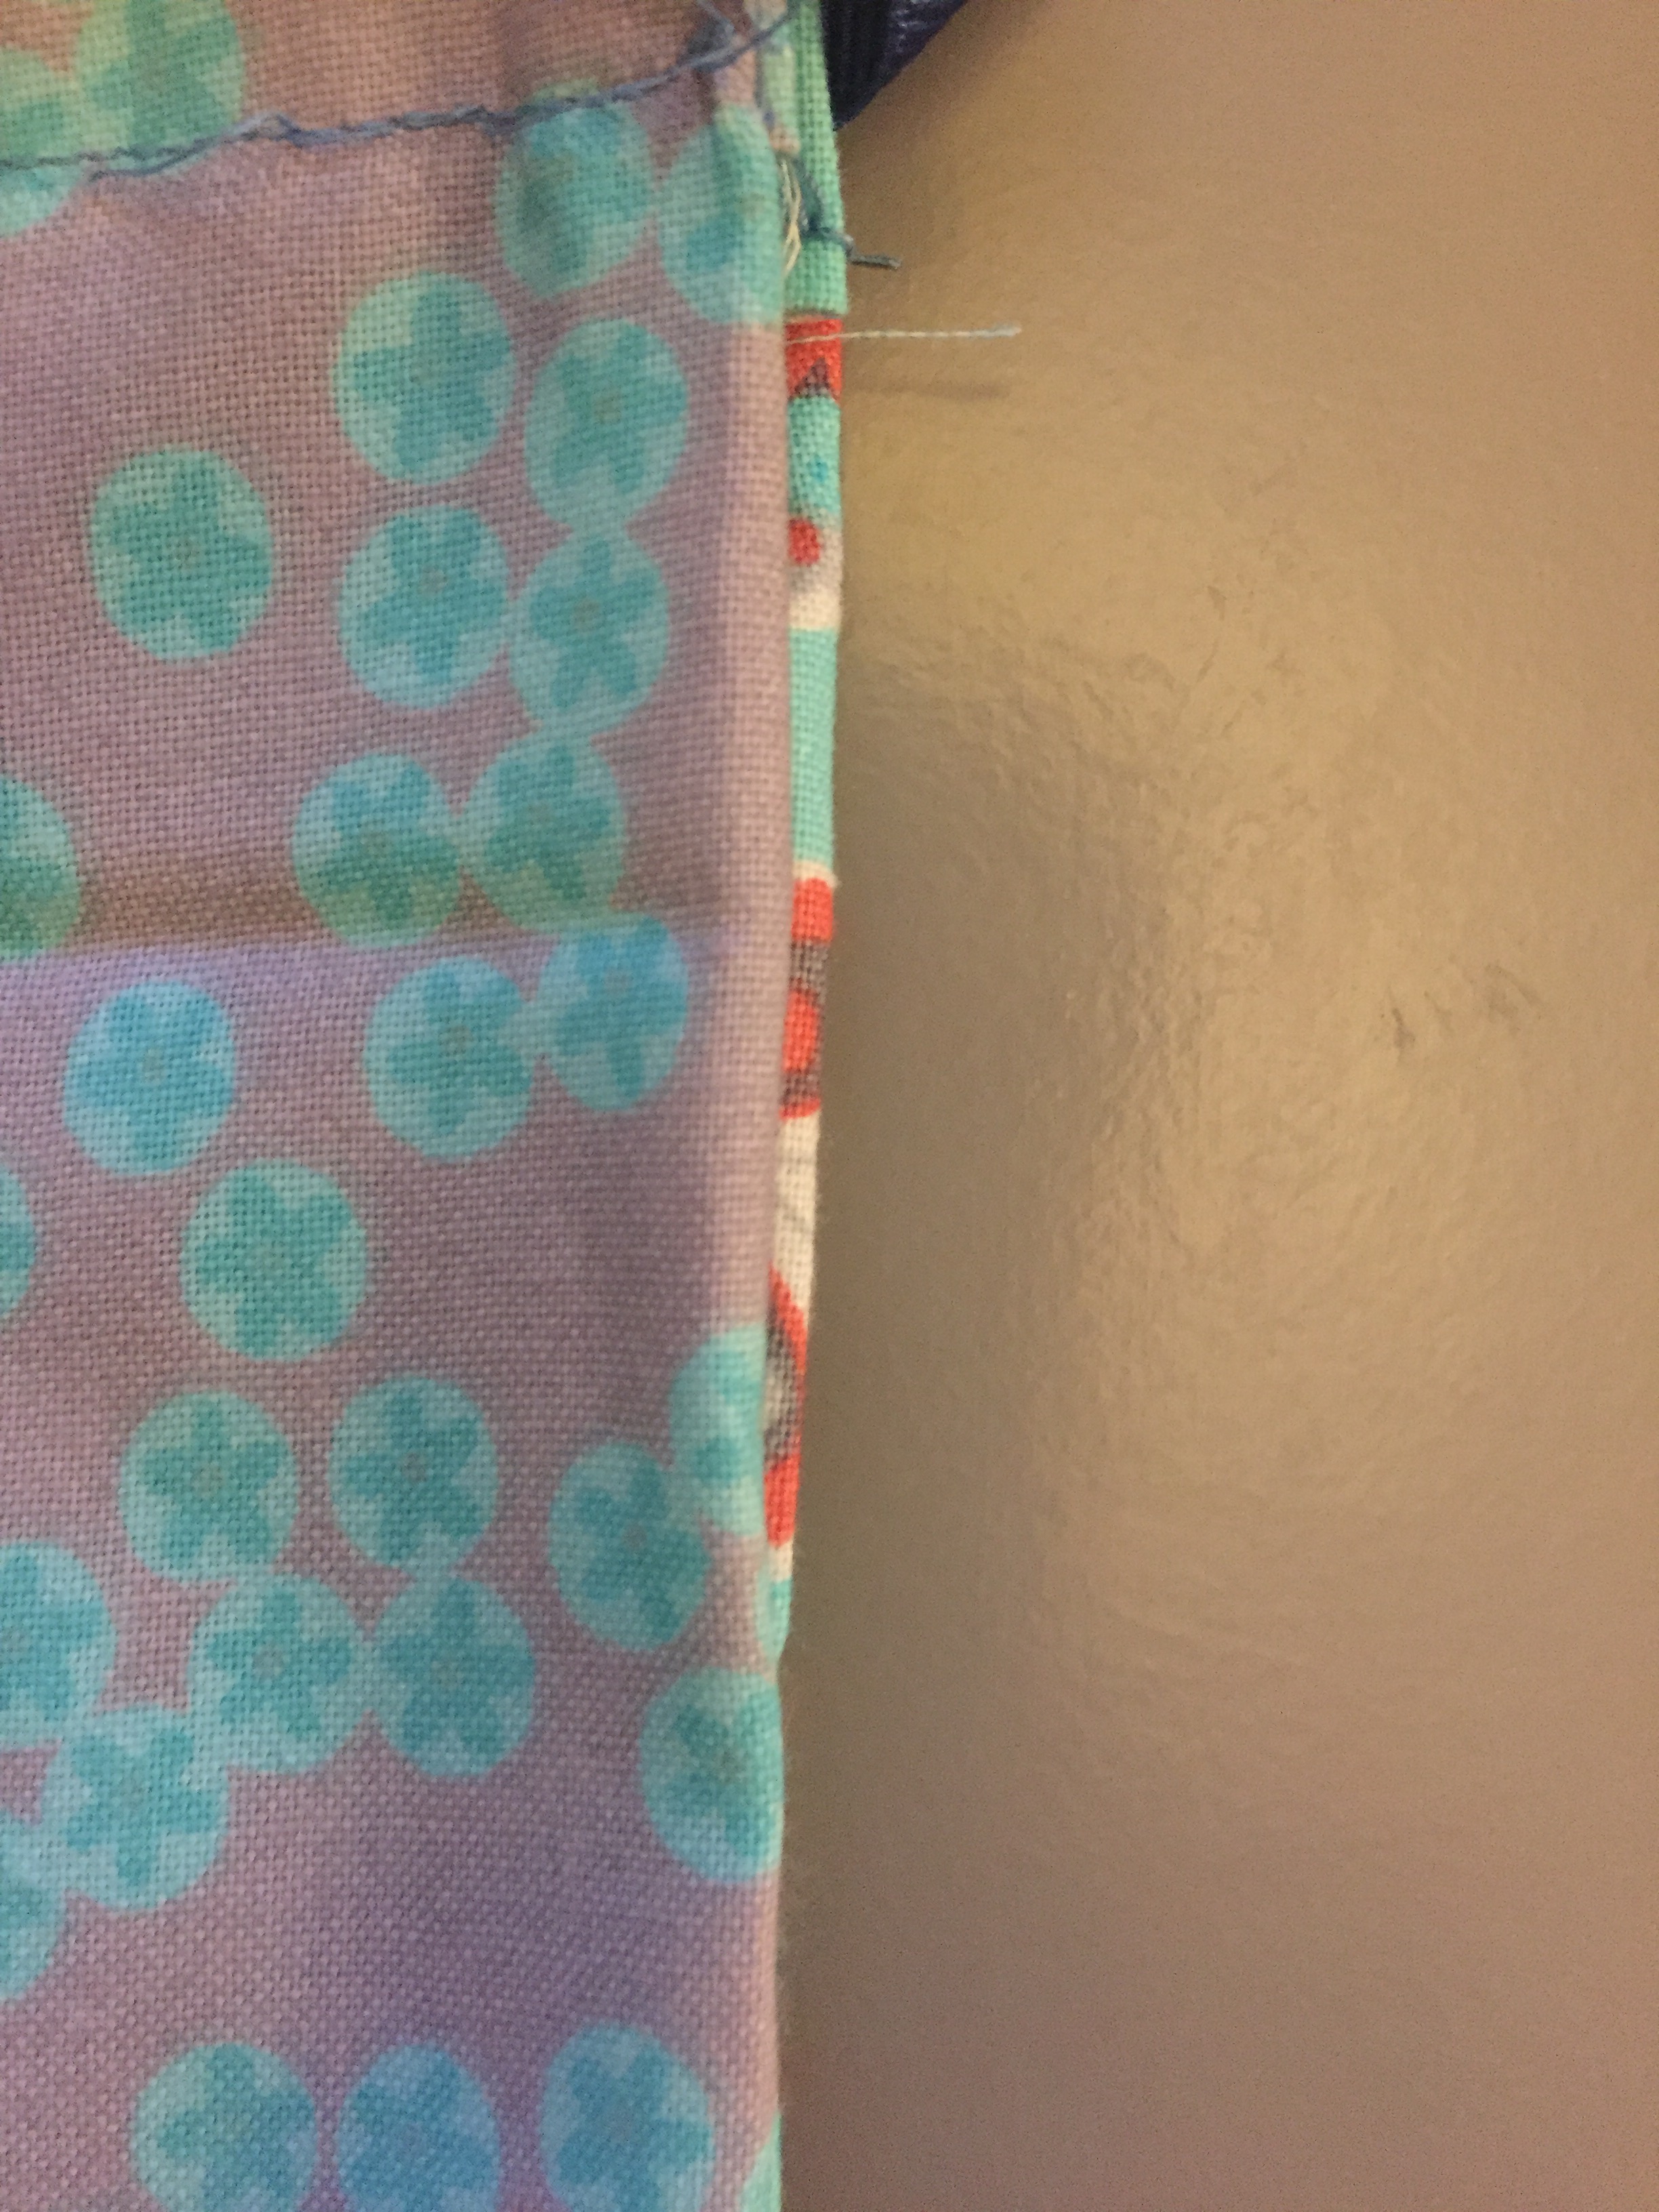
- Turn the bag the right way around and slip stitch closed the 5cm gap beneath the top folded over edge turning in the side edges by 1cm.

- Using the embroidery thread sew on two antenna and sew down the middle of the body.
This tutorial is also available over on their blog along with lots of other great projects:

Leave a comment