
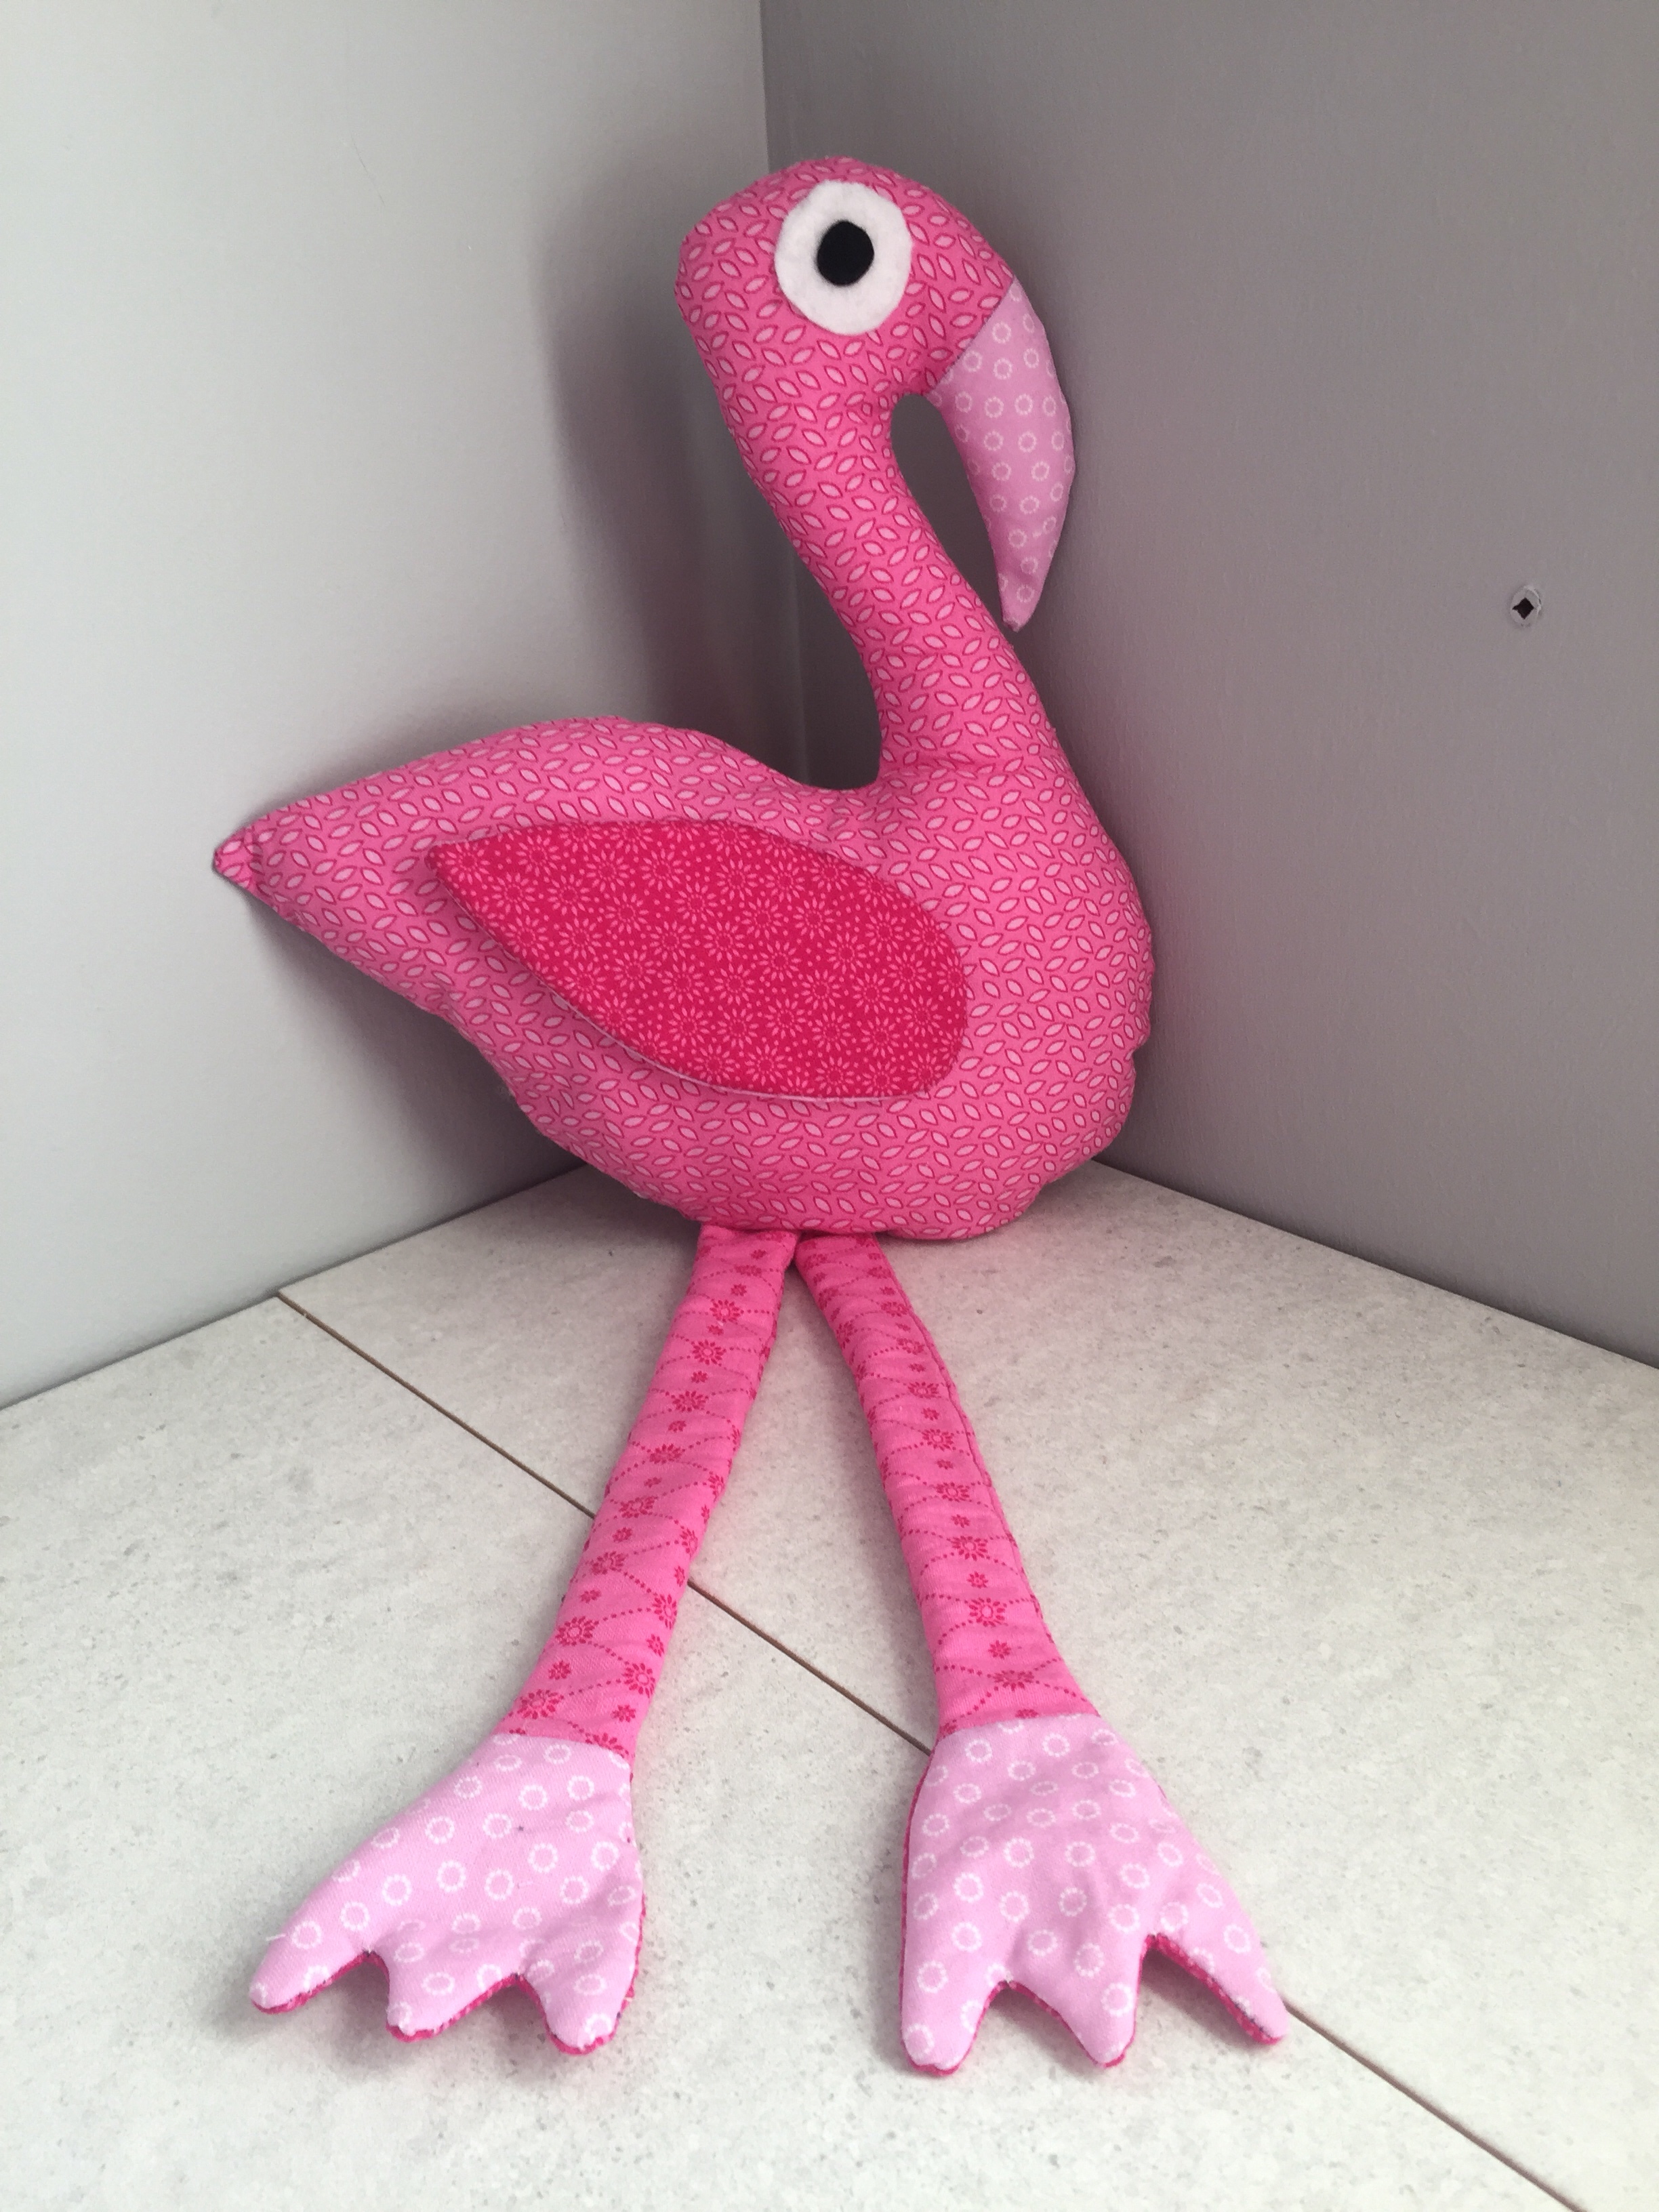
This flamingo cushion will always stand out from the crowd
I’ve had the idea for a flamingo cushion for a while now and when I received some Essential Trends fat quarters in pink by The Craft Cotton Company I knew they would be perfect for making one with.
It was great fun putting this cushion together and I have kept him sat on my craft desk as it makes me smile whenever I look at it – I will have to make some to go in some other rooms!
Fabric gifted by The Craft Cotton Company.
Flamingo mini cushion tutorial
Materials
- Essential trends fat quarters by The Craft Cotton Company in pink.
- Felt for the eyes:
- Black (5 x5cm).
- White (10×10 cm).
- Batting 30x30cm.
- Toy stuffing.
- Thread.
- Pencil.
- Paper.
- Ruler.
- Pins.
- Scissors.
- Needle.
Flamingo mini cushion tutorial
- Draw out your flamingo body, beak, foot and wing. Cut out to form your templates.

- Cut out from the fabric (with a 0.5cm seam allowance):
- 2 body pieces.
- 4 feet pieces.
- 2 beak pieces.
- 4 wing pieces.
- For the legs cut out 4 strips from the same coloured fat quarter 4cm wide 23cm long.
- Cut out from the batting:
- 2 wing pieces.
- 2 legs pieces: For the legs cut out the batting after the feet have been attached to the legs.
- Sew the fabric feet pieces onto the bottom of the leg pieces.

- Take a piece of leg batting, place a joined leg piece on top with right side facing up, place another leg piece right side facing down. Sew around leaving a 5cm gap for turning. Turn out the right way and slip stitch closed the gap. Repeat to make the second leg.

- Take a piece of wing batting, place a wing piece on top with right side facing up, place another wing piece right side facing down. Sew around leaving a 5cm gap for turning. Turn out the right way and slip stitch closed the gap. Repeat to make the second wing.
- Take a beak piece and sew to the front body piece (placing right sides together and sewing to join). Repeat for the back.
- Sew one of the wings onto the front body piece. Repeat with the back.
- Place the front body pieces right side facing up, place the legs with the top edges of the legs against the raw edges of the body fabric, pin to secure (fold the legs up into the body so the don’t get caught up in the seam). Place the back body piece onto right side facing down. Sew around leaving a 10cm gap for turning. Turn out the right way, add stuffing and slip stitch close the gap.

- Cut out 2 1cm diameter circles from the black felt, and 2 4cm diameter circles from the white felt. Sew the black pupils onto the middle of the white circles. Sew the eyes onto each side of the head.

The tutorial to make your own is available over on The Craft Cotton Company blog


Leave a comment