
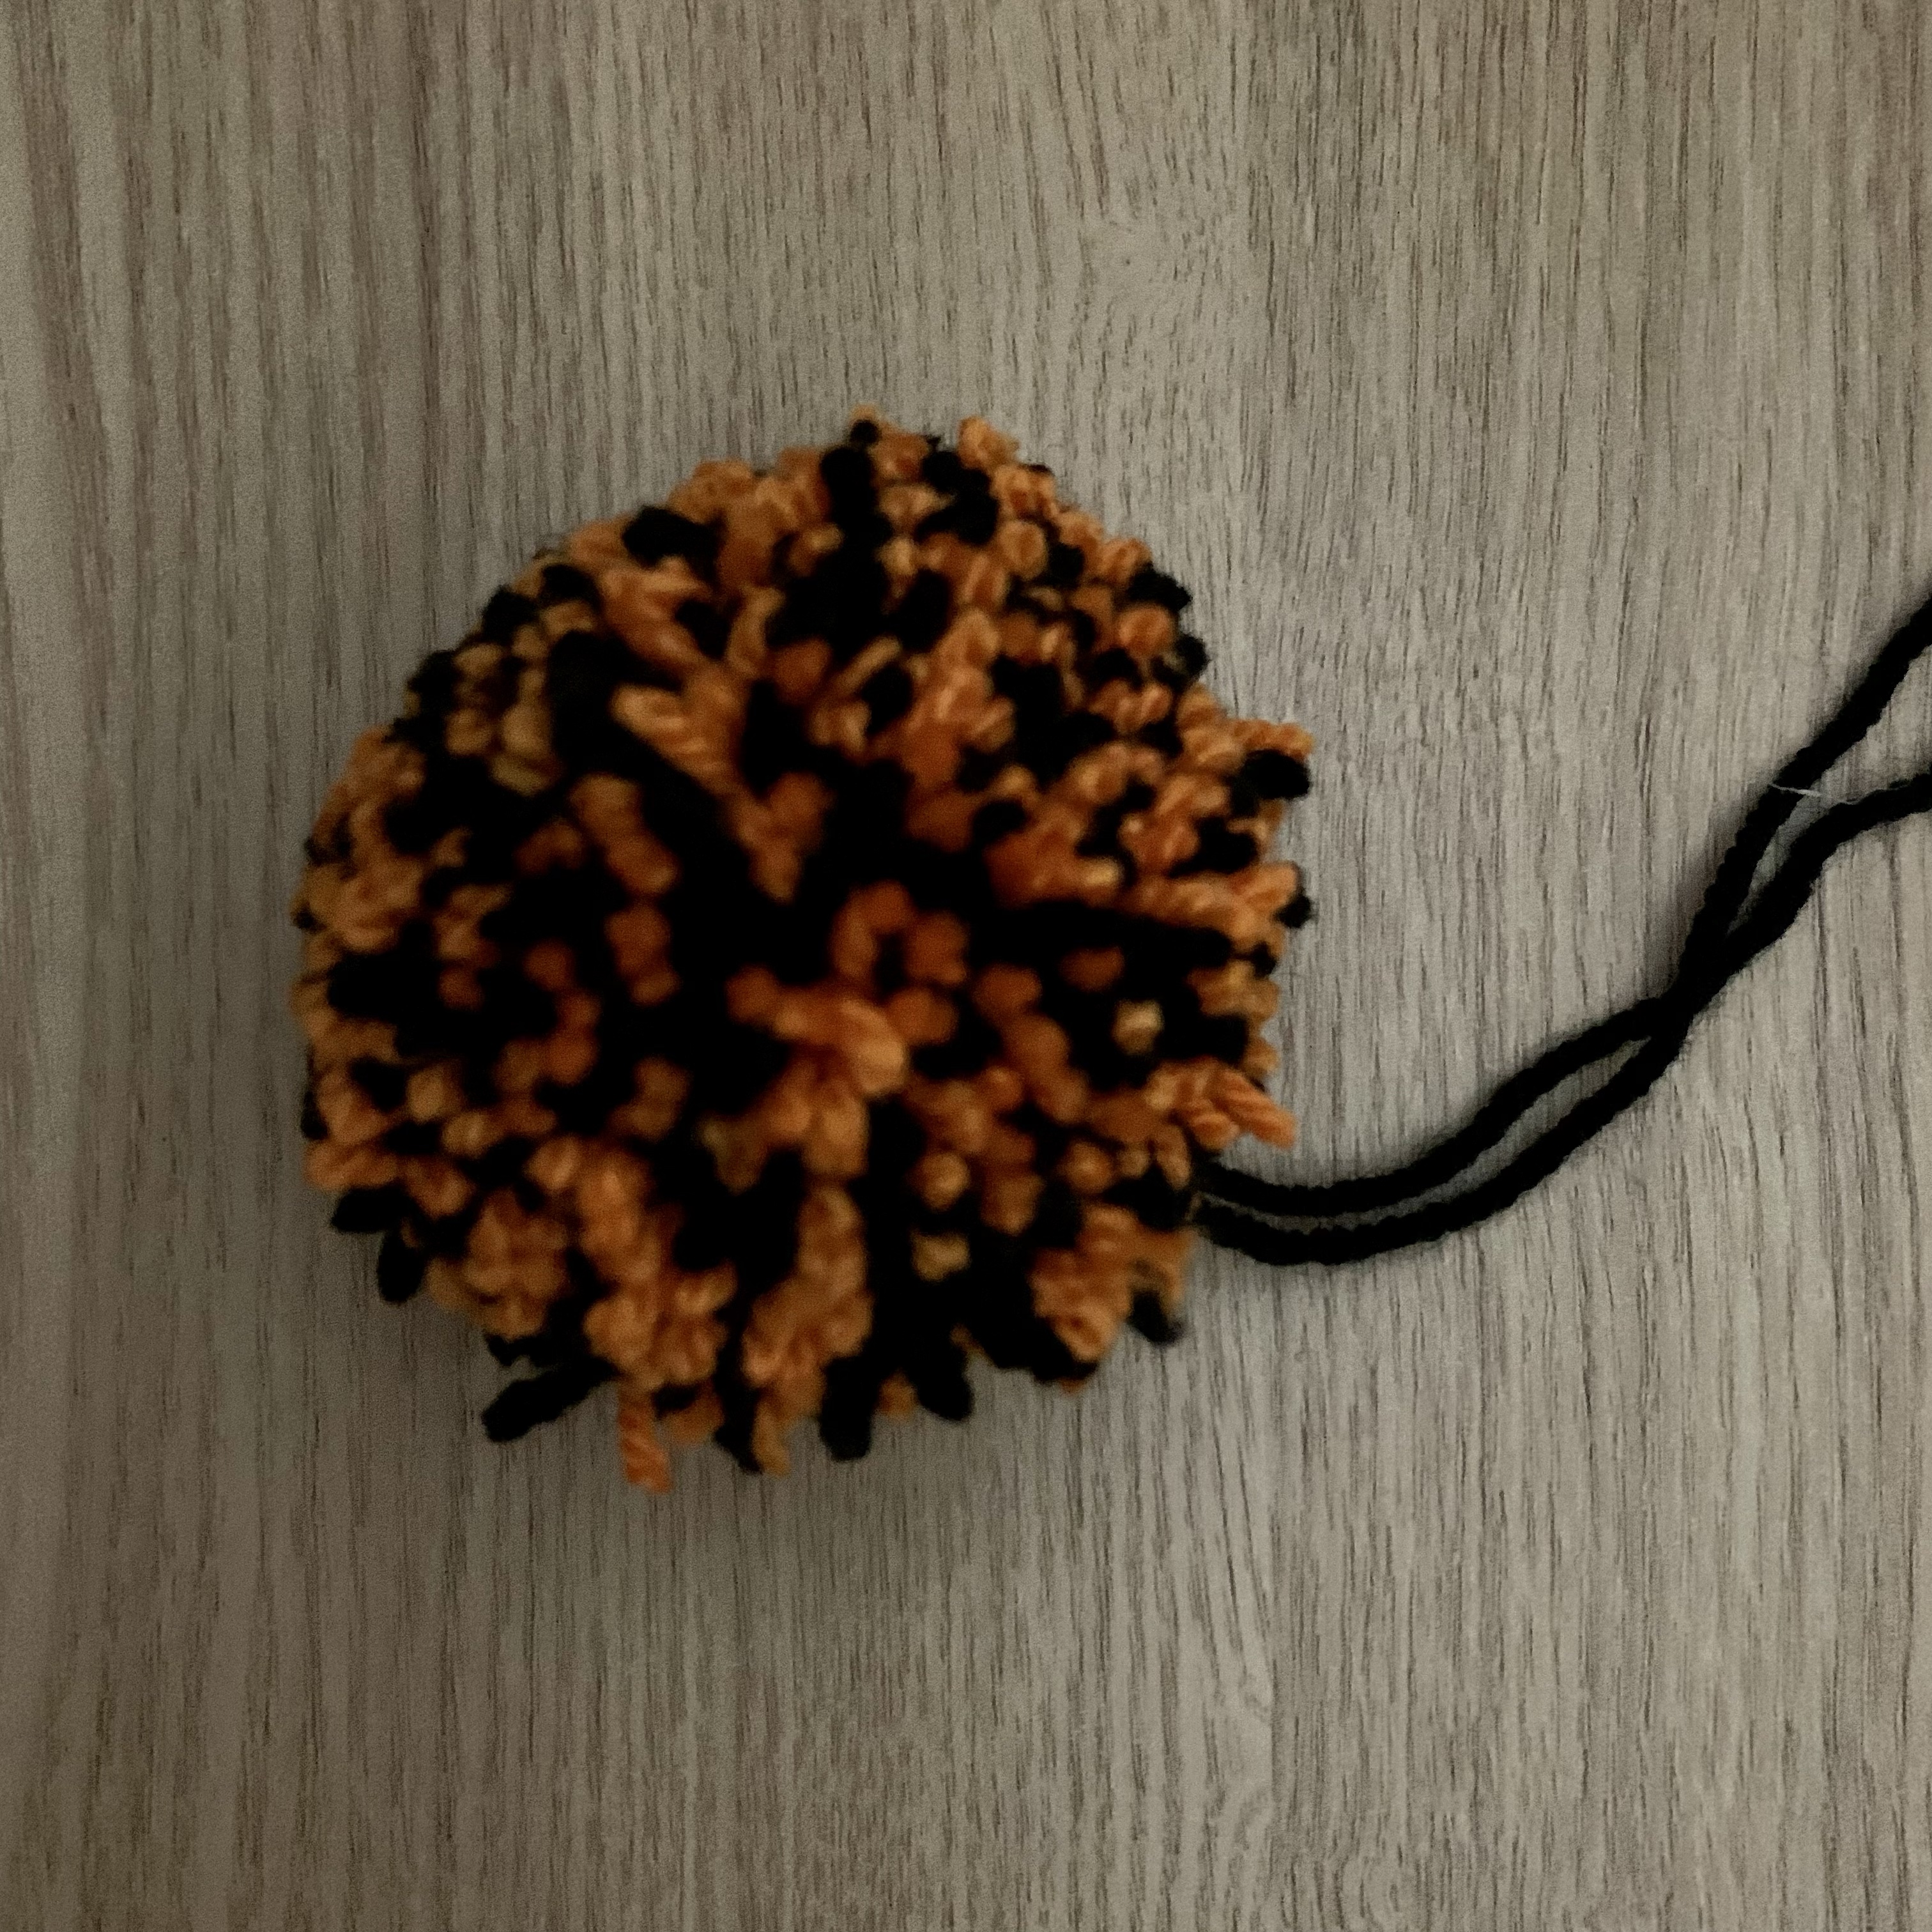
It started with a plaid effect golf club cover and then moved on to a baby Yoda golf club cover (I still have a few more Star Wars themed covers in progress), now I have got my next cover completed and this time have gone for a swirl effect with a pom pom detail. This swirl club cover is also slightly larger than the previous plaid and baby Yoda as I needed this one to go over a driver.
I only used 2 colours on this one as I really wanted the swirl to stand out so stuck with just the black and orange. I want to make a couple more of these using some different colour combinations too.
Wool used:
Colour 1 (Black): Hobbycraft Everyday DK in black.
Colour 2 (Orange): Hobbycraft Everyday DK in orange.
Swirl effect golf club pattern:
Materials:
- 4.5mm crochet hook.
- Wool: 50g balls in 2 different colours, I used black (colour 1) and orange (colour 2).
- Scissors.
- Stitch marker.
- Darning needle.
- Pom pom maker/2 pieces of card to make a pom pom 5.5cm in diameter.
Finished size:
- 10cm wide stretchy bit at the bottom.
- Widest point on the upper section – 16cm.
- 22cm tall.
Notes:
- Change colour on the last yo of the previous stitch.
Crochet golf club pattern:
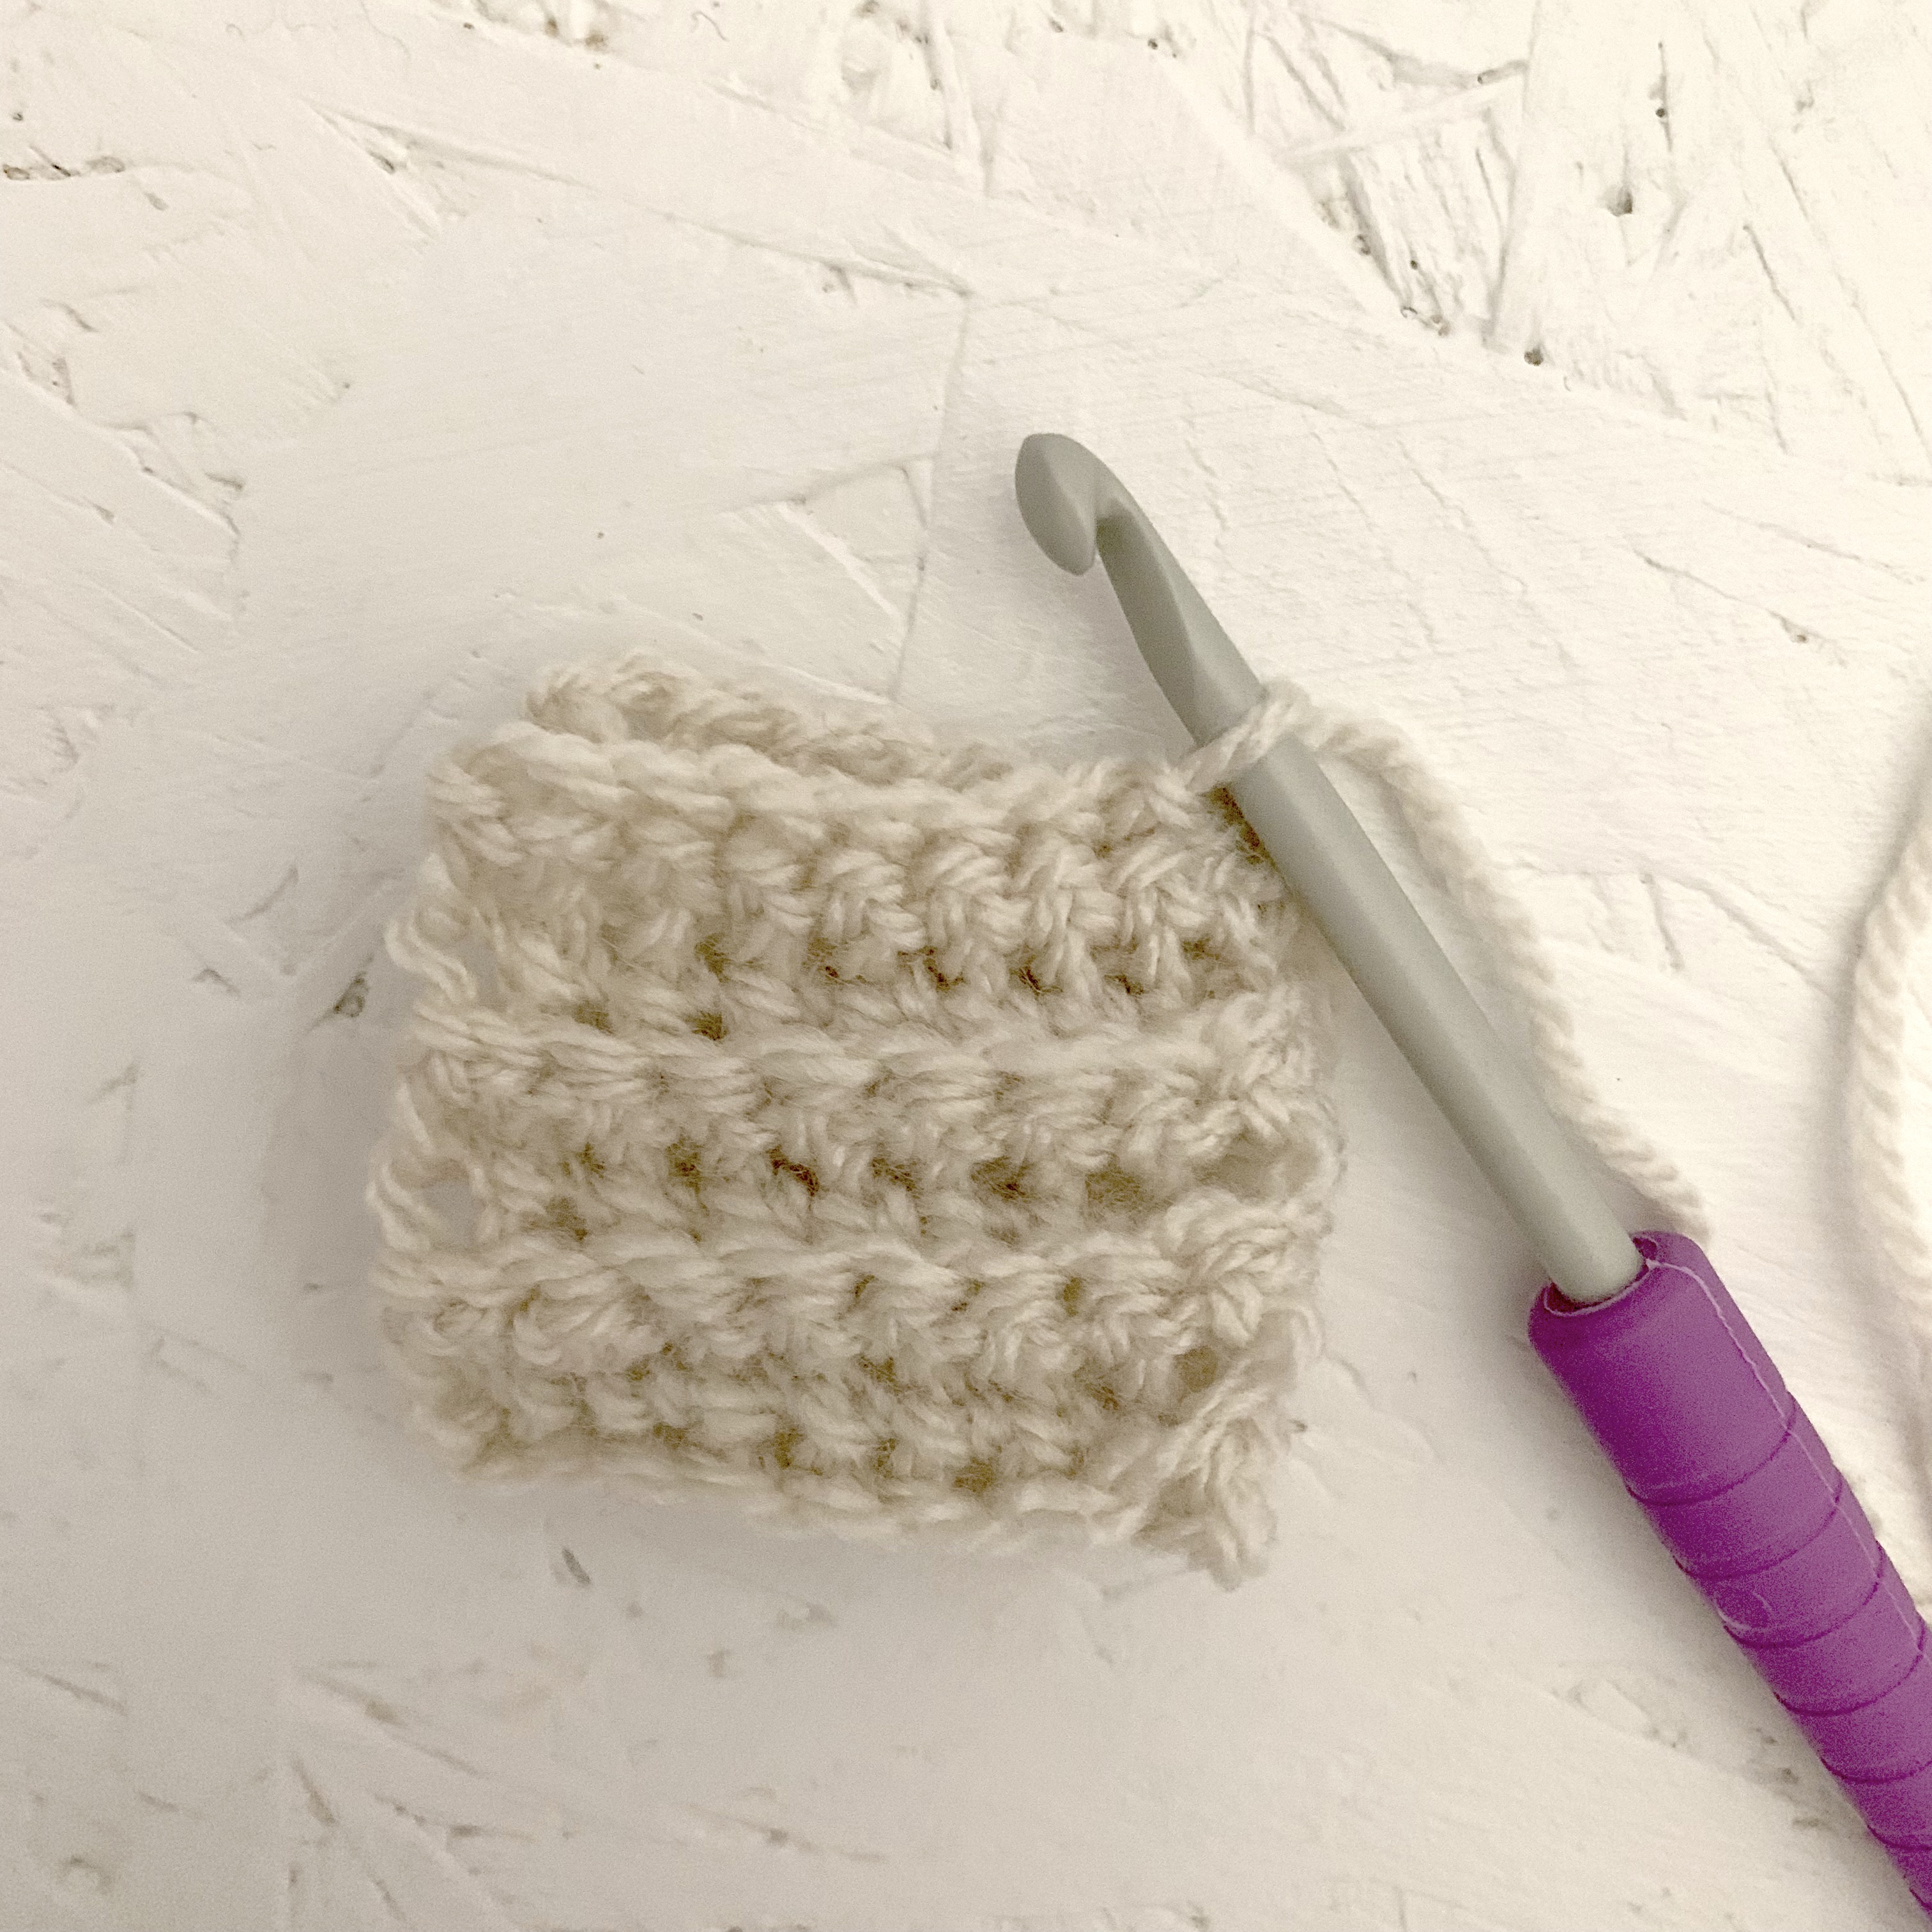
Starting in colour 1:
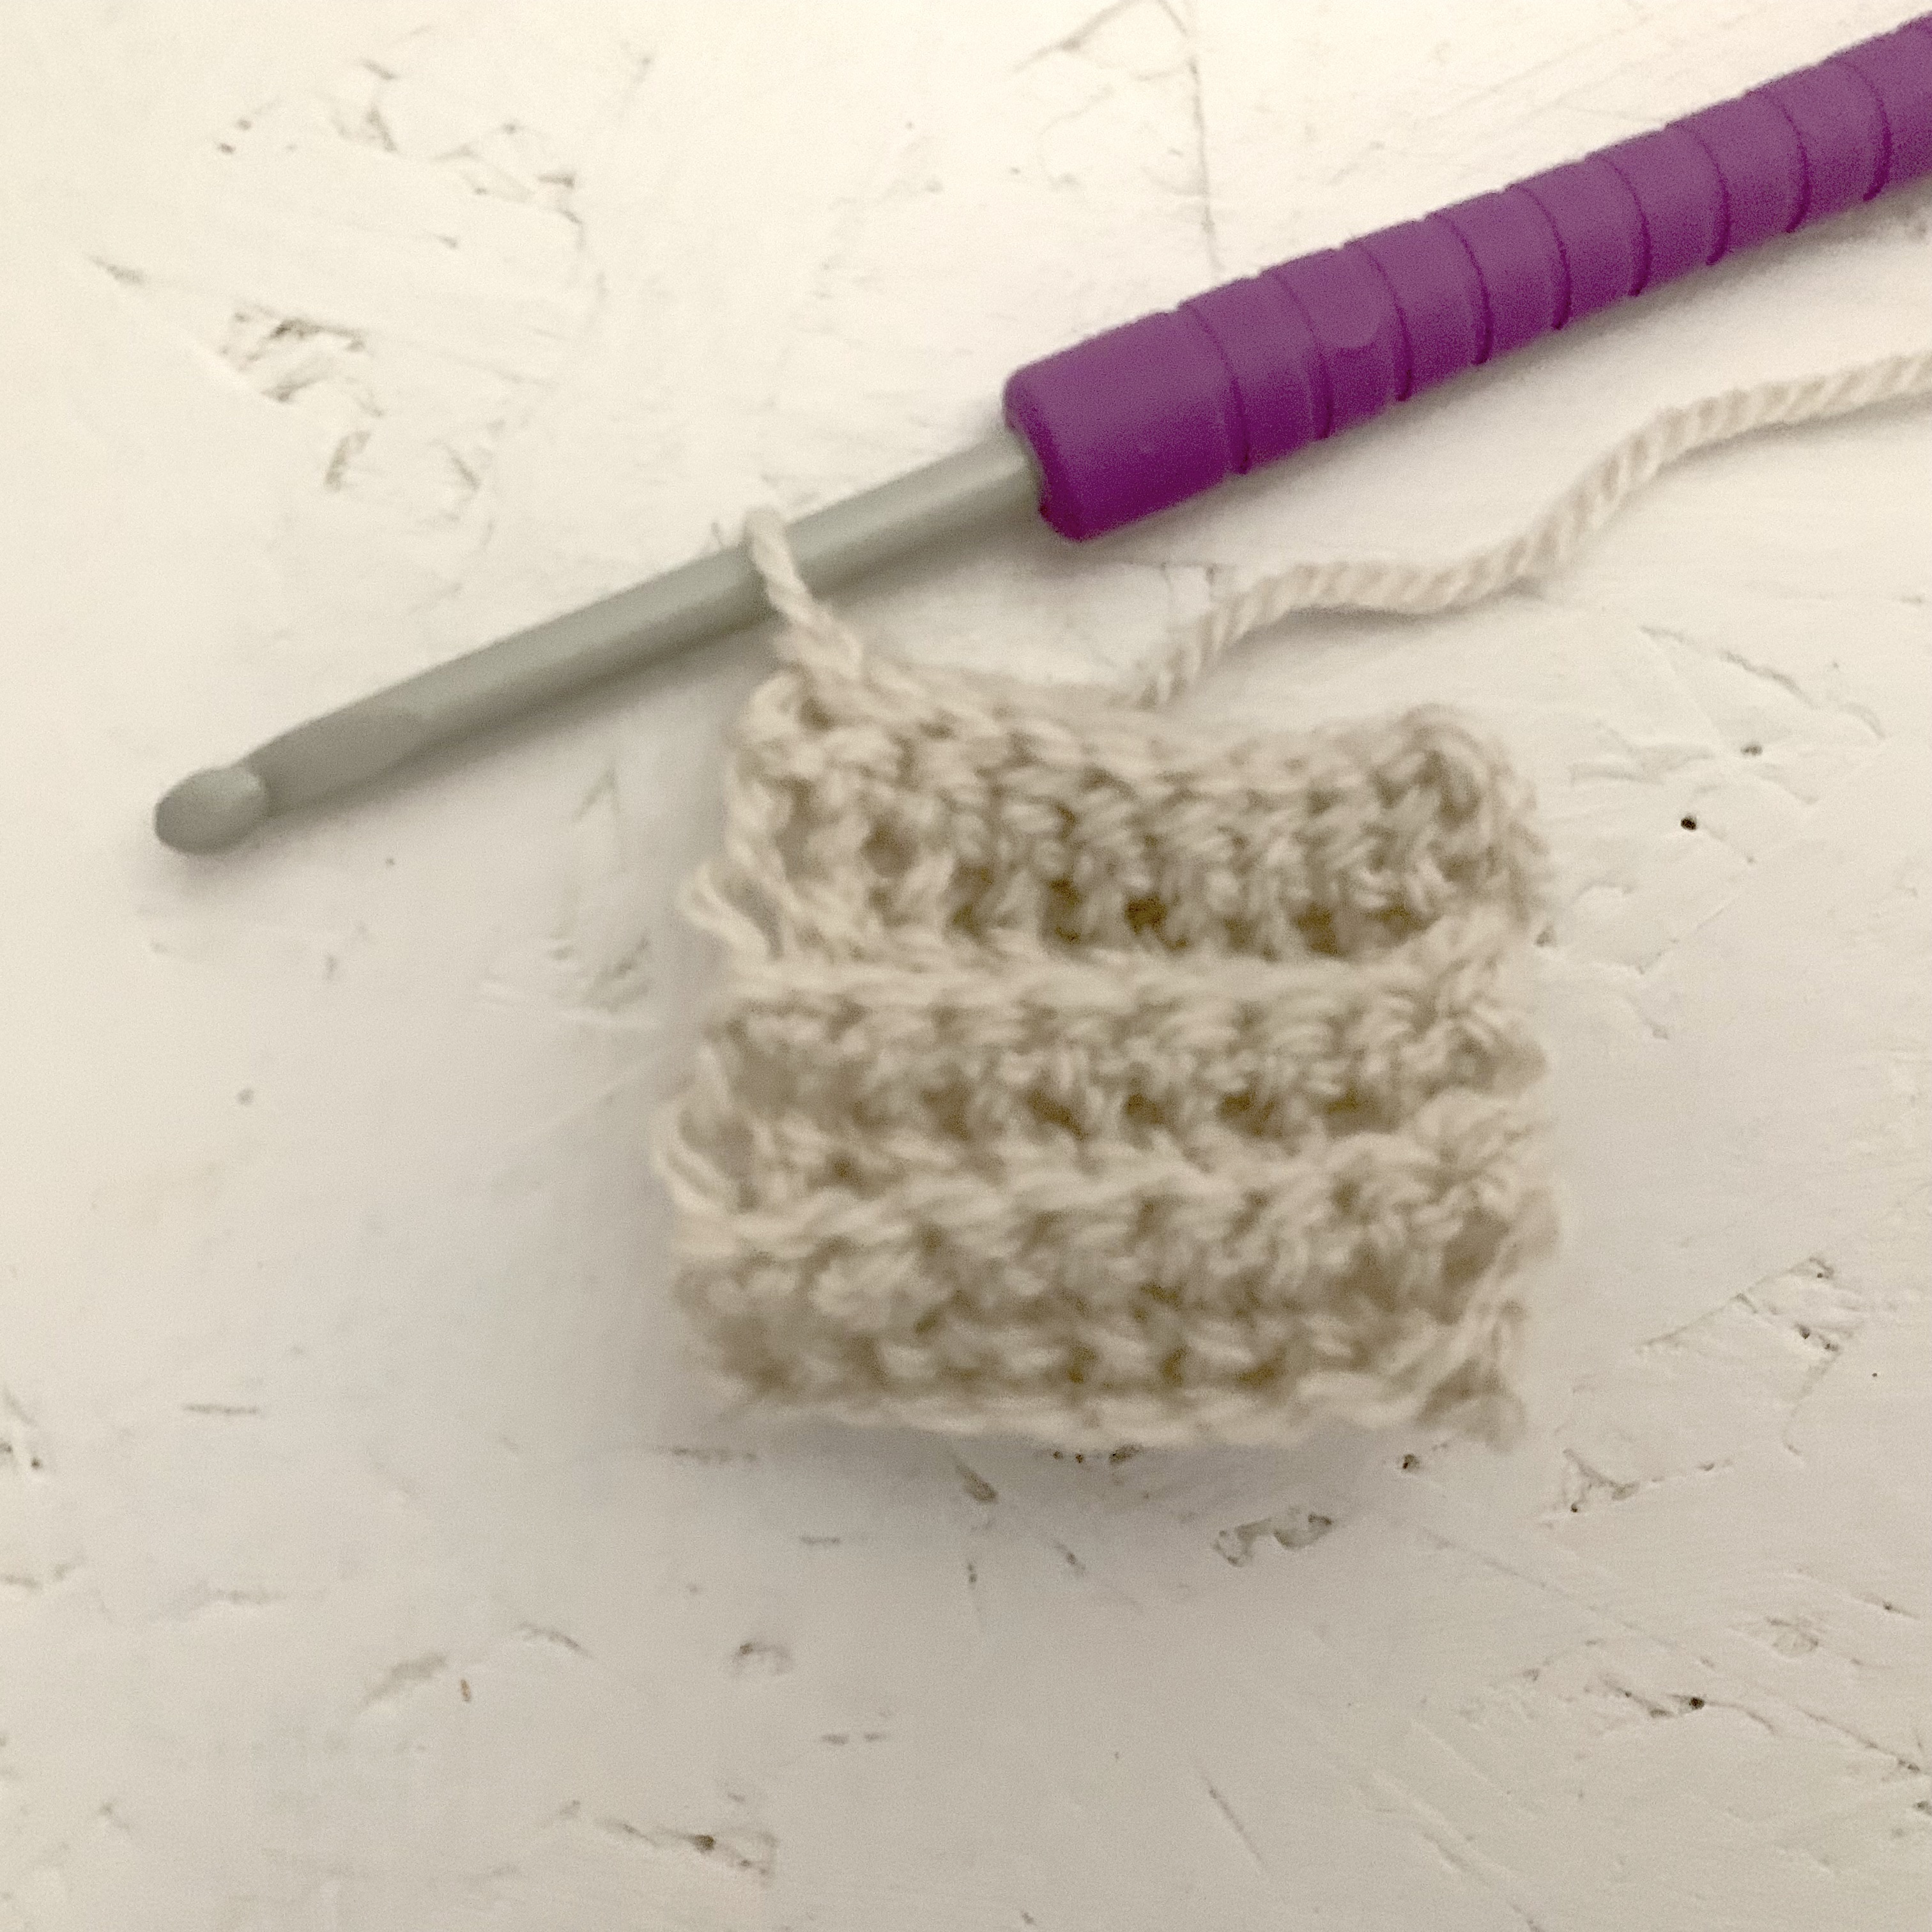
Row 1: ch25, sc into 2nd ch from hook, sc along rest of the row (24).
Rows 2-40: ch1 (doesn’t count as a stitch) in back loops only; sc along row (ribbed stitch how to can be found here).
Row 41: Fold in half so the two side edges meet then ss along the edge to join.

Round 1: ch1 (doesn’t count as a stitch) sc around into ends of the previous rows (40), ss into sc at the start of the round.

Round 2: ch1 (doesn’t count as a stitch) (4sc, 2sc into next stitch) 8 times, skip ss and ch1 and ss into 1st sc of the round (48).

Round 3: ch1 (doesn’t count as a stitch) sc around skip ss and ch and ss into 1st sc of the round.
Round 4: ch1 (doesn’t count as a stitch) (5sc, 2sc into next stitch) 8 times, skip ss and ch1 and ss into 1st sc of the round (56).
Round 5: ch1 (doesn’t count as a stitch) sc around.
Round 6: ch1 (doesn’t count as a stitch) 20sc, 20htr/hdc, 16tr/dc, skip ss and ch1, but do not ss into stitch at the start, leave the loop of colour 1 (use a stitch marker to keep the loop) and continue in colour 2 – cast on in 1st stitch of the next round.
Round 7: htr/hdc around, leave loop of colour 2 at the end of the round.
Round 8: Pick up colour 1 loop then htr/hdc around. leave loop of colour 1 at end of the round.
Round 9: Pick up colour 2 loop, htr/hdc around, leave colour 2 loop at end of the round.
Round 10: Repeat round 8.
Round 11: Repeat round 9.
Round 12: Repeat round 8.
Round 13: Repeat round 9.
Round 14: Repeat round 8.
Round 15: Repeat round 9.
Round 16: Repeat round 8.
Round 17: Repeat round 9.
Round 18: Pick up colour 1 loop, htr/hdc around. Continue using colour 1 only.
Round 19: sc around.
Round 20: (2sc, sc2tog) 14 times (42).
Round 21: (1sc, sc2tog) 14 times (28).
Round 22: sc around.
Round 23: (2sc, sc2tog) 7 times (21).
Round 24: (1sc, sc2tog) 7 times (14).
Round 25: (sc2tog) 7 times (7).
Round 26: sc2tog three times (4).
Fasten off, weave through the 4 last stitches and pull tight to close the gap. Fasten off.
- Using the pom pom make/2 circles of card (Here is a pom pom ‘how to’ for using 2 pieces of card), make a pom pom using the 2 different coloured wools.
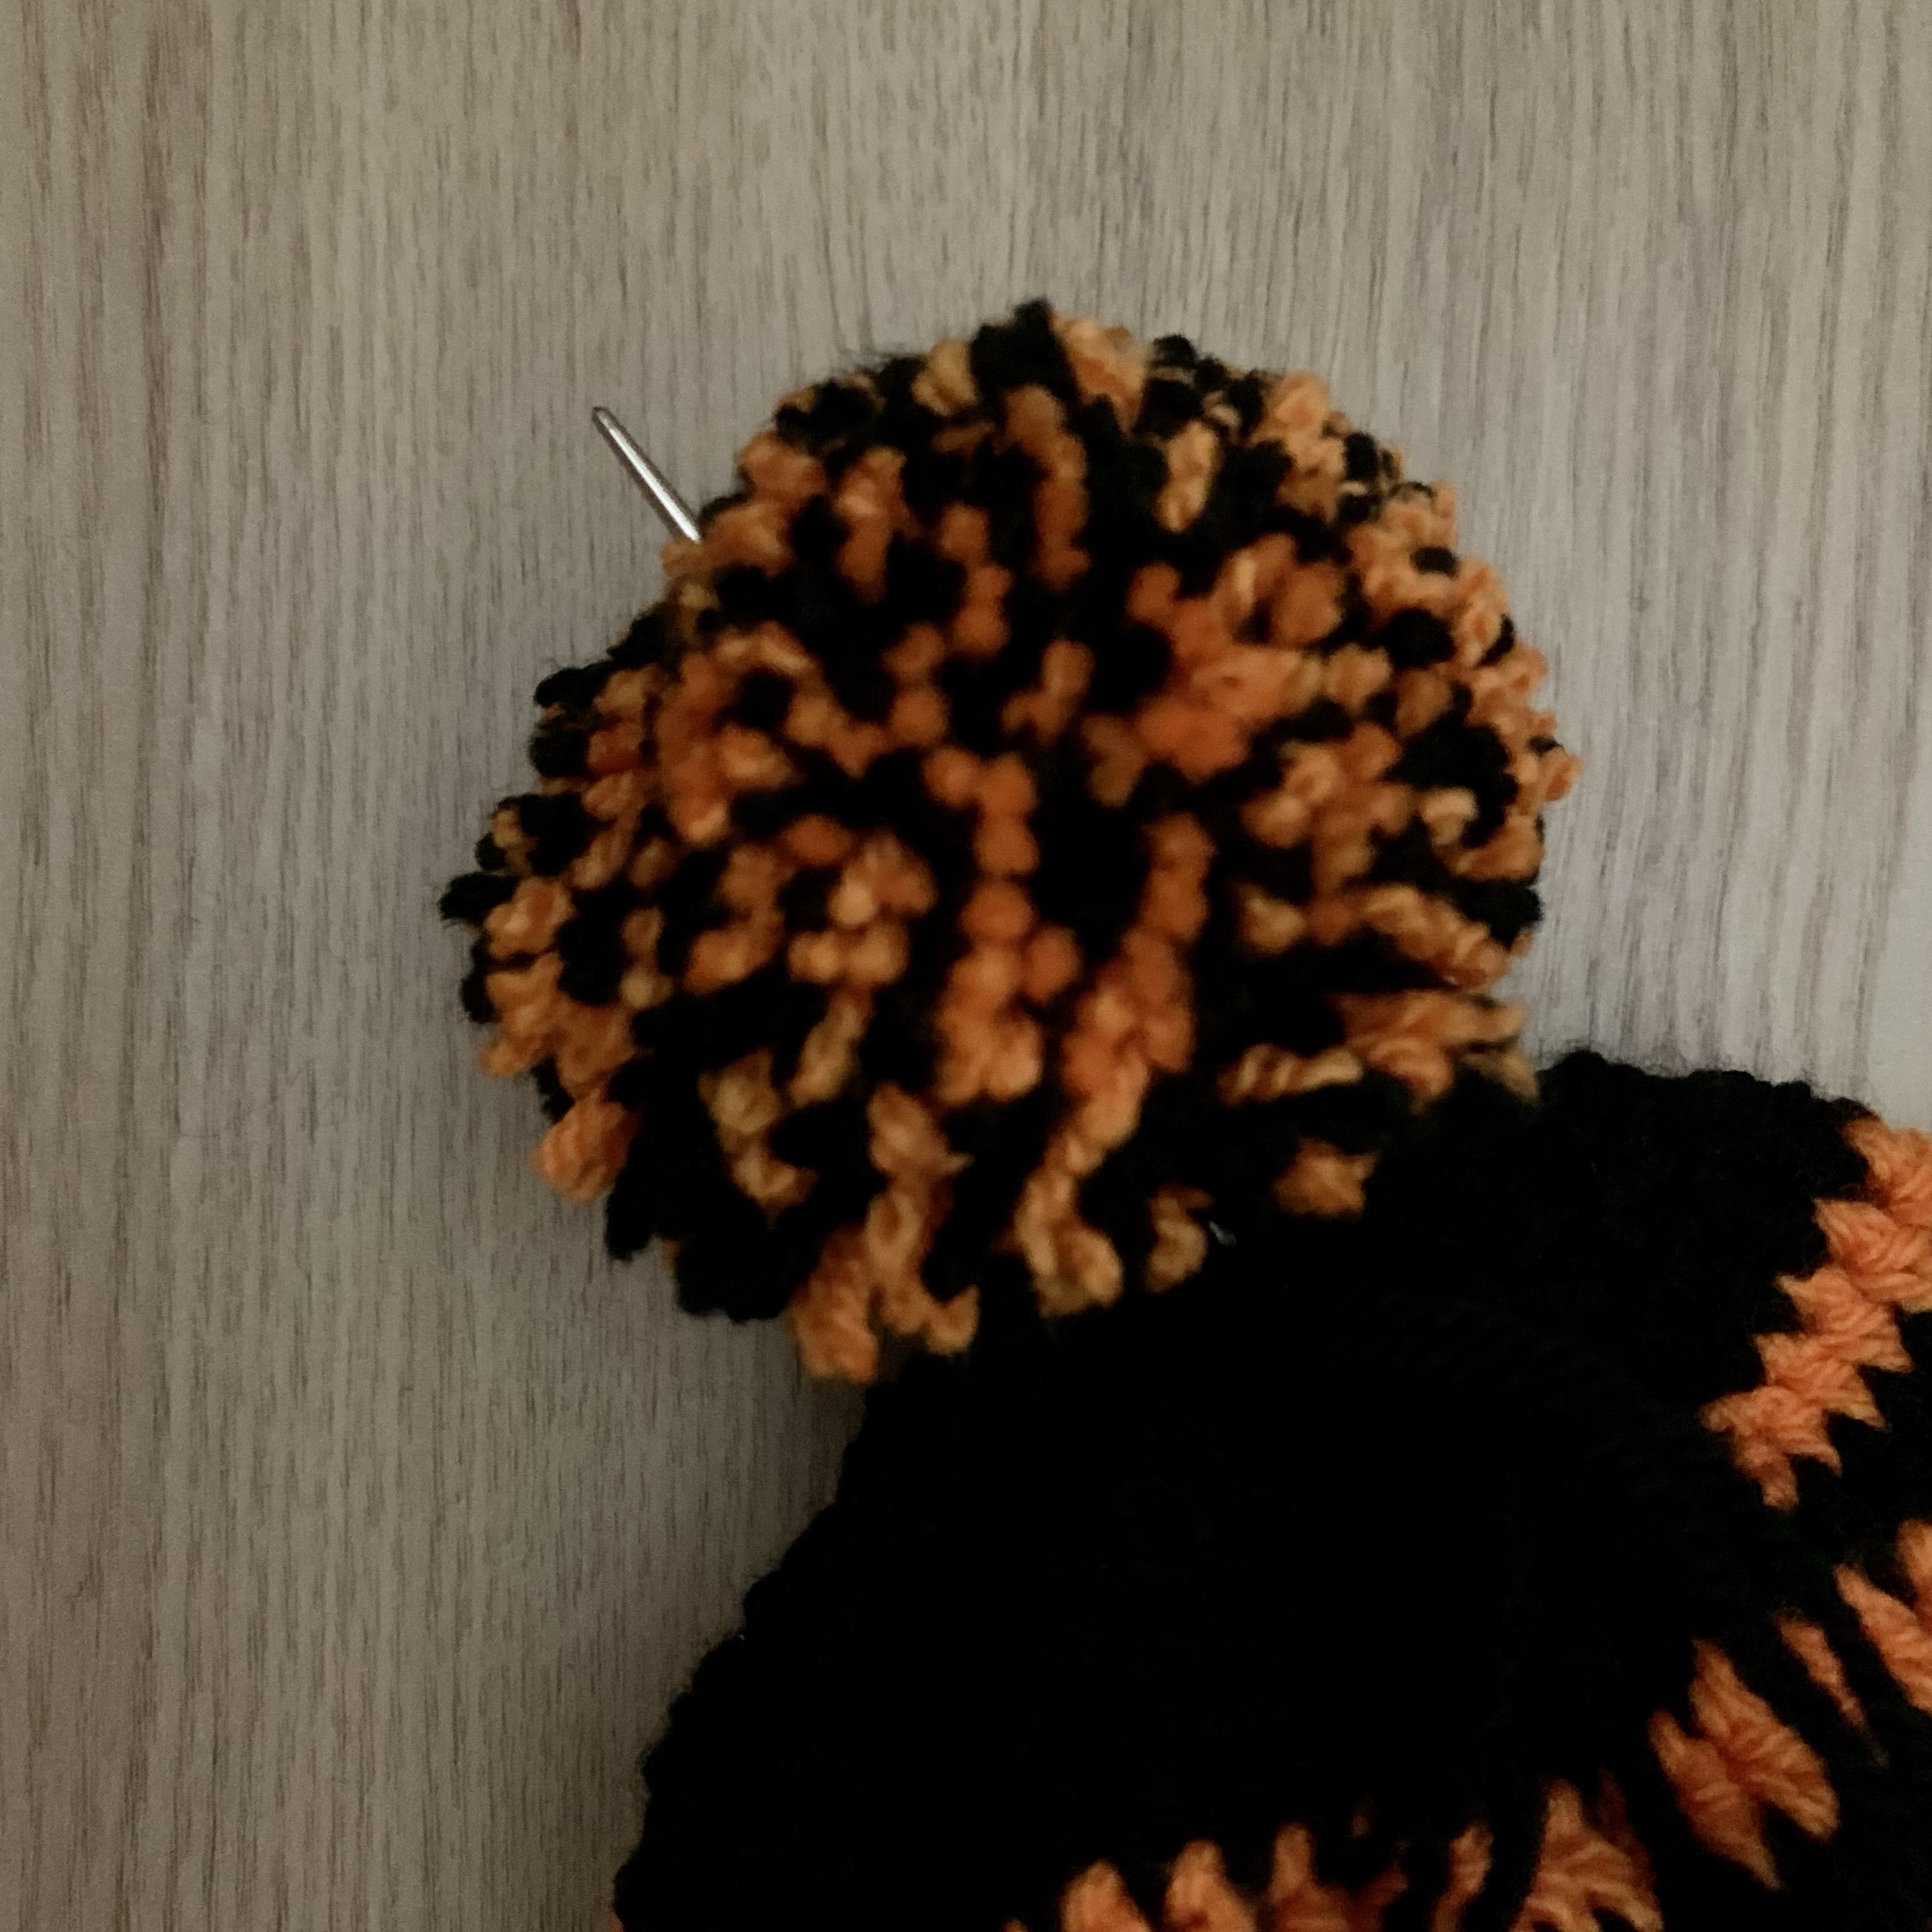
- Attach the pom pom to the top of the the hat by sewing up from the hat through the pom pom and then back down through the pom pom into the top of the hat.


Leave a comment