
Having a ribbed edge on a project is perfect for all sorts of making including: hats, cowls, gloves and sleeves for jumpers. Its something I have often been asked on how to do so I thought i’d put together little how to…..
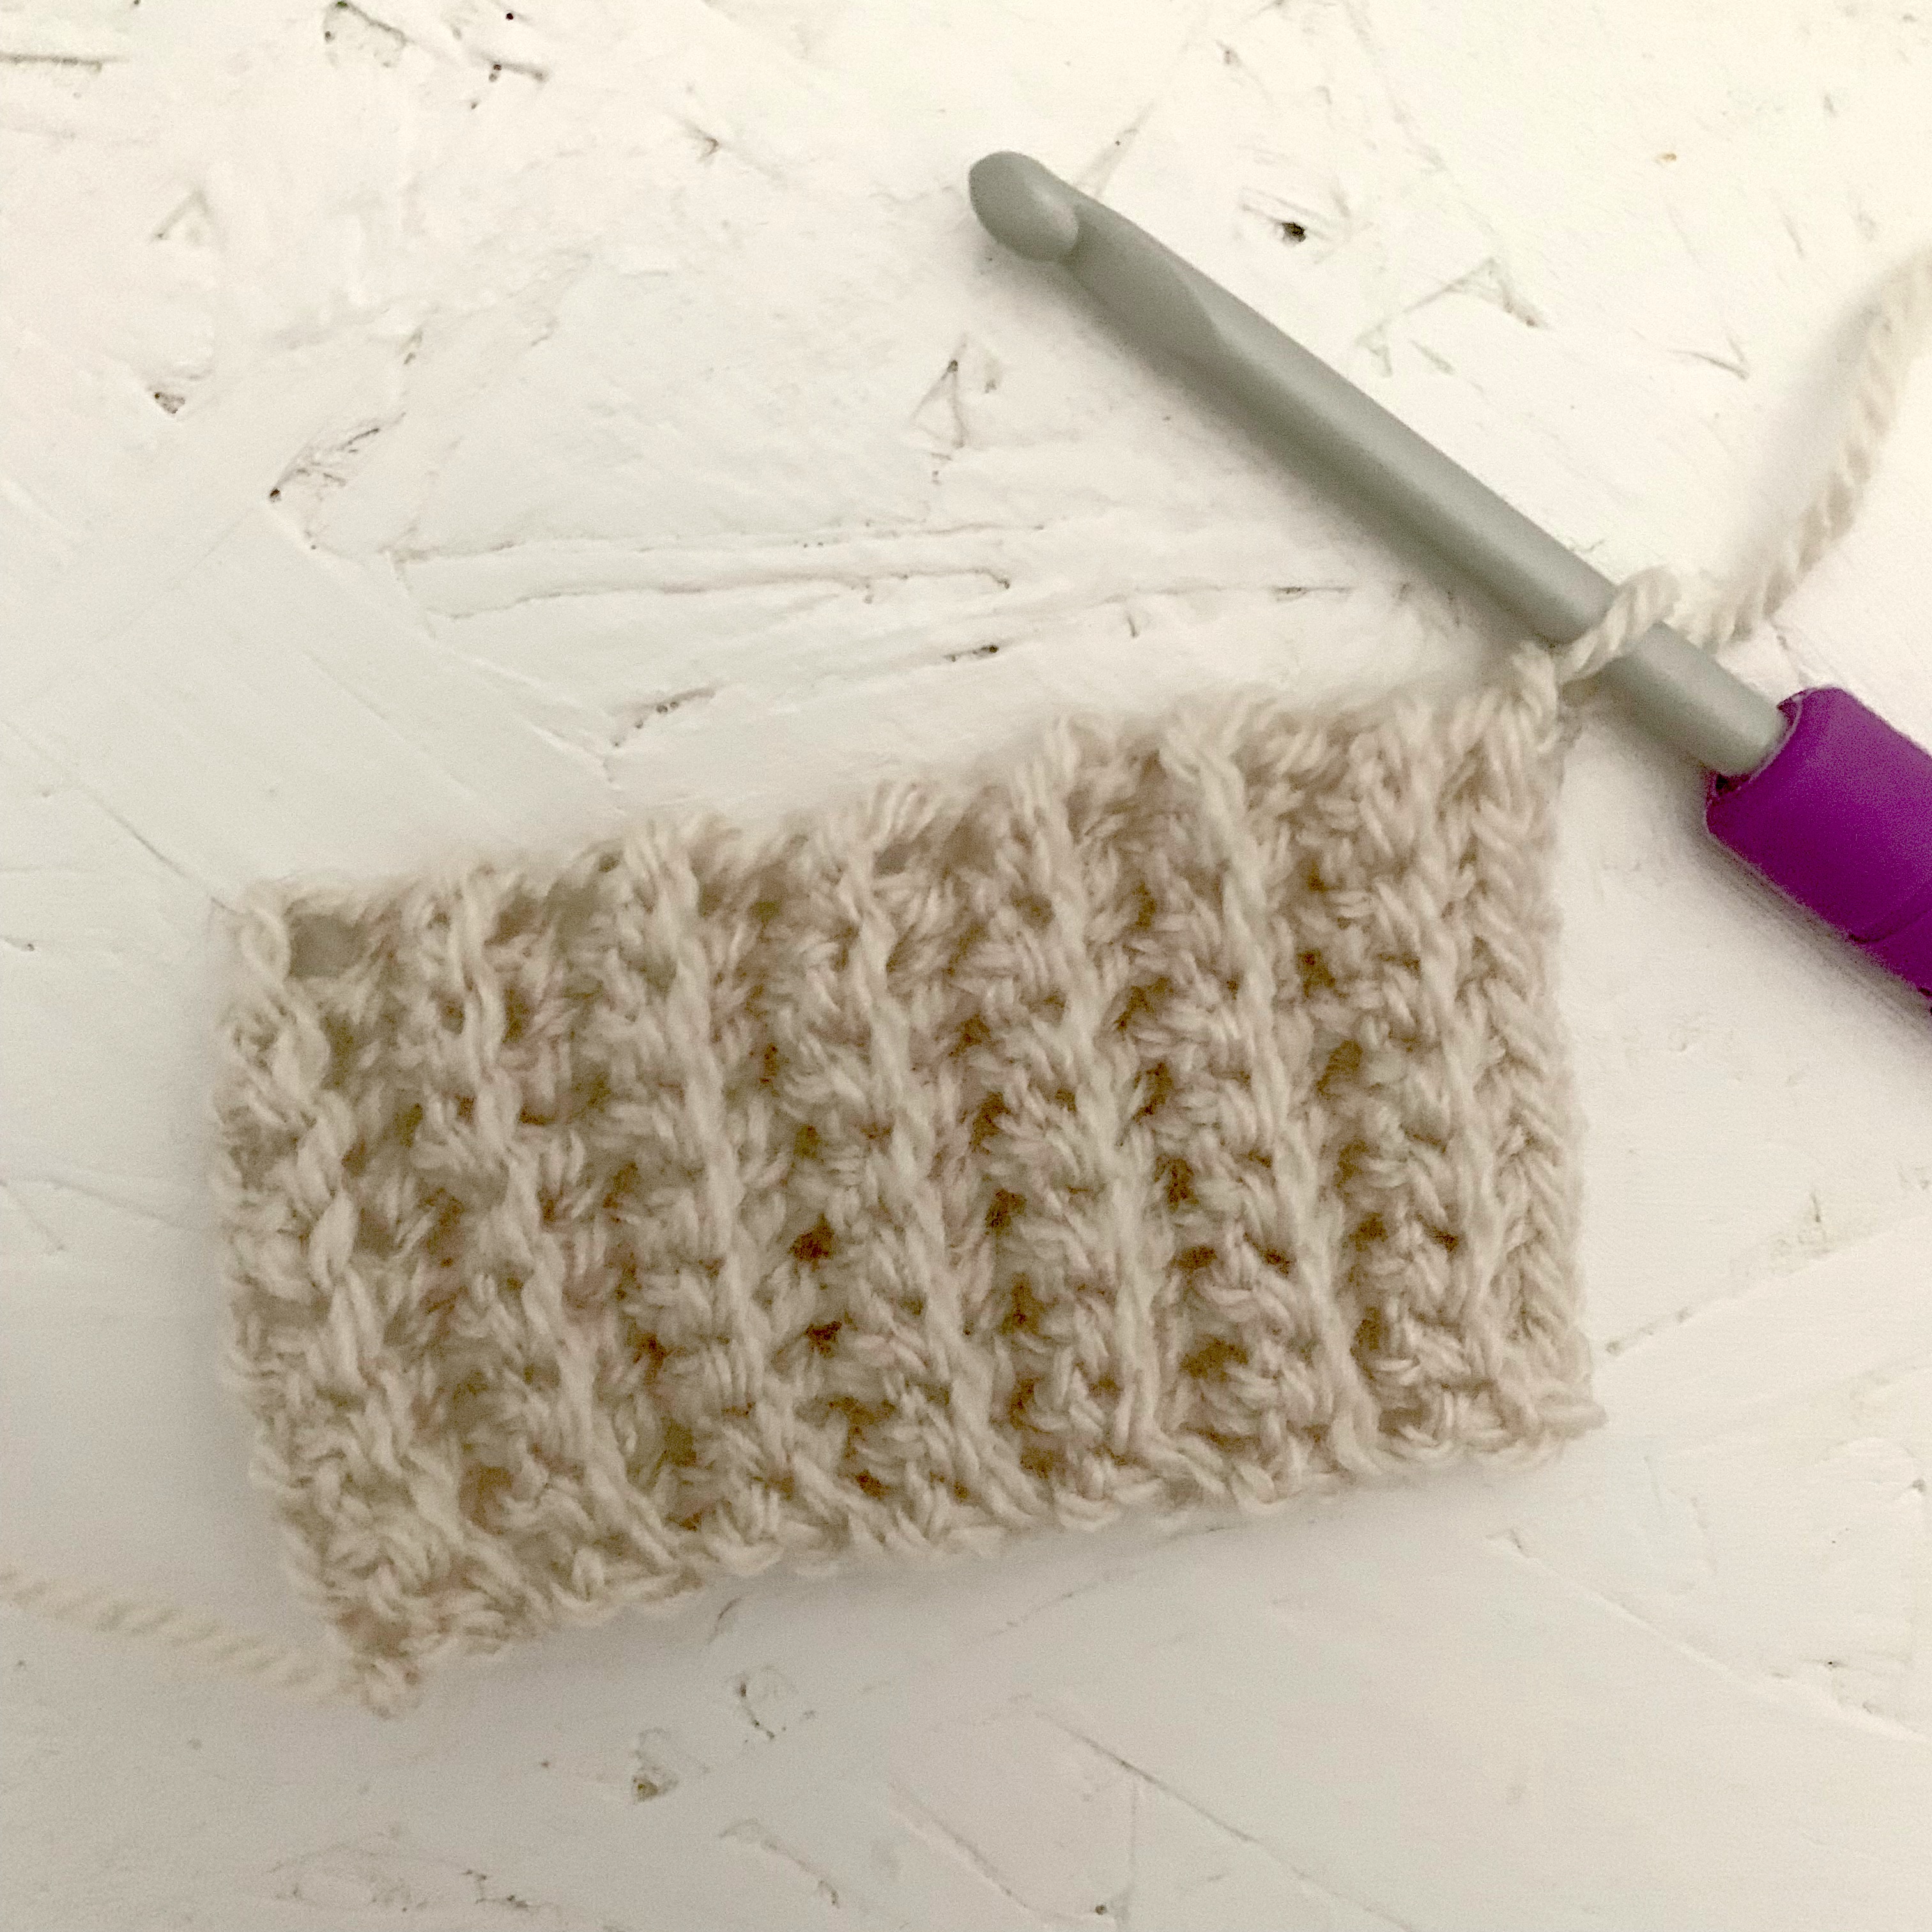
‘How To’ guide for starting a ribbed stitch using sc stitches.
Make a ch of stitches to the length/thickness of ribbing required, then add an extra sc.

Row 1: sc into the 2nd ch from the hook and sc along the rest of the row.

Row 2: ch1 (doesn’t count as a stitch), in the back loops only: sc along the row.

Repeat row 1 until you reach the desired length. Fasten off.
Notes:
- To work into top edge of the ribbing sc along the top edge placing an sc stitch into the end of each row.
- You can do this without joining the start and end of the ribbing together and not joining at all/joining at the end of the project, or join the ends together (sew to join or join using sc stitches to make a round before continuing in the round.

Leave a comment