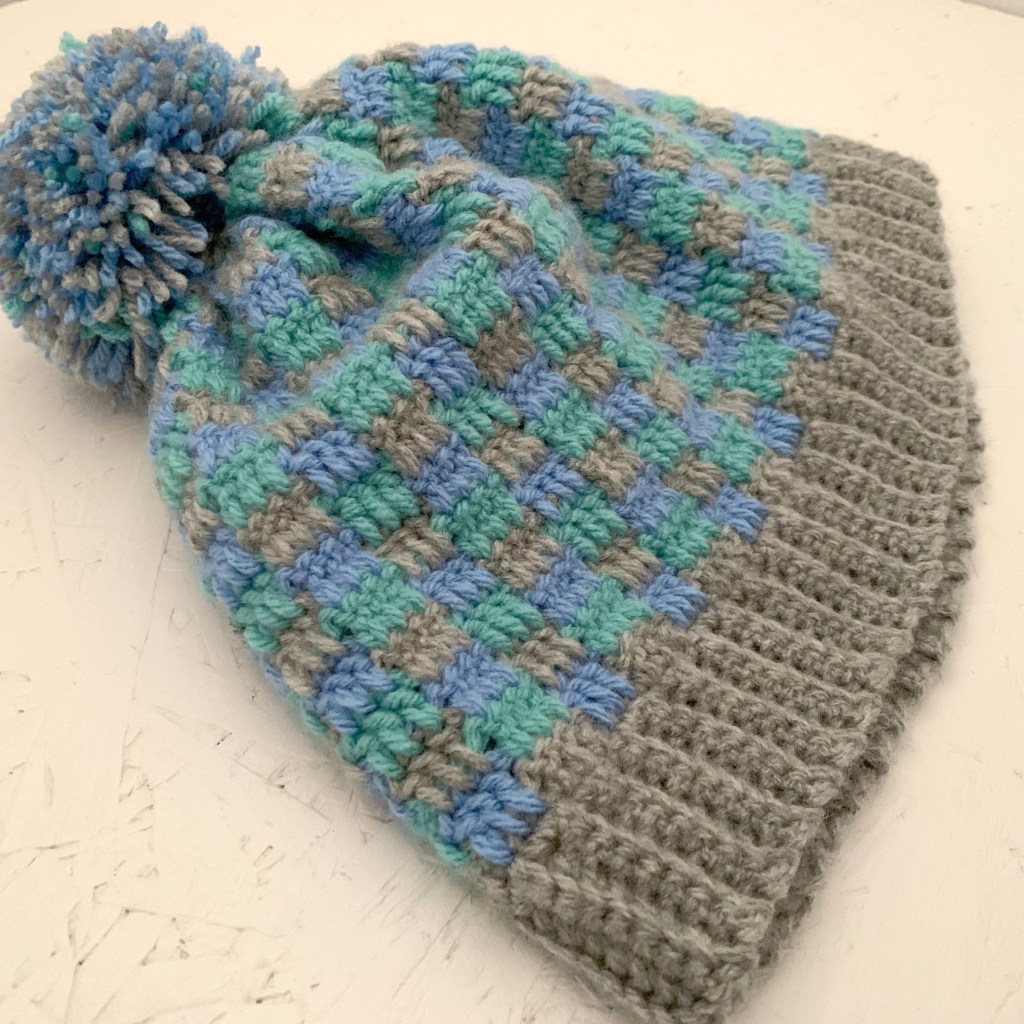
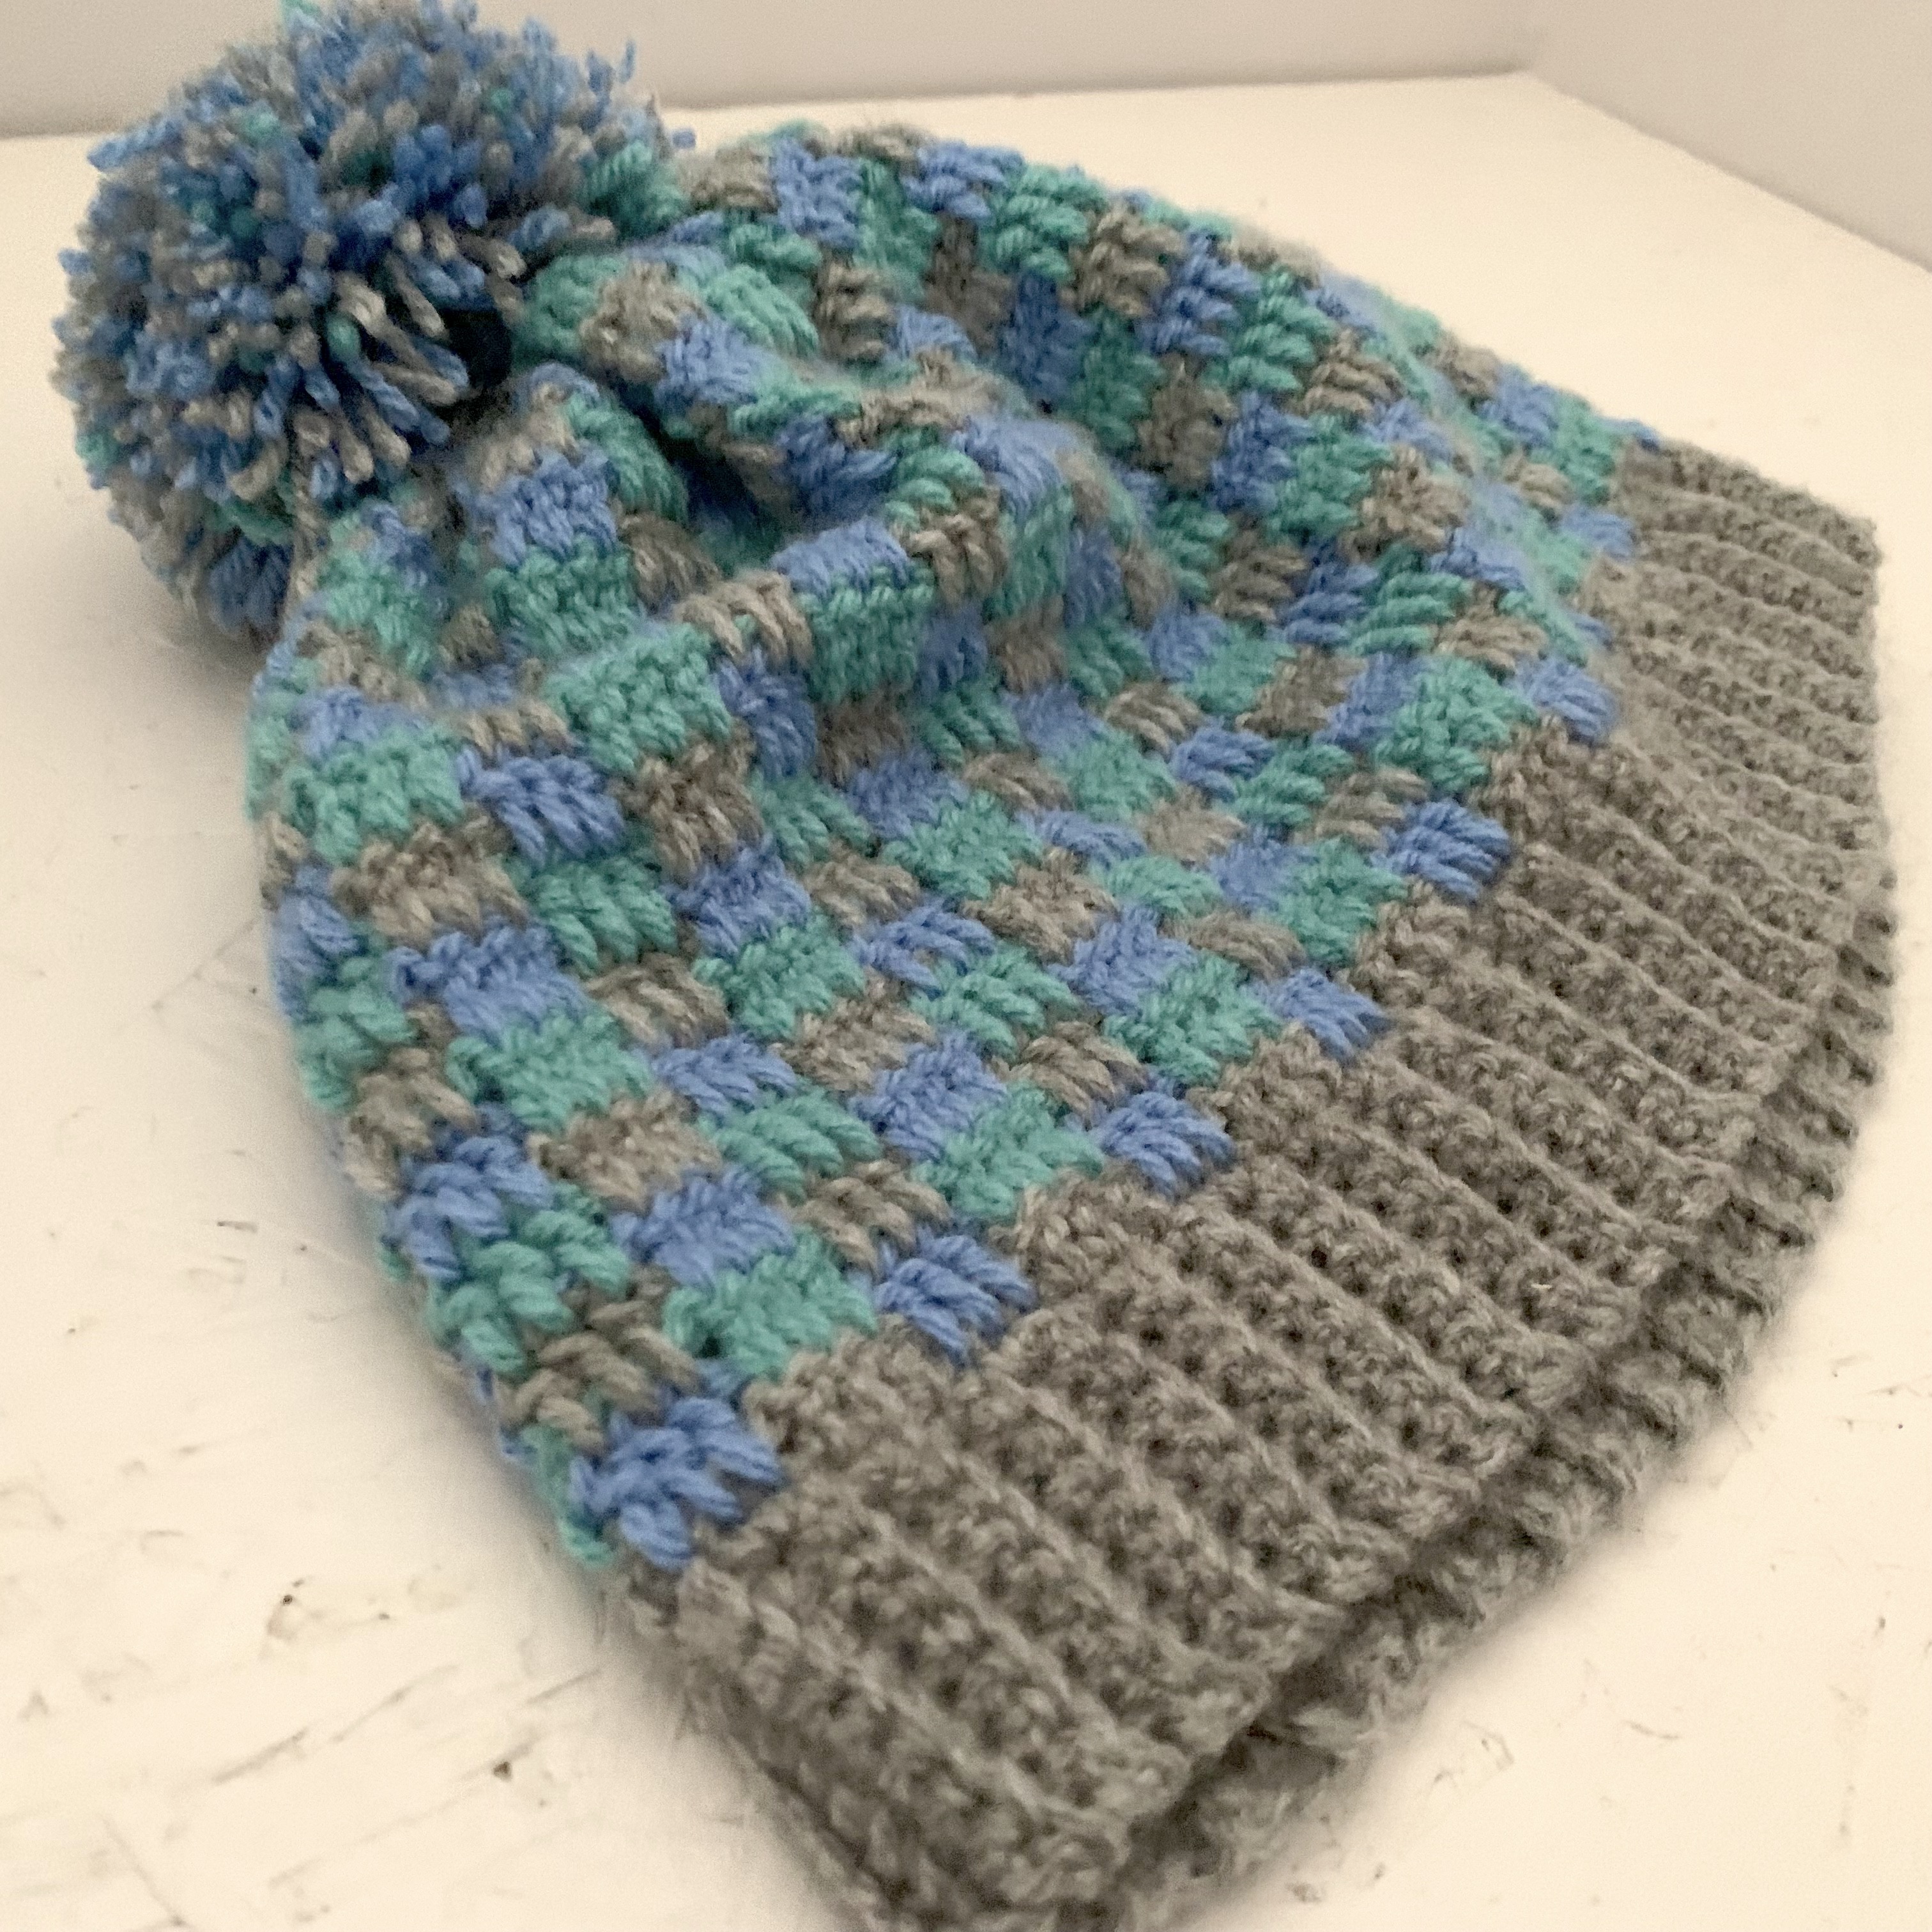
Following on from my crochet block stitch ear warmer I am continuing with the winter accessory theme, I really like the effect the plaid/interlocking blocking stitch gives and thought it would look really good as a hat so decided to make a plaid effect hat with pom pom detail.
The wool I used was already in my stash (love a project which can use up some of my leftover wool).
The grey: DK wool, no idea where I got this one from, I normally keep them with the labels but for some reason this one seems to have lost its one!.
The green: DK wool, Stylecraft Special DK in Spearmint (1842) – I love this colour, I definitely need to order some more.
The blue: DK wool, Stylecraft Special DK in Aster (1003).
Crochet Plaid/Interlocking Block Stitch Hat Pattern:
Materials:
- 4mm crochet hook.
- Scissors.
- Darning needle.
- Wool: 3 colours. I used grey (colour 1), blue (colour 2) and spearmint (colour 3).
- Pom pom maker – 7cm (or two pieces of card with 7cm diameters).
Notes:
- Change colour on last yo of previous stitch.
Plaid Hat Pattern:
4mm hook, colour 1.
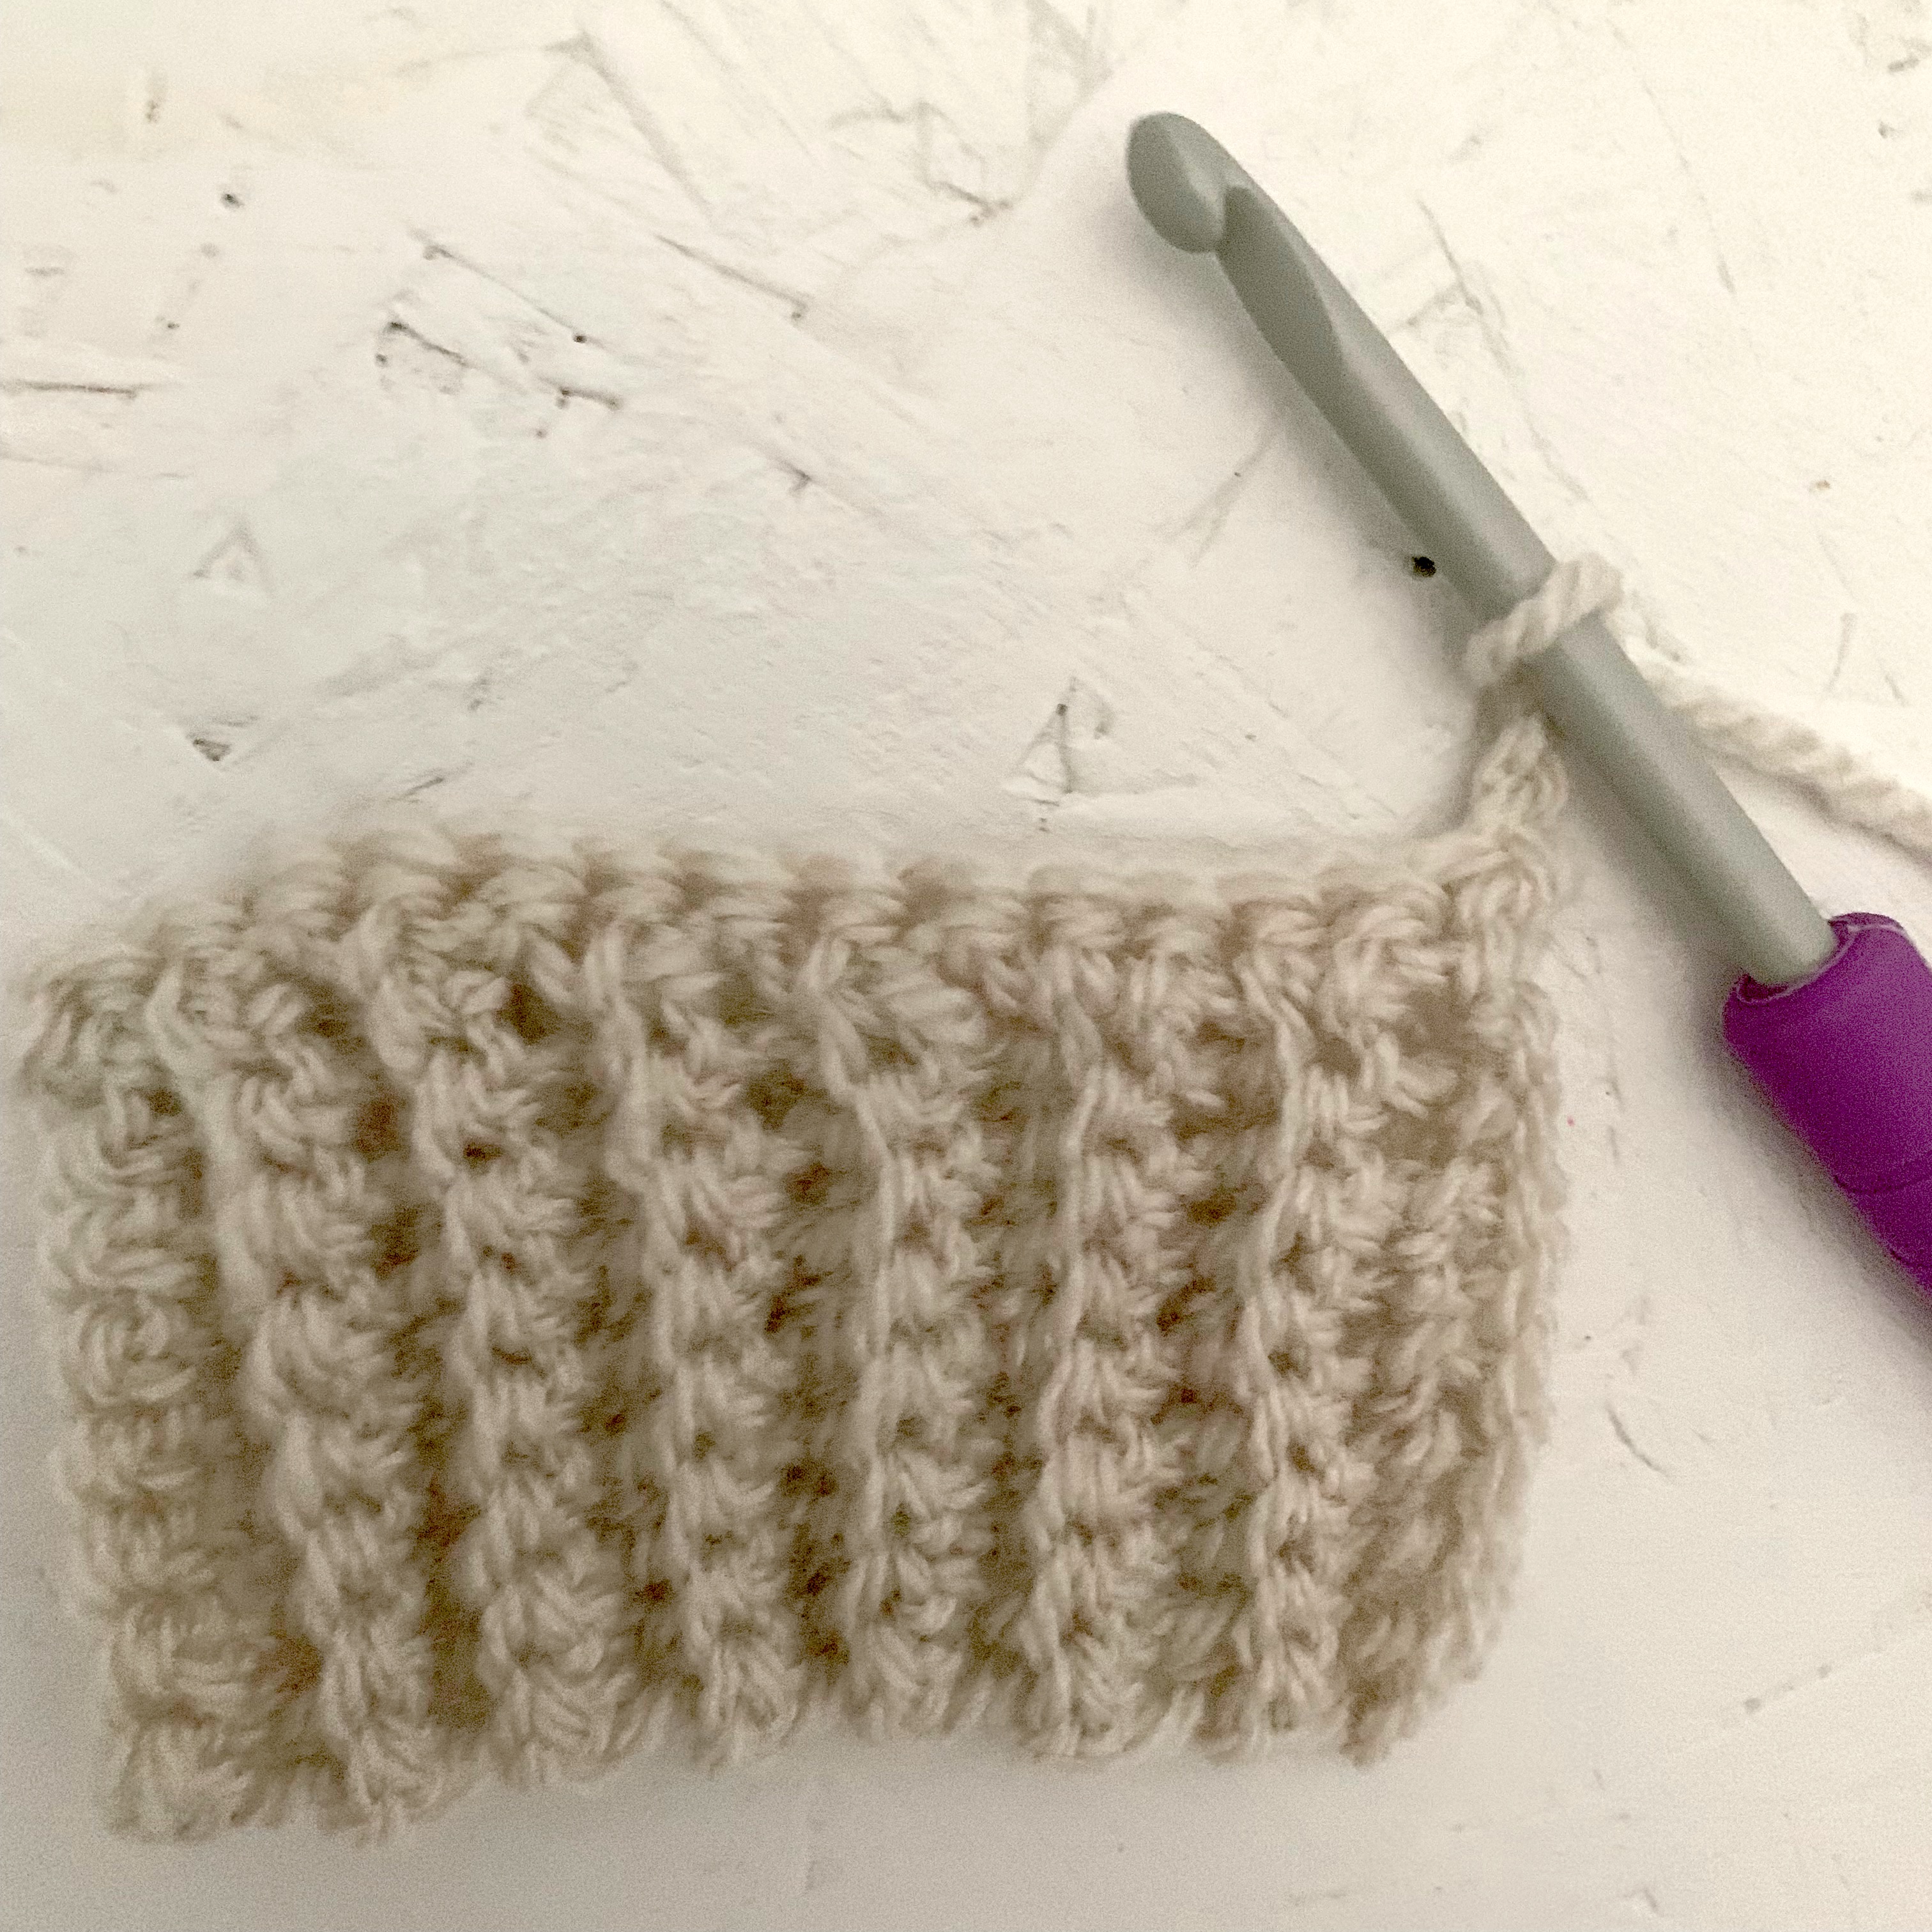
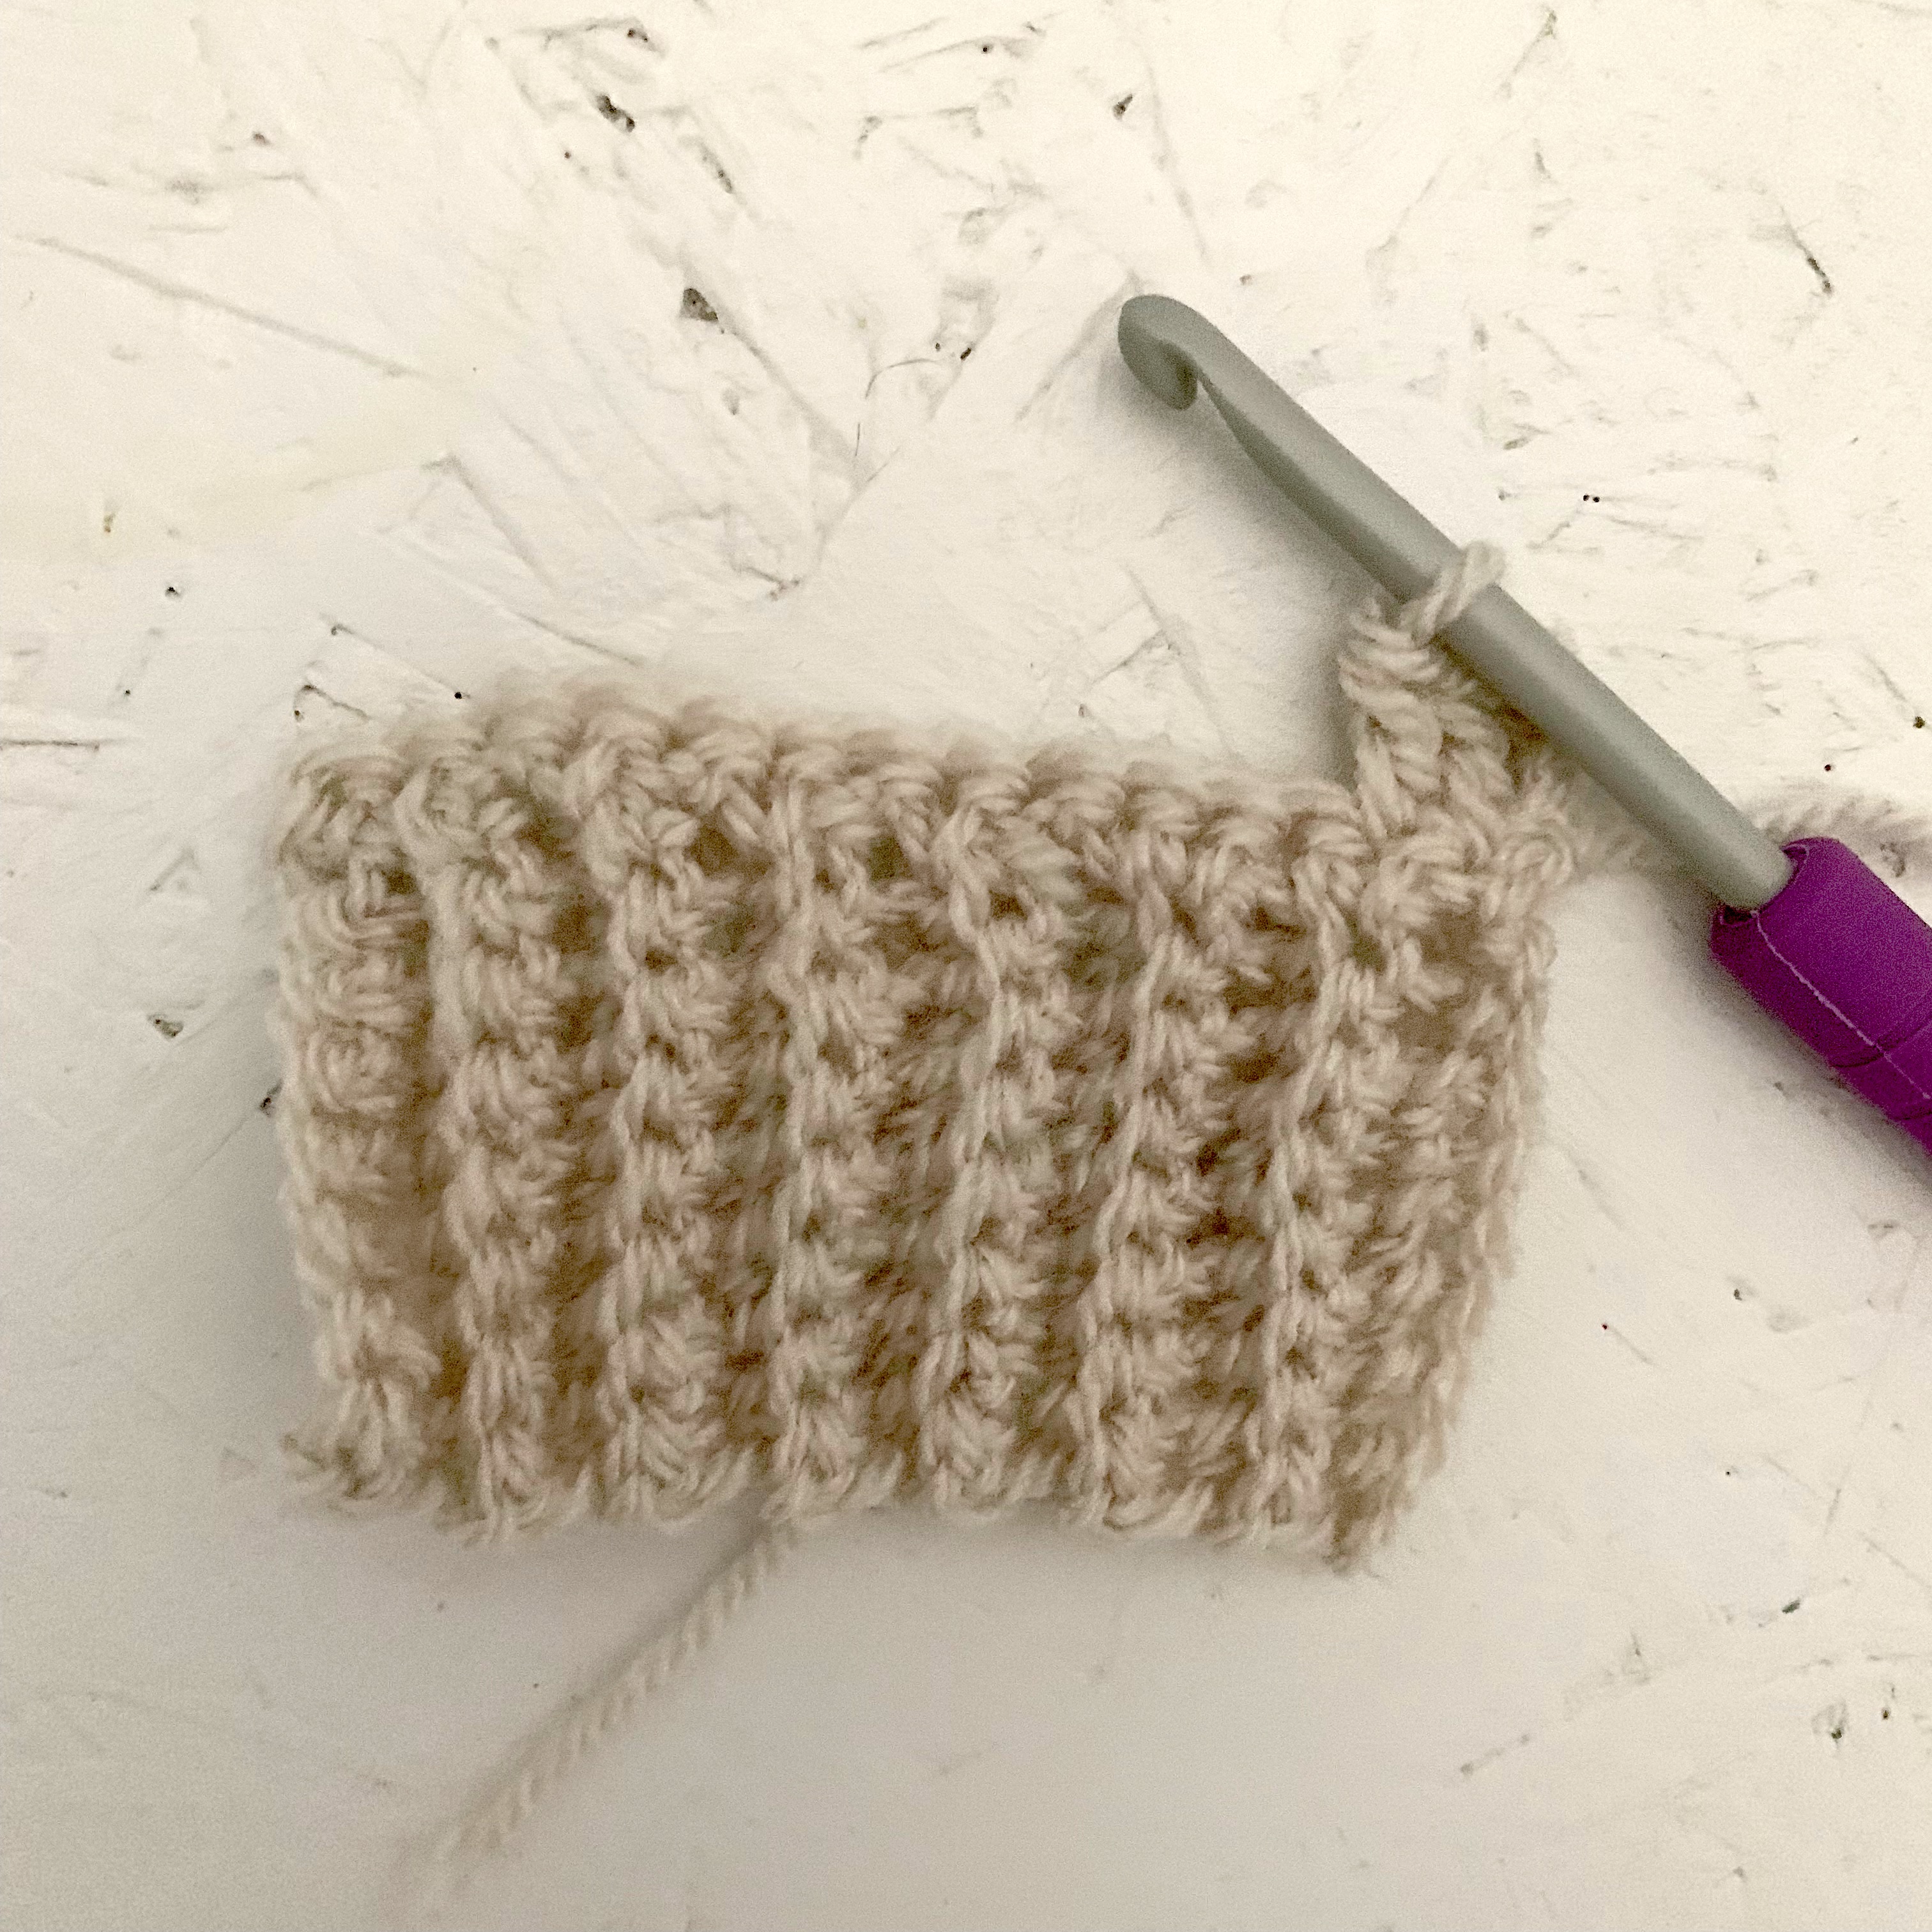
Ribbed section:
ch9, sc into 2nd ch from hook, sc along rest of row.
Rows 1-105: ch1 (doesn’t count as a stitch) sc along the row in back loops only.


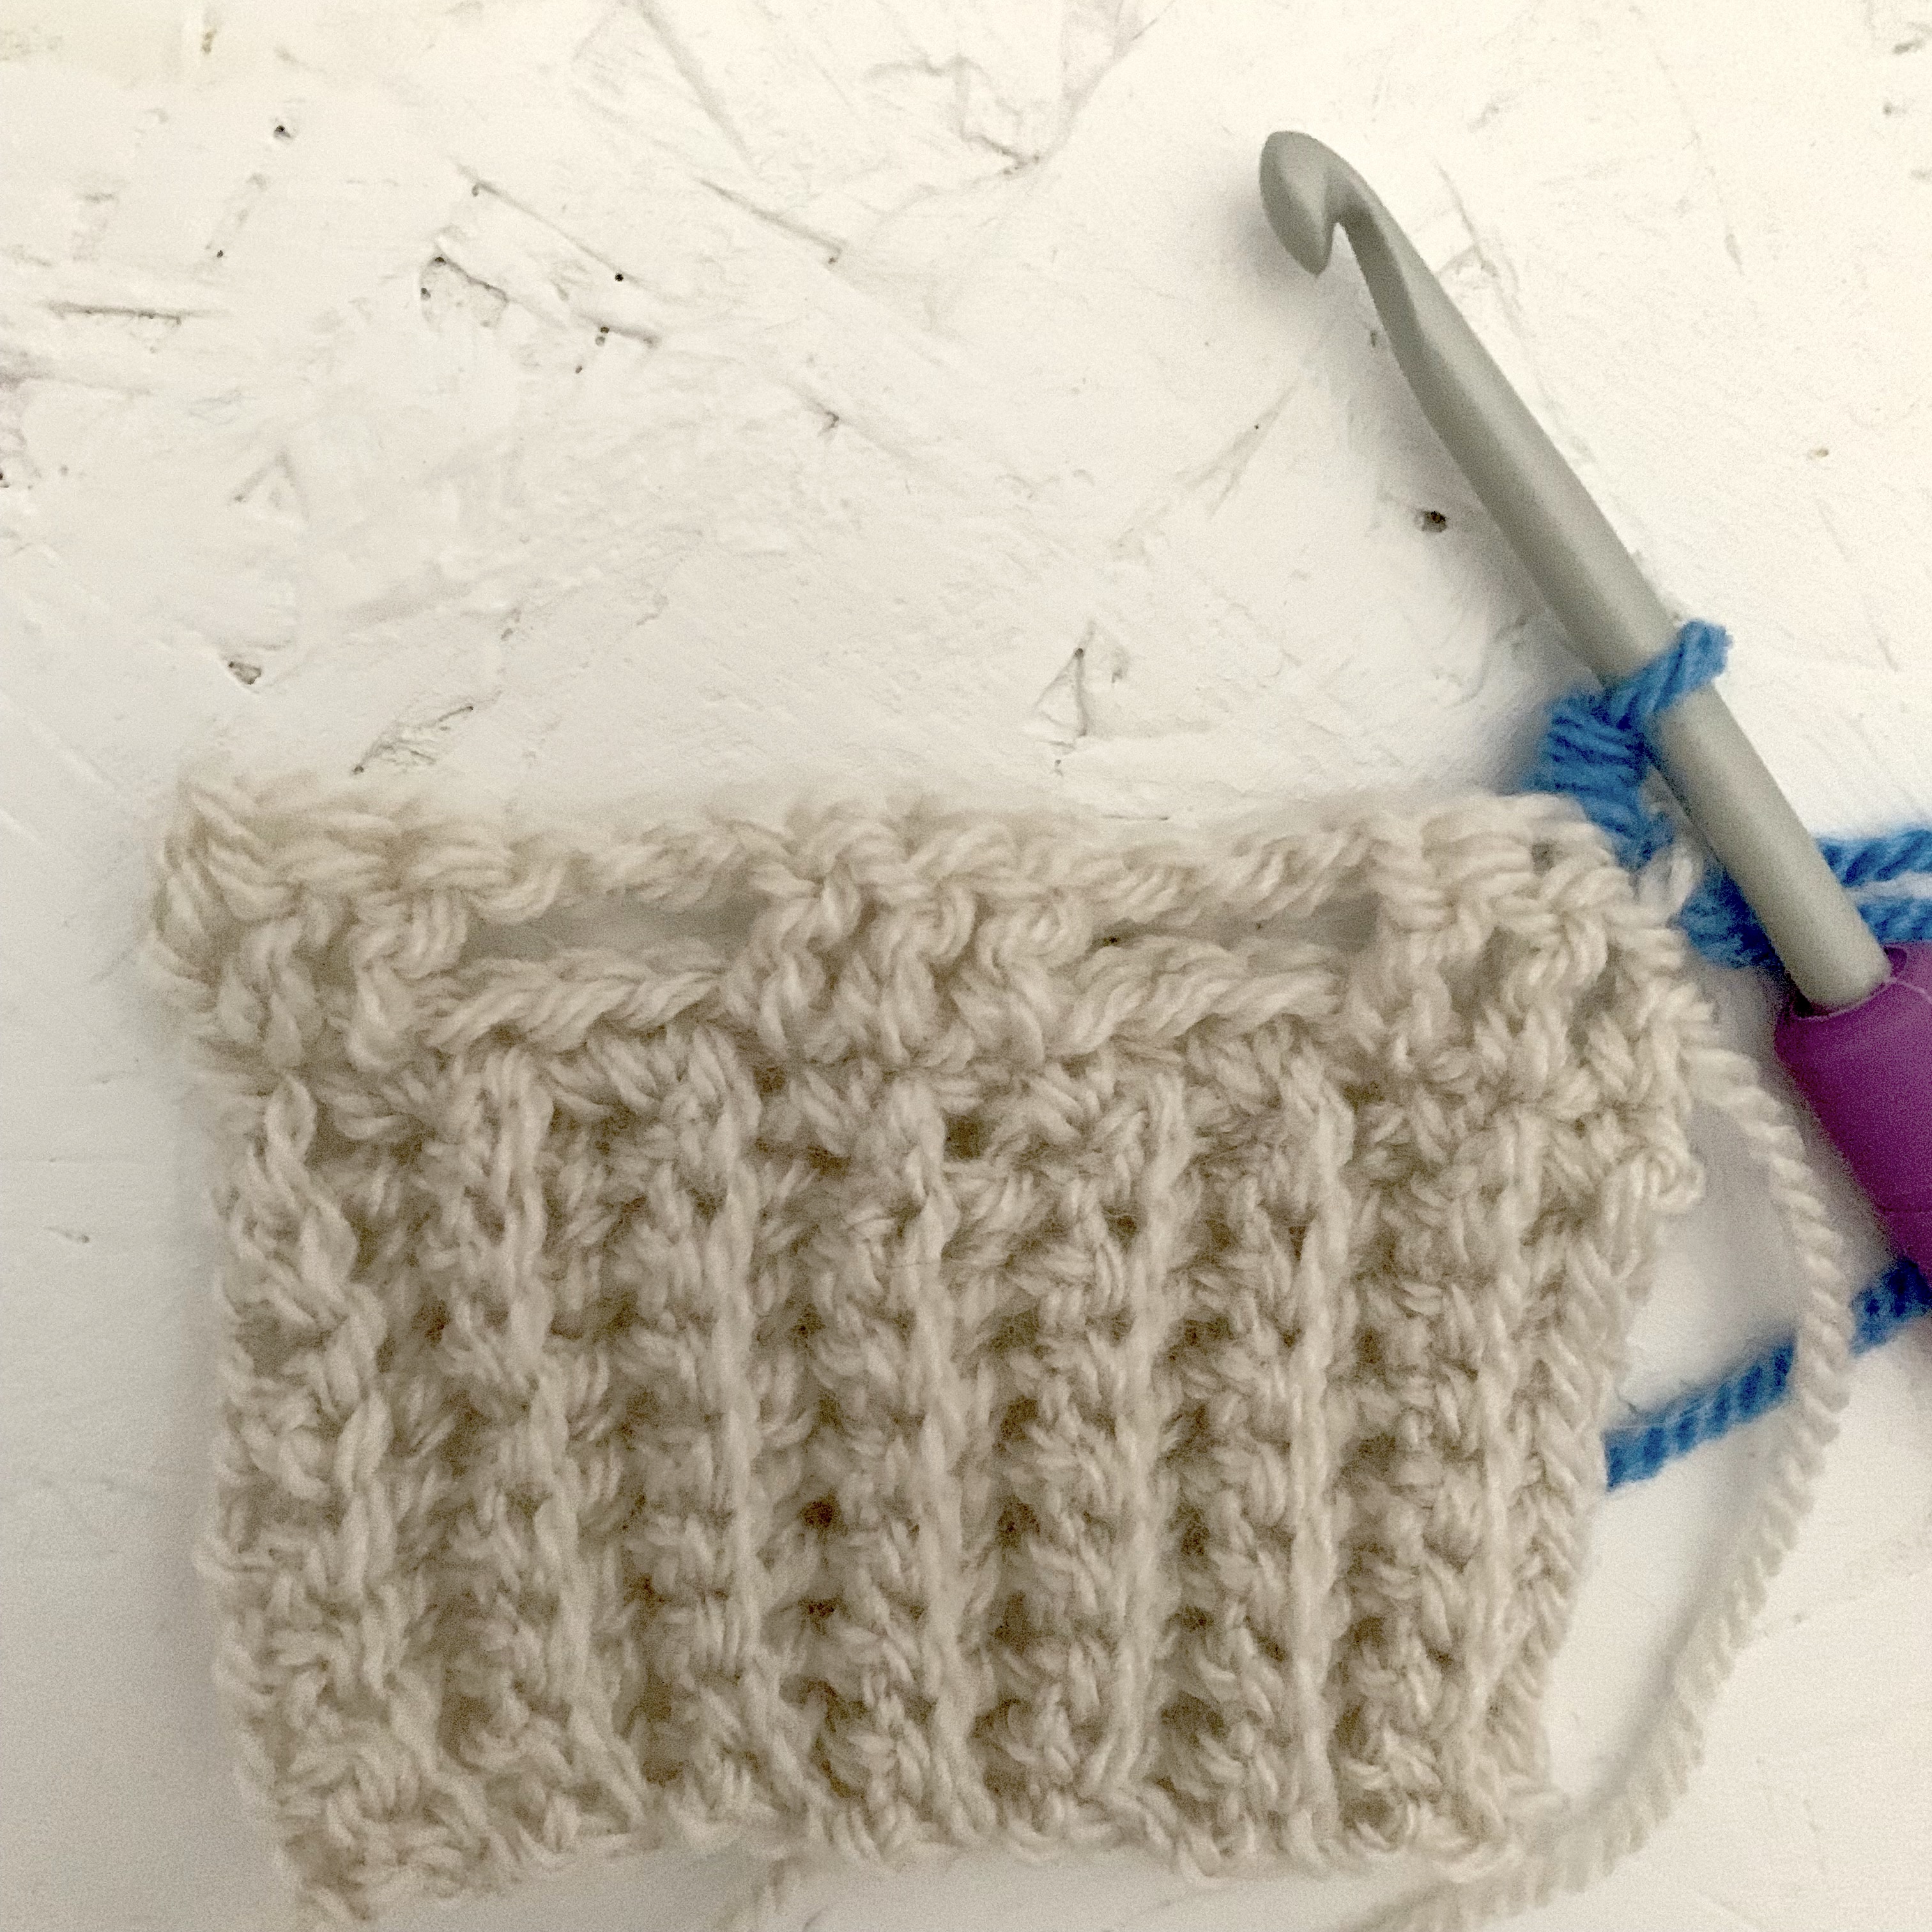
Main hat:
Row 1: ch1 (doesn’t count as a stitch) 105sc along the top of the ribbed section, placing an sc into the end of each row.

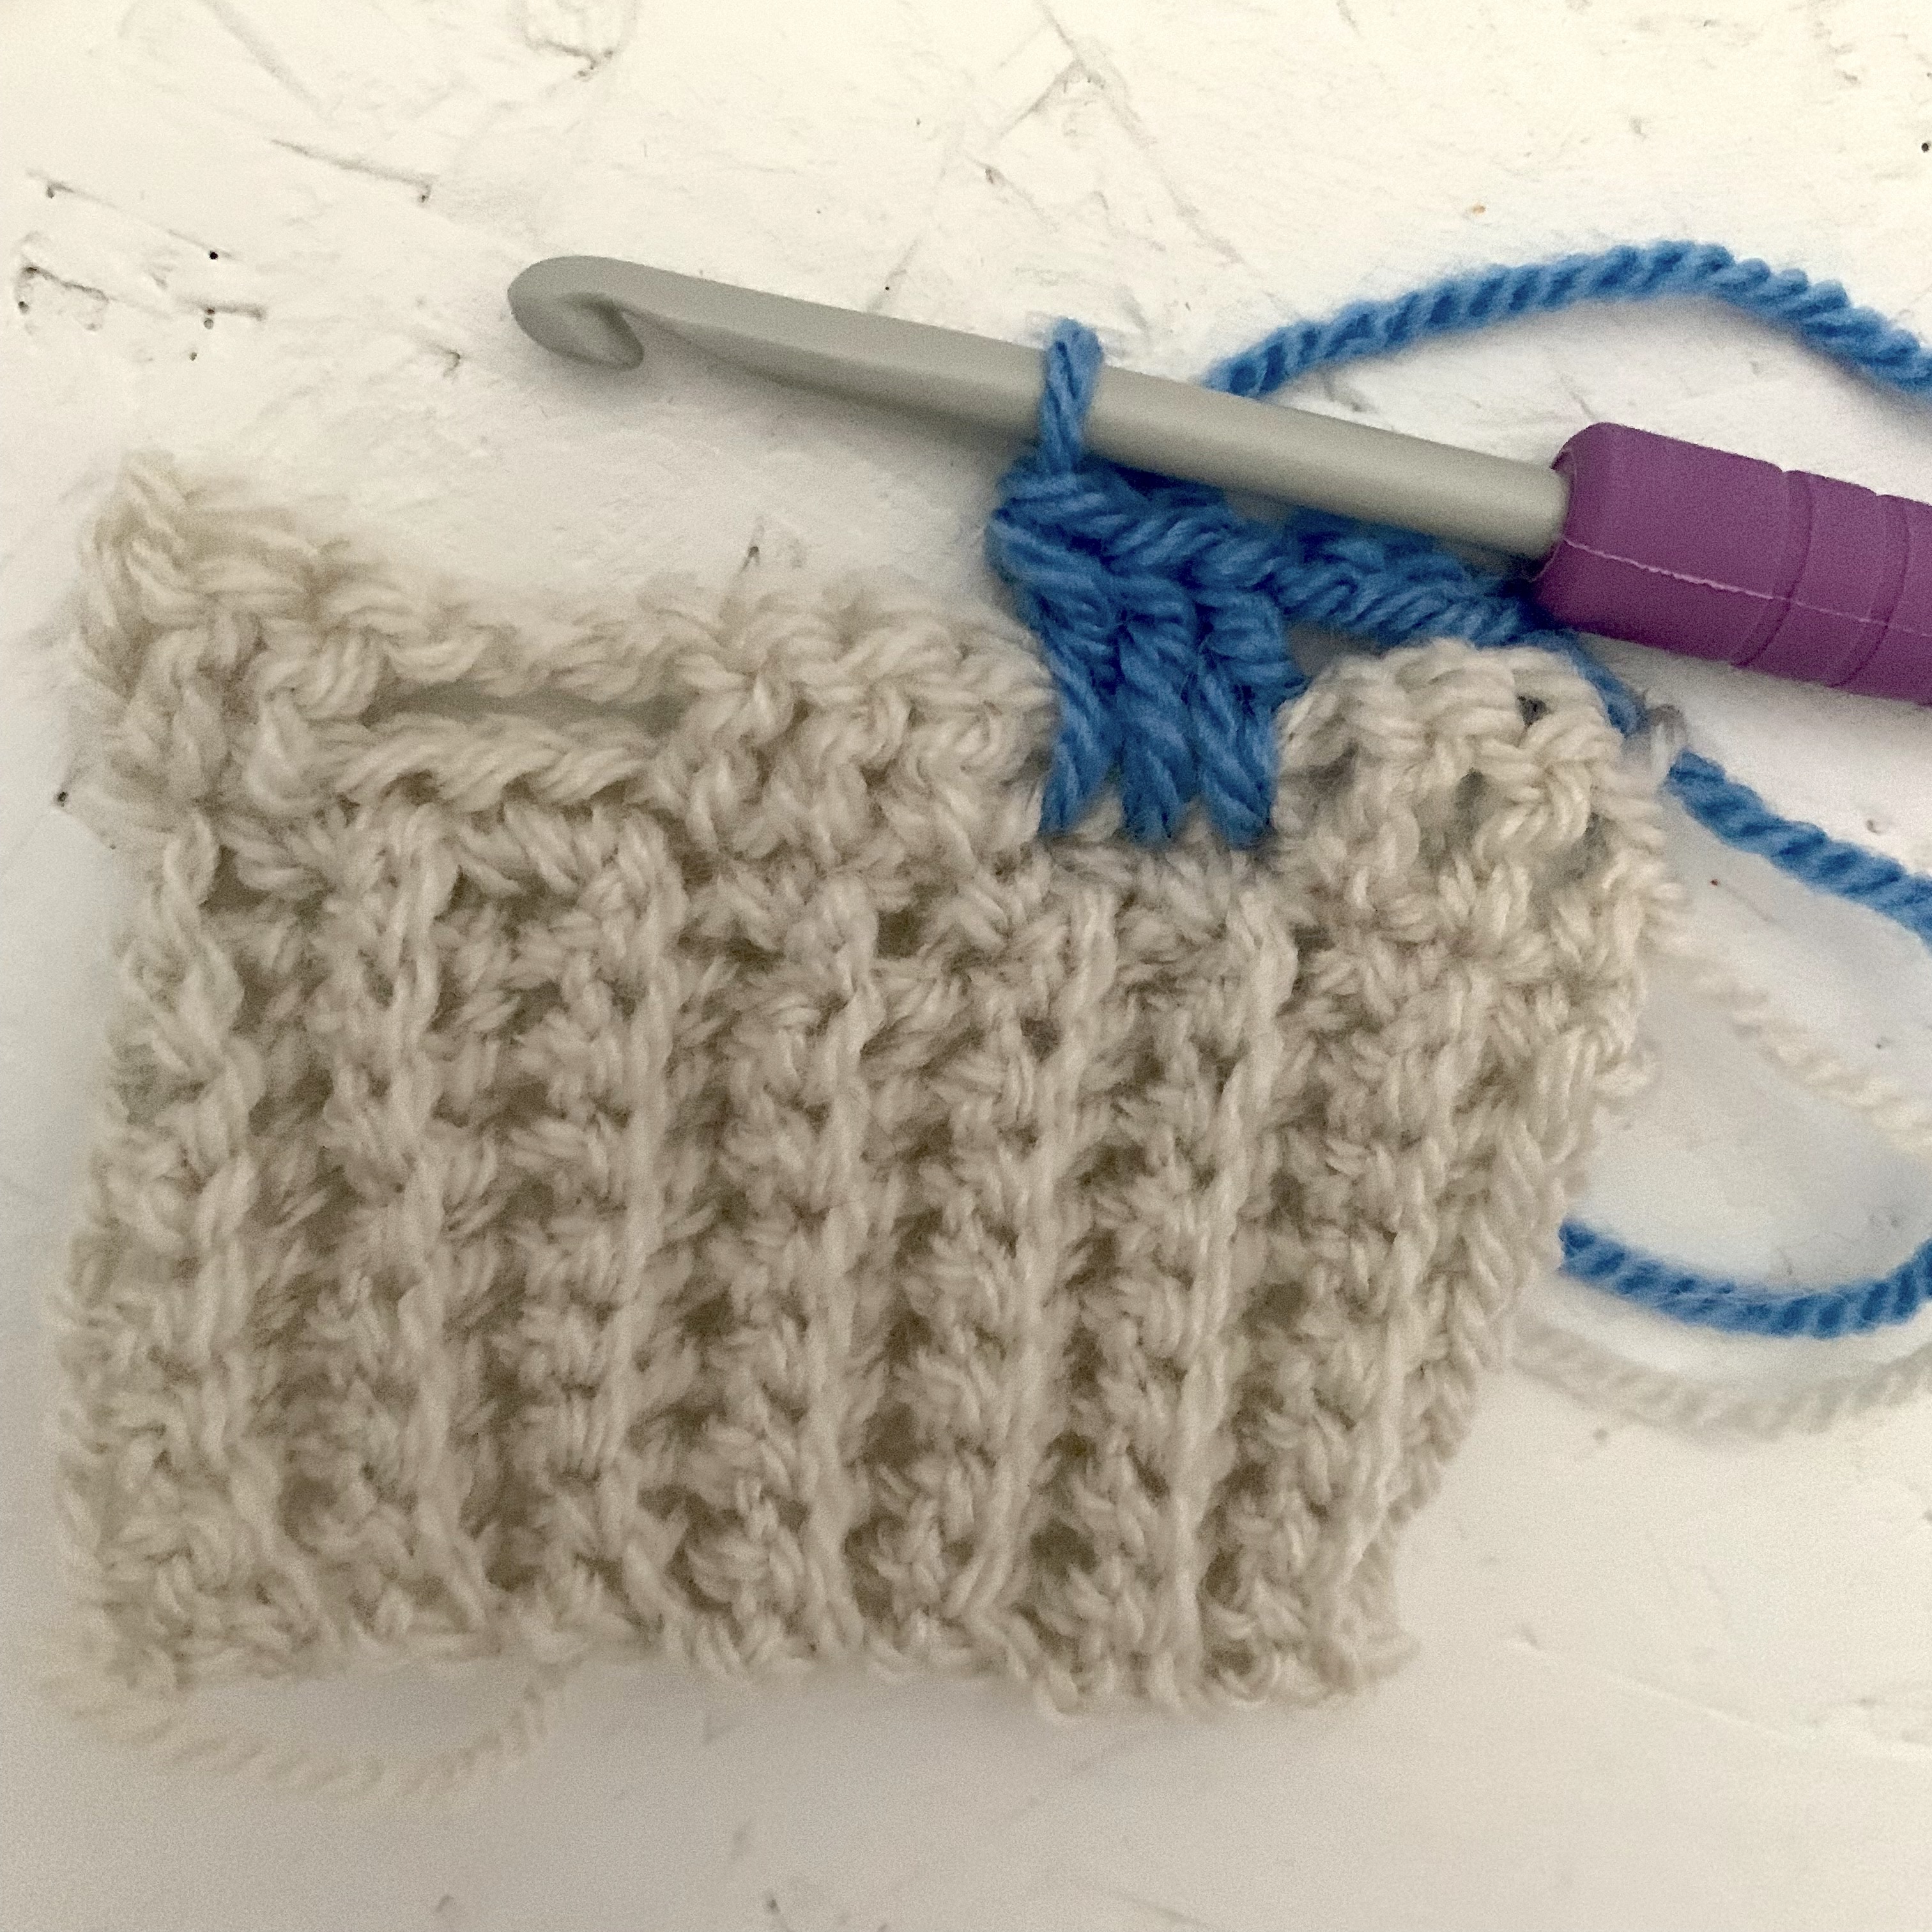
Row 2: ch3 (counts as a stitch) 2tr/dc, (ch3, skip 3, 3tr/dc) 17 times. Change to colour 2.


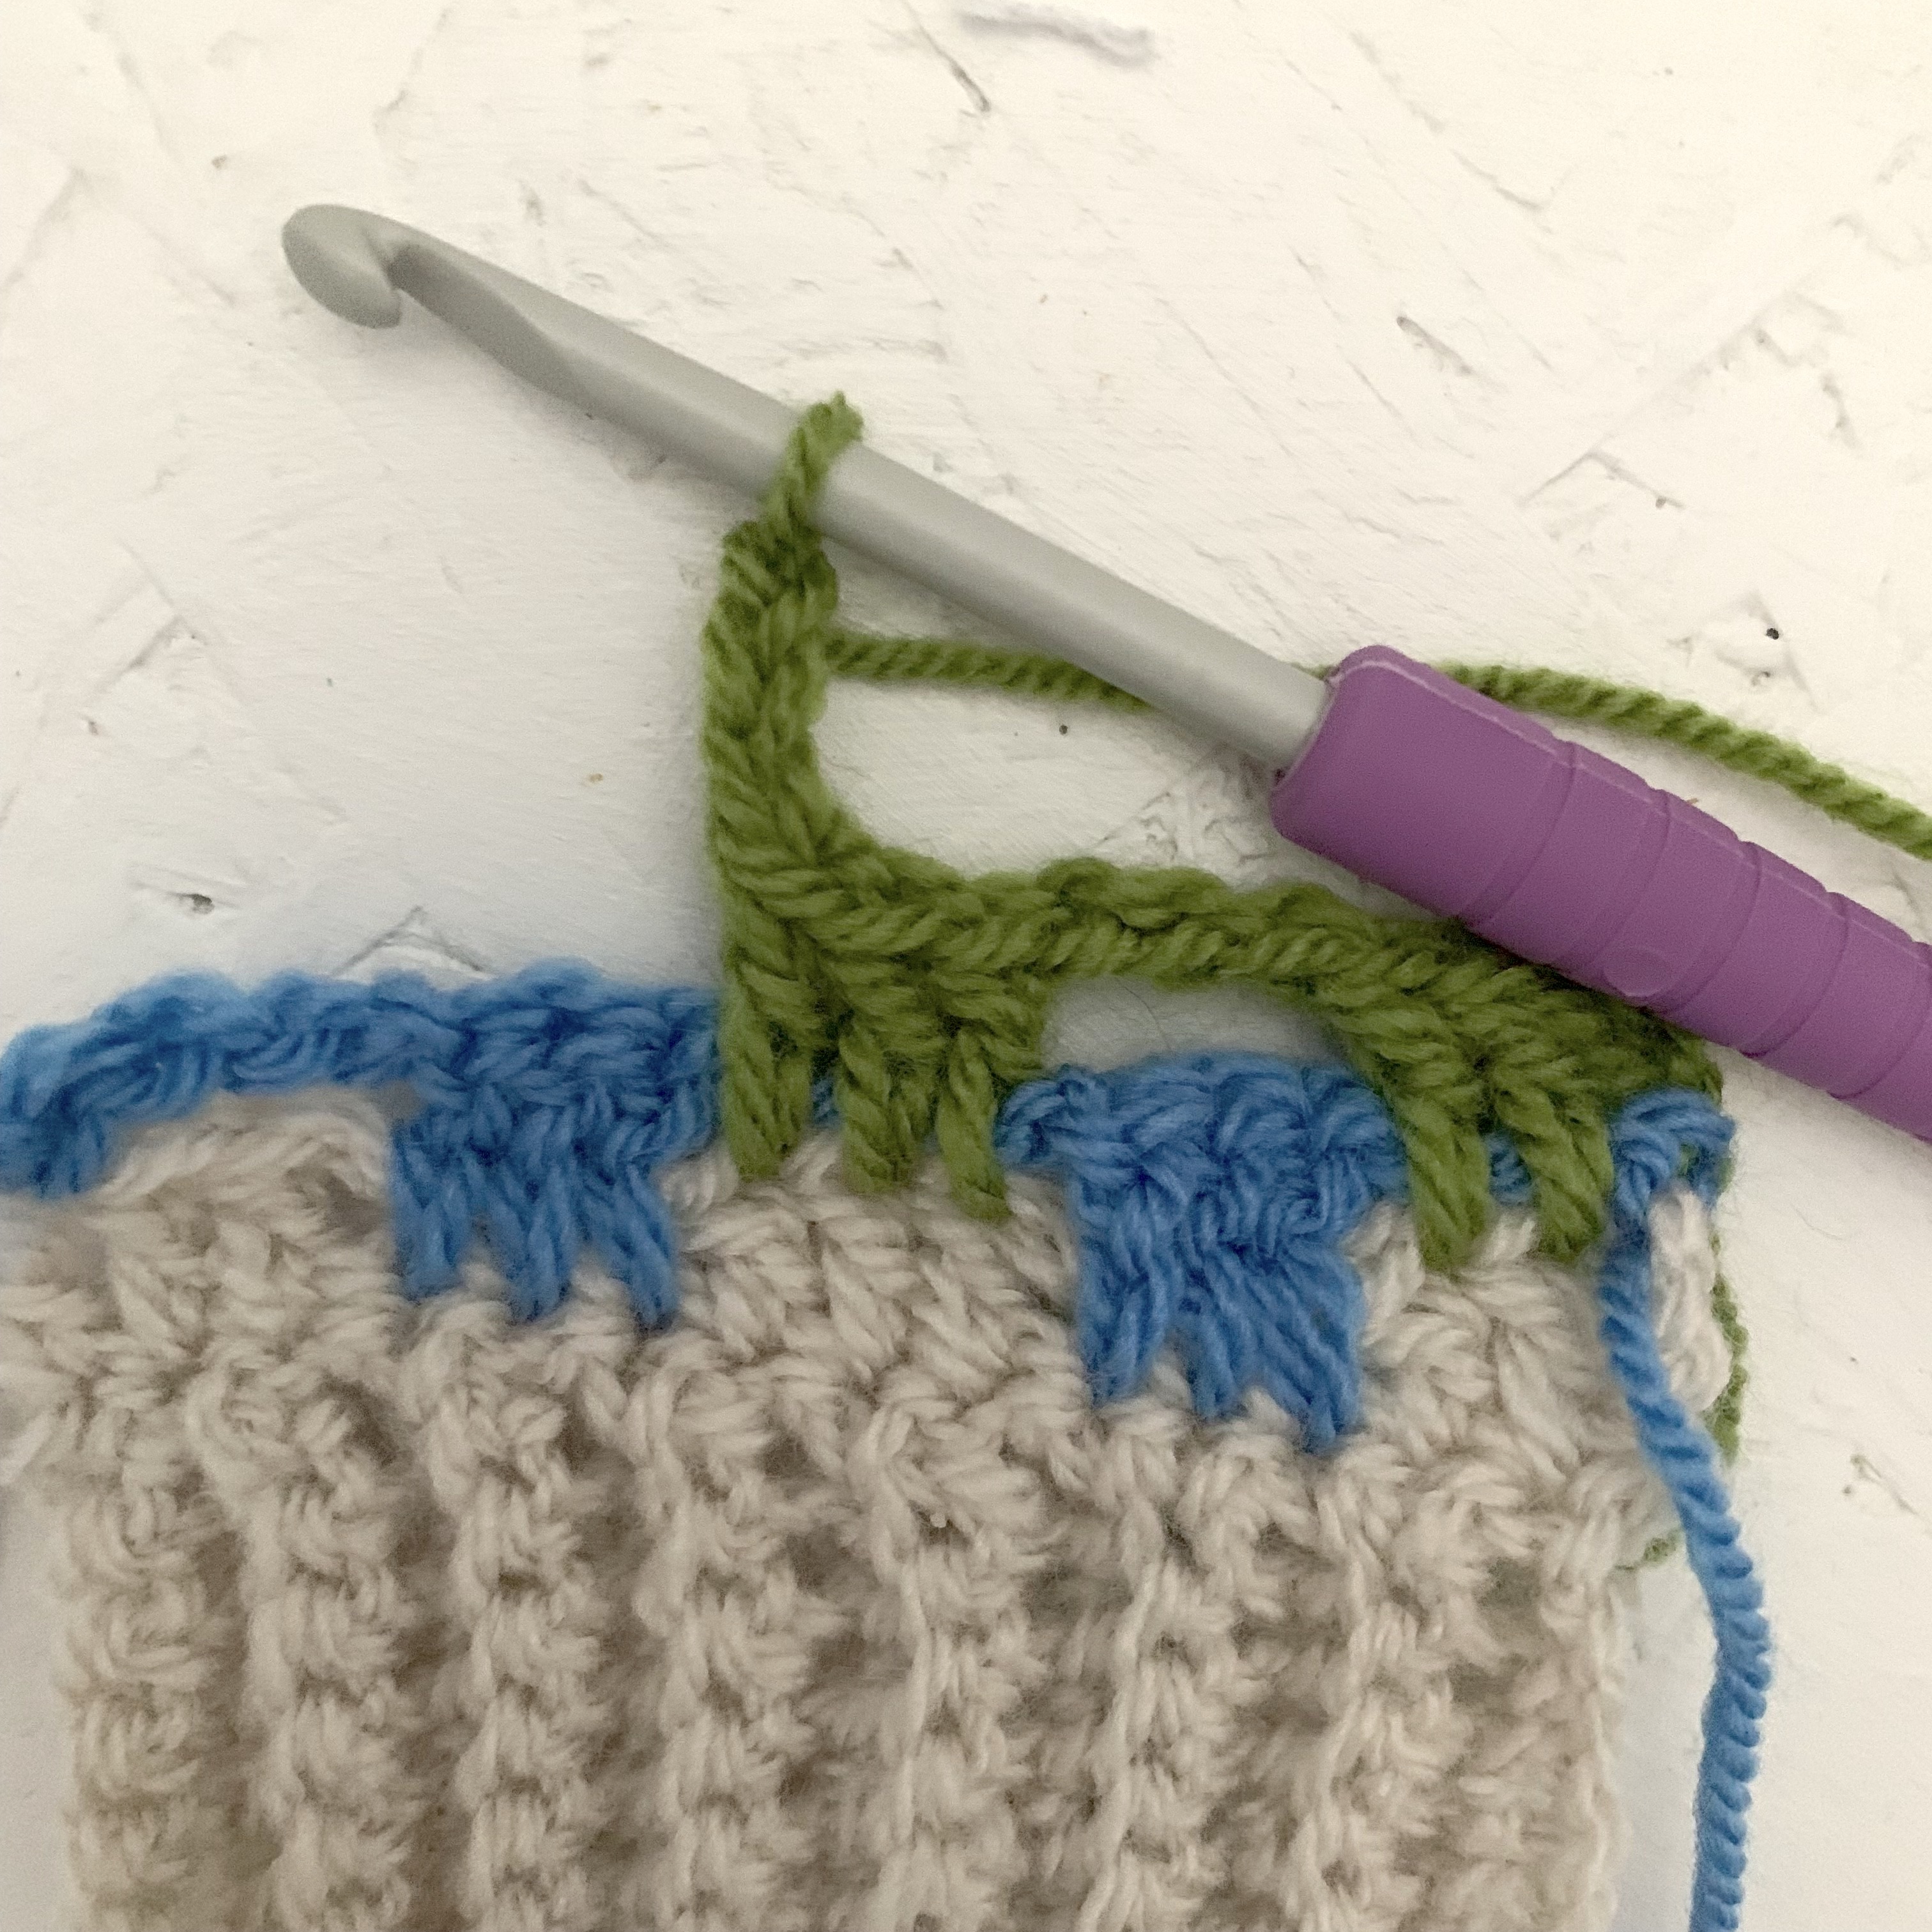
Row 3: ch1 (doesn’t count as a stitch) sc, ch3, skip 2, (3tr/dc – one into each stitch two rows below, ch3, skip 3) 16 times, 3tr/dc – one into each stitch two rows below, ch3, skip 2, sc into top of ch3 from row below. Change to colour 3.


Row 4: ch3 (counts as a stitch) 2tr/dc – one into each tr/dc two rows below, (ch3, skip 3, 3tr/dc – one into each tr/dc two rows below) 16 times, ch3, skip 3, 2tr/dc – one into each tr/dc 2 rows below, tr/dc into final sc. Change to colour 1.


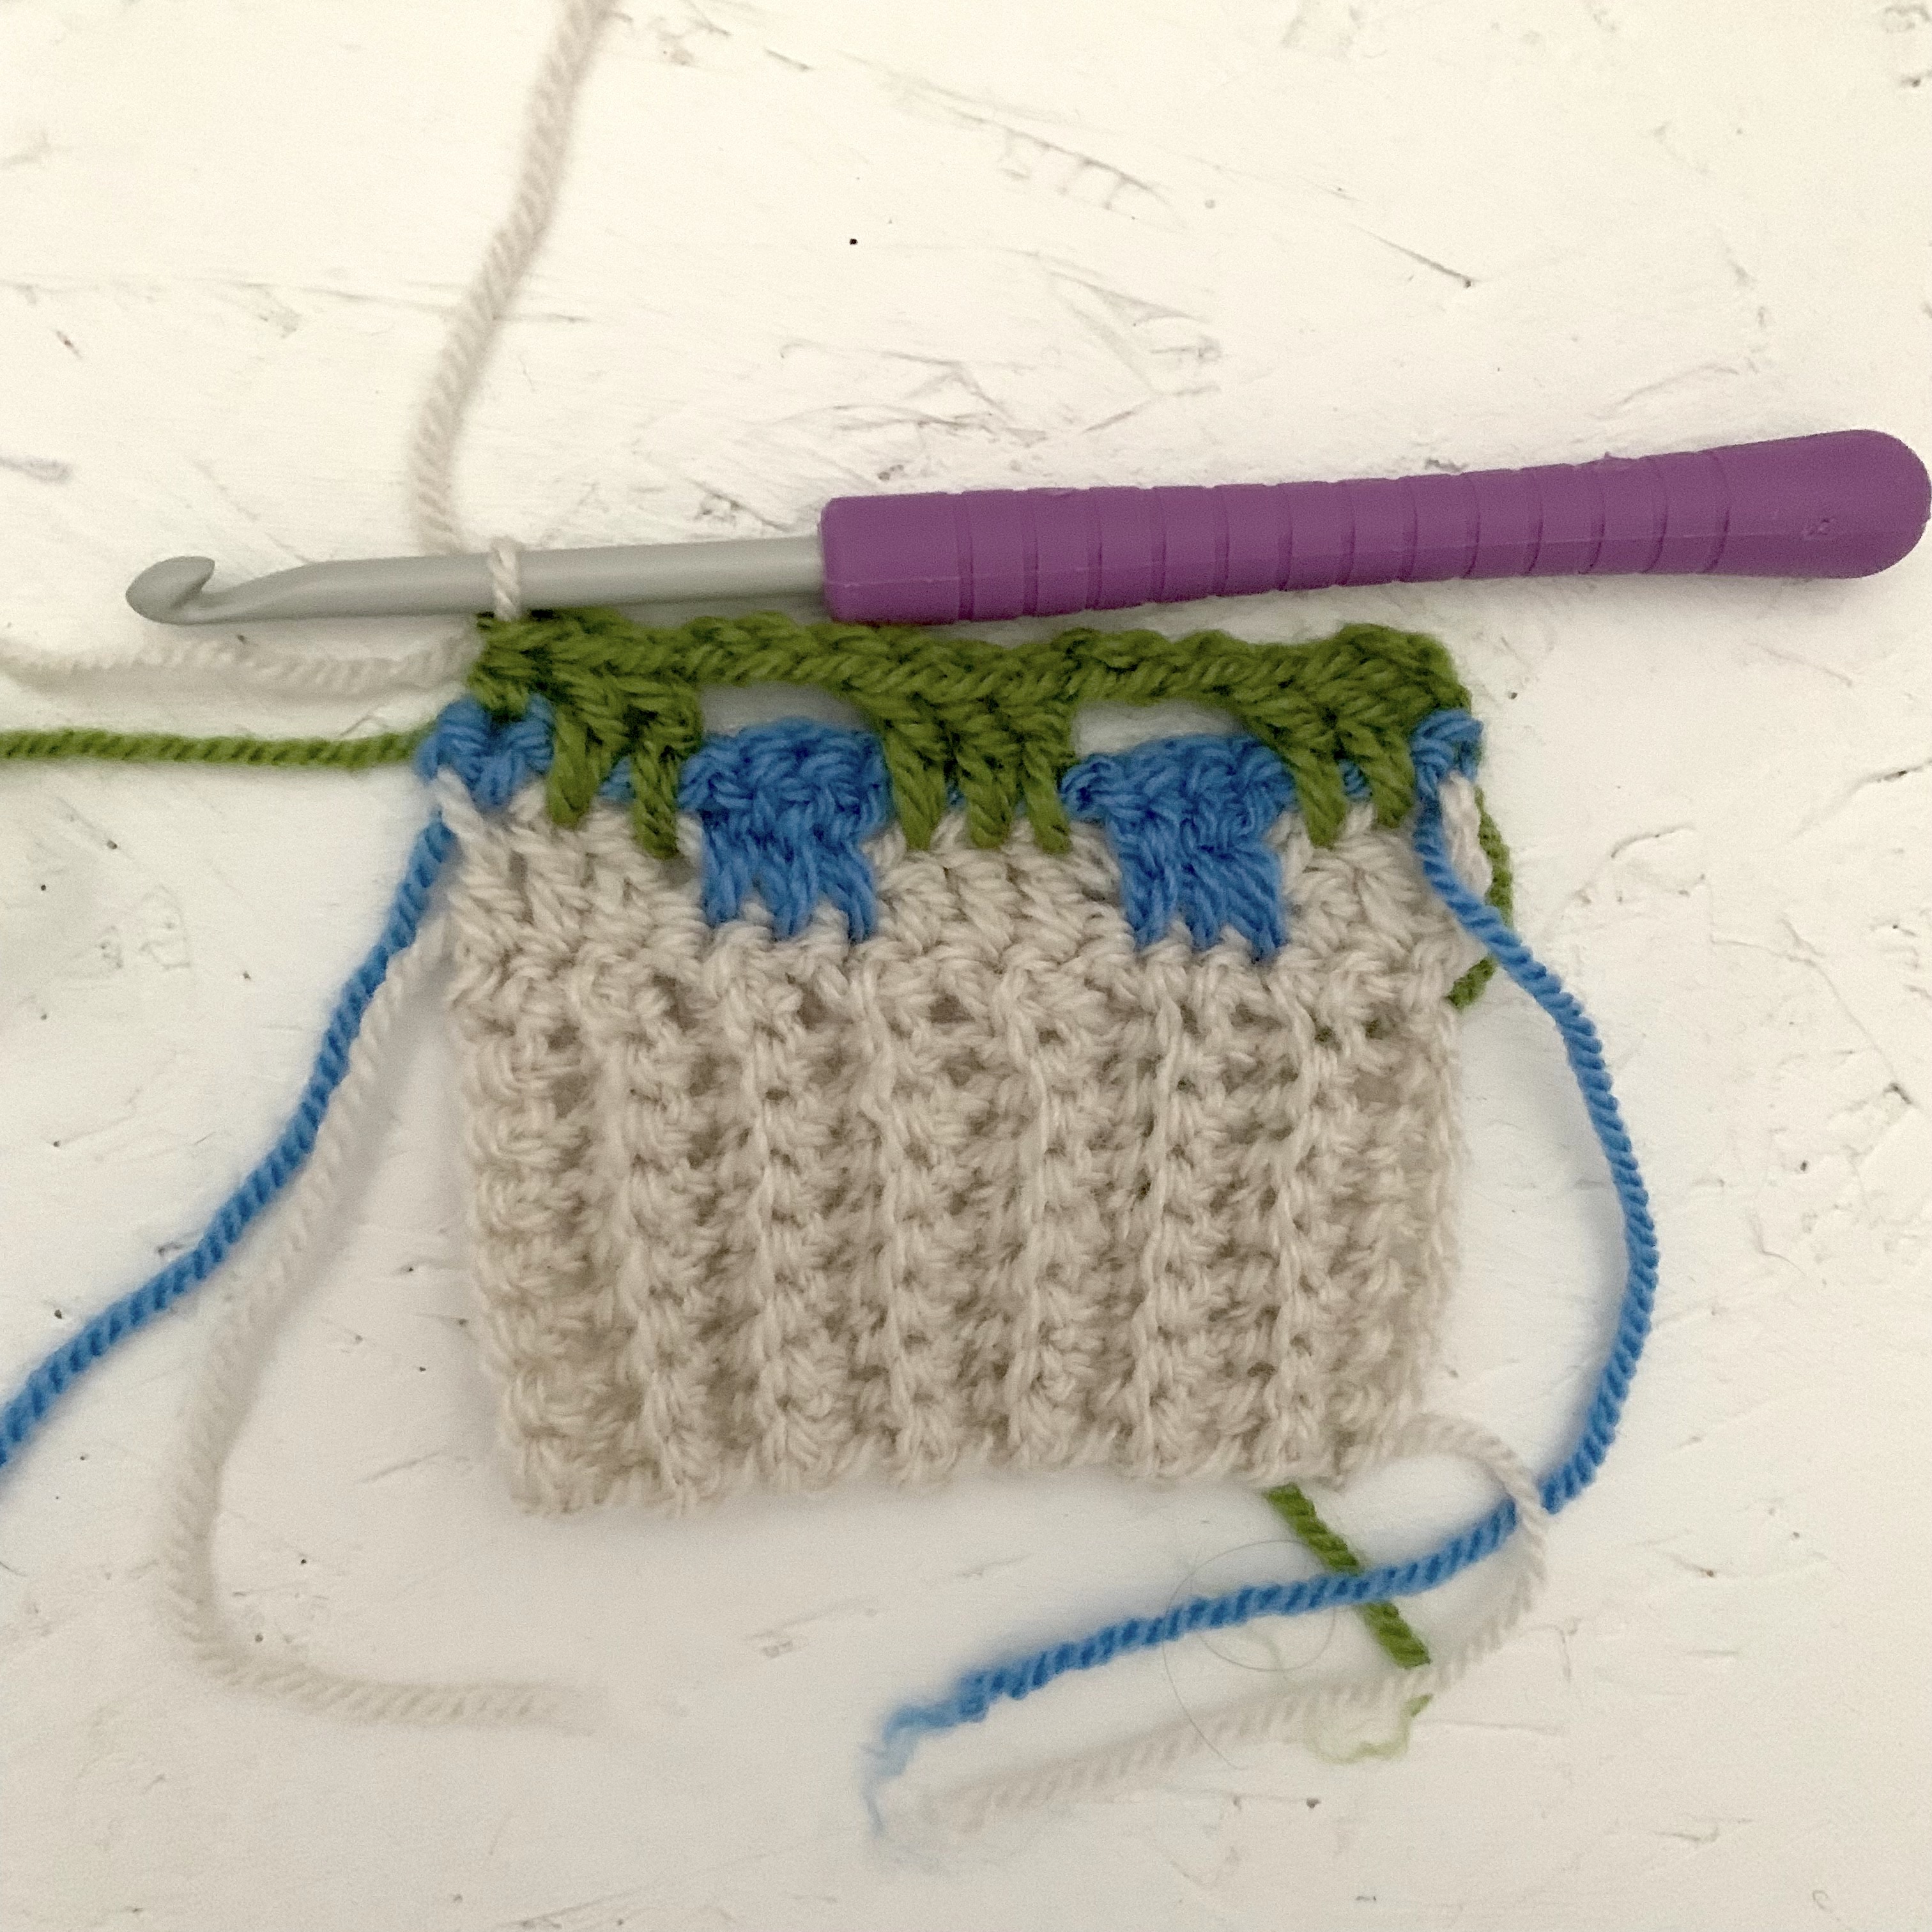
Row 5: ch1 (doesn’t count as a stitch) sc, ch3, skip 2, (3tr/dc – one into each tr/dc two rows below, ch3, skip 3) 16 times, 3tr/dc – one into each tr/dc two rows below, ch3, skip 2, sc into top of the ch3 from the row below. Change to colour 2.
Row 6: repeat row 4, change to colour 3.
Row 7: repeat row 5, change to colour 1.
Row 8: repeat row 4, change to colour 2.
Row 9: repeat row 5, change to colour 3.
Row 10: repeat row 4, change to colour 1.
Row 11: repeat row 5, change to colour 2.
Row 12: repeat row 4, change to colour 3.
Row 13: repeat row 5, change to colour 1.
Row 14: repeat row 4, change to colour 2.
Row 15: repeat row 5, change to colour 3.
Row 16: repeat row 4, change to colour 1.
Row 17: repeat row 5, change to colour 2.
Row 18: repeat row 4, change to colour 3.
Row 19: repeat row 5, change to colour 1.
Row 20: repeat row 4, change to colour 2.
Row 21: repeat row 5, change to colour 3.
Row 22: repeat row 4, change to colour 1.
Row 23: repeat row 5, change to colour 2.
Row 24: repeat row 4, change to colour 3.
Row 25: repeat row 5, change to colour 1.
Row 26: repeat row 4, change to colour 2.
Row 27: repeat row 5, change to colour 3.
Row 28: repeat row 4, change to colour 1.
Row 29: repeat row 5, change to colour 2.
Row 30: repeat row 4, change to colour 3.
Fasten off.
- Fasten off all loose ends.
- Fold hat in half with right sides together and slip stitch down the side to join.


- Turn out the right way.
- Sew around the top edge of the hat weaving in and out of the middle tr/dc in each set of 3 on the 2nd row down from the top.
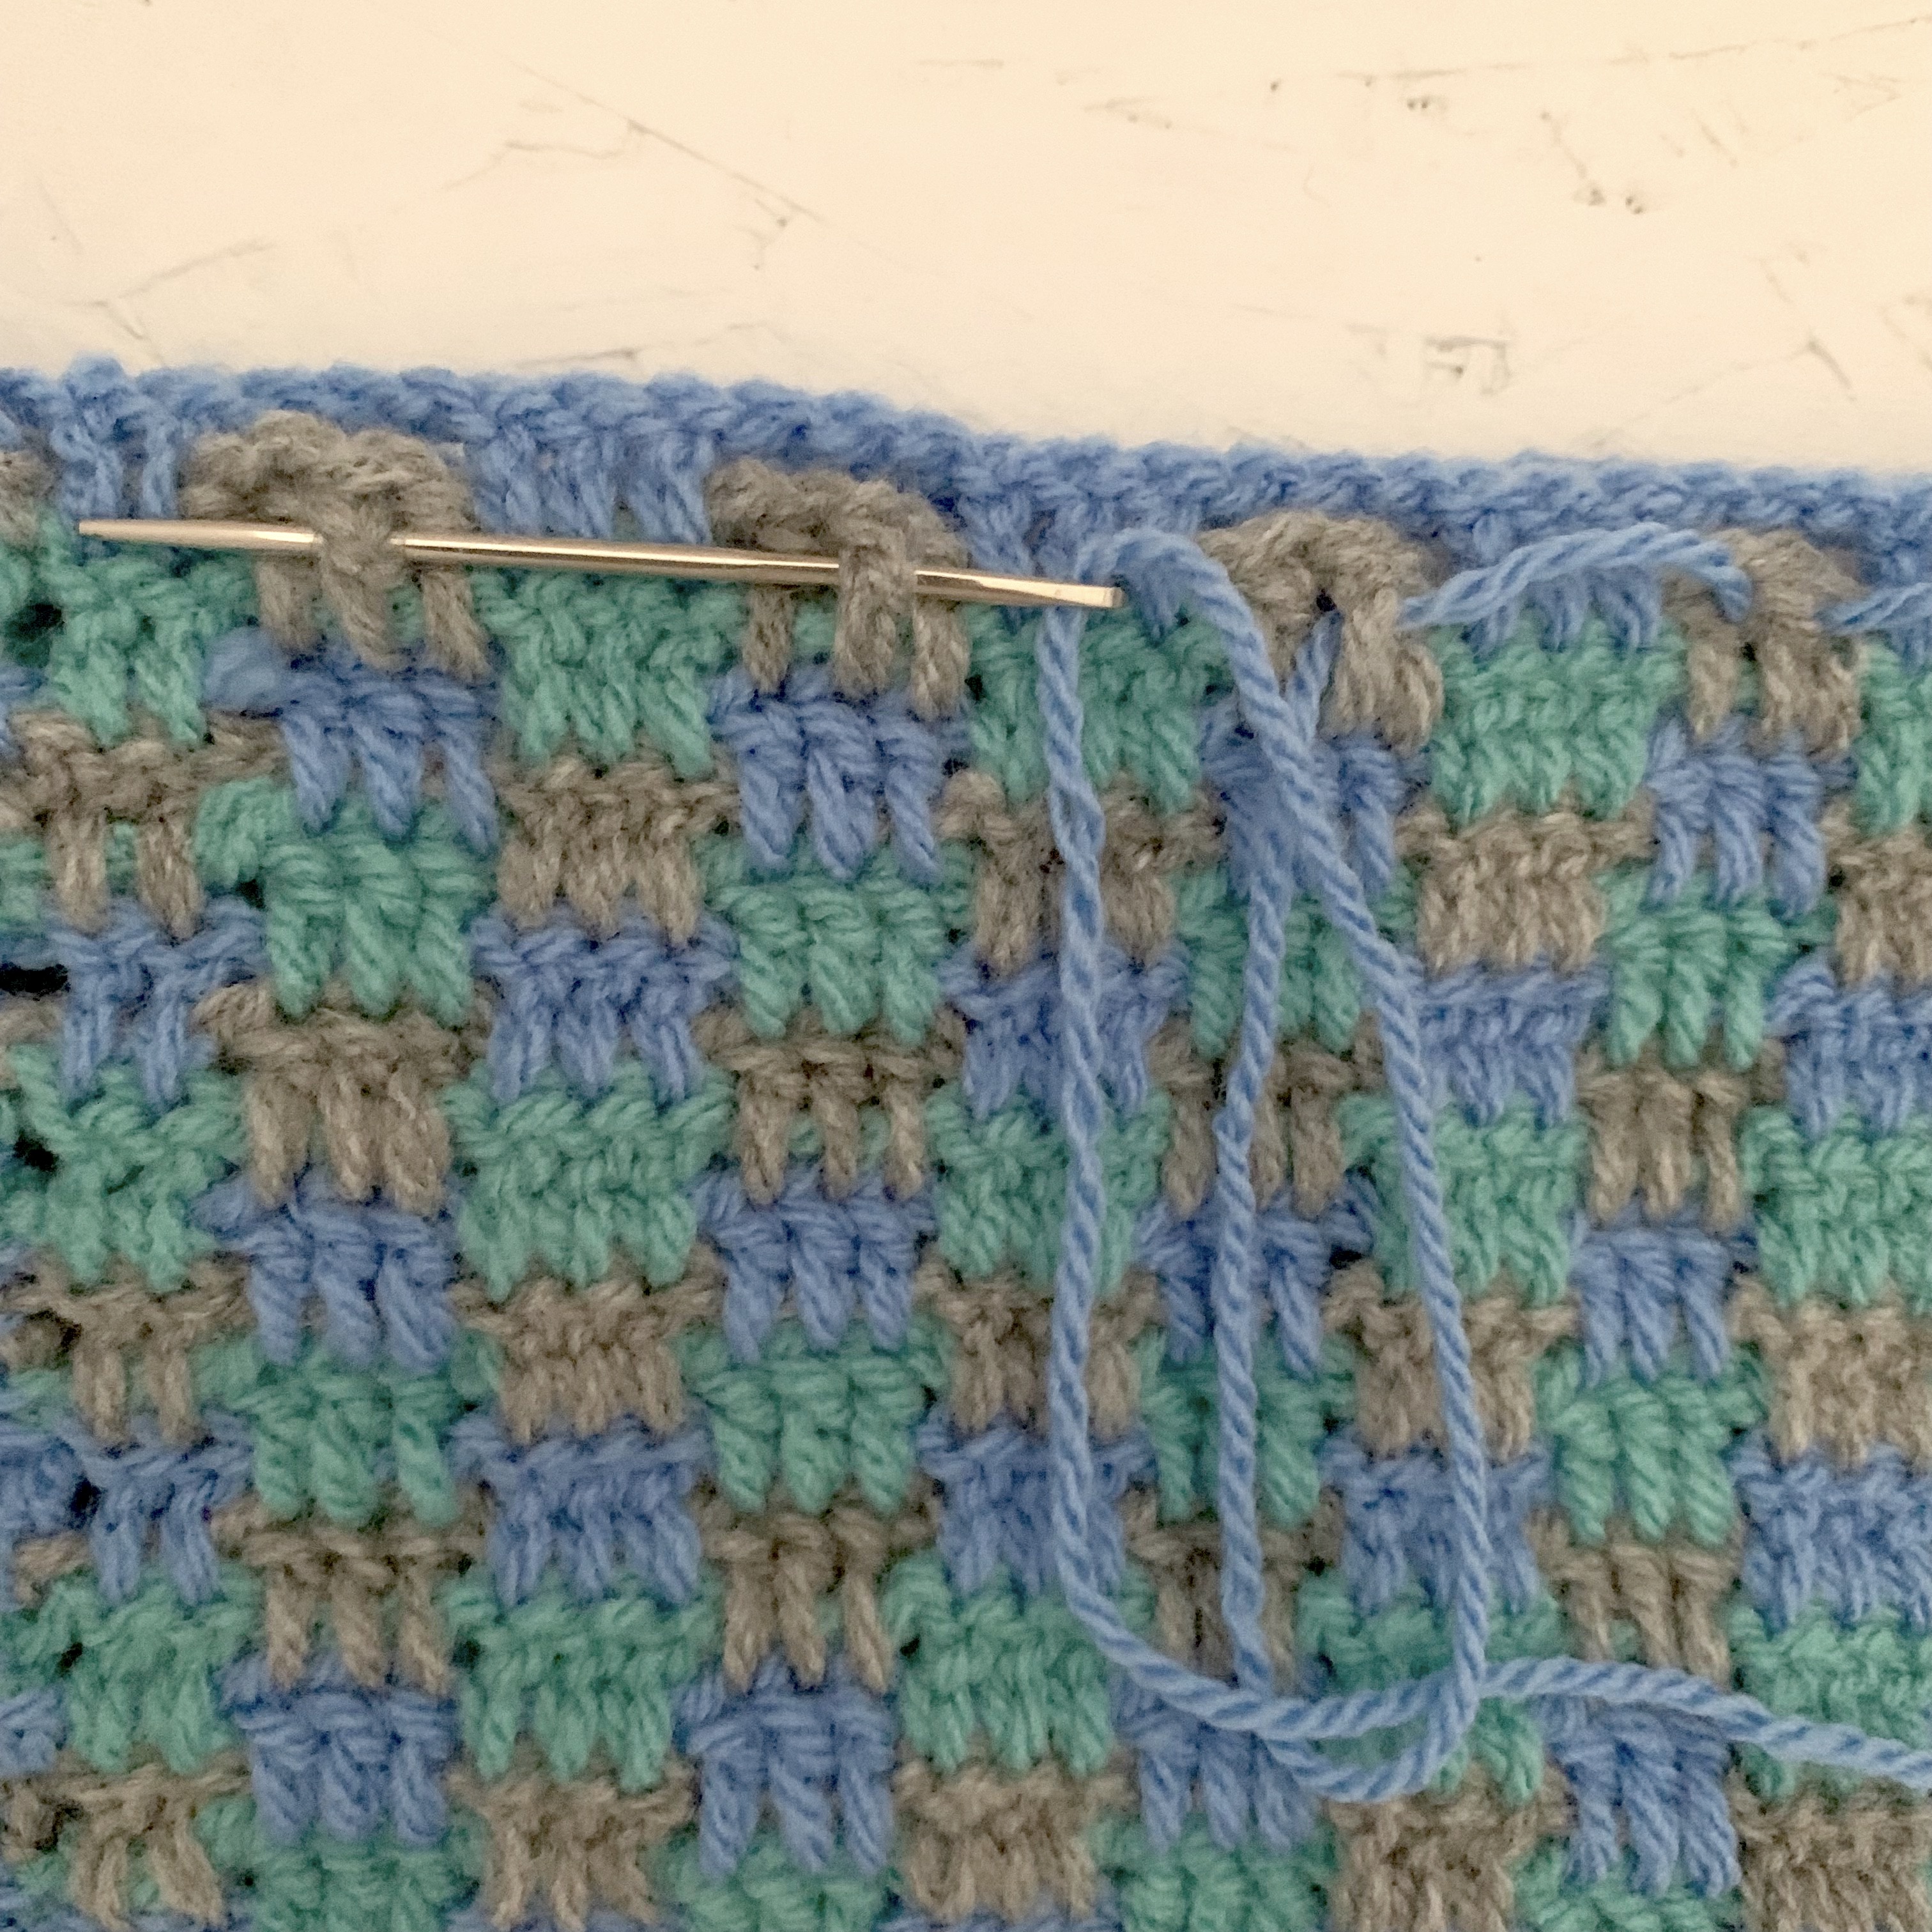
- Pull tight and sew to secure (make sure the top of the hat is tucked inwards).

- Make a pom pom using all three of the different colours of wool and a 7cm pom pom maker or pieces of card. A how to on making a pom pom using card can be found here.
- Attach the pom pom to the top of the hat by casting on at the top of the hat and sewing up through the middle of the pom pom and down back to the hat until the pom pom feels secure. Fasten off.


Leave a comment