
Interlocking block stitch/Plaid stitch is a great stitch to use for blankets, cushions and hats/scarves – you can use as many or as few colours as you wish and come up with some really cool patterns.
I have some patterns which use this stitch including a Plaid effect hat with pom pom and Plaid effect fingerless gloves.
Interlocking block stitch/plaid stitch tutorial:
Notes:
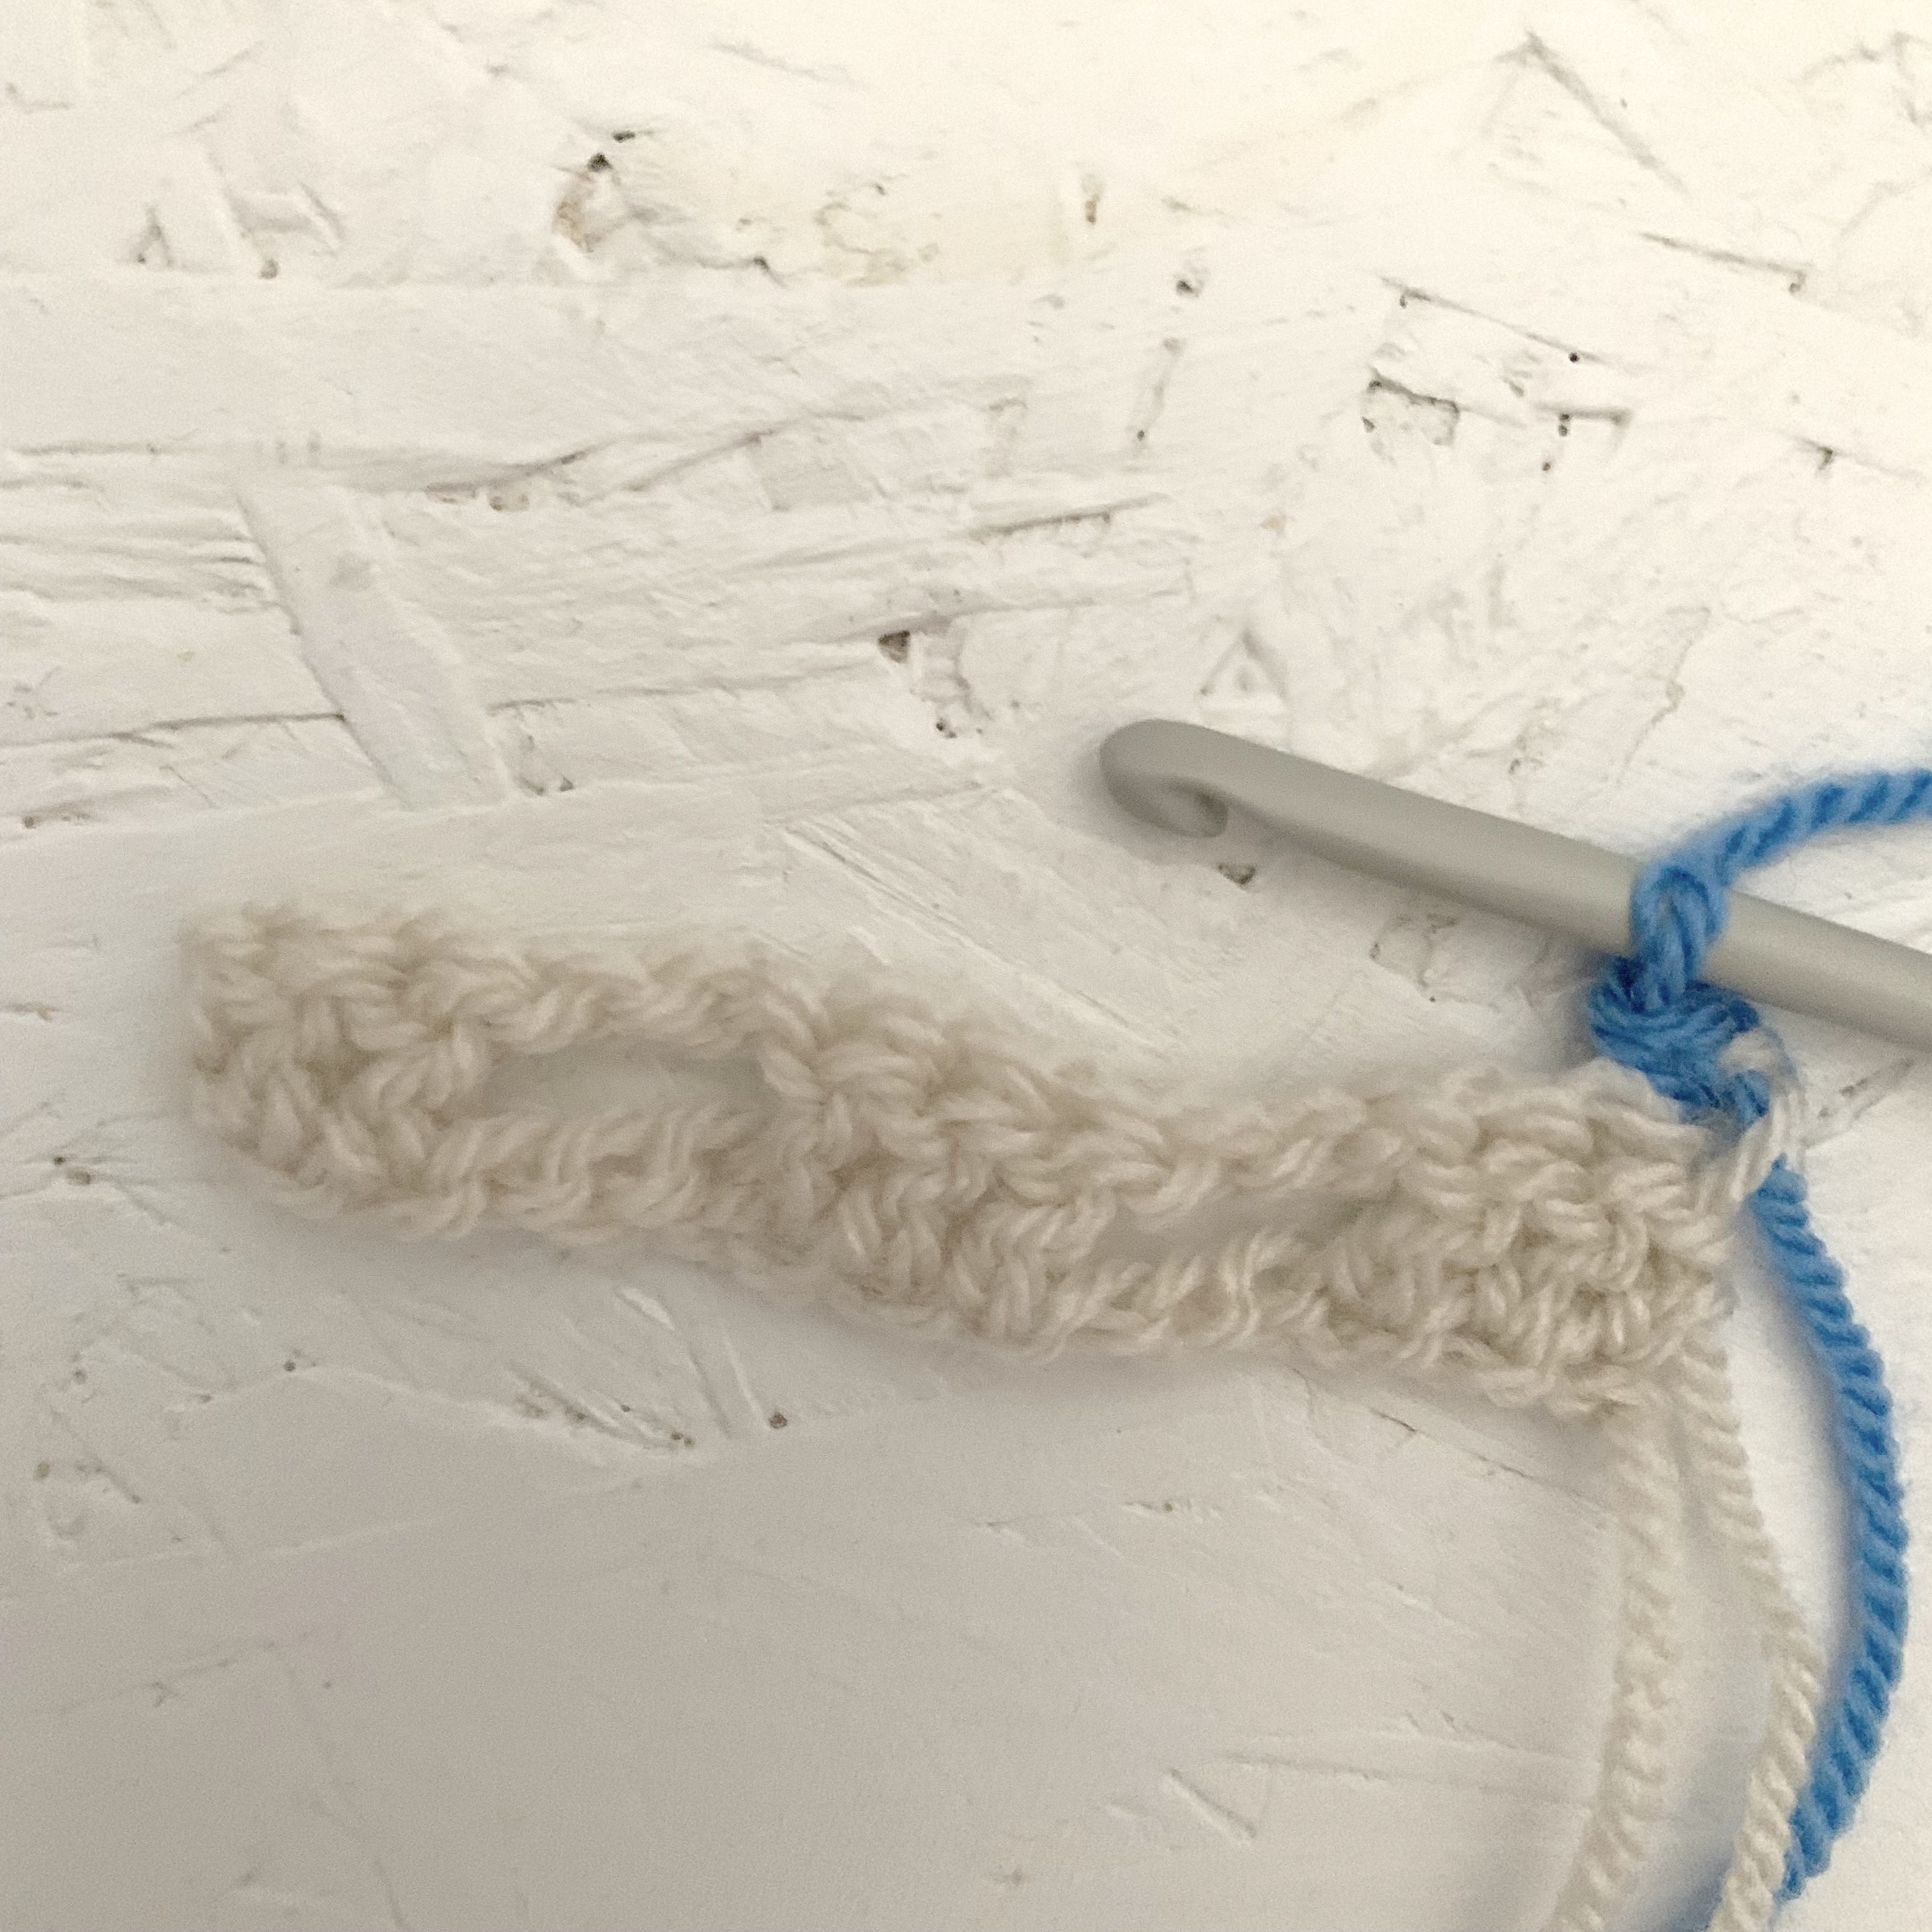
- Change colour on the last yo of the final stitch of the row.
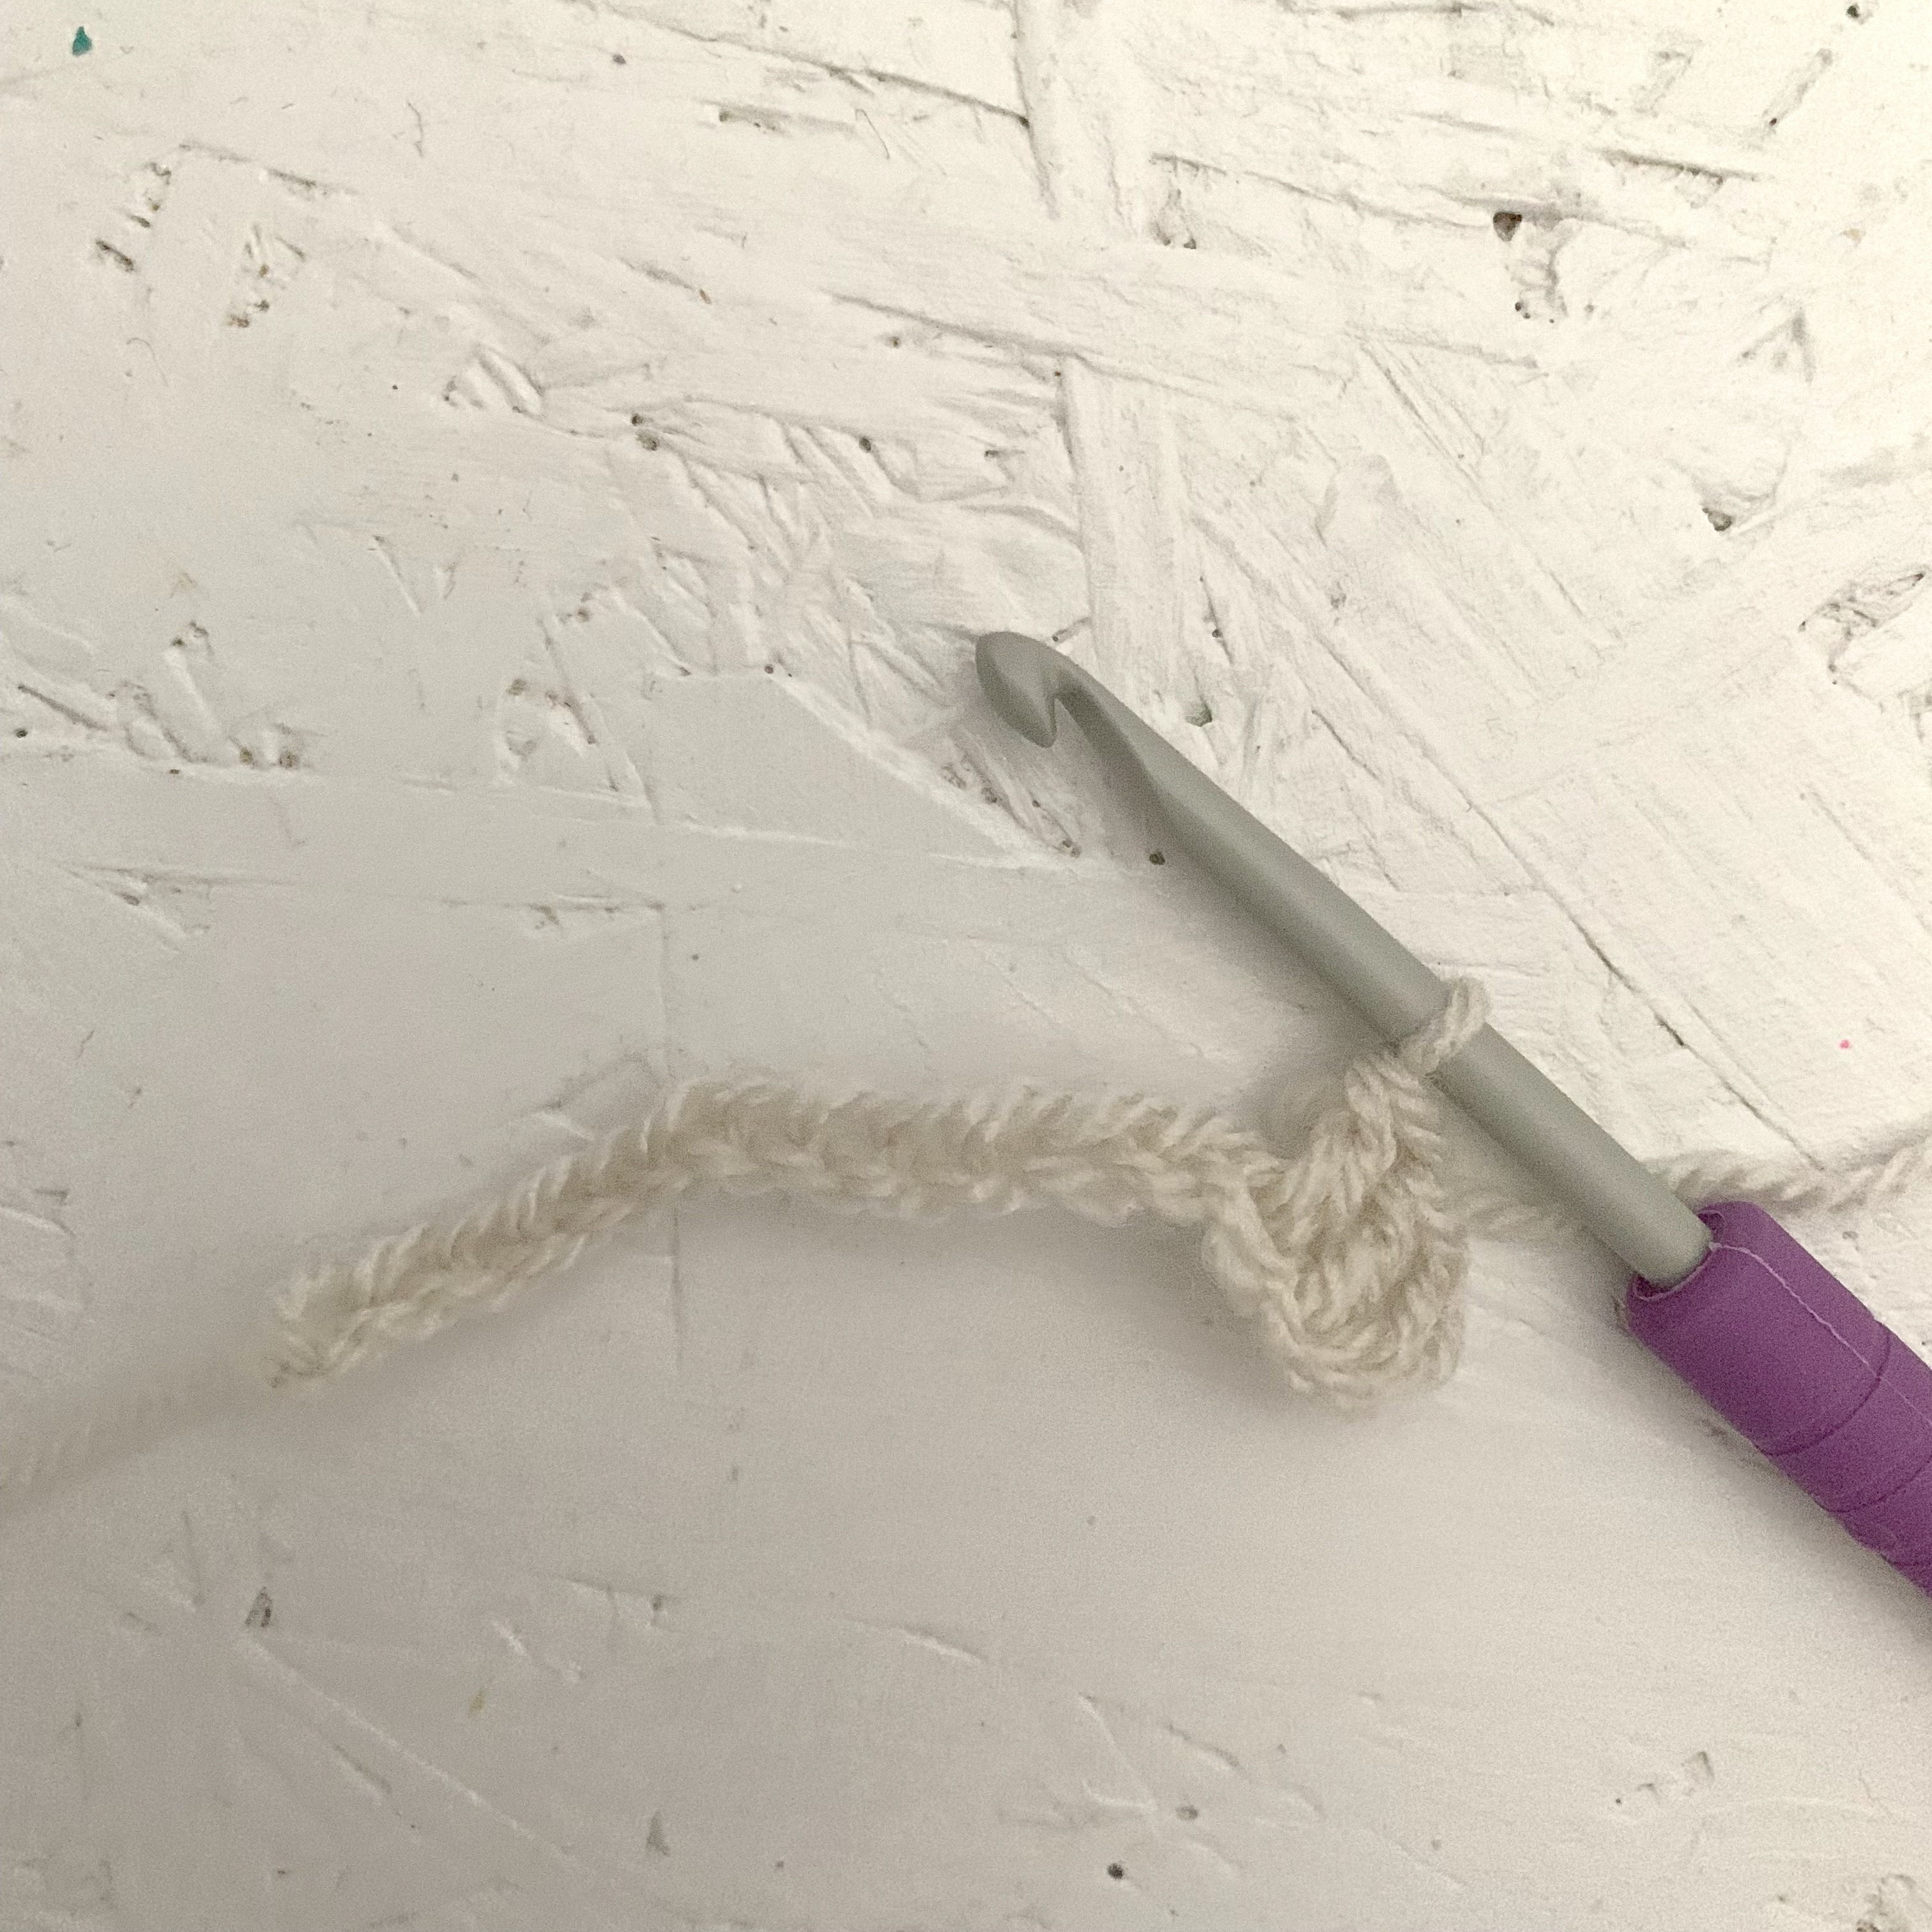
Starting row:
For the first row you need to ch the length of stitches you require, and as the interlocking block/plaid stitch works in 2 blocks of 3 you need to make sure your starting ch length is dividable by 6. Once you have your ch length add on 5 extra stitches (this will create the first tr/dc stitch of the row, and a block of 3tr/dc to make sure you end the row on a set of 3tr/dc).
For example: if your starting ch was 30ch stitches long, add an extra 5 stitches to make 35ch stitches in total.
Row 1: tr/dc into the 3rd ch from the hook, this gives you the first tr/dc of the row using the extra 2ch stitches added at the start. Next tr/dc into the next 2 stitches, giving you your first block of 3. *ch3, skip 3 stitches, then tr/dc into the next 3 stitches. Repeat from *along the row.


Main Rows:
Row 2: ch1 (doesn’t count as a stitch) sc, ch3, skip 2, 3tr/dc – one into each stitch two rows below *ch3, skip 3, 3tr/dc – one into each stitch two rows below. Repeat from * along row, until 3 stitches remain (the 2tr/dc and ch3 at start of previous row), ch3, skip 2, sc into top of ch3 at start of previous row.

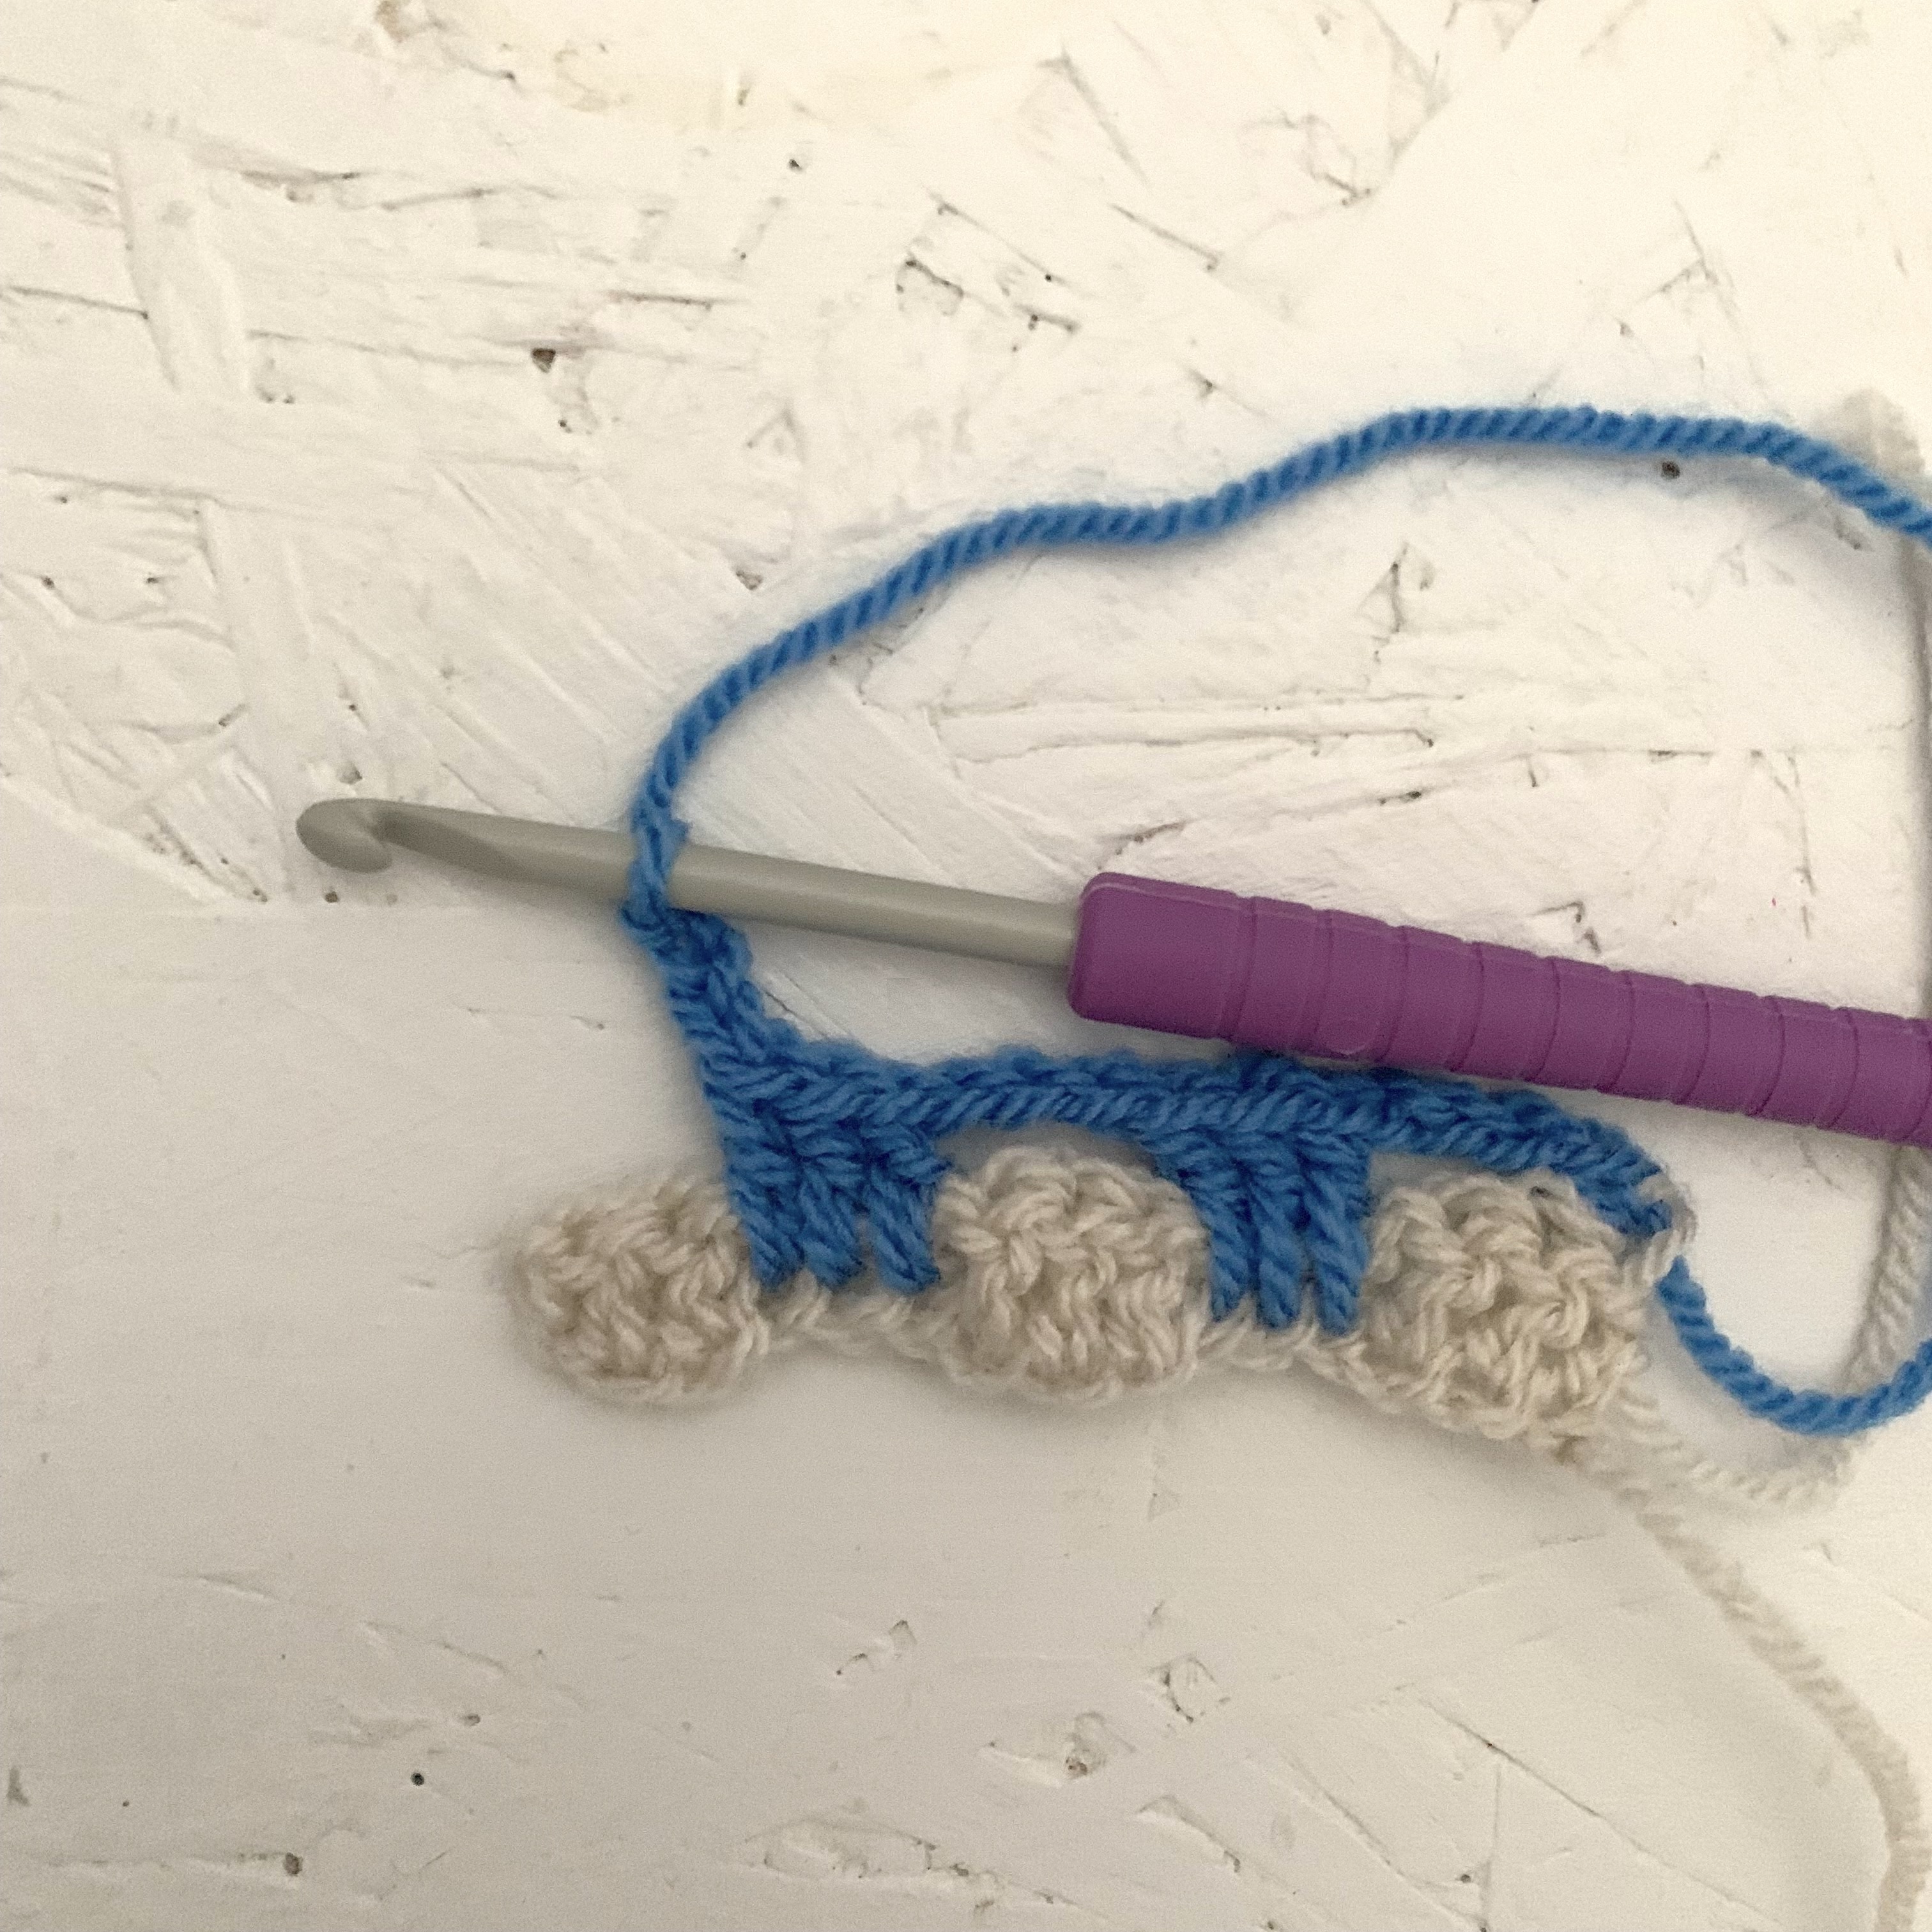

Row 3: ch3 (counts as a stitch) 2tr/dc – one into each stitch two rows below, ch3, skip 3, *3tr/dc – one into each stitch two rows below, ch3, skip 3. Repeat from * along row, until 3 stitches remain, 2tr/dc – one into each stitch two rows below, tr/dc into final stitch (sc from start of previous row).

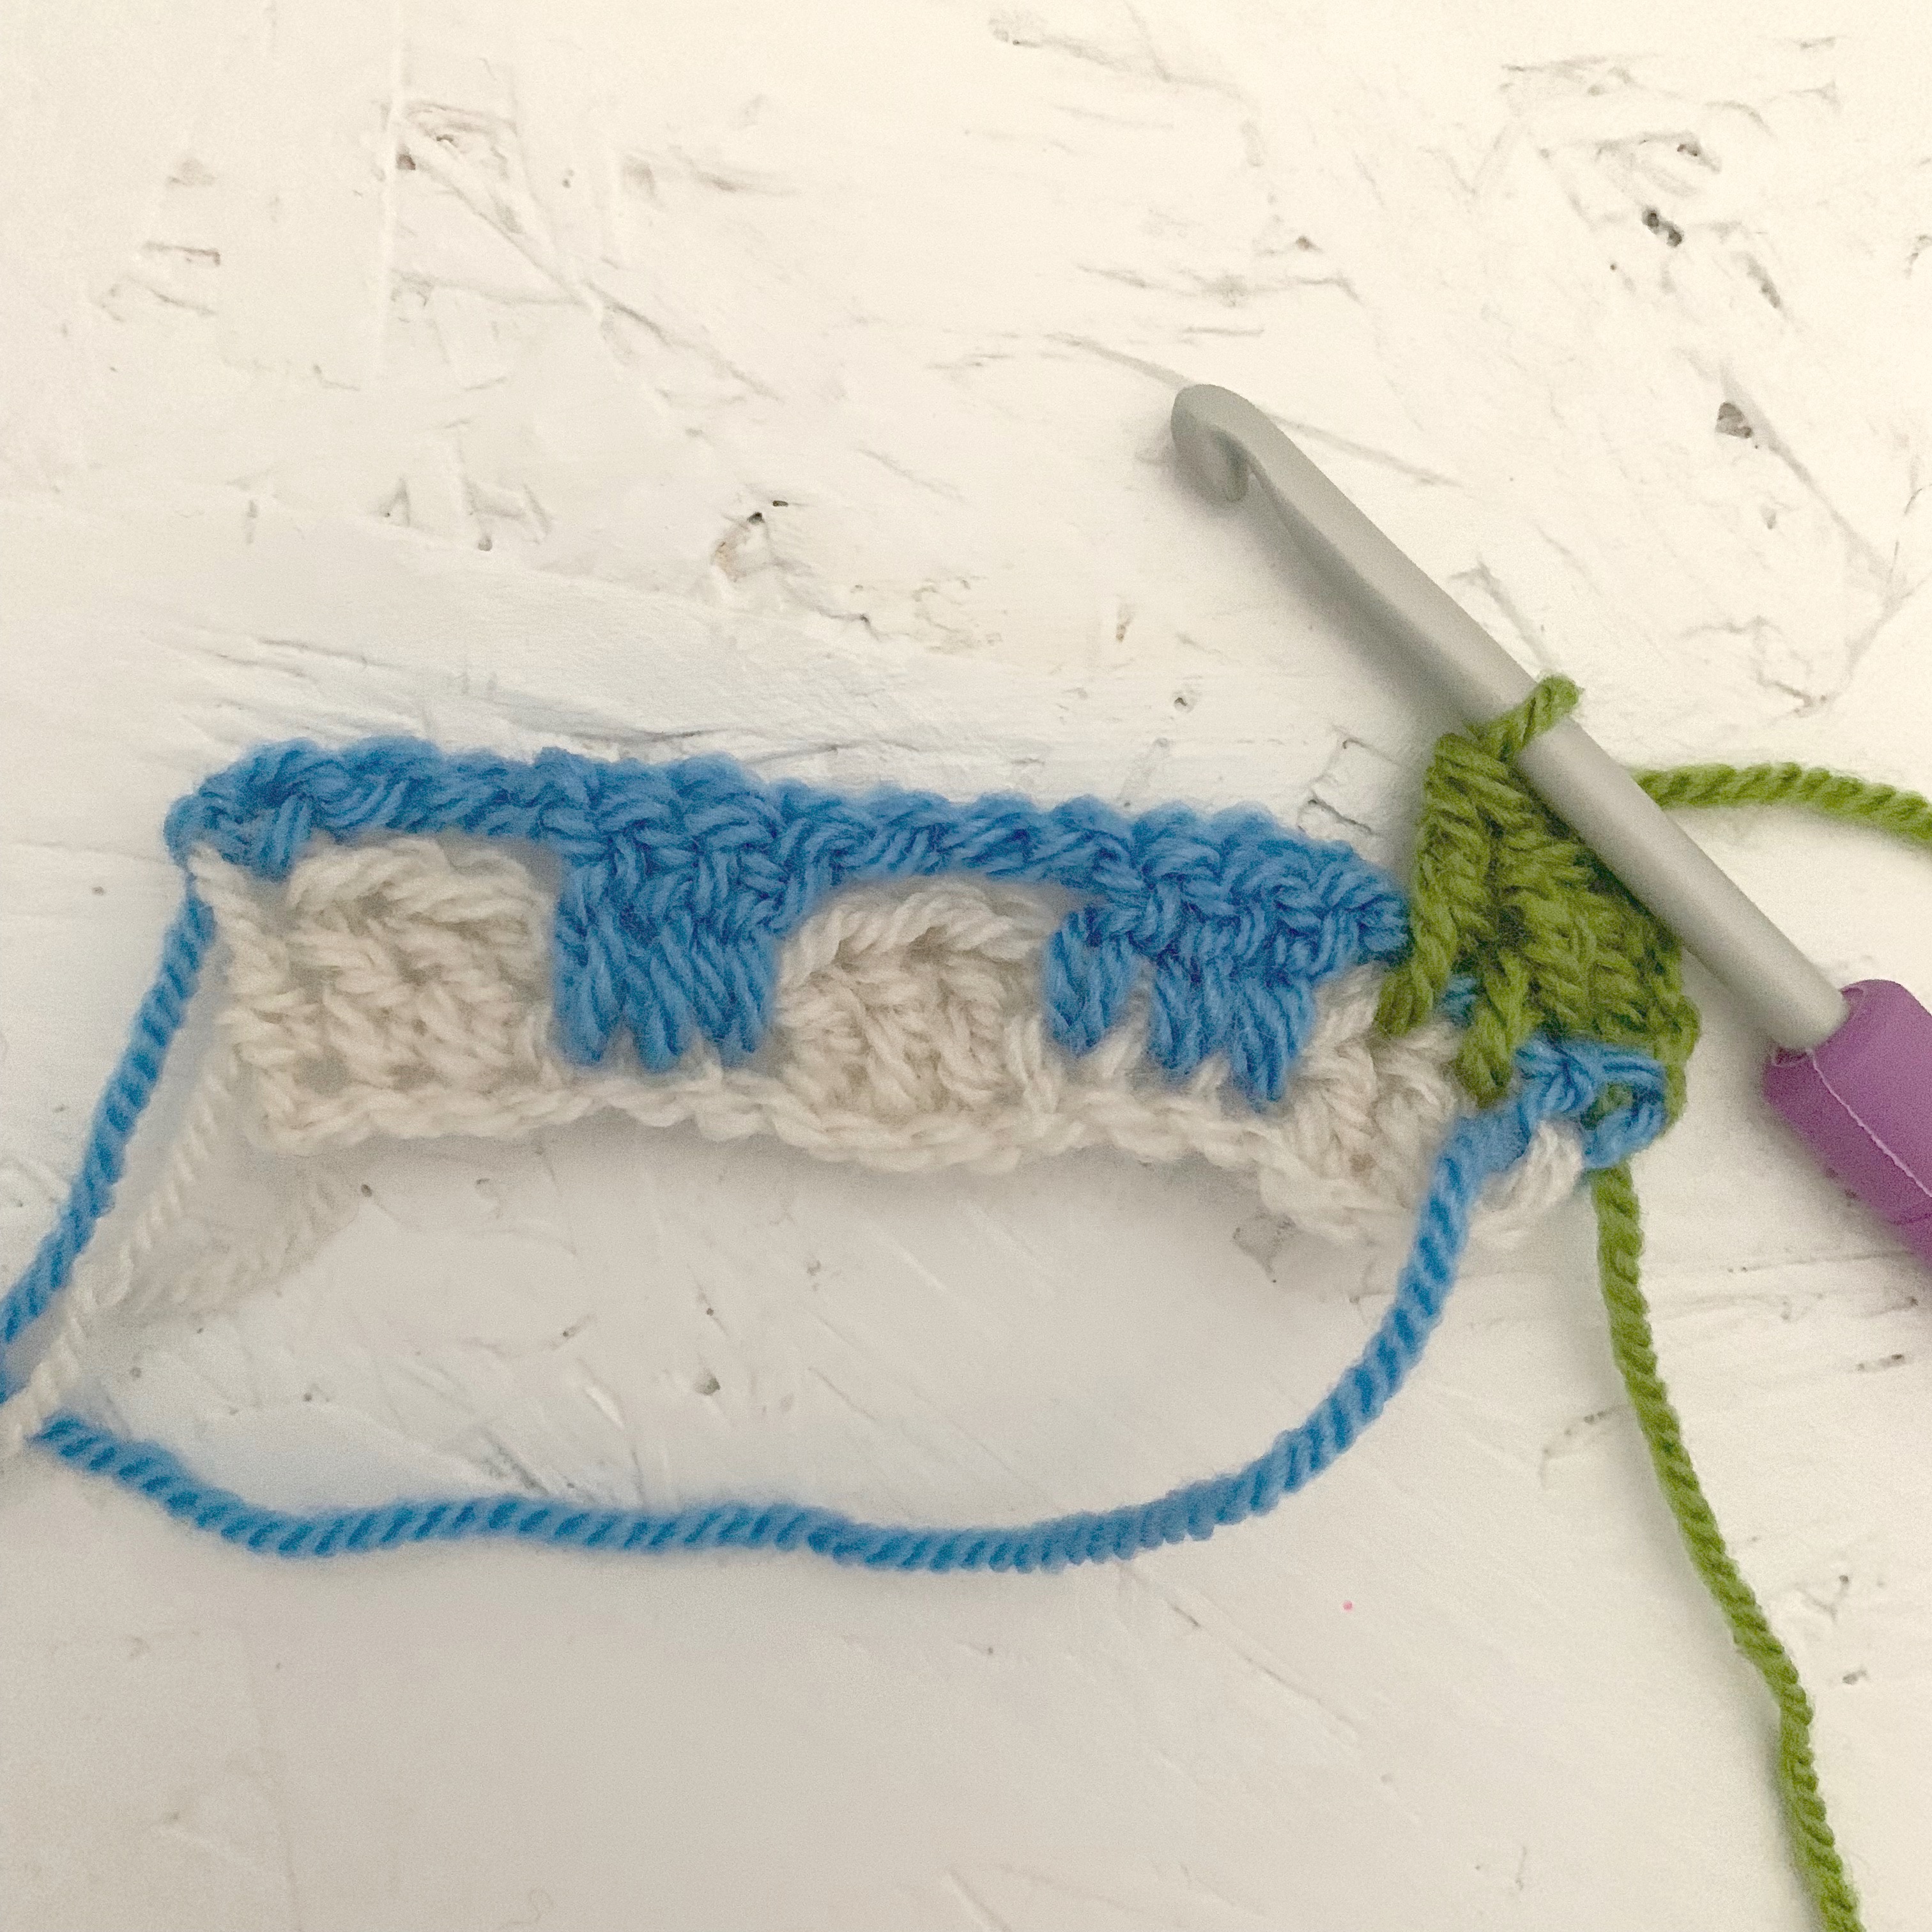


- Repeat rows 2 and 3 until you reach the size of blanket you require.
- Fasten off, Fasten off all loose ends.

Leave a comment