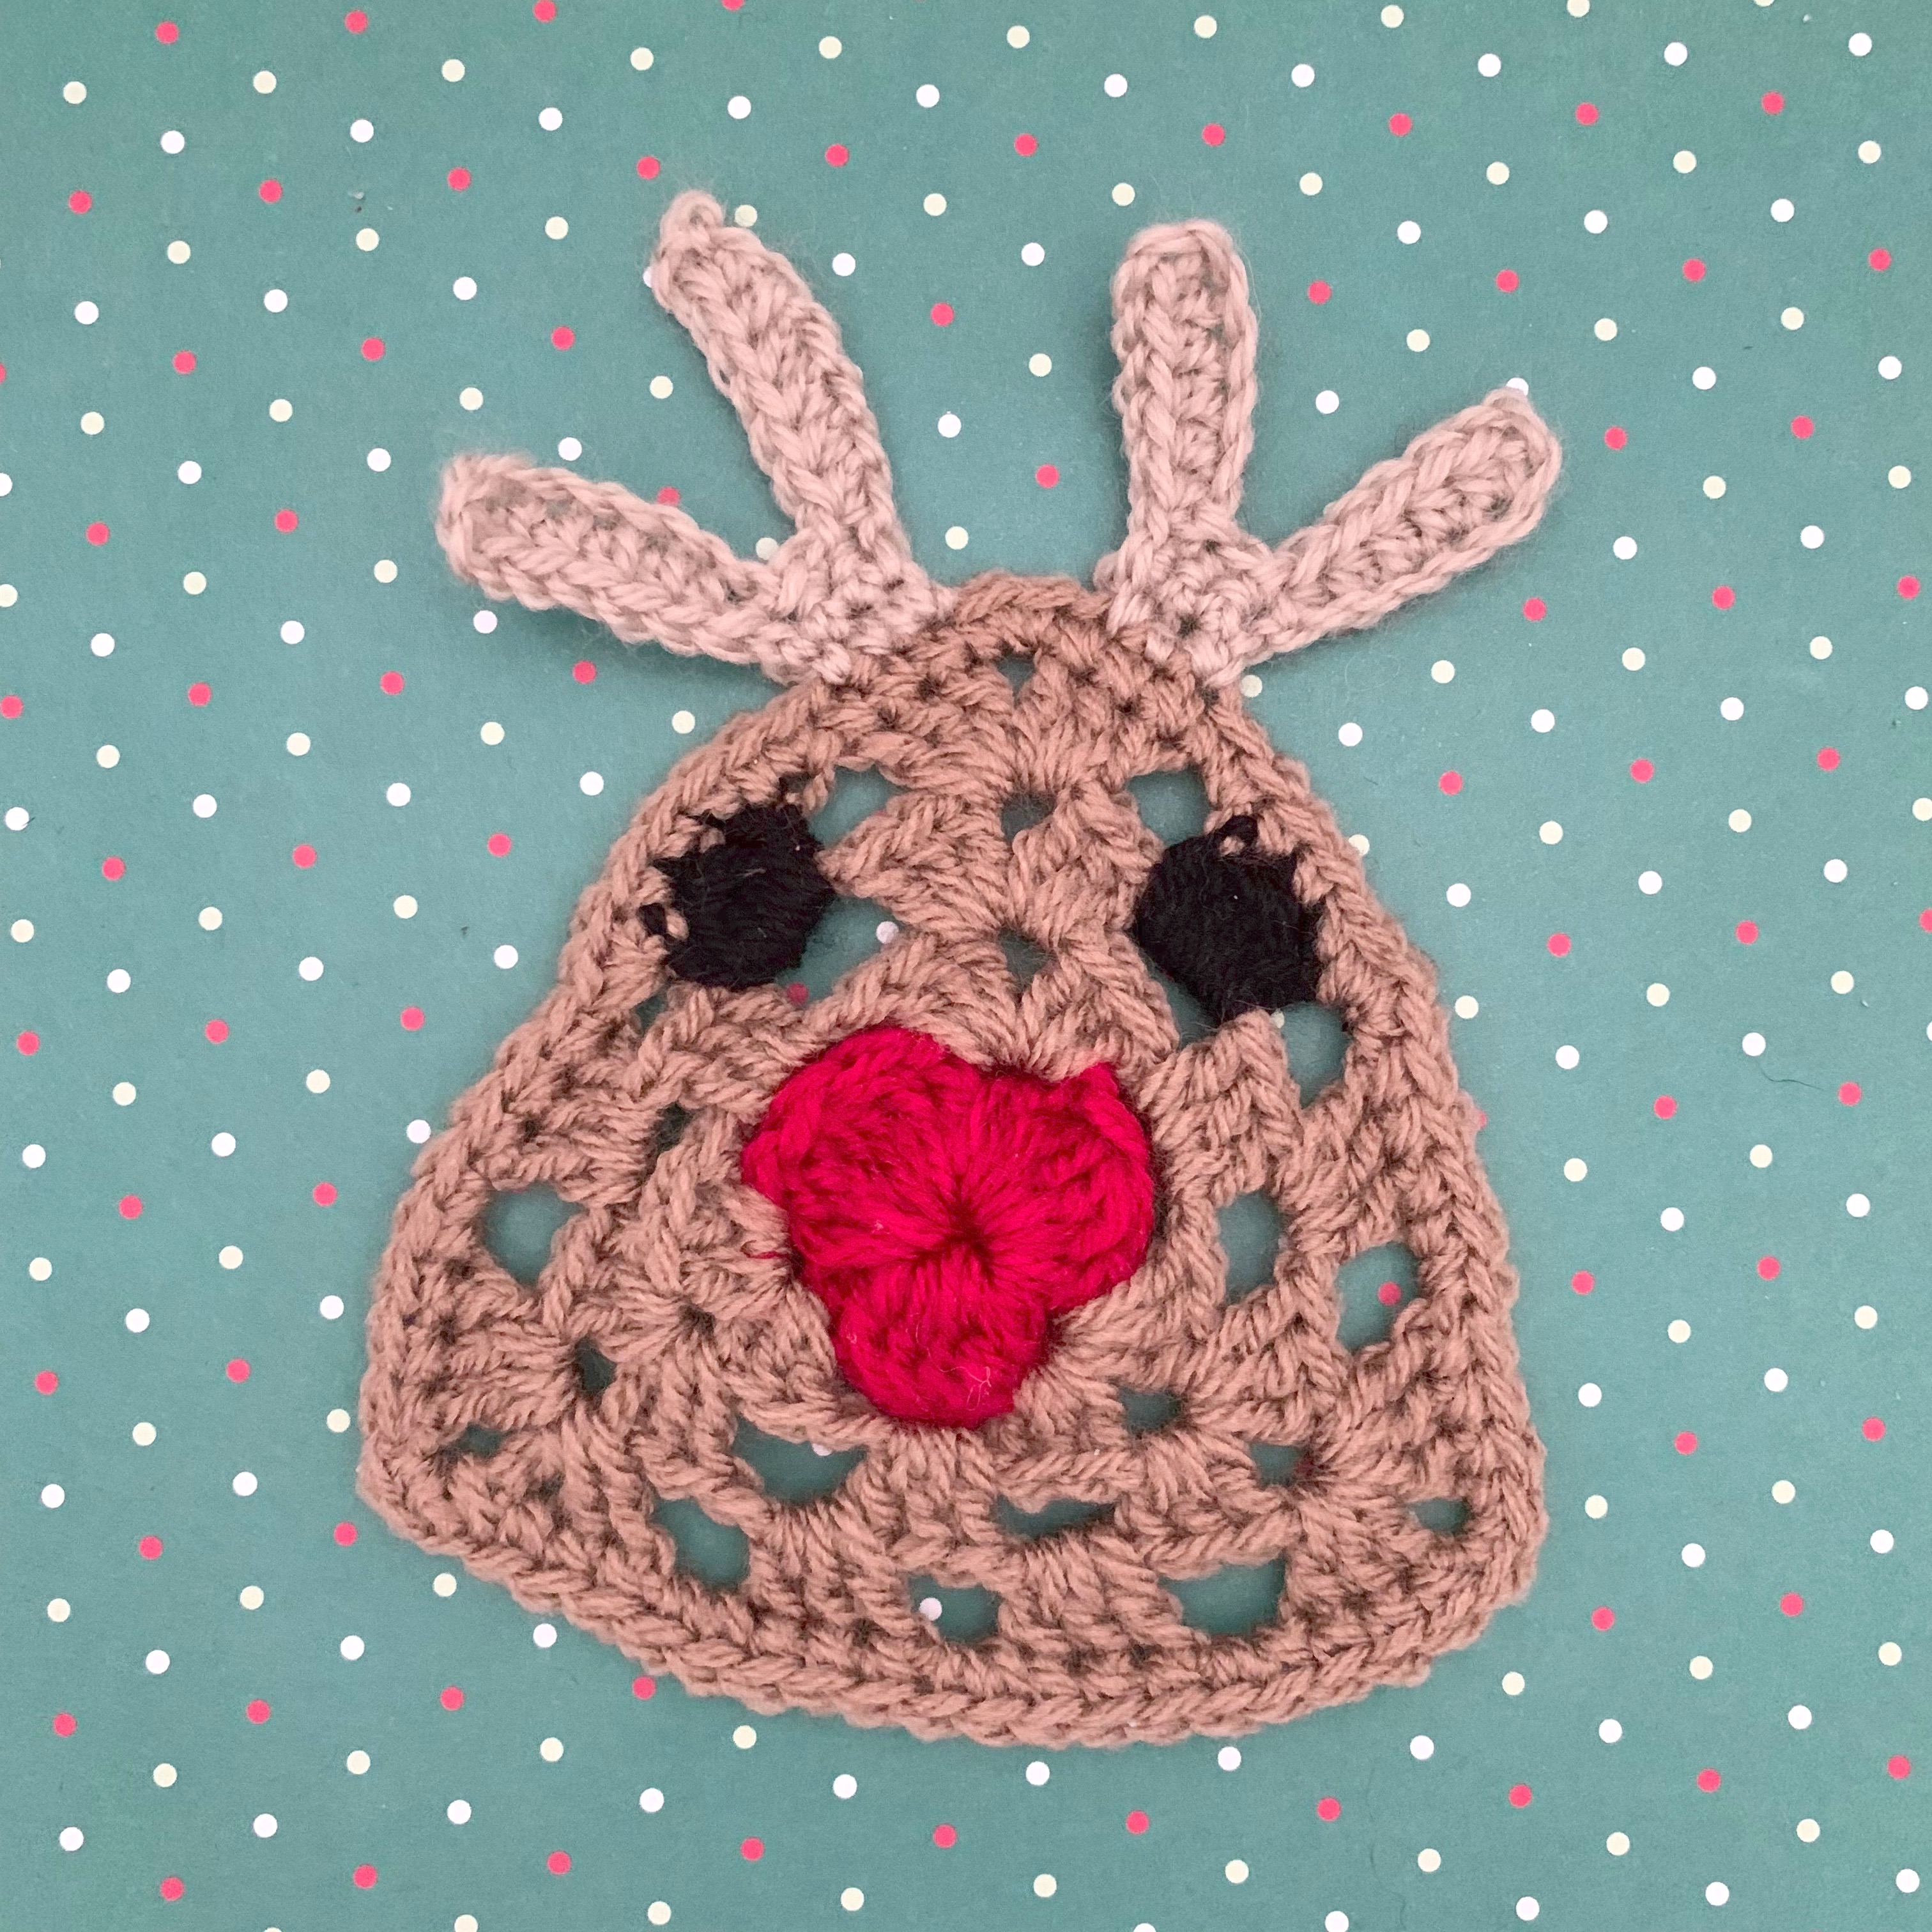
After completing my Christmas granny triangle Santa and Elf decorations/mats I decided to make a reindeer themed one next – complete with red nose!
These Christmas themed granny triangles are perfect for decorating with this Christmas they would make great mats/coasters and could easily be made into bunting by attaching the to a crochet chain or ribbon.
These little makes are also perfect for using up leftover wool too.
Crochet Granny Triangle Christmas Reindeer Decoration/Mat Instructions
Materials
- 4.5mm crochet hook.
- Wool, small amounts (around 25g) of:
- Red.
- Light Brown.
- Brown.
- Black.
Notes:
- Push bobbles out to the front after completion.
- Change wool colour on the last yo of the previous stitch.
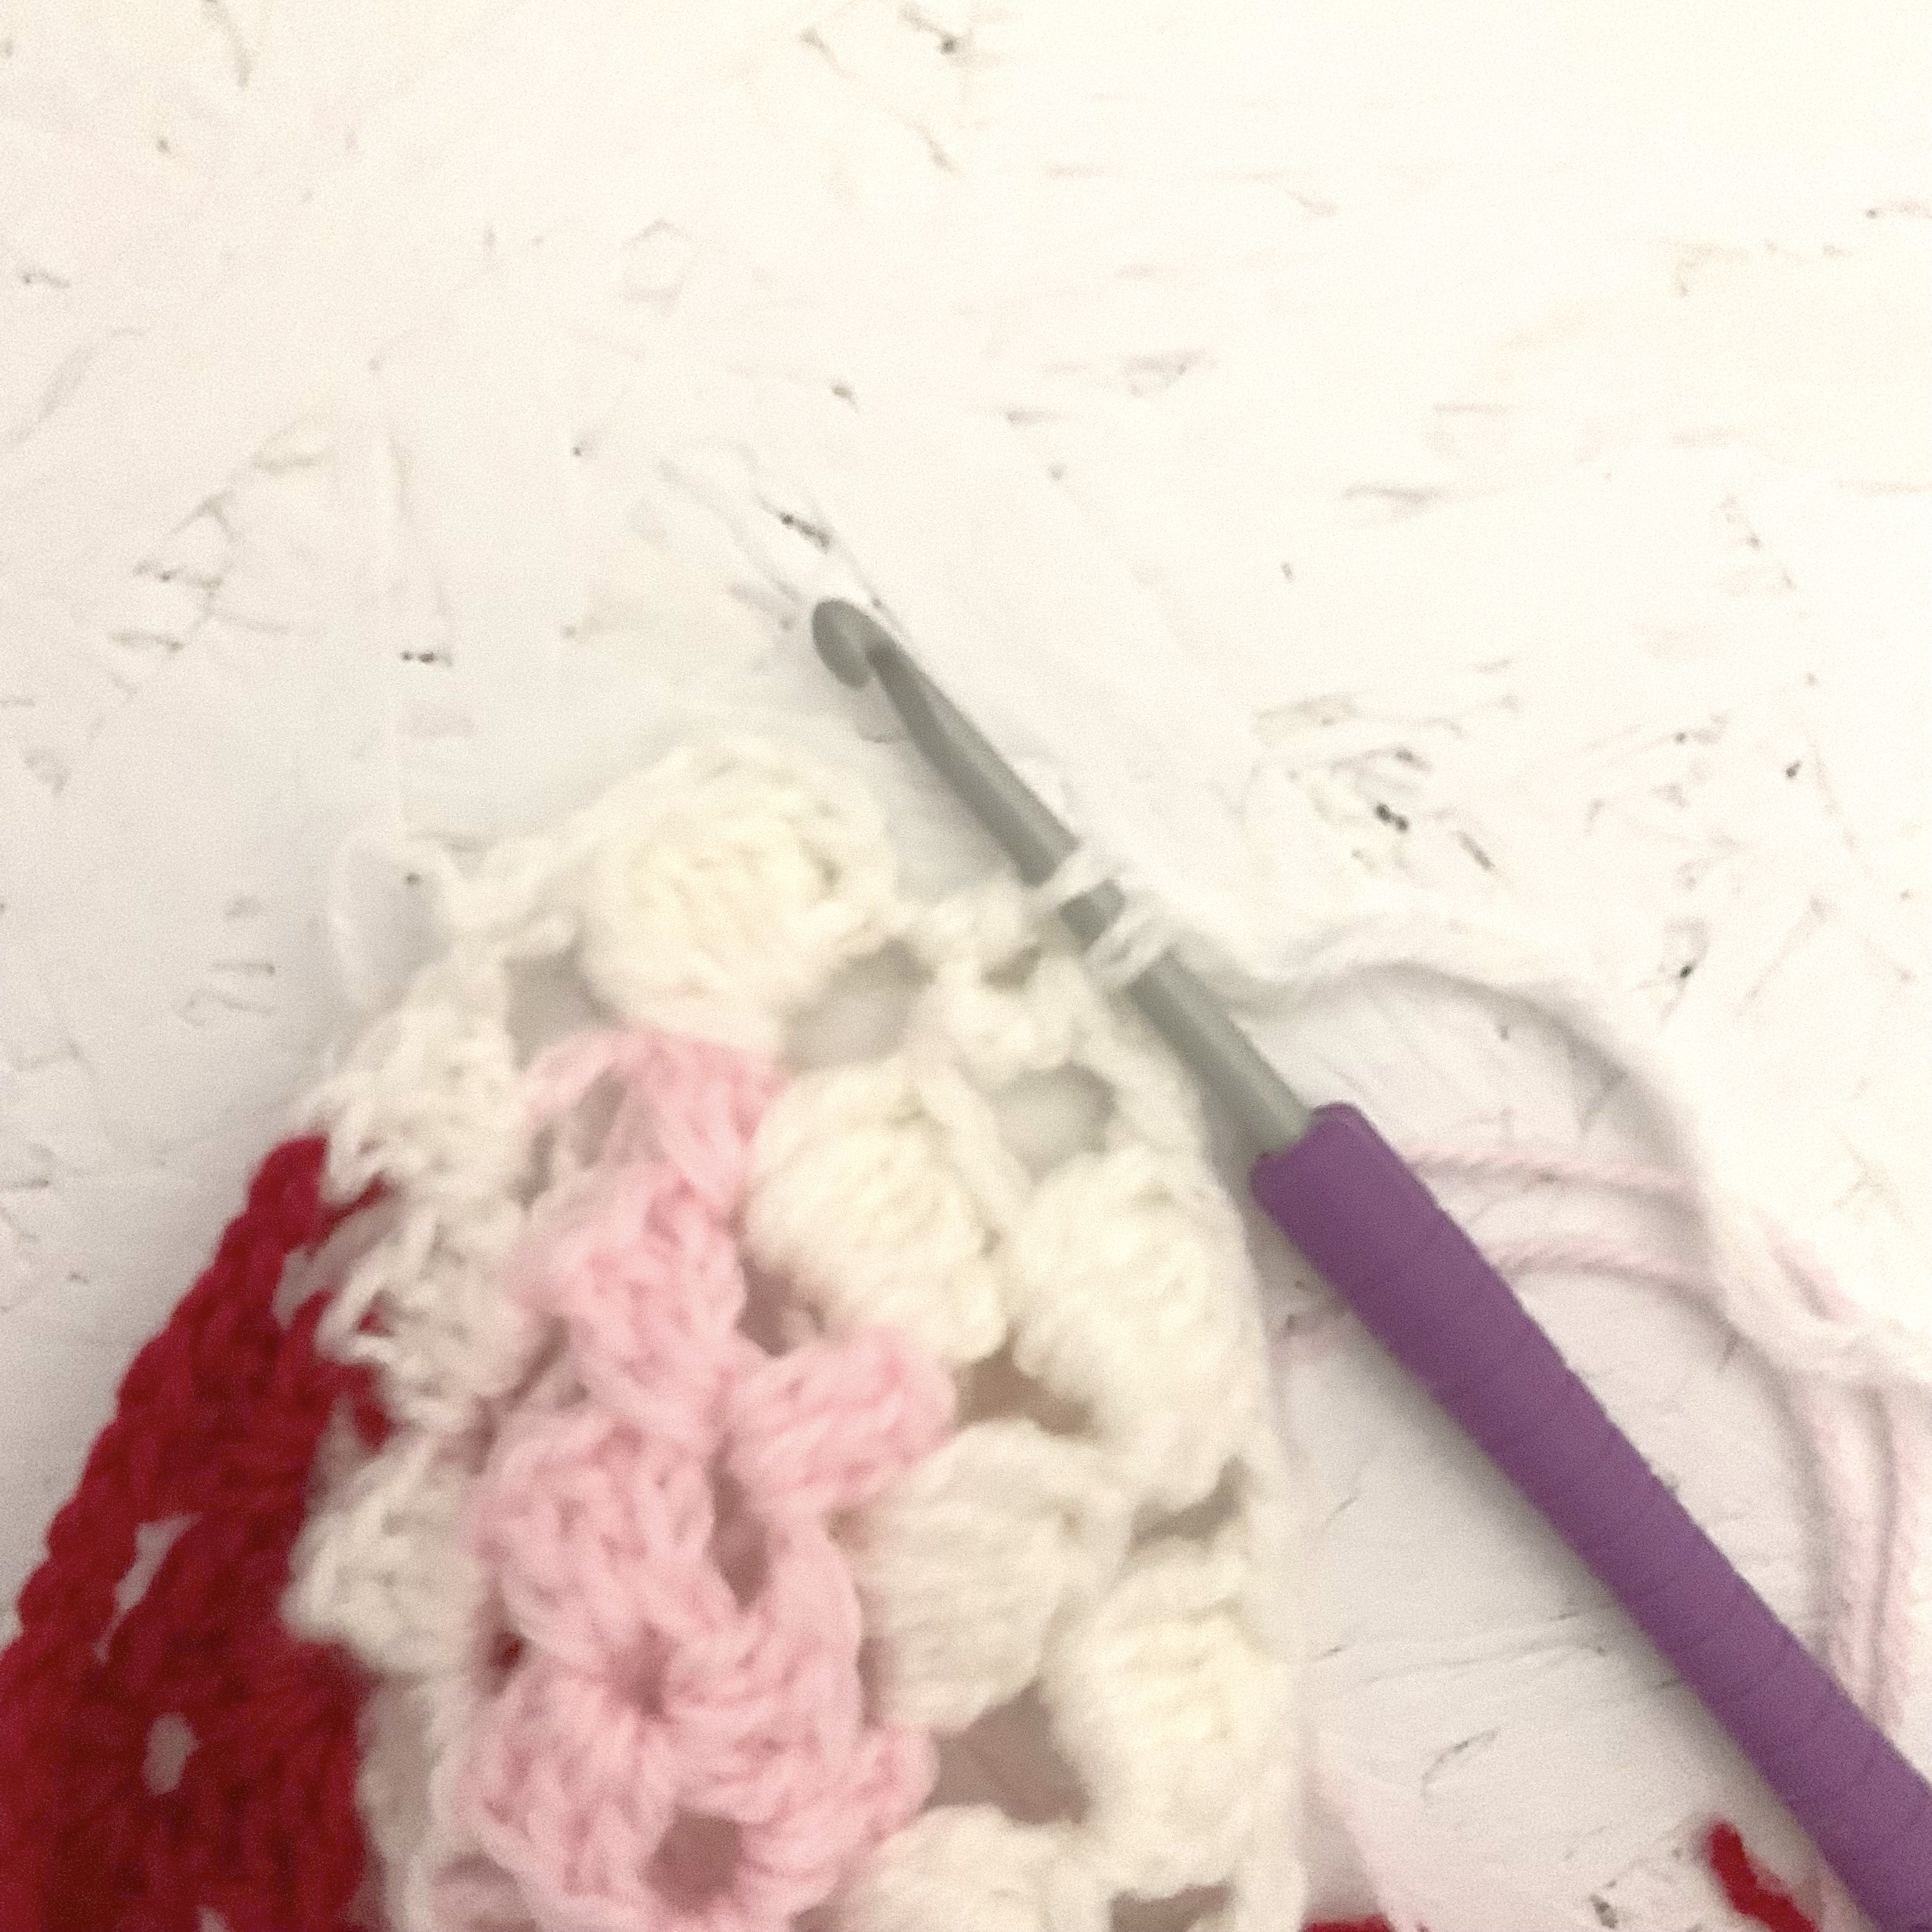
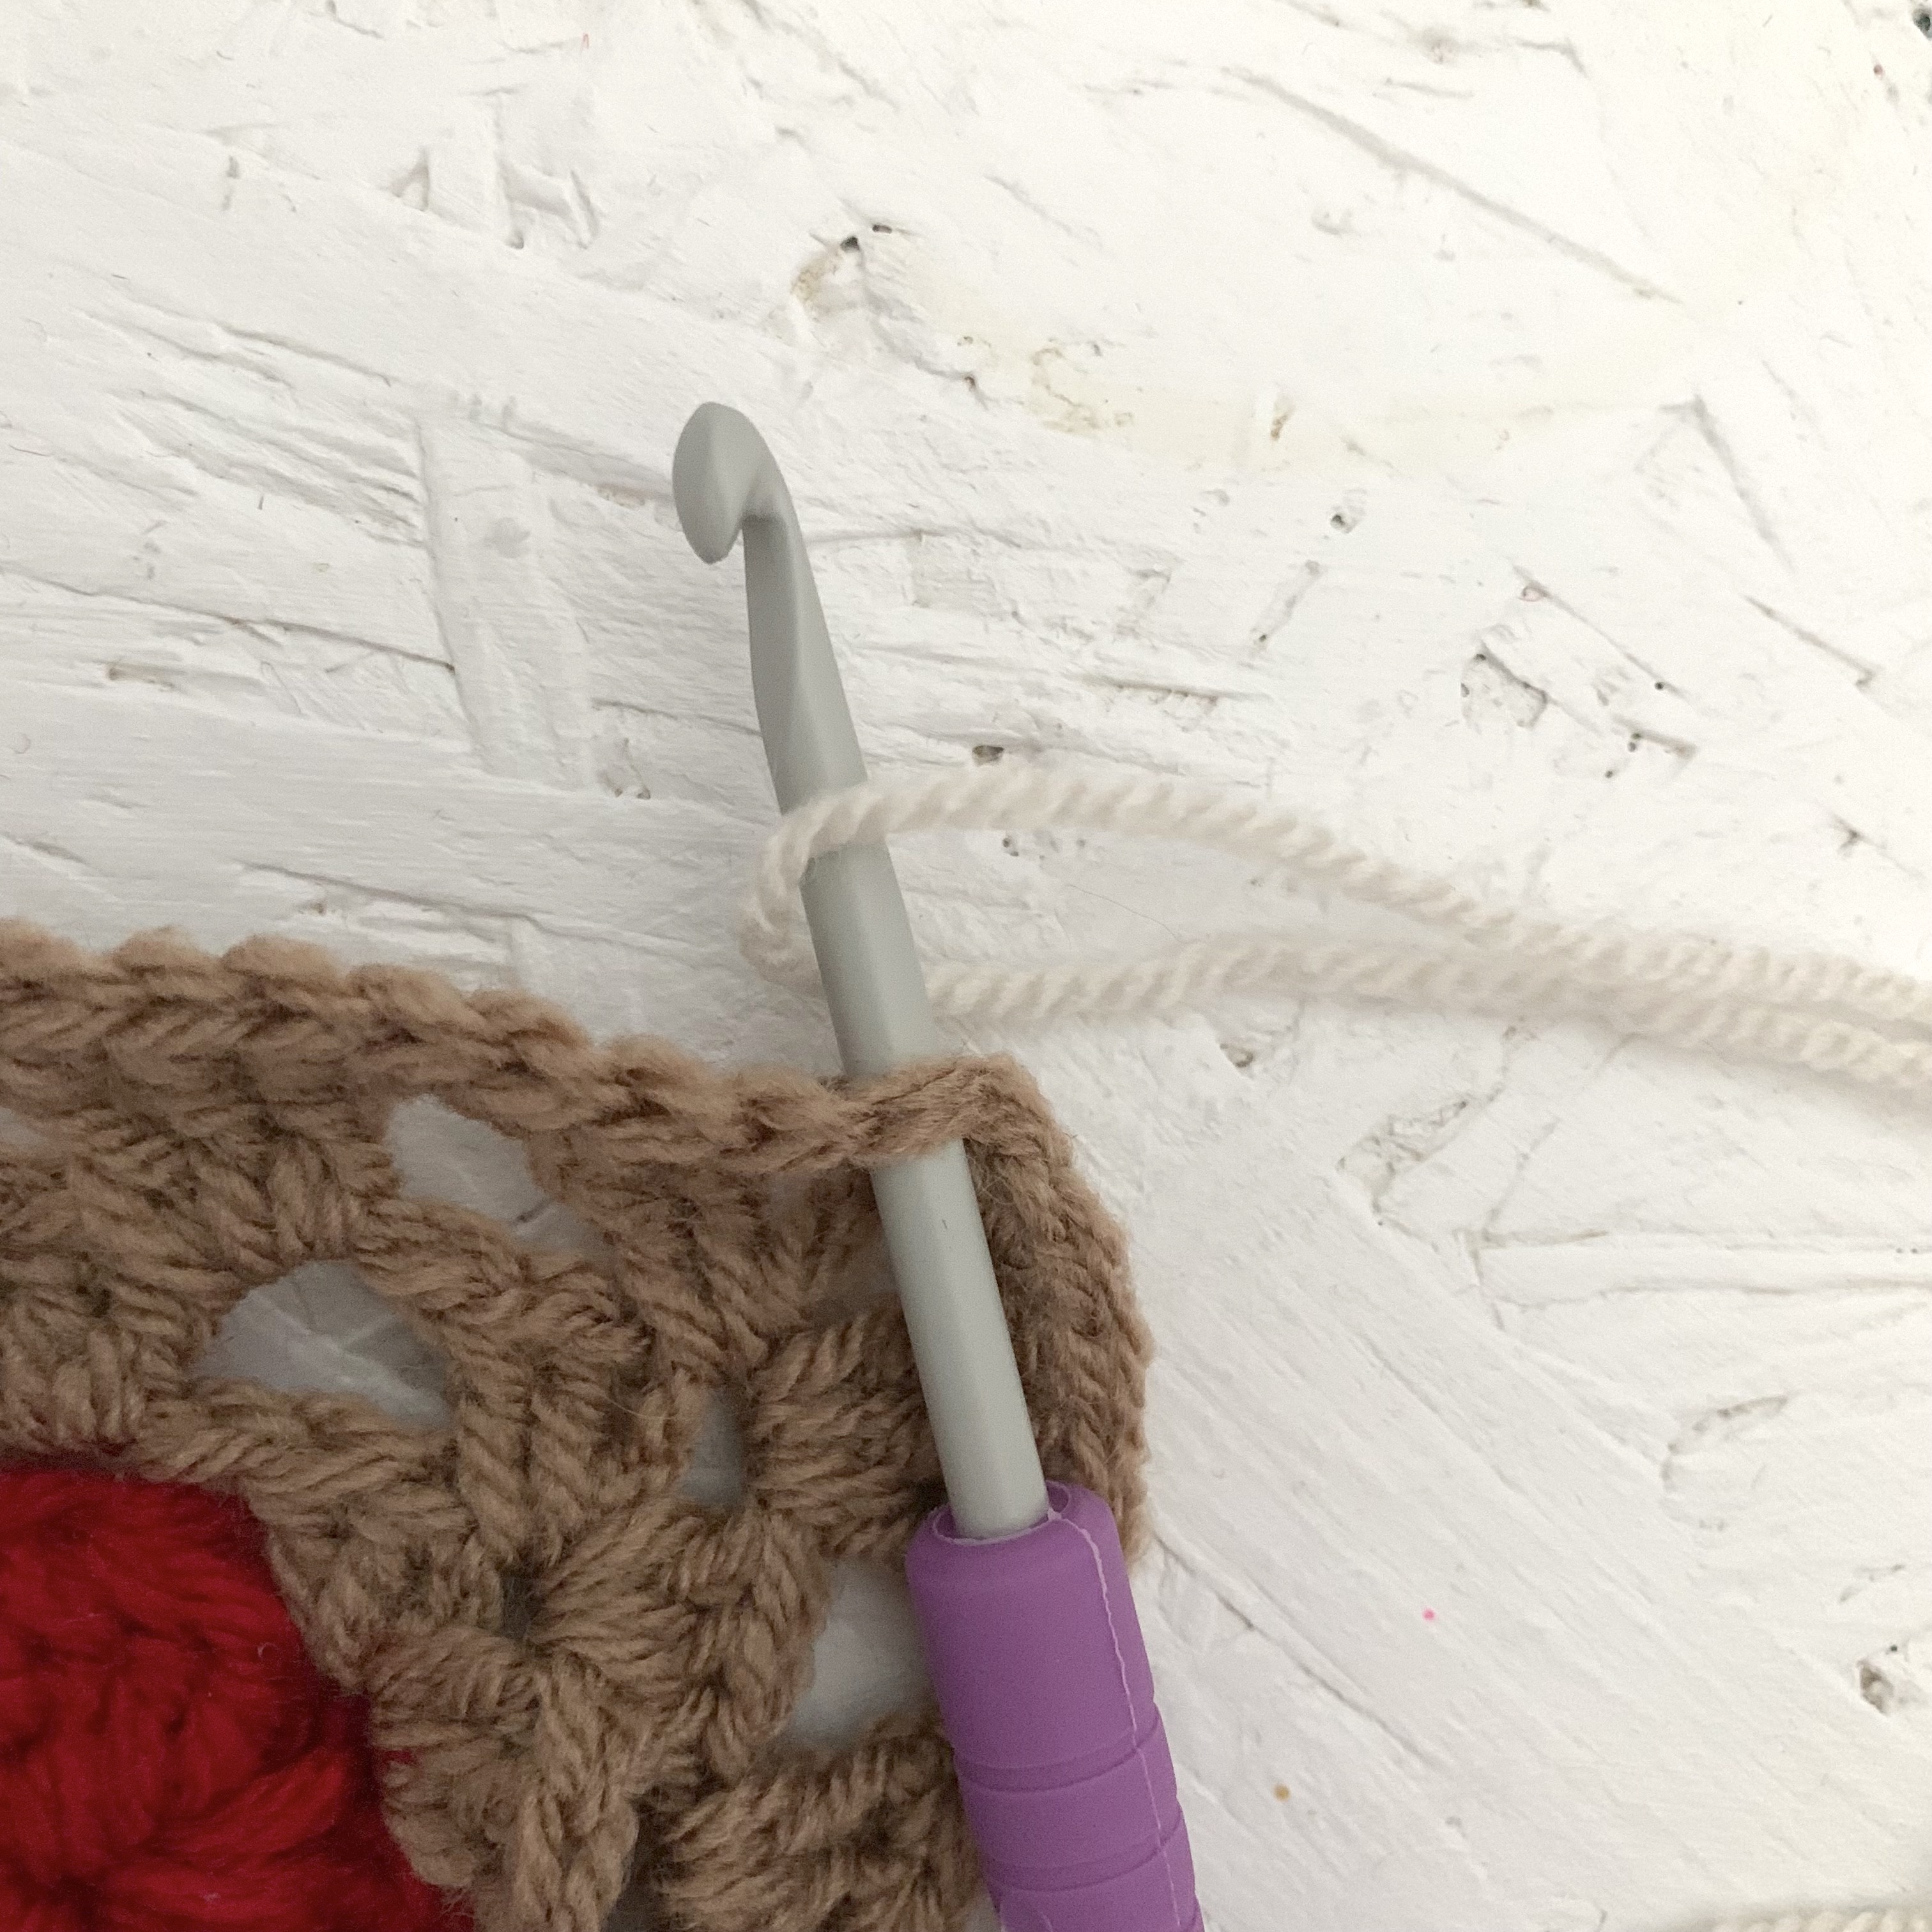
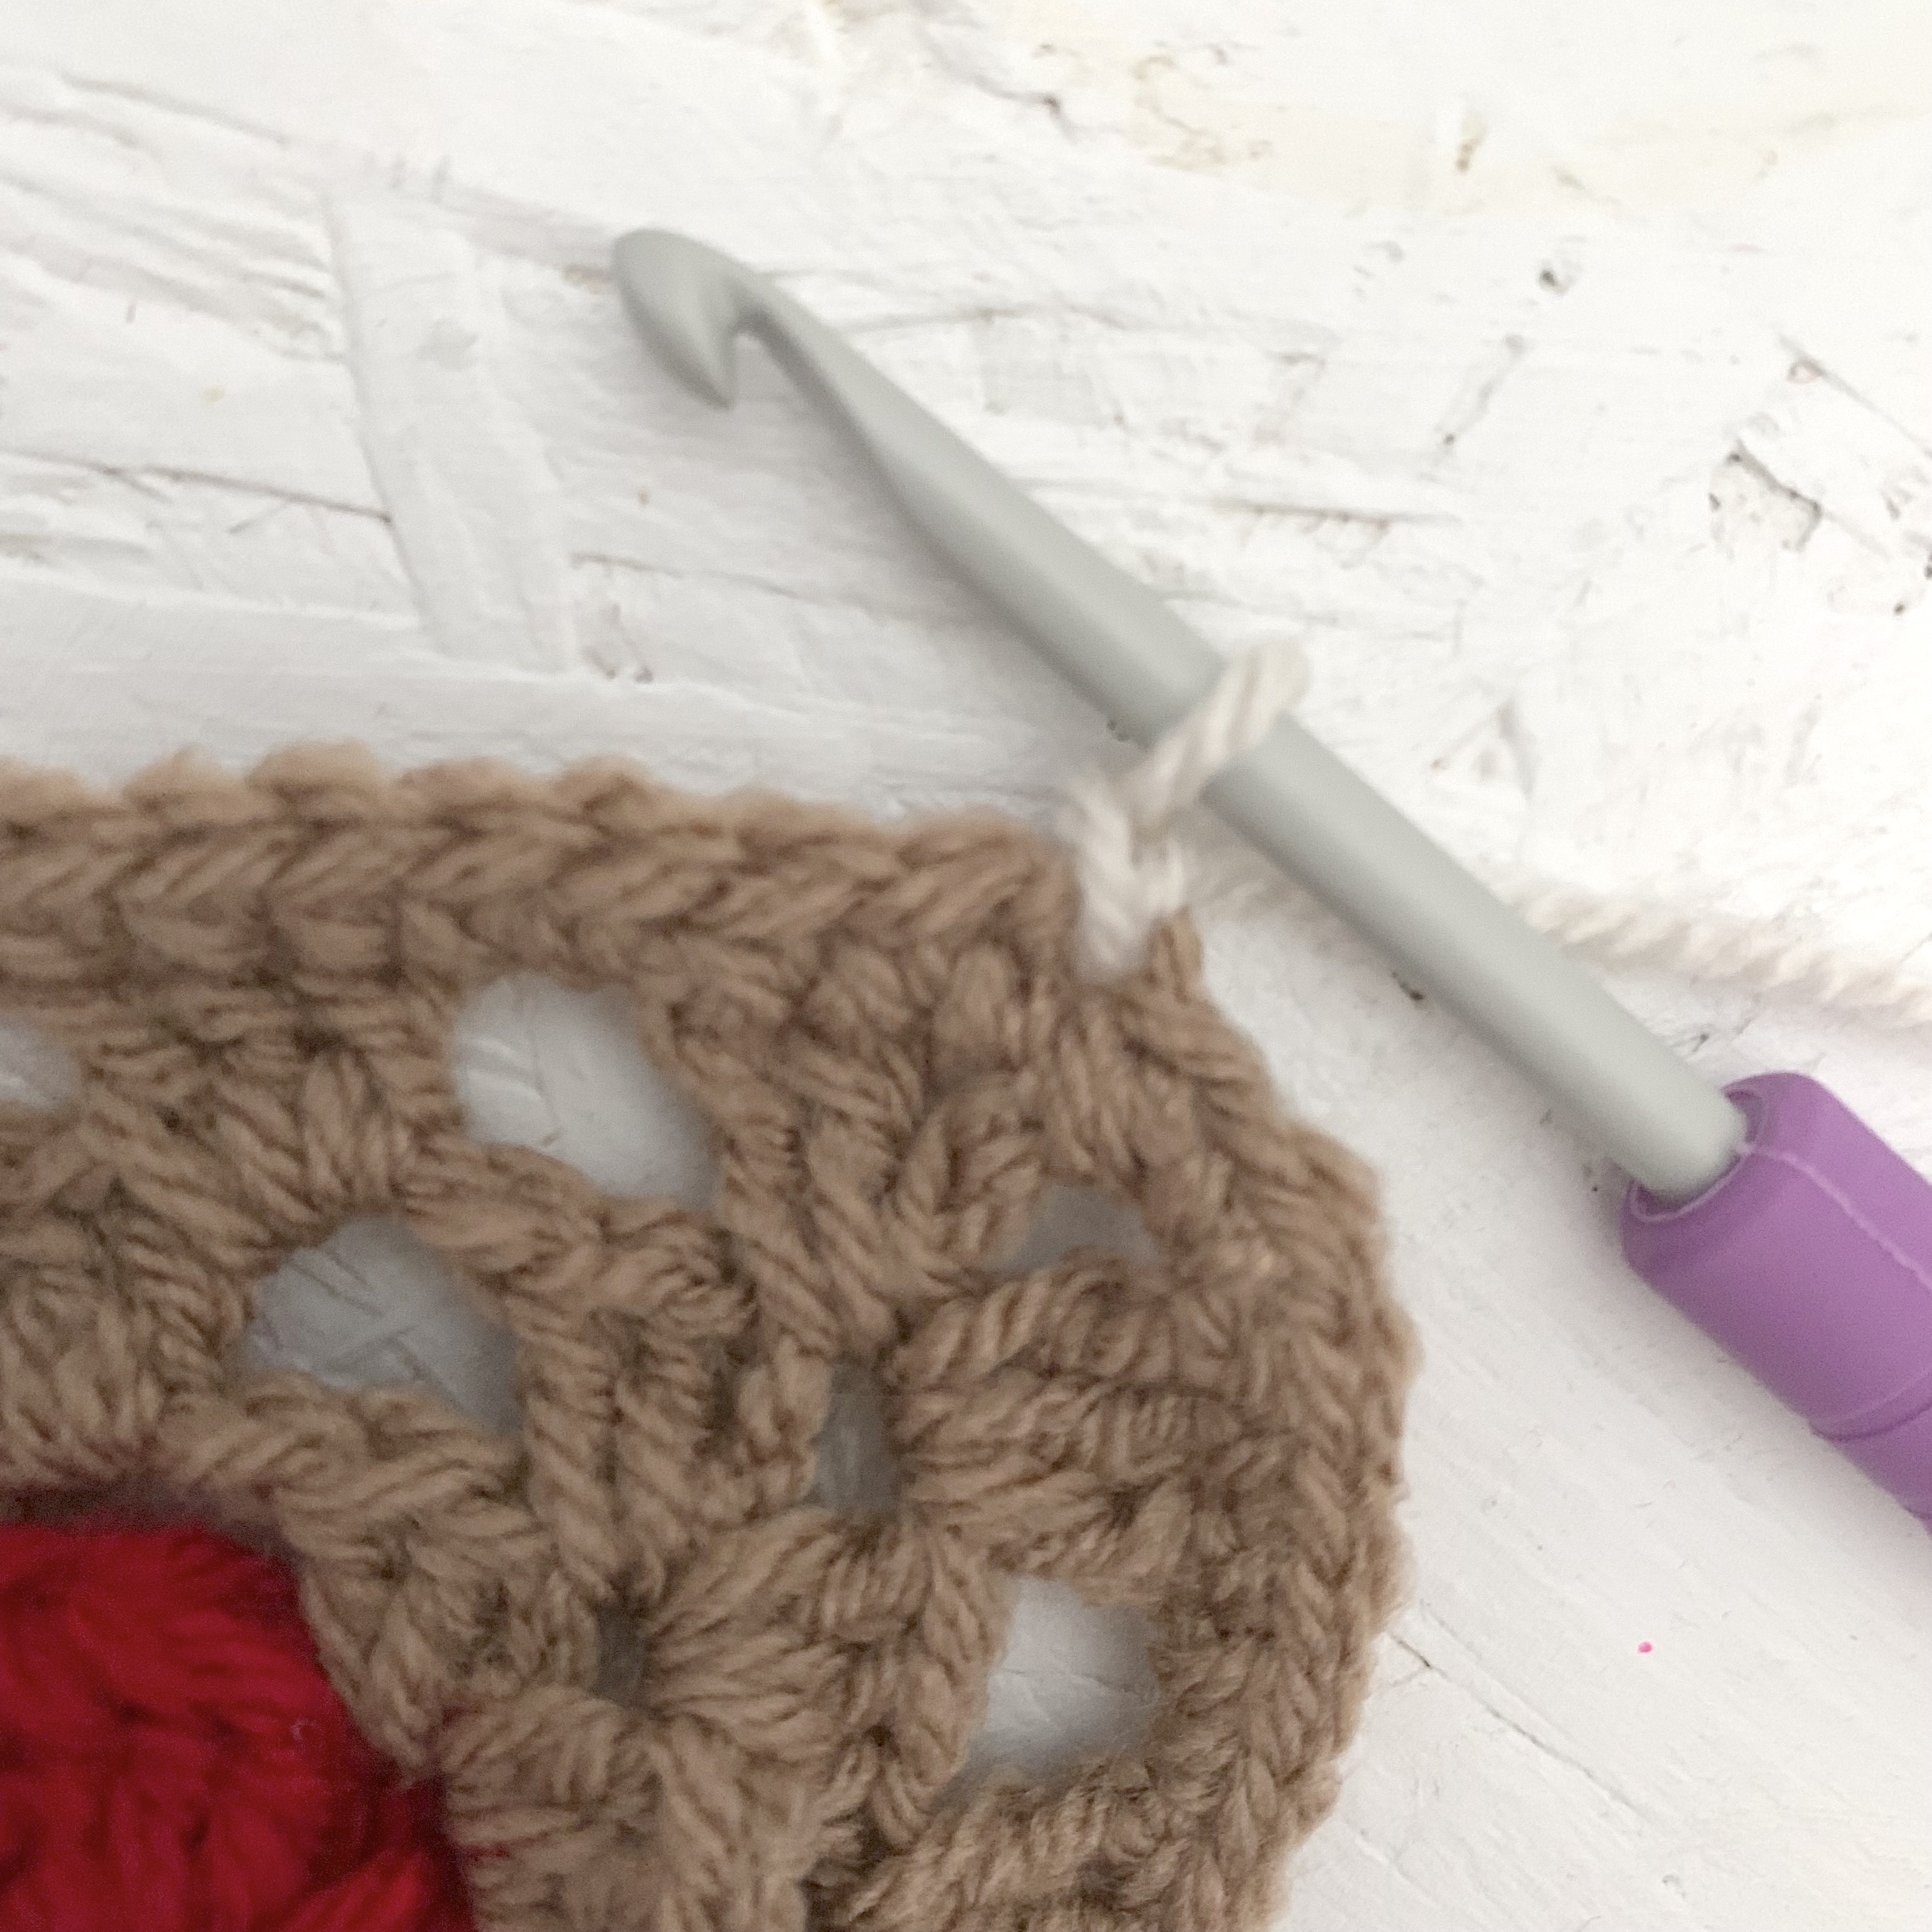
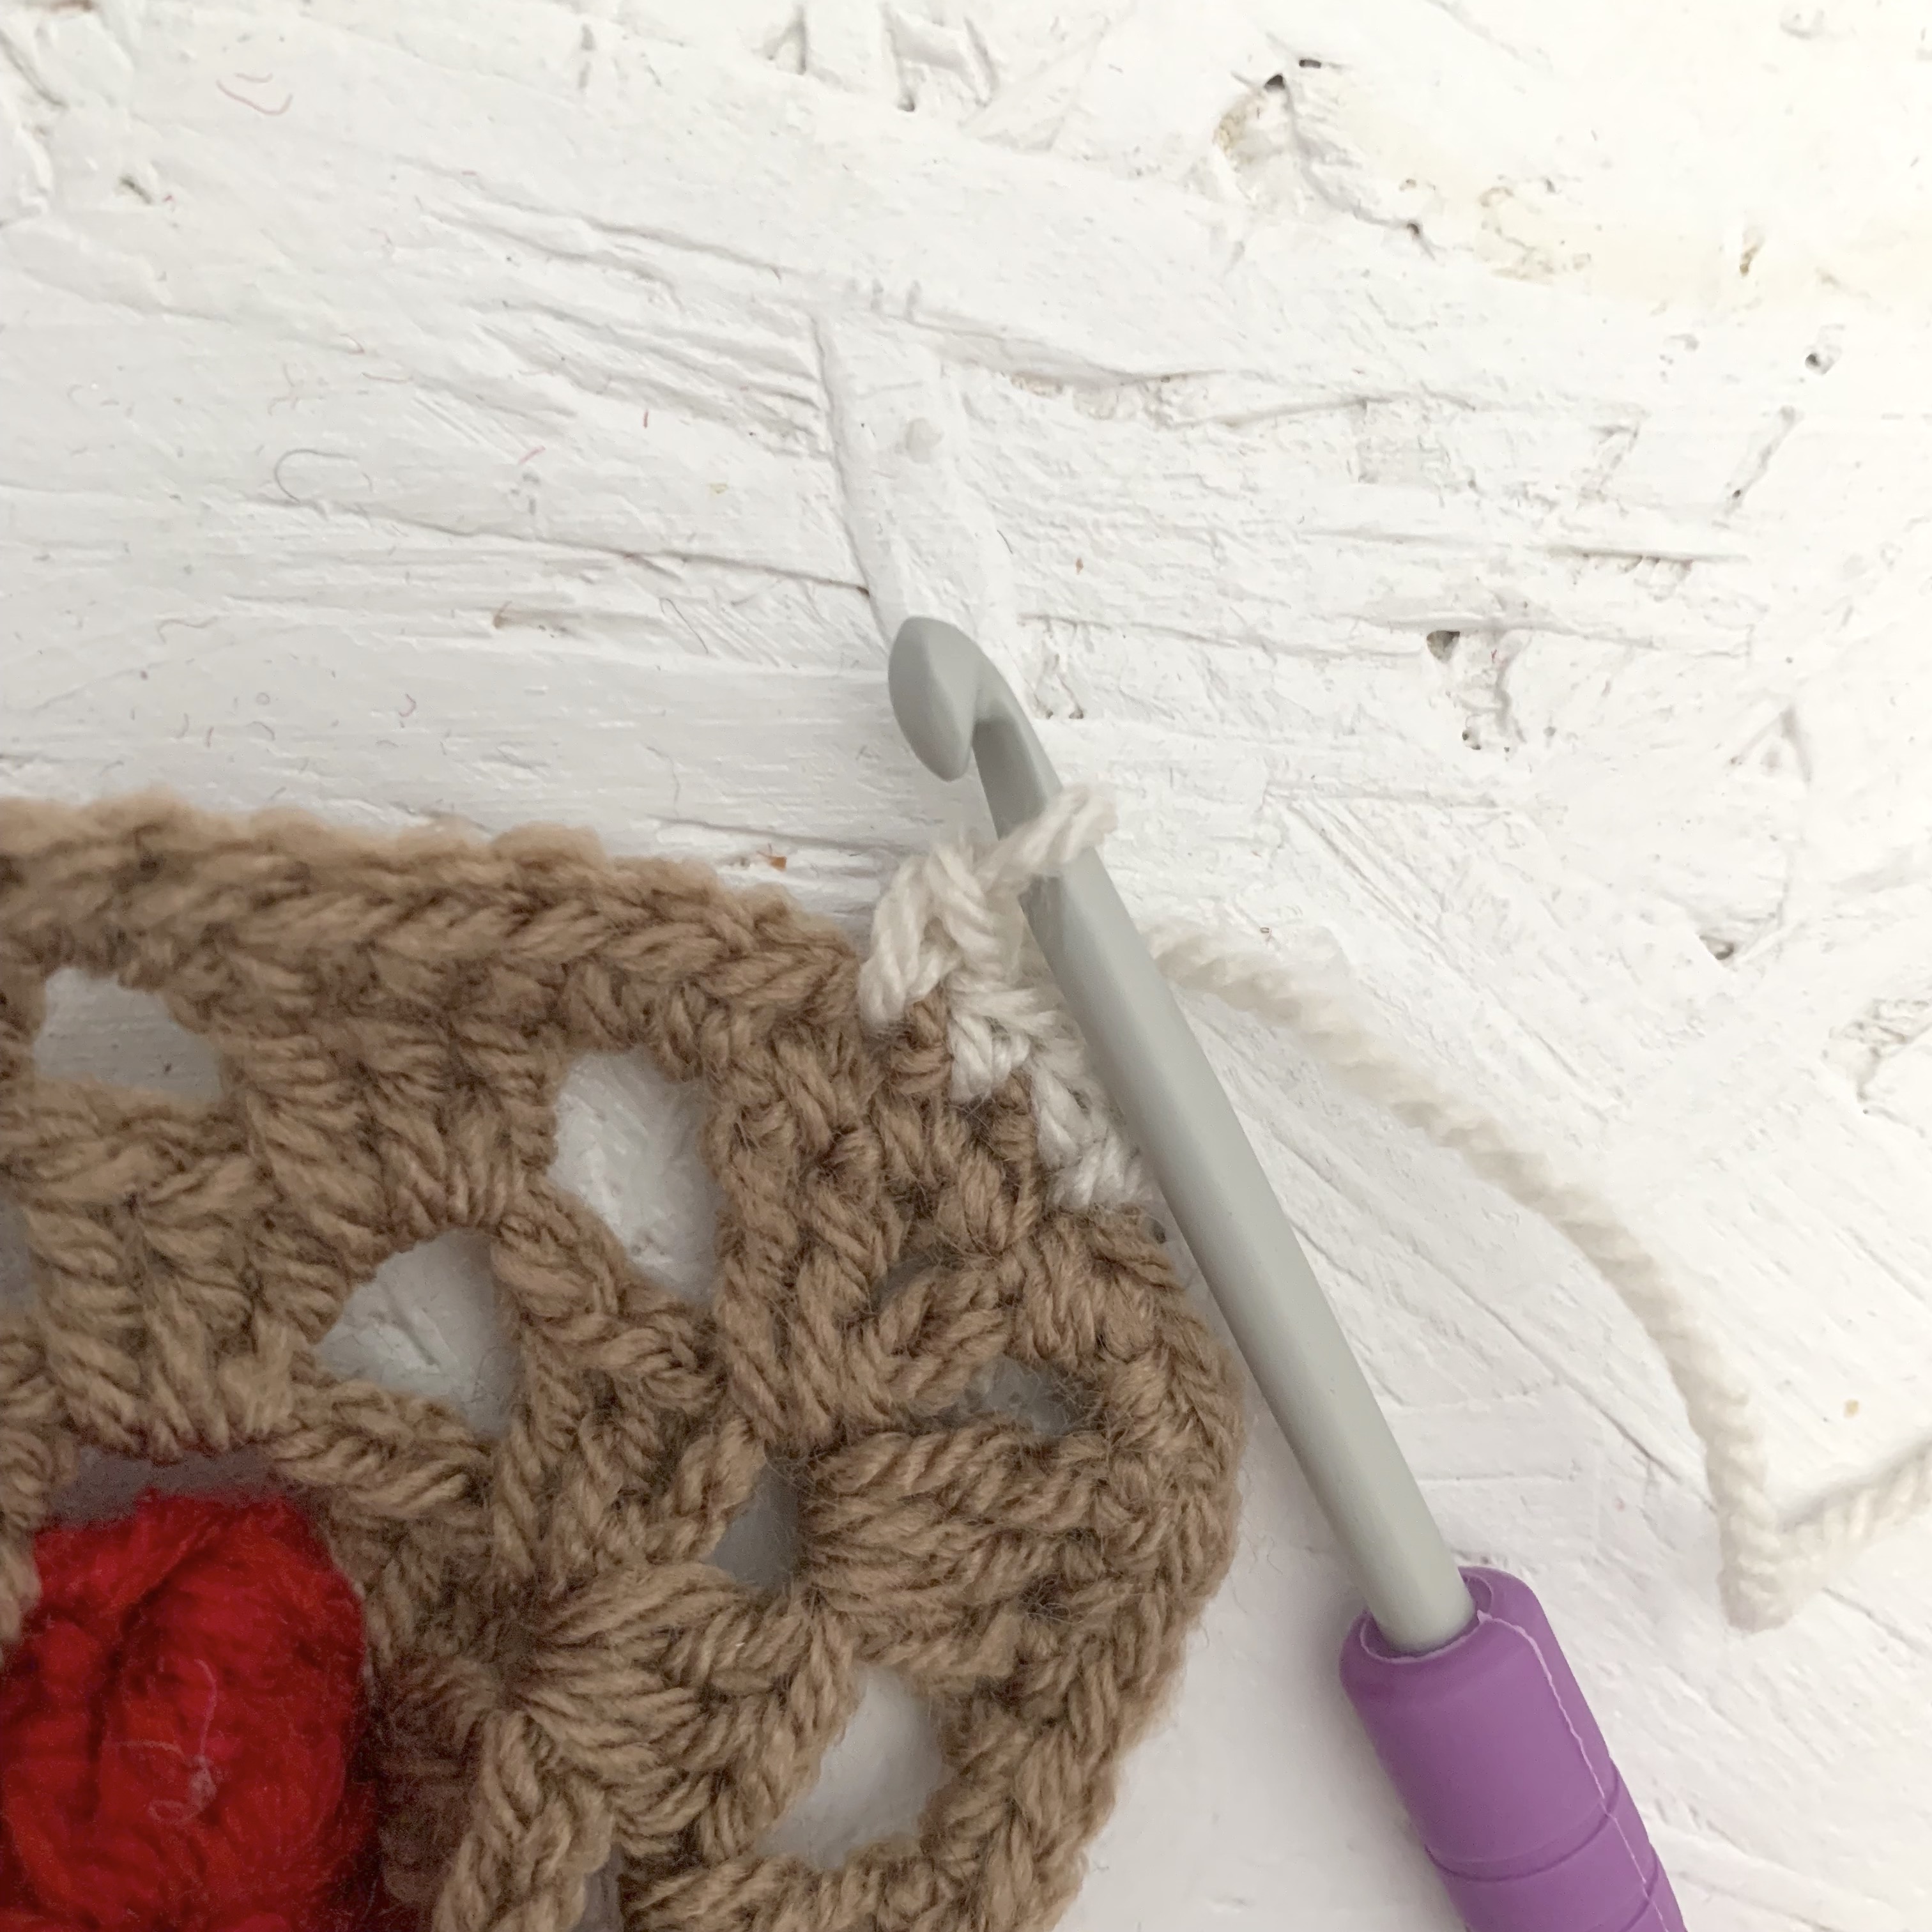
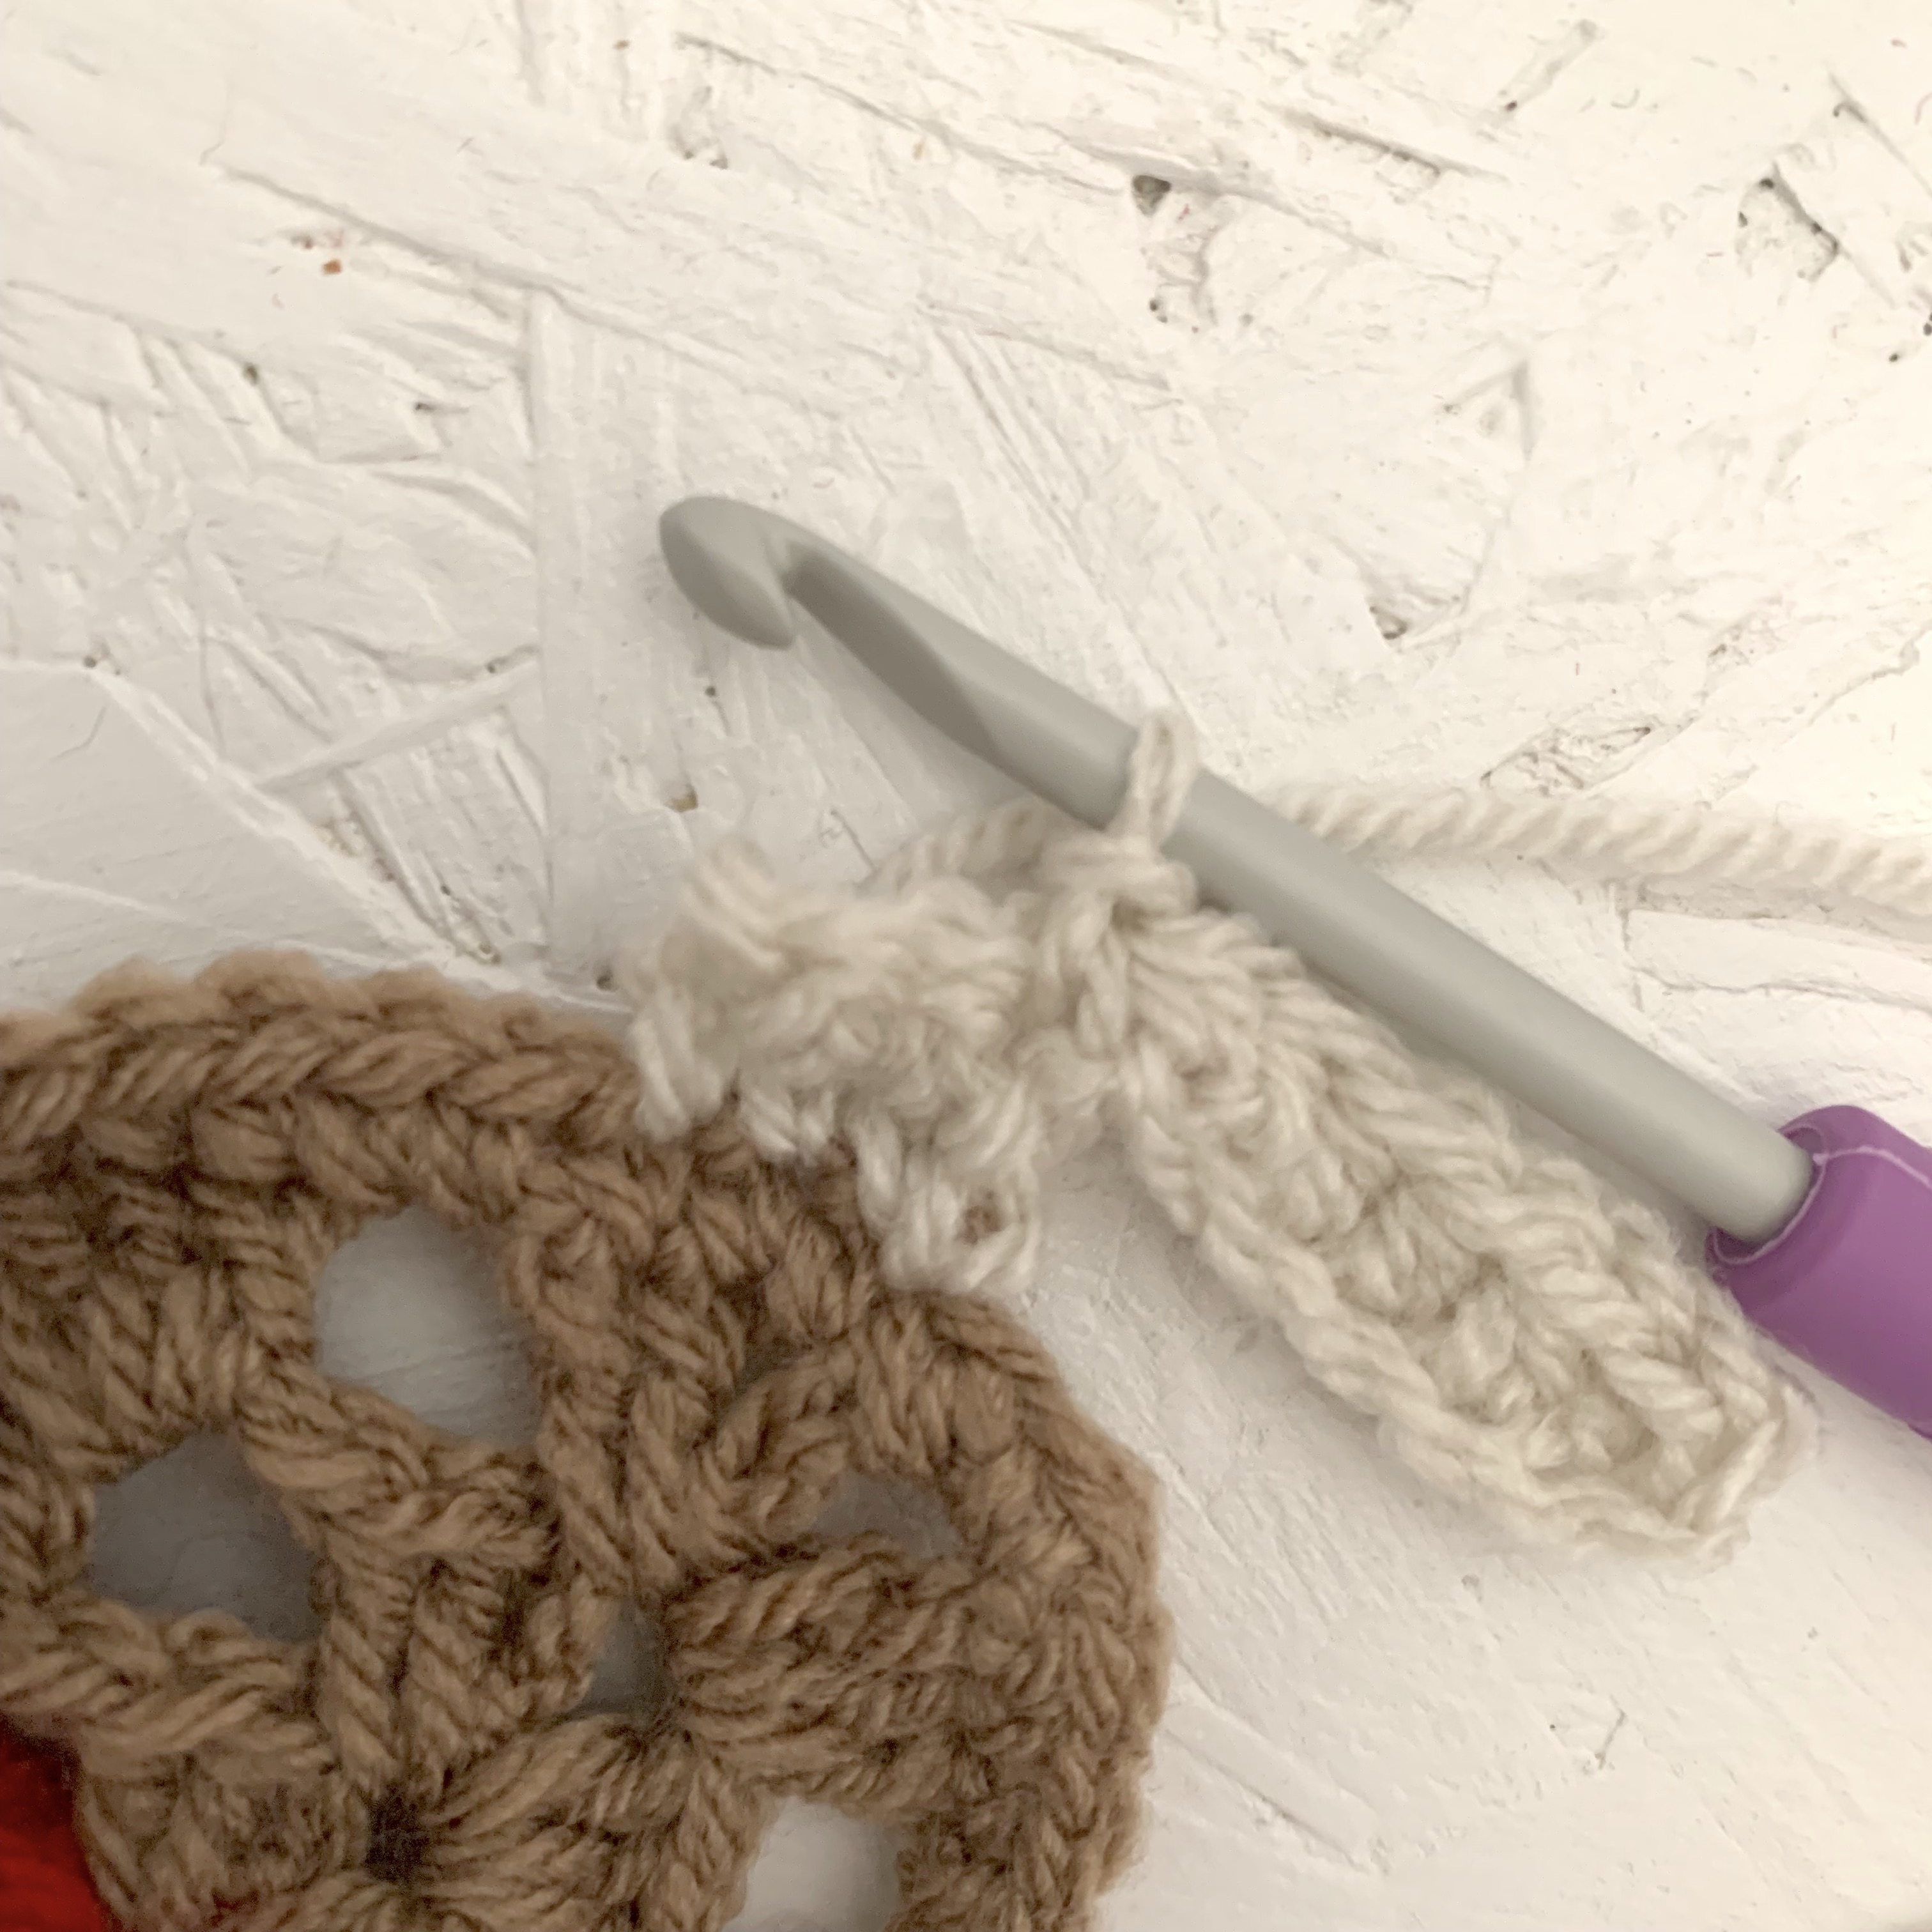
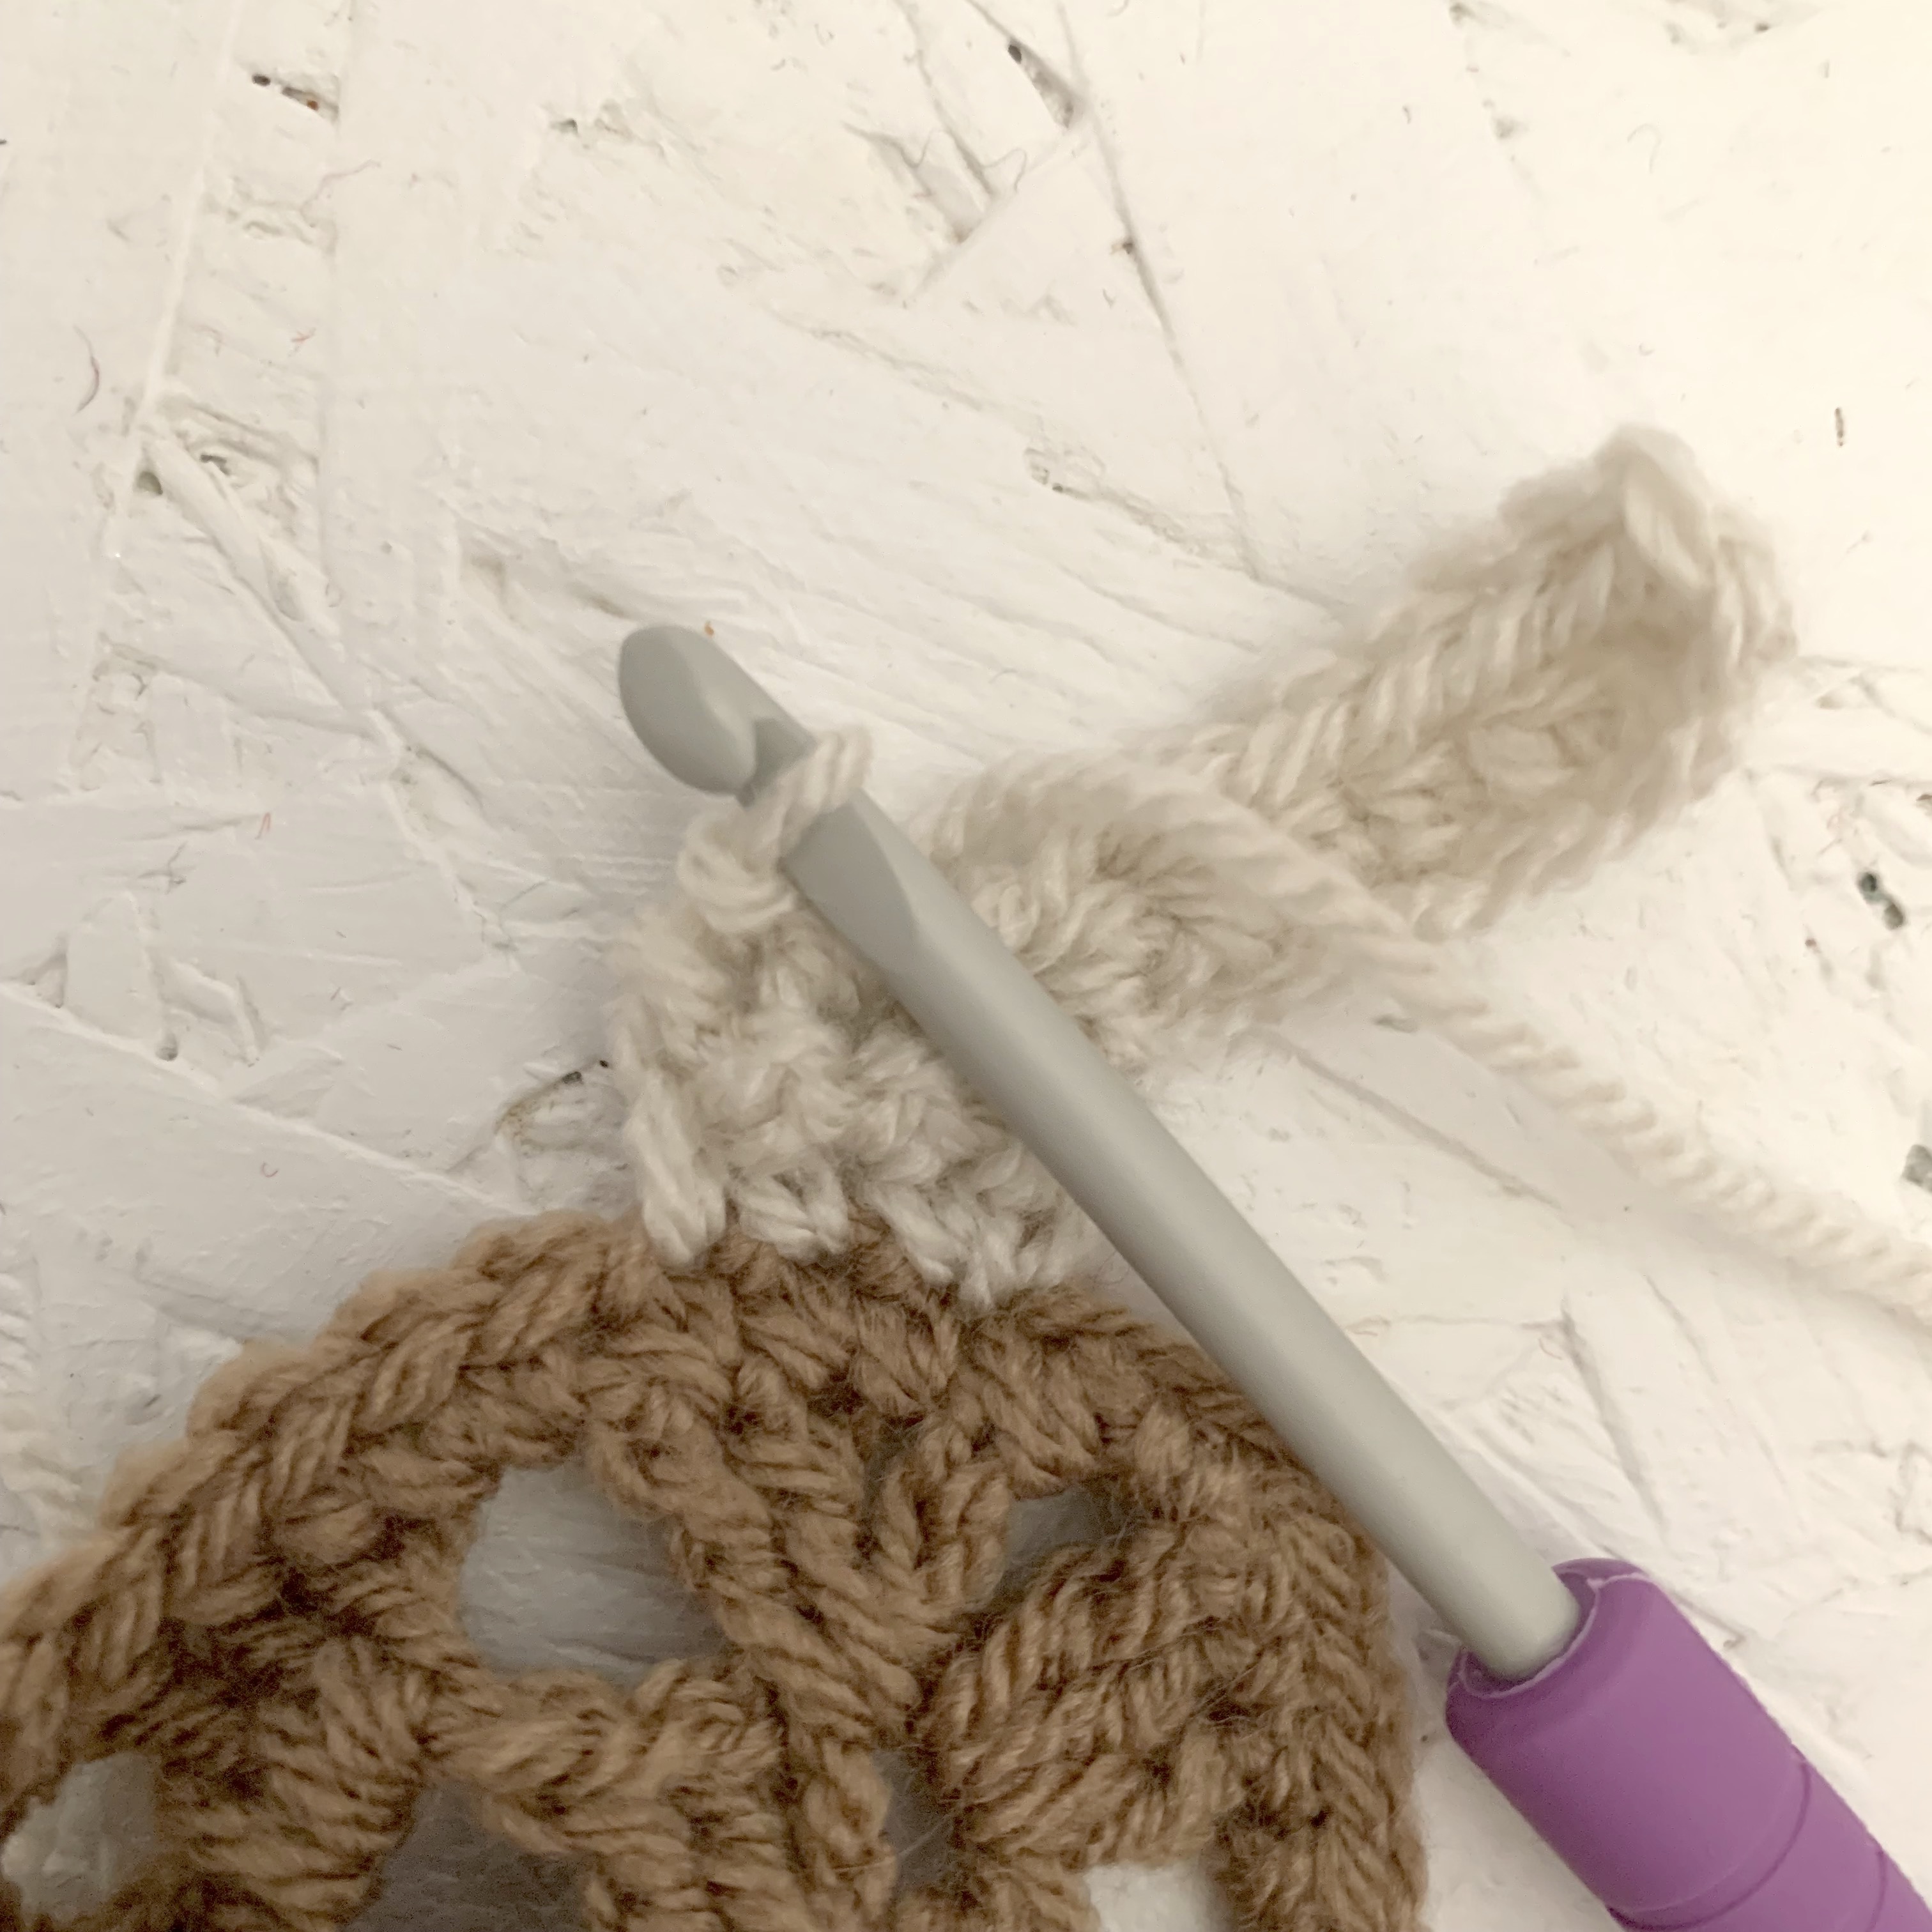
Bobble stitch (bob):
To make the bobble stitch (bob):
(yo, insert hook into ch2 gap, yo, pull up loop, yo, pull through 2 loops – picture 1) 4 times (picture 2), yo then pull through all loops on hook (picture 3).


Making the Christmas Reindeer decoration
Main decoration:
Starting in red using 2 strands at the same time:
ch4, ss into sc at start of row to make a round.
Round 1: Into round: ch3 (counts at a stitch) bob, tr/dc, [ch2, tr/dc, bob, tr/dc] into next ch2 gap twice, ch2, change to 1 strand of brown, ss into top of ch3 at start of round.
Round 2: ch3 (counts as a stitch) 2tr/dc into ch2 gap, ch2, [3tr/dc, ch2, 3tr] in next ch2 gap, ch2, [3tr/dc, ch2, 3tr/dc] into next ch2 gap, ch2, 3tr/dc into next ch2 gap, ss into top of ch3 at start of round.
Round 3: ch3 (counts as a stitch) 2tr/dc into ch2 gap, ch2, 3tr/dc into next ch2 gap, ch2, [3tr/dc, ch2, 3tr/dc] into next ch2 gap, ch2, 3tr/dc into next ch2 gap, ch2, [3tr/dc, ch2, 3tr/dc] into next ch2 gap, ch2, 3tr/dc into next ch2 gap, ch2, 3tr/dc, into next ch2 gap, ss into top of ch3 at start of round.
Round 4: ch3 (counts as a stitch) 2tr/dc into ch2 gap, [ch2, 3tr/dc] into next ch2 gap twice, ch2, [3tr/dc, ch2, 3tr/dc] into next ch2 gap, ch2, 3tr/dc into next ch2 gap, ch2, change to black [tr/dc, bob, tr/dc] into next ch2 gap, change to brown, ch2, [3tr/dc, ch2, 3tr/dc] into next ch2 gap, ch2, change to black [tr/dc, bob, tr/dc] into next ch2 gap, change to brown, [ch2, 3tr/dc] into next ch gap twice, ch2, ss into top of ch3 at start of round.
Round 5: ch1 (counts as a stitch) sc into ch2 gap, sc around the edge – placing an sc into each tr/dc and 2sc into the ch2 gaps, ss into top of ch1 at start of round.
Fasten off.
Antlers:
In the 3tr/dc above the eyes:
Right antler: insert hook into top of tr/dc closet to the eye.
Left antler: insert hook into the tr/dc furthest from the eye.
Light brown wool:
Row 1: Insert hook, pull up loop, ch1 and sc into the same stitch. 2sc.

Row 2: ch1 (doesn’t count as a stitch) sc along row.
Row 3: ch8, htr/hdc in 2nd ch from hook, htr/hdc 5 more times, ss into stitch at the base of the ch. sc into next stitch, ss into last stitch, ch8, htr/hdc in 2nd ch from hook, htr/hdc 5 more times, ss into stitch at the base of the ch.


Fasten off.
Repeat for the other antler.


Leave a comment