
I received some gorgeous blue themed fabrics from The Craft Cotton Company and the different shades of blues reminded me of the ocean so I decided to make something sea themed!
Took me a while to make a final decisions as there were so many different creatures I wanted to make but I finally settled with a whale shark!.
Sewing Tutorial: Cute And Cosy Whale Shark Soft Toy
Materials:
- Blue Essentials trends fat quarters by The Craft Cotton Company.
- A small piece of fabric from the Pink Essential trends fat quarters range by The Craft Cotton Company.
- Toy stuffing.
- Thread.
- Pins.
- Ruler.
- Pencil.
- Paper.
- Scissors.
- Black wool/felt for the eyes.
- Needle.
Sewing Tutorial: Cute And Cosy Whale Shark Soft Toy
- Draw out an outline for a whale shark onto paper. This outline can be as big or as small as you want you final whale shark to be. You will also need to draw out two side fins, two different sized back fins (one large and one small) and an oval mouth.

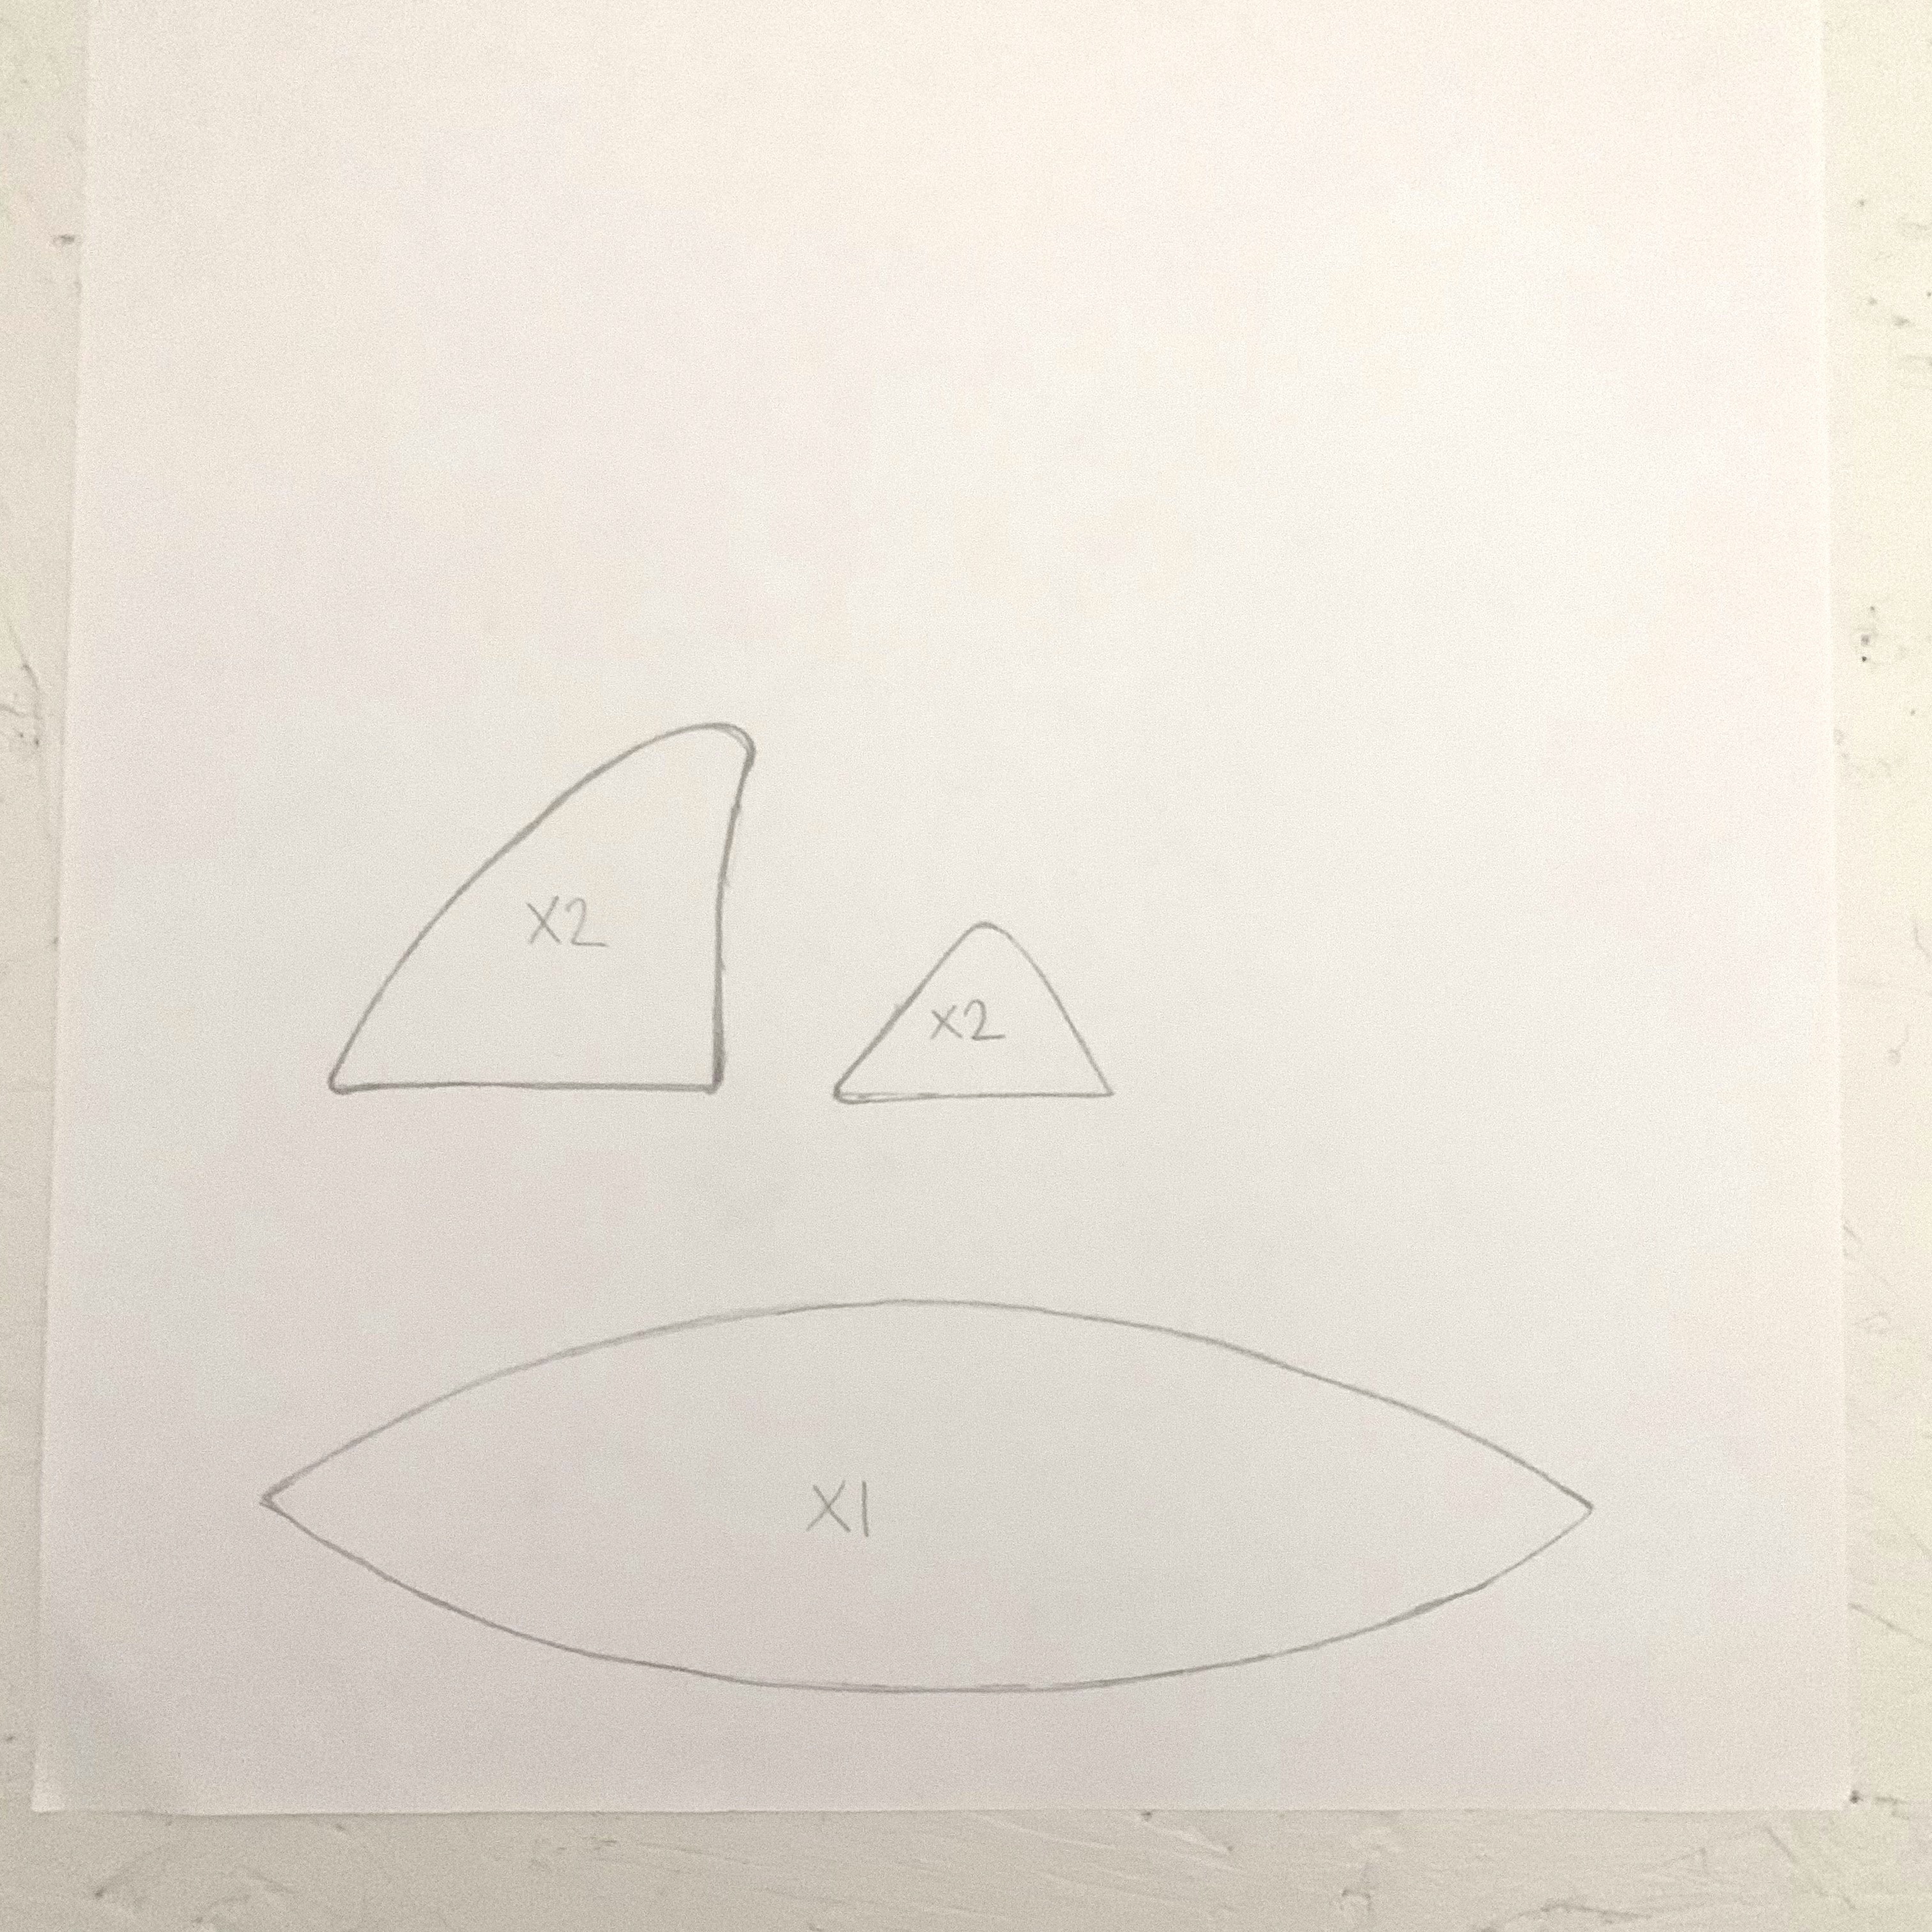
- Next cut out the paper templates and cut the body template in half lengthways.
- Using the blue fabrics cut out the body pieces (4 for the body: 2 upper and 2 lower, 2 for each fin: one upper and one lower) leaving a 0.5cm seam allowance. Use the pink fabric for the oval mouth.

- Take the 2 fabric pieces that make up one of the side fins and place right sides together and sew around leaving the bottom edge unsewn. Turn out the right way and repeat for the other fin.
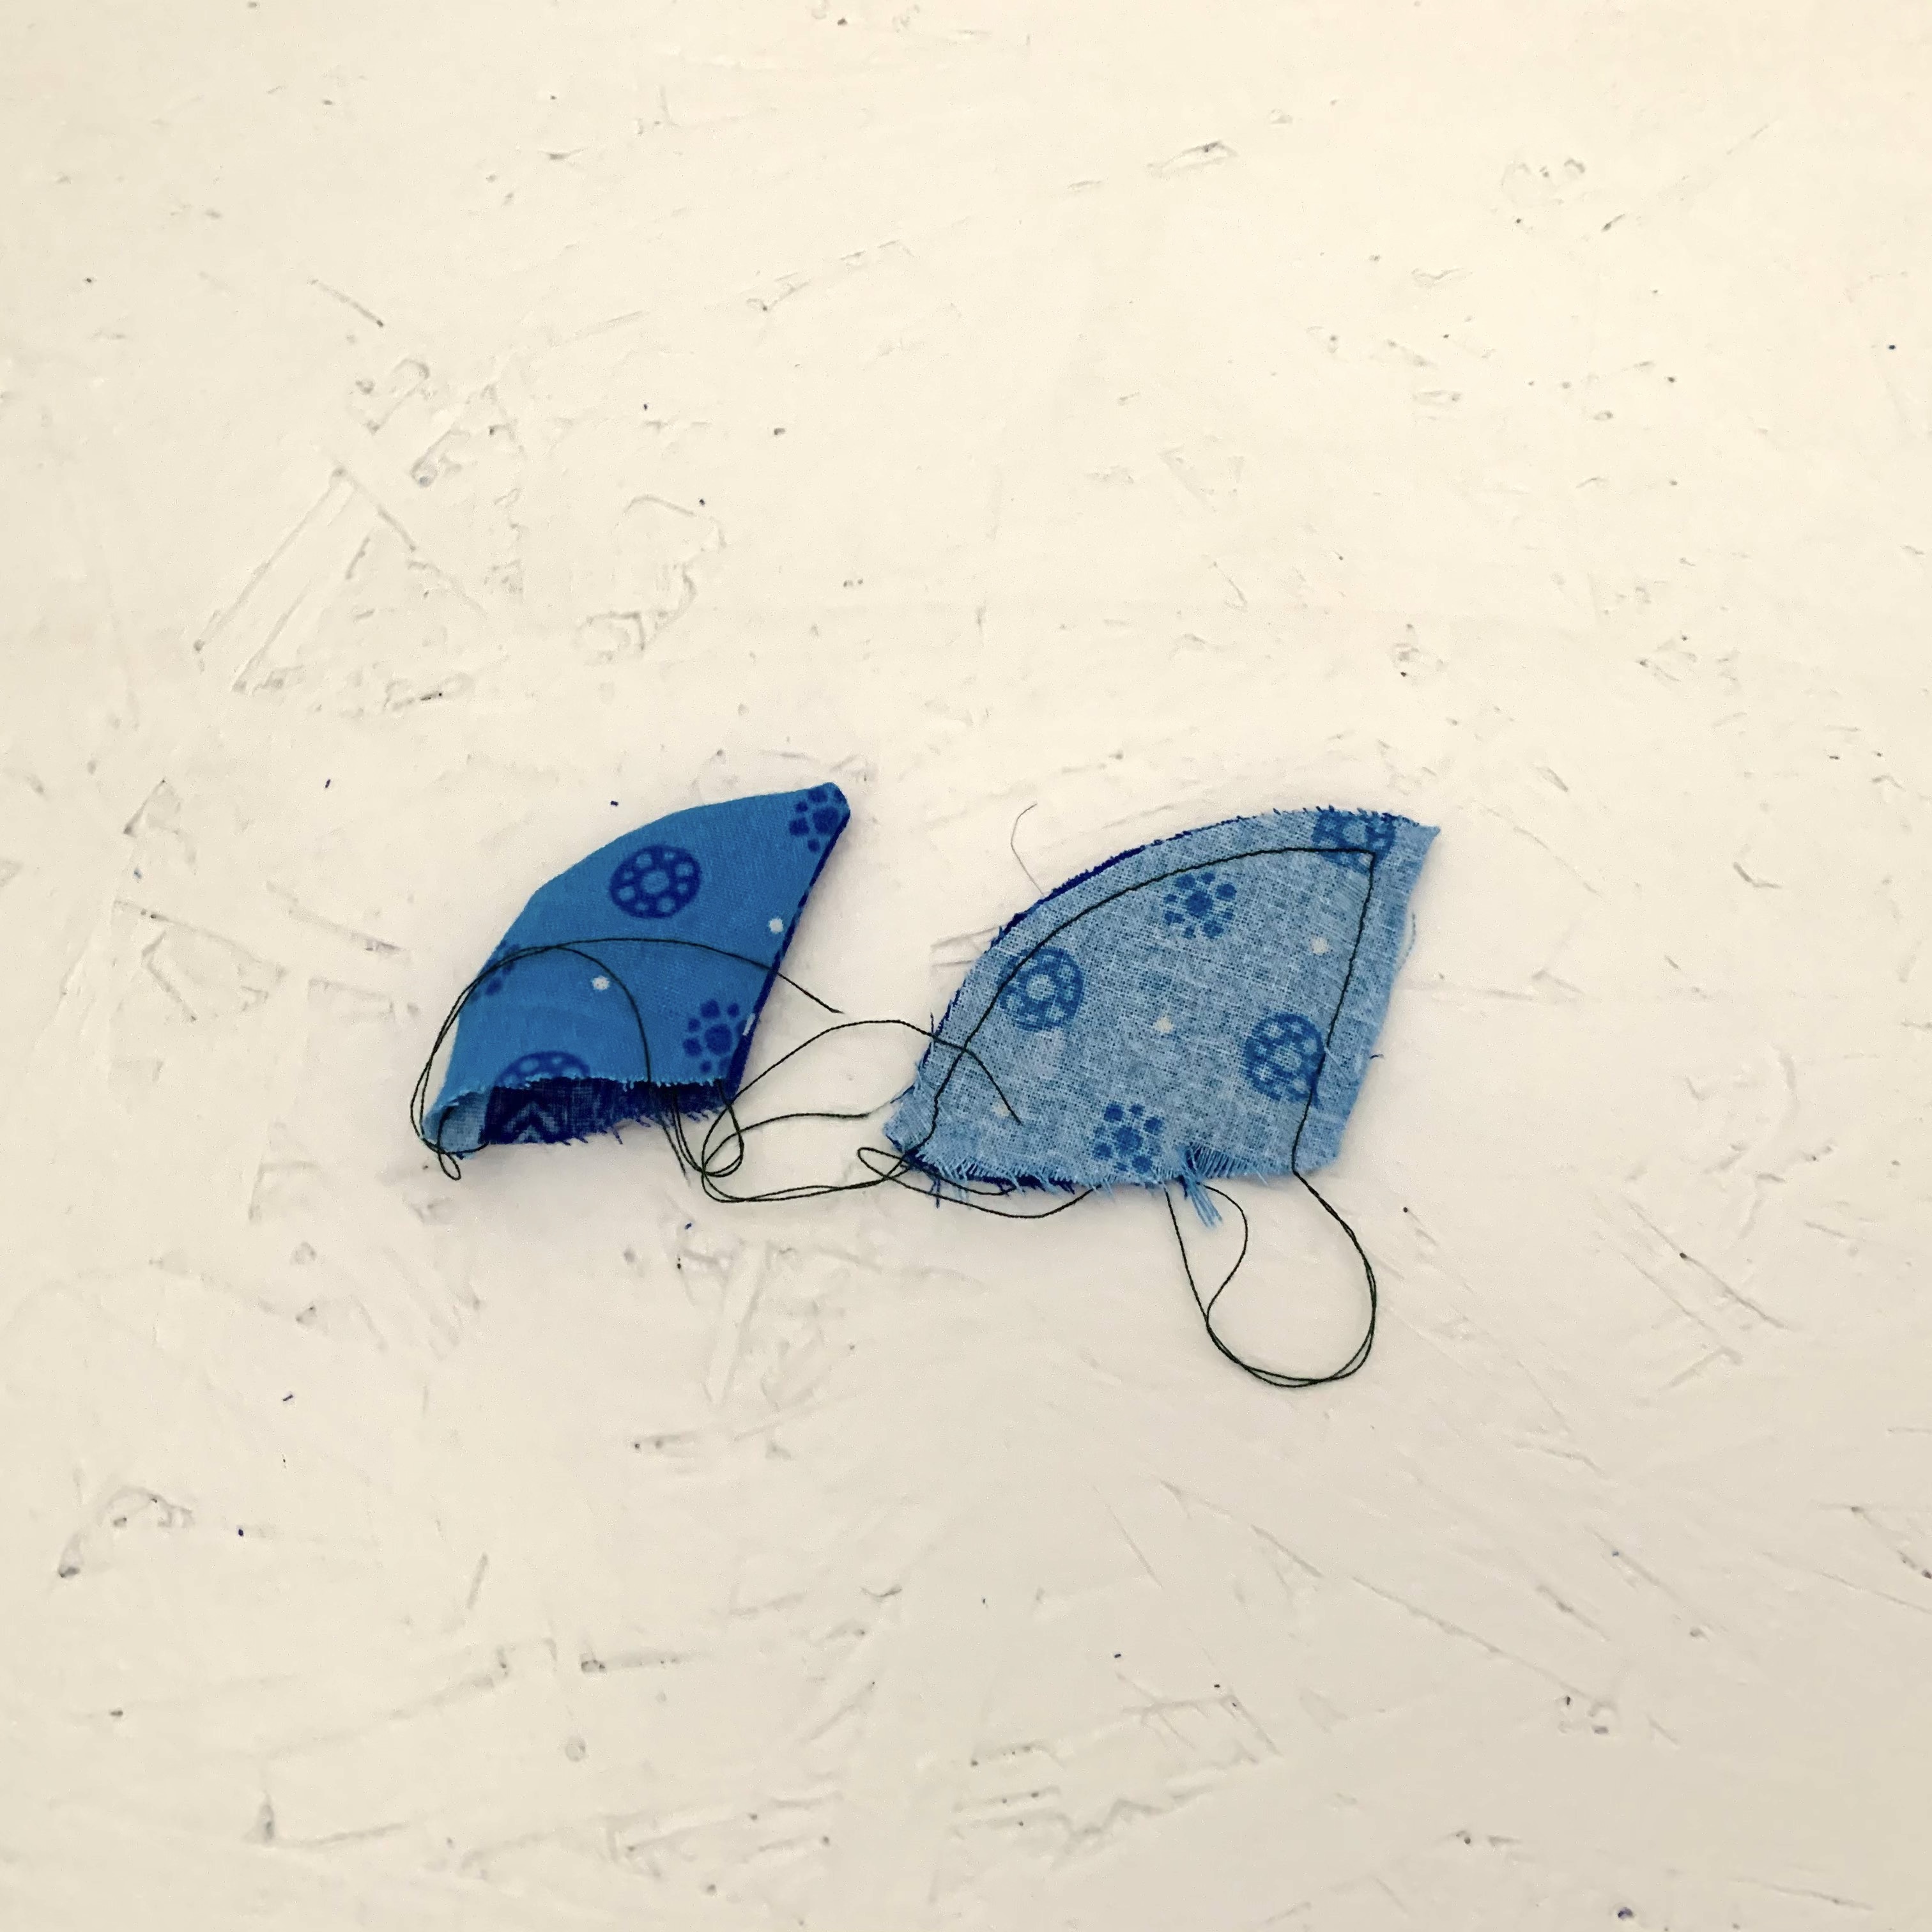
- Take the 2 fabrics pieces which make up the largest back fin place right sides together sew around the sides leaving the bottom edge unsewn. Turn out the right way and repeat for the smaller back fin.
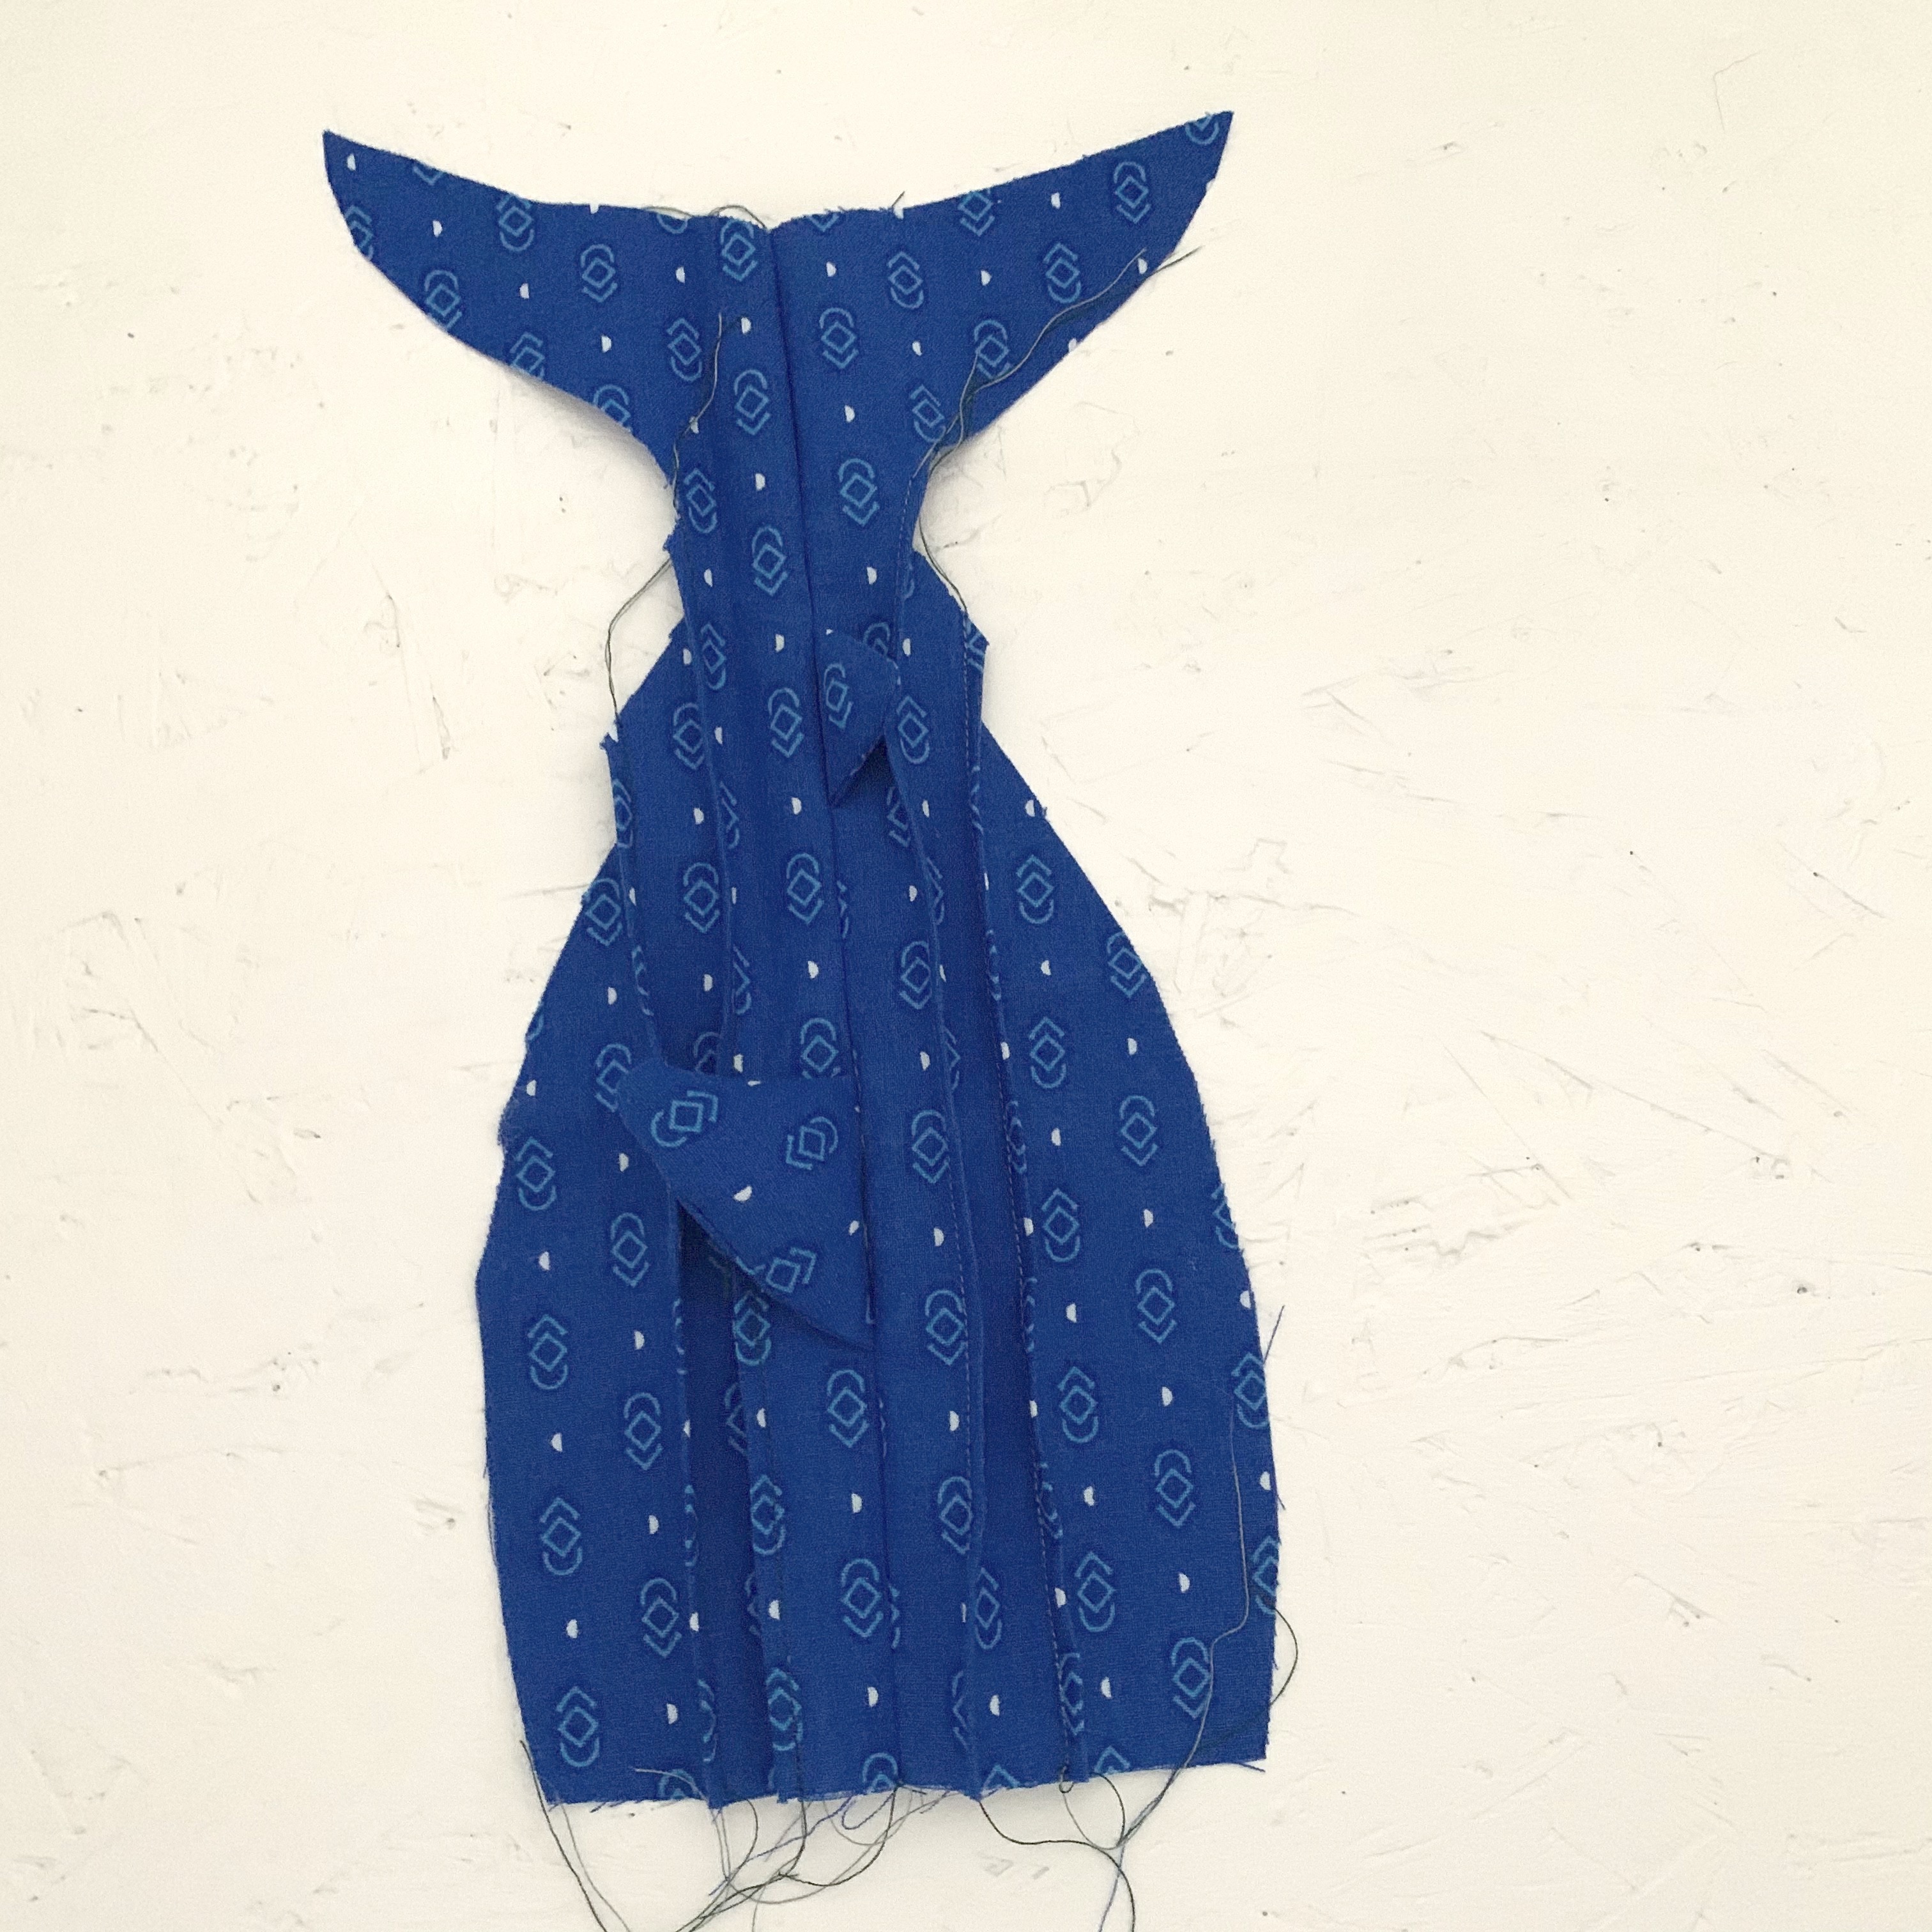
- Take one of the two upper body pieces and place right side up, take the two back fins and place so that the raw edges of the fins align with the raw edges of the body piece, place the other body piece right side down on top and sew down the side to join.


- To create the ridge detail fold one side of the body in half and pin, next sew down just slightly from the top of the folded edge, repeat again on the same side by creating another fold between the middle of the body and the newly made ridge. Repeat on the other side of the body.


- Take the two lower body pieces, place right sides together and sew down the side to join. Place the upper body piece in top of the lower body piece and trim down the lower body piece. Sew around to join leaving the top mouth edge unsewn.

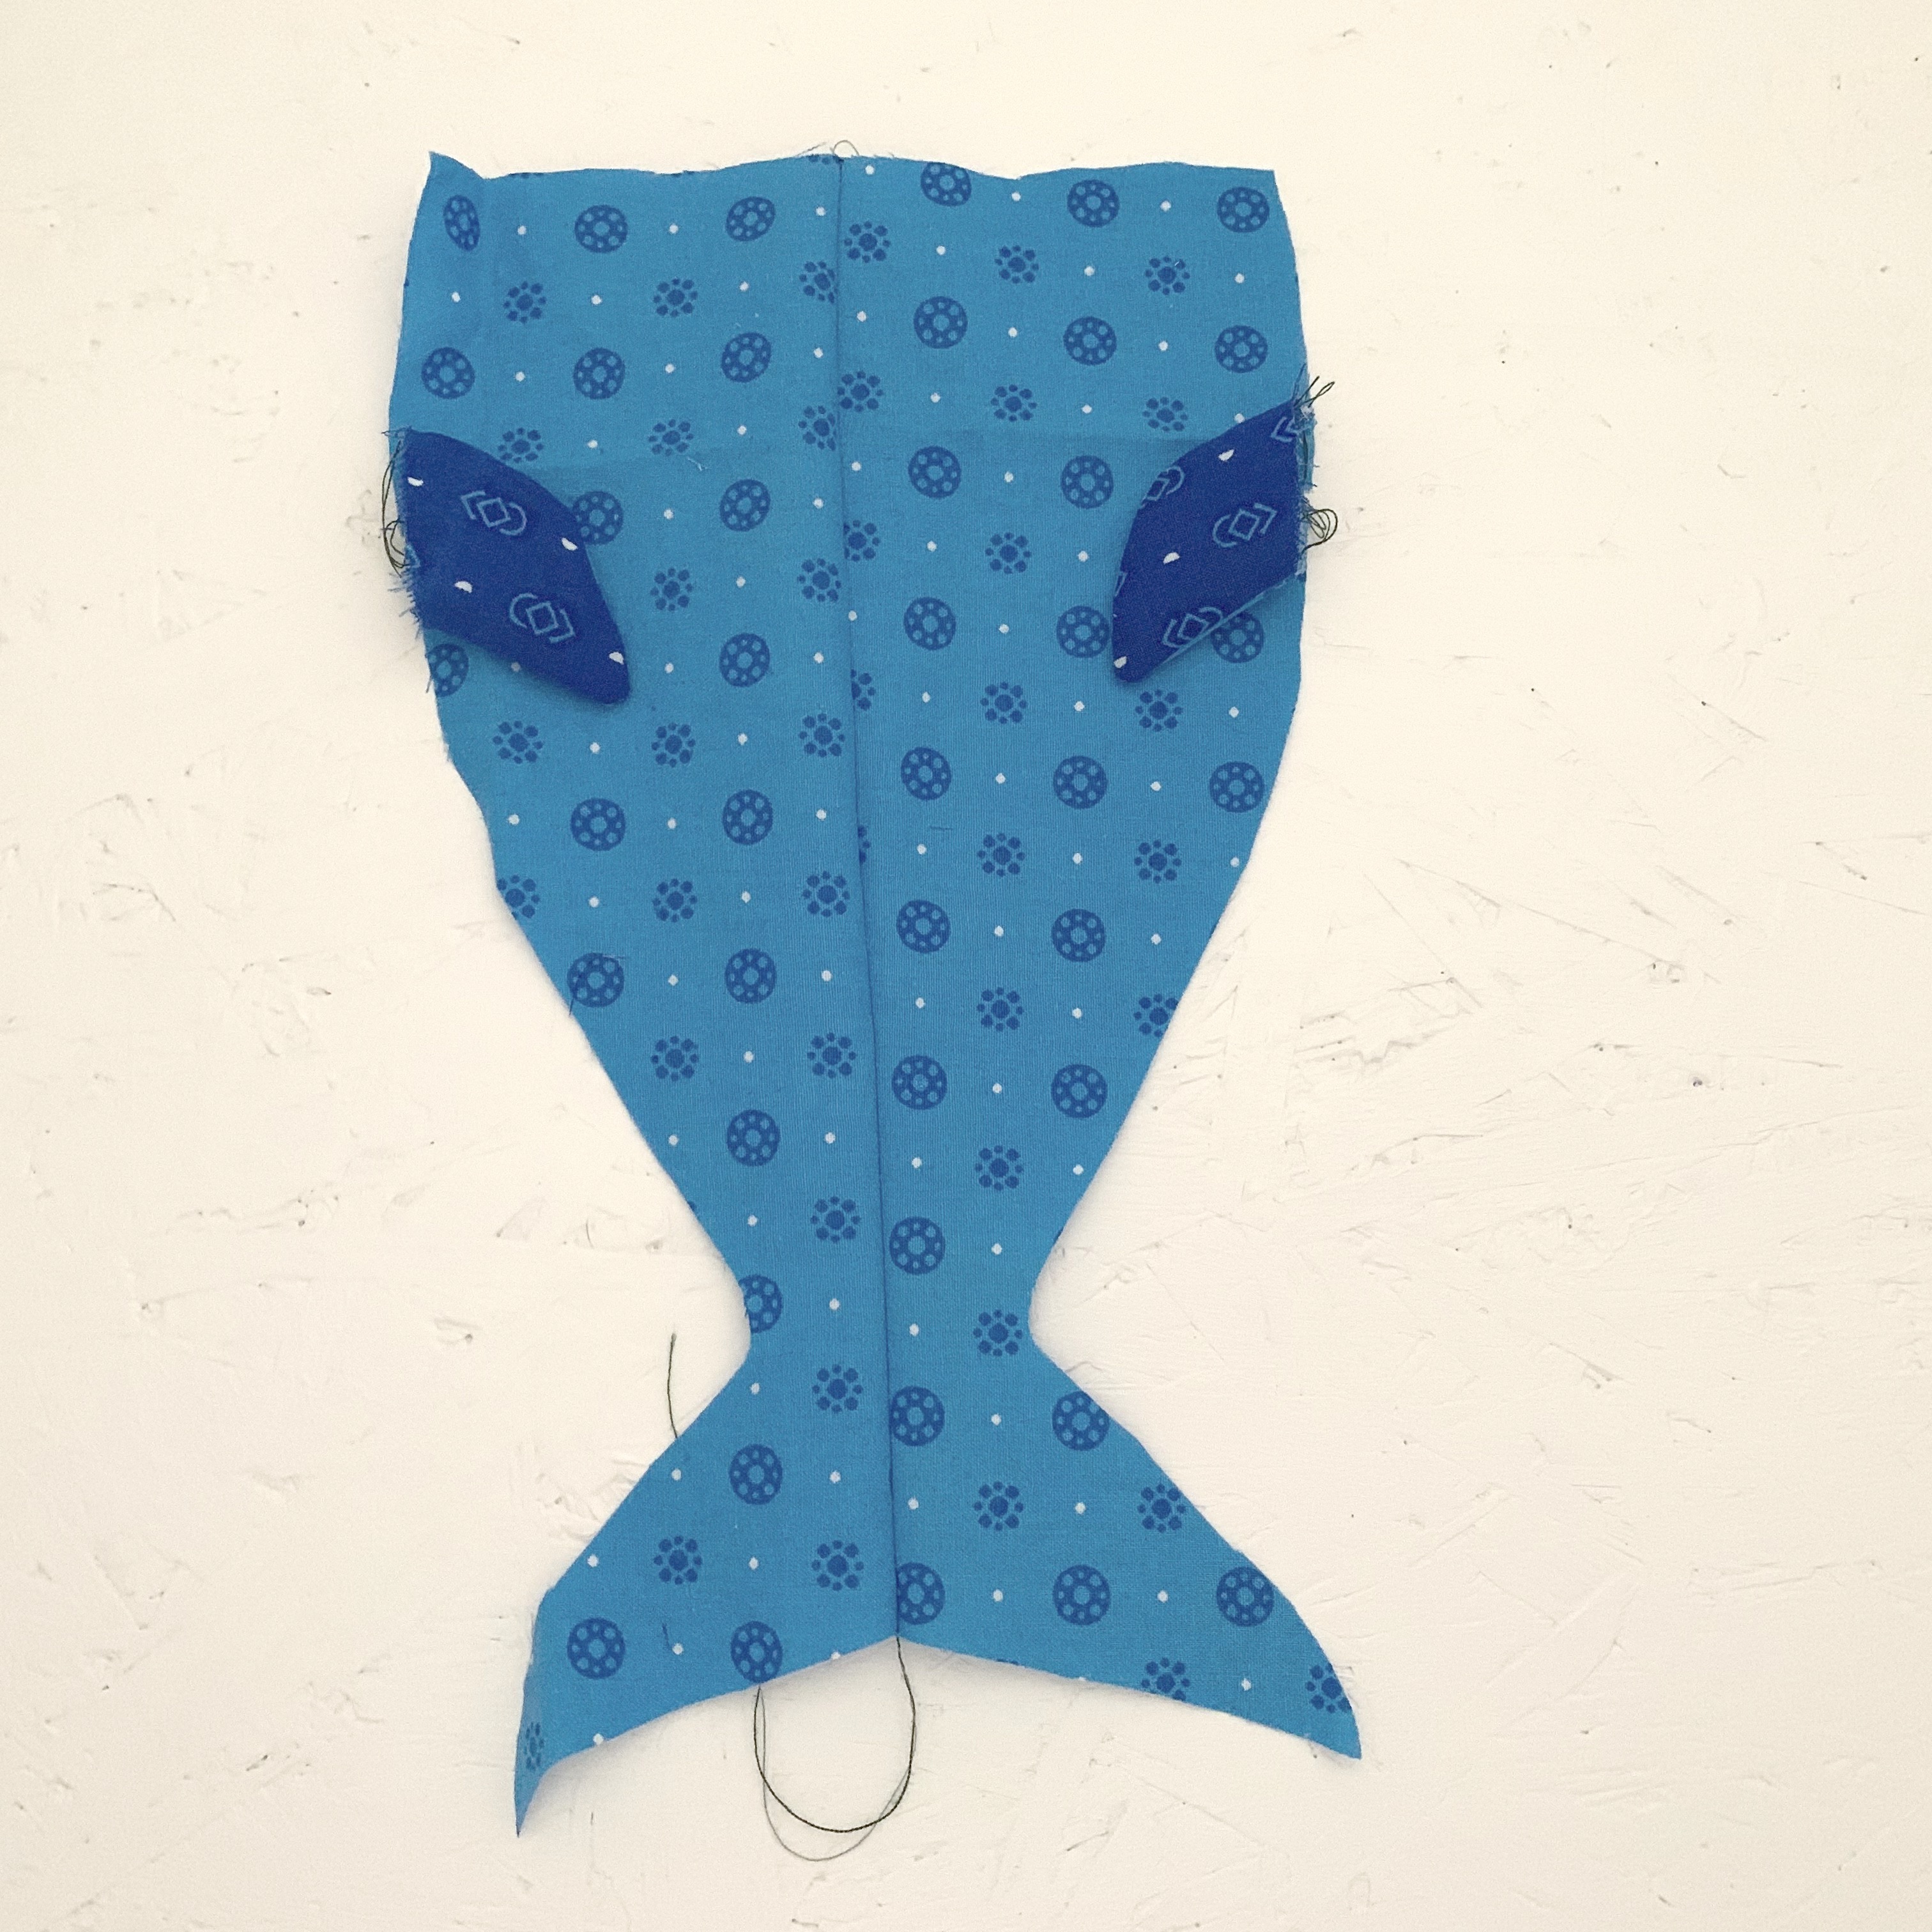
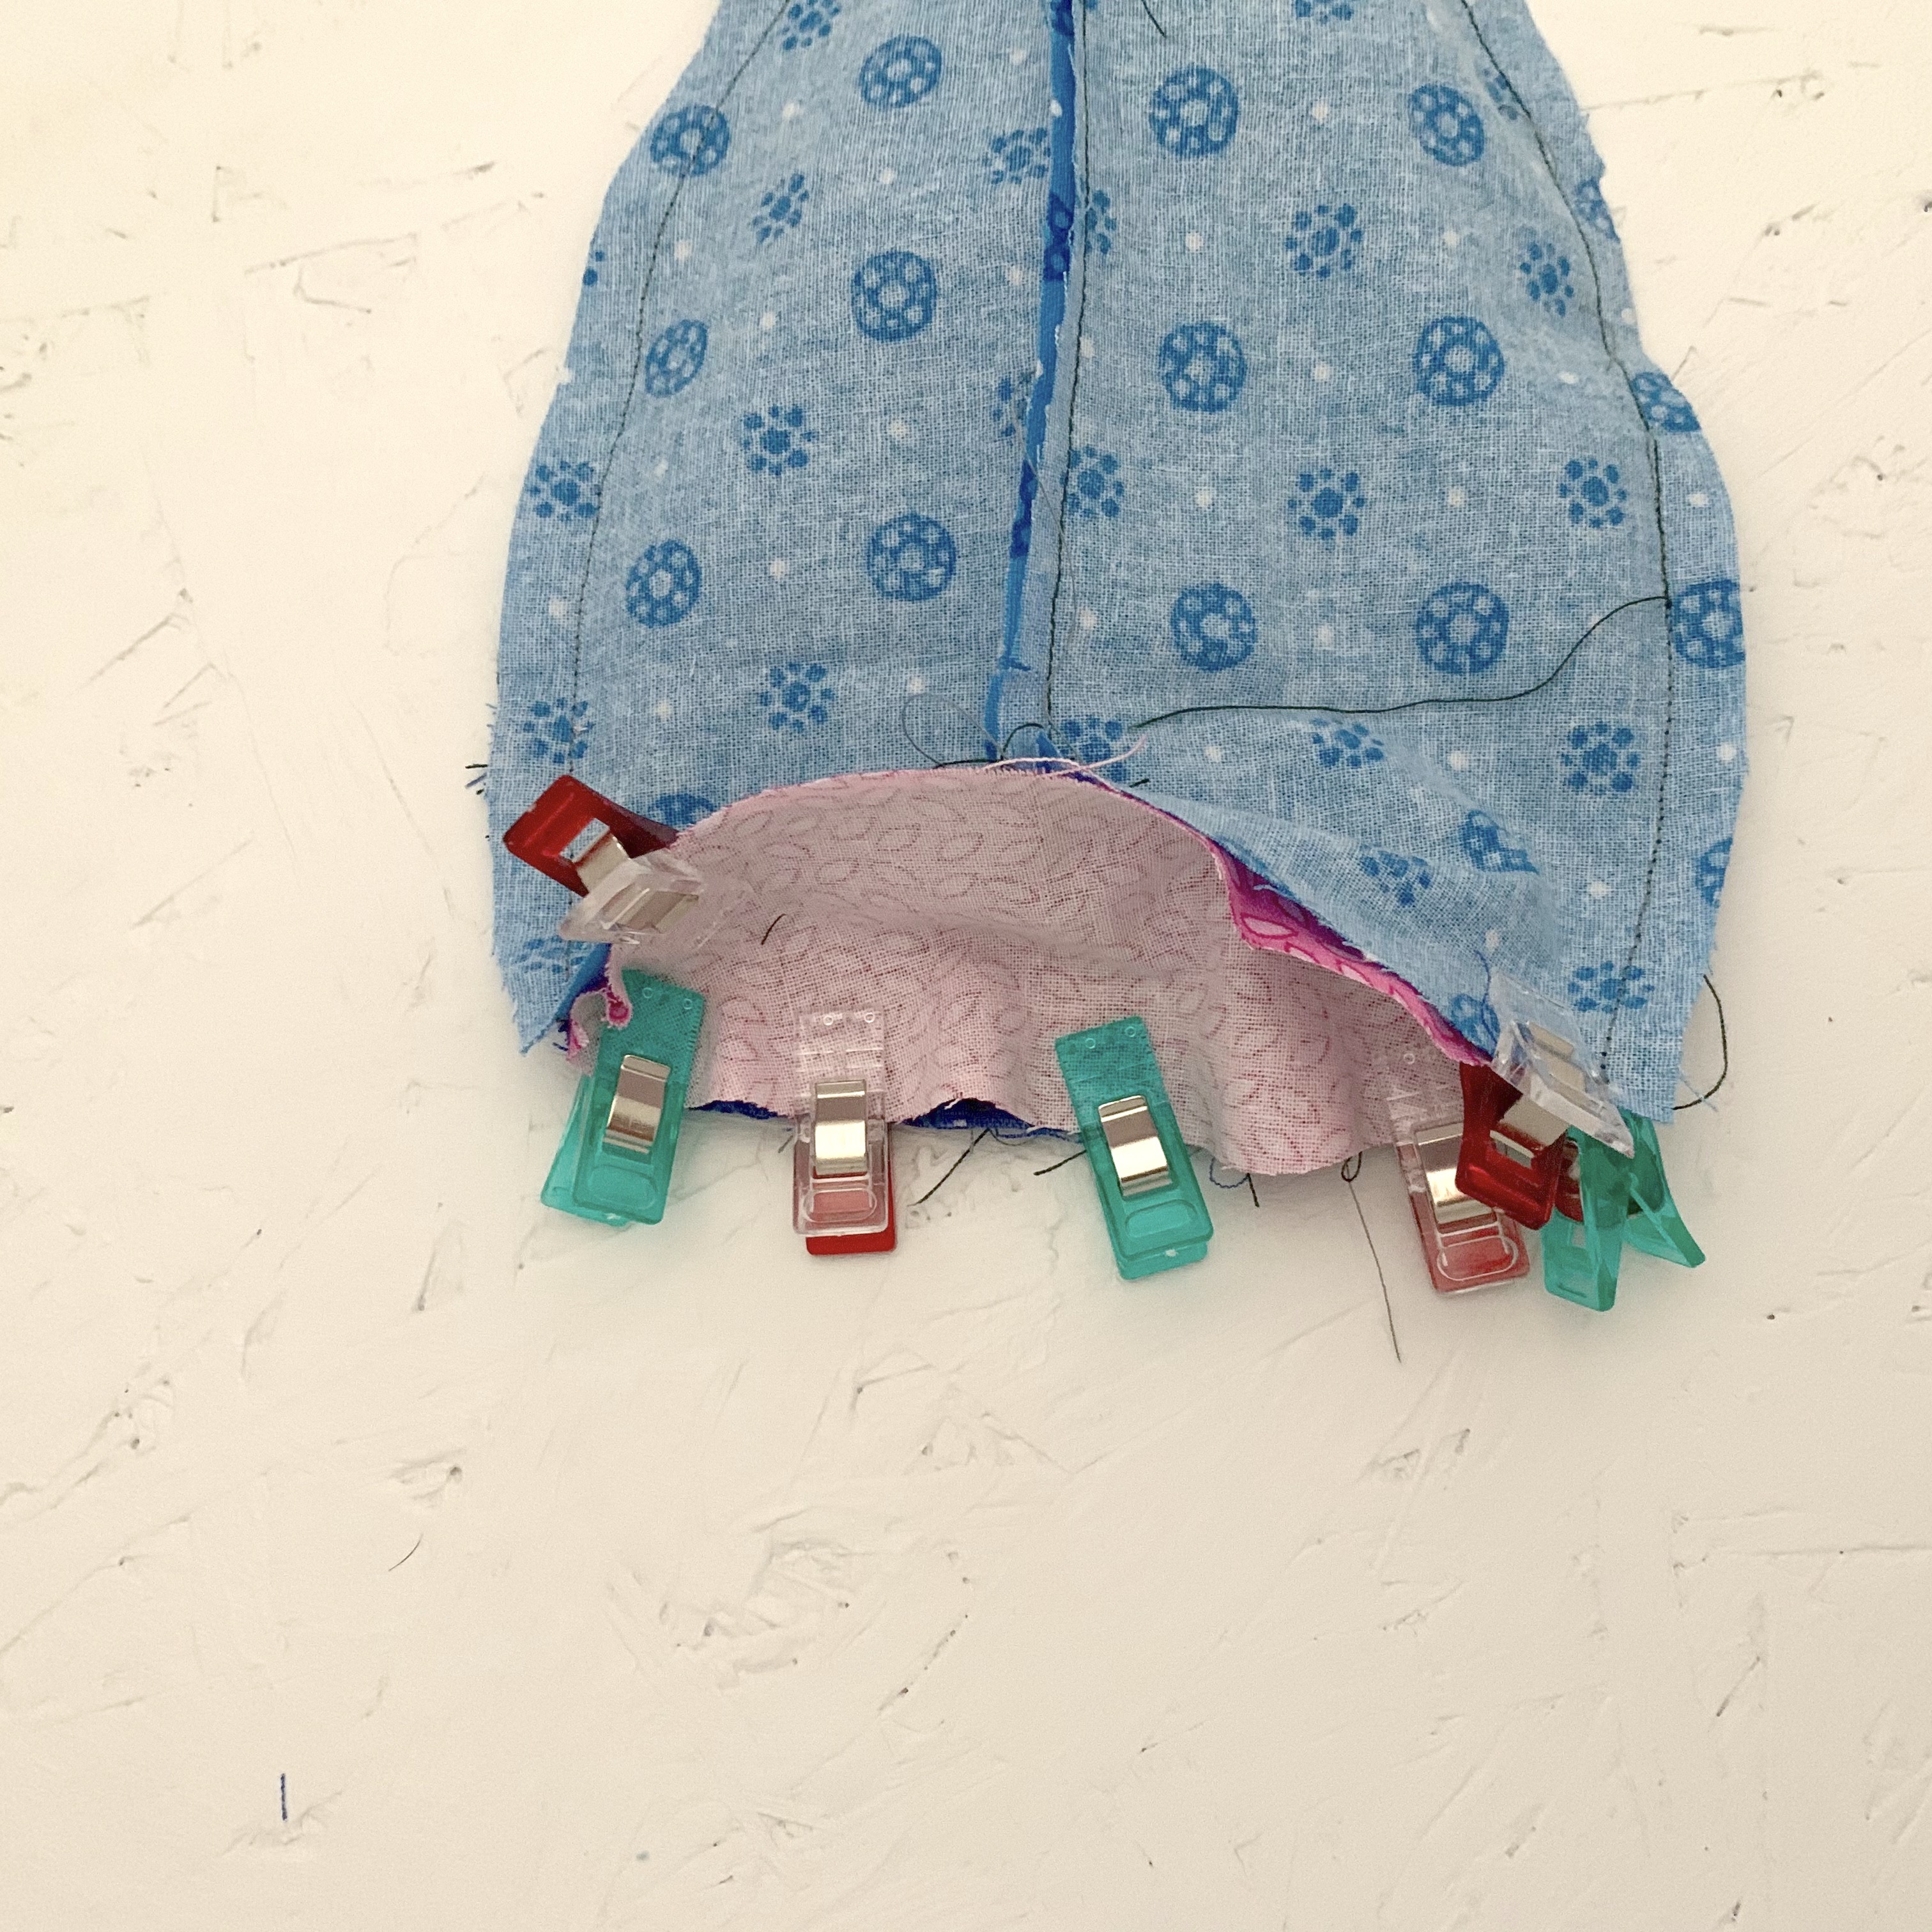
- Take the pink mouth oval and fold in half long ways and place on top of the sewn together body pieces, cut down to size so it fits the mouth area.
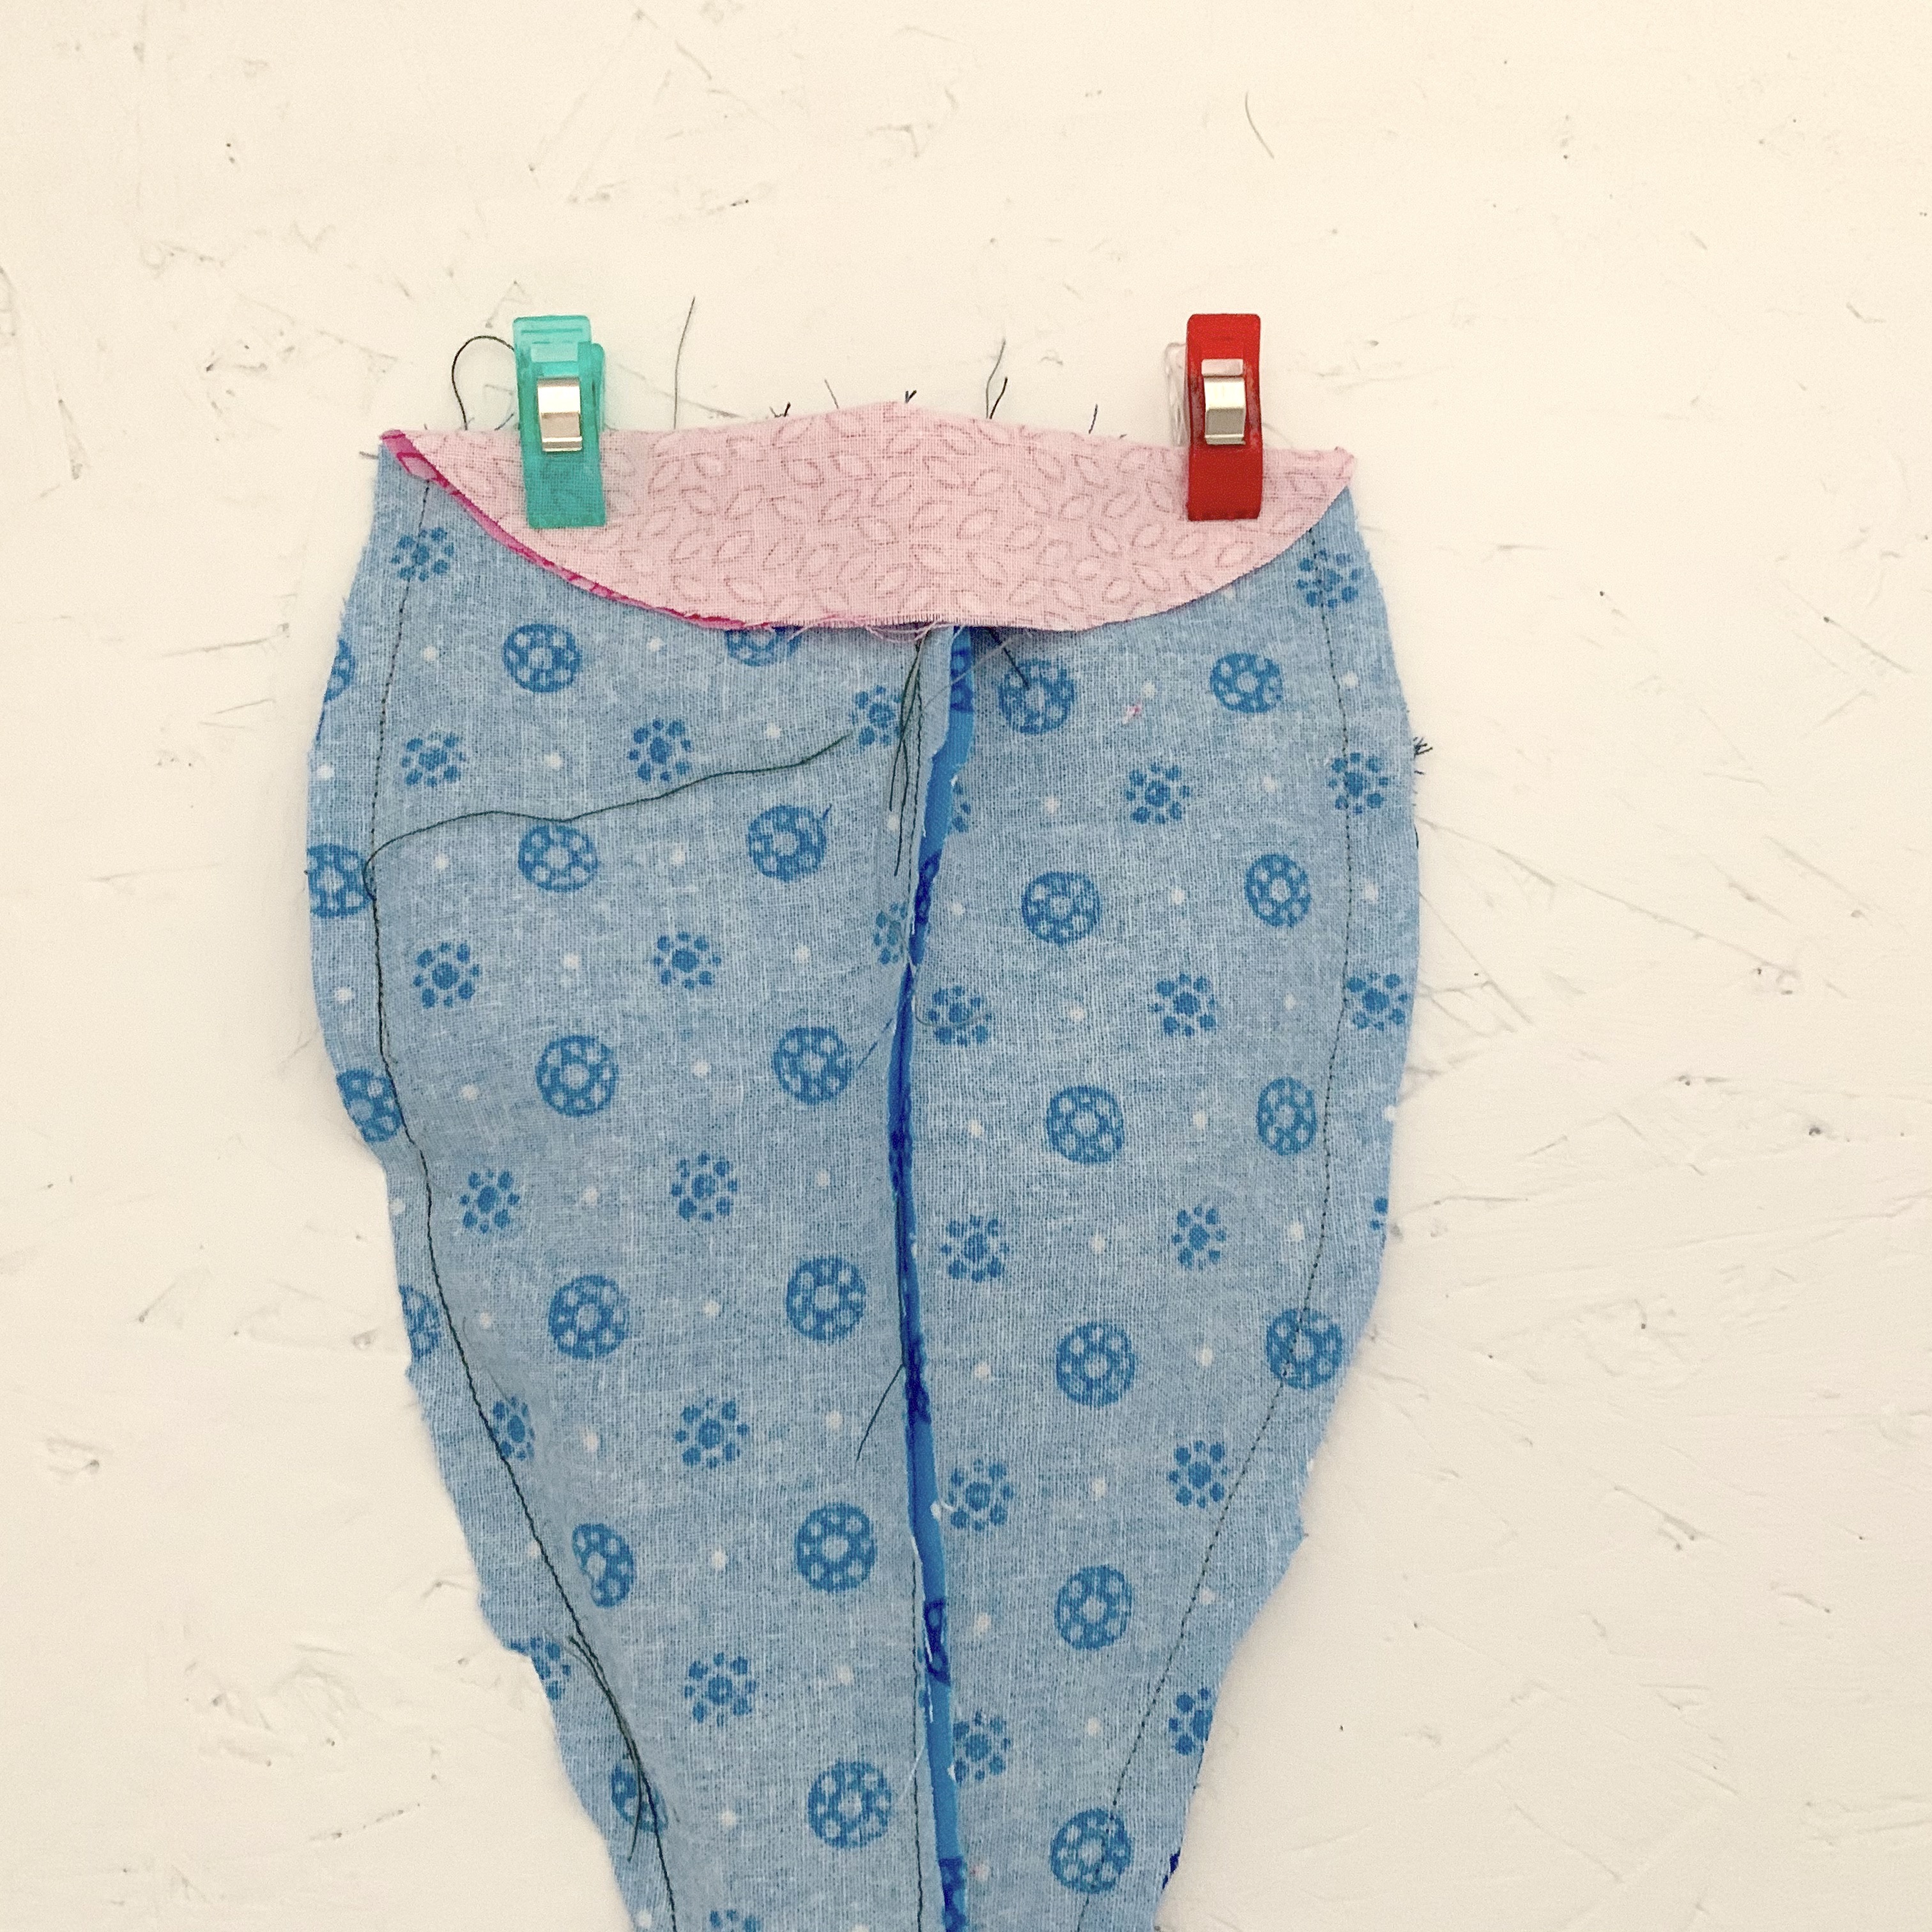
- Place right sides together with the joined body pieces and sew to secure leaving a 6cm gap for turning. Turn out the right way, place in the toy stuffing and sew the gap closed.
- Using the black wool/felt sew on two eyes using long running stitches.

The tutorials to make this sea creature along with another a Narwhal are also available over on The Craft Cotton Company blog, along with loads of other amazing tutorials.

Leave a comment