Since making my crochet R2-D2 I have been thinking about making some crochet lightsabers but I wasn’t too sure whether I would be able to make something that would look ok. After much deliberation I thought I would give it a go and see what I could come up with. After a while of researching lightsabers (I never realised there were so many different ones!) I got cracking on making the lightsaber using a rough design I sketched up based on some I had seen. After completing it I was very pleased with how it came out, so much so in fact I’ve decided to make a couple of other slightly different ones including a dark green, light green and mini lightsaber.
Other Star Wars patterns available include: Yoda Bookmark, BB8 Soft toy, R2-D2, Yoda Block
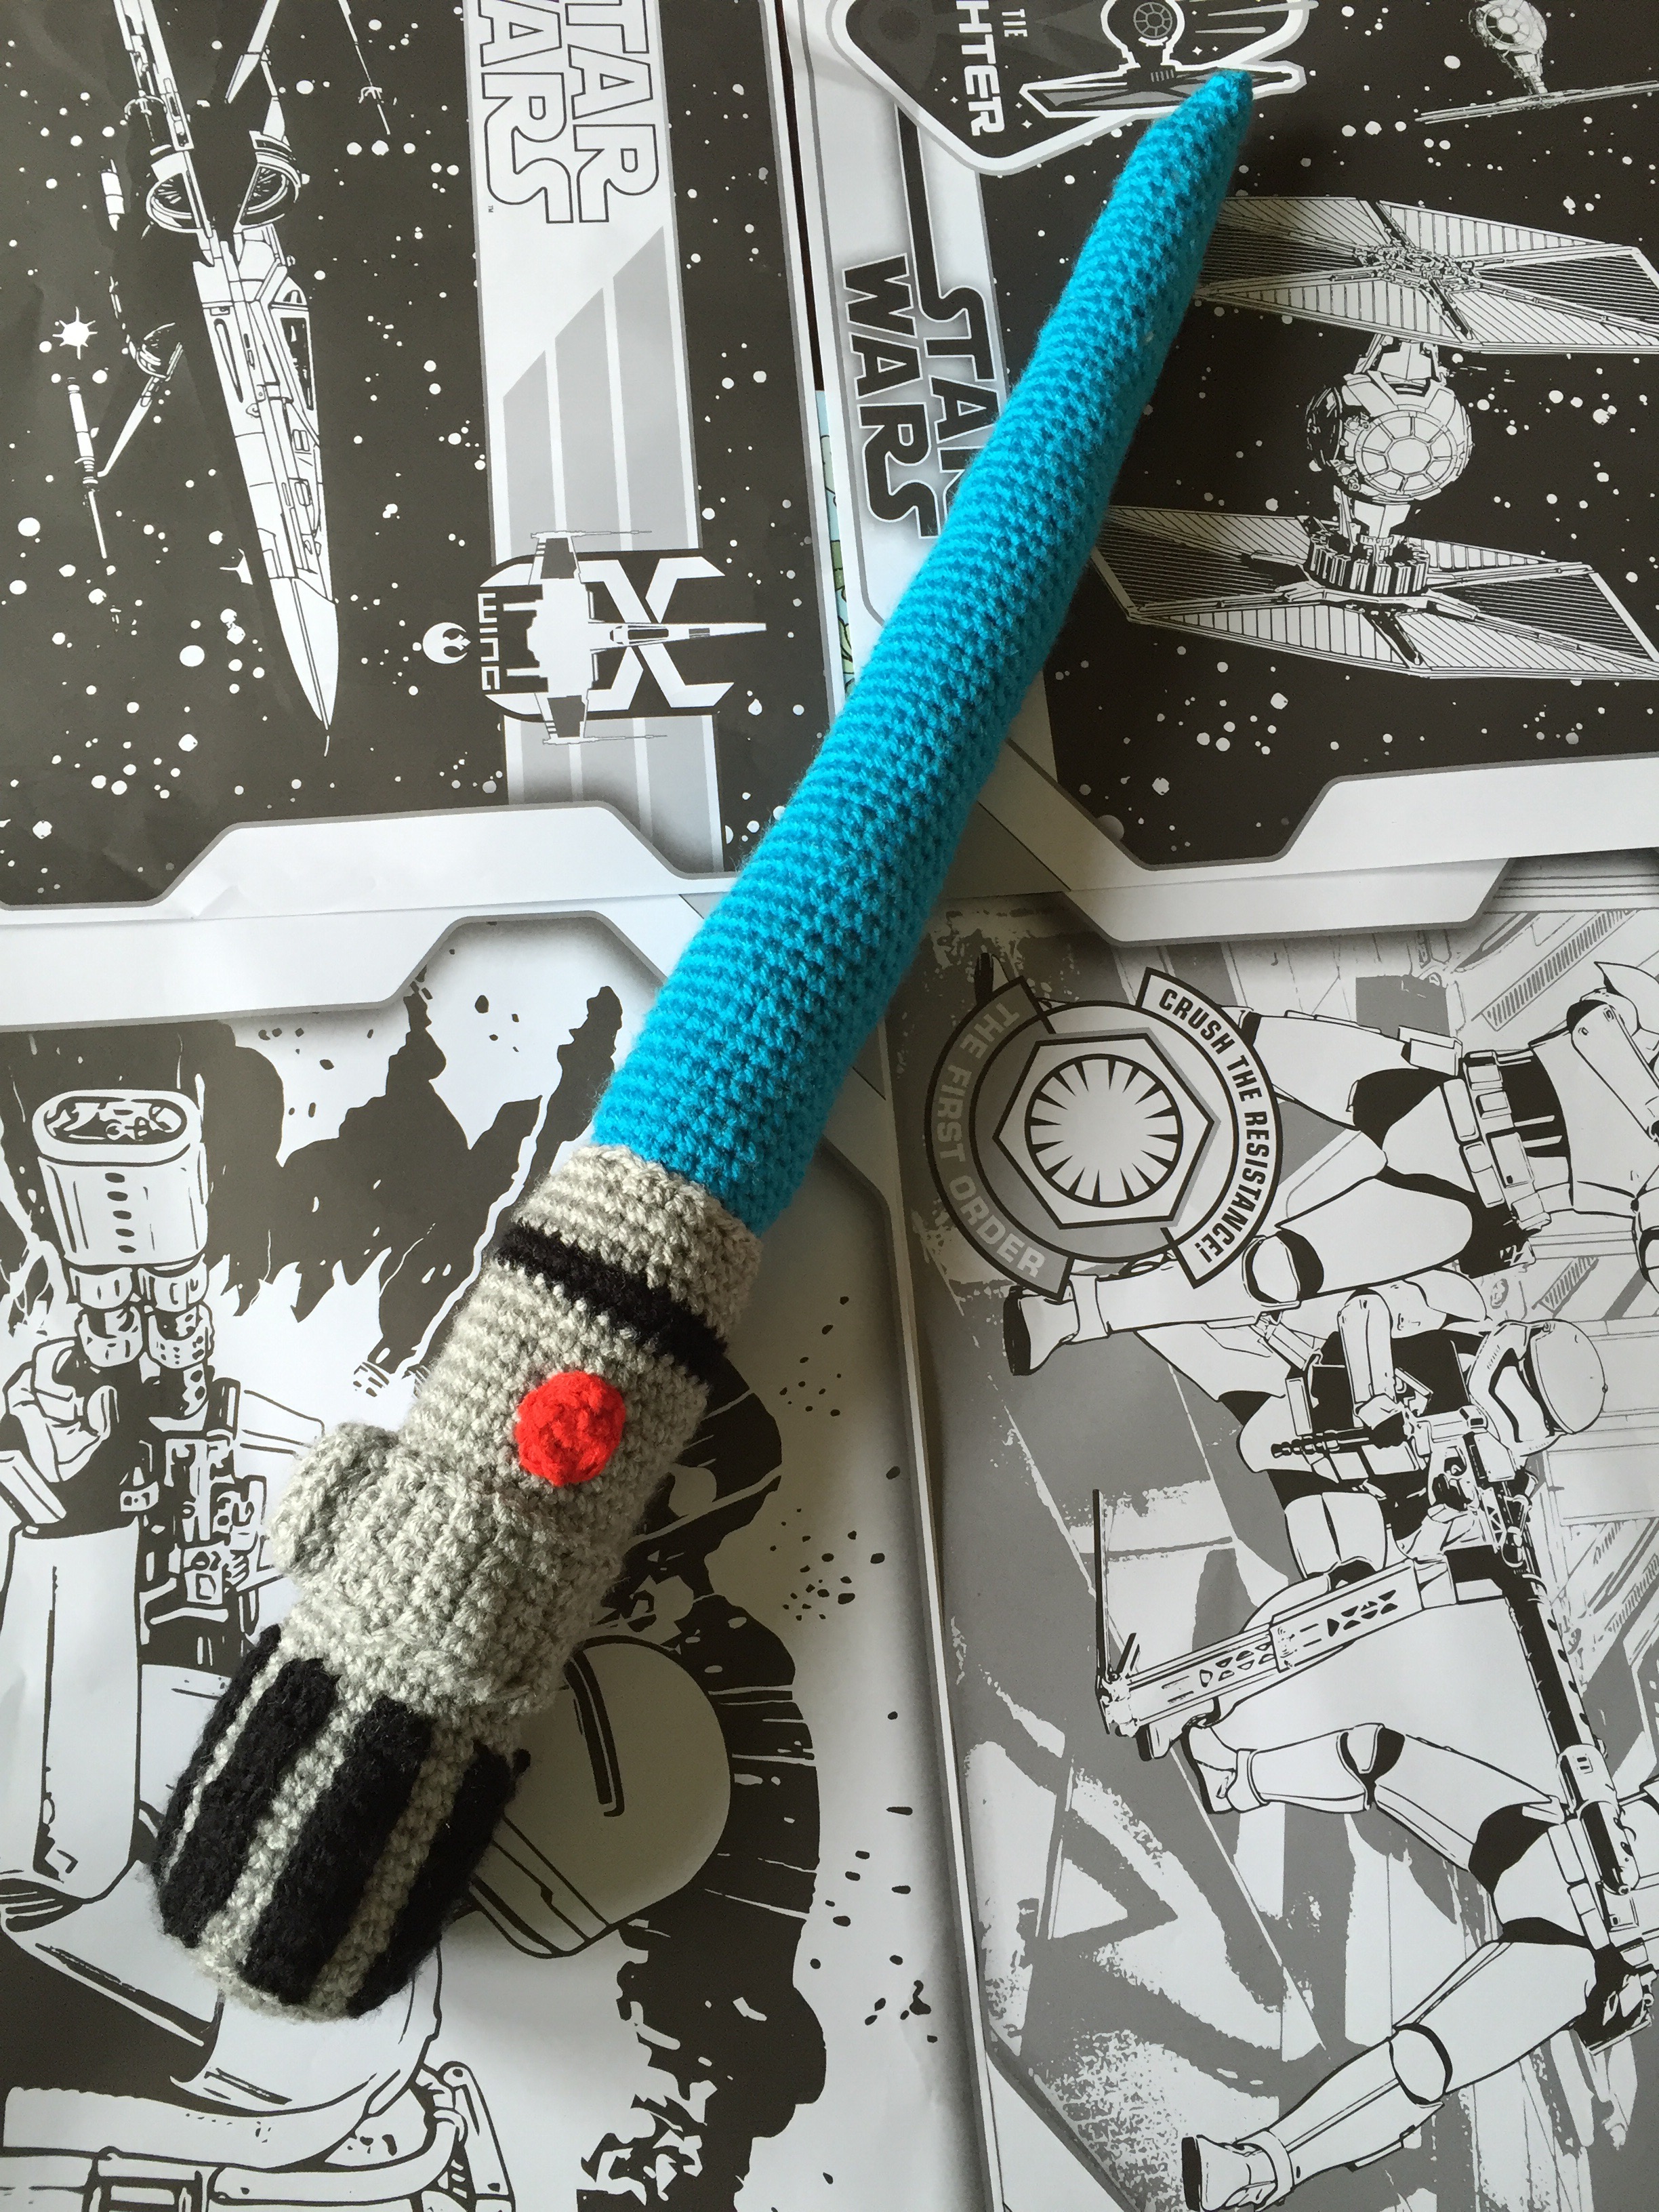
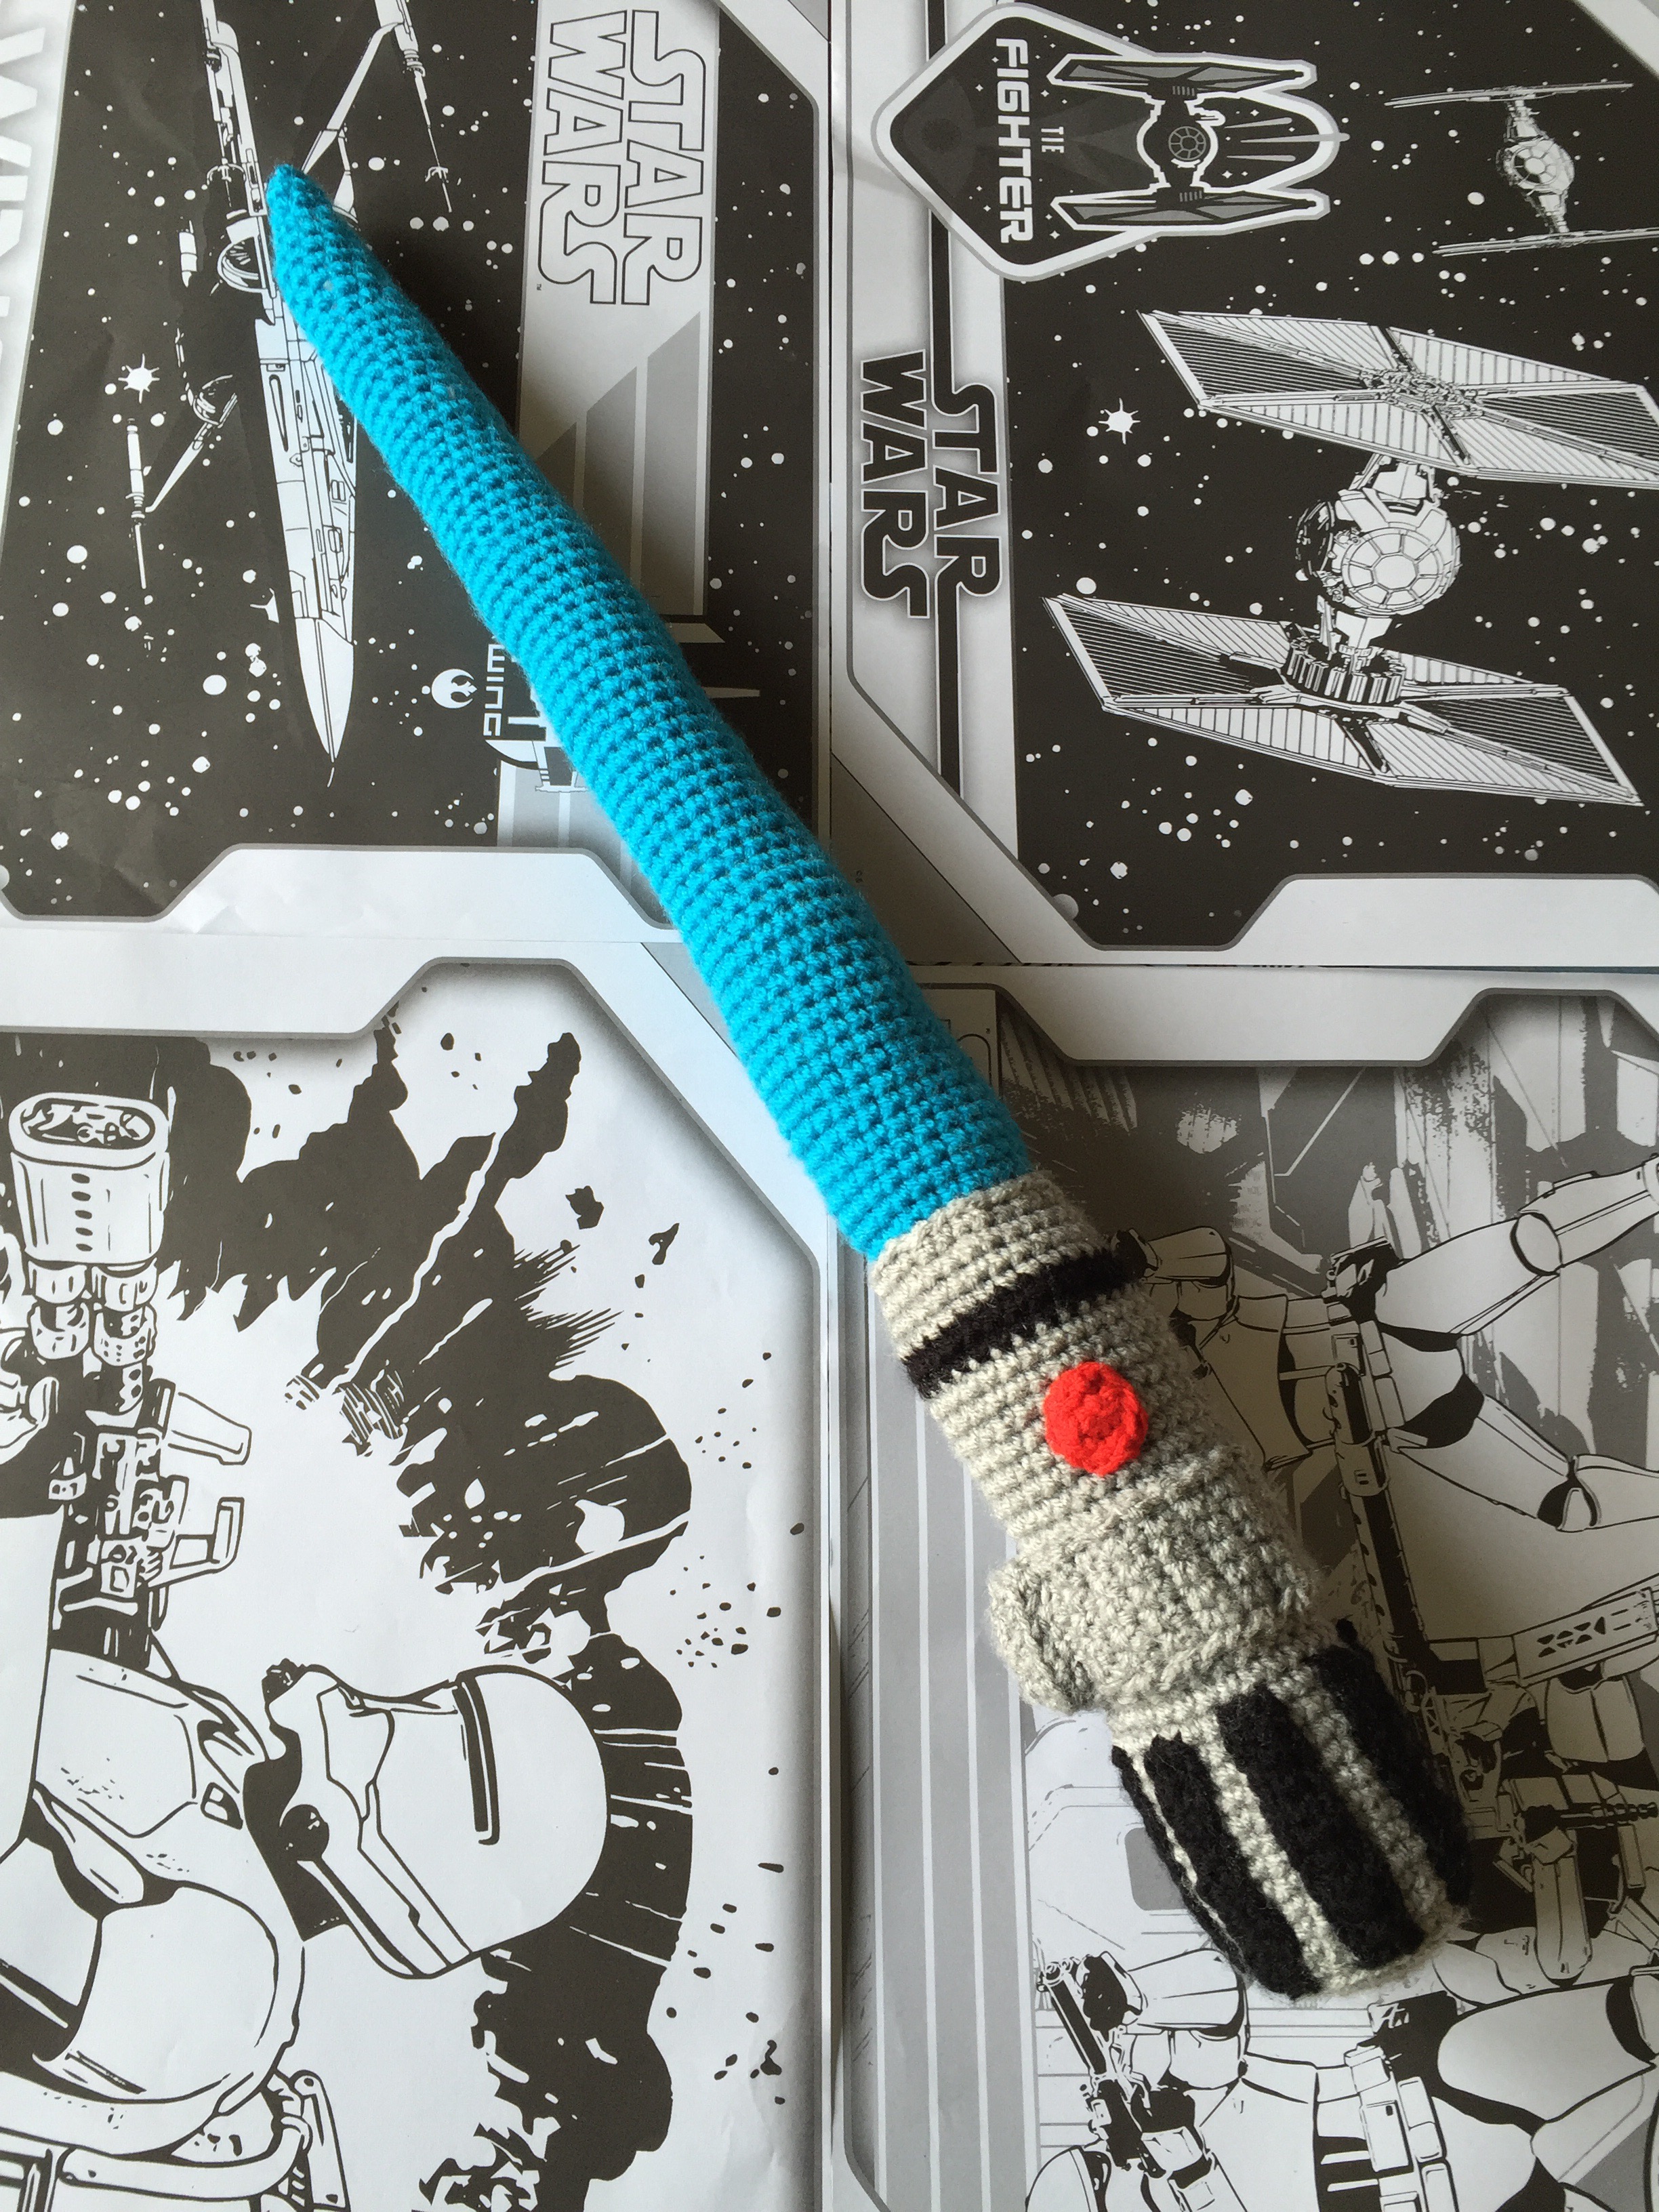
Blue Star Wars lightsaber Pattern
Materials
- 4mm hook.
- DK wool in grey (50g ball).
- DK wool in black (50g ball).
- DK wool in blue (50g ball).
- DK wool in red (small amount).
- Needle.
- Toy stuffing.
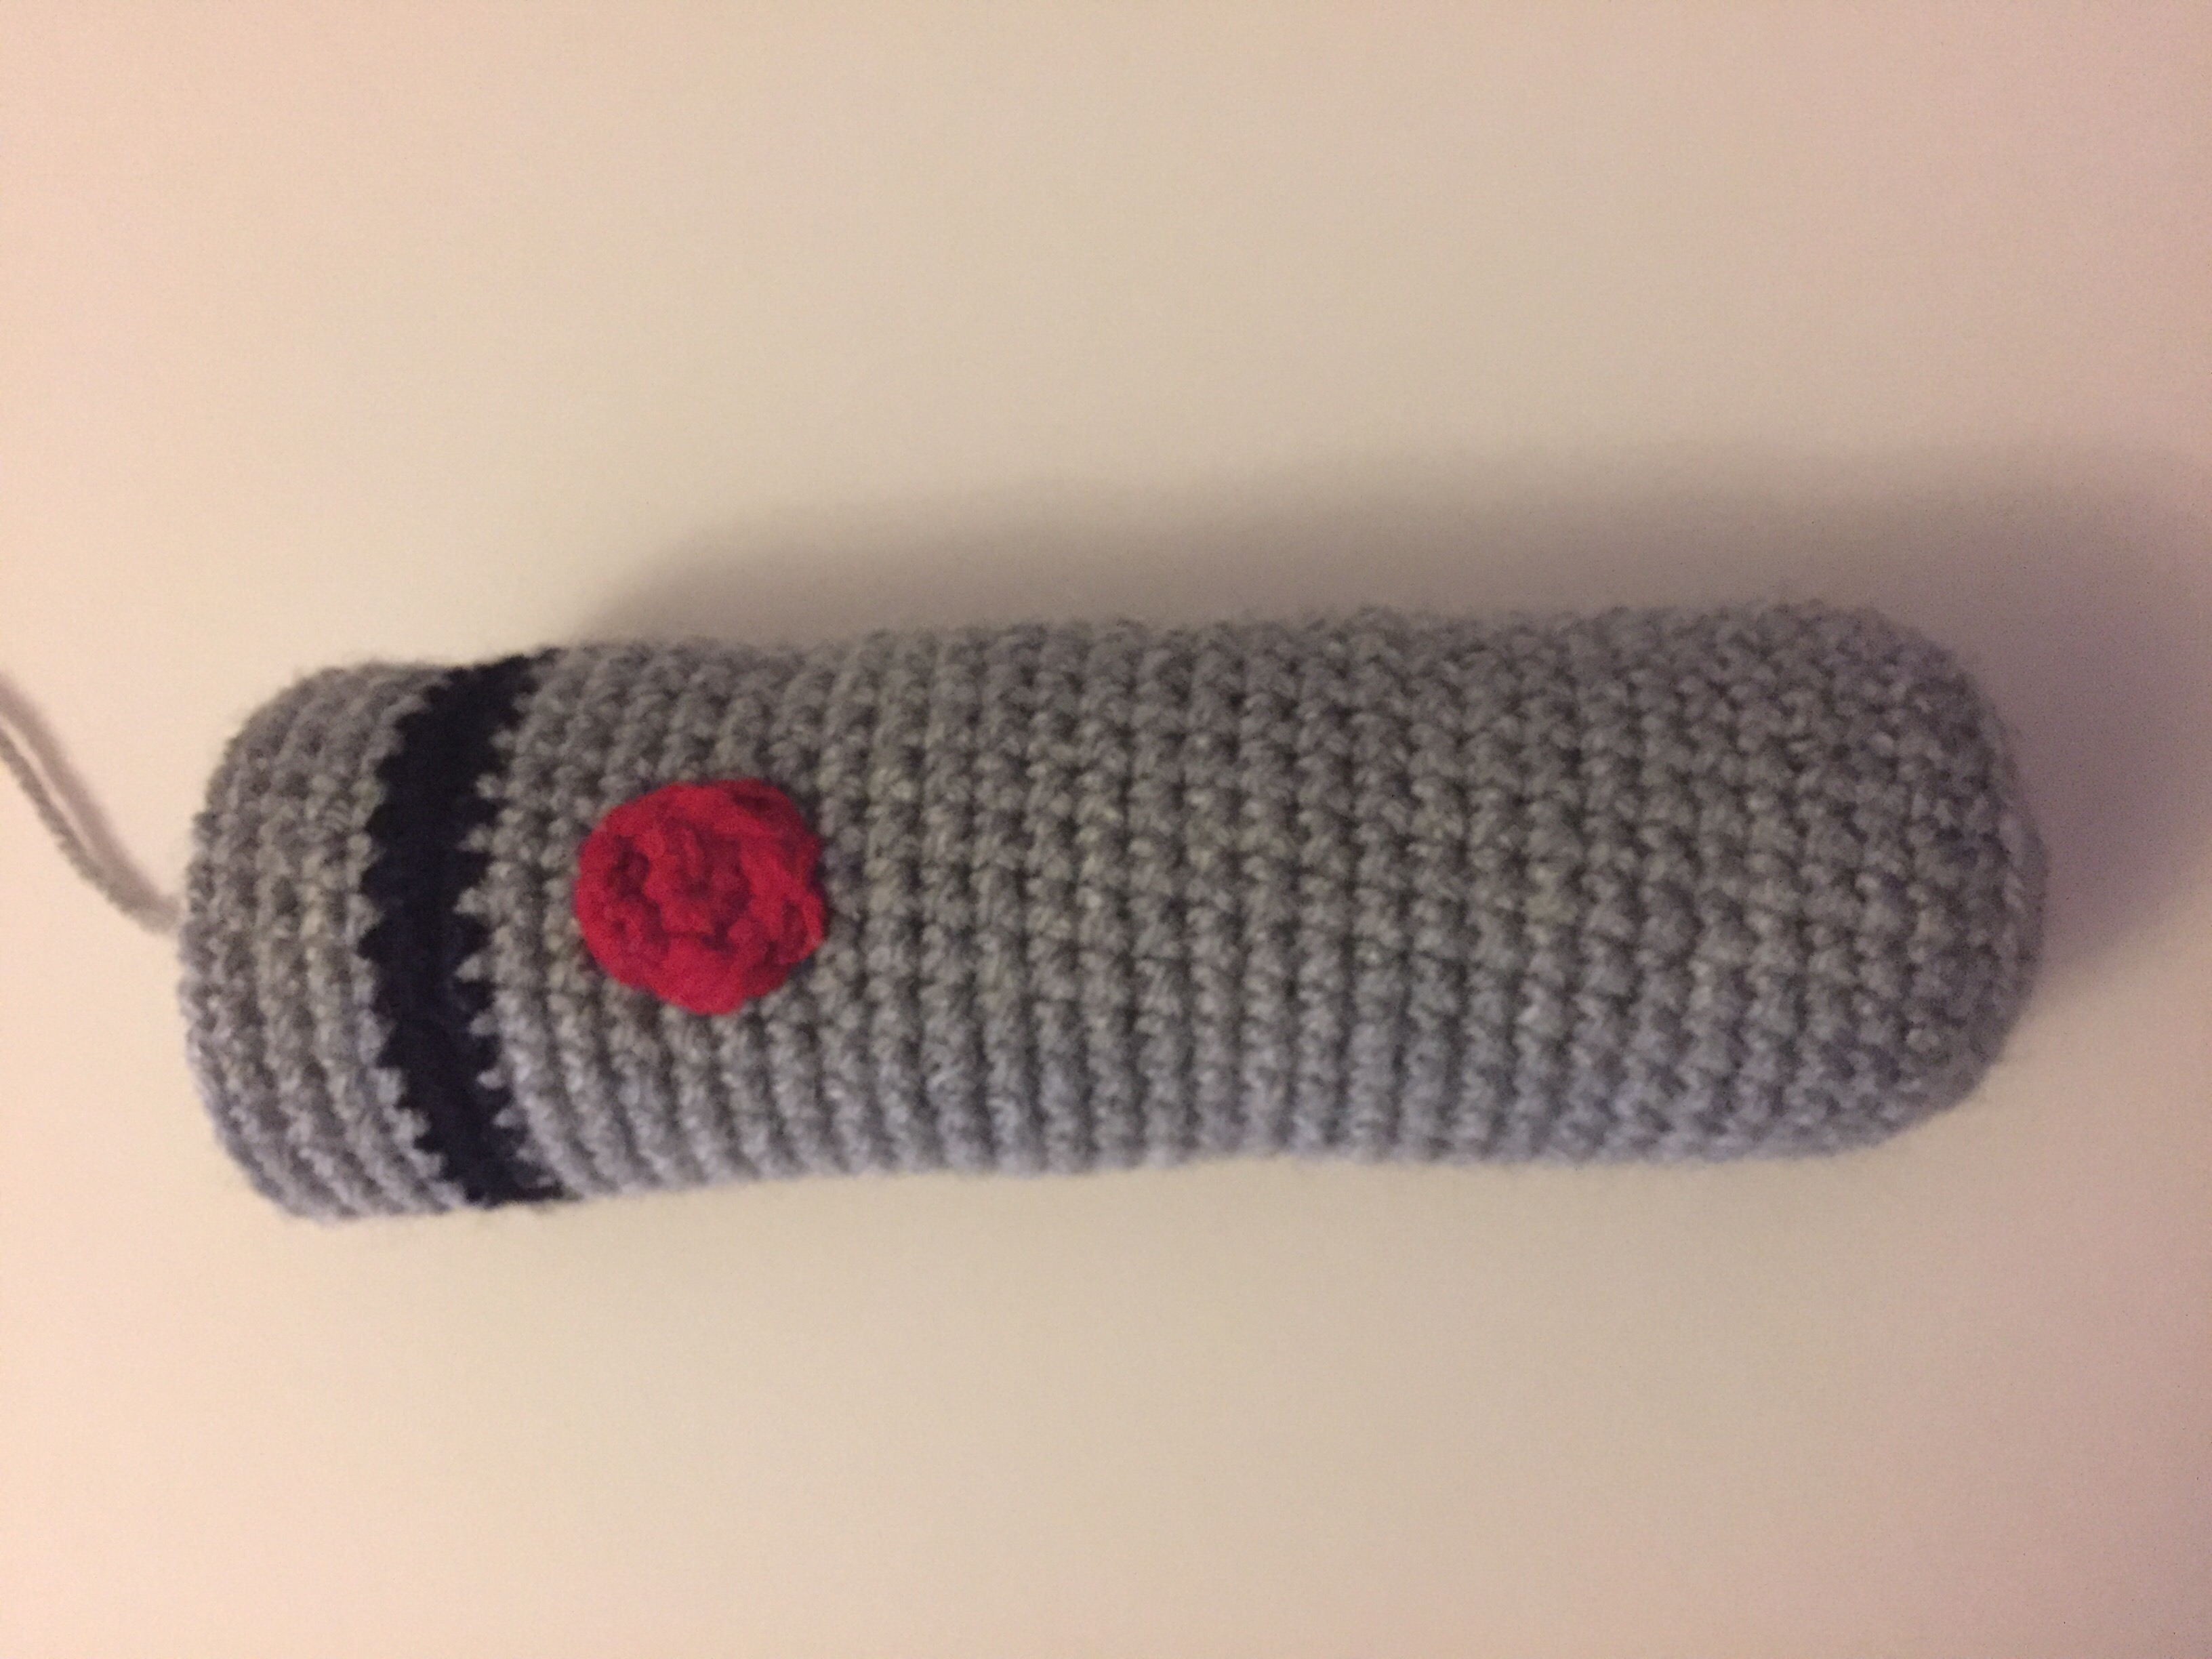
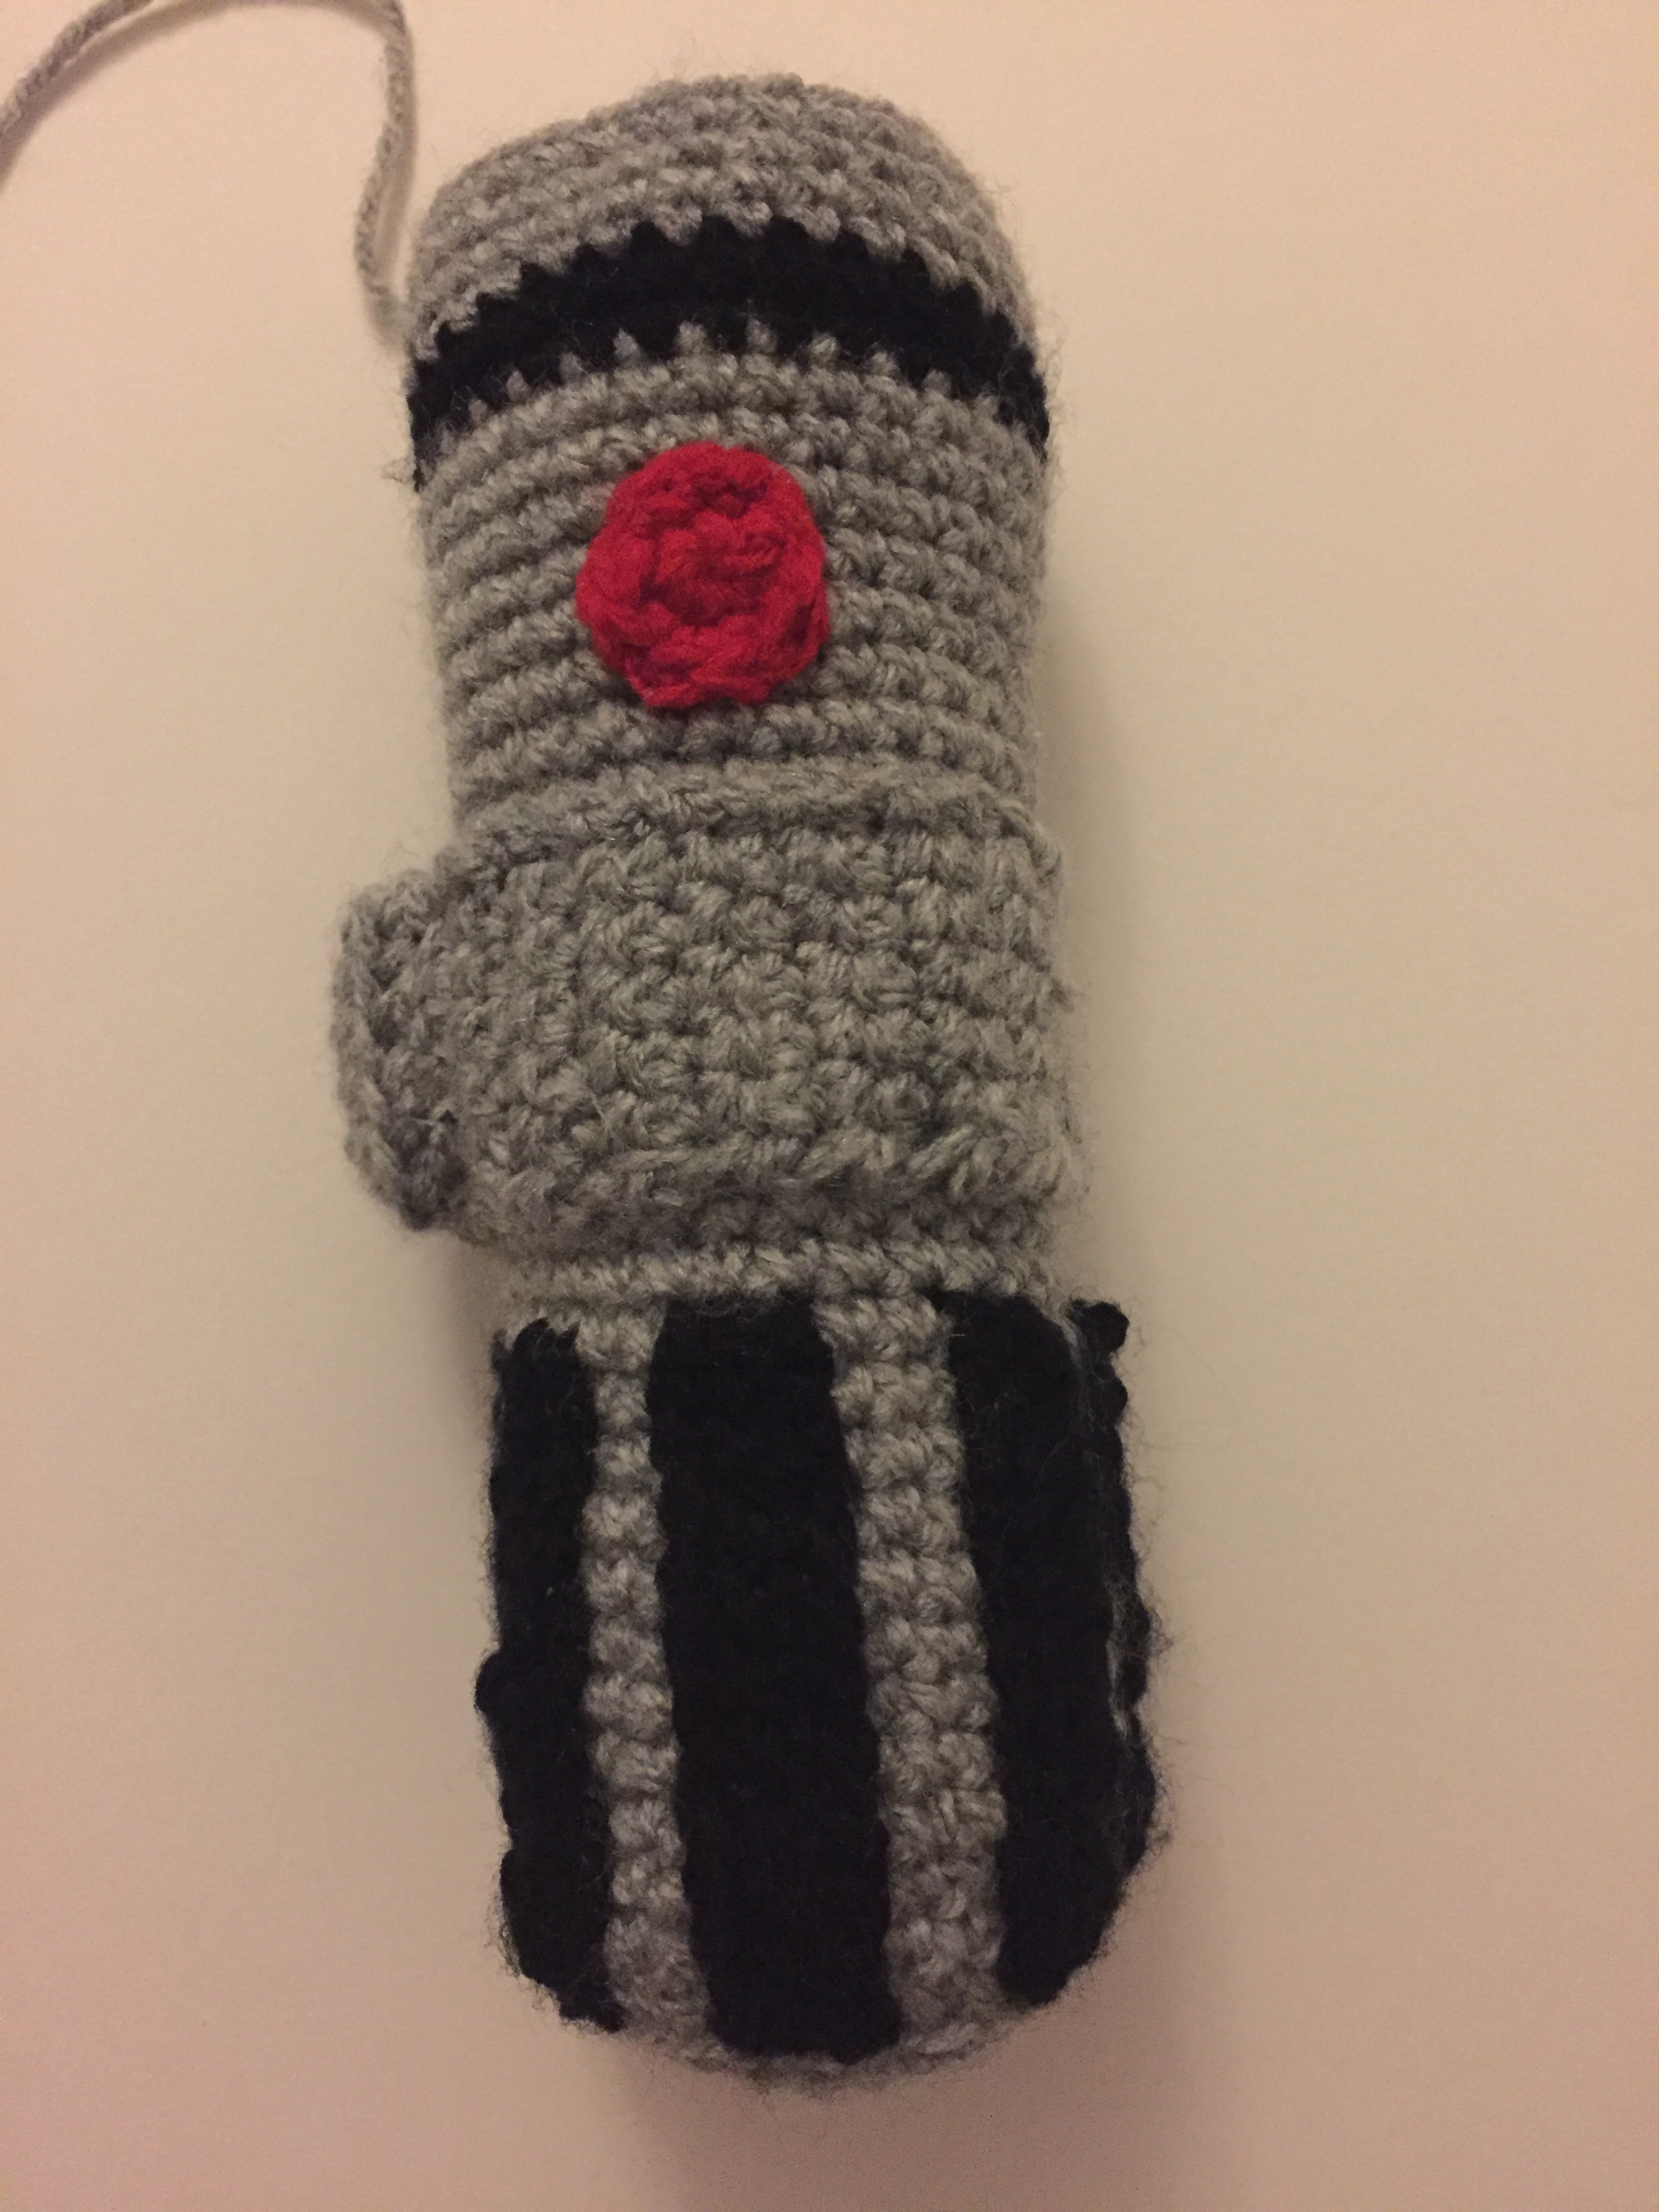
Lightsaber Handle
In grey.
Make a magic ring, ch1, 6sc into ring.
Round 1: 2sc into each sc.
Round 2: 2sc into same sc, sc. Repeat around.
Round 3: 2sc into same sc, 2sc. Repeat around.
Round 4: 2sc into same sc, 3sc. Repeat around.
Round 5: sc around into back loop only.
Rounds 6-32: sc around.
Change to black.
Rounds 33-34: sc around.
Change to grey.
Rounds 35-38: sc around.
Fasten off.
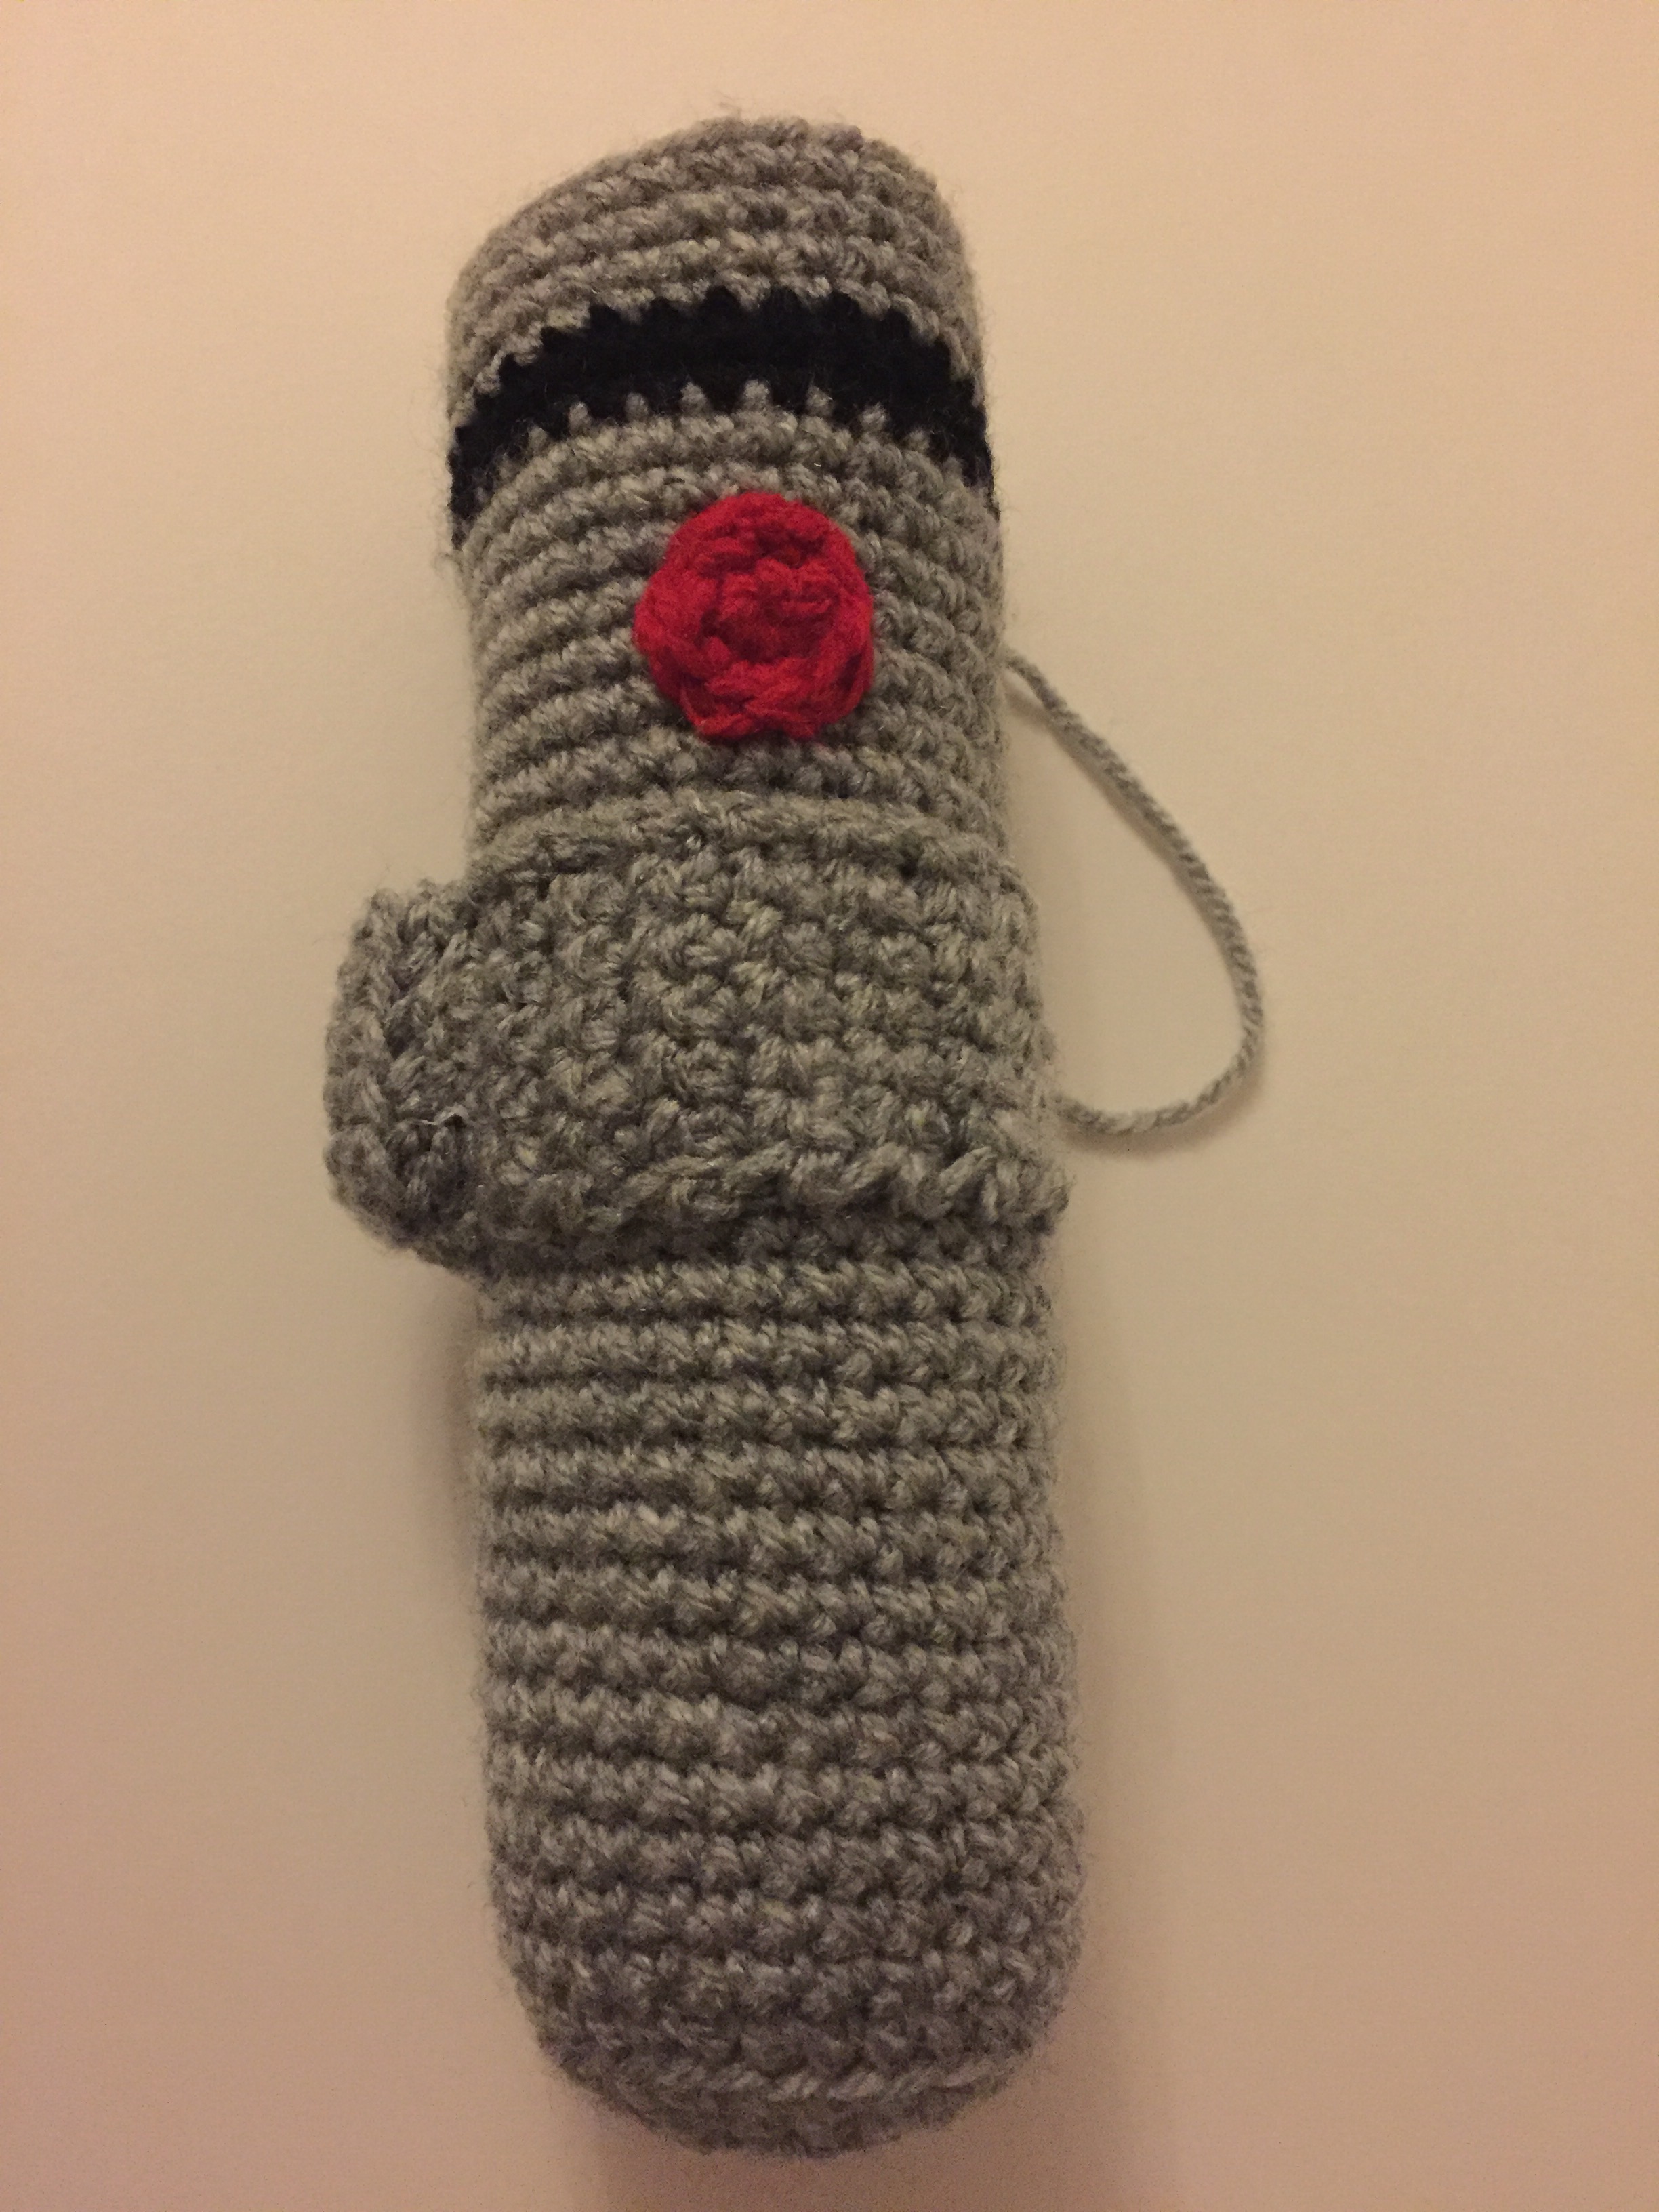
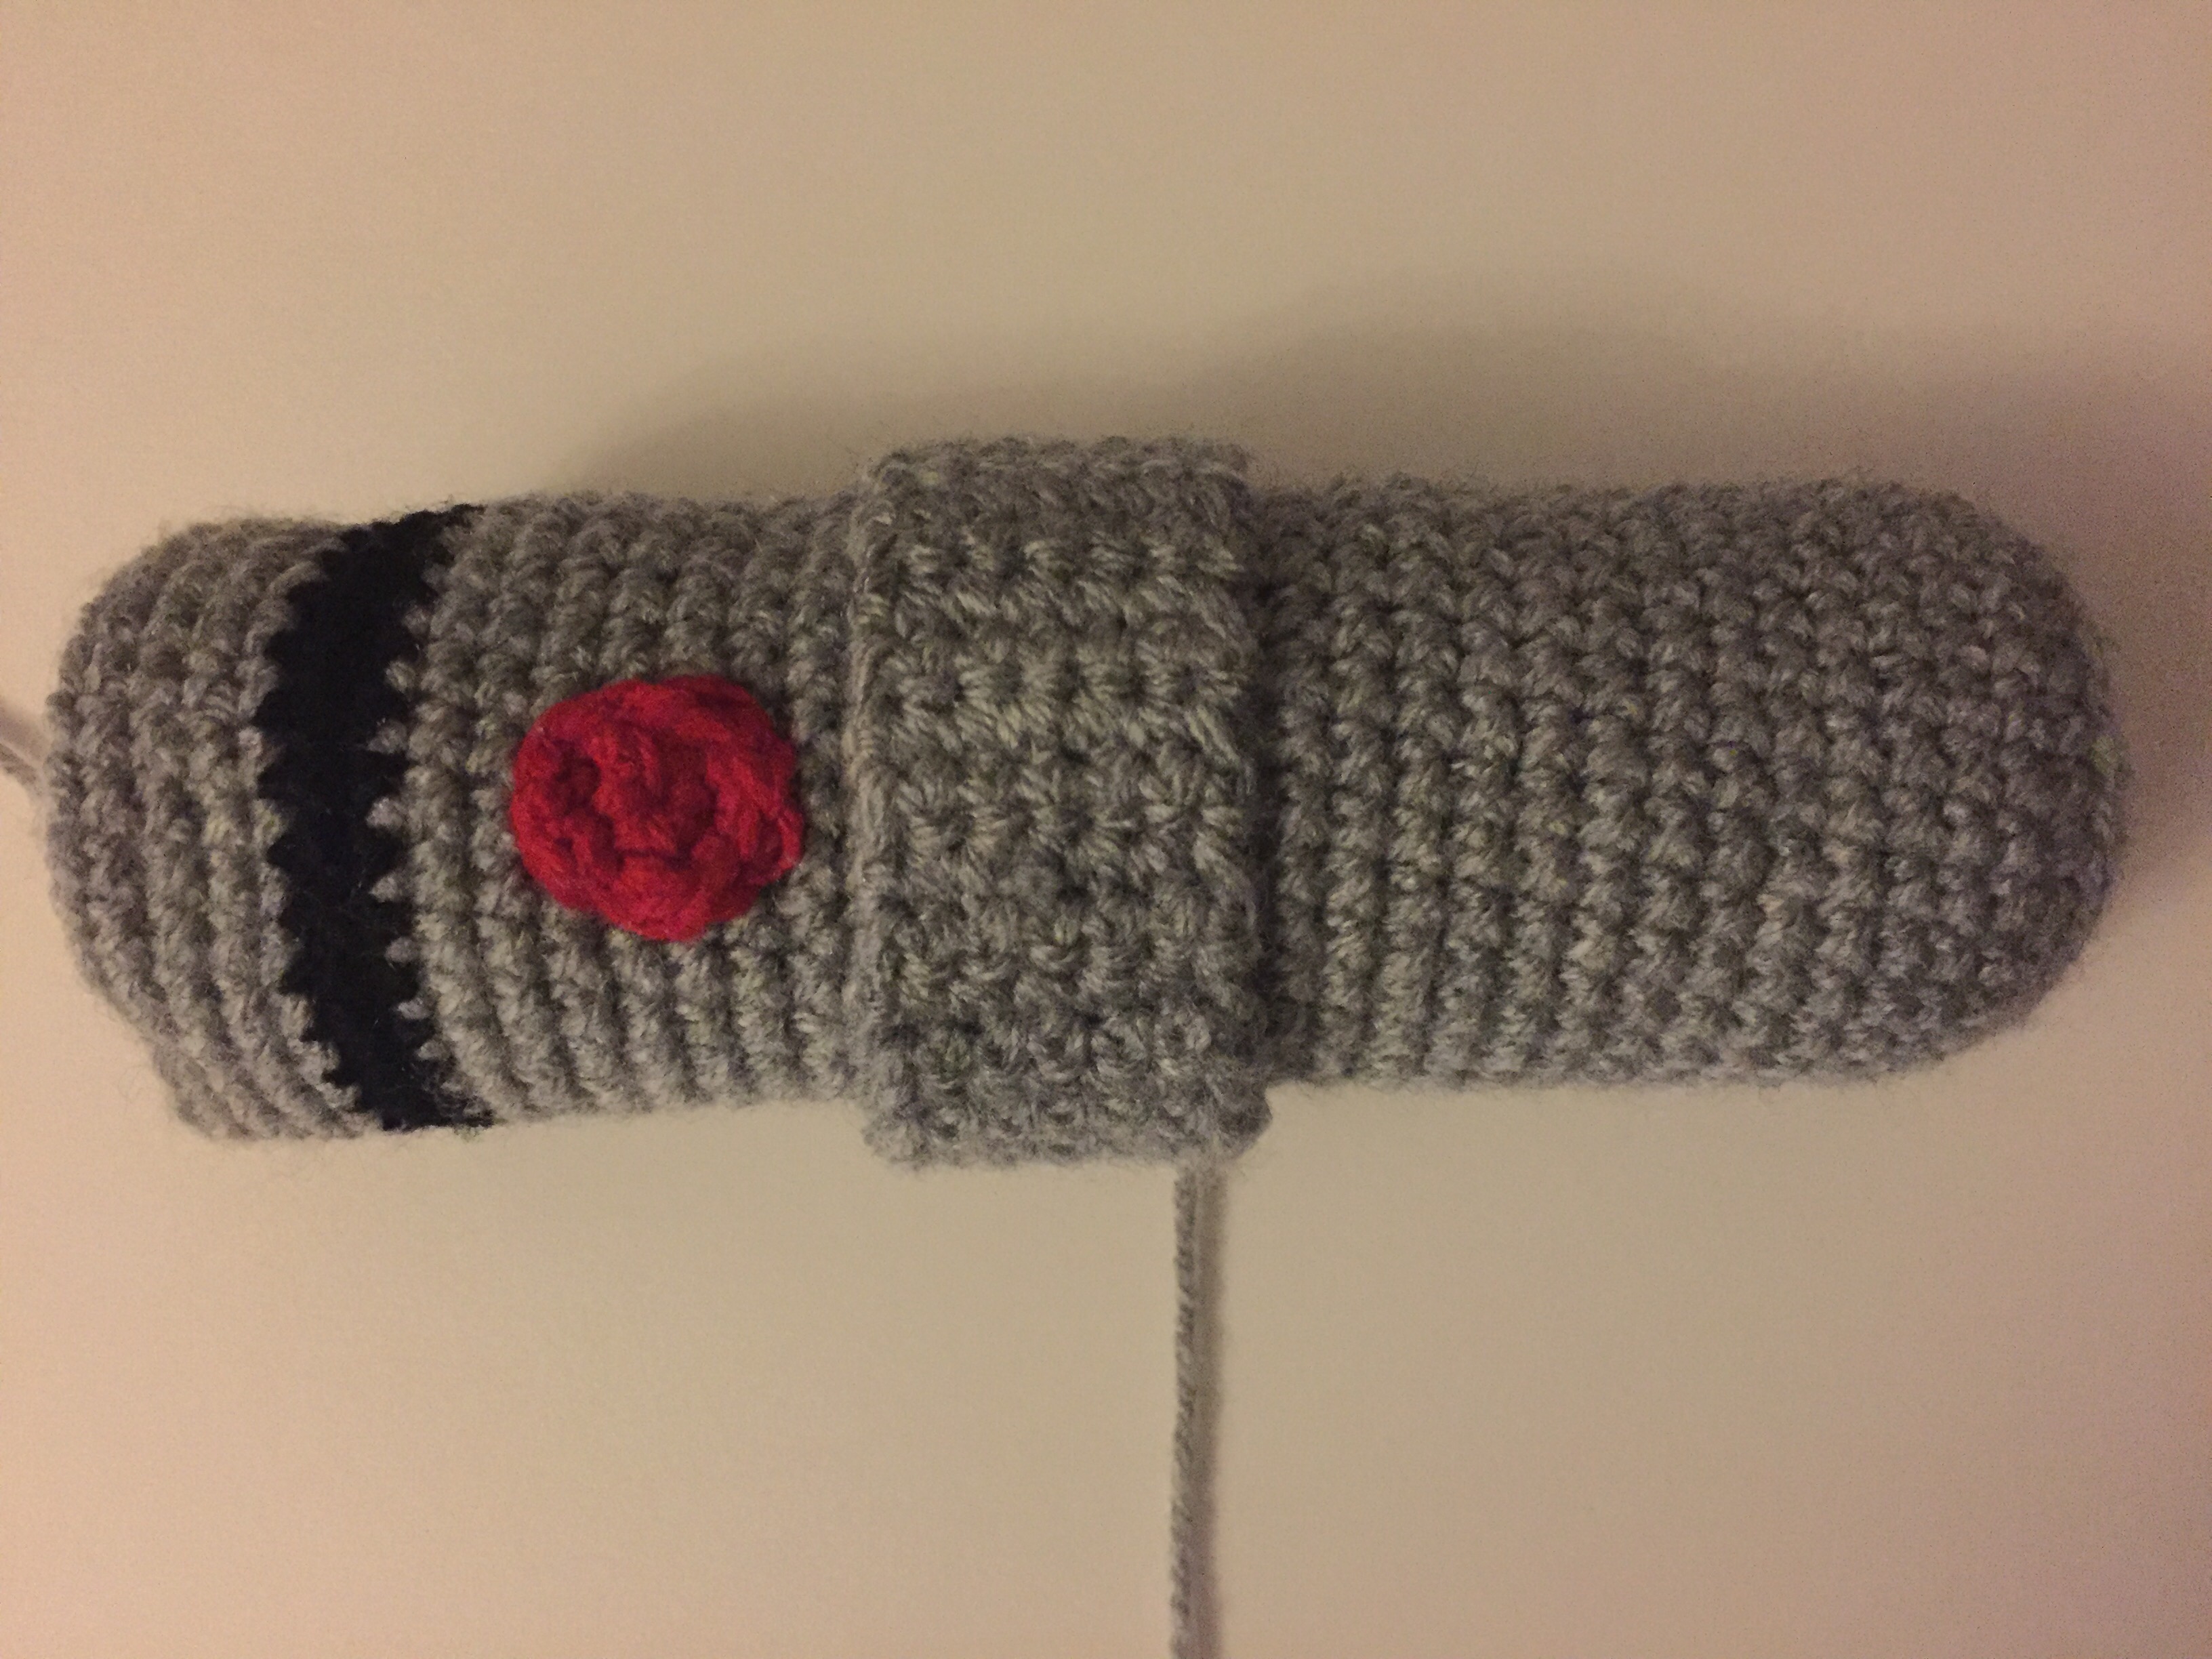
Lightsaber Band
In grey.
ch7.
Row 1: sc into 2nd ch from hook, sc along rest of the row.
Rows 2-36: ch1 (doesn’t count as a stitch) sc along row.
Fasten off.
Lightsaber Band Button
In grey.
ch6.
Row 1: sc into 2nd ch from hook, sc along rest of row.
Rows 2-3: ch1 (doesn’t count as a stitch) sc along row.
Row 4: sc around the edge (down the side, along the bottom, up the other side, along the top).
Row 5: sc around in back loops only.
Fasten off, leaving long length to attach.
Red Dot
In red.
Make a magic ring, ch1, 6sc into ring.
Round 1: 2sc into same sc, sc.
Fasten off, leaving long length to attach.
Black Strips (Make 8)
In black.
ch11.
Row 1: sc into 2nd ch from hook, sc along rest of the row.
Row 2: ch1 (doesn’t count as a stitch) sc along row.
Coloured Light Beam
In blue.
ch25, slip stitch into first stitch to make a round.
Rounds 1-20: sc around.
Round 21: sc2tog 4sc, 4 times, sc.
Rounds 22-41: sc around.
Round 42: sc2tog 3sc, 4 times, sc.
Rounds 43-57: sc around.
Round 58: sc2tog 2sc, 4 times, sc.
Rounds 59-63: sc around.
Round 64: sc2tog sc, 4 times, sc.
Round 65-66: sc around.
Round 67: sc2tog, 4 times, sc.
Fasten off leaving long length to attach.

To Assemble
- Sew on the red dot.
- Sew on the grey band to the handle and sew on the button placing a small amount of stuffing in first.
- Sew on the black strips vertically around the handle.
- Stuff the handle and light beam. You could also place a cardboard tube into the light beam and handle to make them both stronger and less flexible.
- Sew on the light beam.

Leave a comment