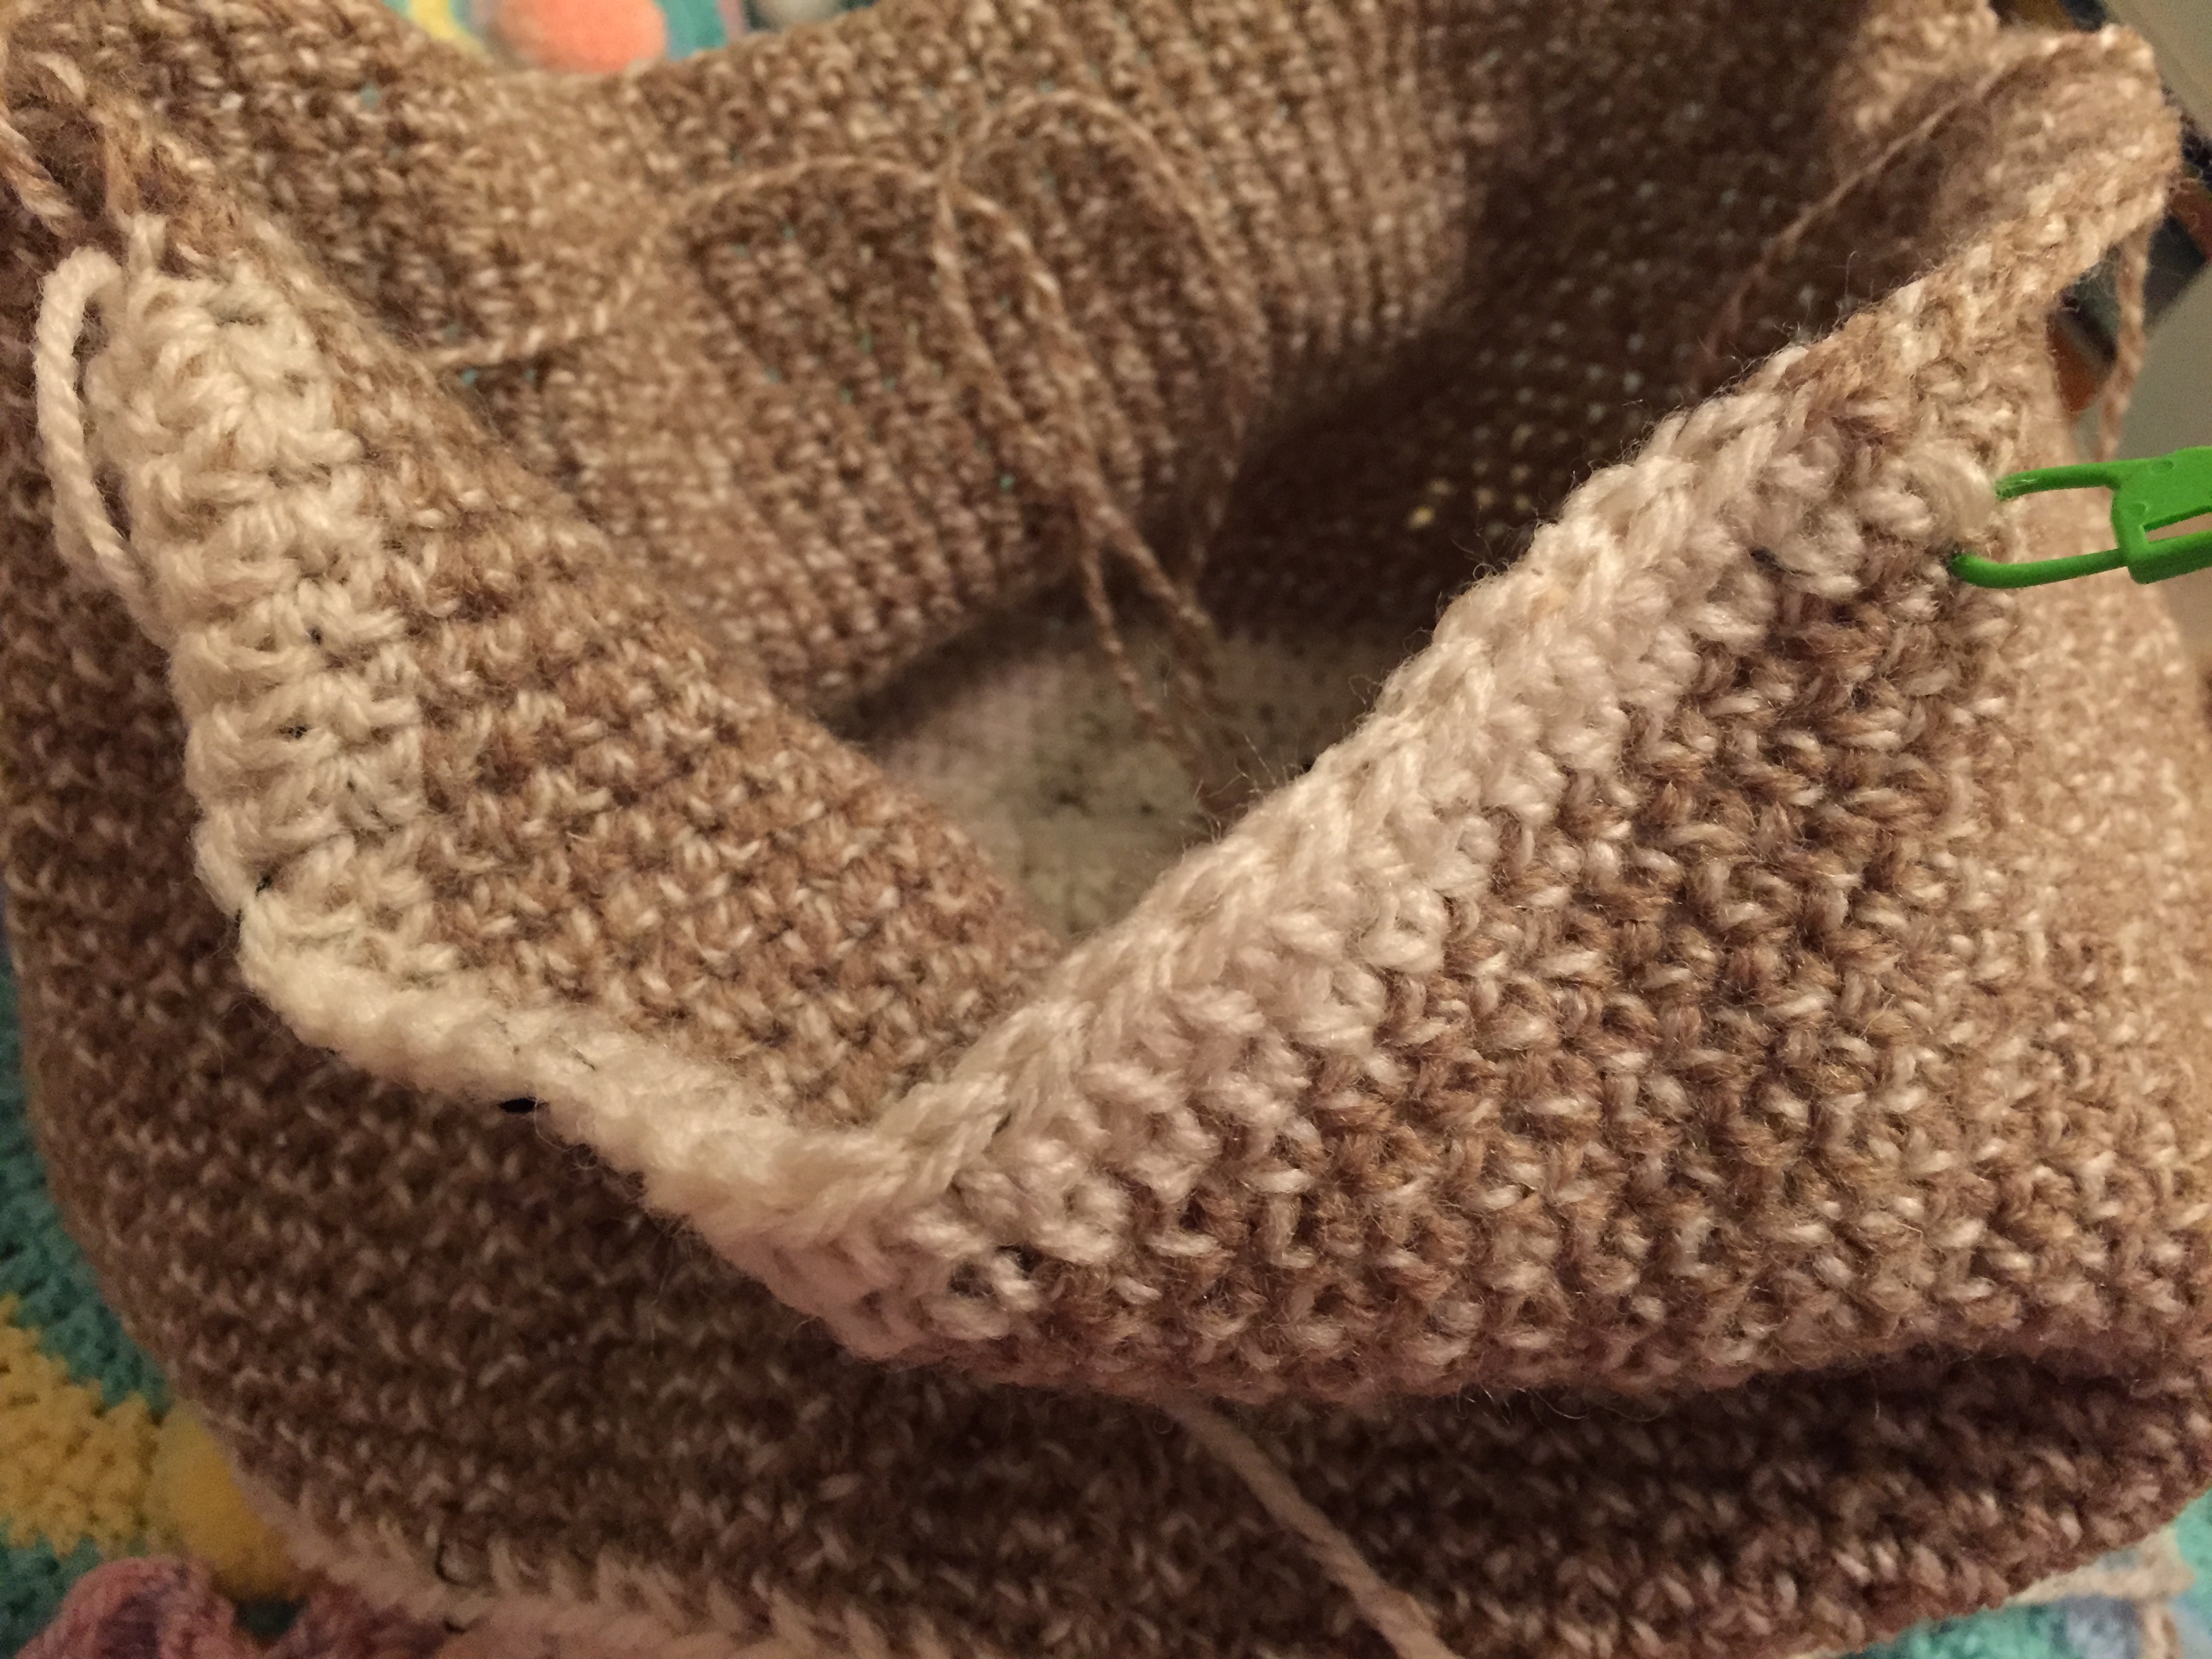
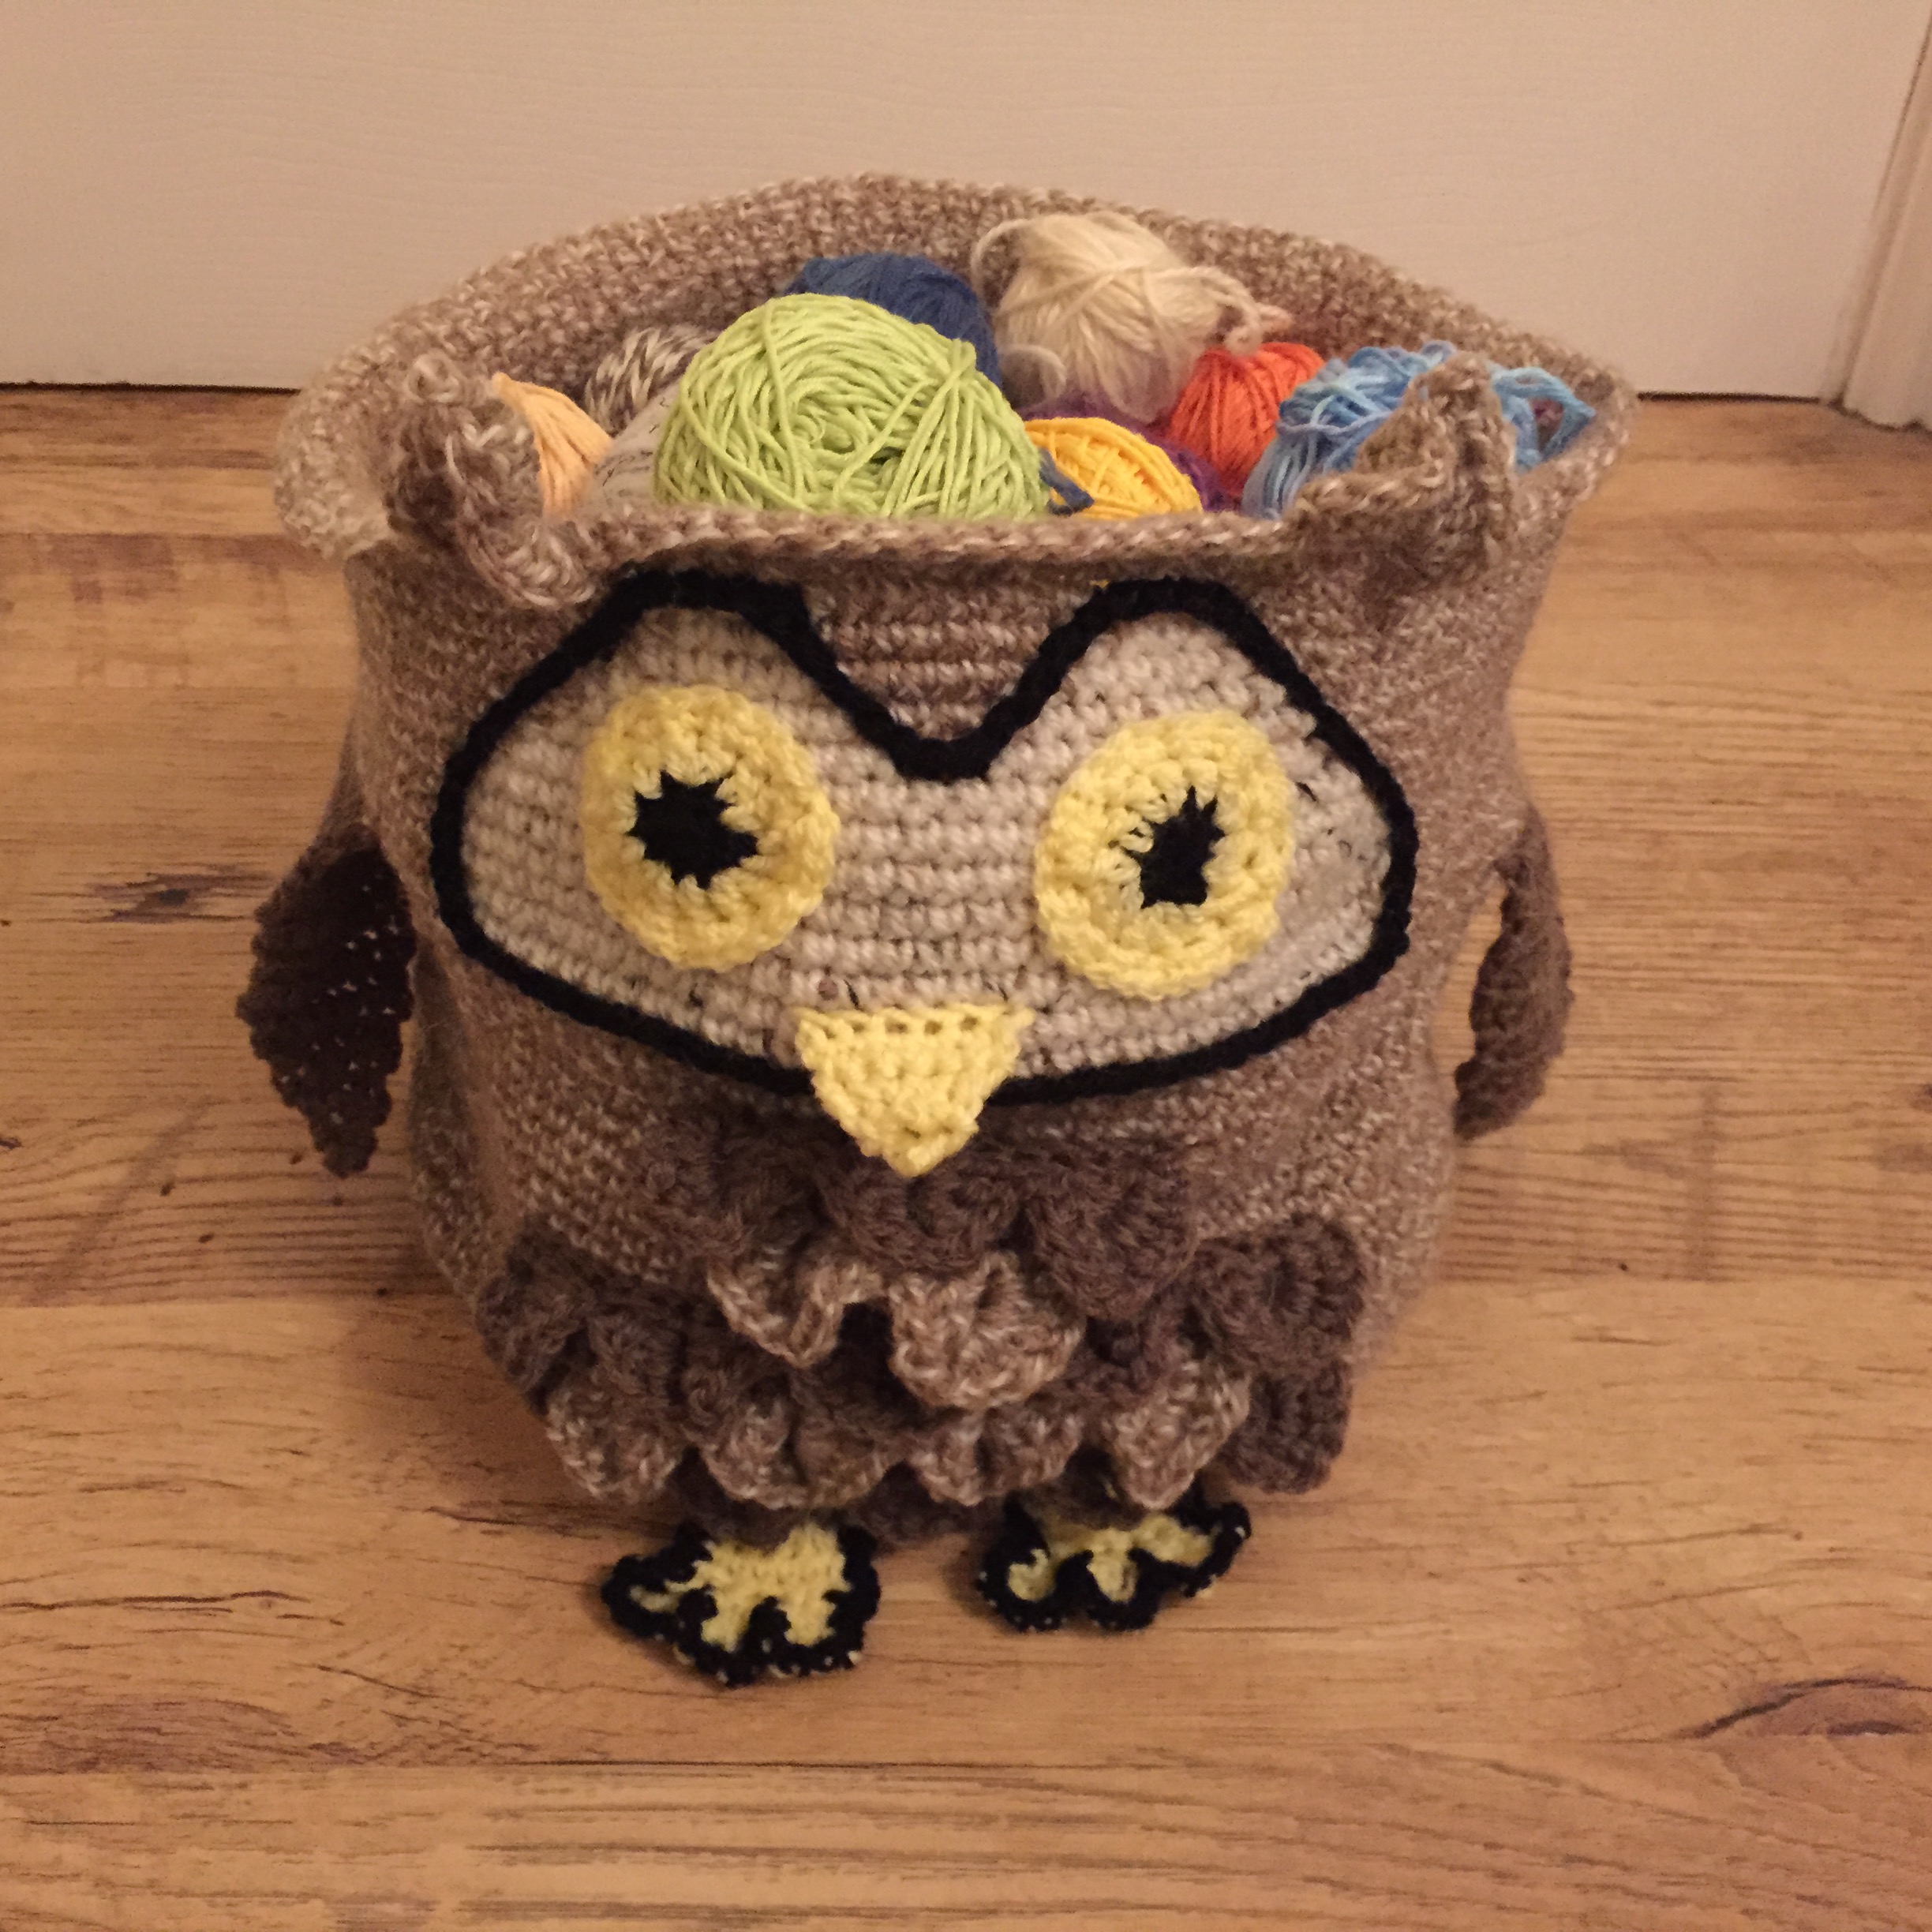
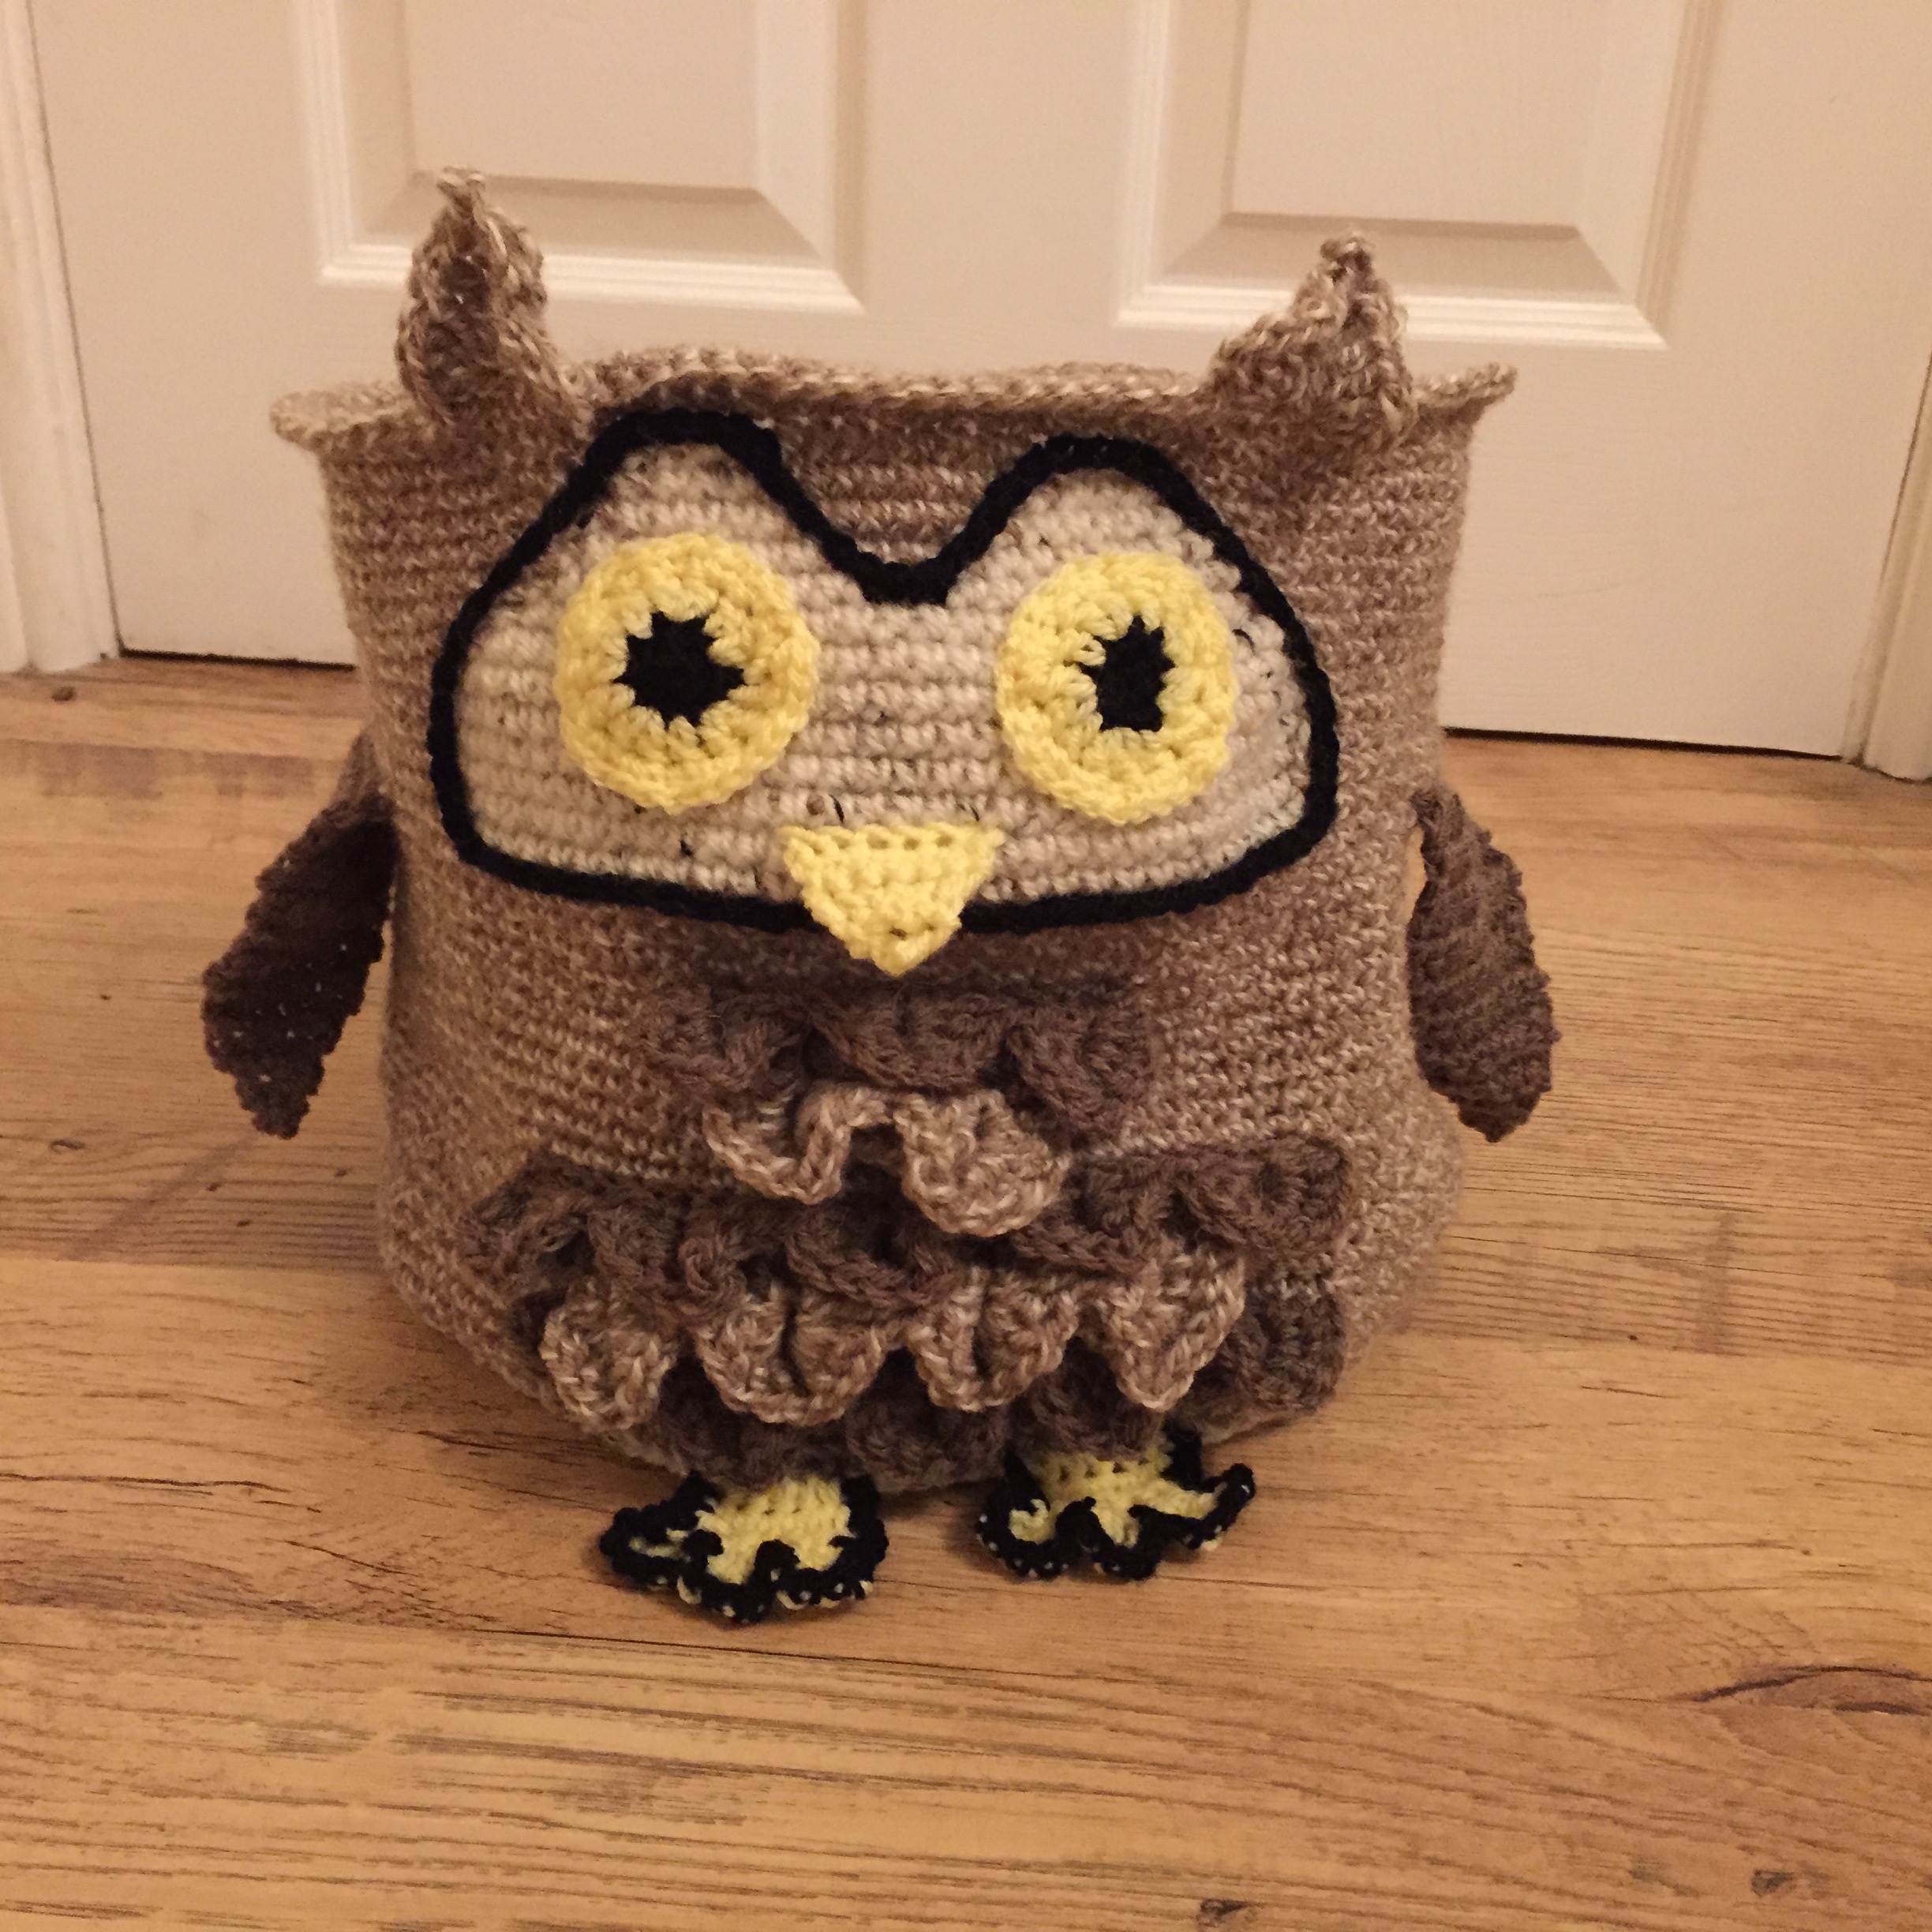
I’ve seen a lot crochet storage baskets recently, and knew one would be perfect for my mum for Mother’s Day to keep all her spare wool in (I think she has even more than me!). I came across a fox basket on Pinterest (https://uk.pinterest.com/pin/247275835764293017/) and thought it looked really good, and I decided I needed to make an animal theme one in an animal she liked. We both have a thing for owls so I knew straight away that’s what I needed to make. I also decided not to look for a pattern but to make one myself as I knew what I wanted the owl to look like, and haven’t made a pattern up for a big item before so I was looking forward to the challenge. Also making it up from scratch would make the final result much more personal for my gift.
After a few re-starts, unravels, shouts and moments of relief I have finally got both the pattern and basket finished!! I am beyond happy with this make, it has turned out just as I had wanted it to, I was worried half way through that to wouldn’t come Together and I had taken on too much of a challenge but I got there!! I am really looking forward to passing this Gift over, I think she is going to really like it! Now I know I can put a pattern together myself with a good outcome – there’s no stopping me!!
Crochet owl storage basket pattern:
This pattern works in rounds and starts with the base, goes up the sides of the basket working in the face area and ears, other details are added afterward using a surface chain stitch as a base.
Materials:
- 5.5mm hook.
- Wool in dark brown, light brown, cream, yellow, black.
Main basket:
In light brown.
Round 1: make a magic ring, ch1, 6sc into ring.
Round 2: 2sc into each sc (12sc).
Round 3: 2sc into next stitch, sc. Repeat around (18sc.)
Round 4: 2sc into next stitch, 2sc. Repeat around (24sc).
Round 5: 2sc into next stitch, 3sc. Repeat around (30sc).
Round 6: 2sc into next stitch, 4sc. Repeat around (36sc).
Round 7: 2sc into next stitch, 5sc. Repeat around (42sc).
Round 8: 2sc into next stitch, 6sc. Repeat around (48sc).
Round 9: 2sc into next stitch, 7sc. Repeat around (54sc).
Round 10: 2sc into next stitch, 8sc. Repeat around (60sc).
Round 11: 2sc into next stitch, 9sc. Repeat around (66sc).
Round 12: 2sc into next stitch, 10sc. Repeat around (72sc).
Round 13: 2sc into next stitch, 11sc. Repeat around (78sc).
Round 14: 2sc into next stitch, 12sc. Repeat around (84sc).
Round 15: 2sc into next stitch, 13sc. Repeat around (90sc).
Round 16: 2sc into next stitch, 14sc. Repeat around (96sc).
Round 17: 2sc into next stitch, 15sc. Repeat around (102sc).
Round 18: 2sc into next stitch, 16sc. Repeat around (108sc).
Round 19: 2sc into next stitch, 17sc. Repeat around (114sc).
Round 20: 2sc into next stitch, 18sc. Repeat around (120sc).
Now the sides will be worked up in rounds:
Round 1: sc around base in back loops only.
Round 2-4: sc around.
Round 5: sc2tog, 18sc. Repeat around (114sc).
Round 6: sc2tog, 17sc. Repeat around (108sc).
Round 7-23: sc around.
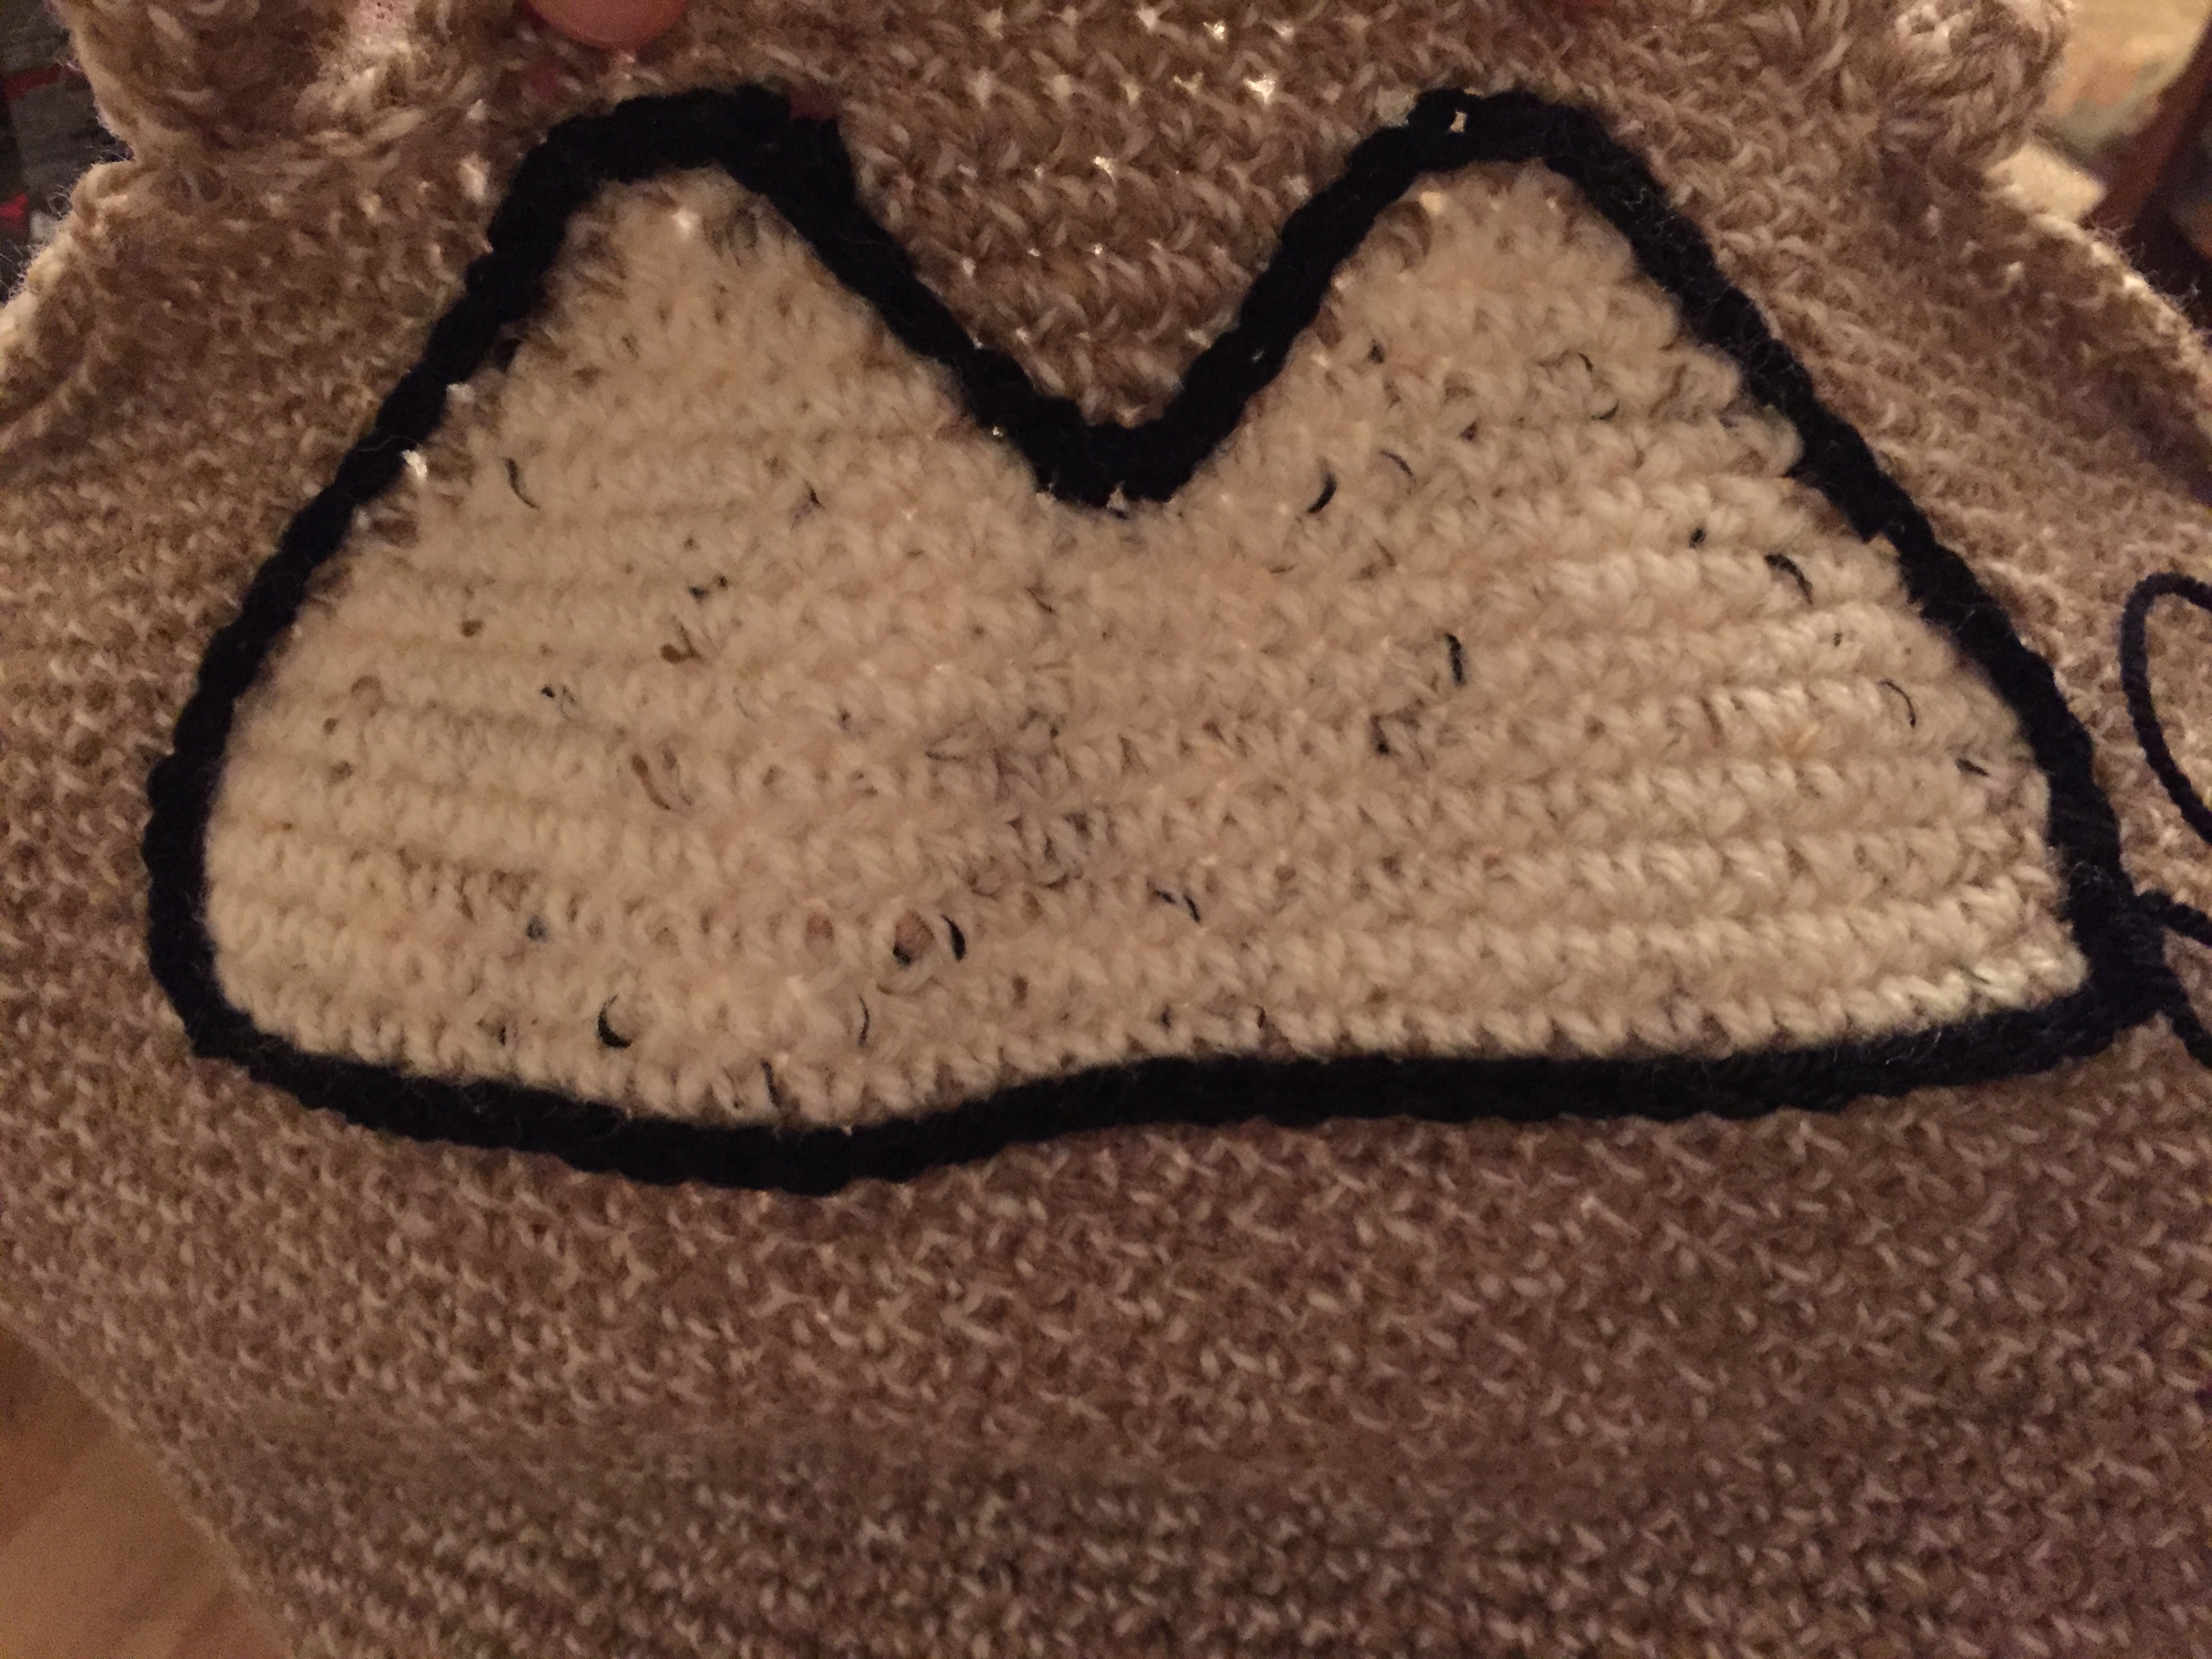
Face area:
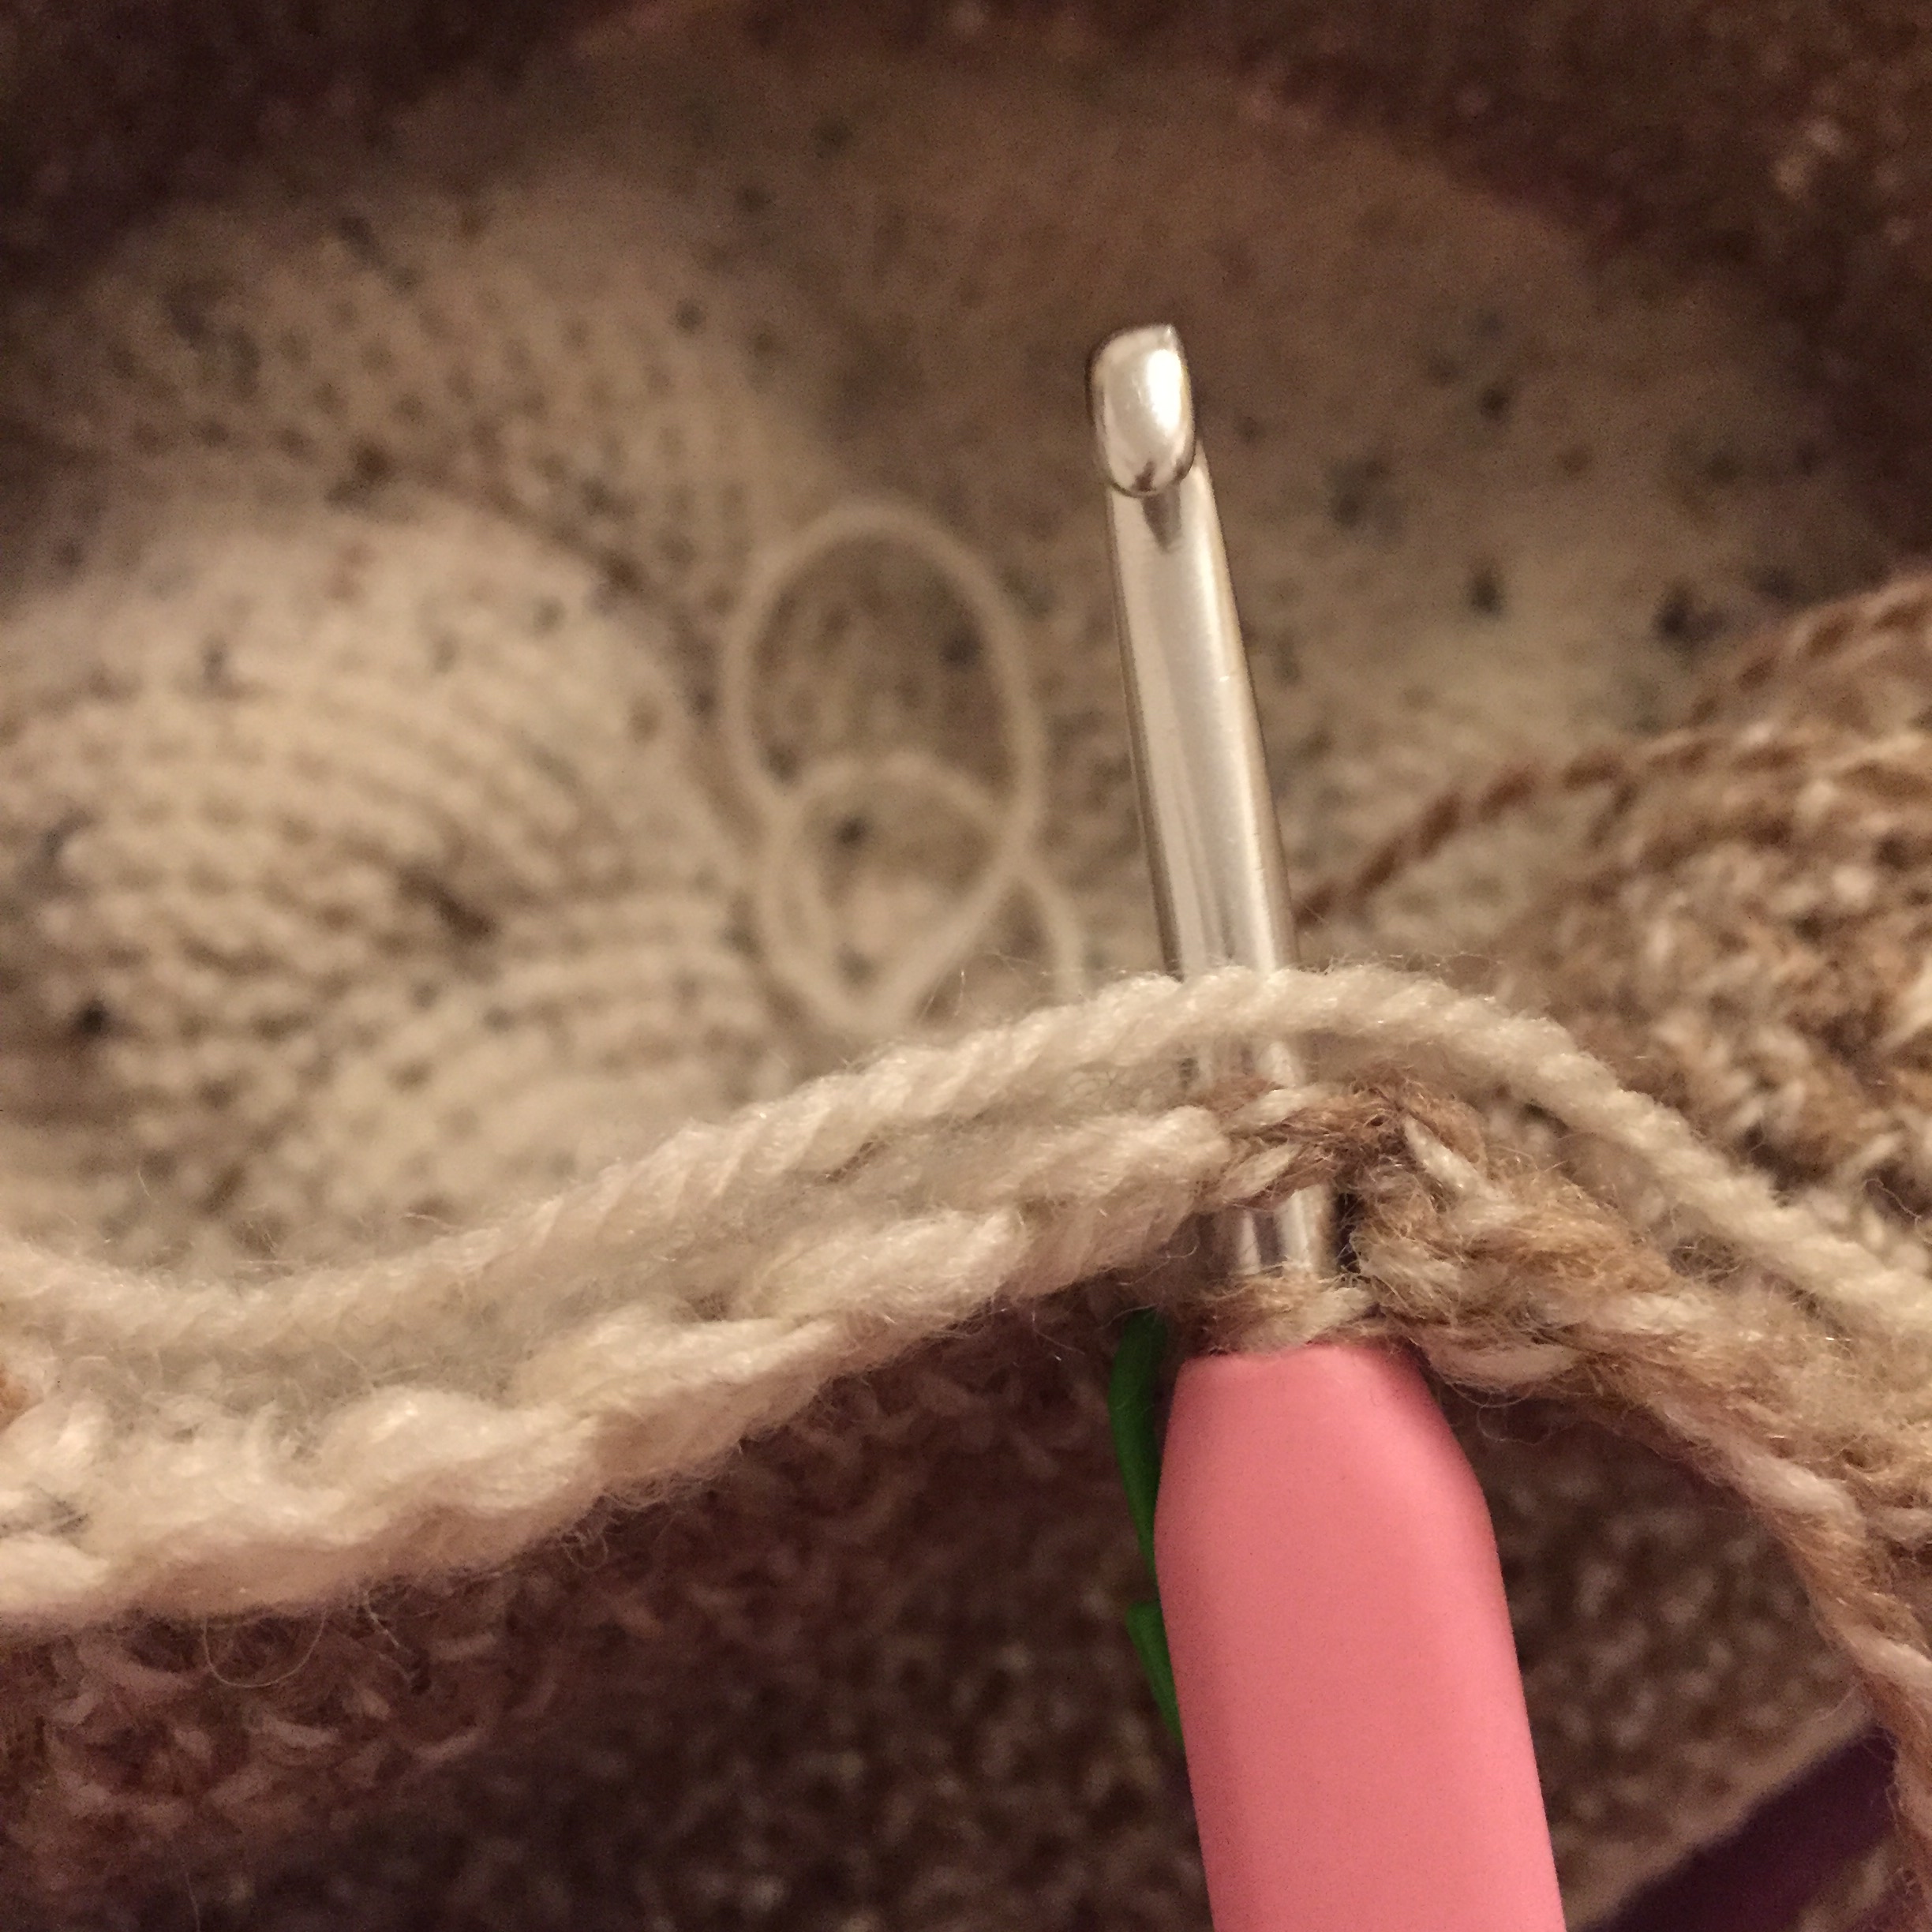
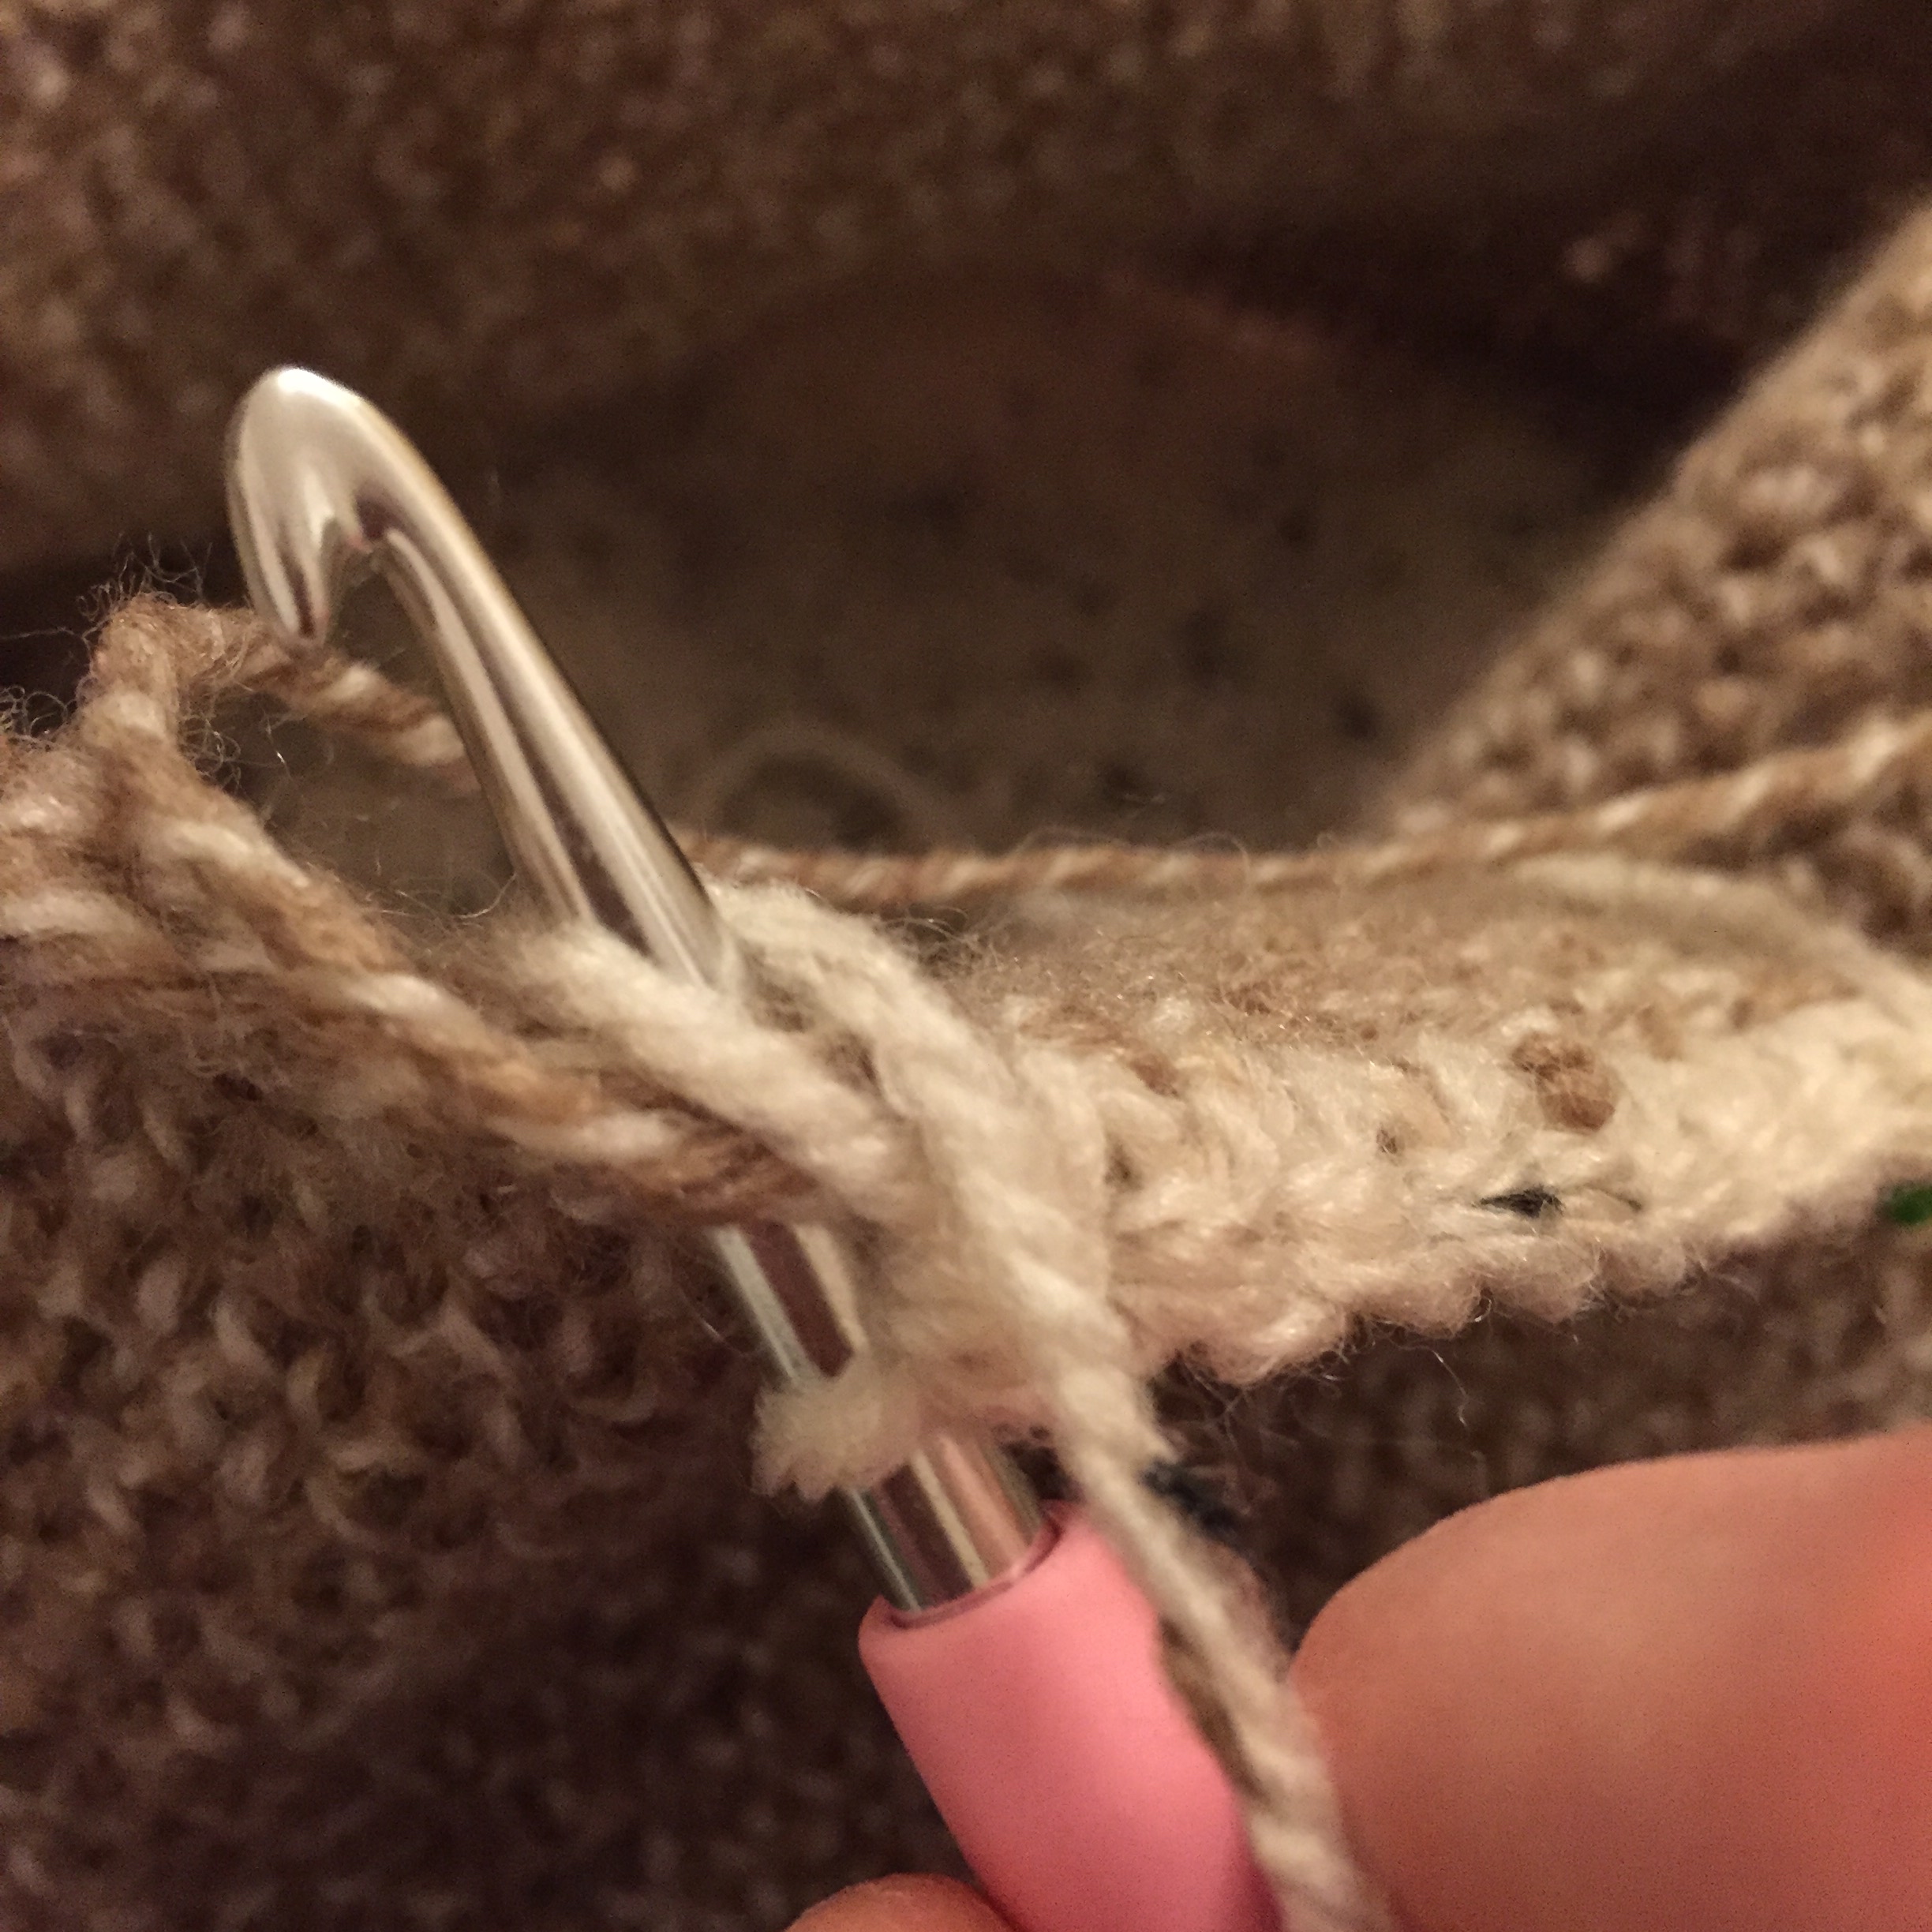
Cast on in cream, but do not fasten off brown. Then while completing the next round cream section sew in the loose light brown wool thread as you go along. Then after completing the cream section on the round do not fasten off, leave the thread loose until completing the round in light brown, then pull it back to the start of the next cream section on starting the next round, making sure you start to sew the wool into the light brown sc stitch before starting the cream wool section and sew in the loose thread as you go along the line again along with the loose light brown wool. Do this on each row so no loose wool threads are visible on the inside.
Round 24-28: In cream, 30sc. sc rest of the round in light brown.
Round 29: sc in light brown, 28sc in cream. sc around rest of round in light brown.
Round 30: 2sc in light brown, 25sc in cream. sc around rest of the round in light brown.
Round 31: 3sc in light brown, 23sc in cream. sc around rest of the round in striped brown.
Round 32: 3sc in light brown, 8sc in cream, 3sc in light brown, 9sc in cream. sc rest of the round in light brown.
Round 33: 4sc in light brown, 7sc in cream, 5sc in light brown, 7sc in cream. sc rest of the round in light brown.
Round 34: 5sc in light brown, 5sc in cream, 6sc in light brown, 5sc in cream. sc rest of the round in light brown.
Round 35: 6sc in light brown, 3sc in cream, 9sc in light brown, 3sc in cream. sc rest of the round in light brown.
Round 36: 7sc in light brown, 1sc in cream, 11sc in light brown, 1sc in cream, sc rest of the round in light brown. Cut cream wool, leaving thread to sew in and finish off.
Round 37-38: sc in light brown all round. Do not fasten off.
Ears:
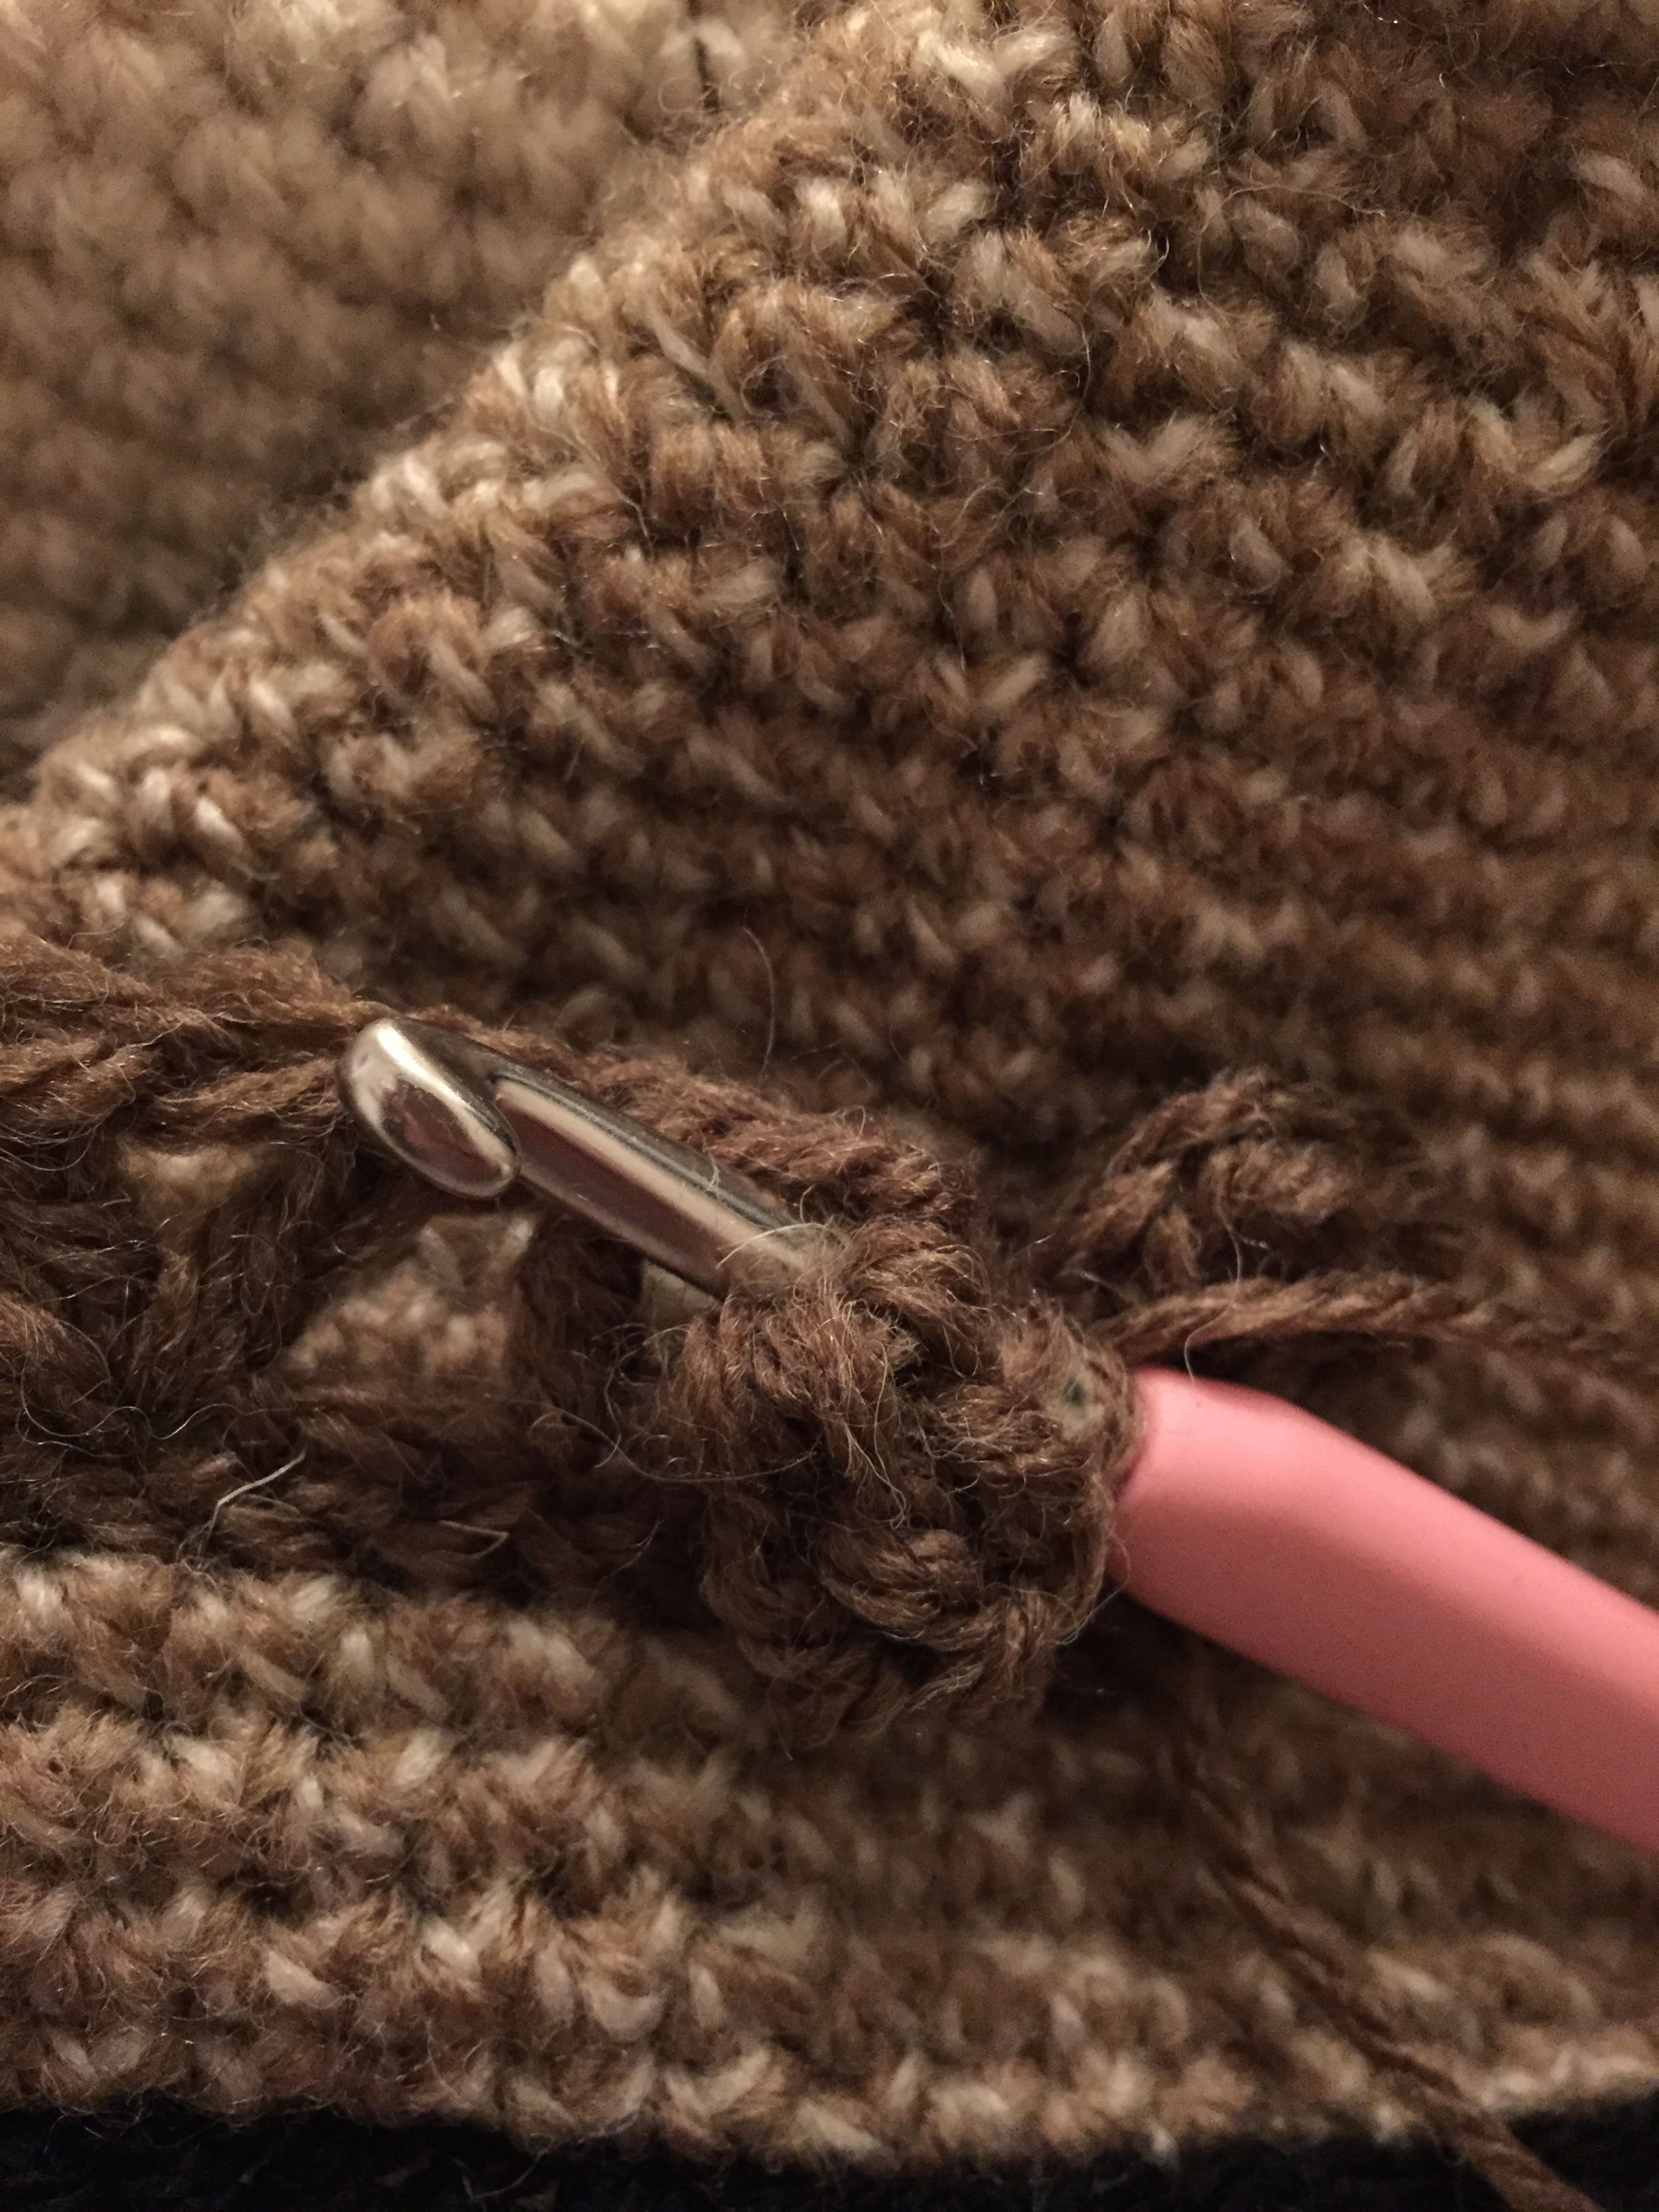
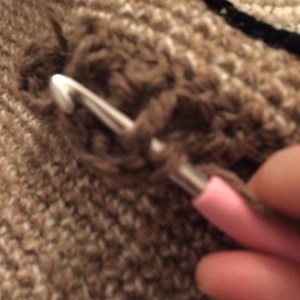
Continuing in light brown; 2sc in dark brown, *into next stitch: sc, htr(UK)/hdc(US), 4tr(UK)/dc(US), double treble(UK)/treble(US), triple treble(UK)/double treble(US), ch3, then slip stitch into 1st ch, triple trble(UK)/double trble(US), double treble(UK)/treble(US), 4tr(UK)/dc(US), htr(UK)/hdc(US), sc into next sc* 18sc, repeat from *to*, sc in next sc. Fasten off.
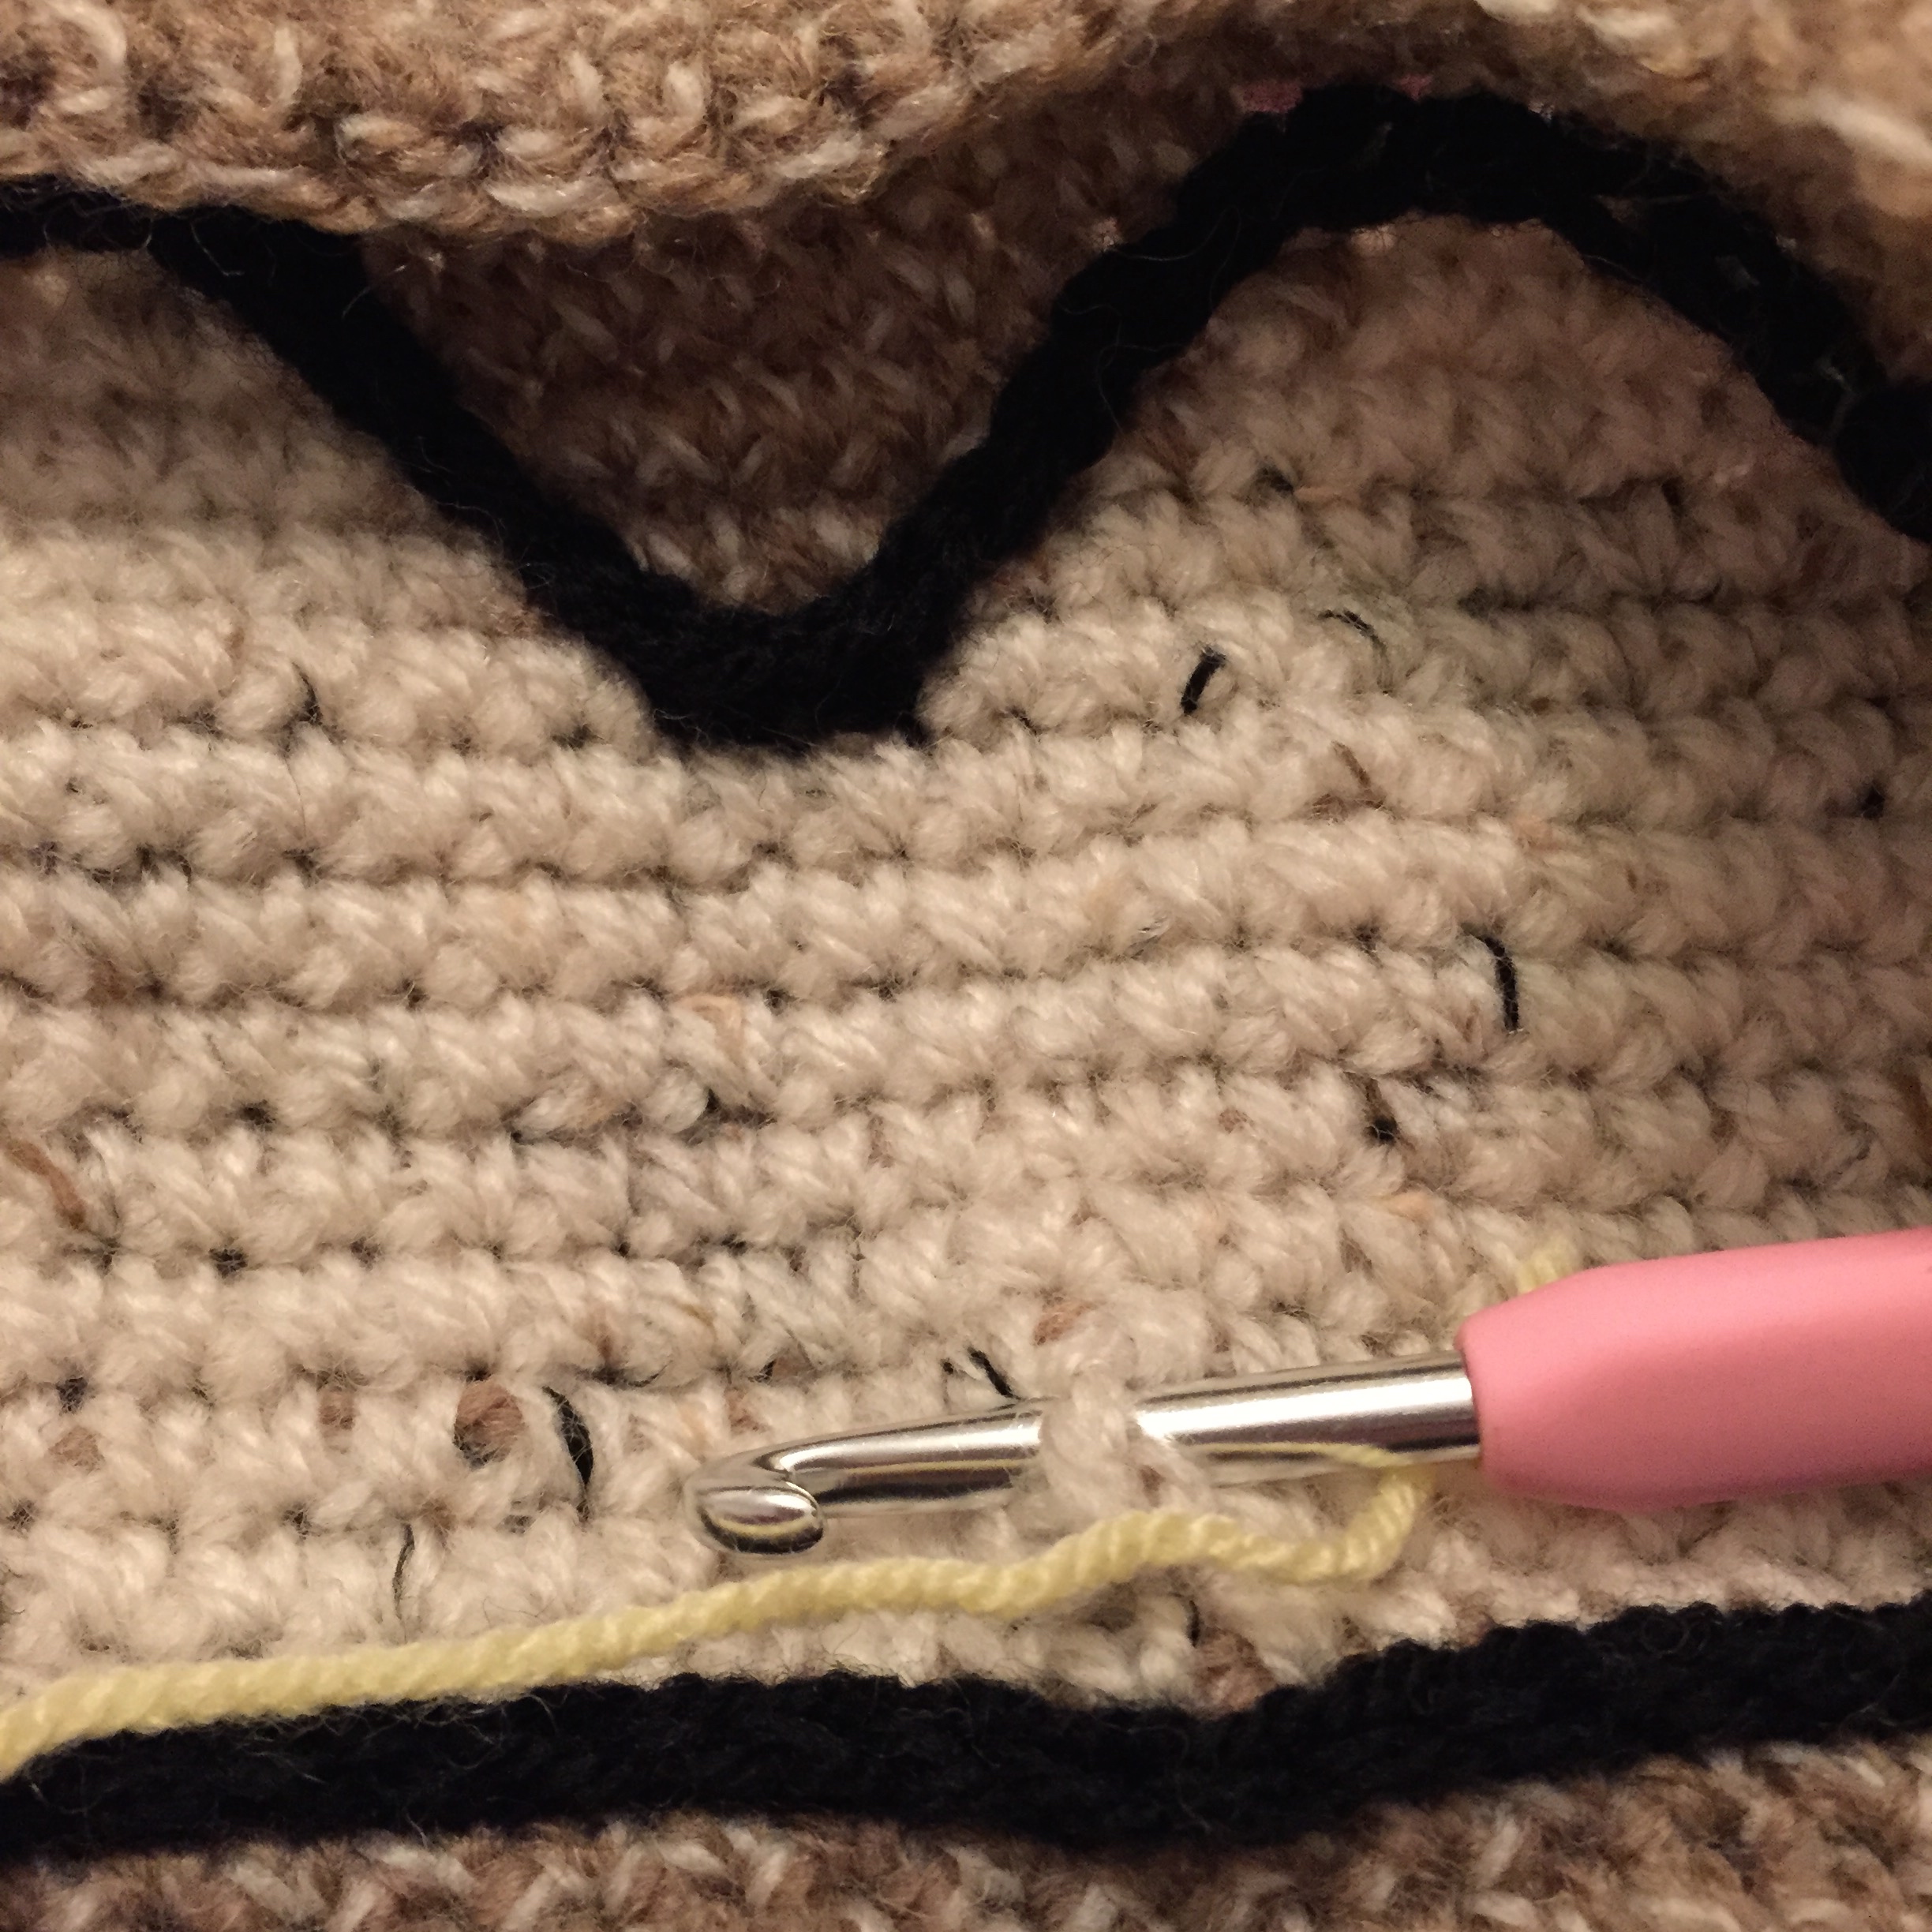
Black detail around eyes:
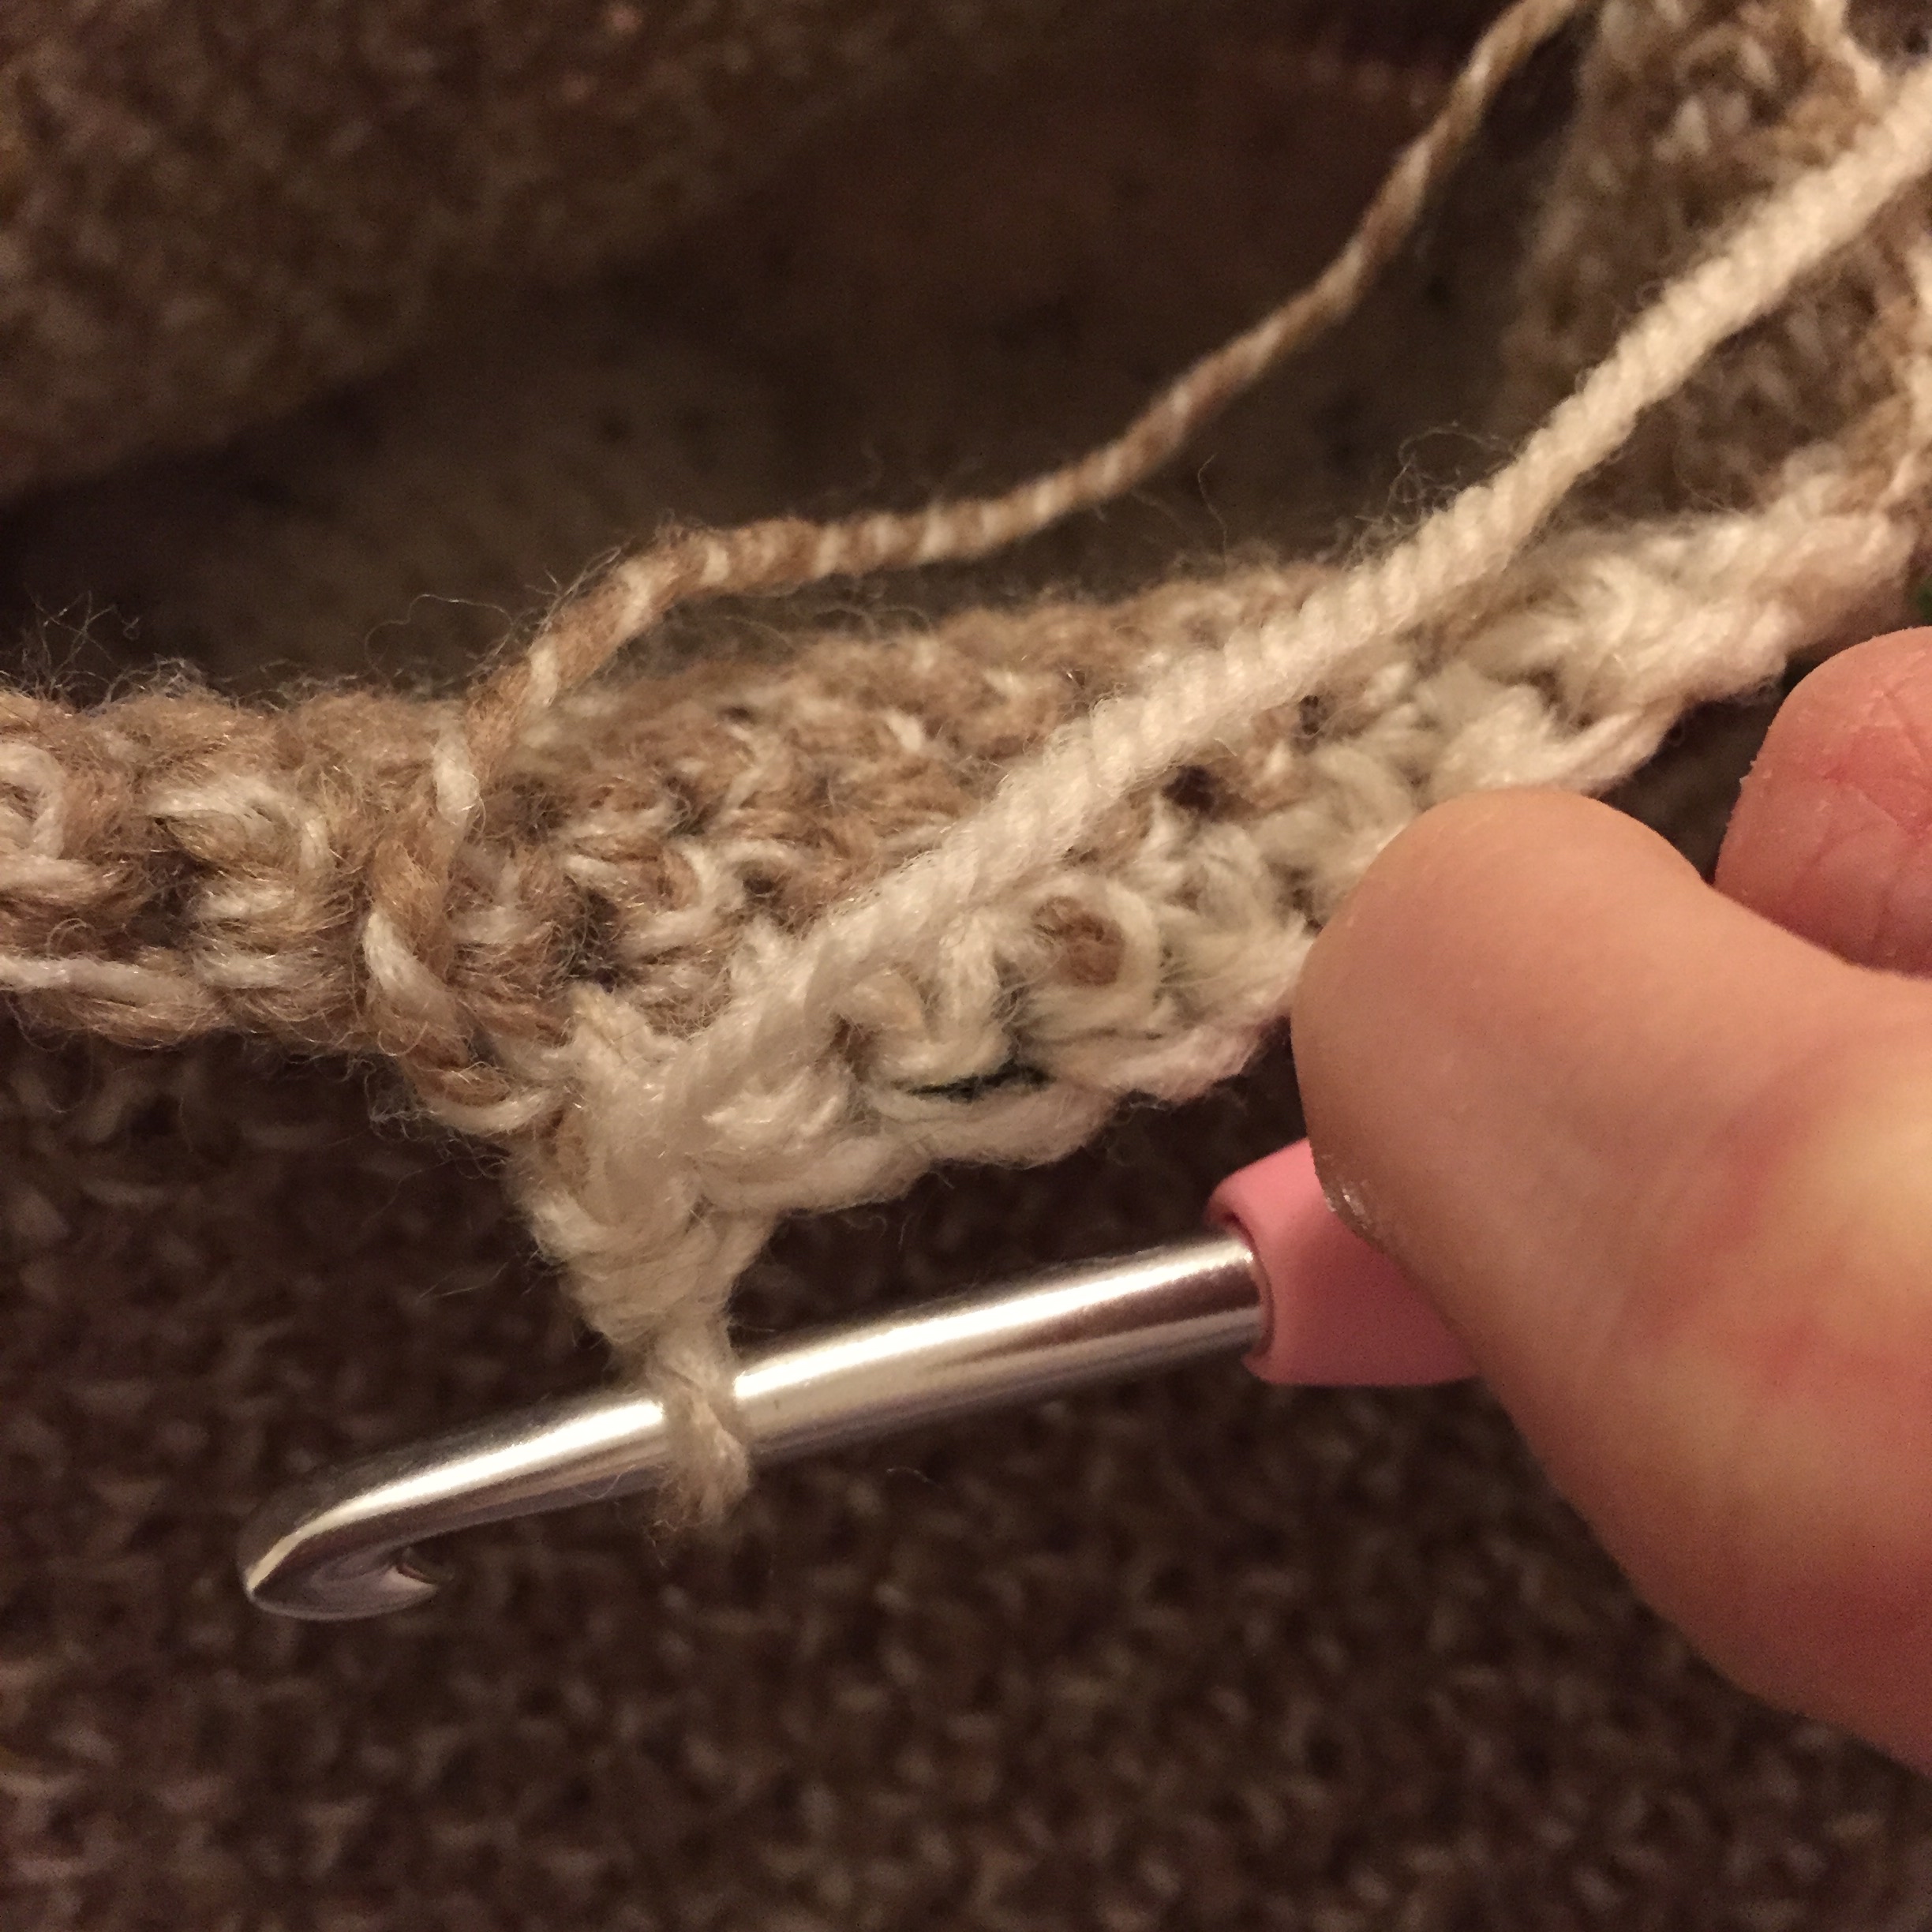
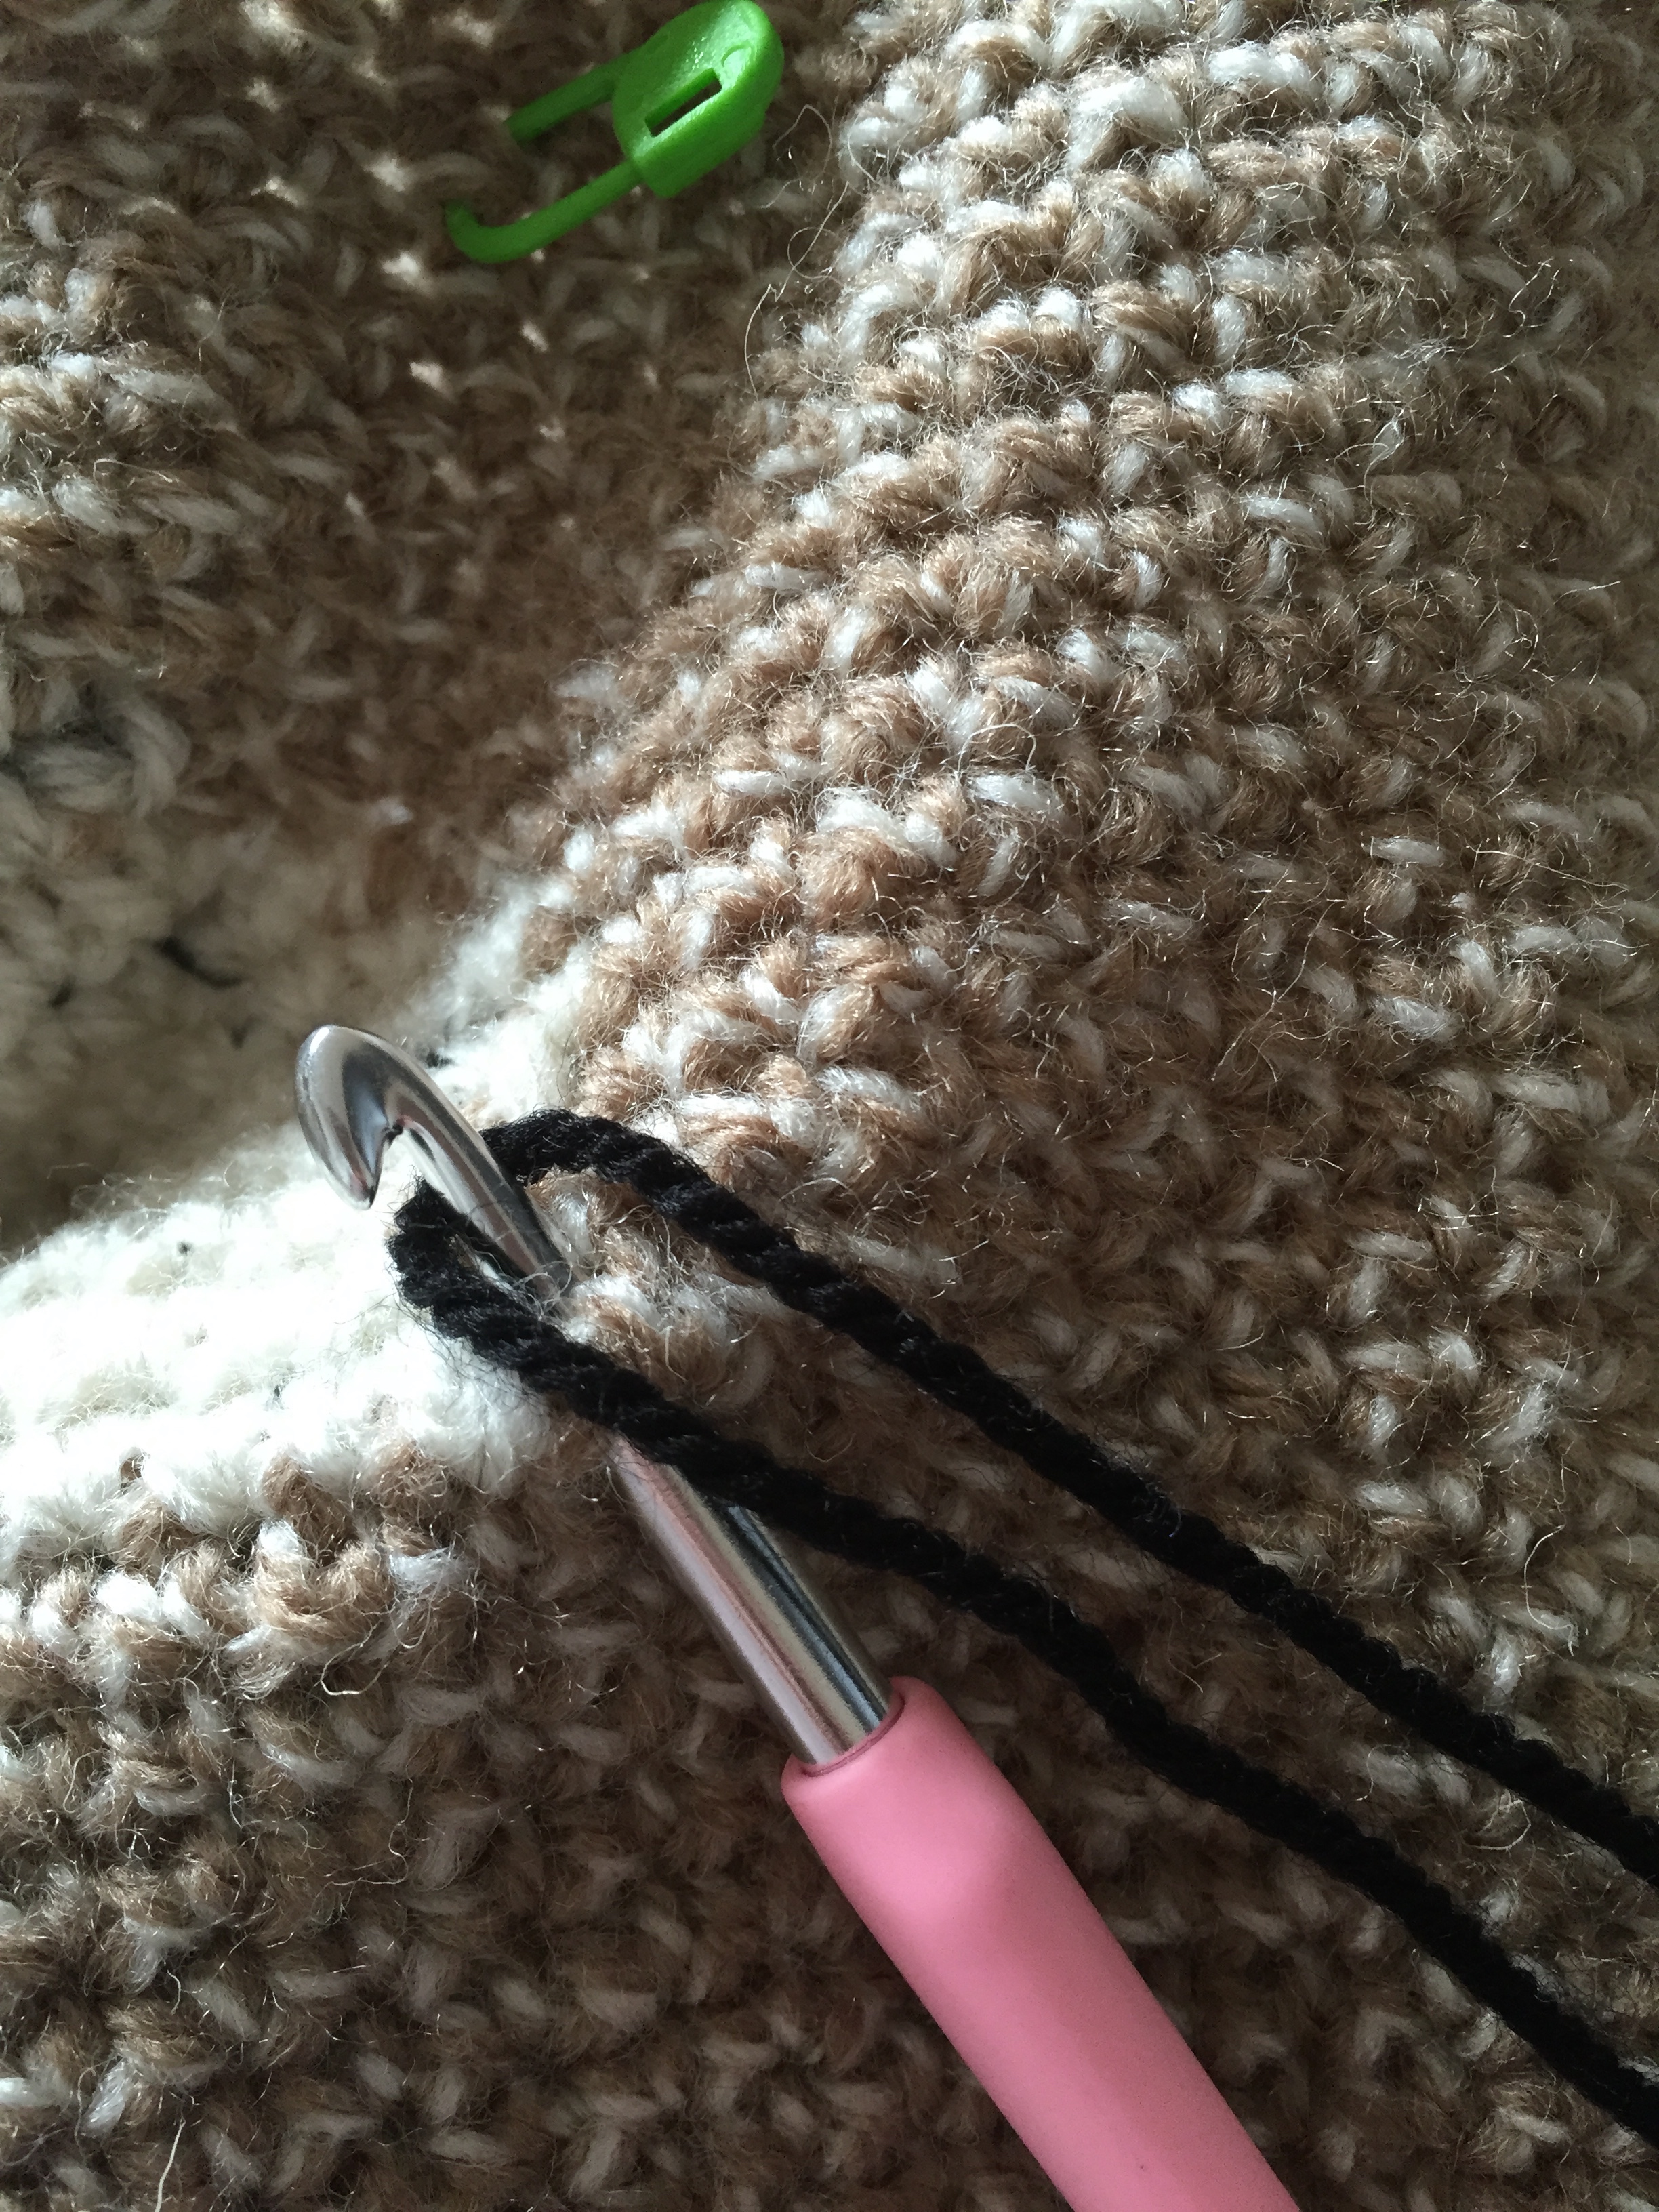
Created using surface slip stitching – start in the bottom right corner of the white section, hook through work (back through to front) then pull black wool back through. Insert hook back into next stitch and back through to the front, wool around hook pull back through wool around hook and pull through all loops on hook = 1sc stitch, complete surface sc stitches the whole way around the edge of the white areas, slip stitch into first sc, fasten off.
Eyes – make 2:
Starting in black:
Round 1: create magic ring, ch1, 5sc into ring.
Round 2: 2sc into each sc (10sc).
Change to yellow:
Round 3: 2tr(UK)/dc(US) into next stitch, 1tr(UK)/dc(US), repeat around (15tr(UK)/dc(US)).
Round 4: 2sc into each stitch around, slip stitch into first sc, fasten off leaving long tail to attach.
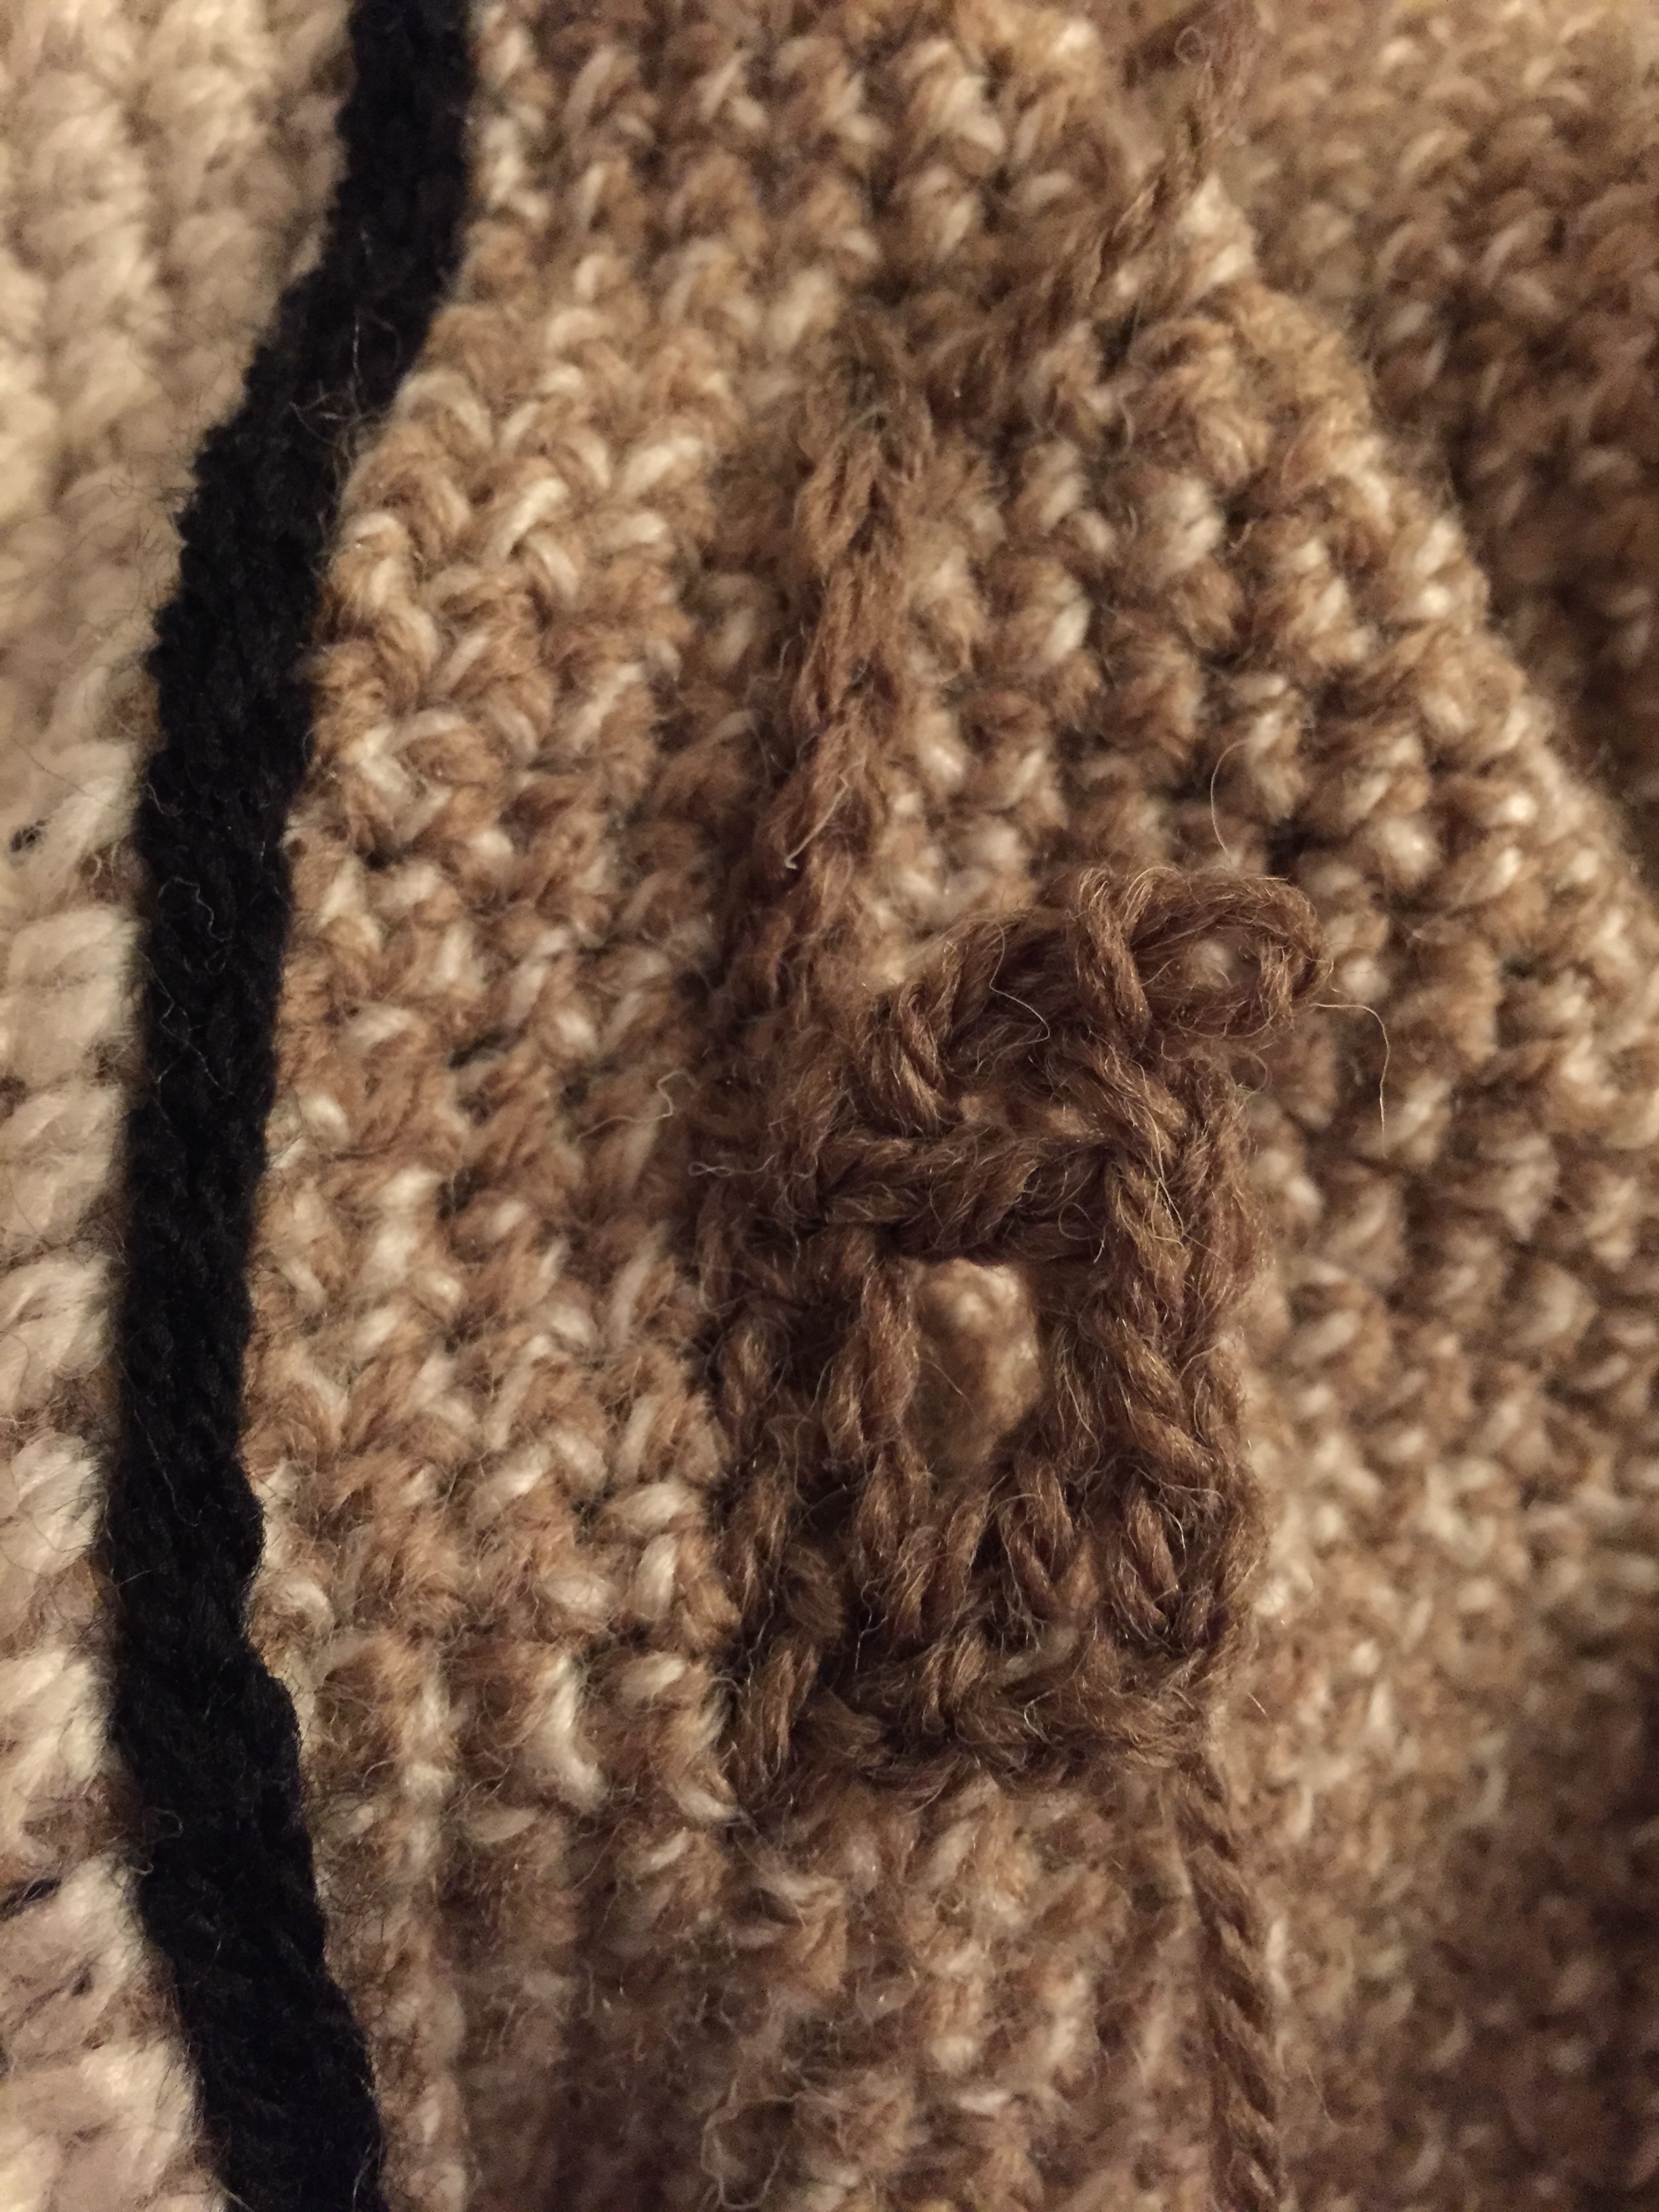
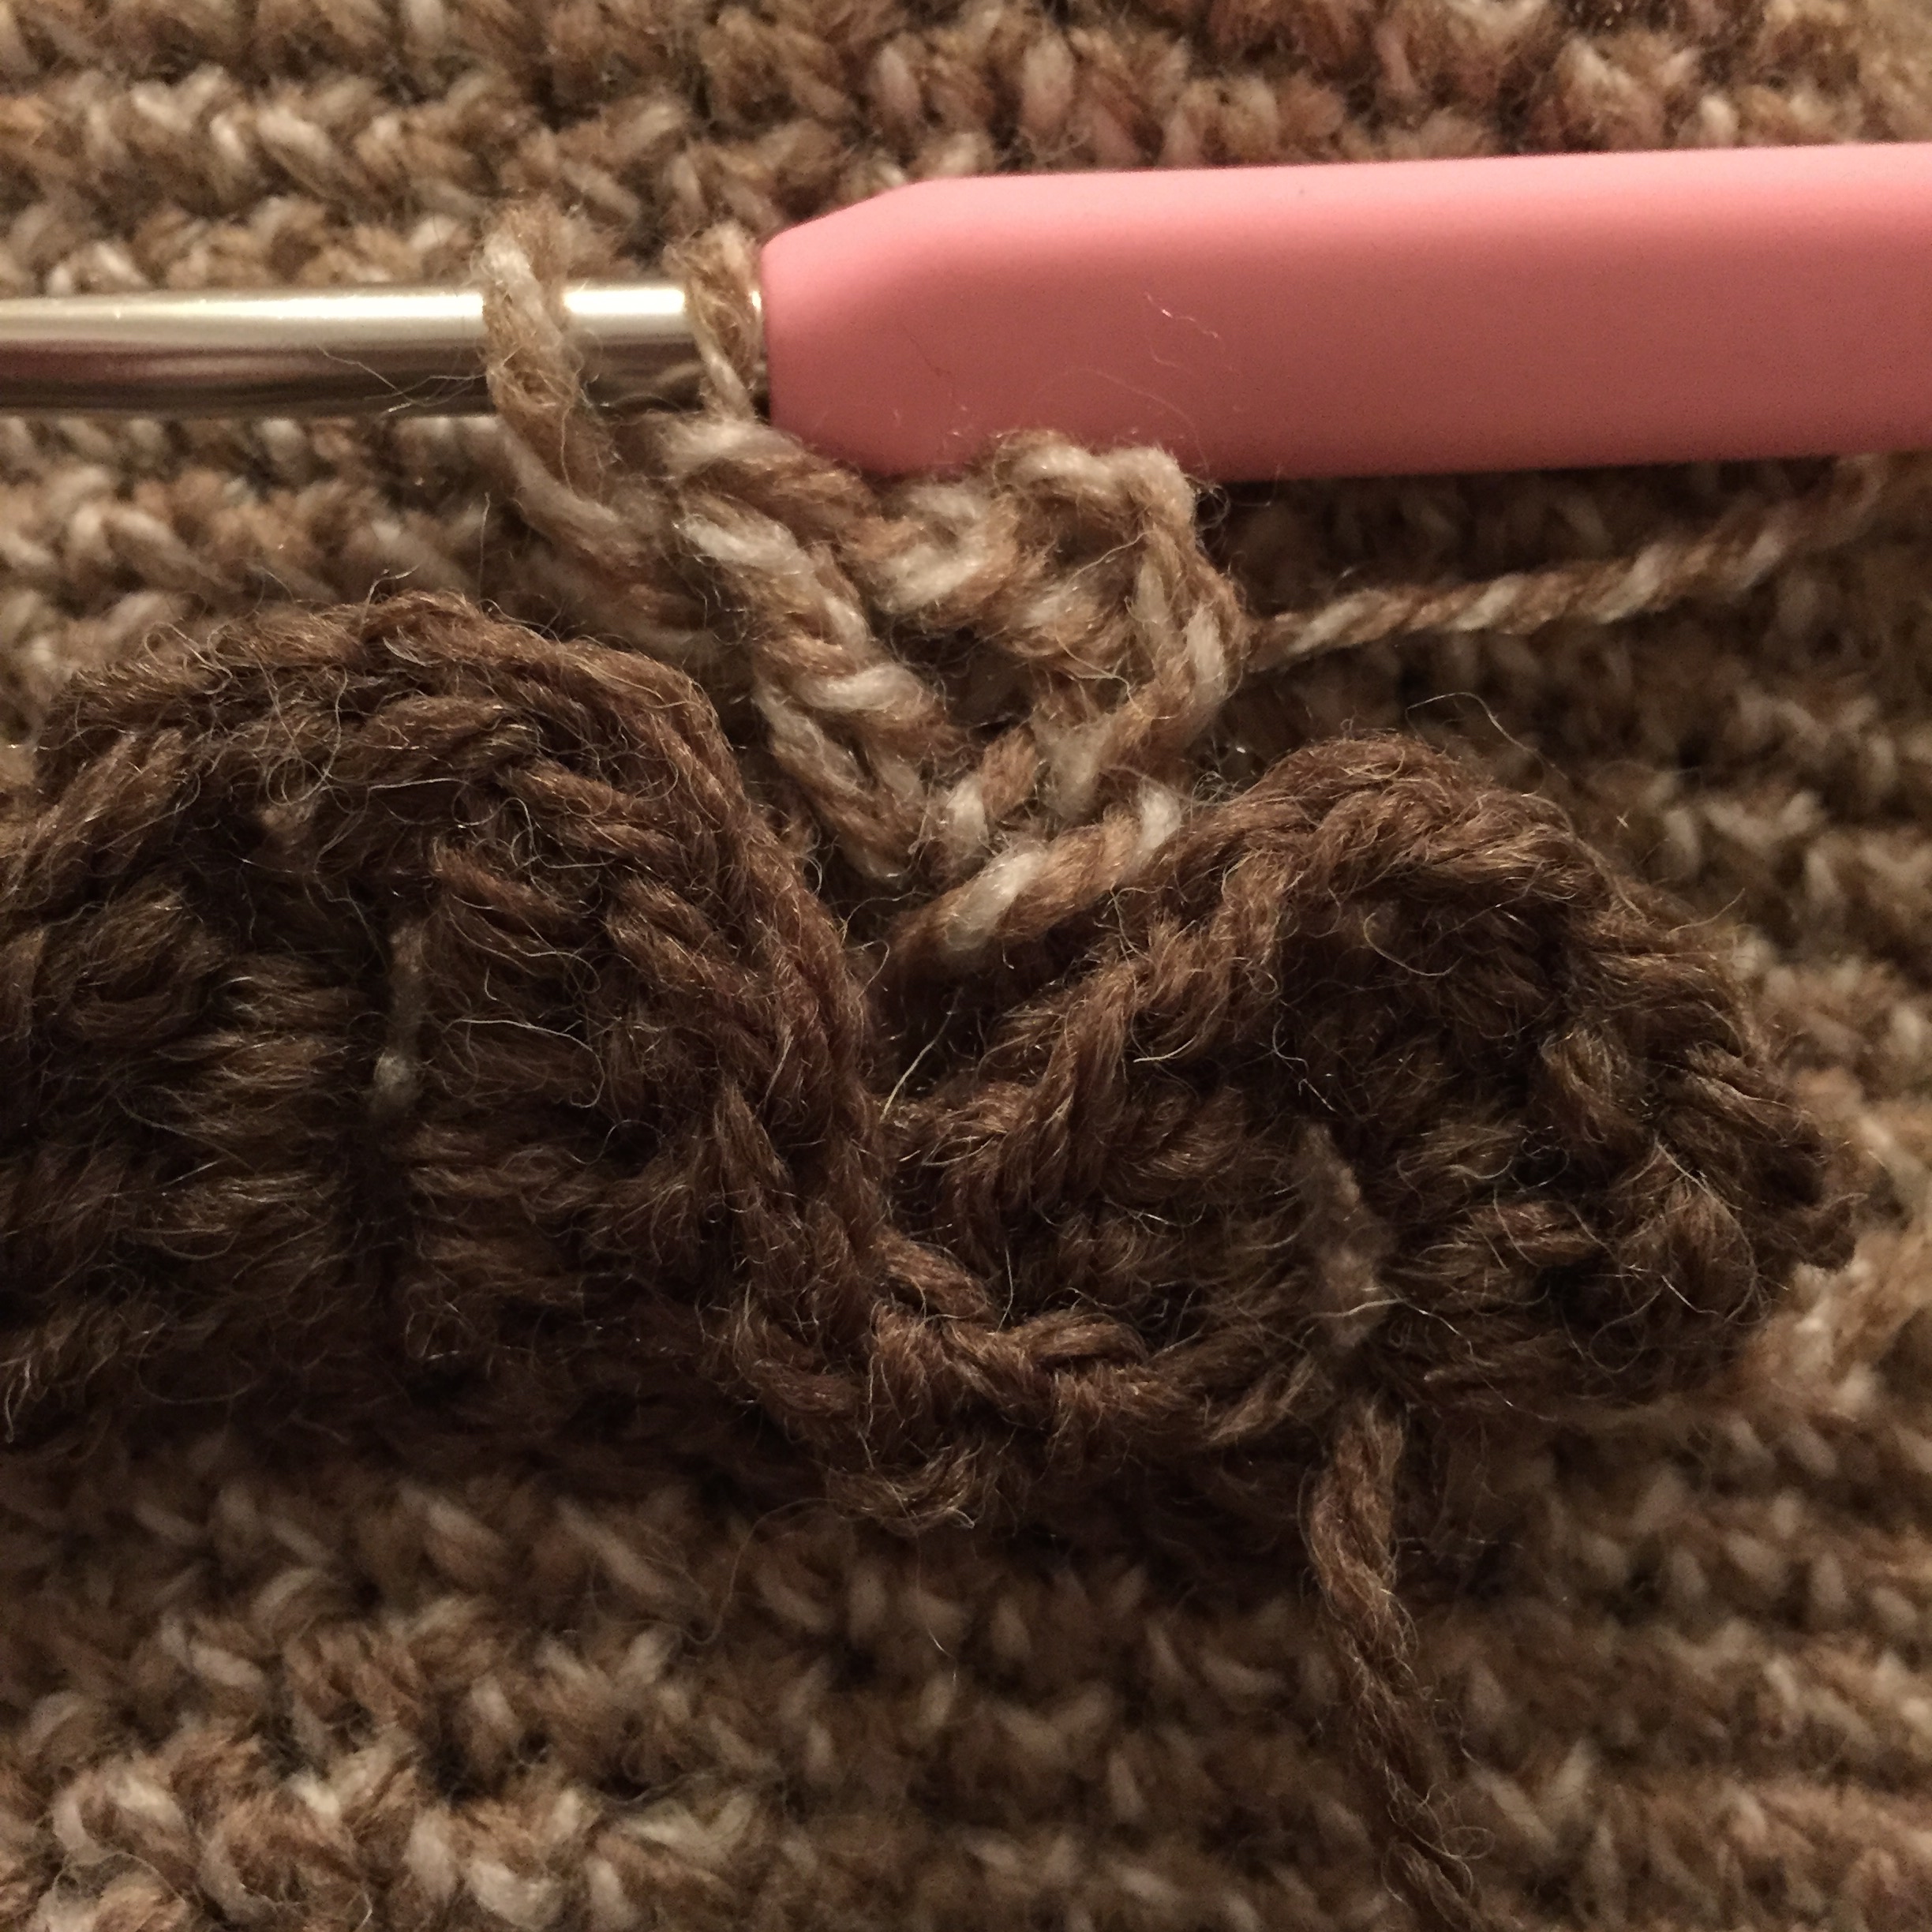
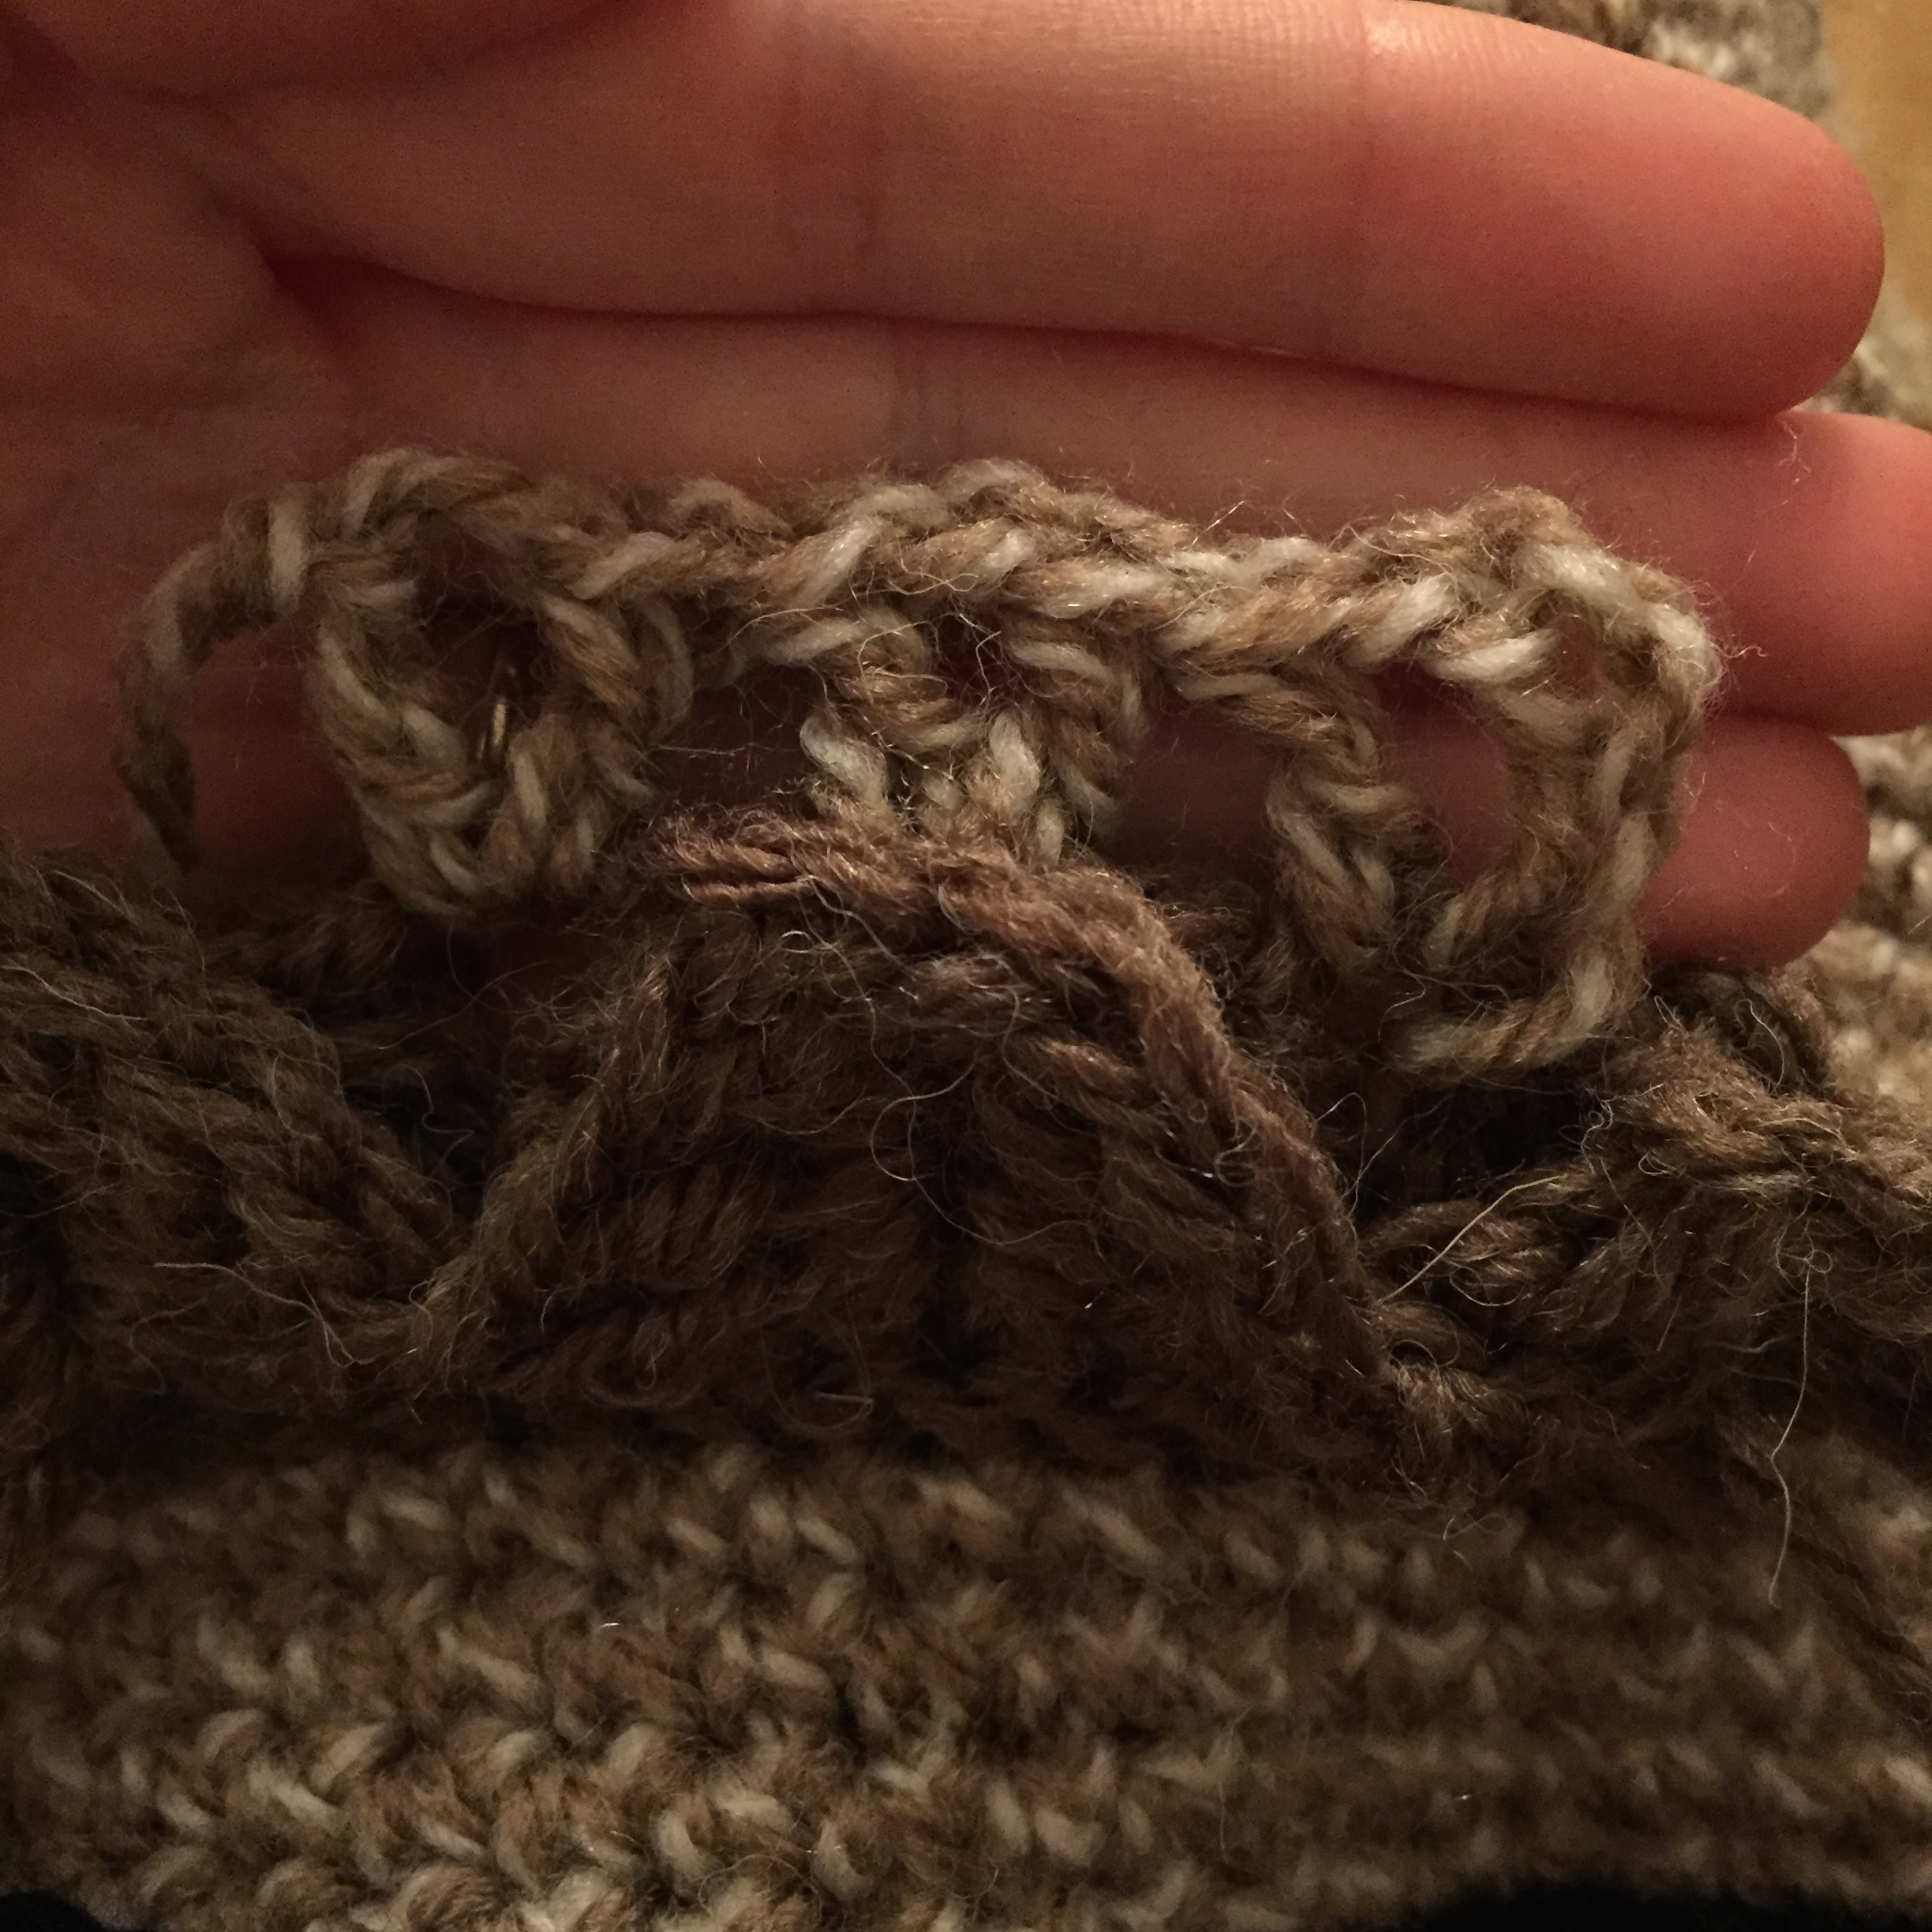
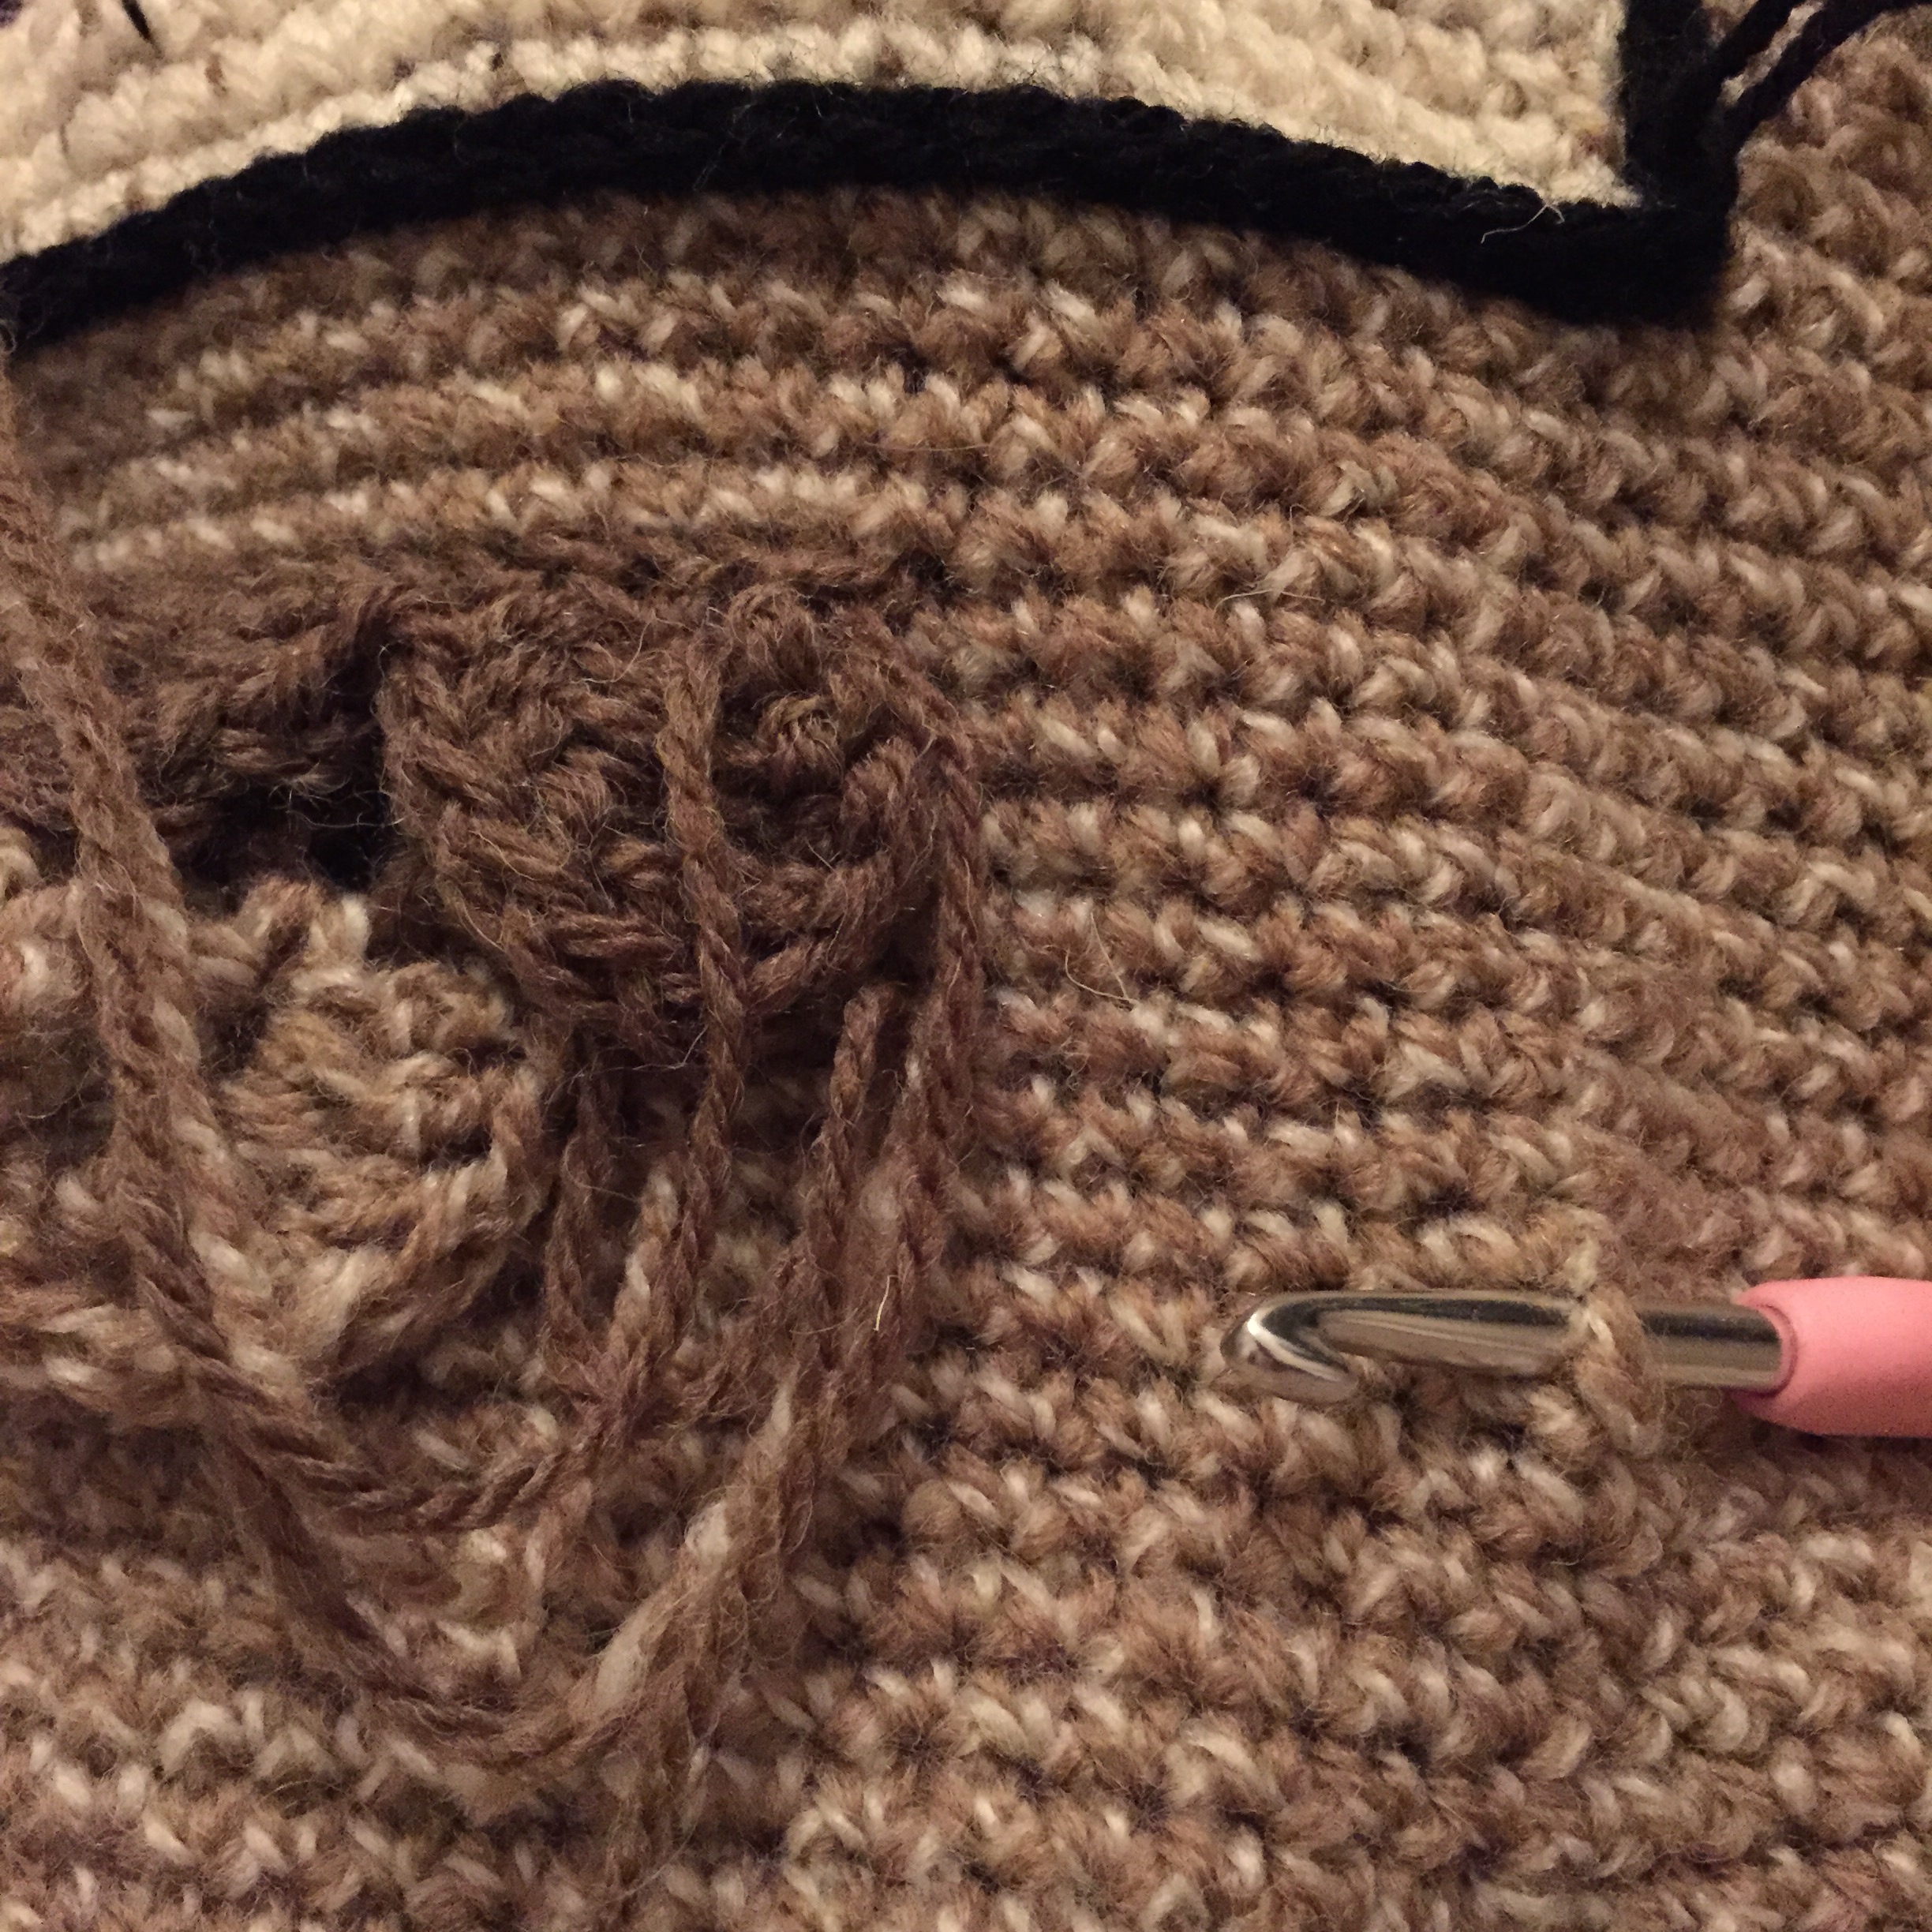
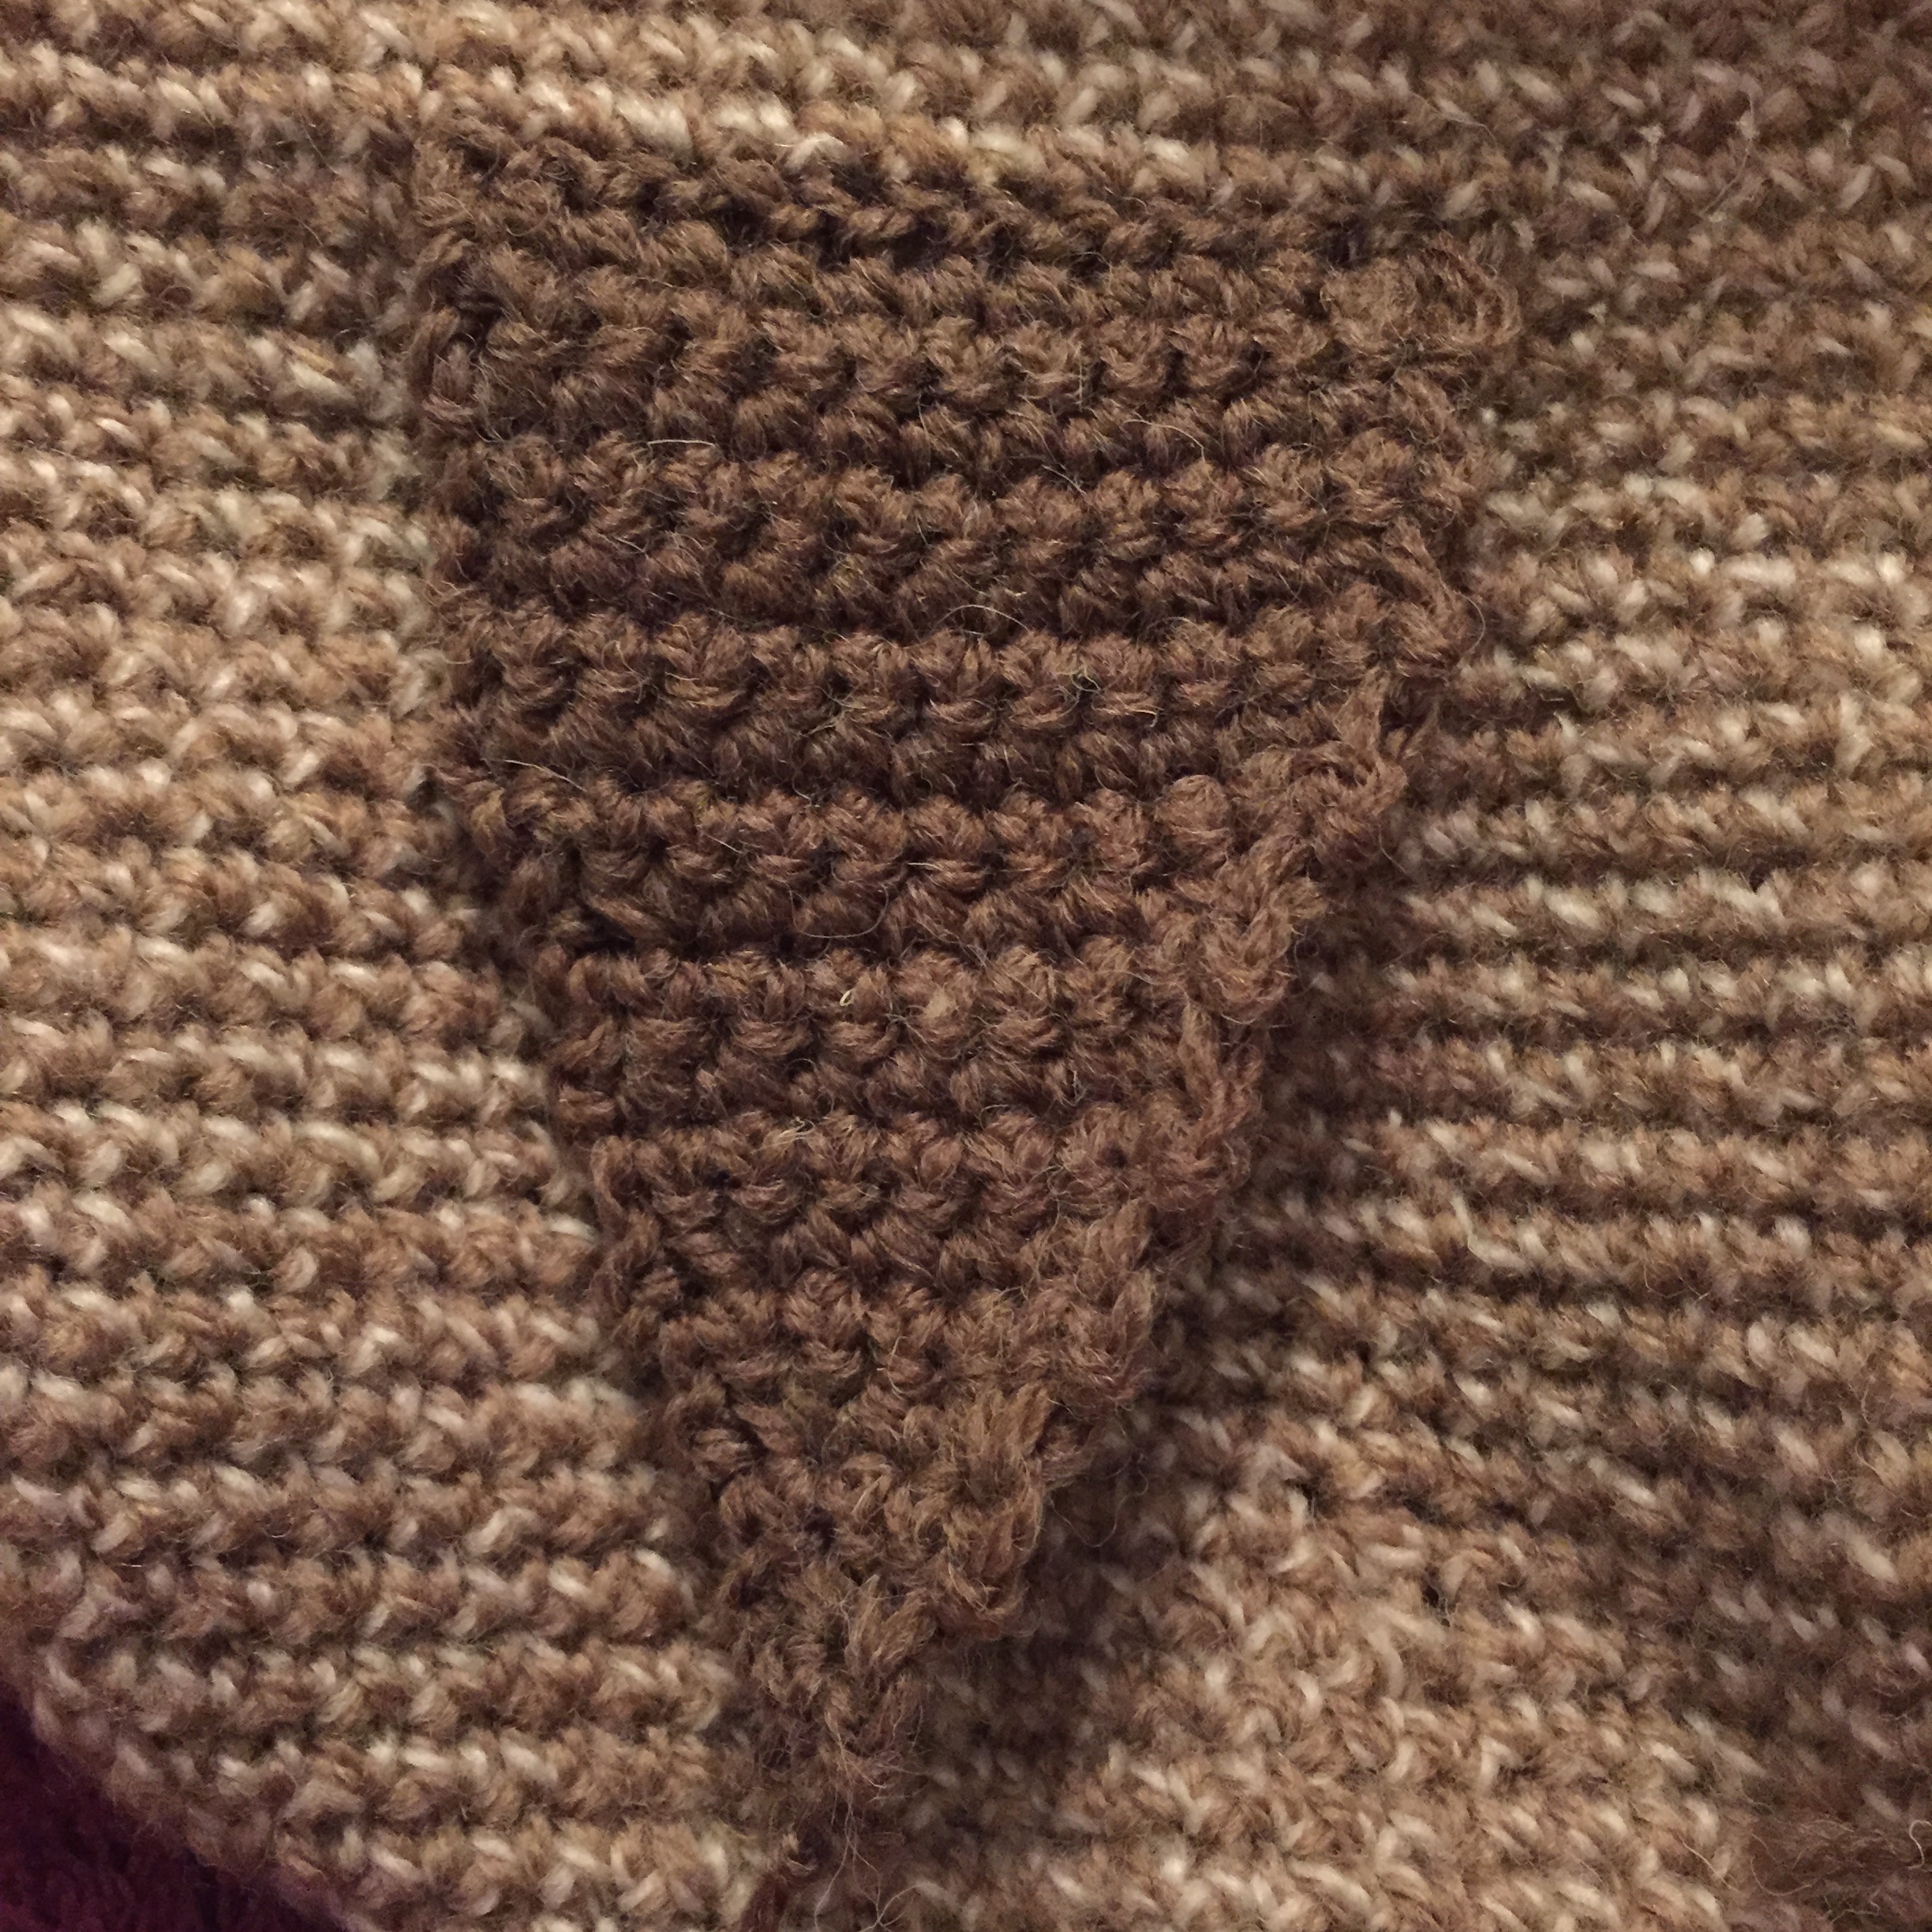
Ruffled feathers effect on the front chest:
To get this ruffled feather effect on the front I used crocodile stitch.
First make the foundation chain for the crocodile stitch:
In dark brown:
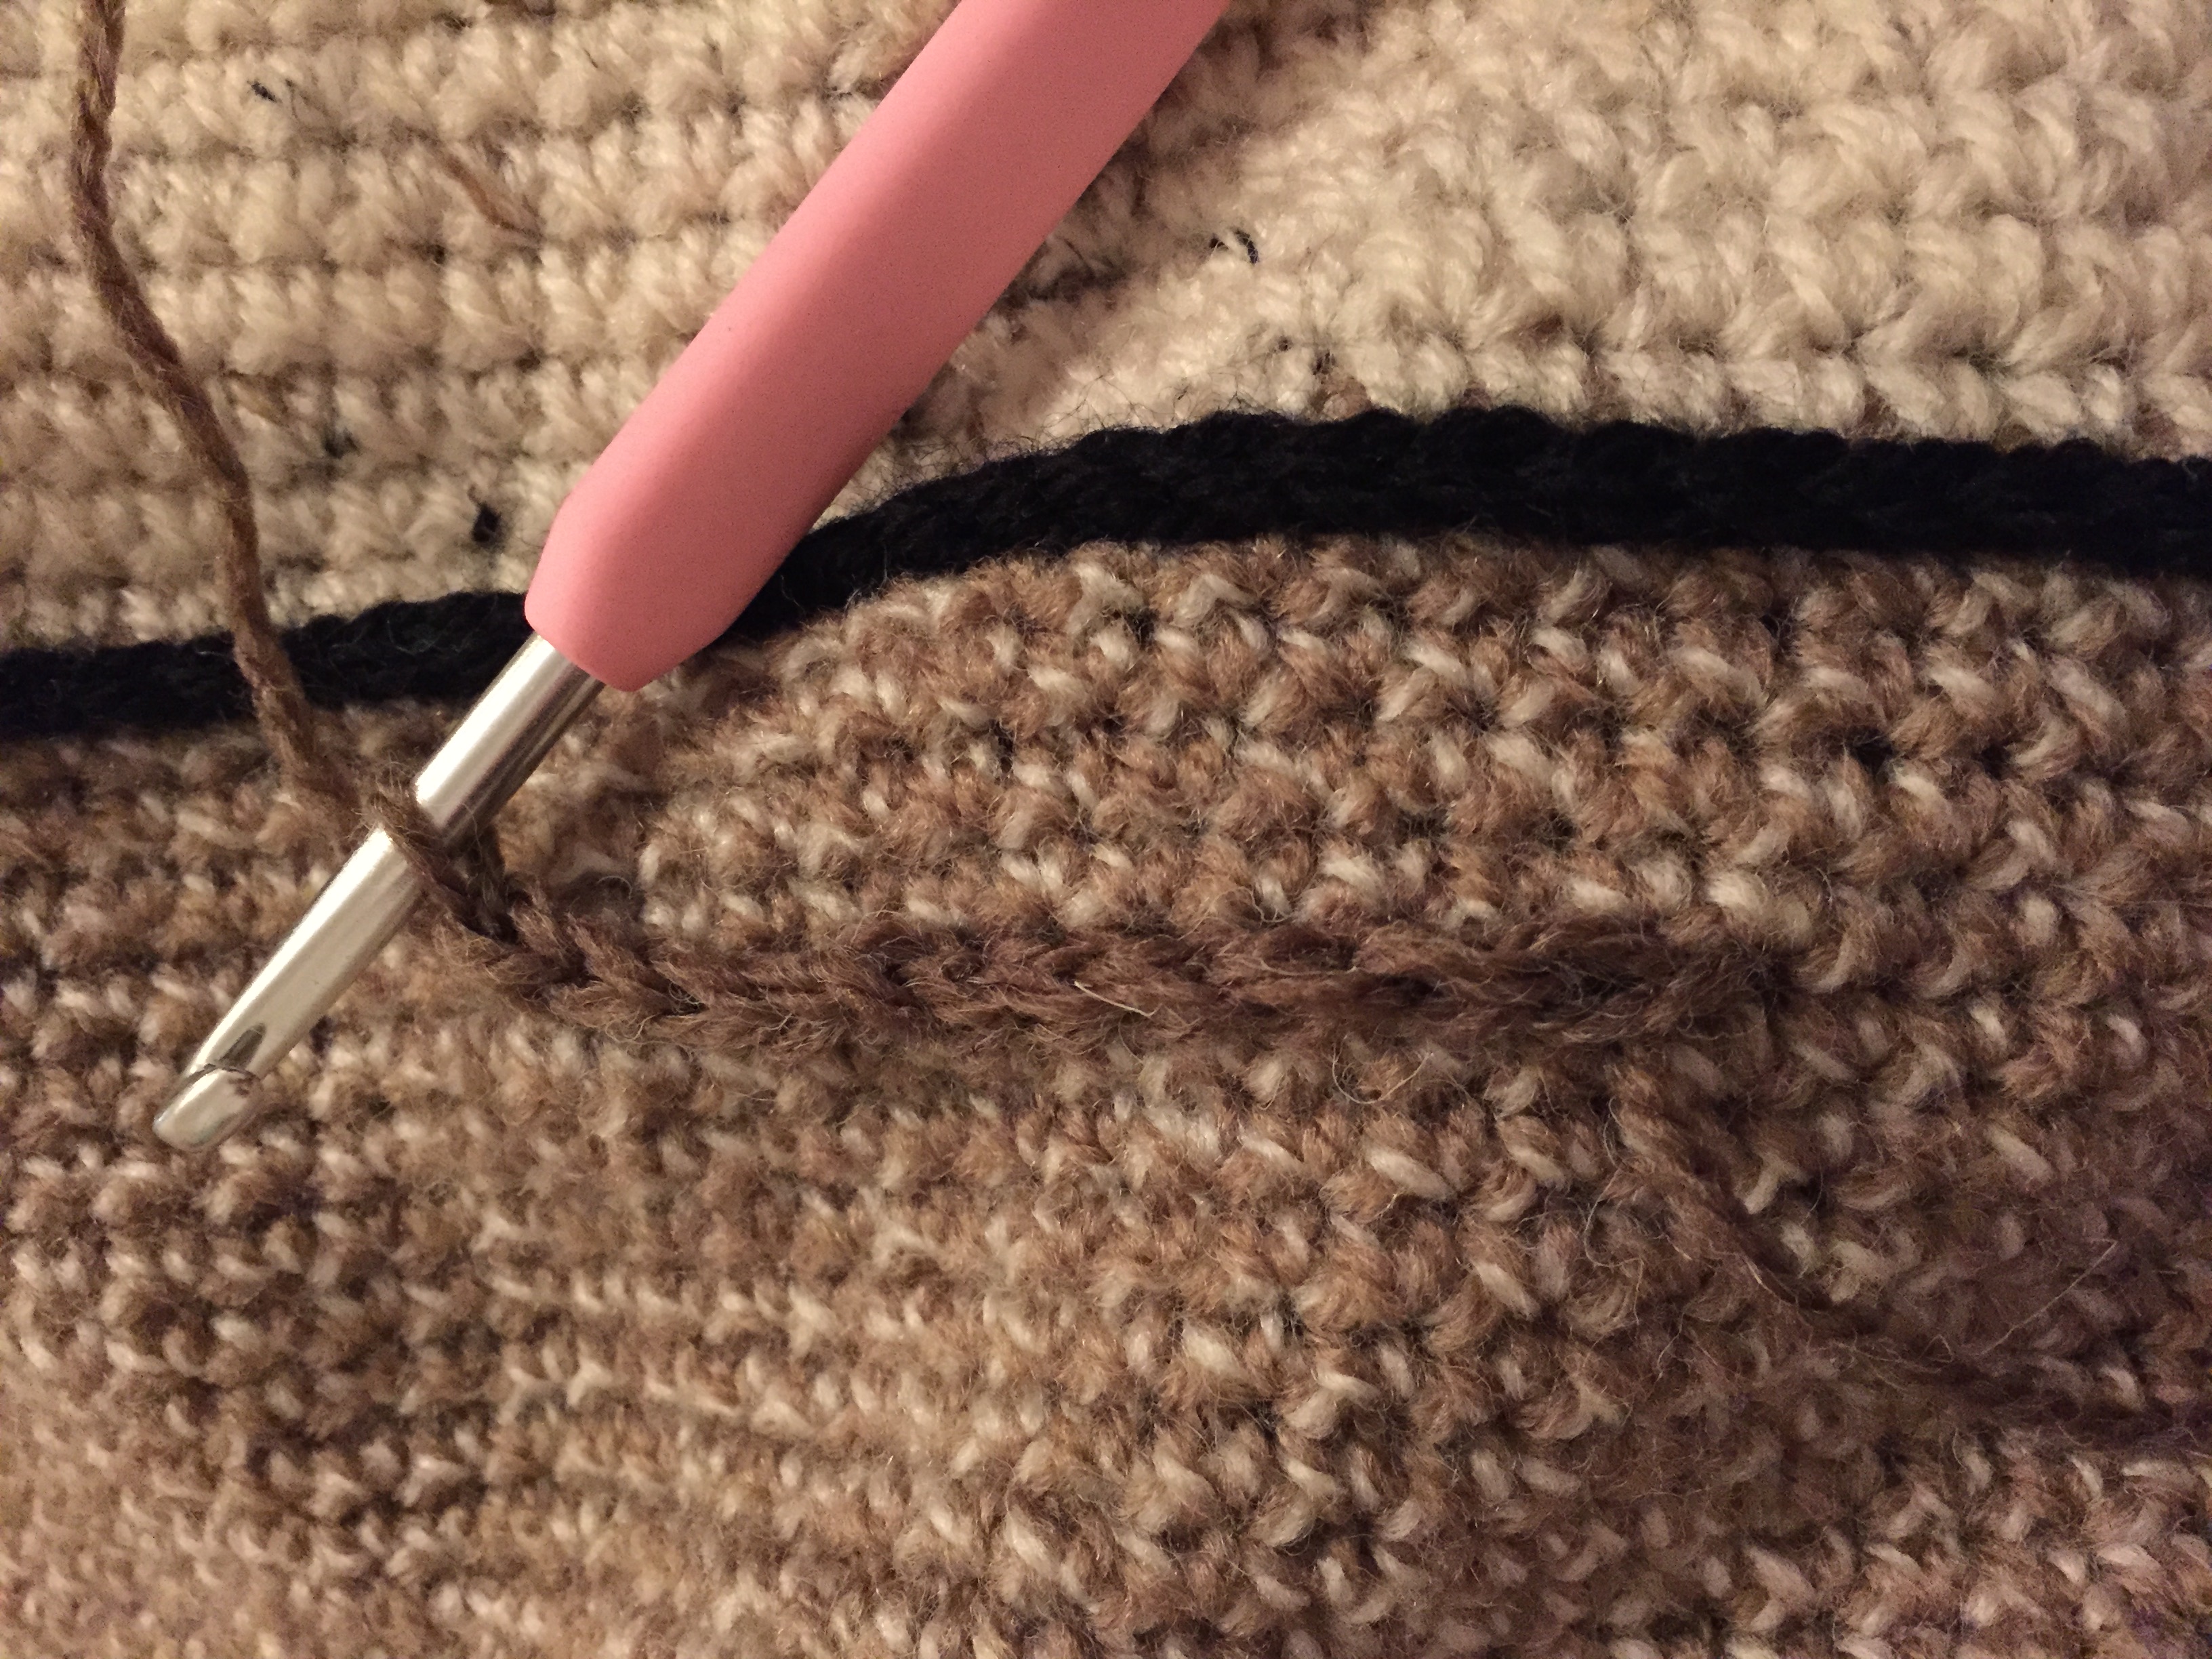
Surface stitch a row of 14sc stitches starting 4 rows down and 8sc along from the bottom of the cream face area, work from right to left.
Row 1: ch4, tr(UK)/dc(US) into surface stitch at base of ch, *Skip 2sc, tr(UK)/dc(US), ch1, tr(UK)/dc(US) into same sc (post v created), repeat from * along row (5 sets of v posts created).
Fasten off.
Row 2: Starting at base of the first post of the first v made cast on, ch3, then 4tr(UK)/dc(US) up the post, ch1, 5tr(UK)/dc(US) down the next post, skip next v *5tr(UK)/dc(US) up the post, ch1 then 5tr(UK)/dc(US) down the second post in the v, skip next v, repeat from * along row.
Fasten off.
Row 3: Cast on in light brown in the v post chain space, ch4, tr(UK)/dc(US), tr(UK)/dc(US), ch1, 1tr(UK)/dc(US) in the next fan chain space, tr(UK)/dc(US), ch1, tr(UK)/dc(US) in the next v post chain space (3 sets of v posts created). Fasten off.
Row 4: Fasten on at the base of the first v post ch3, then 4tr(UK)/dc(US) up the post, ch1, 5tr(UK)/dc(US) down the next post, skip next v, 5tr(UK)/dc(US), ch1, 5tr(UK)/dc(US) in the next v post, slip stitch into next fan ch space. Fasten off.
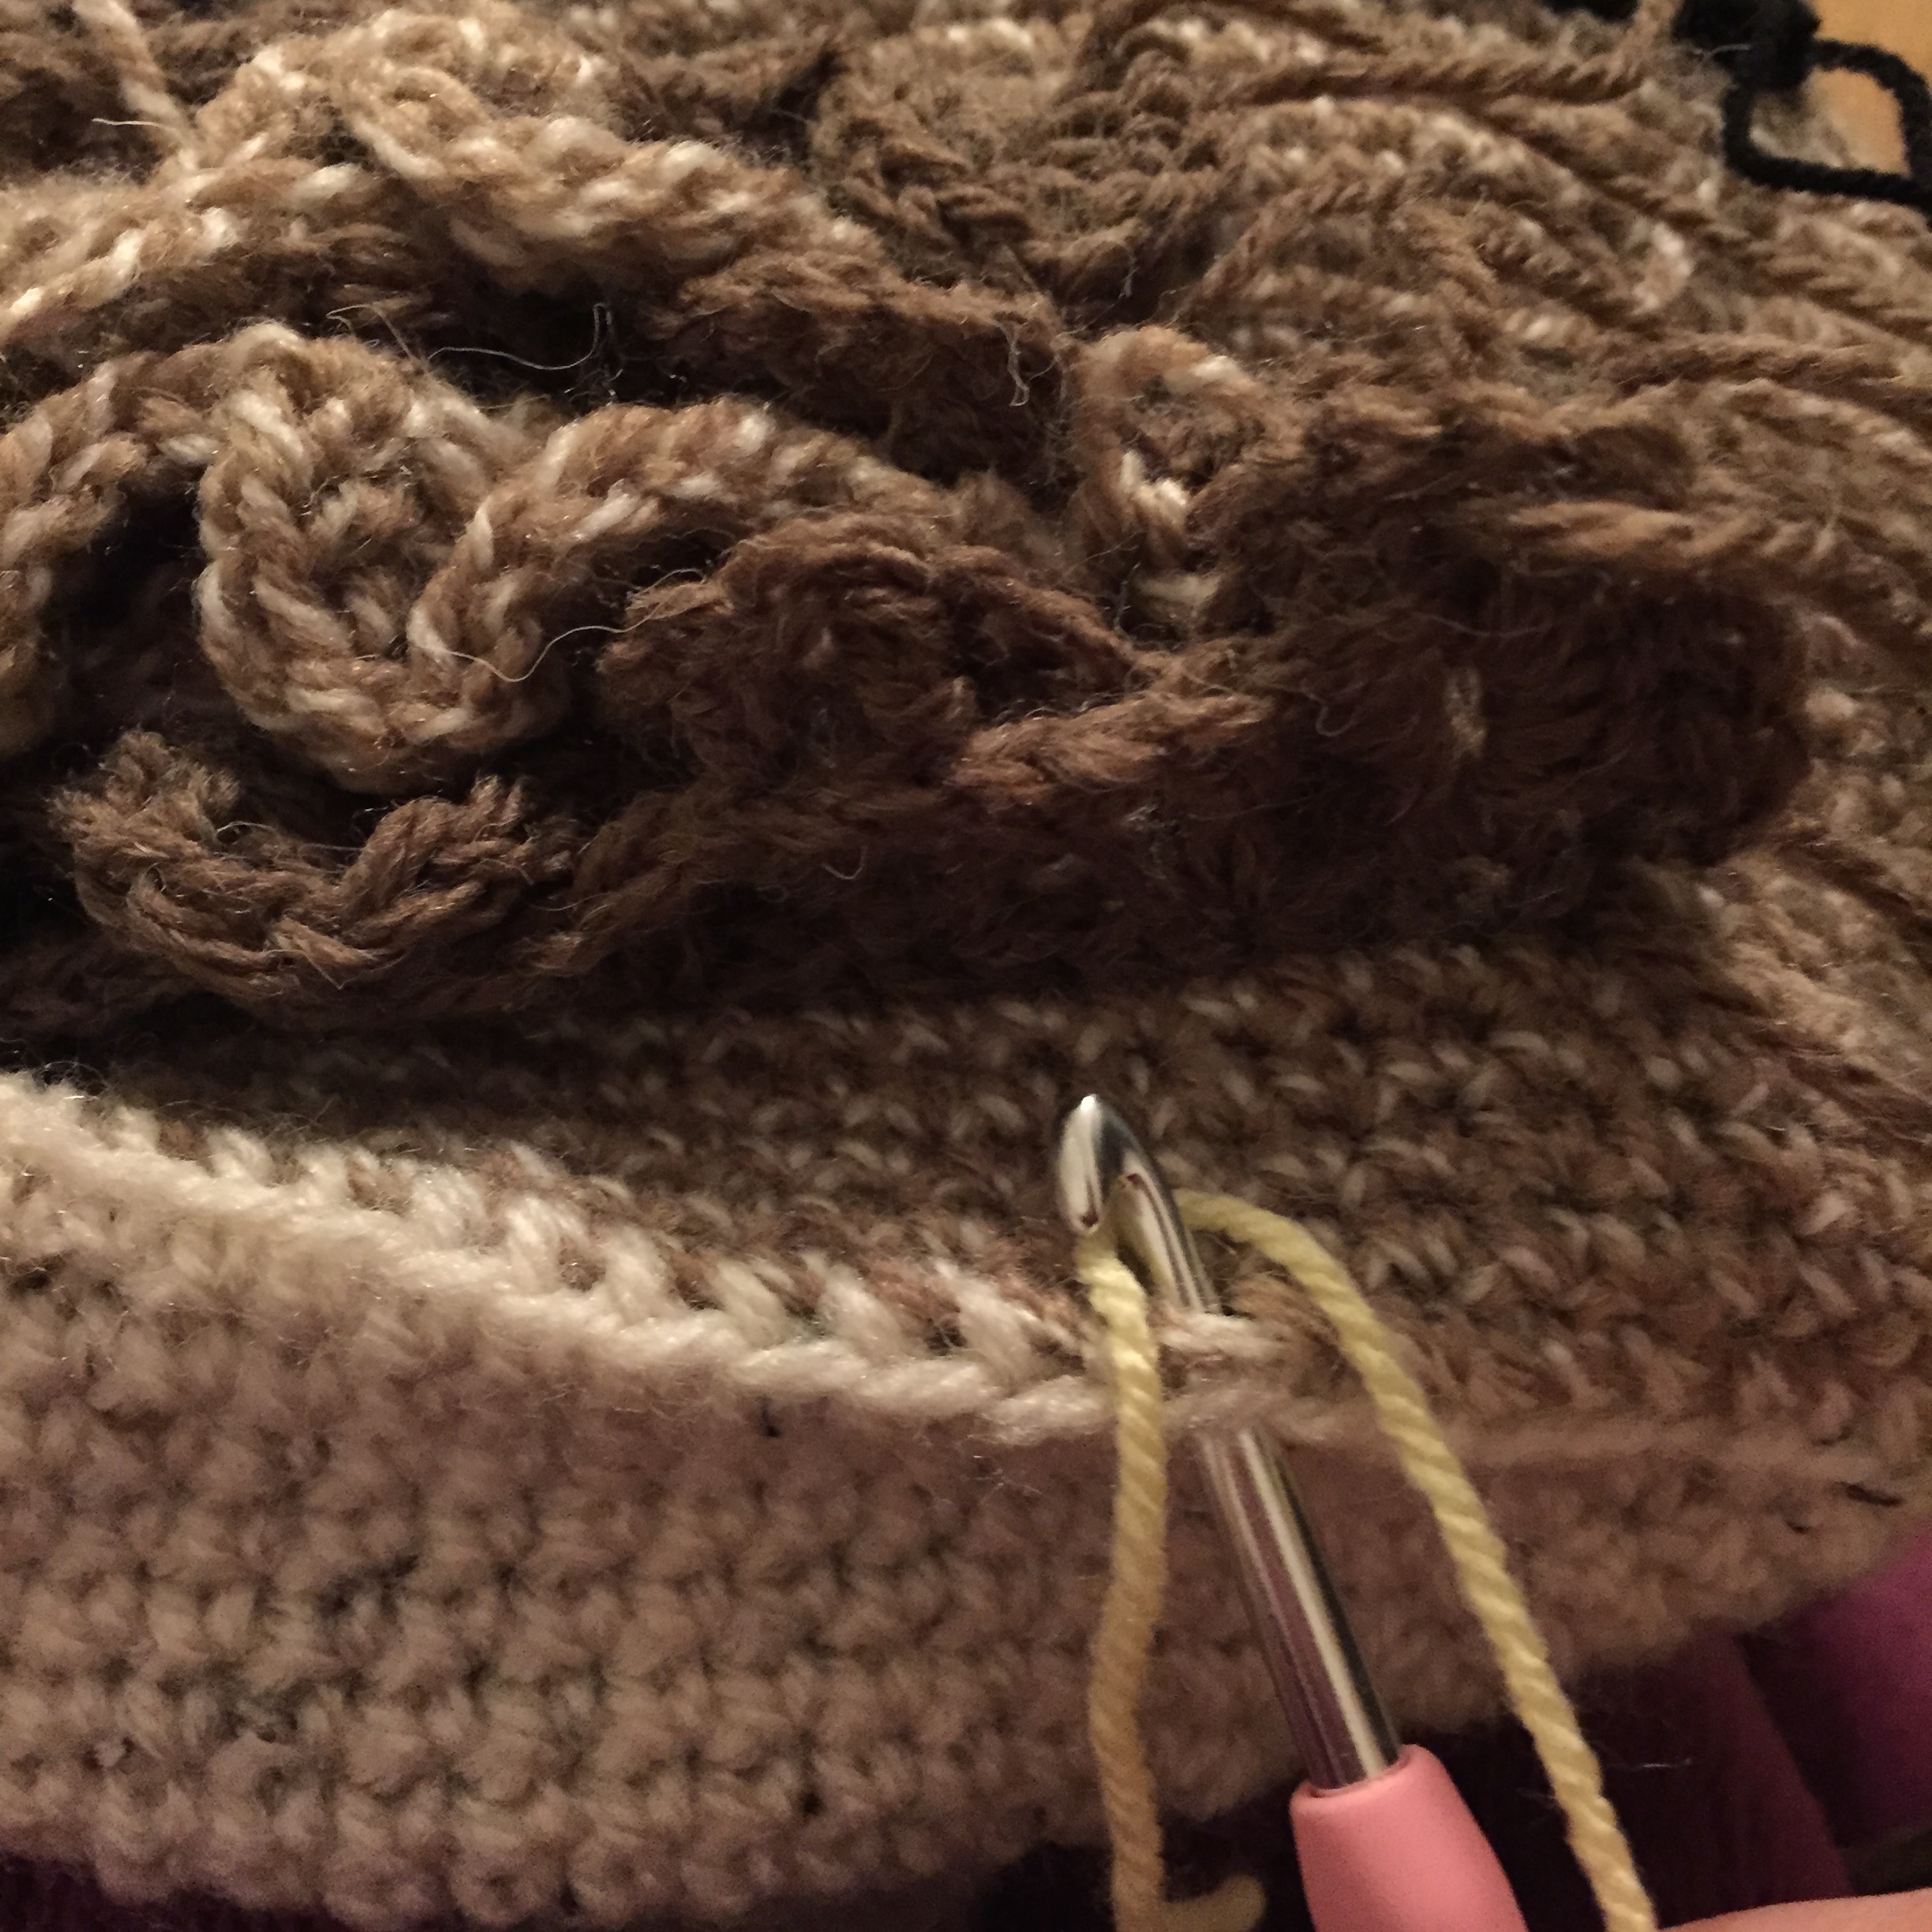
Make a new foundation base for next double row of crocodile stitches in dark brown; Start 2 sc in from the edge of and 11 rows down from the white face area, surface stitch 26sc.
Row 1: ch4, tr(UK)/dc(US) into first stitch of surface chain, *skip 2sc, tr(UK)/dc(US), ch1, tr(UK)/dc(US) into next stitch, repeat from * along row (9 sets of v posts created). Fasten off.
Row 2: Starting at base of the first post of the v made, cast on at base, ch3, then 4tr(UK)/dc(US) up the post, ch1, 5tr(UK)/dc(US) down the next post, skip next v *5tr(UK)/dc(US) up the post, ch1 then 5tr(UK)/dc(US) down the second post in the v, skip next v, repeat from * along row. Fasten off at end.
Row 3: Cast on in striped brown in the v post chain space ch4 1tr(UK)/dc(US) *tr(UK)/dc(US), ch1, tr(UK)/dc(US) in the next fan chain space, tr(UK)/dc(US), ch1, tr(UK)/dc(US) in the next v post chain space repeat from * to end of row (7 sets of v posts created). Fasten off.
Row 4: Fasten on at the base of the first v post ch3, then 4tr(UK)/dc(US) up the post, ch1, 5tr(UK)/dc(US) down the next post, *skip next v post, 5tr(UK)/dc(US), ch1, 5tr(UK)/dc(US) in the next v post, repeat from * to end of row, slip stitch into fan chain space in previous row. Fasten off.
One last row of crocodile stitches; In dark brown, first create surface chain 6 rows down from previous foundation surface chain, starting and ending at same point (26sc) as the previous foundation chain.
Row 1: ch4 tr(UK)/dc(US) into first stitch of surface chain, *skip 2sc, tr(UK)/dc(US), ch1, tr(UK)/dc(US) into next stitch, repeat from * along row. Fasten off.
Row 2: Starting at base of the first post of the v made, cast on at base, ch3, then 4tr(UK)/dc(US) up the post, ch1, 5tr(UK)/dc(US) down the next post, skip next v *5tr(UK)/dc(US) up the post, ch1 then 5tr(UK)/dc(US) down the second post in the v, skip next v, repeat from * along row (9 sets of v posts made in total). Fasten off at end. Feather ruffles are finished.
Feet:
Counting 5sc to the left of the first sc of the dark brown surface stitch, and working into the base edge of the owl cast on in yellow wool.
Row 1: 6sc.
Row 2-3: ch 1 (does not count as a stitch) 6sc.
Row 4: ch3, tr(UK)/dc(US) into stitch at base of chain, ch3, sc into next stitch. *ch3, tr(UK)/dc(US) into next stitch, ch3, sc into next stitch. Repeat from *once more. Fasten off.
Repeat rows 1-4 for second foot, start second foot 6sc along from the first foot.
sc in black around the edge of each foot, fastening off between each foot. At each toe gap (the sc between the two ch3) sc the black into the same sc stitch as the yellow wool to define the claws more.
Wings:
Surface stitch in the dark brown a row 12sc long, starting 6sc around from the edge of the first row of the white face area.
Row 1-7: ch1 (does not count as a stitch) sc along rest of the row.
Row 8: ch1 (does not count as a stitch) sc2tog, 8sc, sc2tog.
Row 9: ch1 (does not count as a stitch) sc2tog, 6sc, sc2tog.
Row 10-12: ch1 (does not count as a stitch) sc along rest of the row.
Row 13: ch1 (does not count as a stitch) sc2tog, 4sc, sc2tog.
Row 14: ch1 (does not count as a stitch) sc along rest of the row.
Row 15: ch1 (does not count as a stitch) sc2tog, 2sc, sc2tog.
Row 16: ch1 (does not count as a stitch) sc along rest of the row.
Row 17: ch1 (does not count as a stitch) sc2tog twice.
Row 18: ch1 (does not count as a stitch) sc along rest of the row.
Row 19: ch1 (does not count as a stitch) sc2tog. Fasten off.
Repeat for the second Wing on the other side, again starting a row of 12 surface sc, 6sc around from the edge of the first row of the white face.
Beak:
Surface stitch a row of 6 Starting 2rows up and 2sc to the right of the black surface stitch in the centre dip of the cream face area.
Row 1-2: ch 1 (does not count as a stitch) sc along row.
Row 3: ch 1 (does not count as a stitch) sc2tog, 2sc, sc2tog.
Row 4: ch 1 (does not count as a stitch) sc2tog twice.
Row 5: ch 1 (does not count as a stitch) sc2tog. Fasten off
Attach the eyes and beak to the face Fasten off all loose ends…….all finished!!!!


Leave a comment