
A friend of mine has two little ones who are needing some more play food for their play kitchen, so decided I would crochet some up for them as a gift for Easter to go with their chocolate eggs, they will last a lot longer than the chocolate which will be gone in minutes!
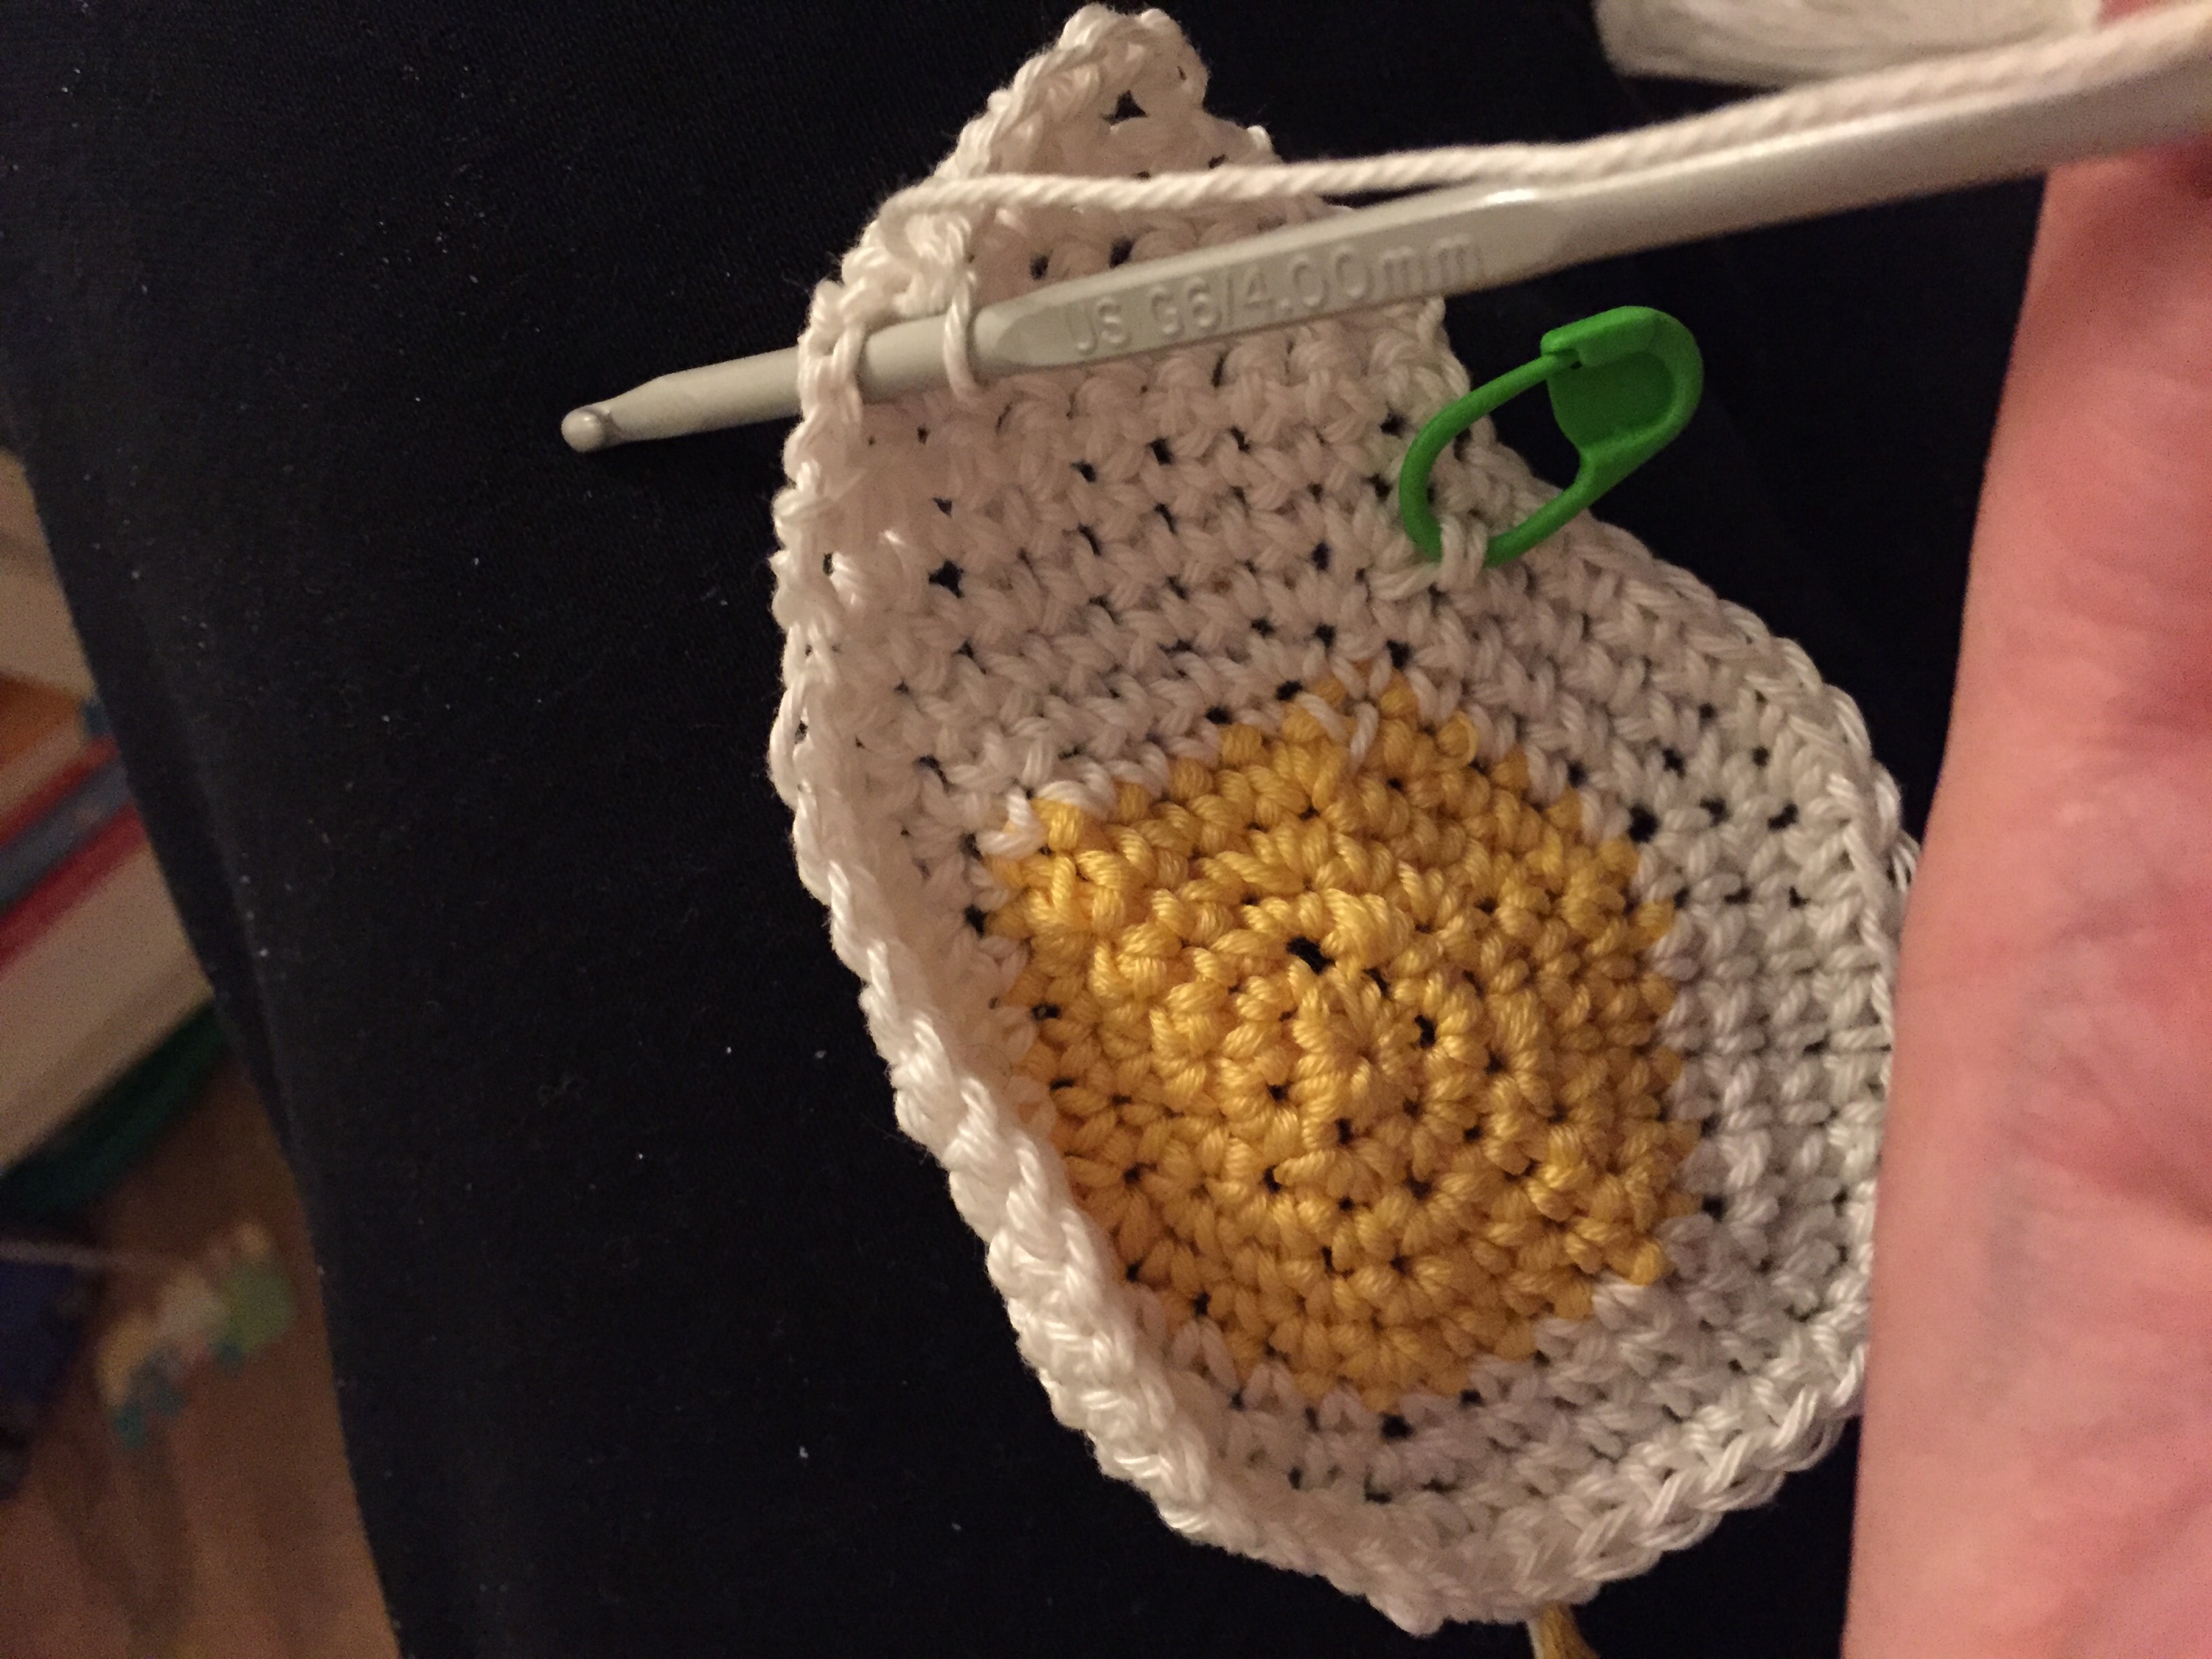
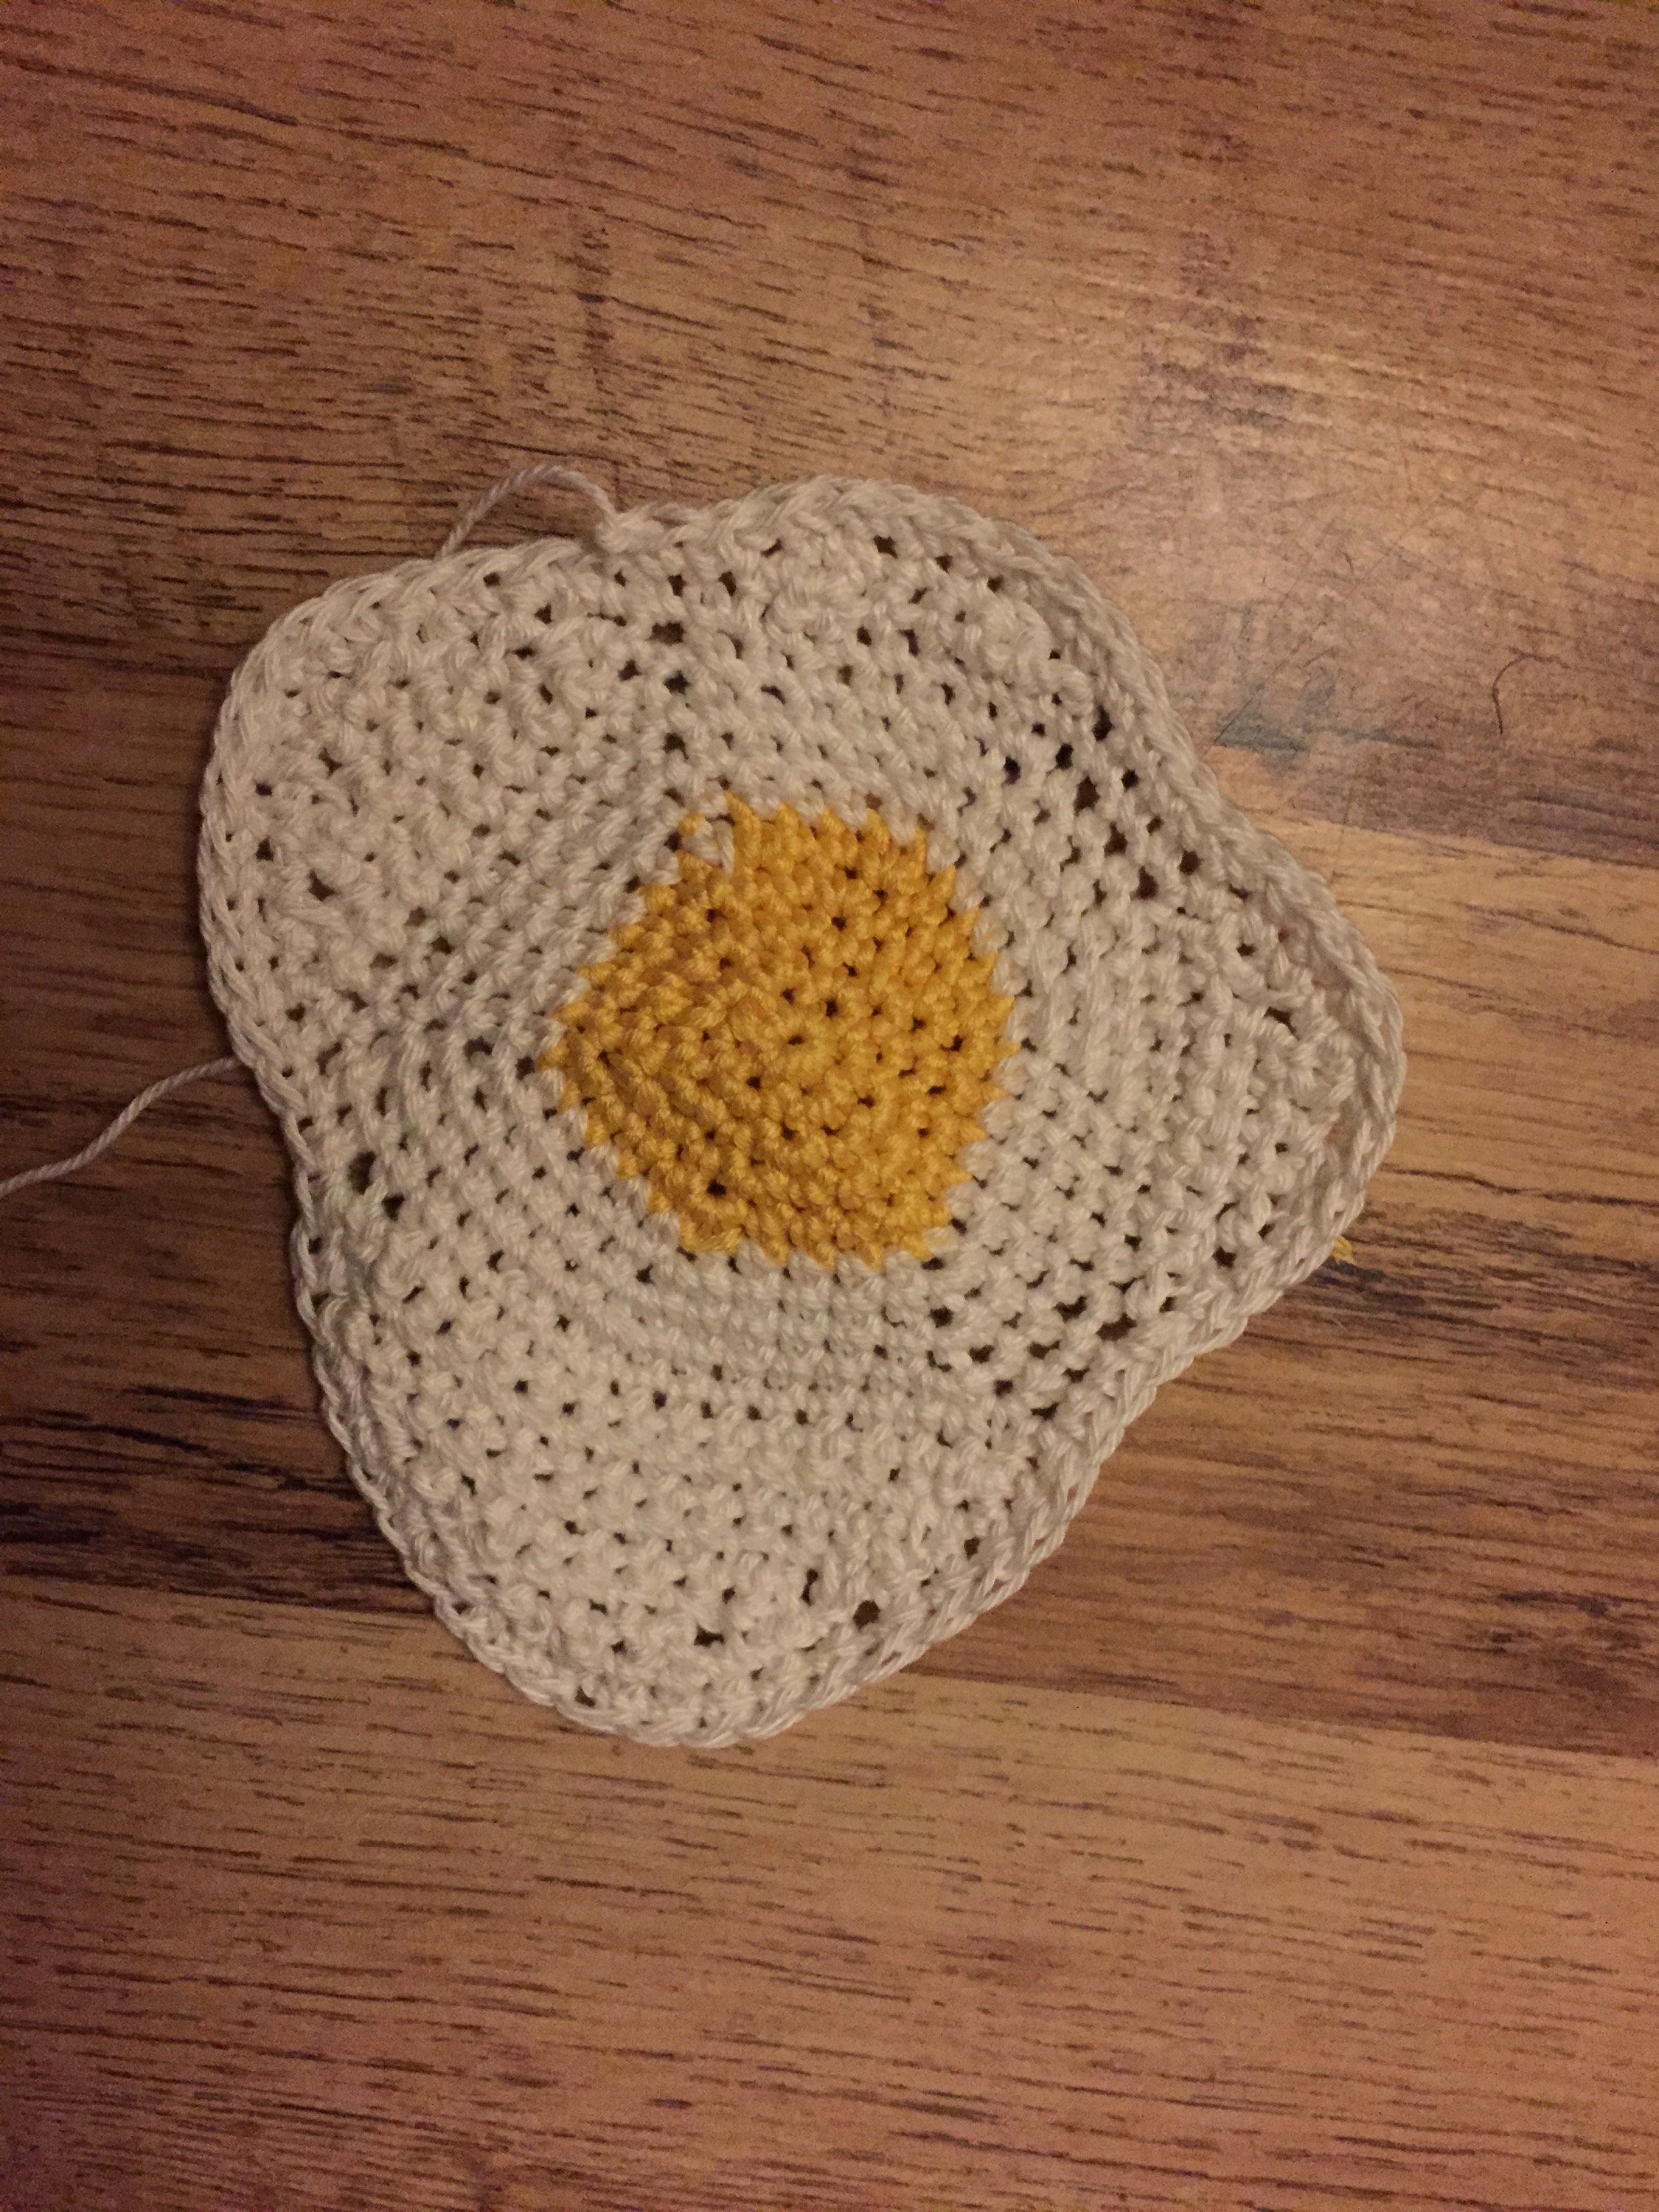
I wasn’t too sure what to make to start, so made a list of some foods to try and have started with what thought would be the easiest to make a pattern for – a egg for frying! Or a splattered cream egg since its Easter!
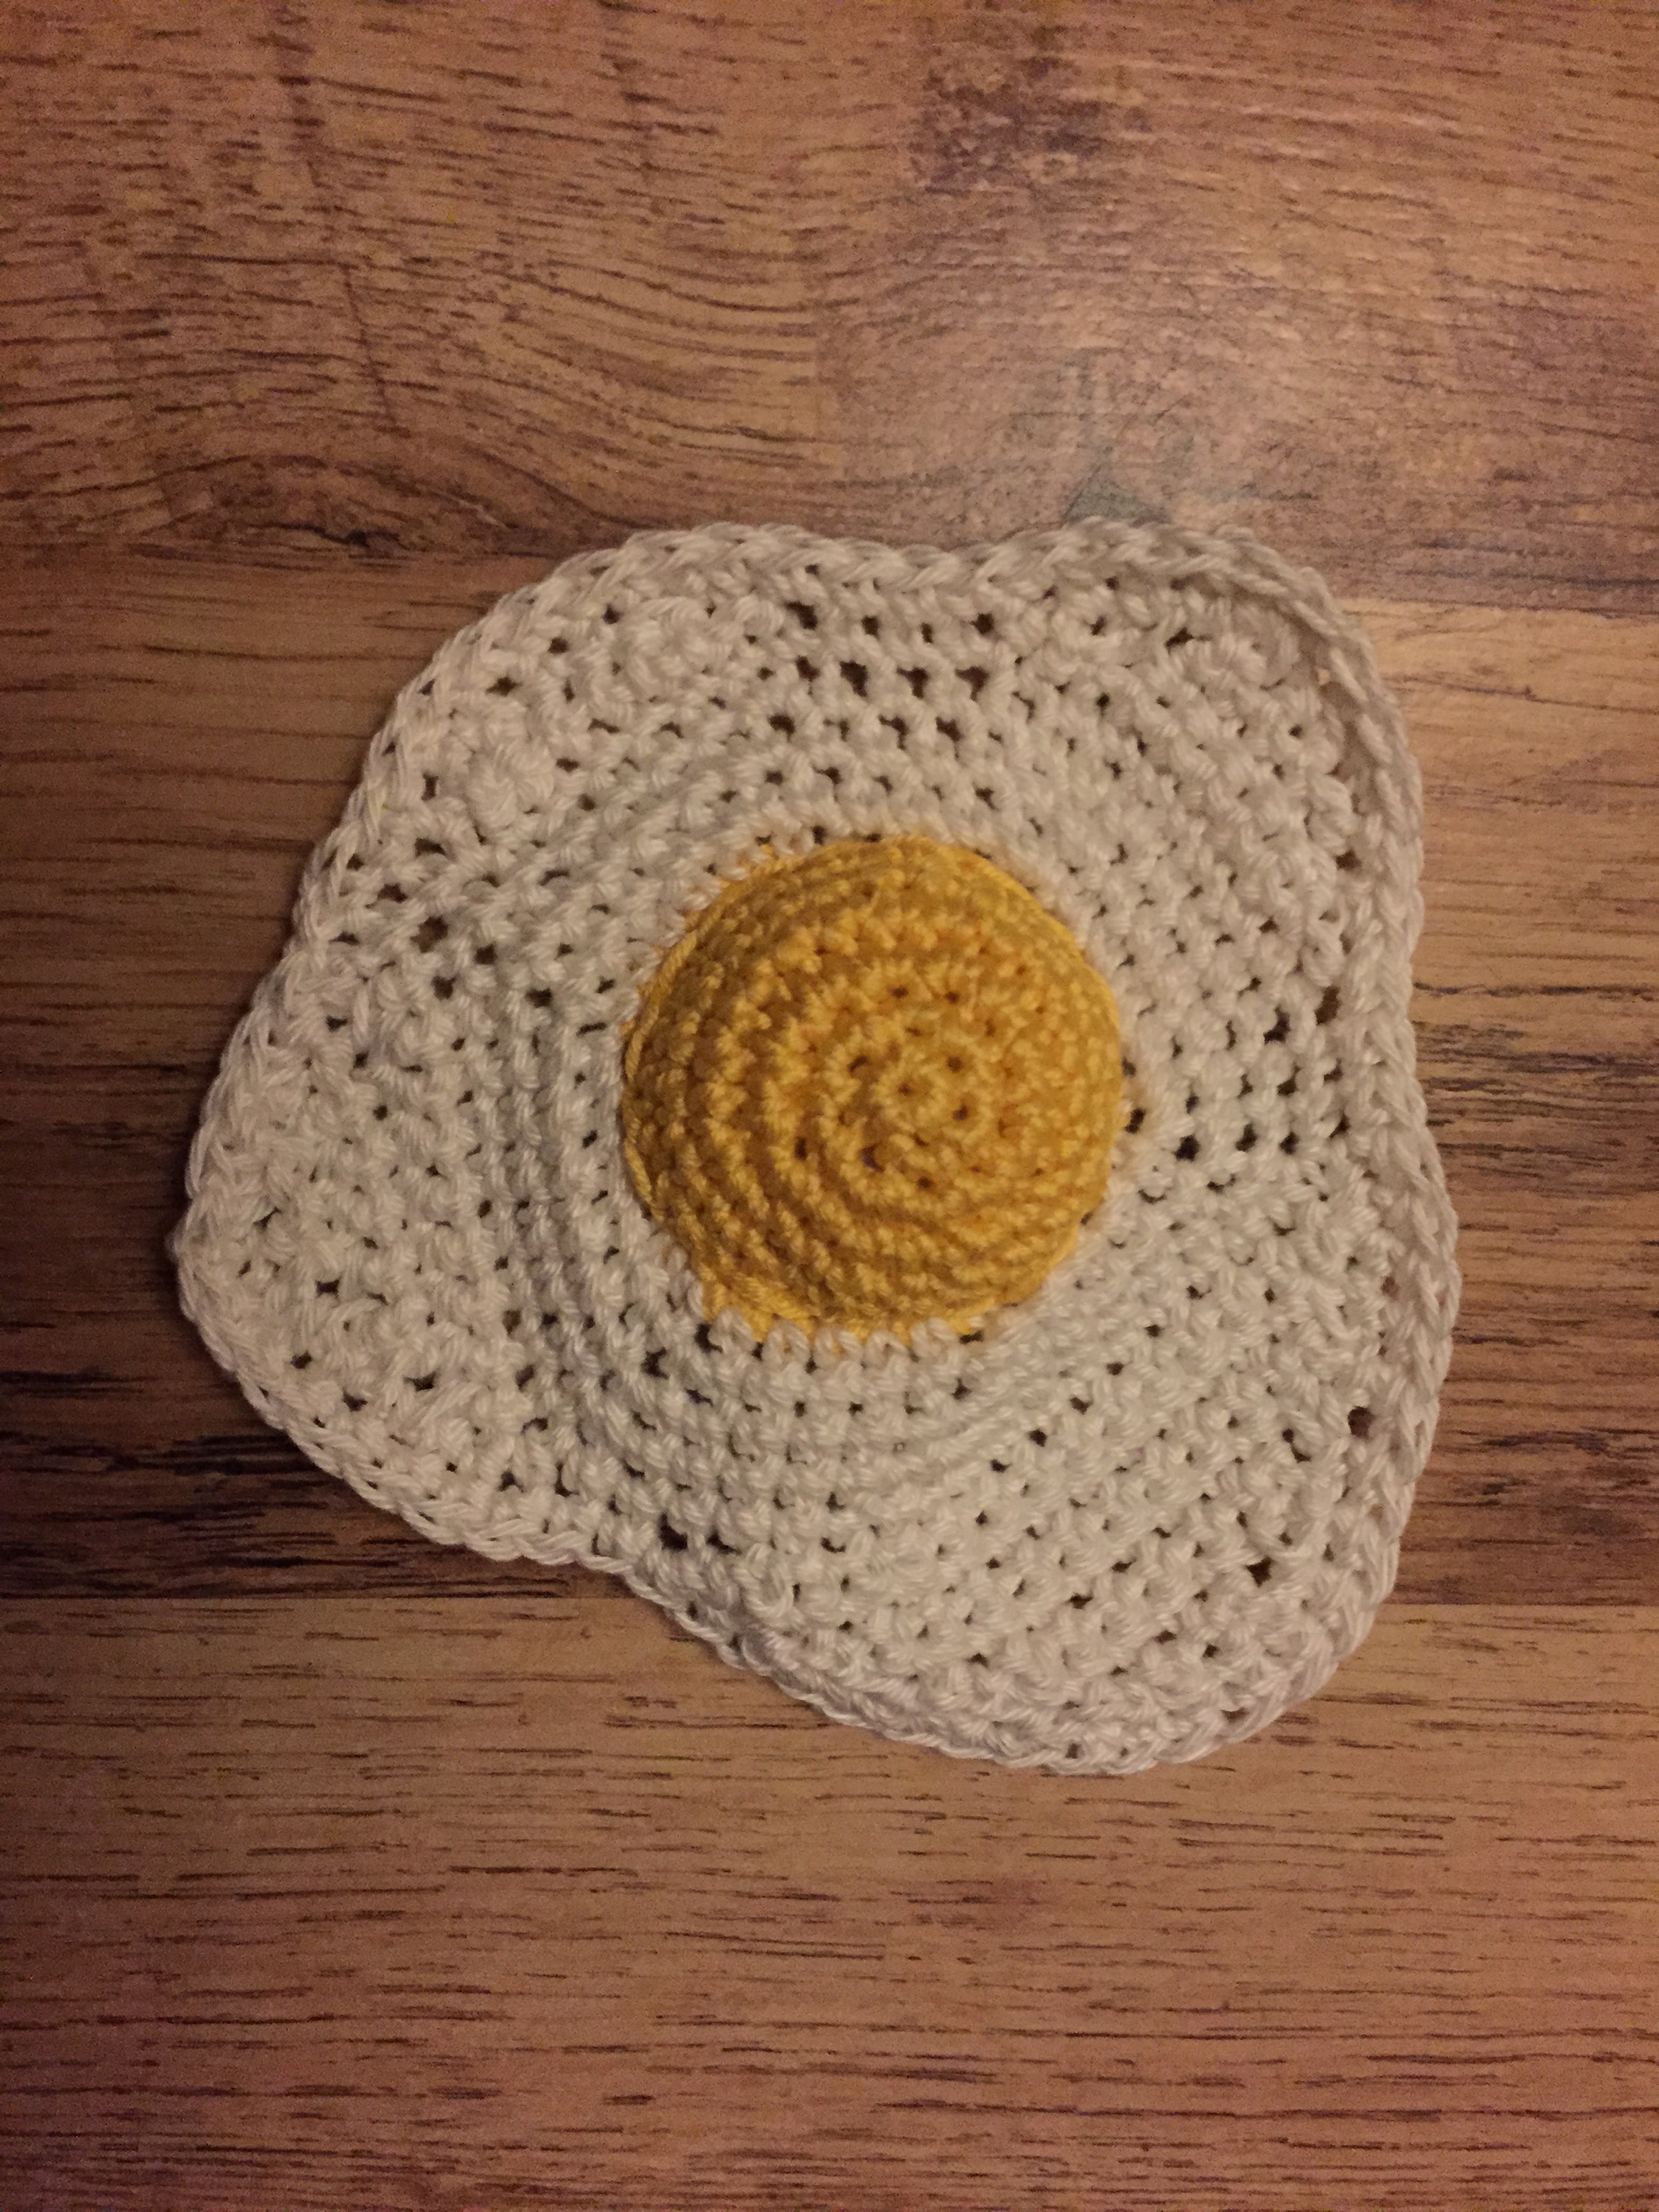
I cracked two of these up in no time and had them done in one evening, I am happy they have come out so well, and am glad I choose to put a stuffed dome on for the yolk at it makes them look even more realistic!
Not too sure what I will make next..I will keep you posted as soon as I have done something else!
Crochet fried egg pattern:
Materials:
- 4mm hook.
- I used DMC Natura Just Cotton in Tournesol N16 (yellow) and Ibiza N01 (white). You could also use any DK wool.
Fried egg:
In yellow:
Round 1: make a magic ring, ch1, 6sc into ring.
Round 2: 2sc into each sc.
Round 3: 2sc into next stitch, 1sc.
Round 4: 2sc into next stitch, 2sc.
Round 5: 2sc into next stitch, 3sc.
Change to white:
Round 6: sc around.
Round 7: 2sc into next stitch, 4sc.
Round 8: 2sc into next stitch, 5sc.
Round 9: 2sc into next stitch, 6sc.
Row 1: 10sc, turn.
Row 2: ch1, 10sc, turn.
Row 3: ch1, sc2tog, 6sc, sc2tog, turn.
Row 4: ch1, sc2tog, 4sc, sc2tog, turn.
Row 5: ch1, sc2tog, 2sc, sc2tog, turn.
Row 6: ch1, sc2tog, twice, turn.
ch1, 2sc, then sc down edge of rows 1-6, 18sc, turn.
Row 1: ch1, 16sc, turn.
Row 2: ch1, sc2tog, 12sc, sc2tog, turn.
Row 3: ch1, sc2tog, 10sc, sc2tog, turn.
Row 4: ch1, sc2tog, 8sc, sc2tog, turn.
Row 5: ch1, sc2tog, 6sc, sc2tog, turn.
Row 6: ch1, sc2tog, 4sc, sc2tog, turn.
Row 7: ch1, sc2tog, 2sc, sc2tog, turn.
ch1, 4sc, then sc down edge of rows 1-7, 12sc, turn.
Row 1: ch1, sc2tog, 6sc, sc2tog, turn.
Row 2: ch1, sc2tog, 4sc, sc2tog, turn.
Row 3: ch1, sc2tog, 2sc, sc2tog, turn.
Row 4: ch1, sc2tog twice.
sc down edge of rows 1-4, 11sc, turn.
Row 1: ch1, sc2tog, 4sc, sc2tog.
Row 2: ch1, sc2tog, 2sc, sc2tog.
sc down edge of rows 1-2, this takes you back to the start of the egg edge waves.
sc around the whole of the edge of the egg, slip stitch into dc at the start.
Fasten off.
Fasten off all loose ends.
Yolk dome:
In yellow:
Round 1: make a magic ring, ch1, 6sc into ring.
Round 2: 2sc into each sc.
Round 3: 2sc into each sc.
Round 4: sc around.
Round 5: sc around.
Round 6: sc around.
Fasten off, leaving long tail to attach to egg base.
Place stuffing into yolk dome, then sew onto the egg base in the same location as the yolk area crocheted previously.
Fasten off all loose ends.

Leave a comment