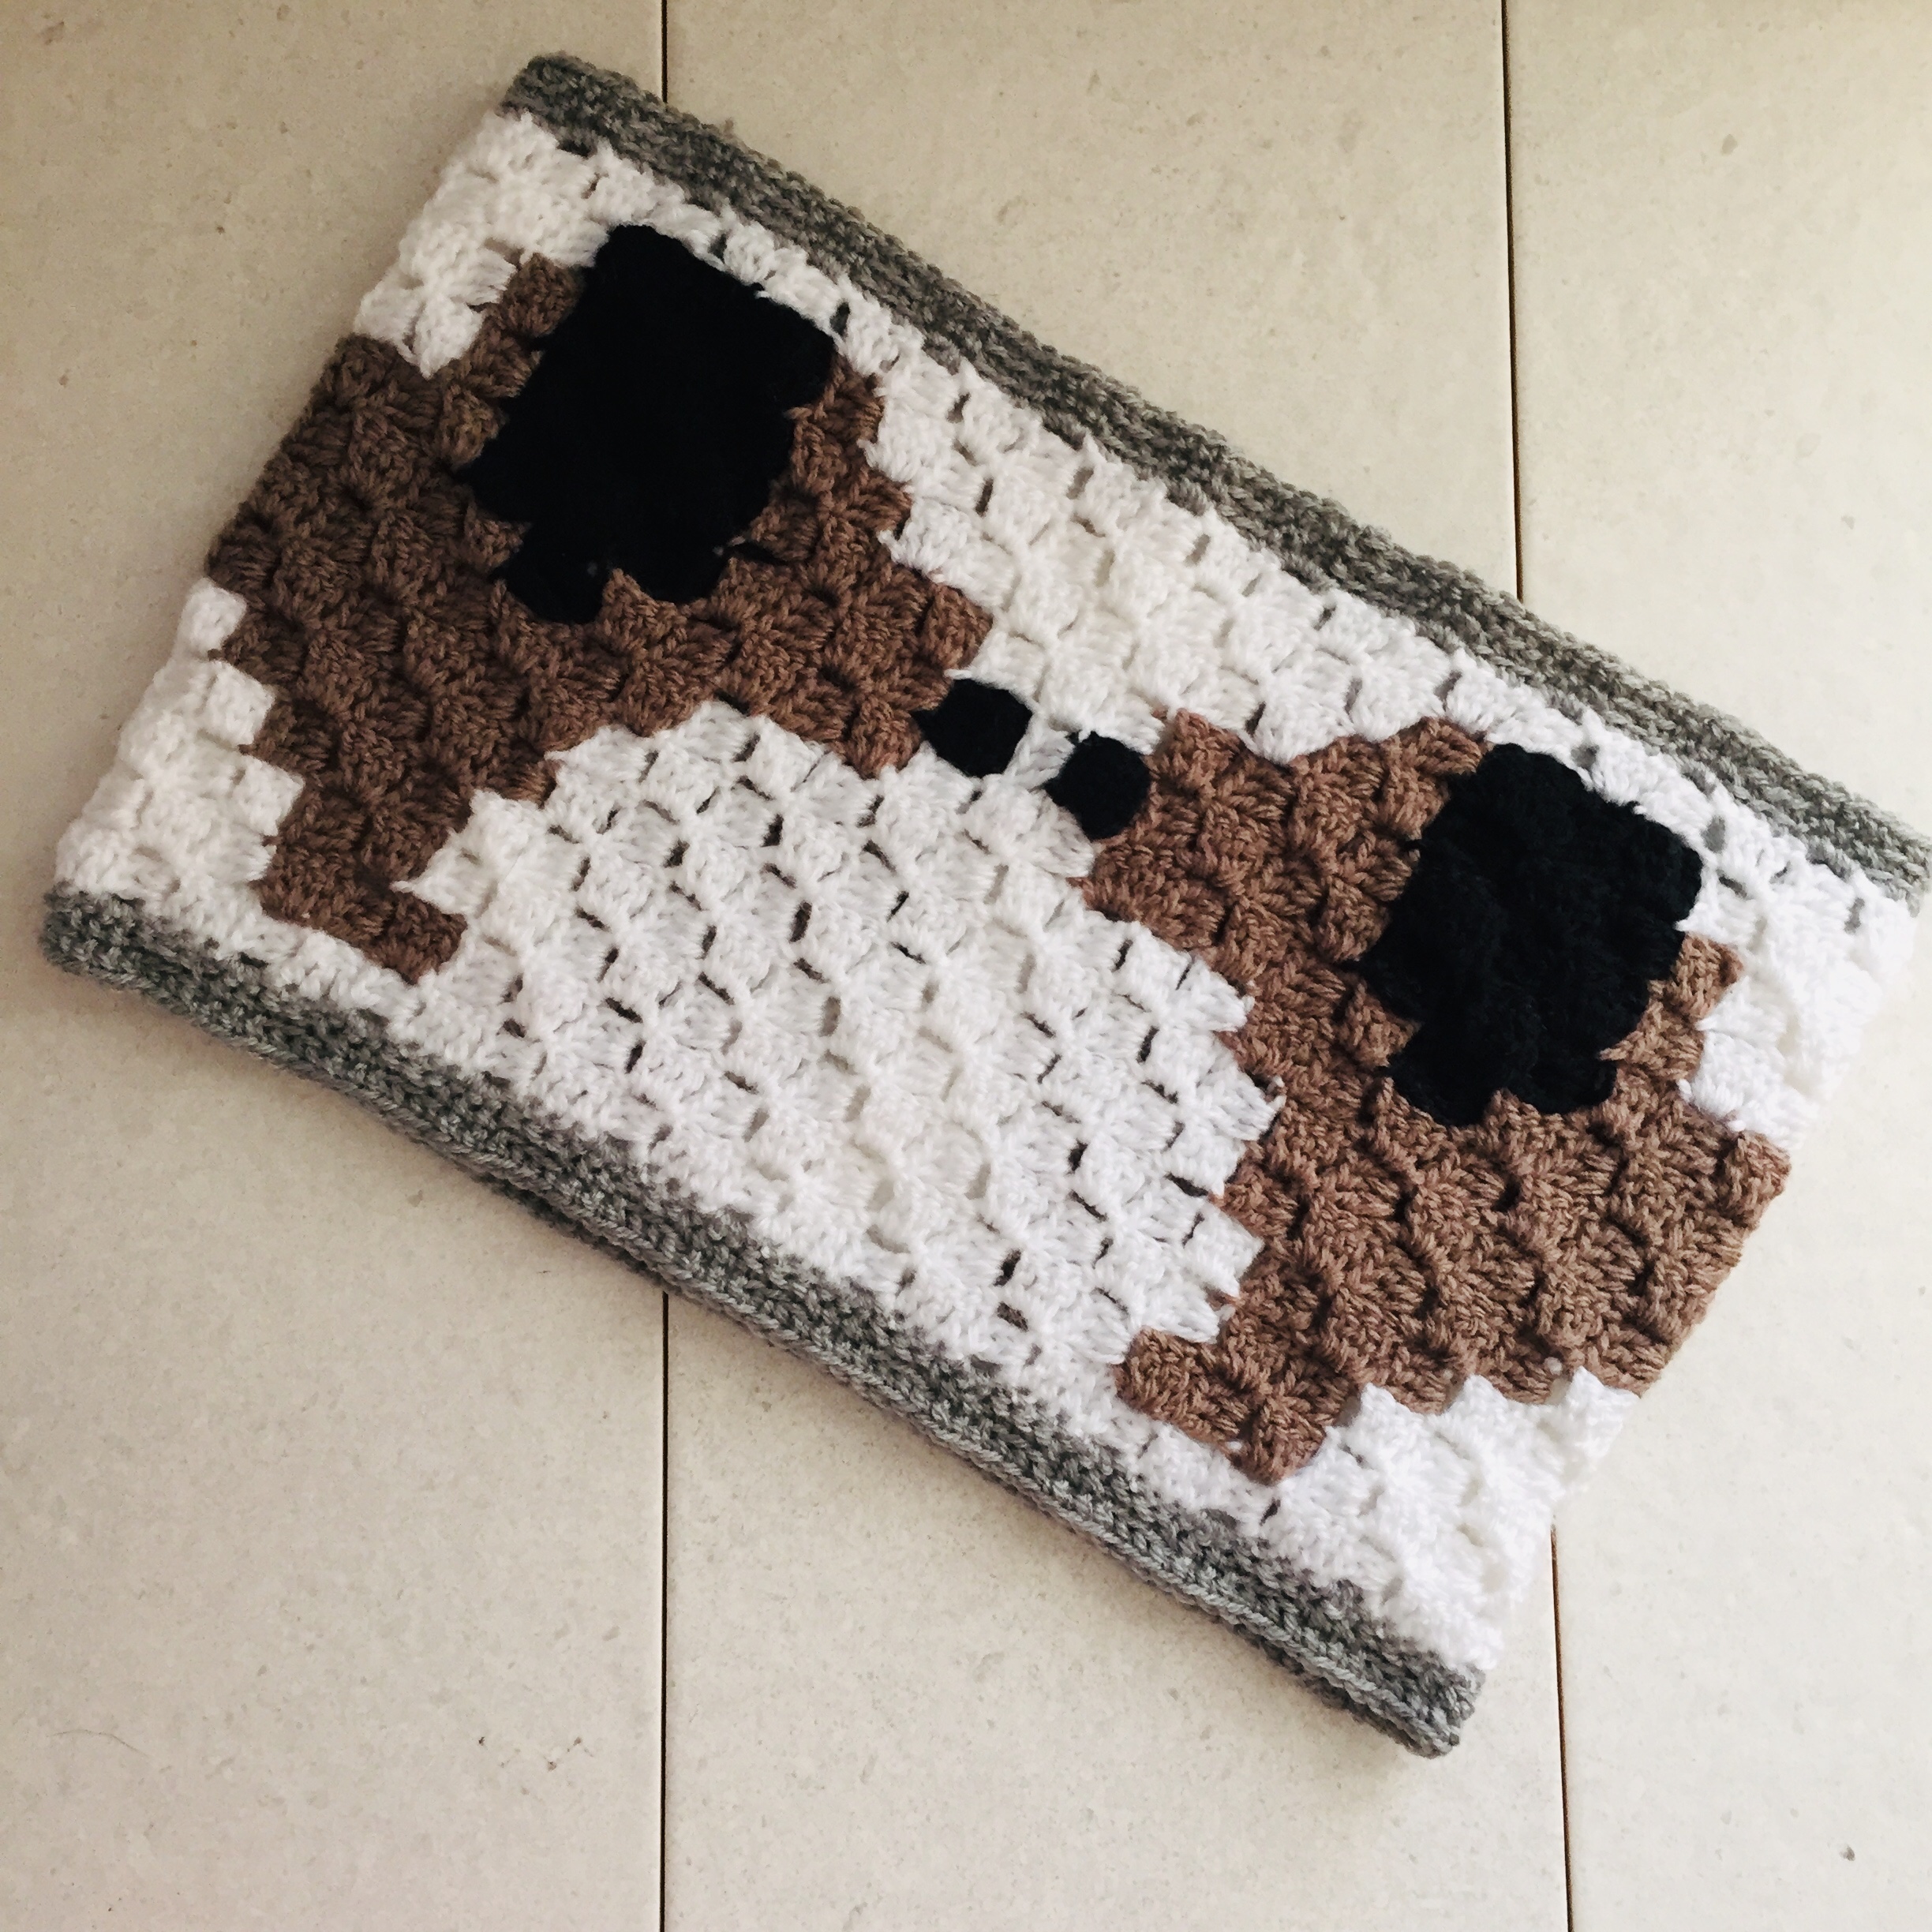
I love making things with corner to corner crochet and I always have at least one corner to corner project in my in WIP pile, if you are wanting to try out corner to corner crochet I have loads of different corner to corner patterns available on my website and Etsy shops.
Here is a little guide on how to do corner to corner crochet for anyone just starting out on there first corner to corner crochet project. It can look a little daunting to start but don’t worry once you have completed the first few rows you will be well on your way.
- This guide is for tr(UK)/dc(US) corner to corner crochet, if you would like to try out corner to corner crochet using htr(UK)/hdc(US) check out this how to guide.
Free corner to corner projects on my blog:


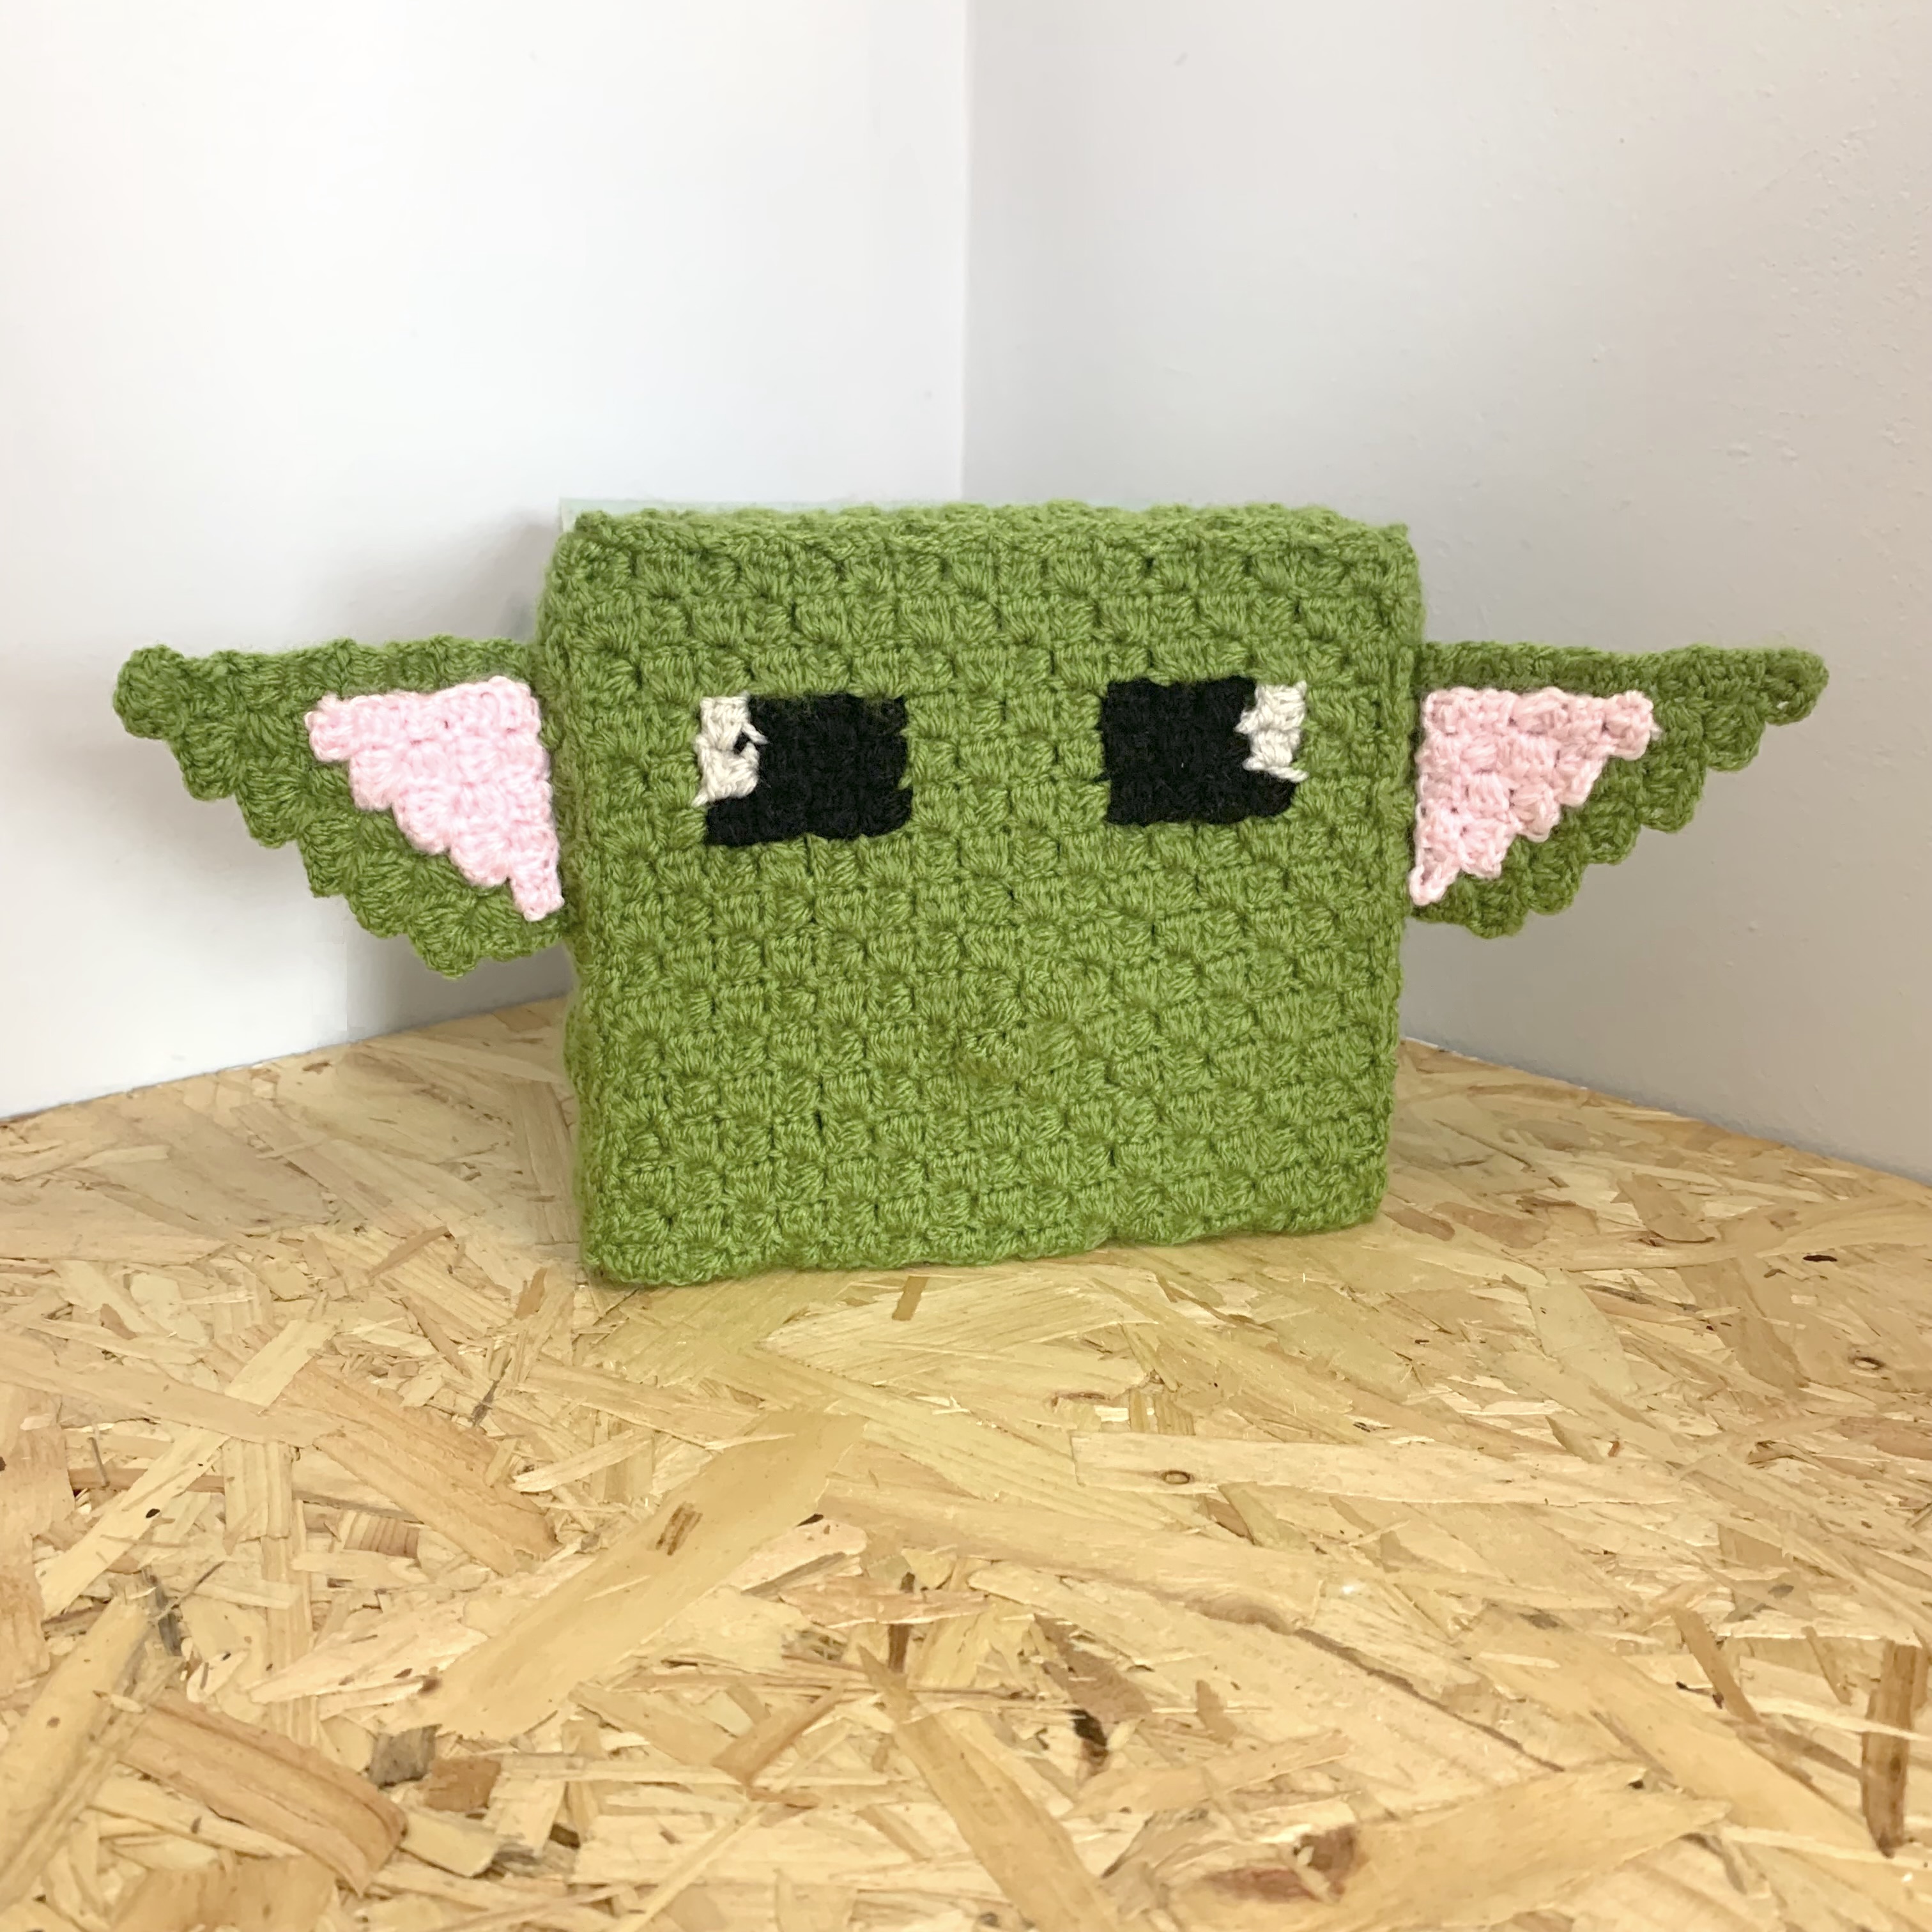
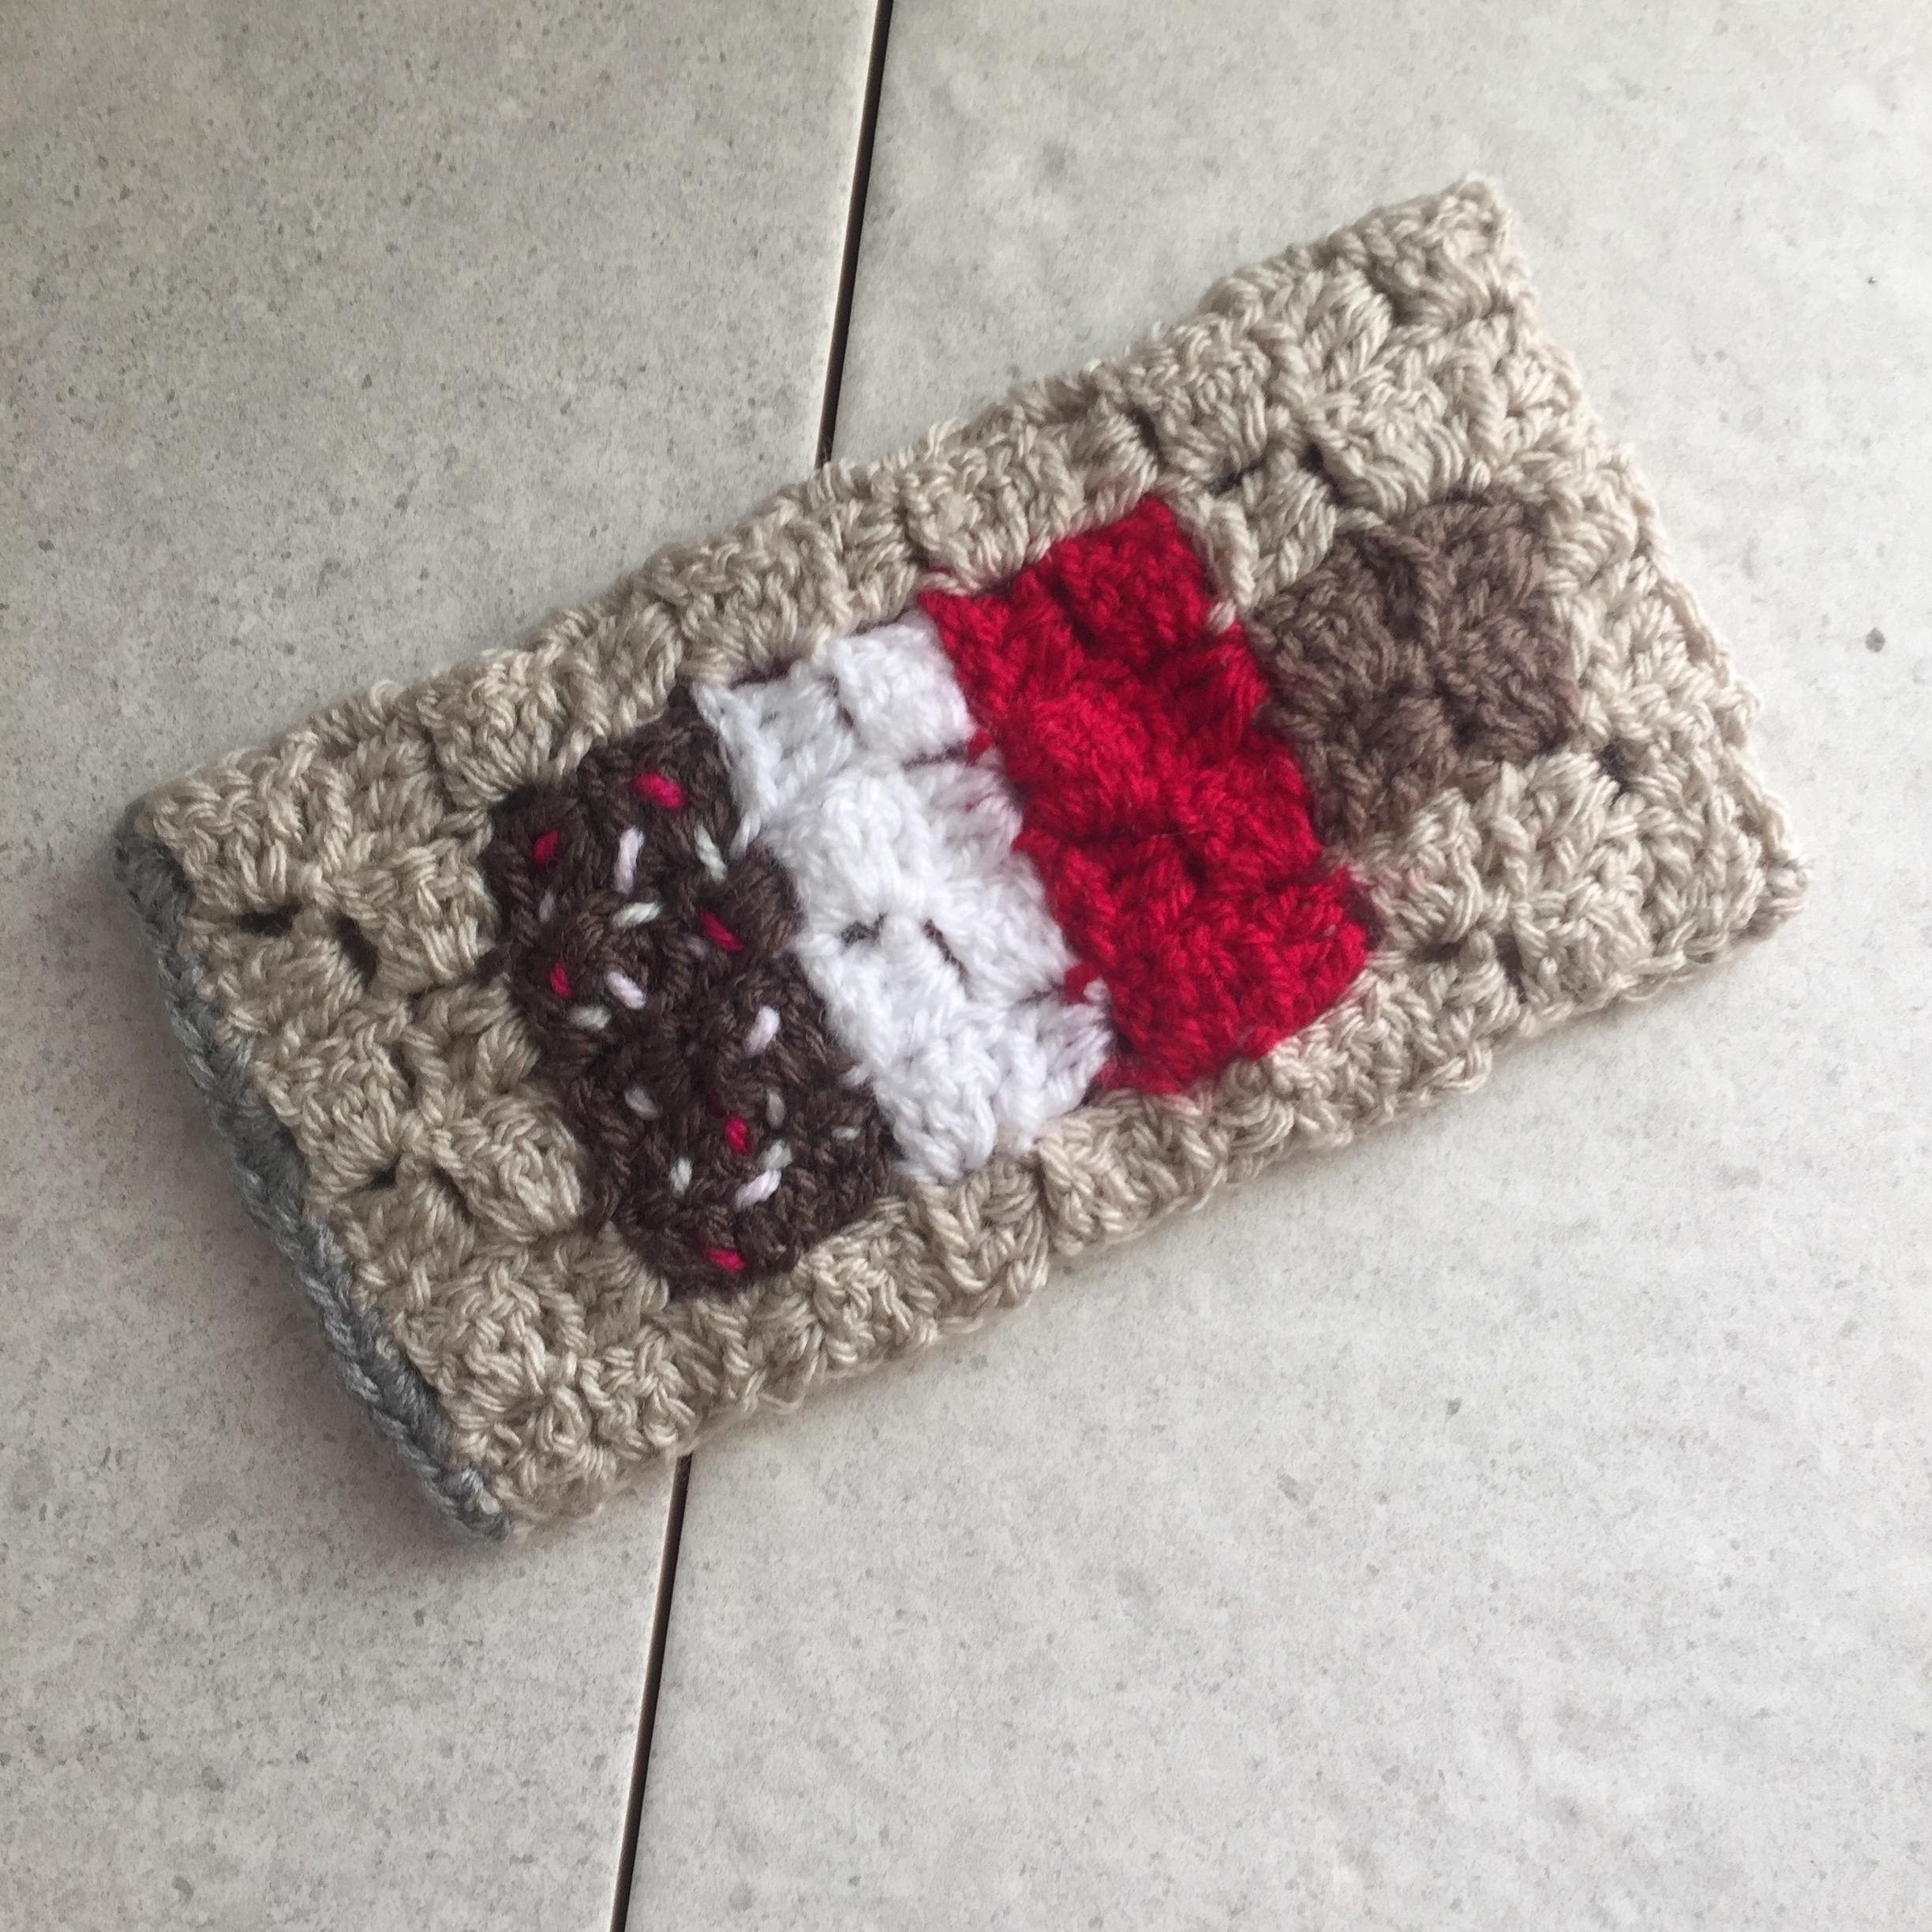
- For Minecraft themed corner to corner makes from blocks to pencils cases.
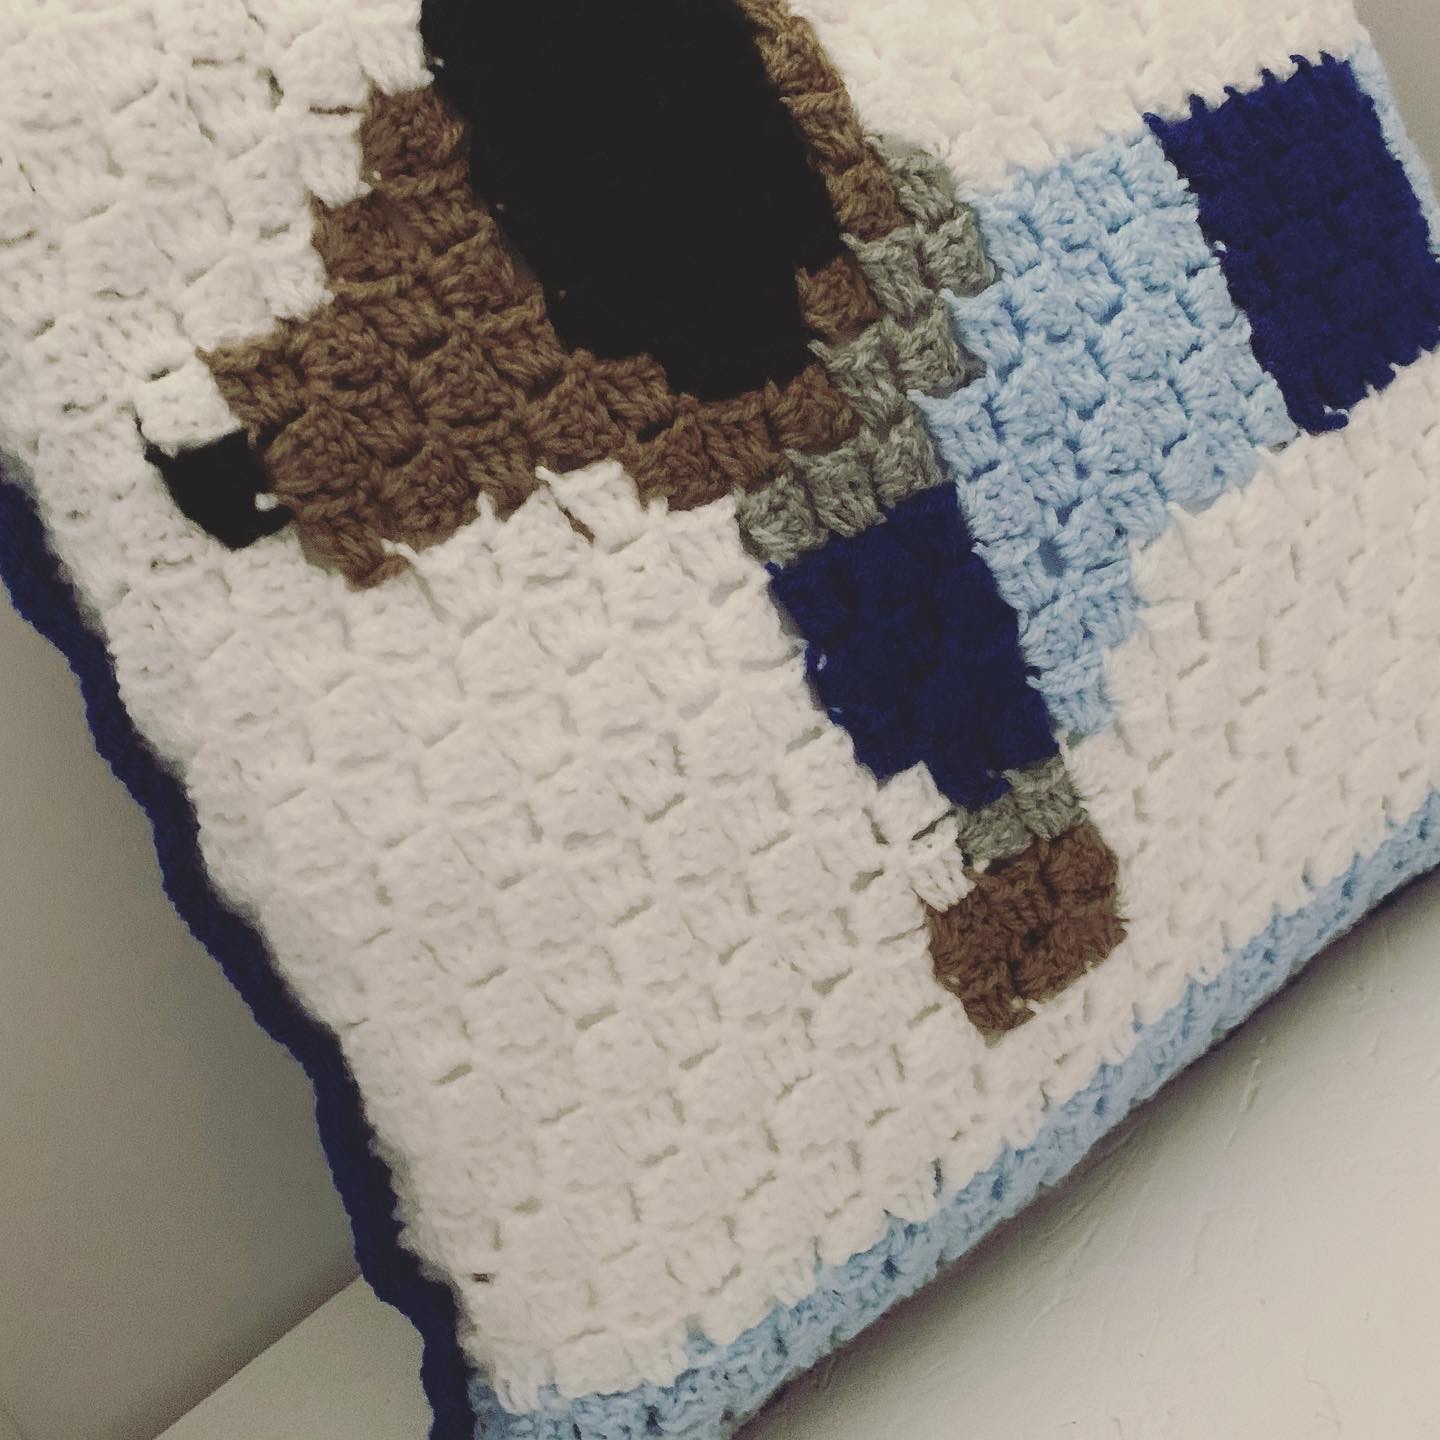
- For Star Wars themed corner to corner makes.
- For Harry Potter themed corner to corner makes.
- Home corner to corner crochet makes.
Corner to corner Projects on my Etsy shop:

- From christmas themed makes to blankets there a loads of different corner to corner projects available on my Etsy shop HookStitchSew.
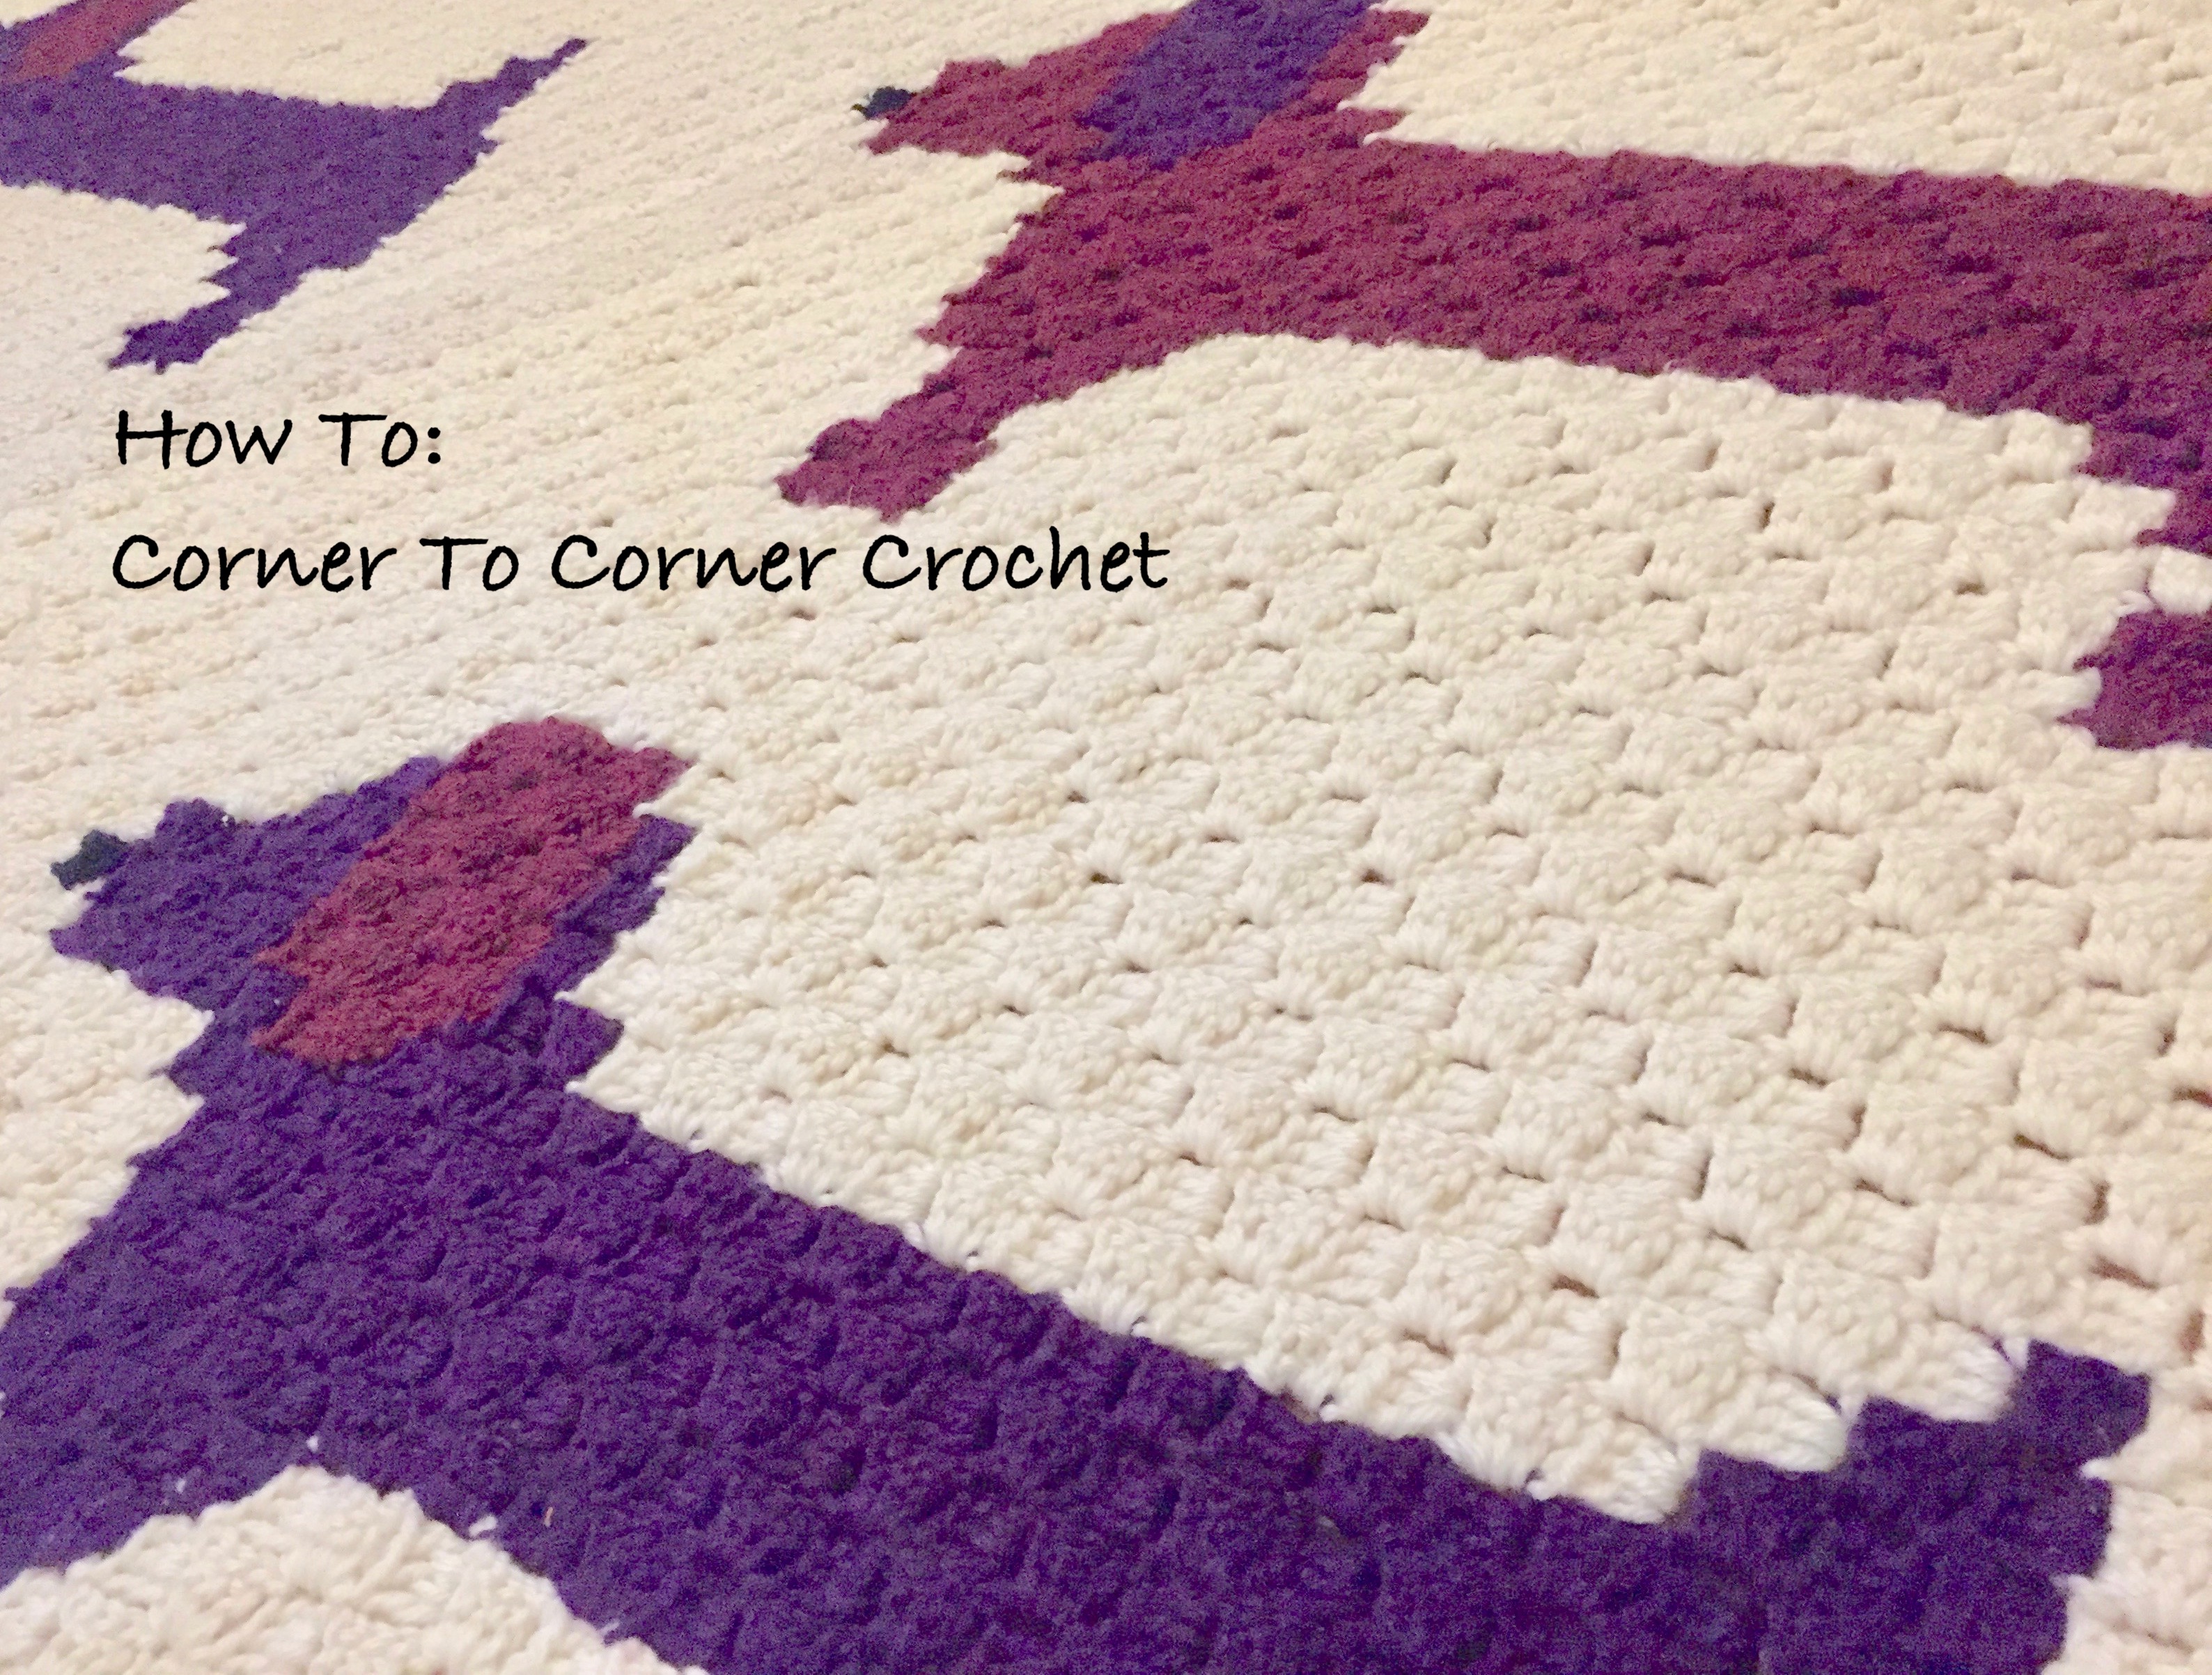
Crochet How To: Corner To Corner Crochet
Starting and Increasing Rows:
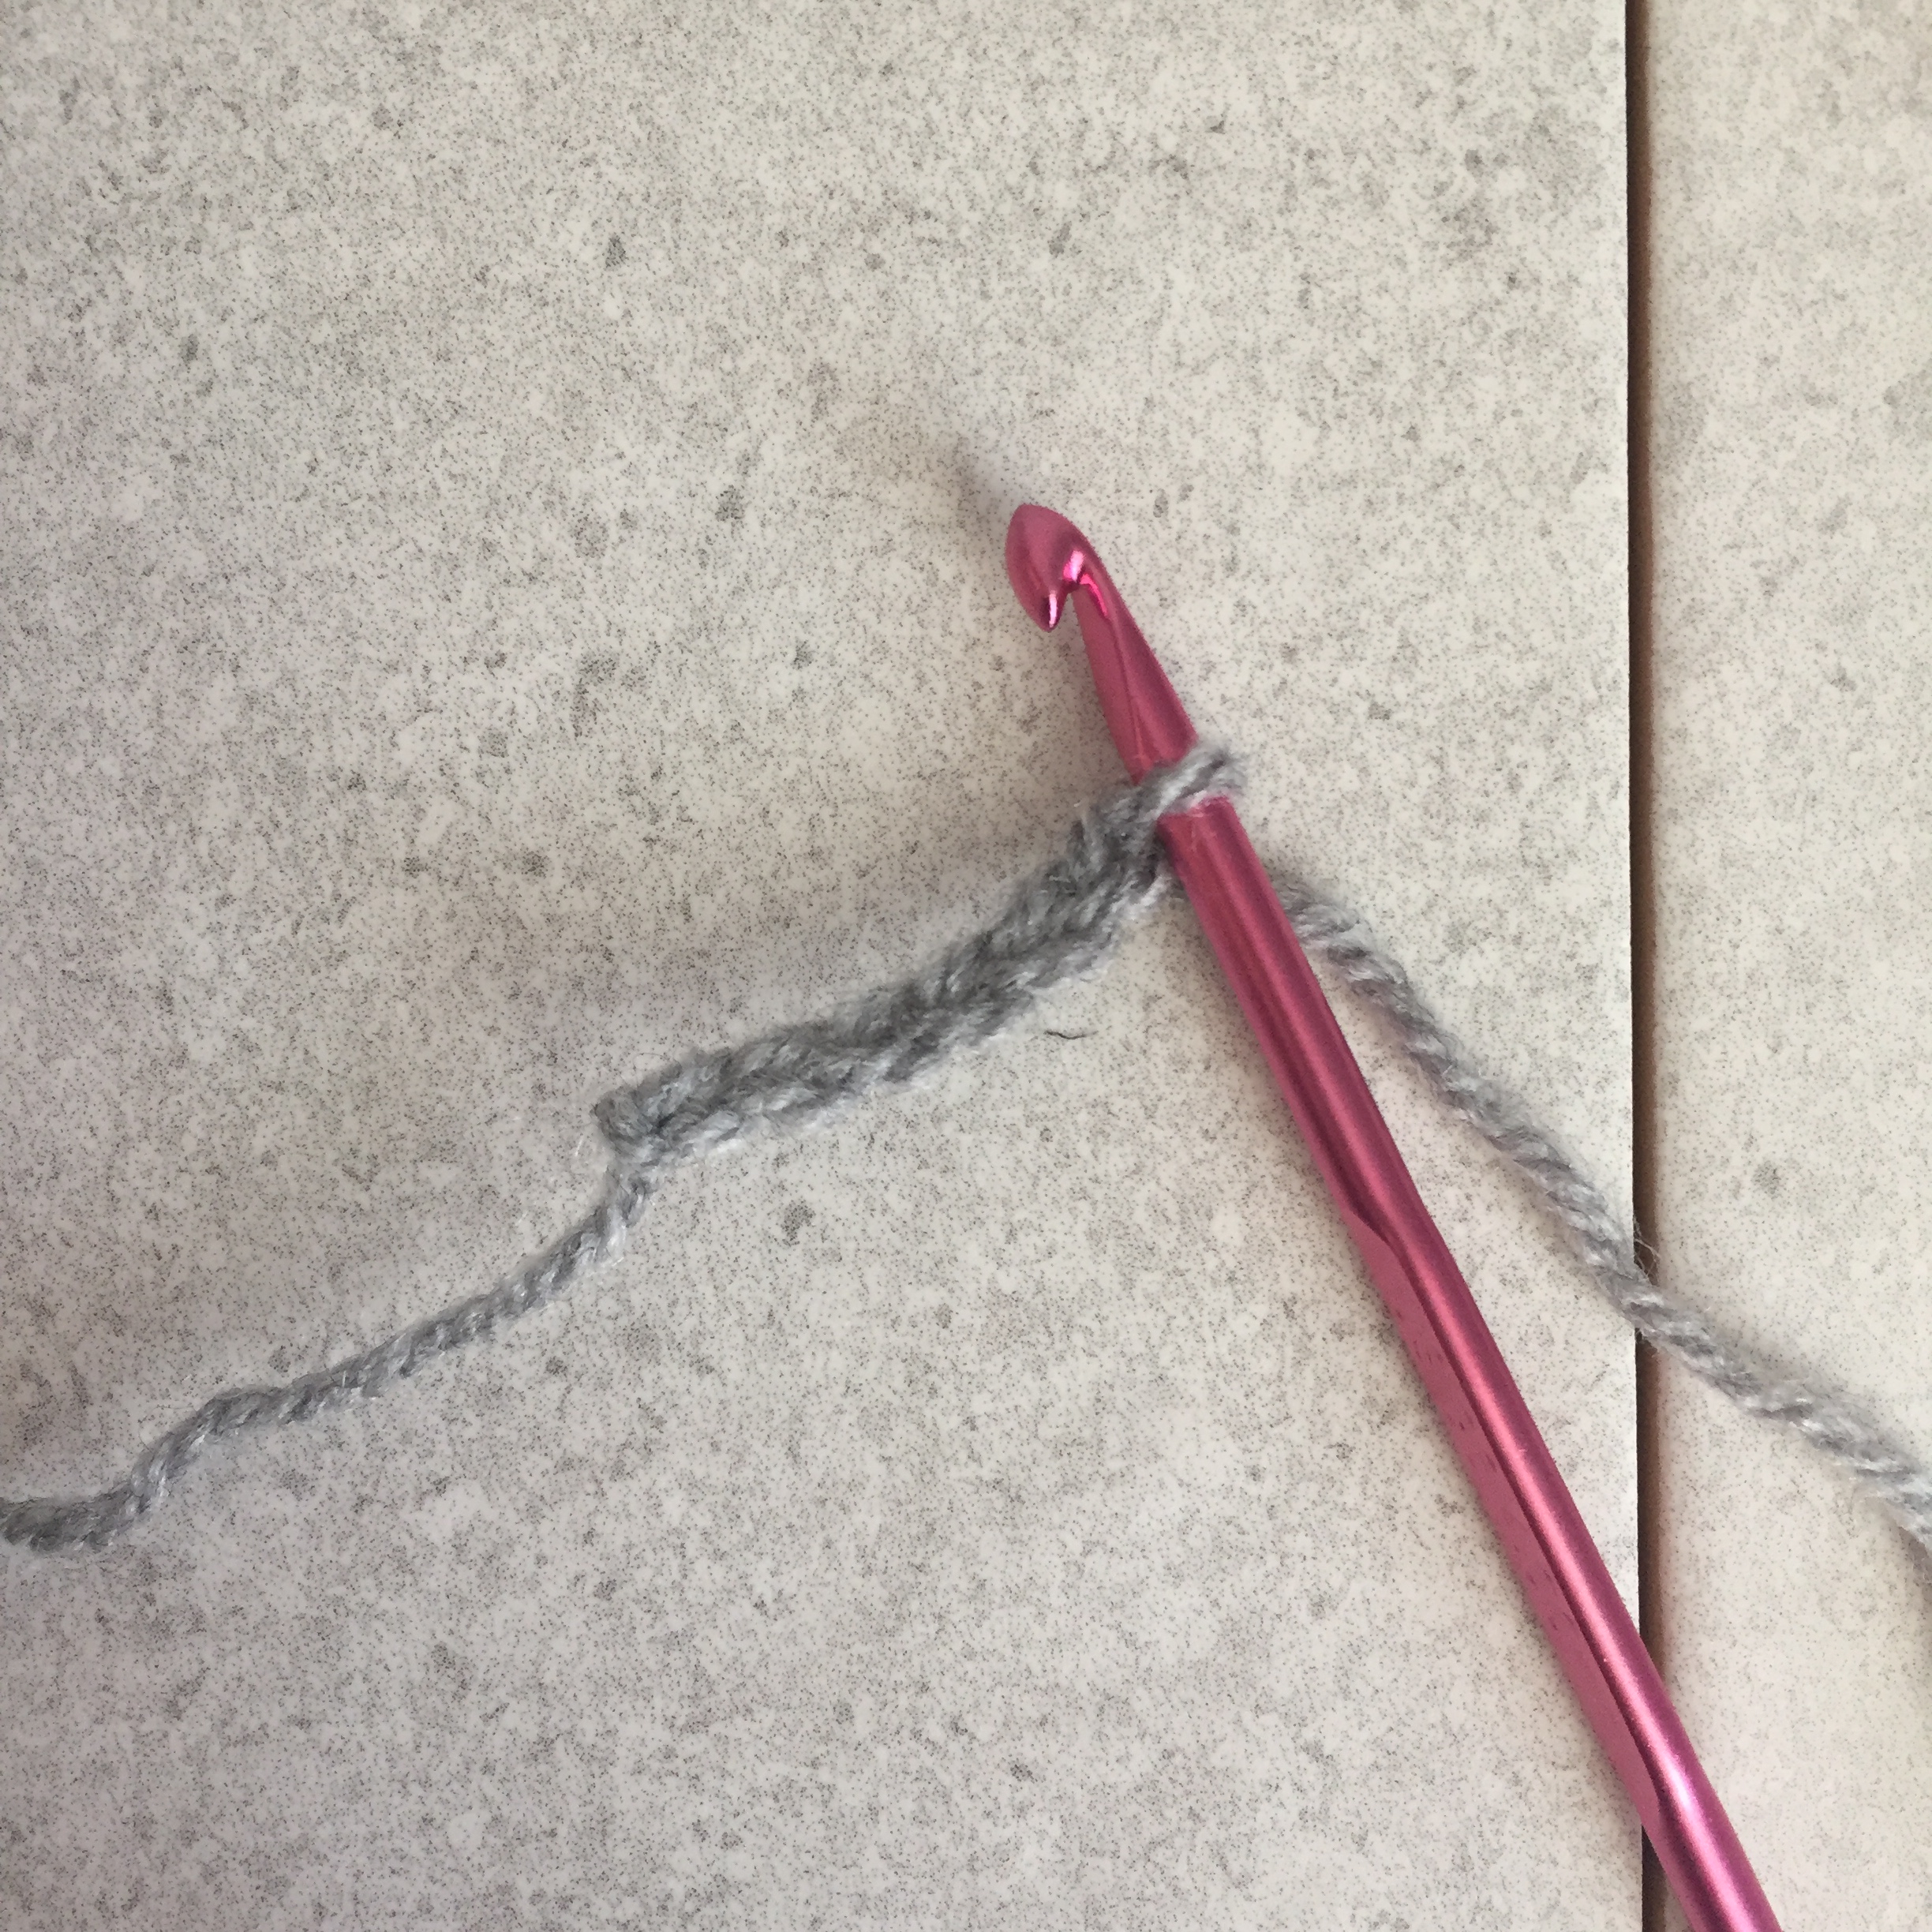
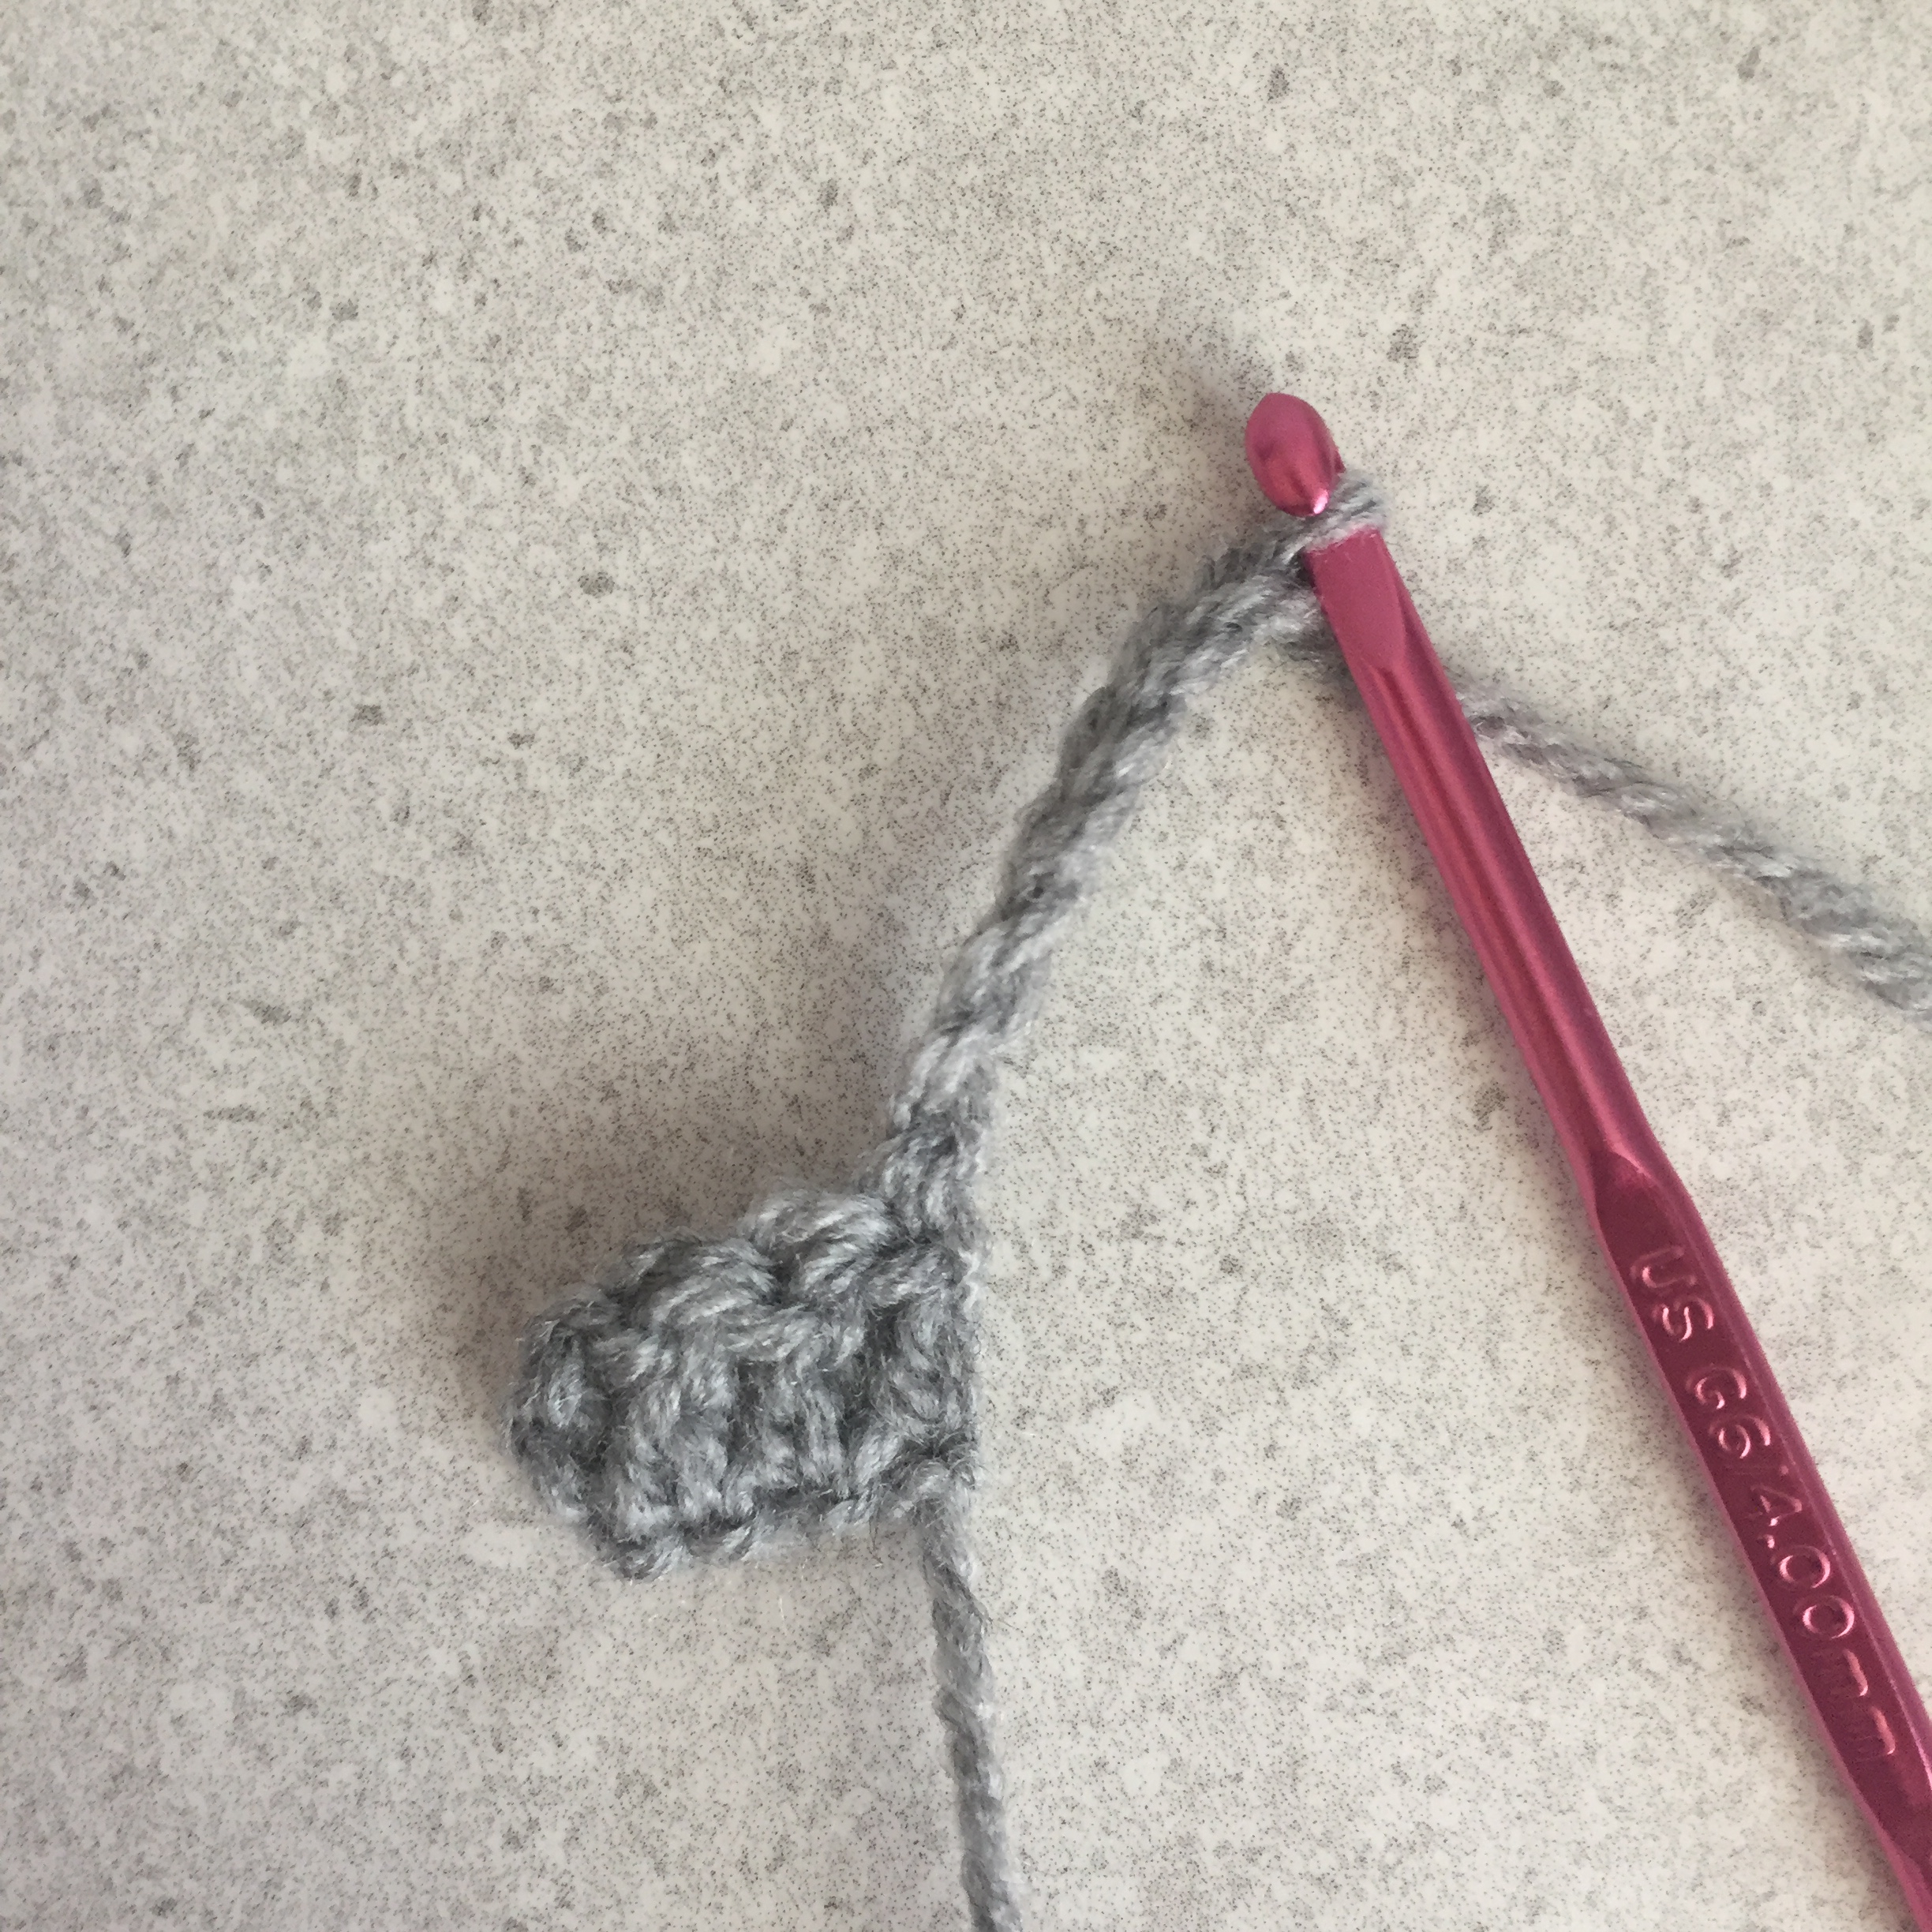
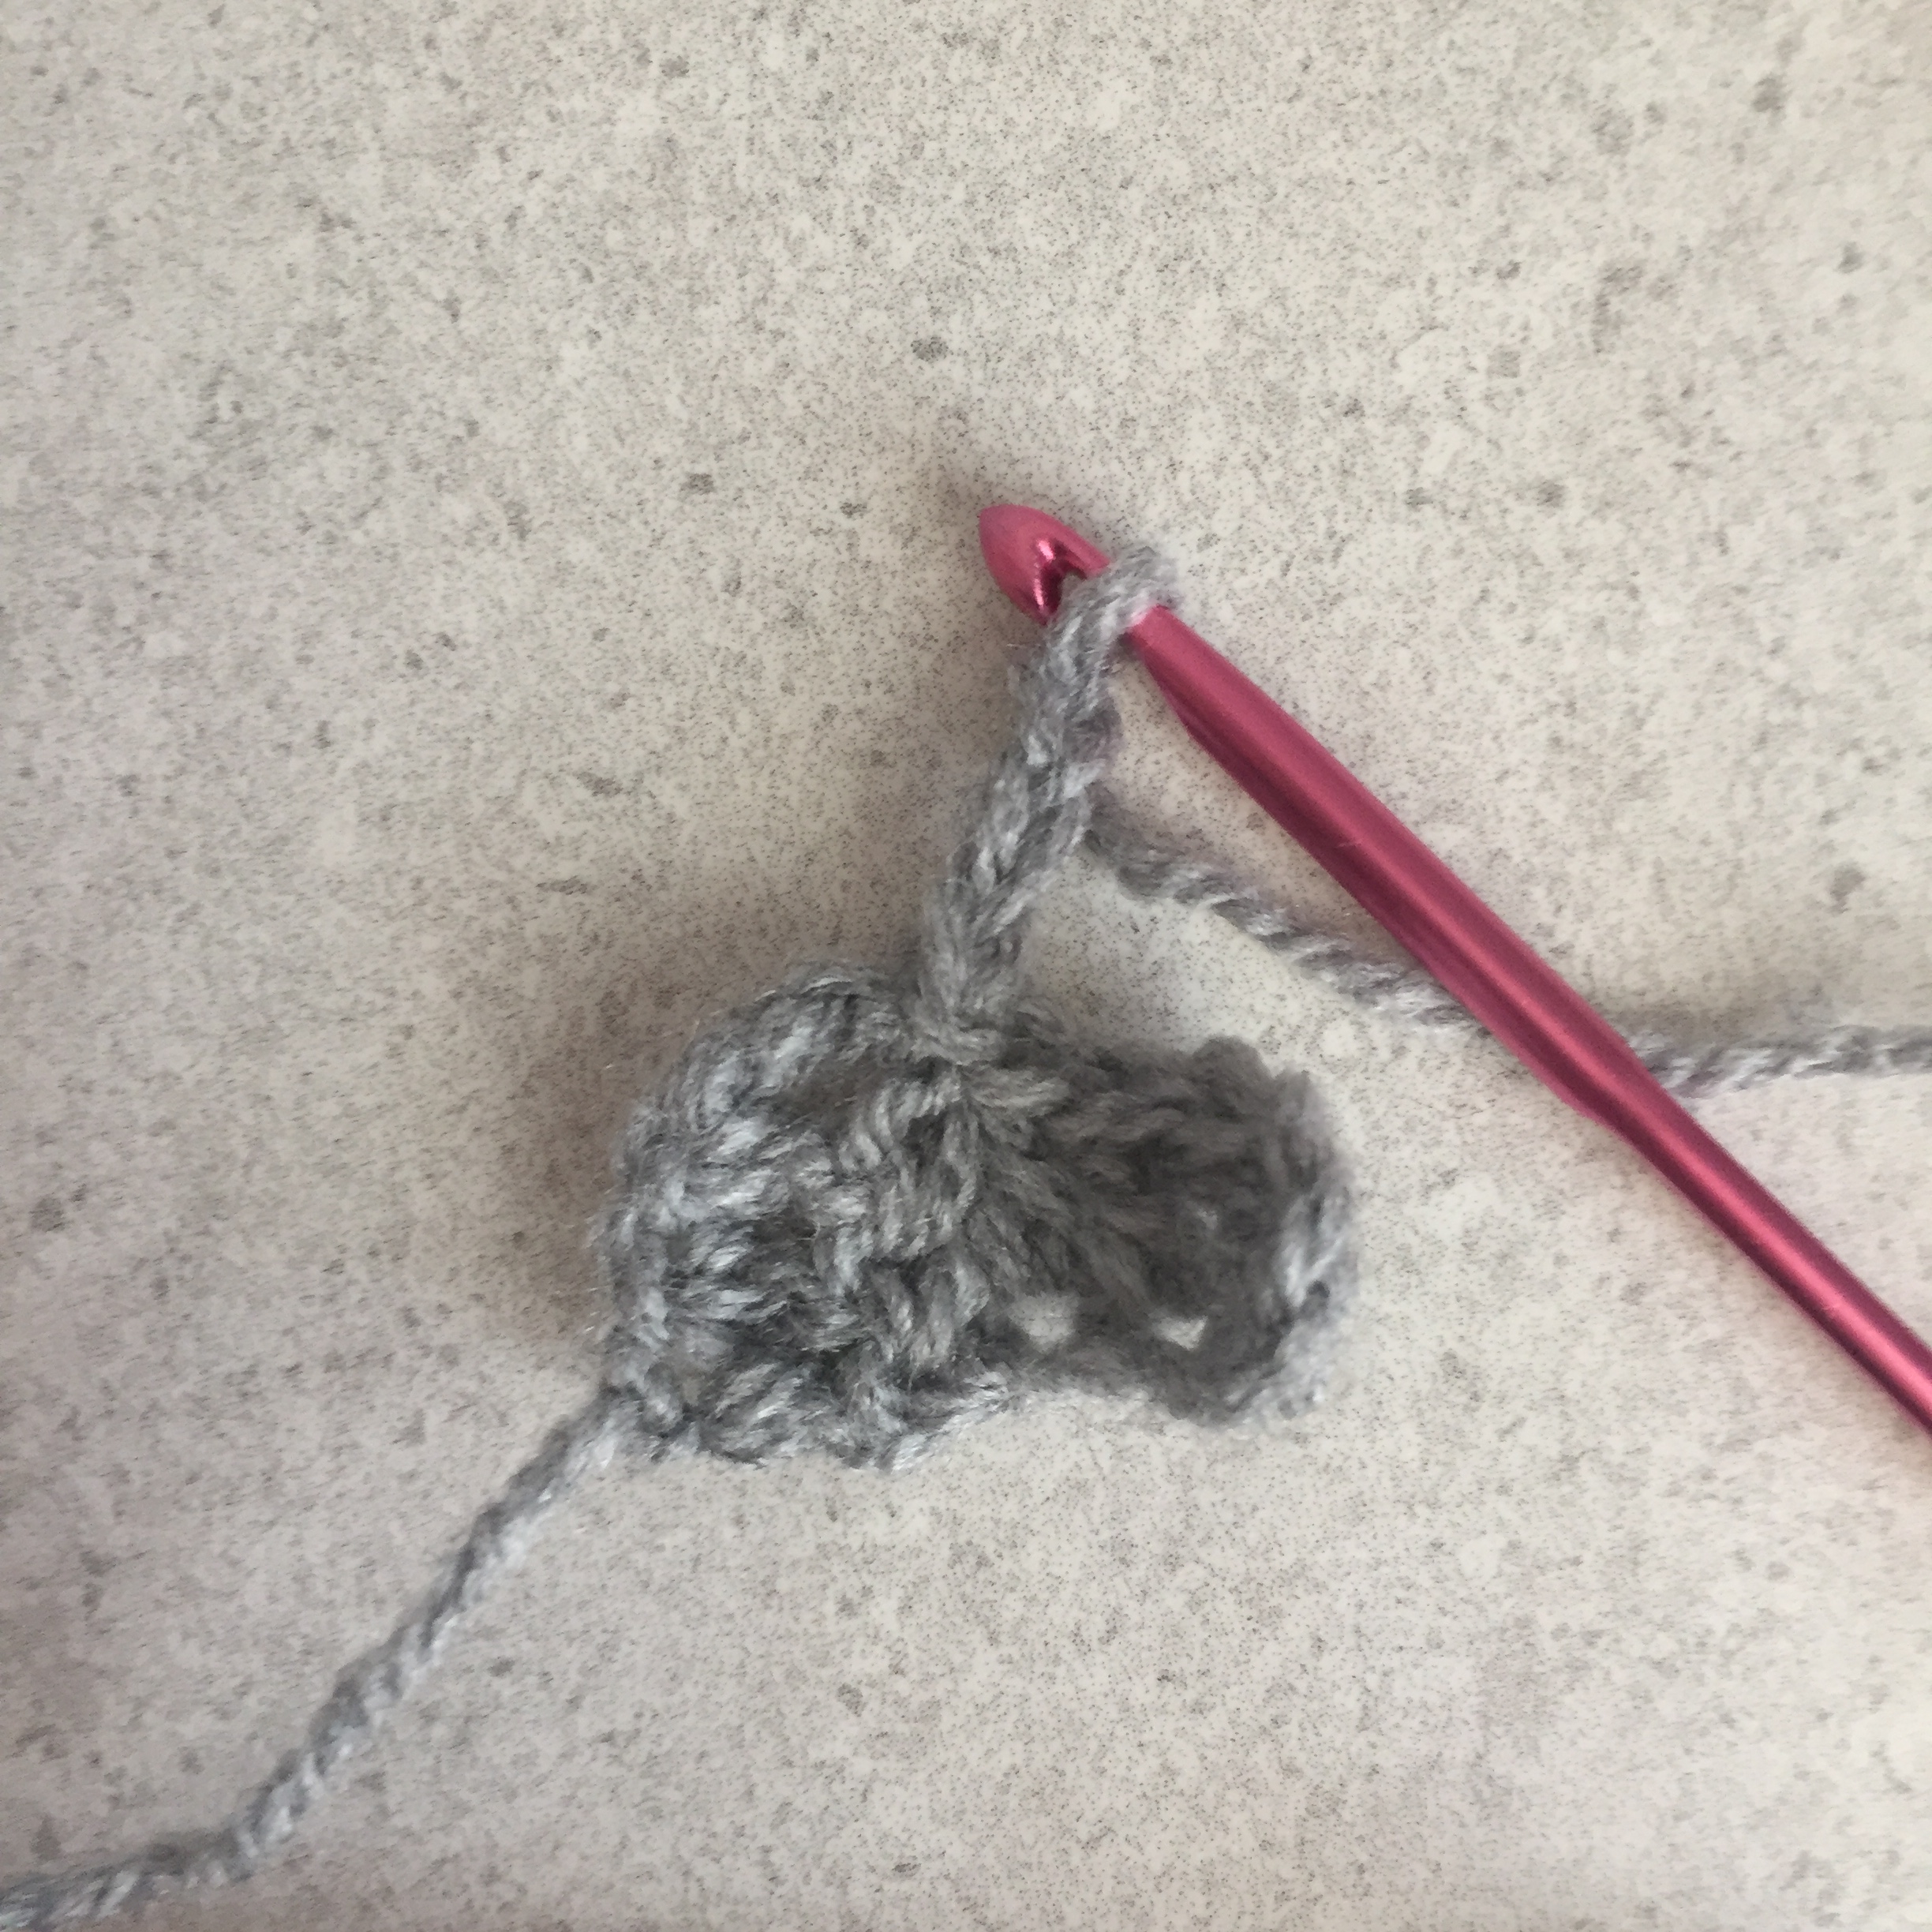
Row 1: ch6, tr(UK)/dc(US) into 4th ch from the hook, tr(UK)/dc(US) in last 2 ch. Turn.
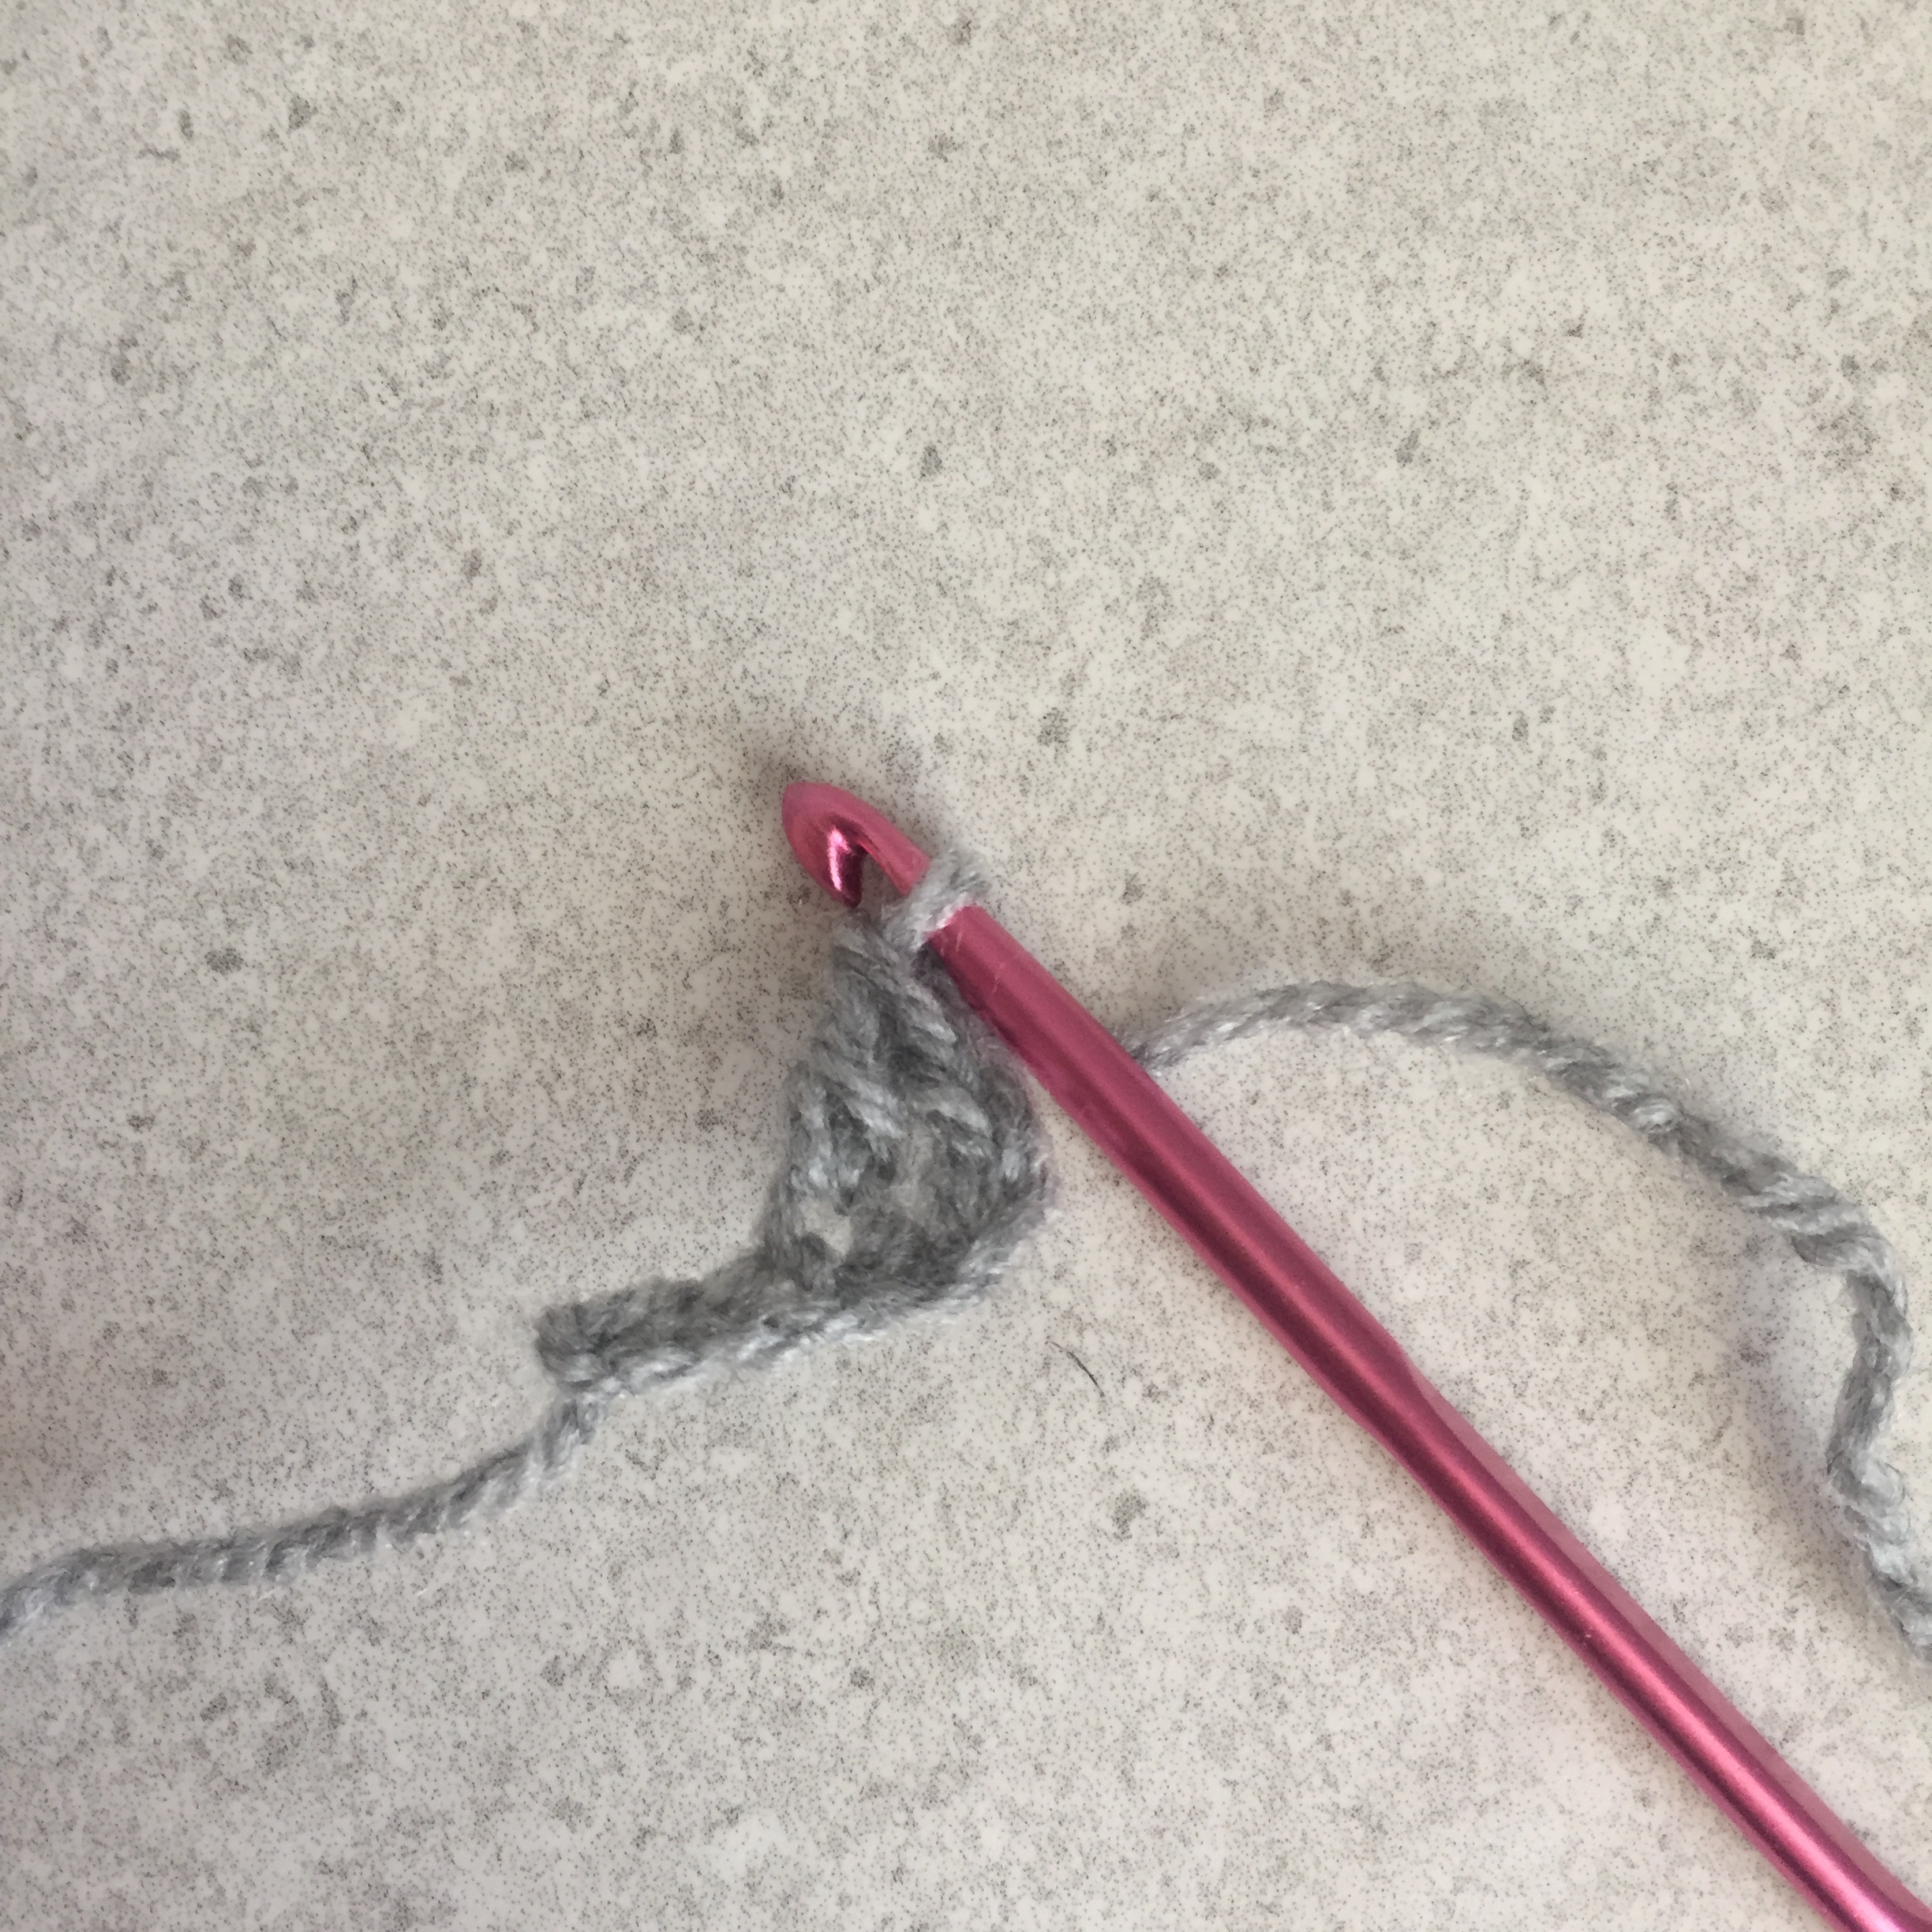
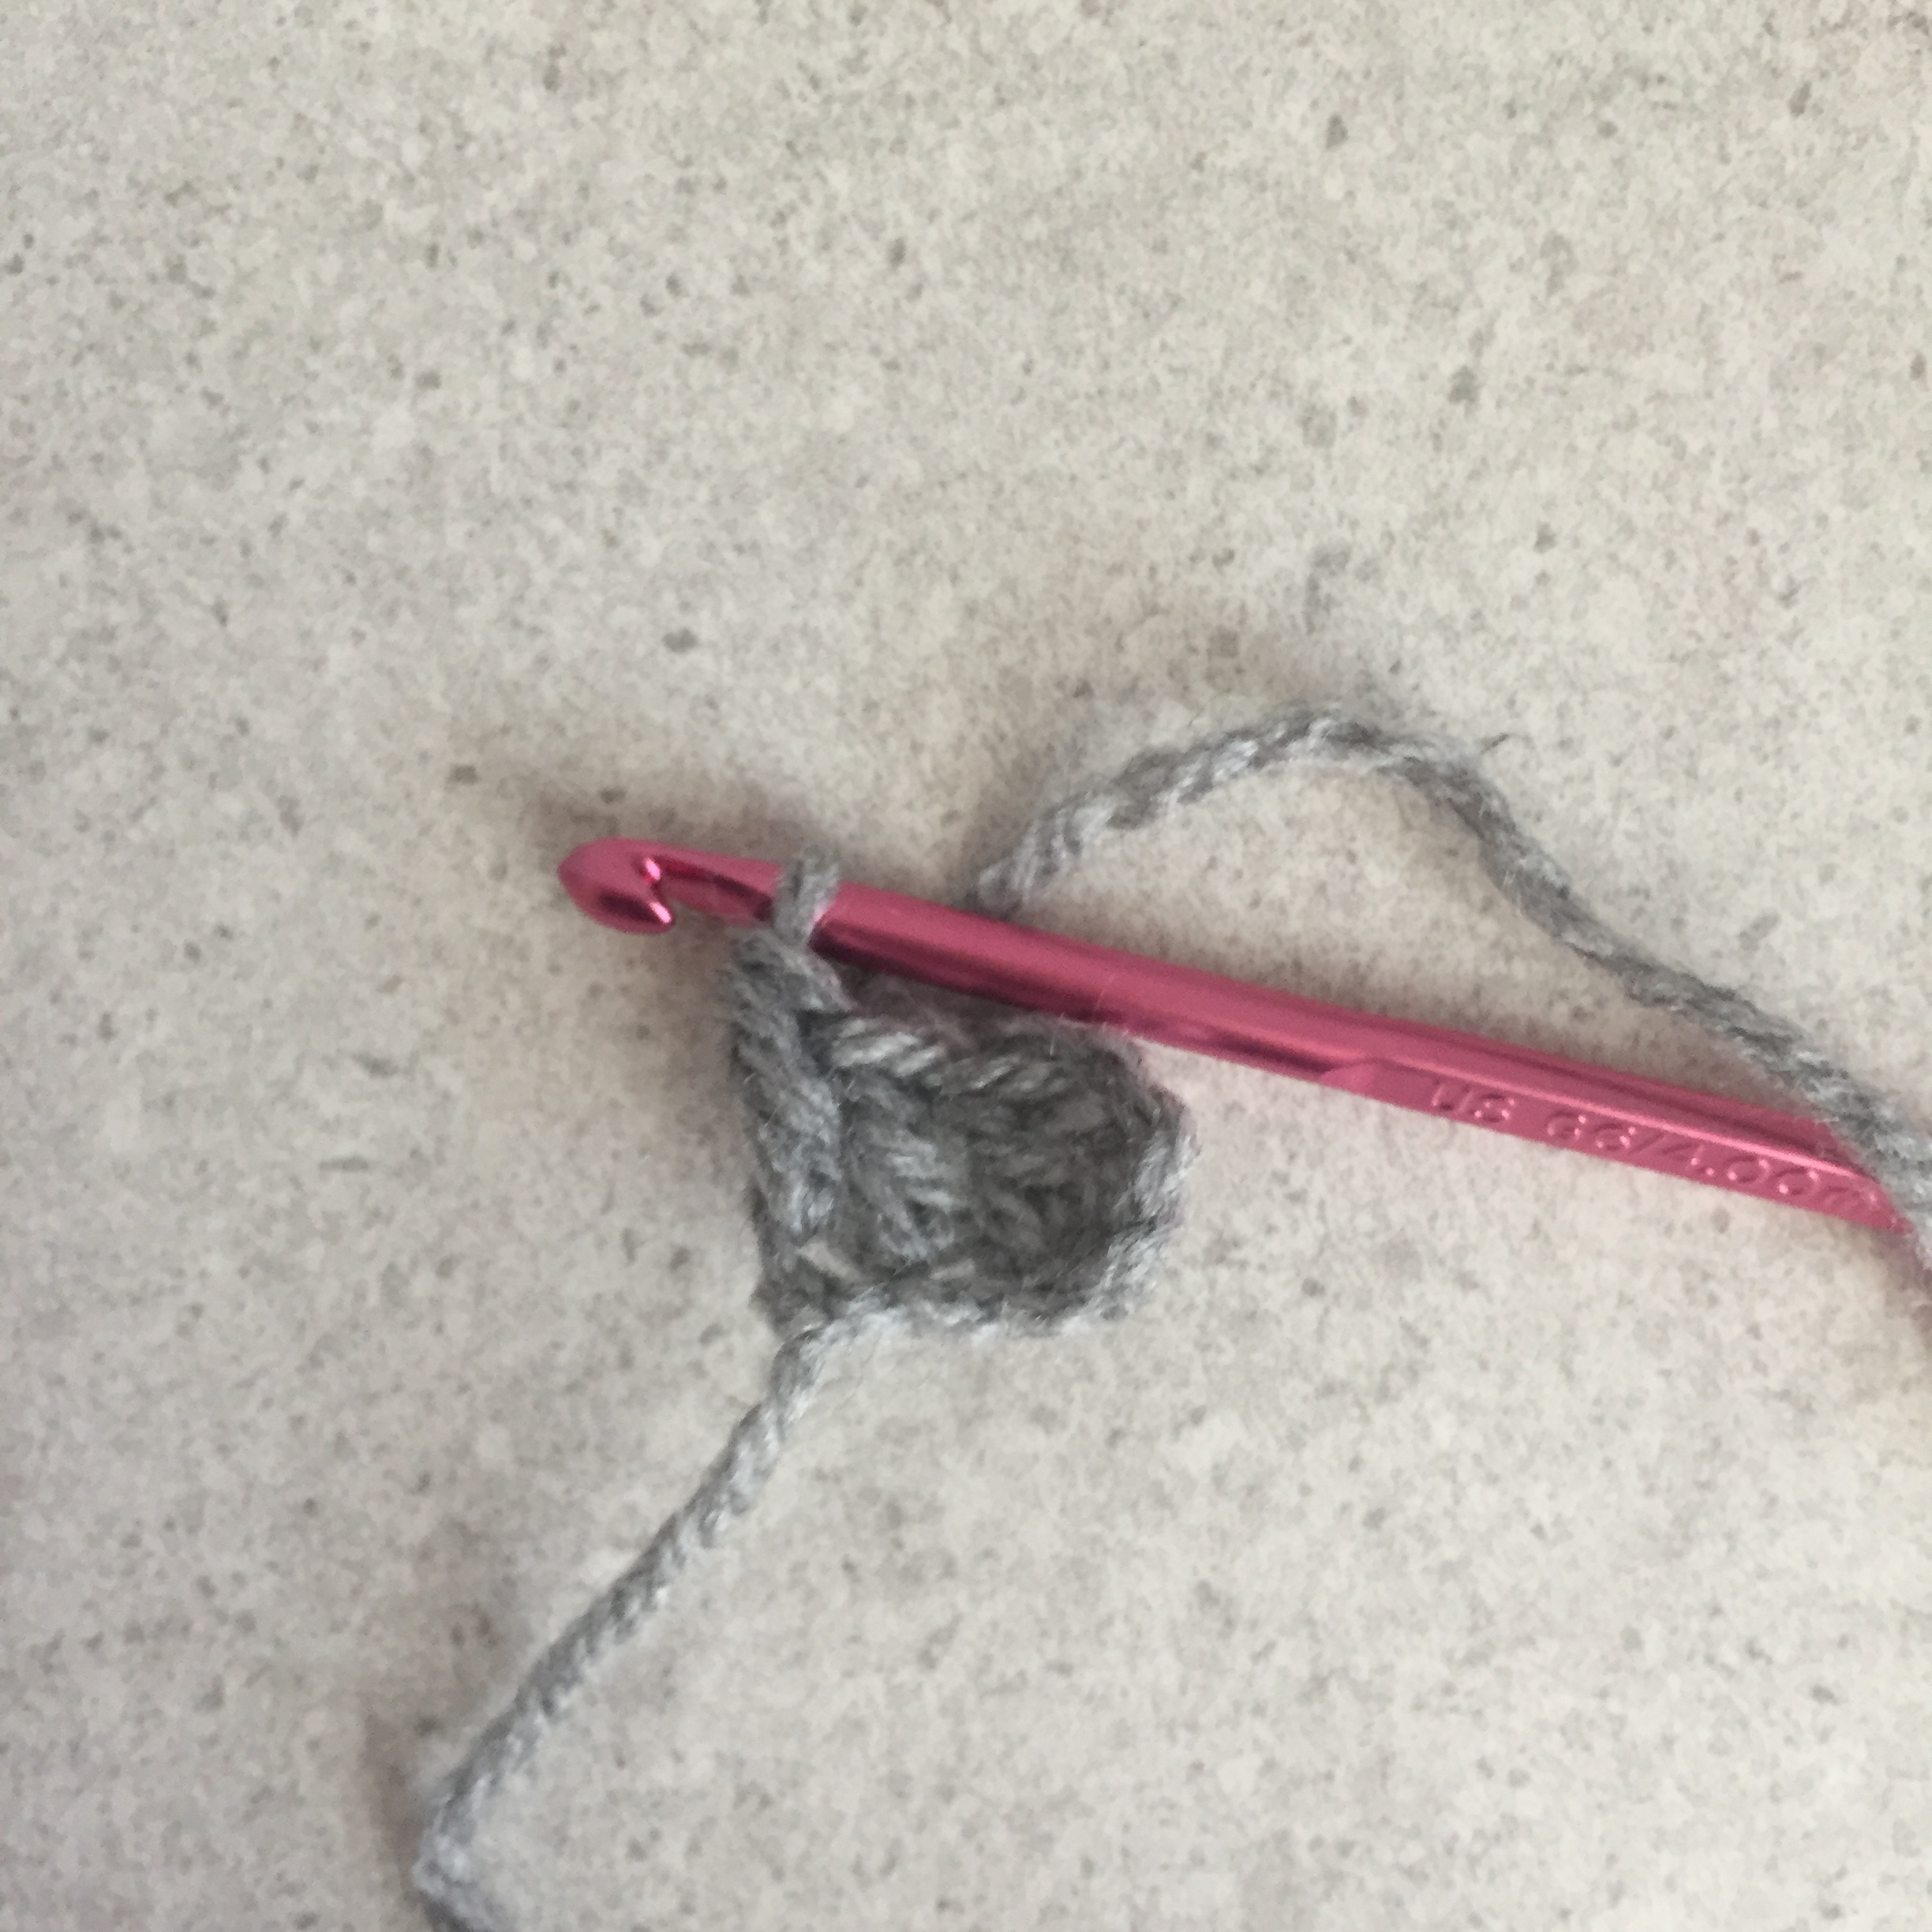
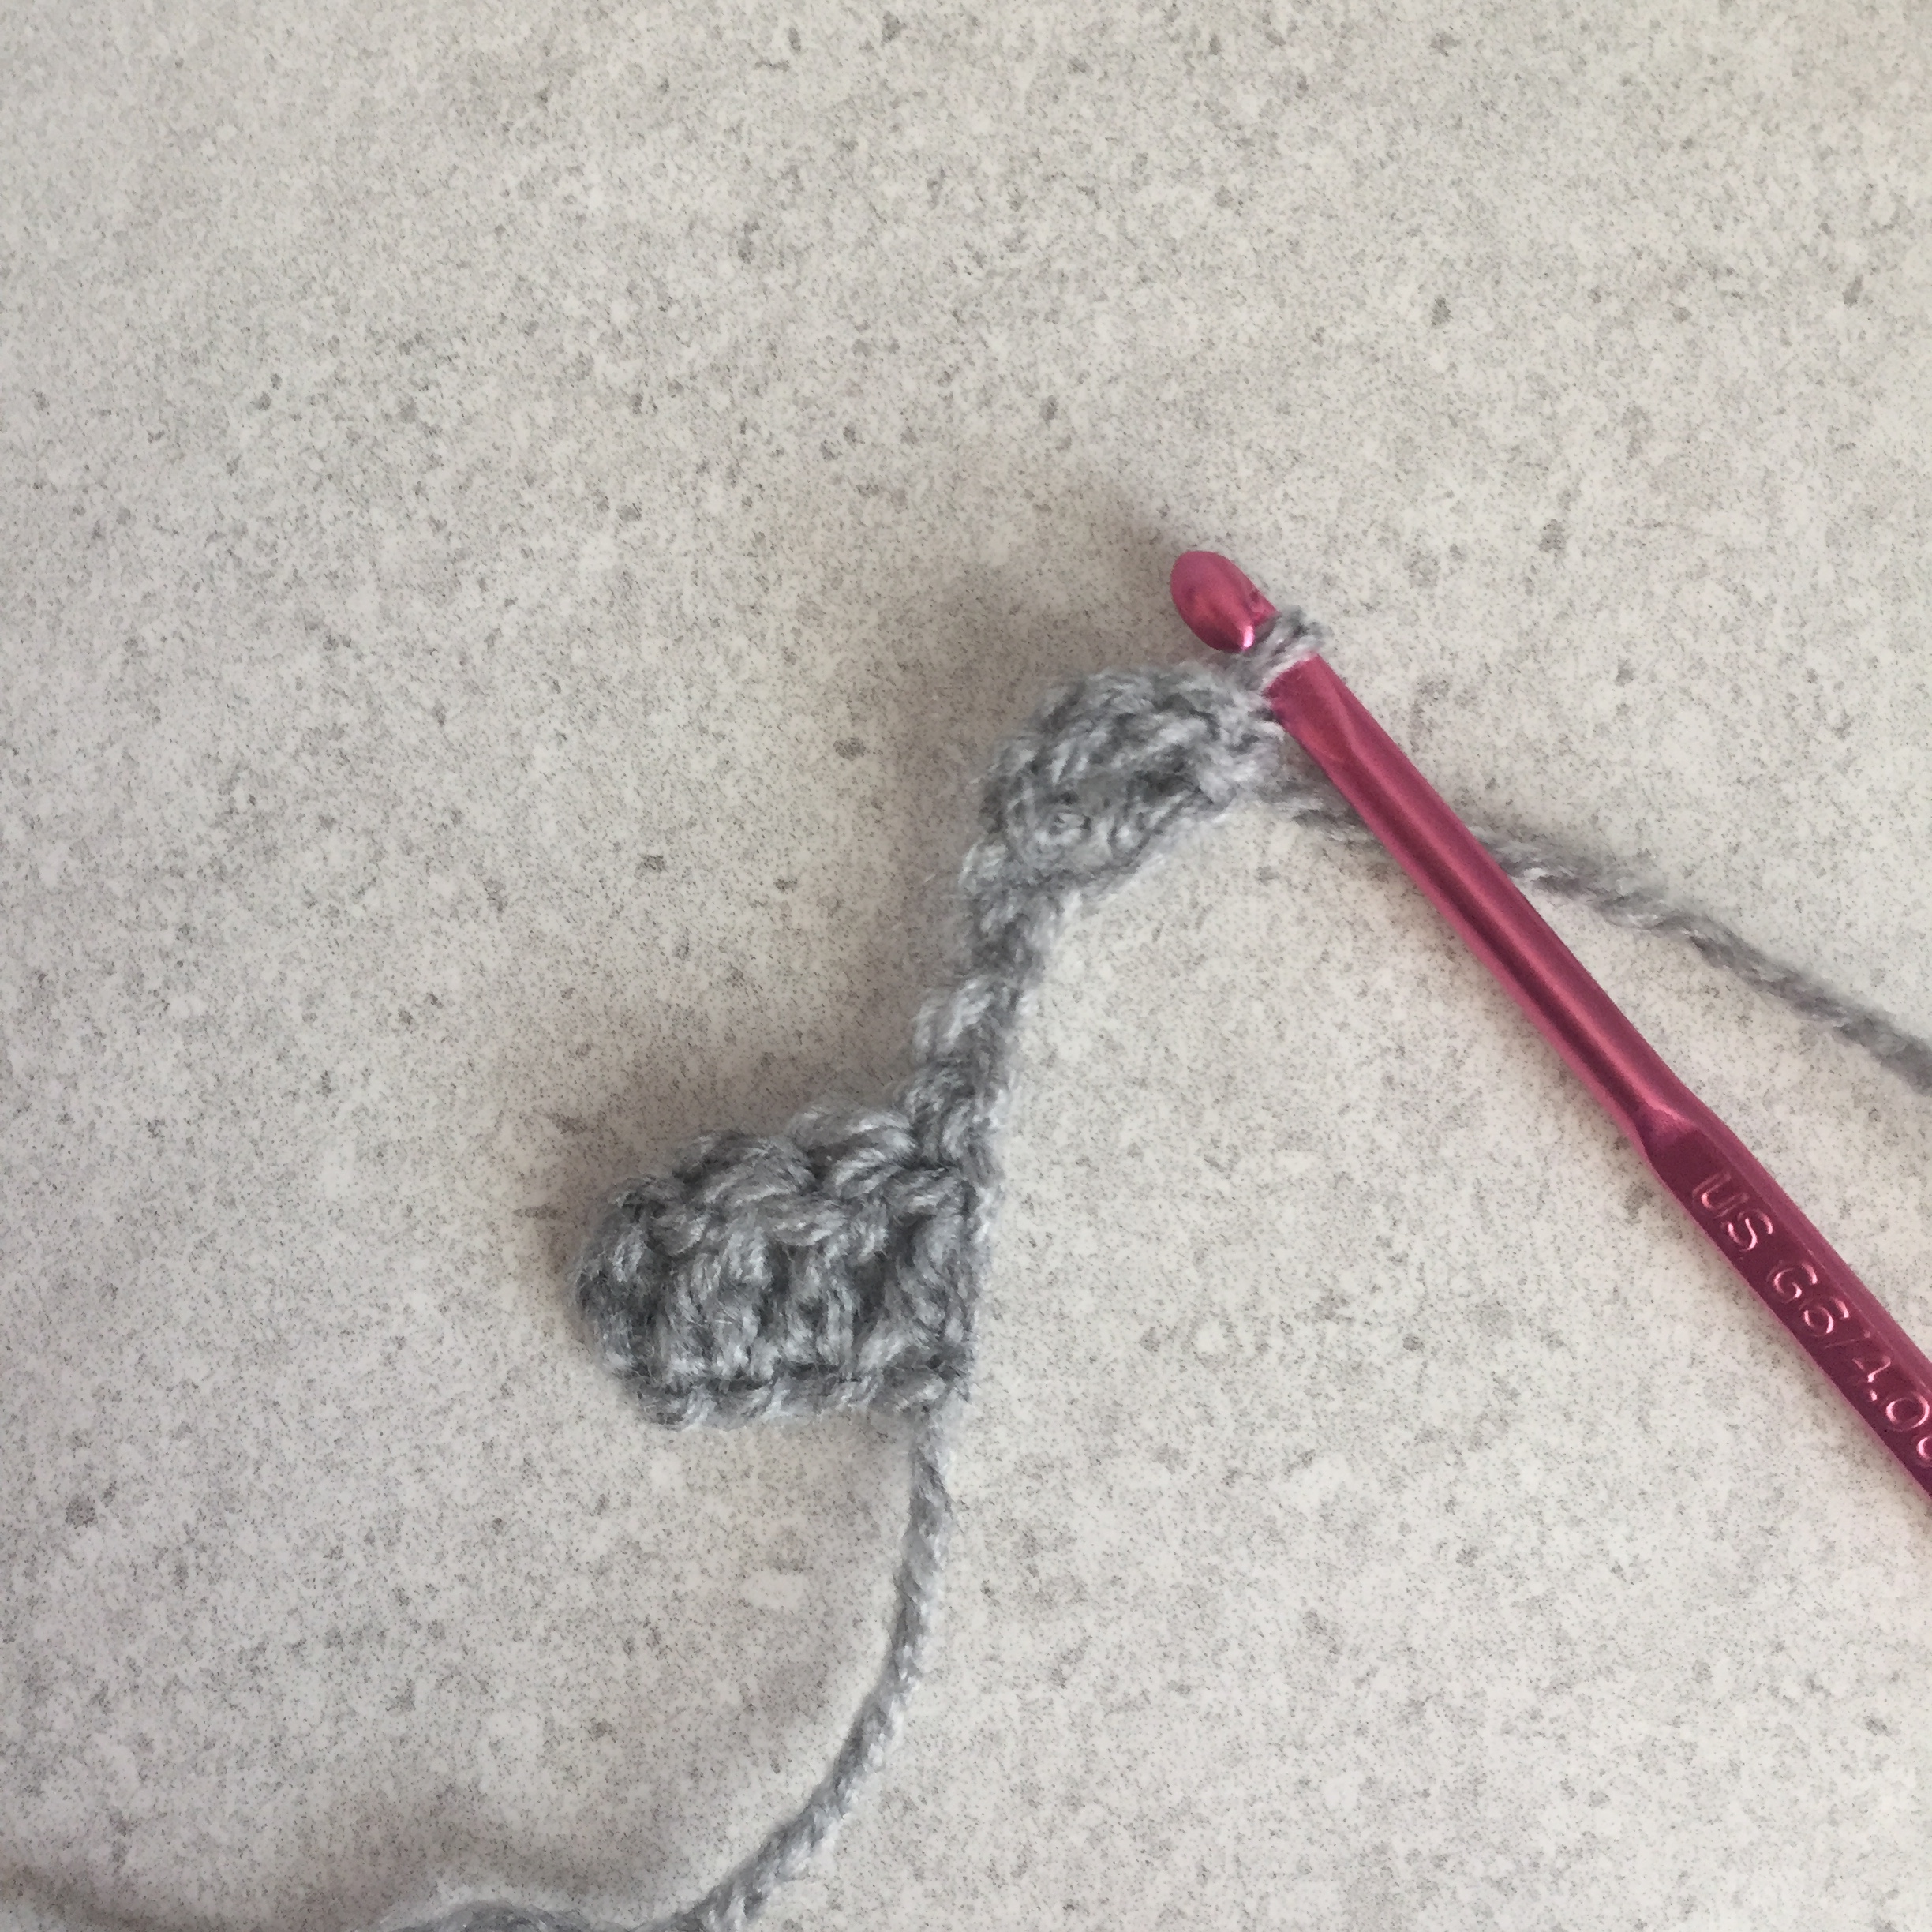
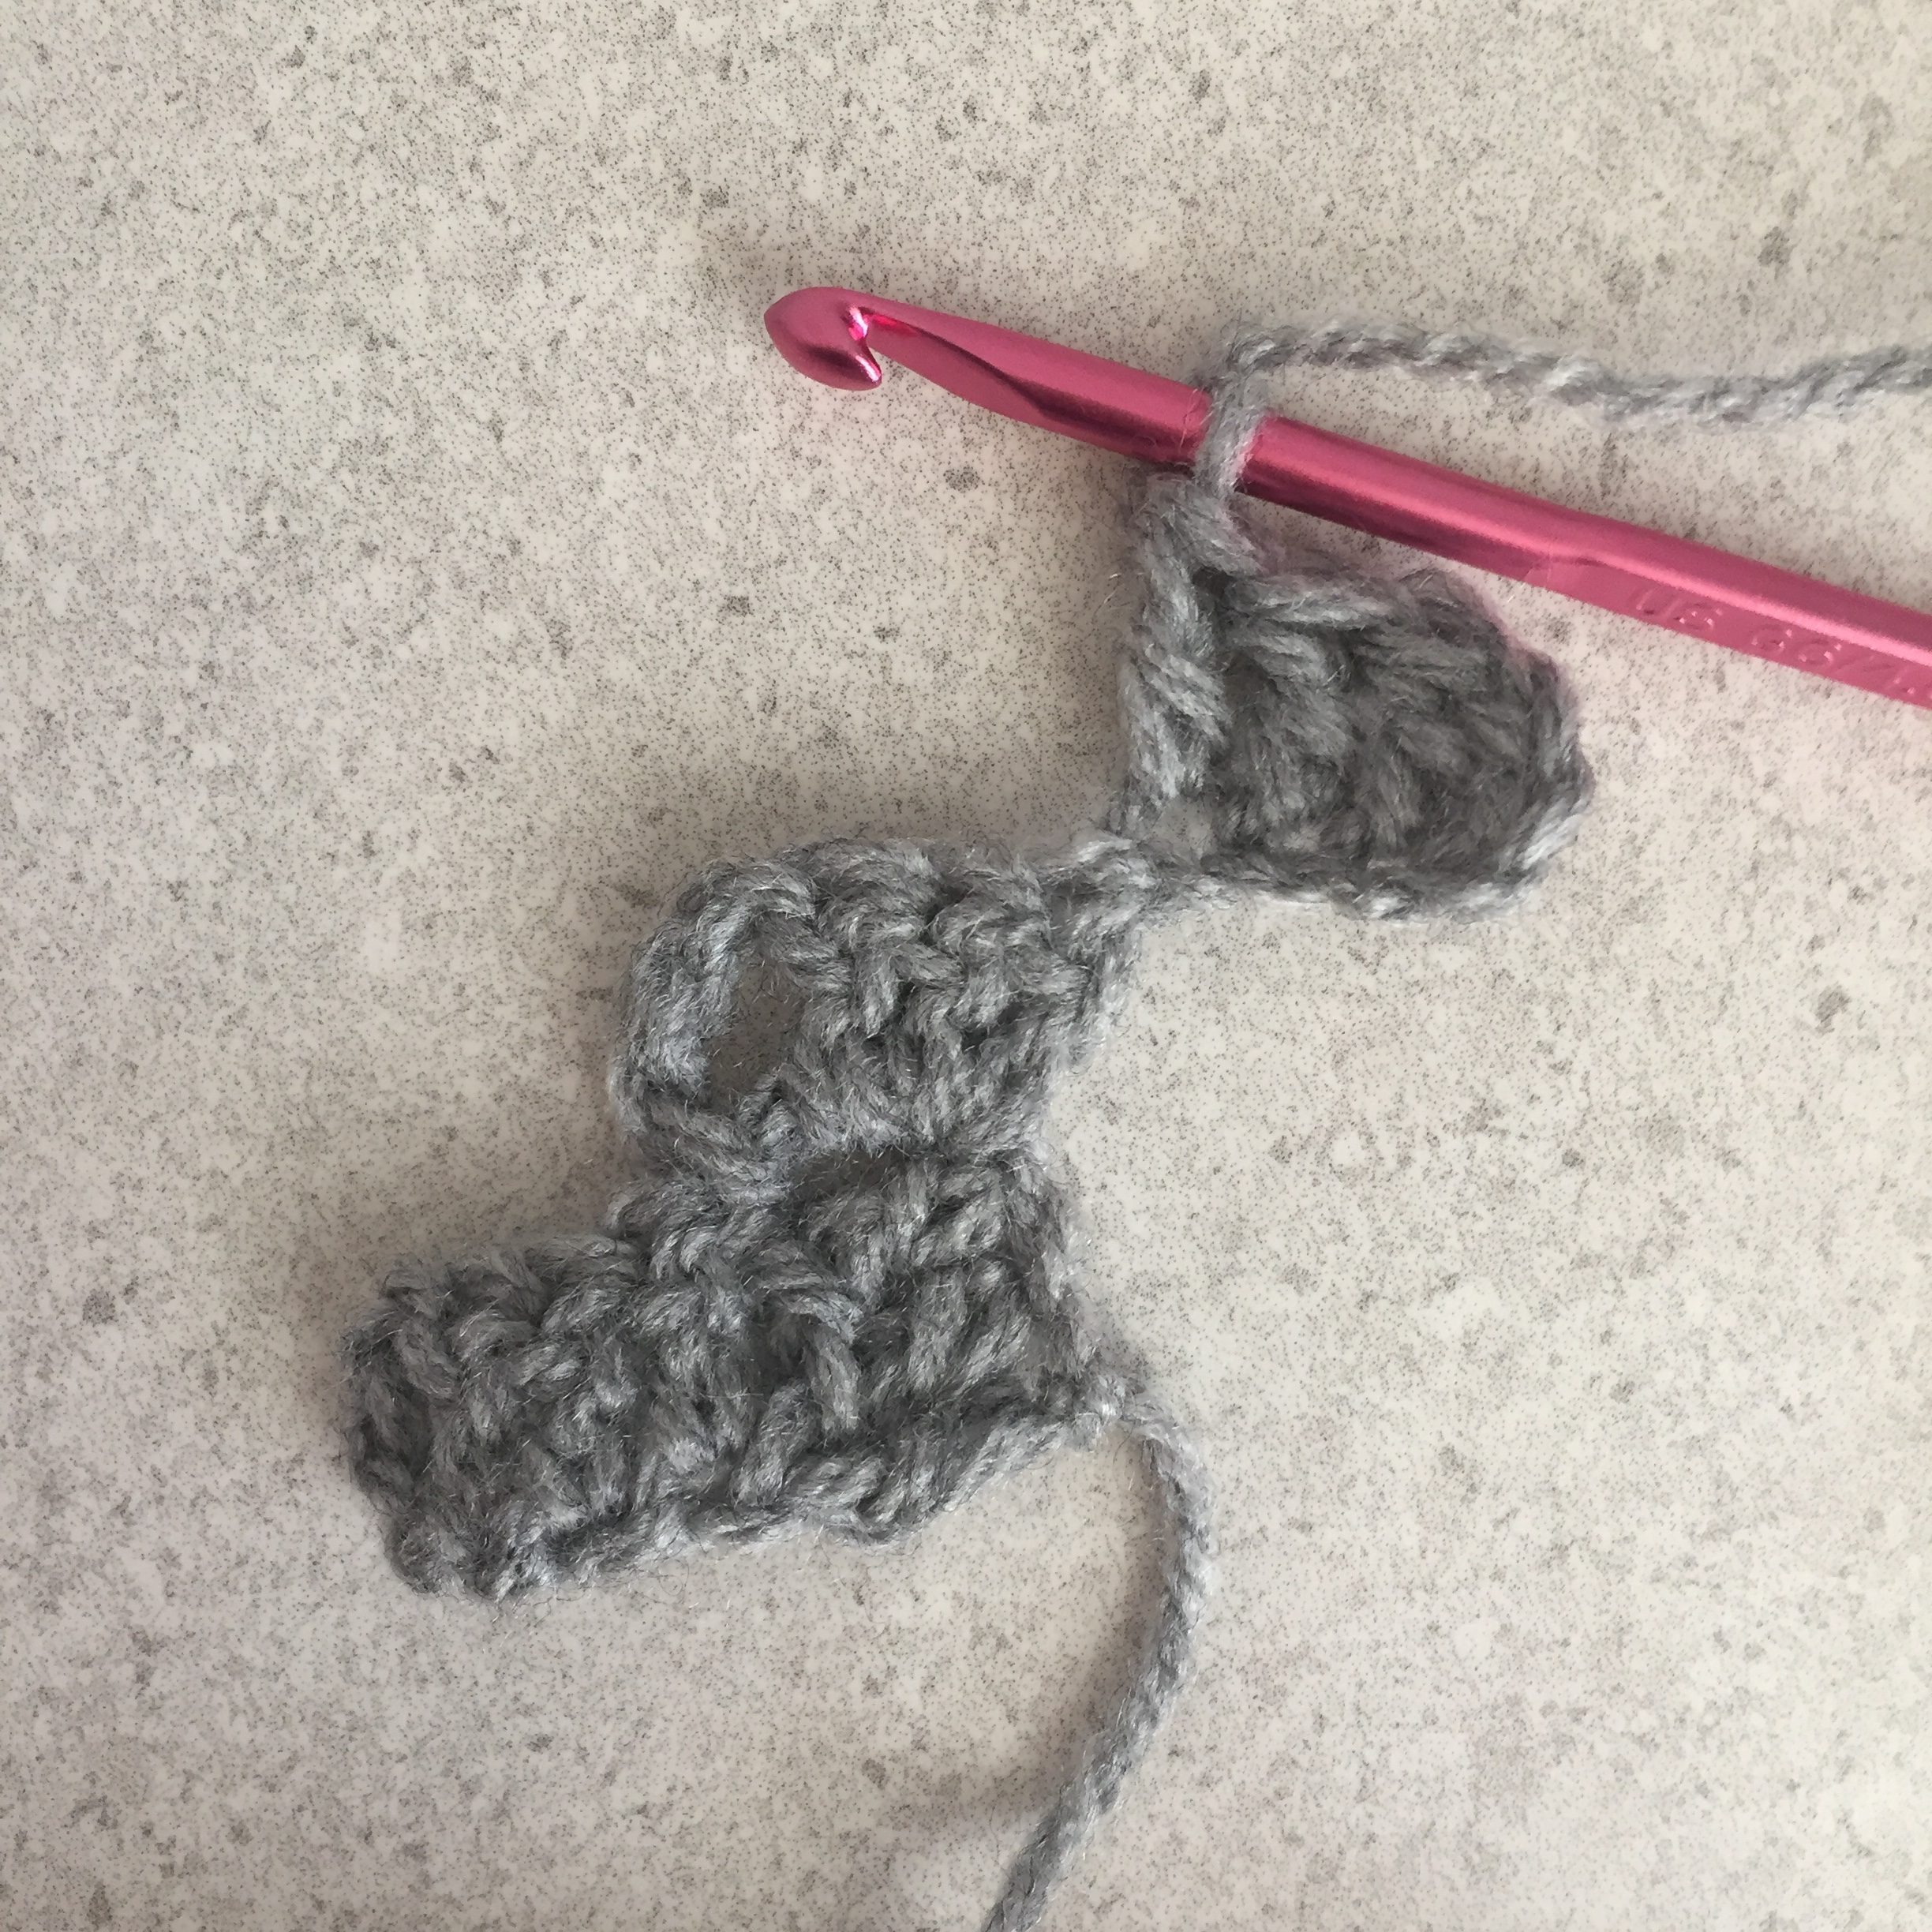
Row 2: ch6, tr(UK)/dc(US) in to the 4th ch from the hook, tr(UK)/dc(US) in last 2 stitches, slip stitch into ch gap to join, ch3, 3tr(UK)/dc(US) into ch gap. Turn.

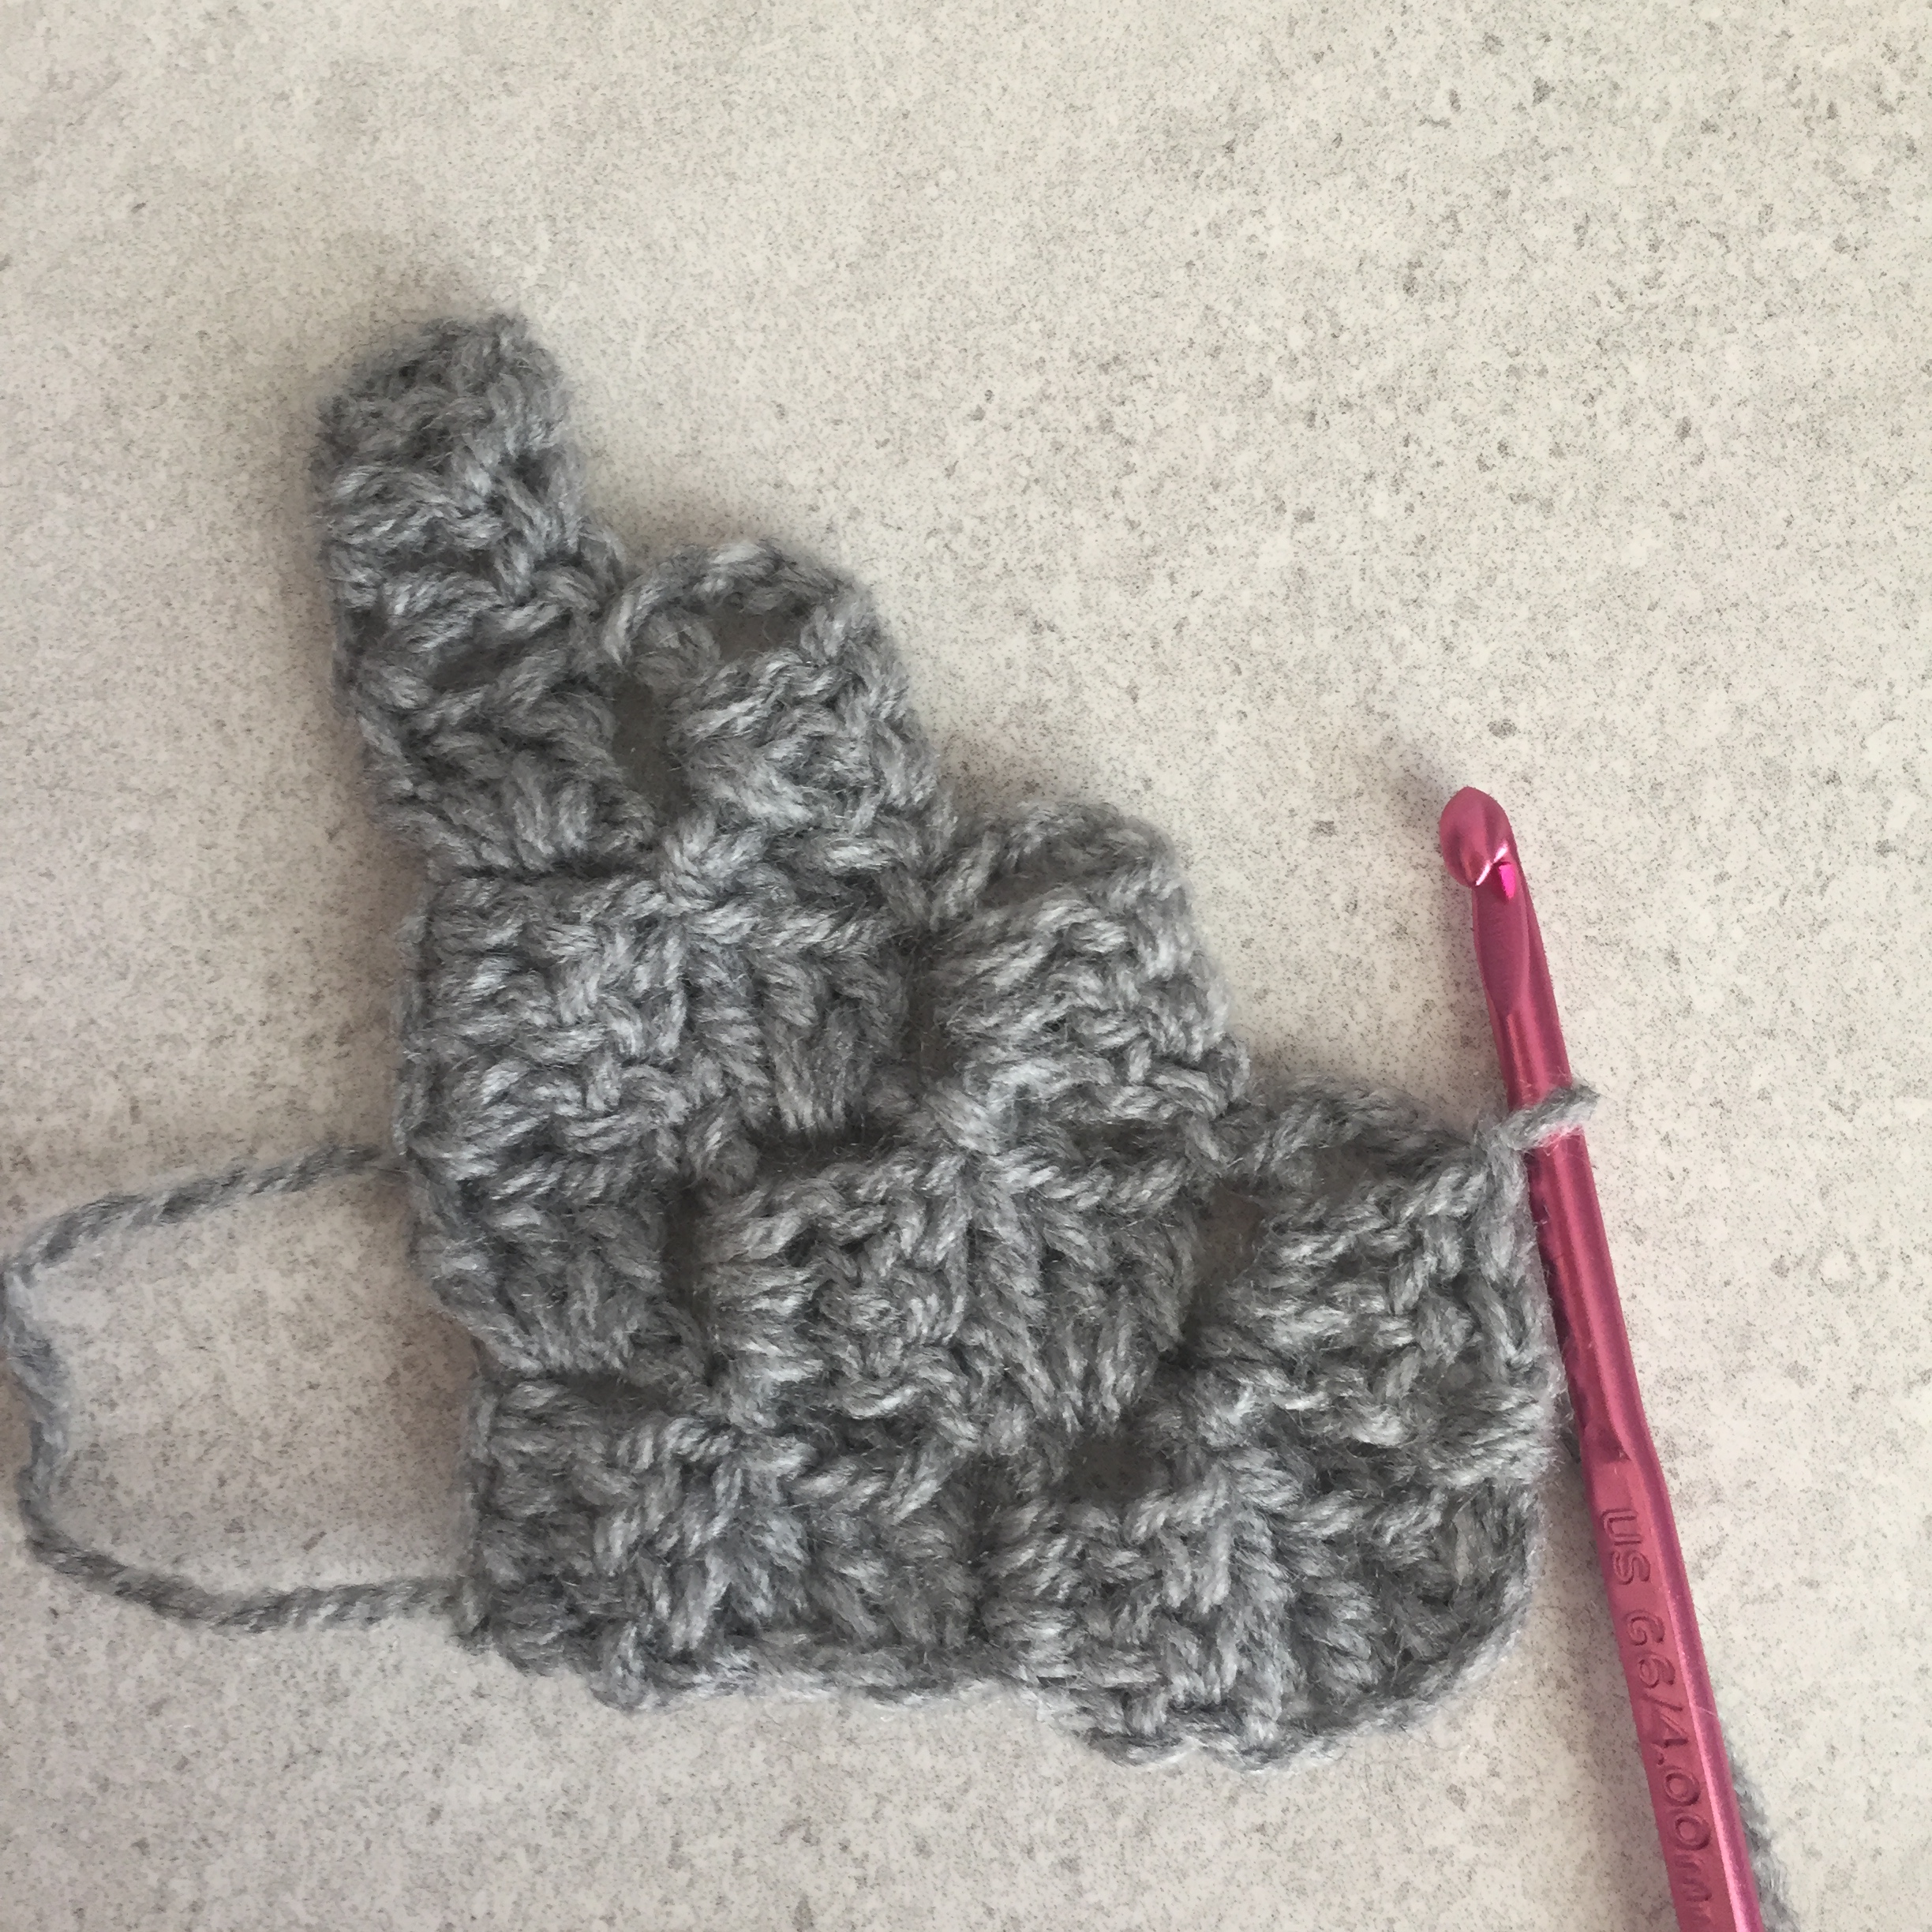
Row 3: ch6, tr(UK)/dc(US) in to the 4th ch from the hook, tr(UK)/dc(US) in last 2 stitches, *slip stitch into ch gap to join. ch3, 3tr(UK)/dc(US) into ch gap. Repeat from * once more to complete the row. Turn.
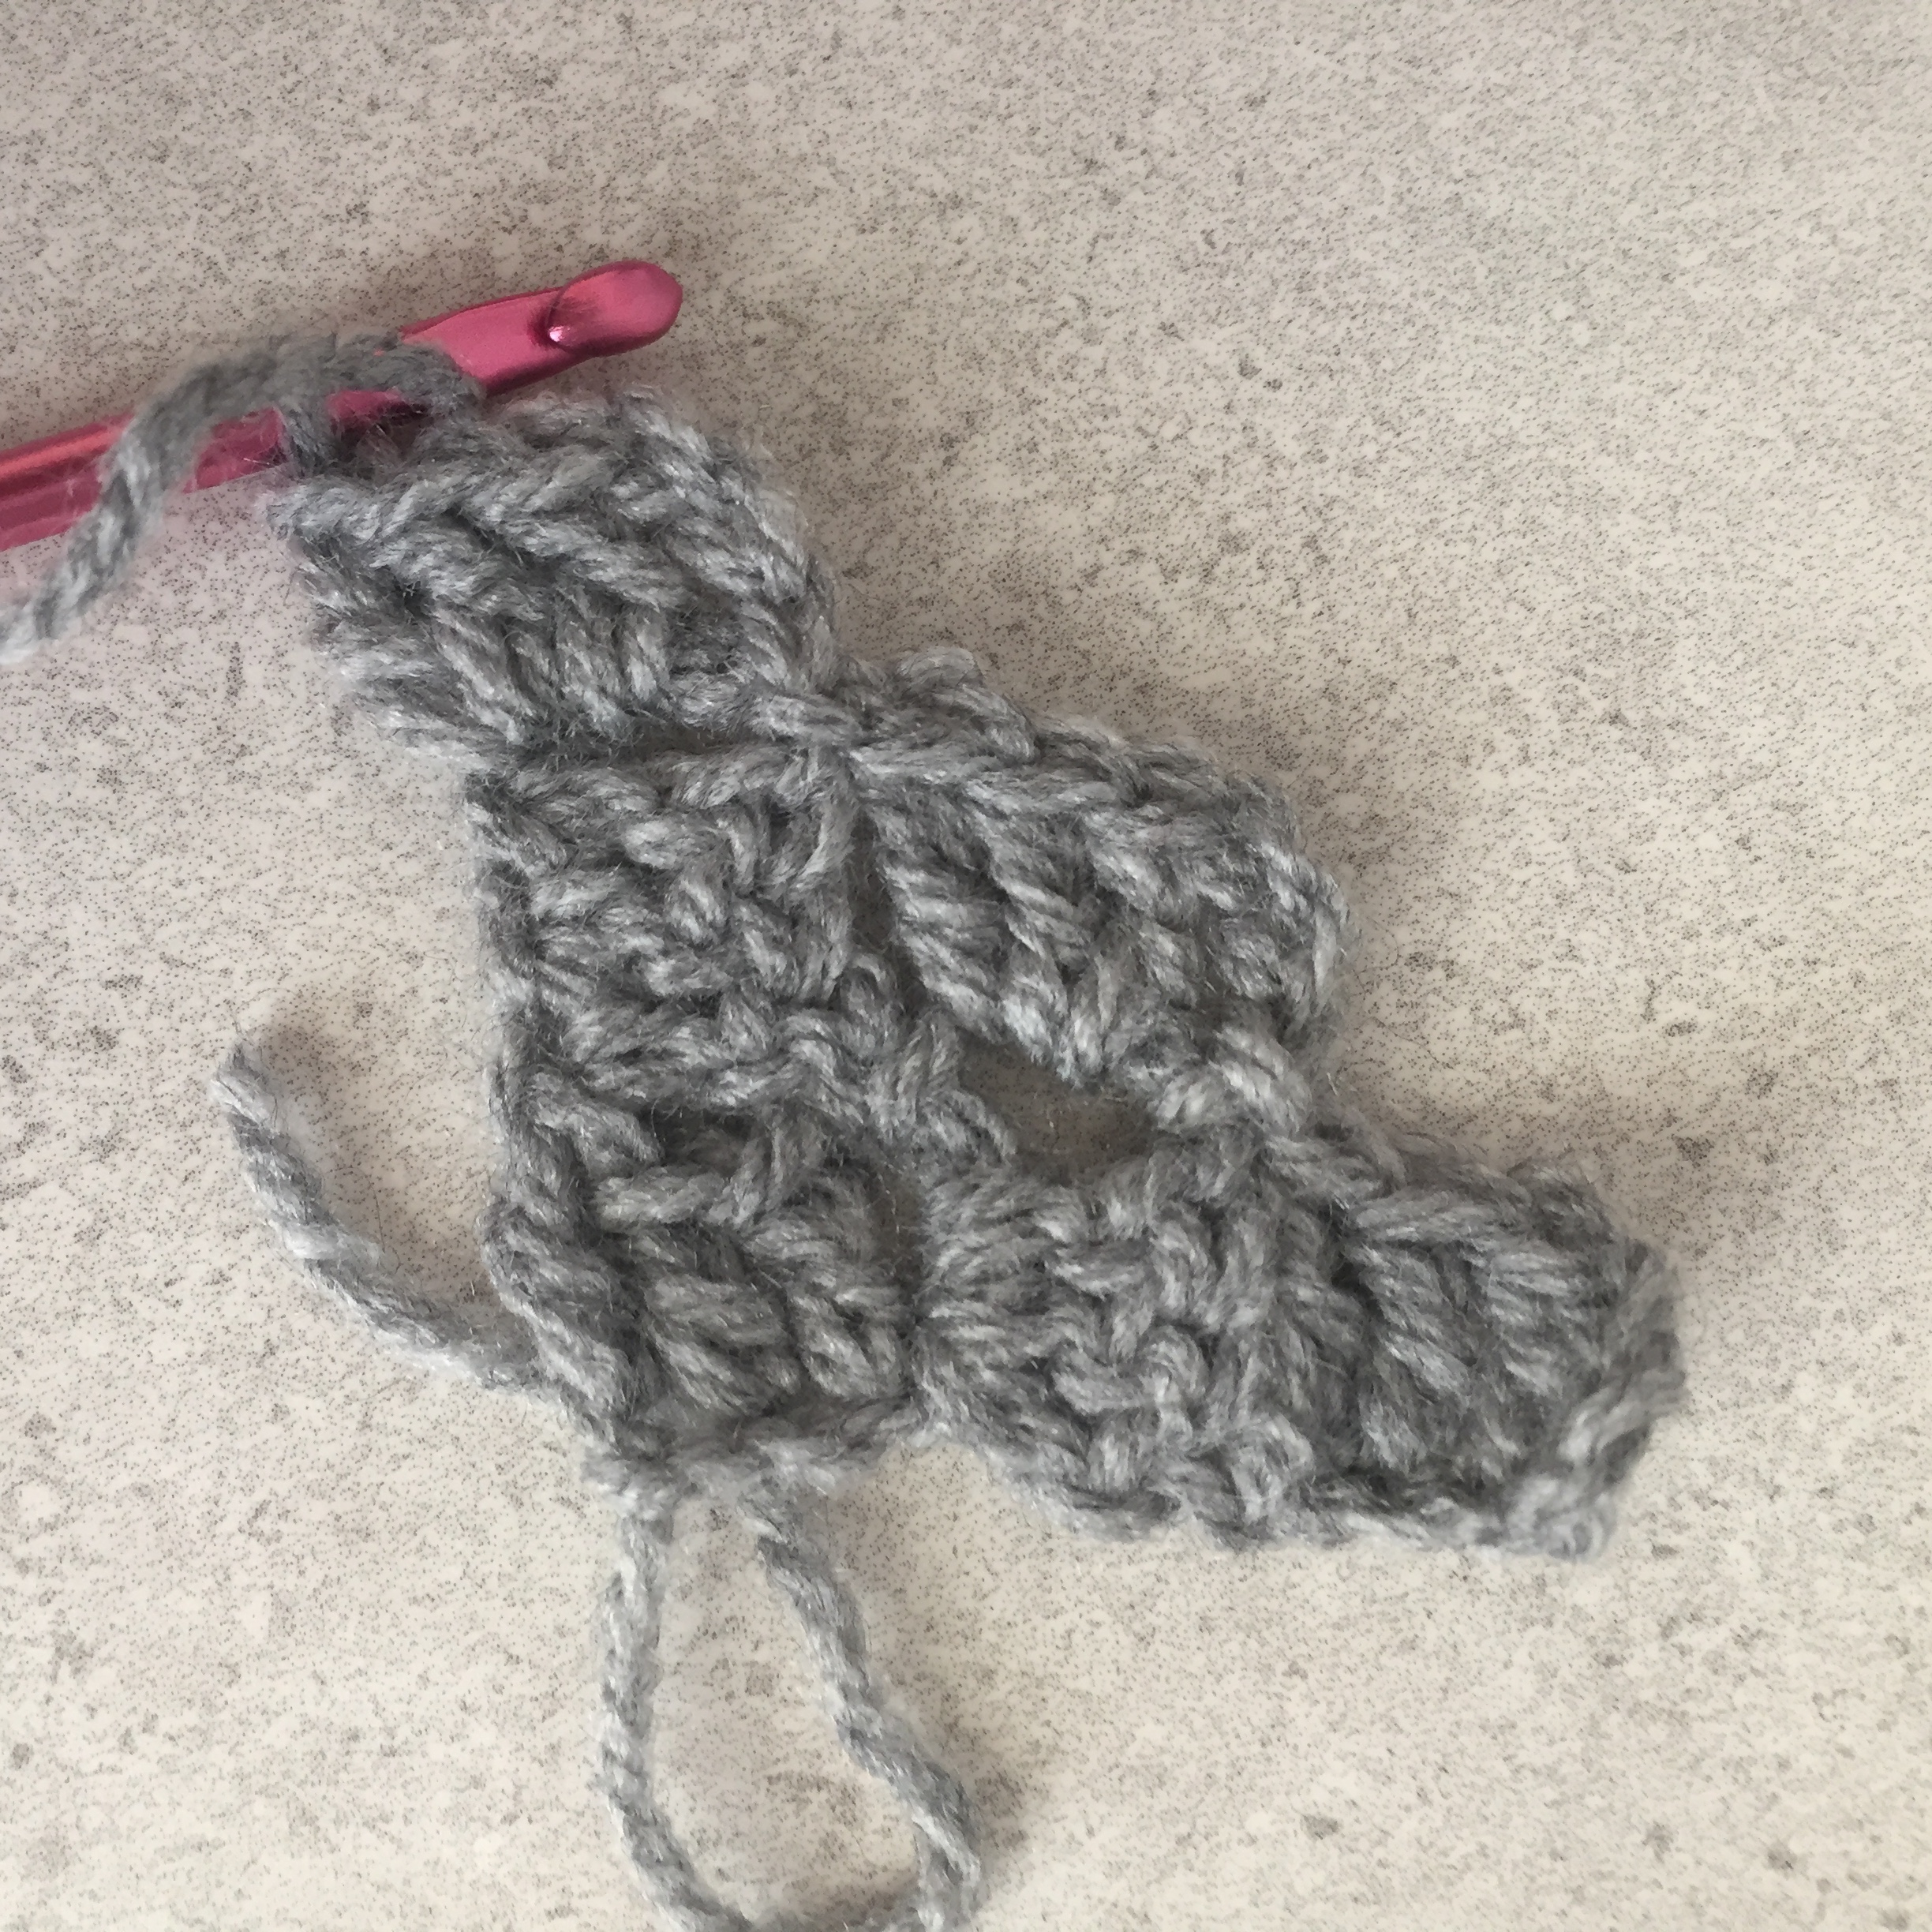
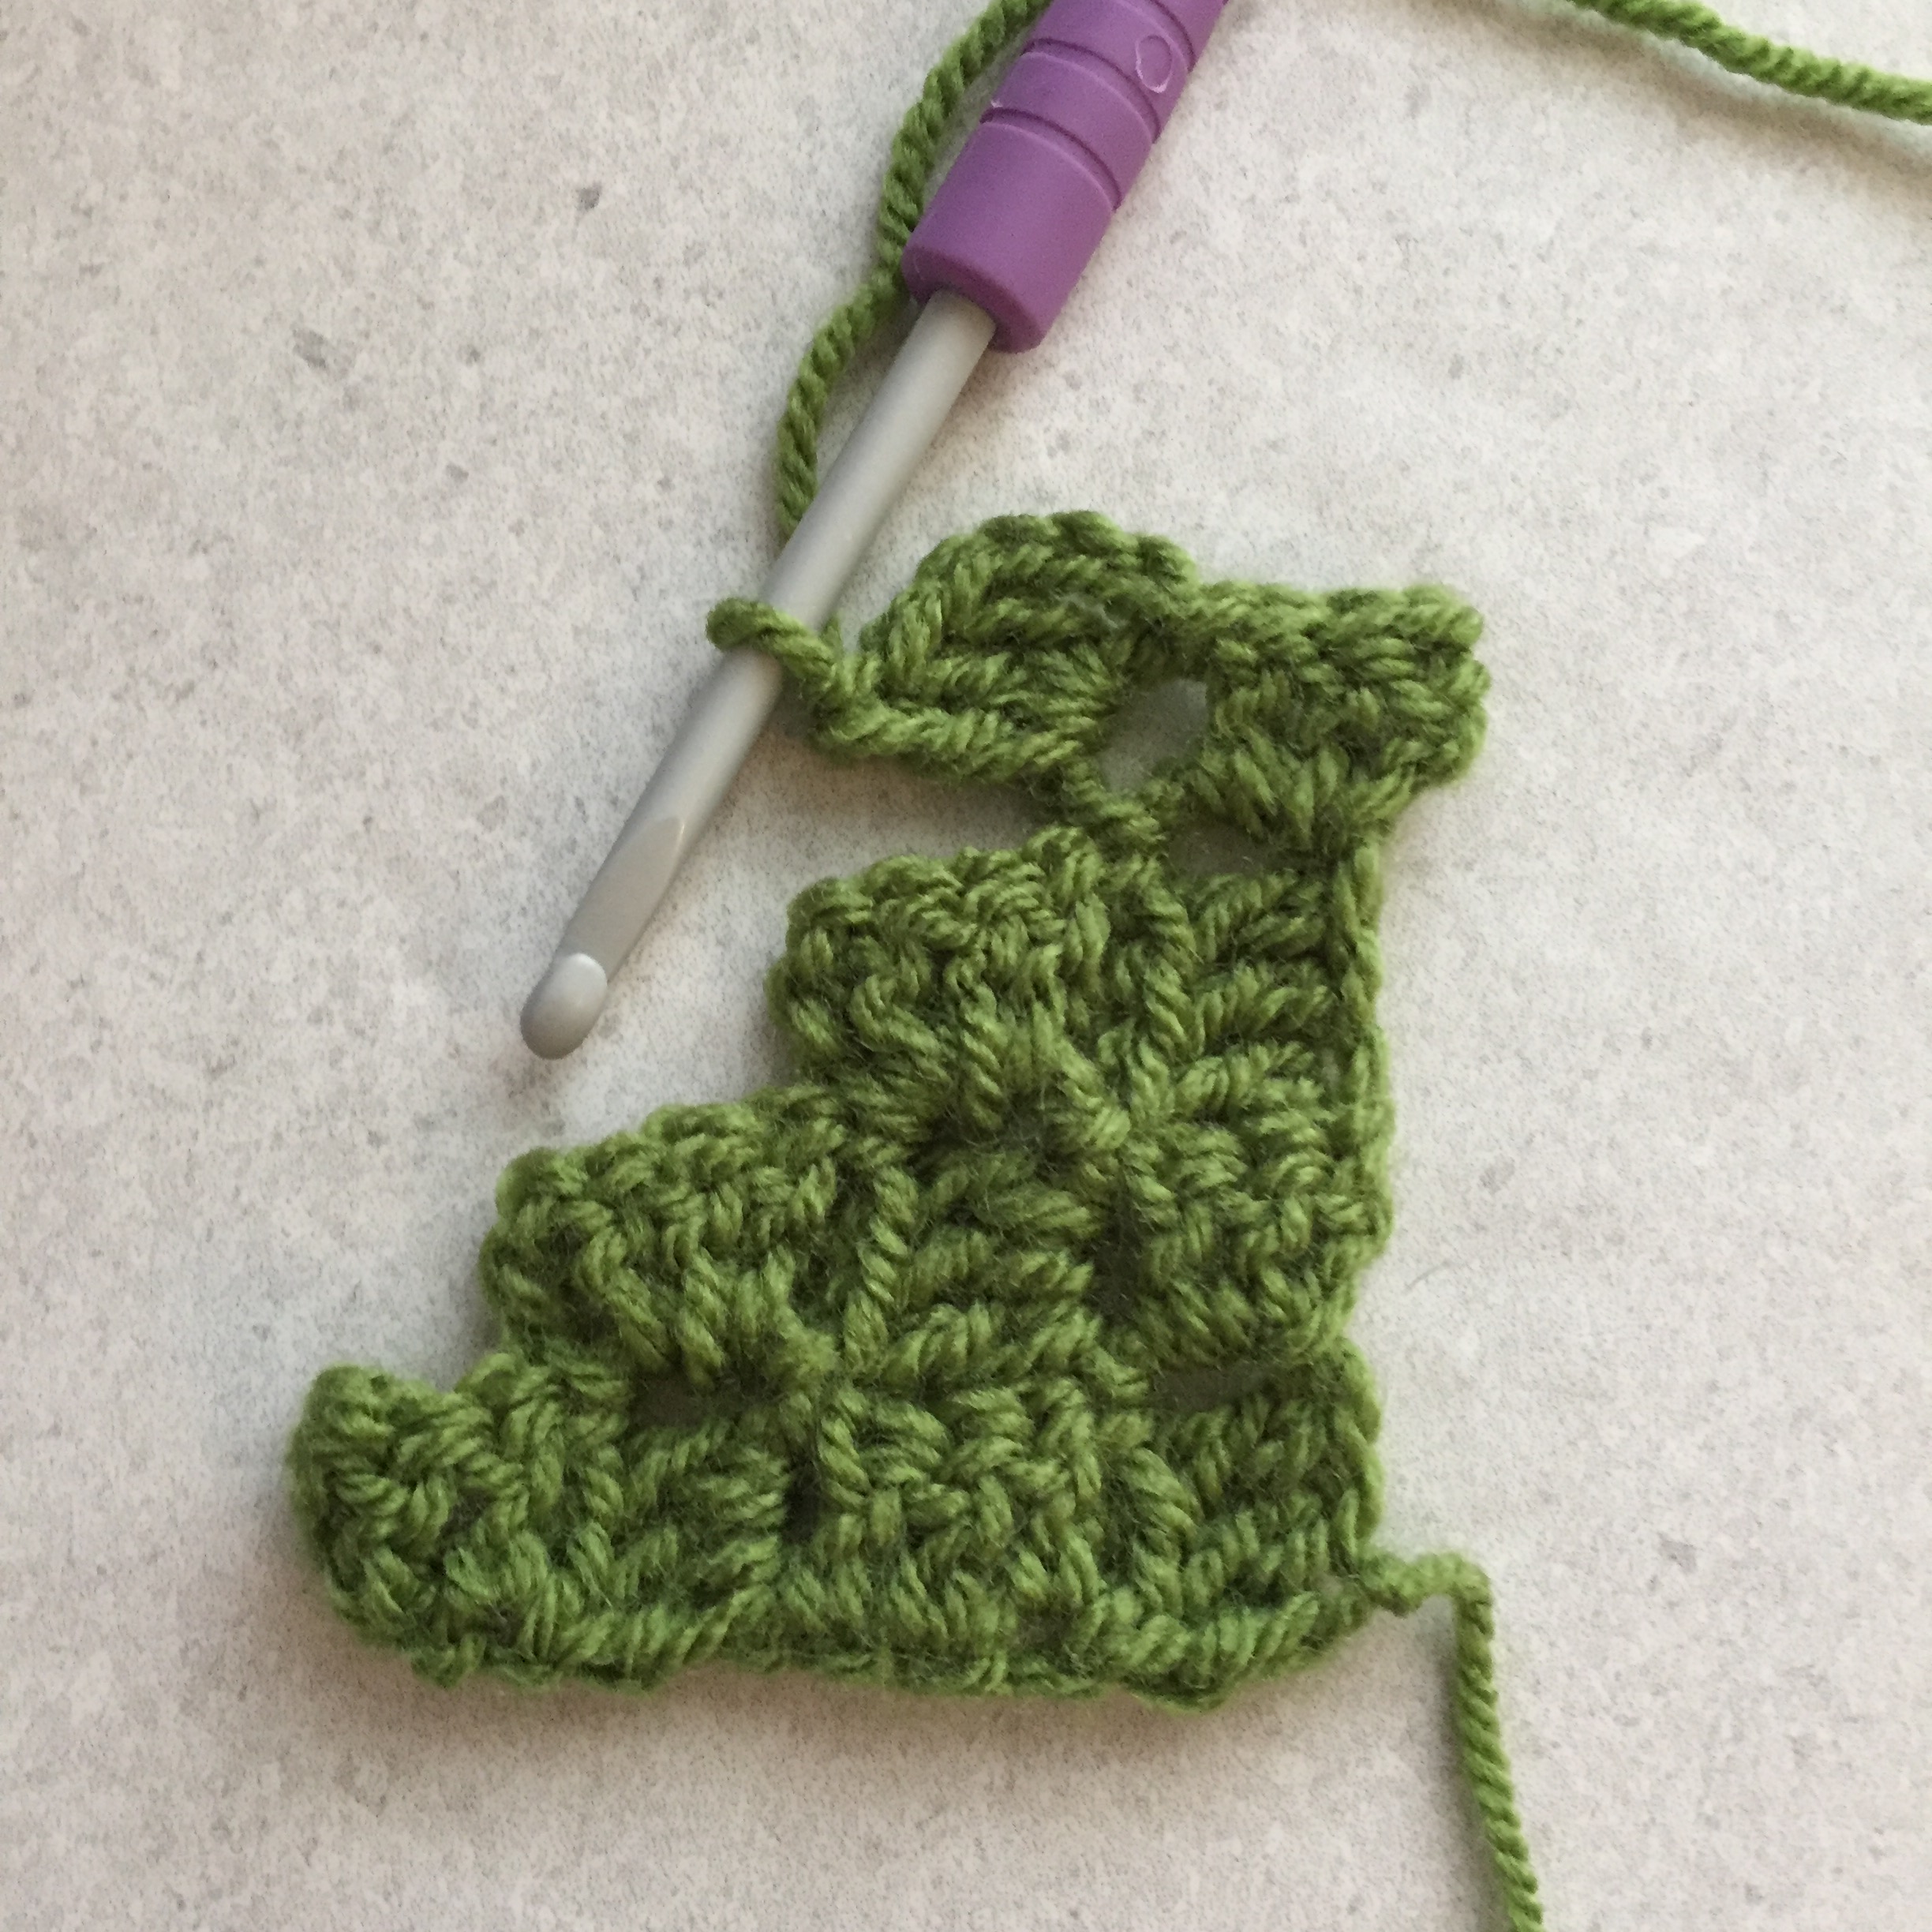
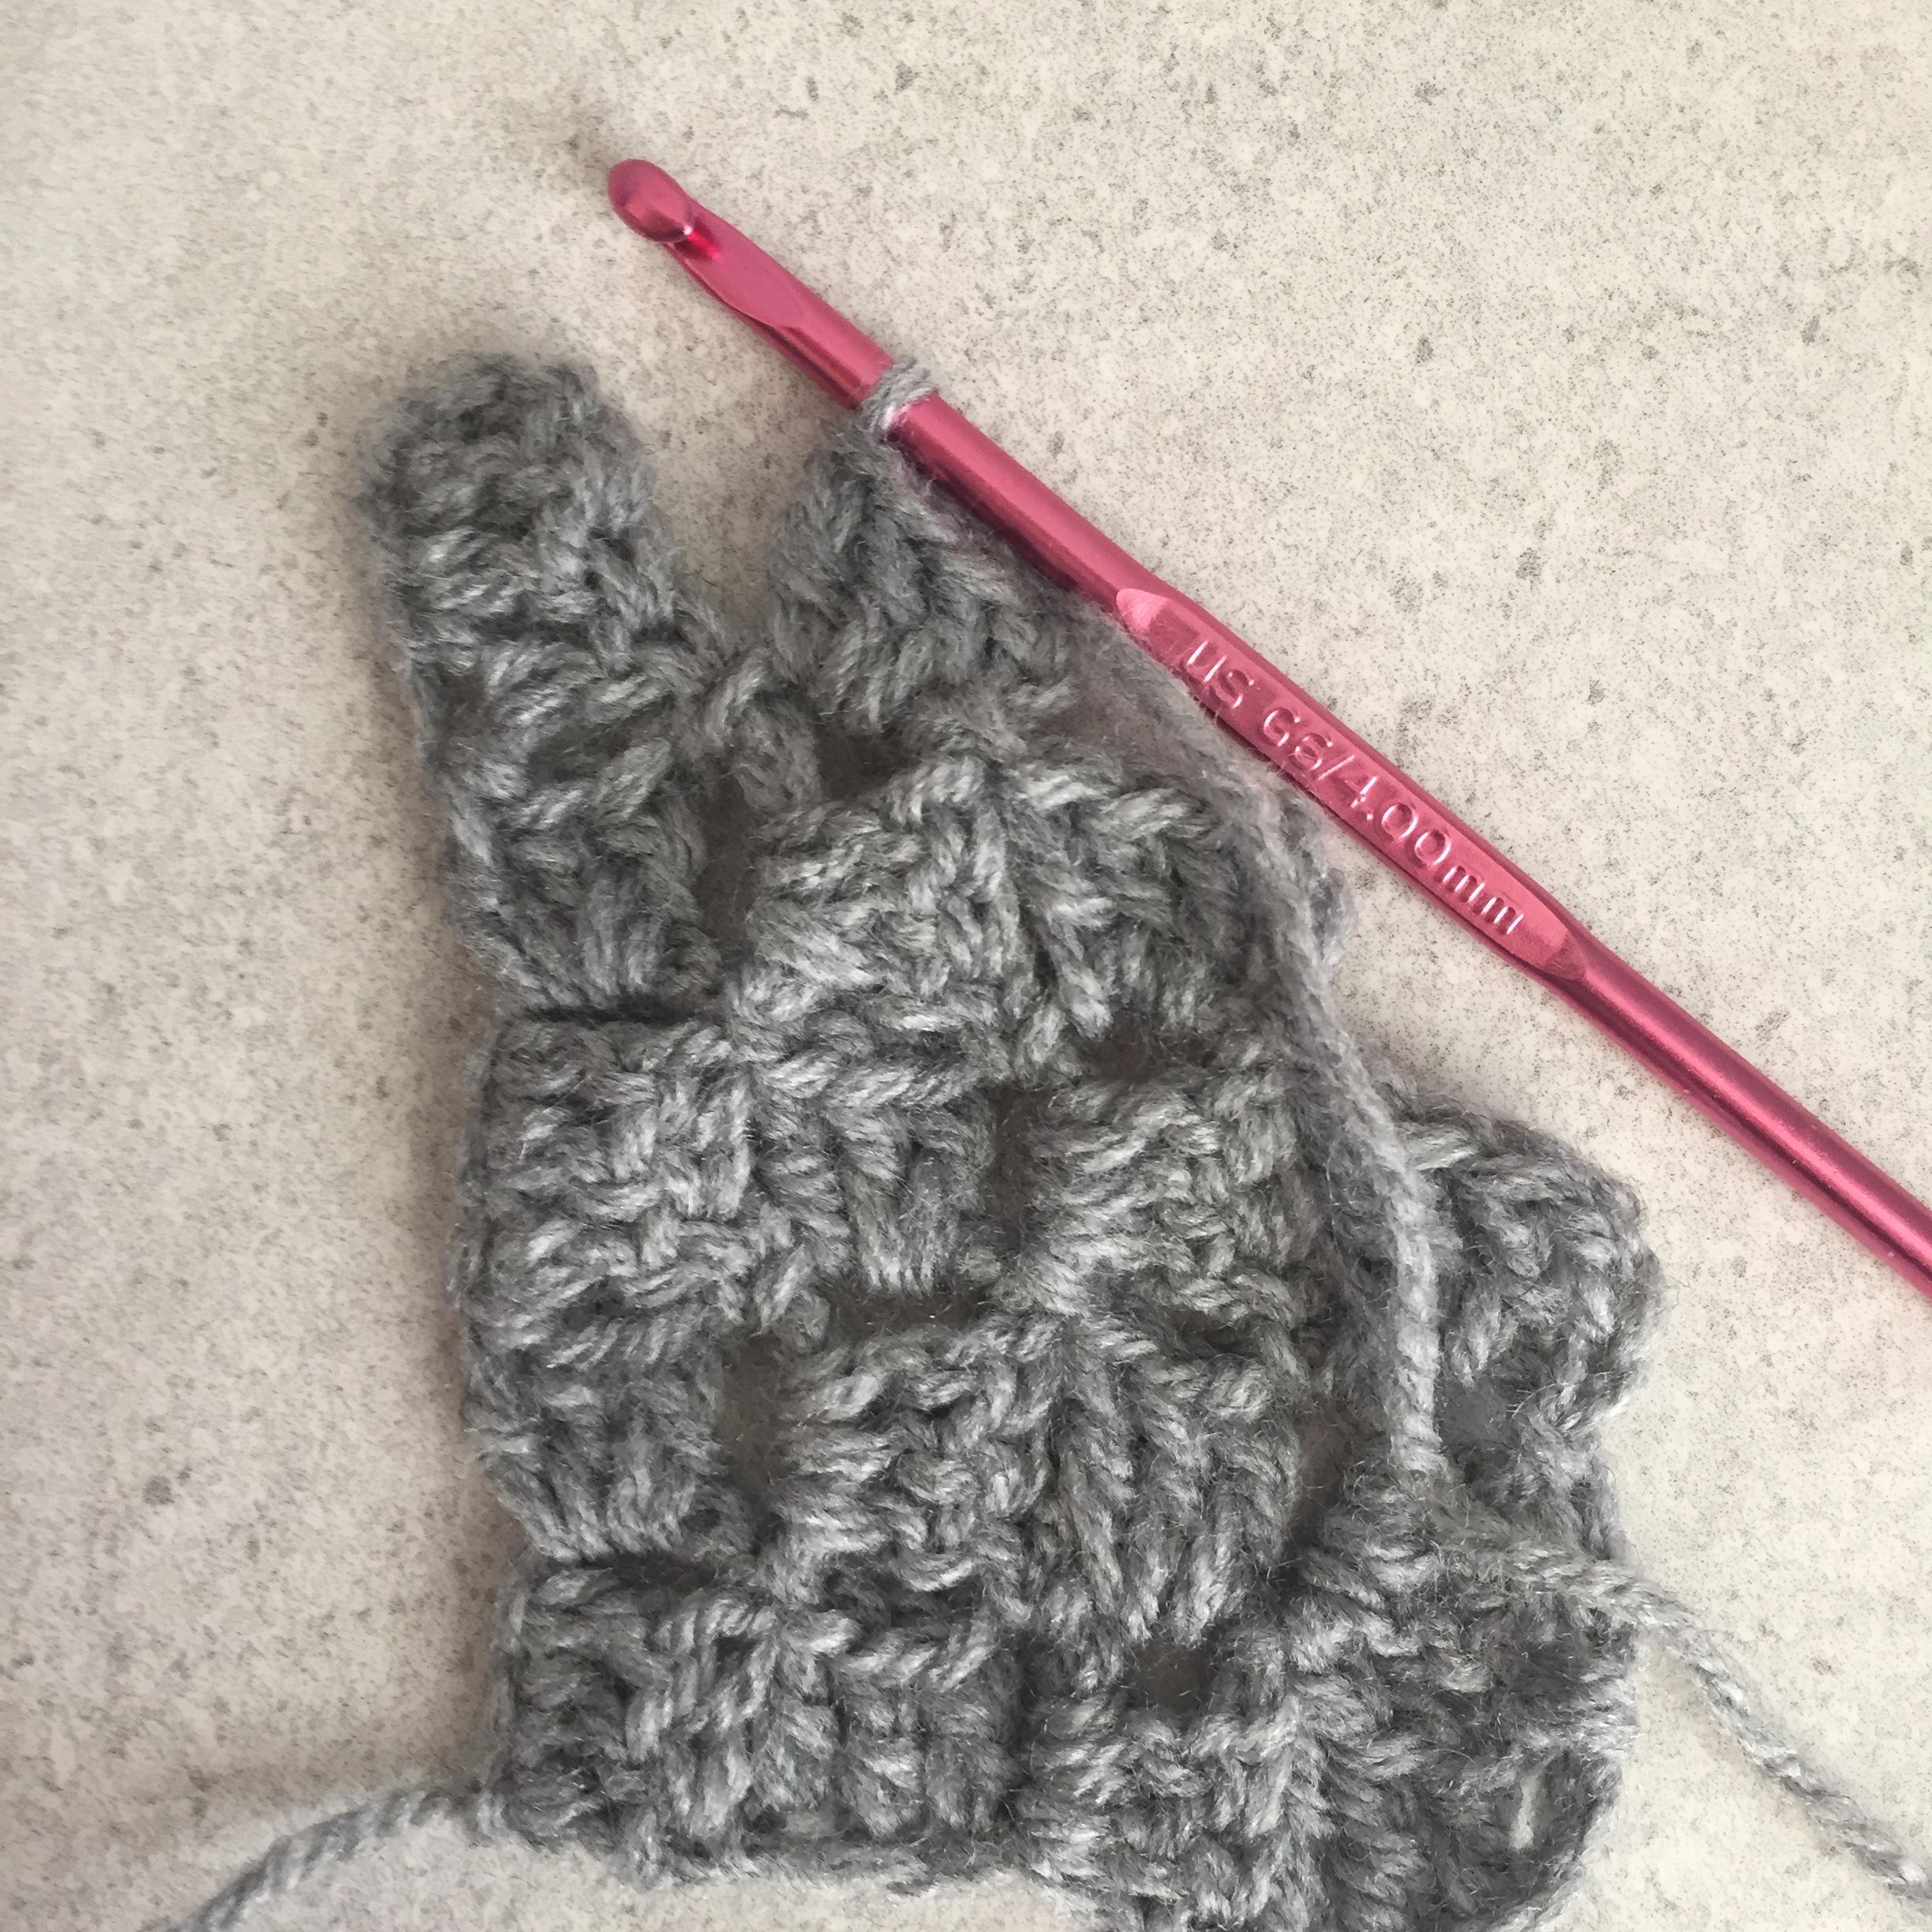
Rows 4+: ch6, tr(UK)/dc(US) in to the 4th ch from the hook, tr(UK)/ dc(US) in last 2 stitches, *slip stitch into ch gap to join. ch3, 3tr(UK)/ dc(US) into ch gap. Repeat from *along row. Turn.
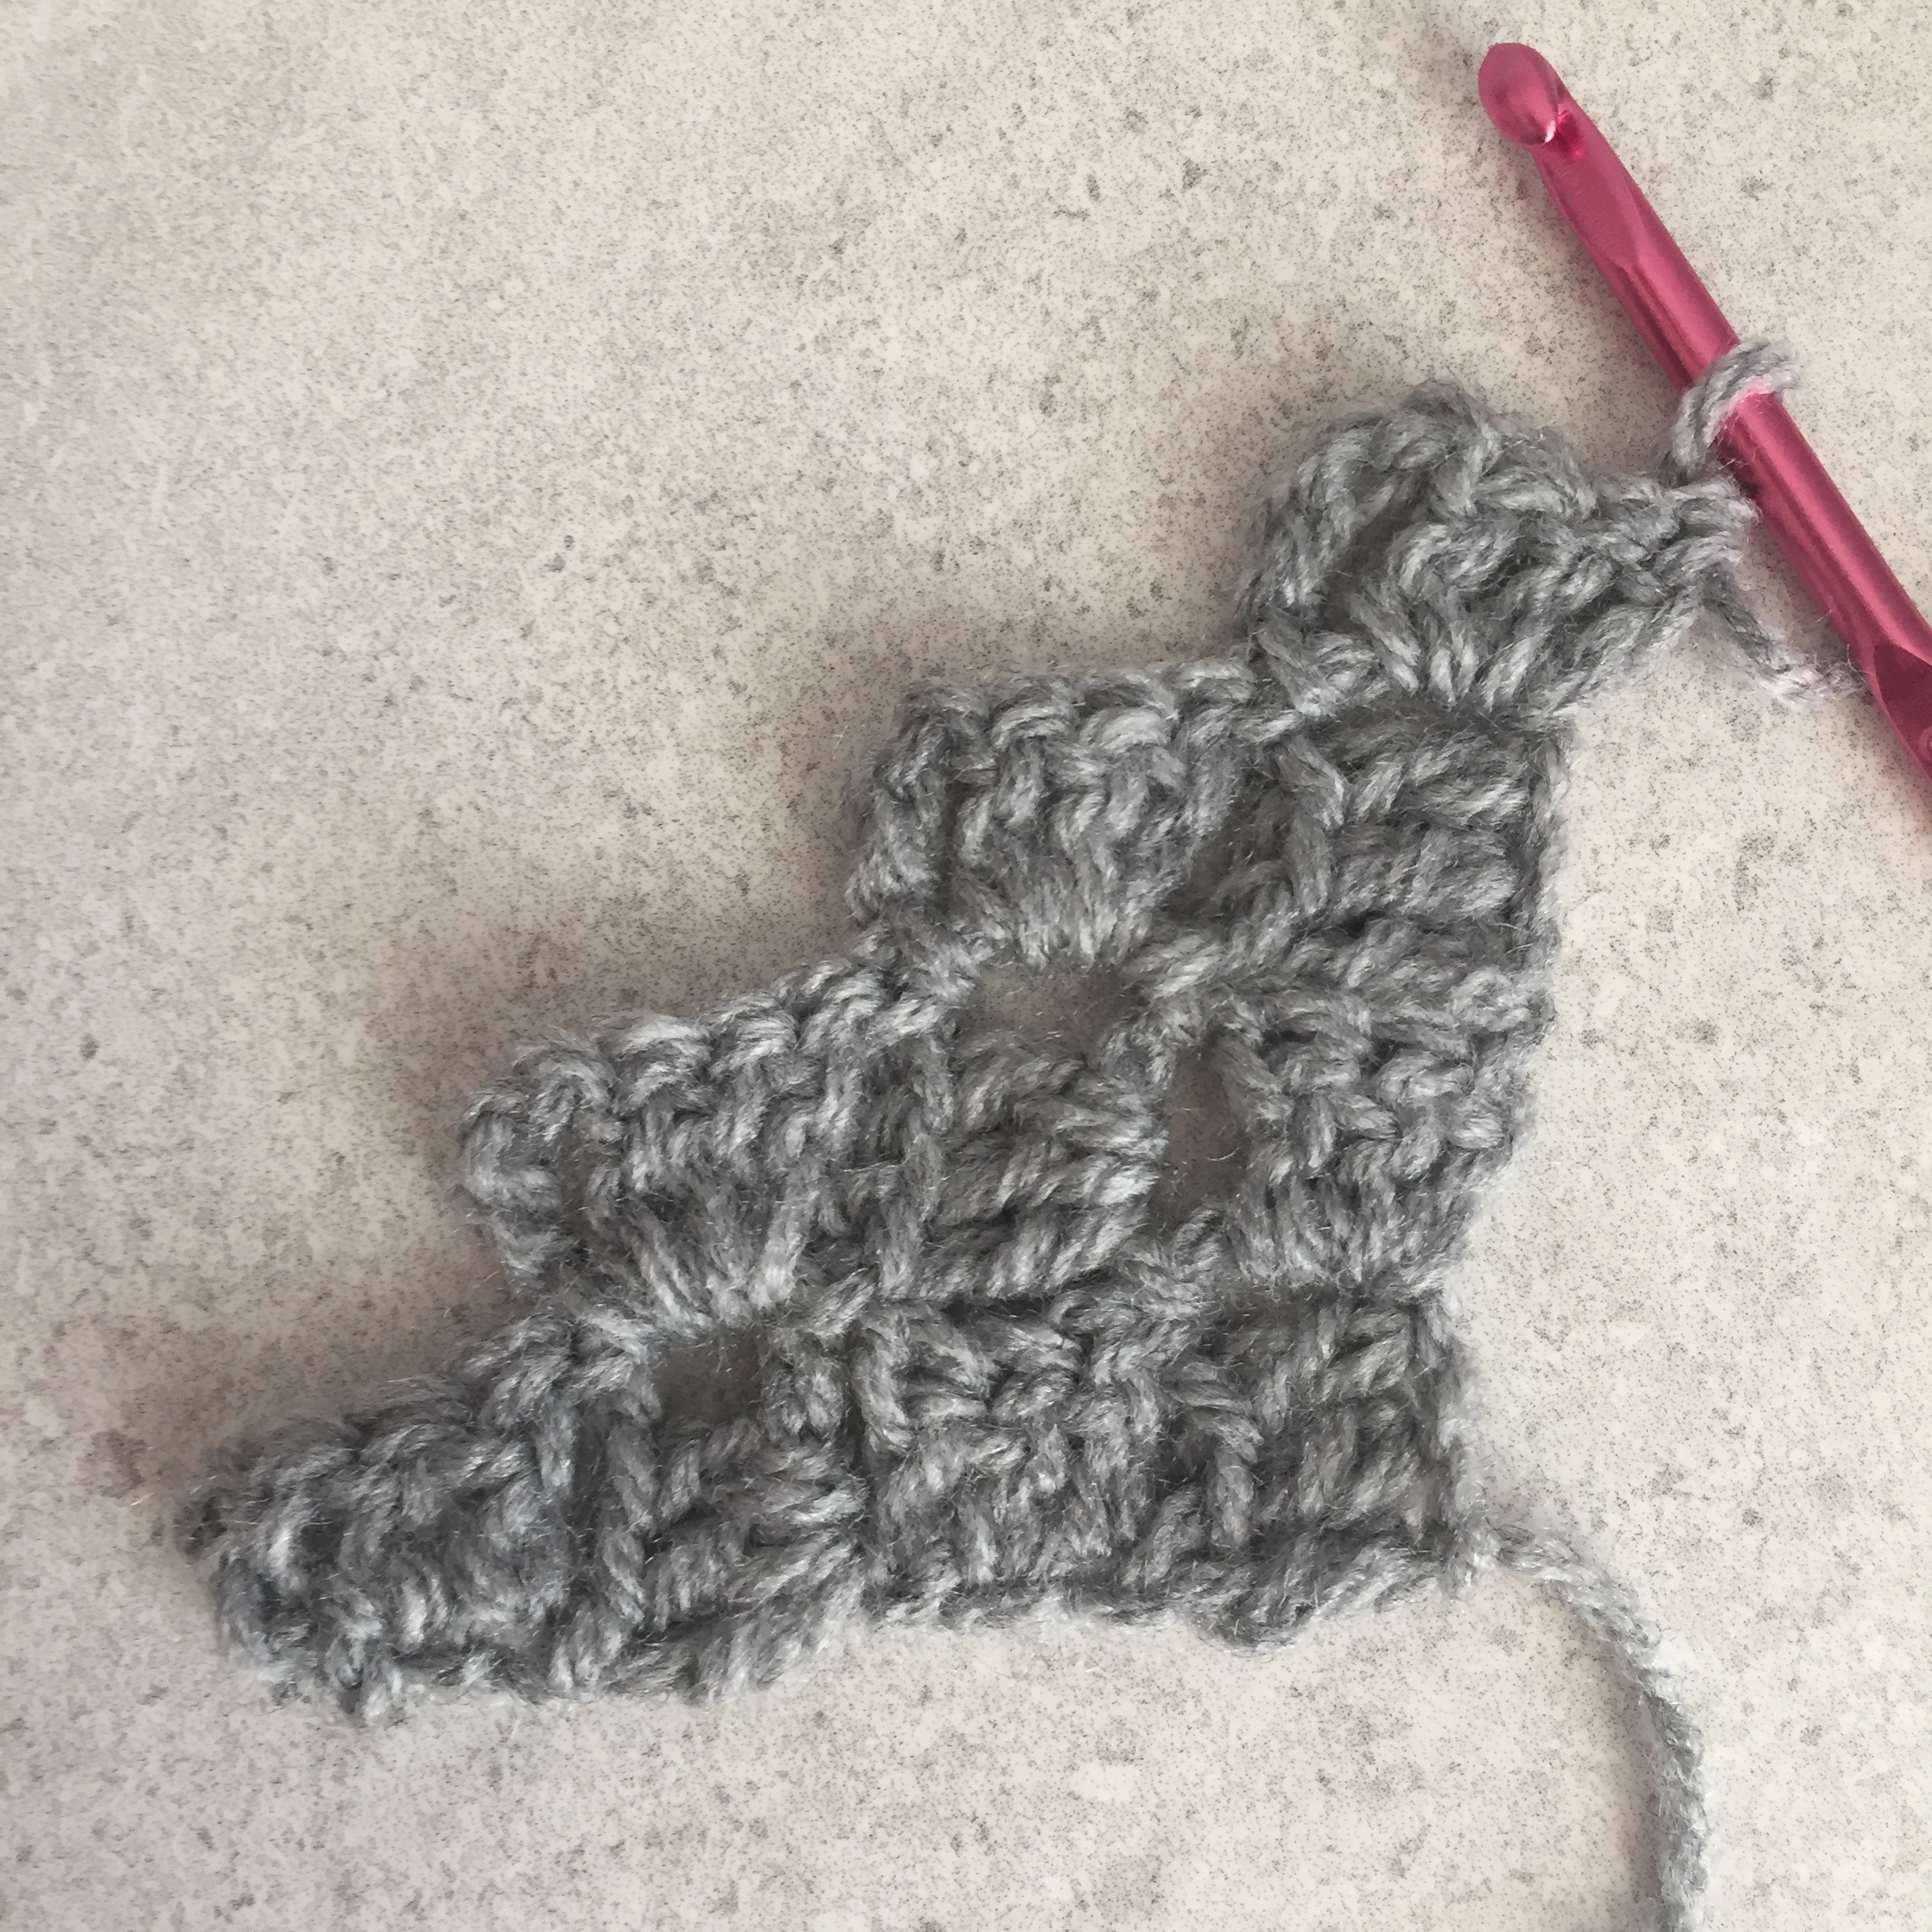
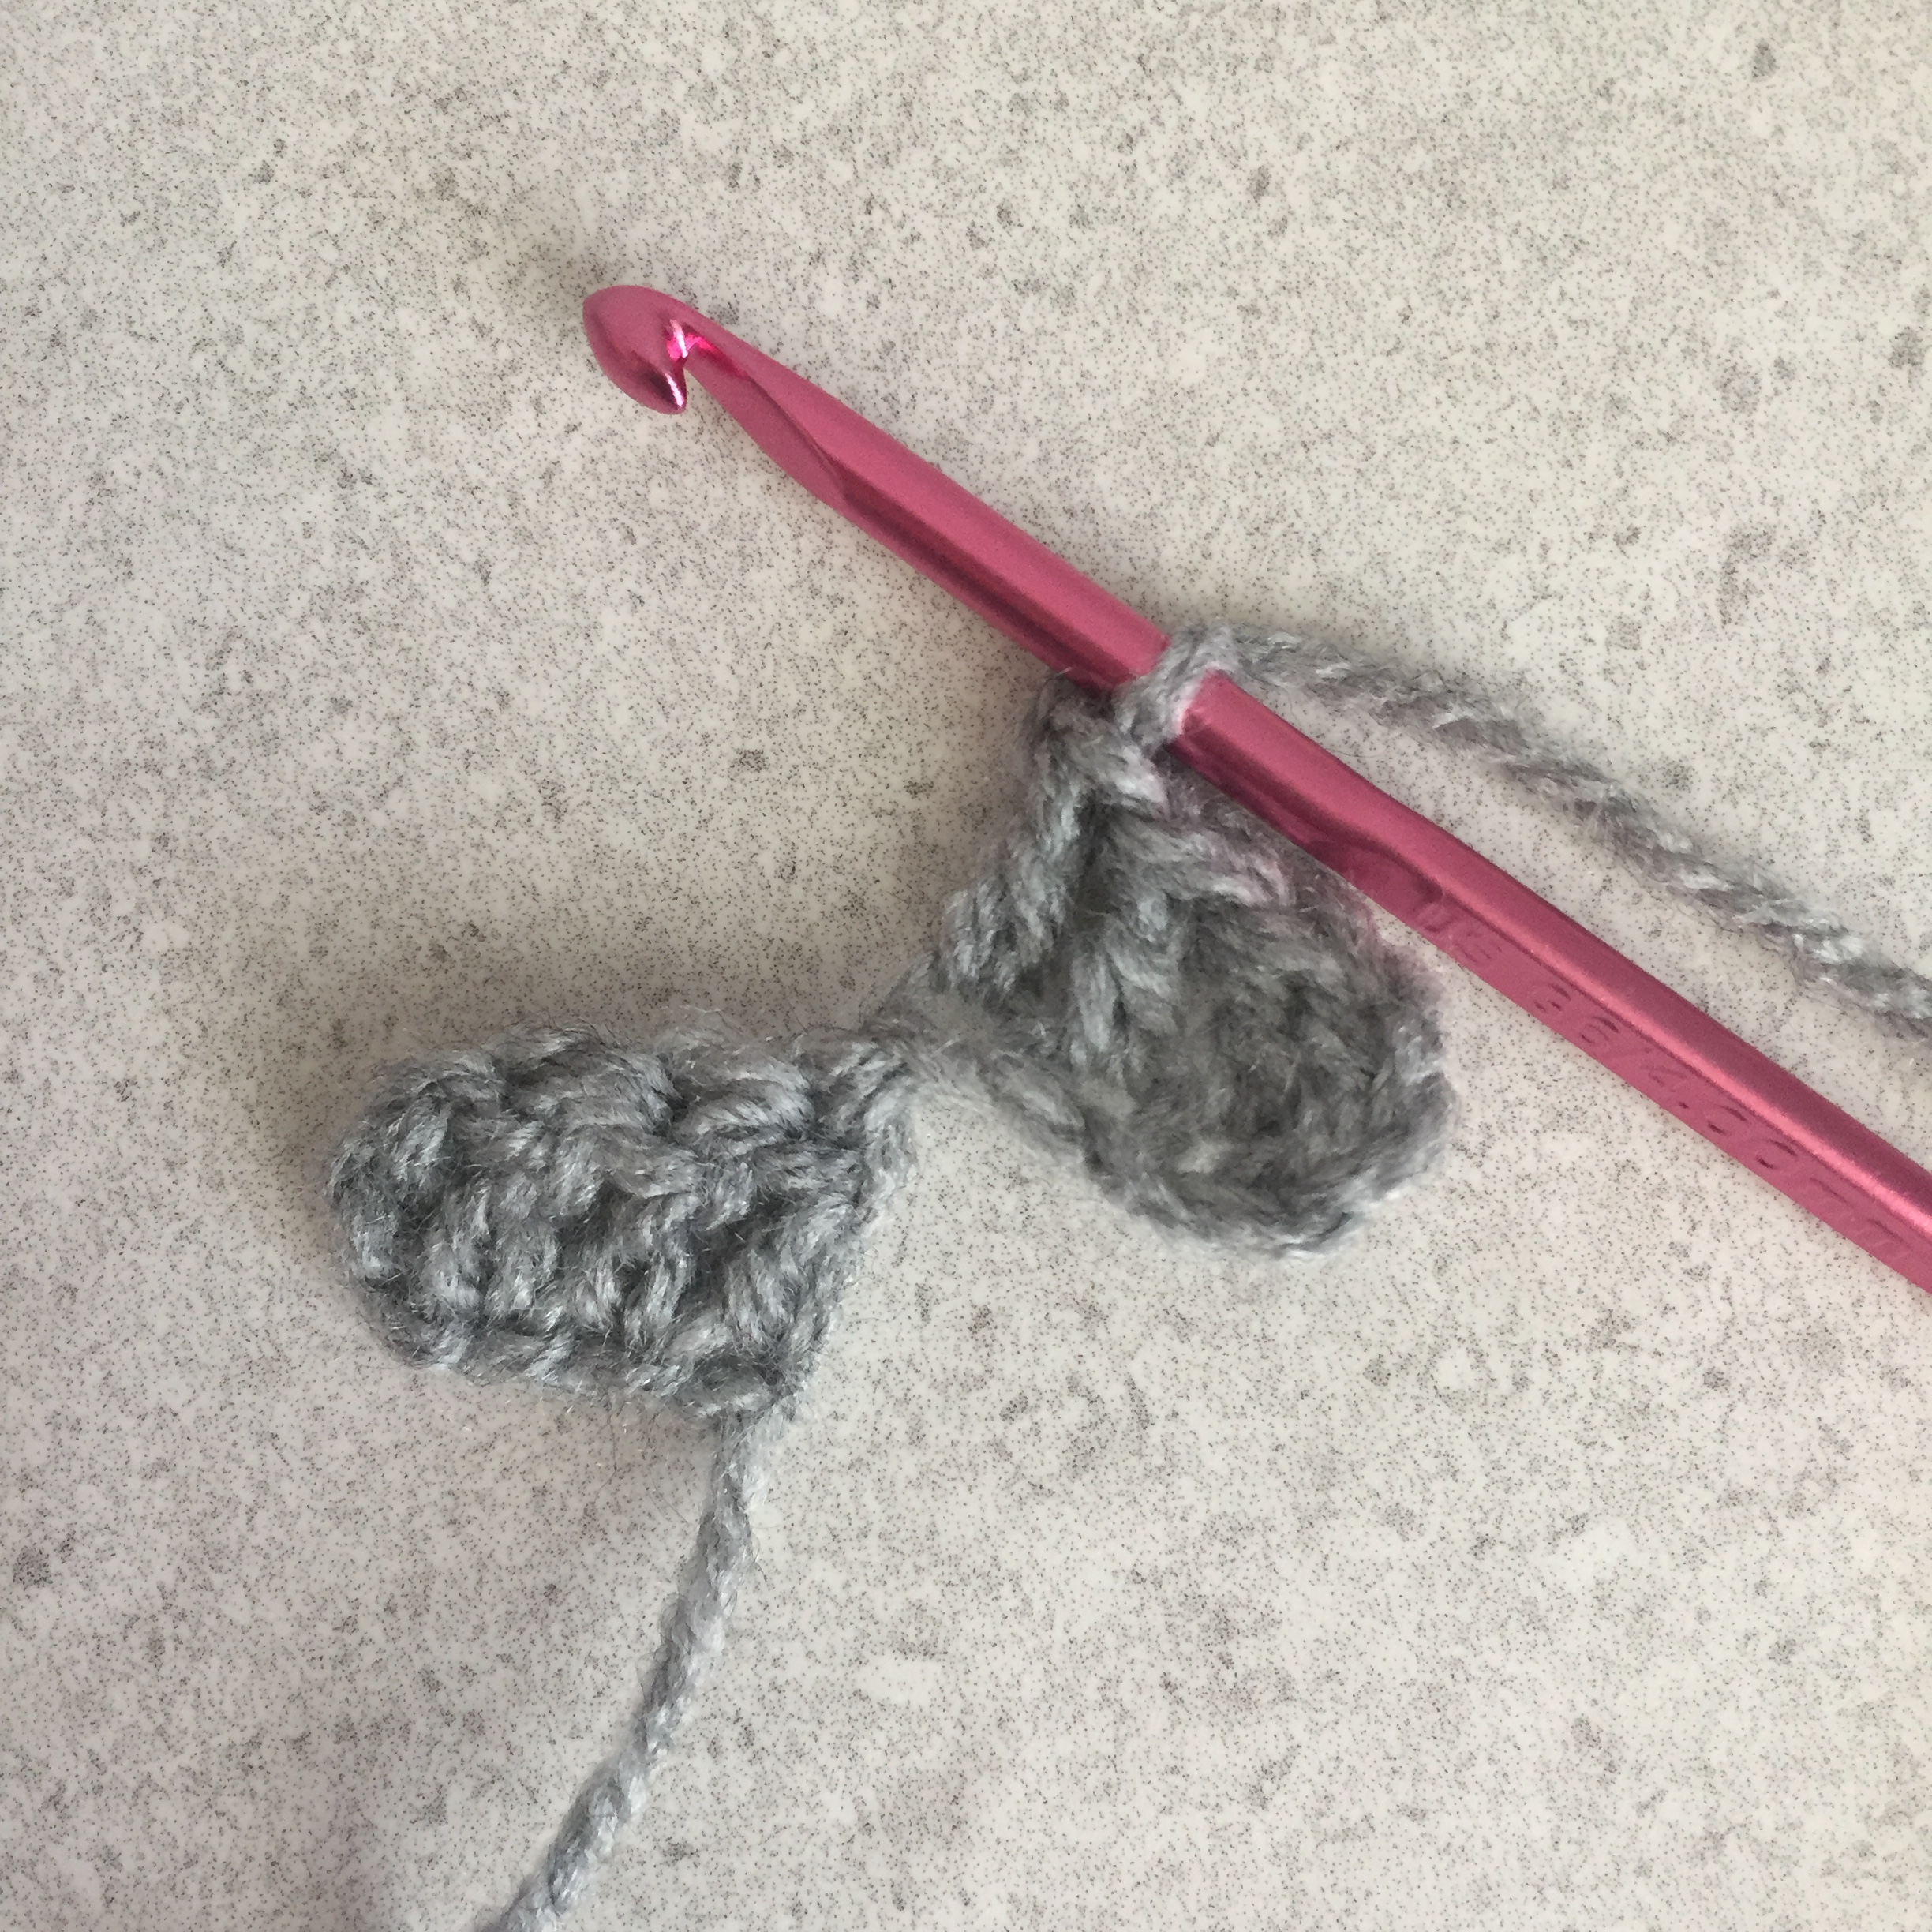
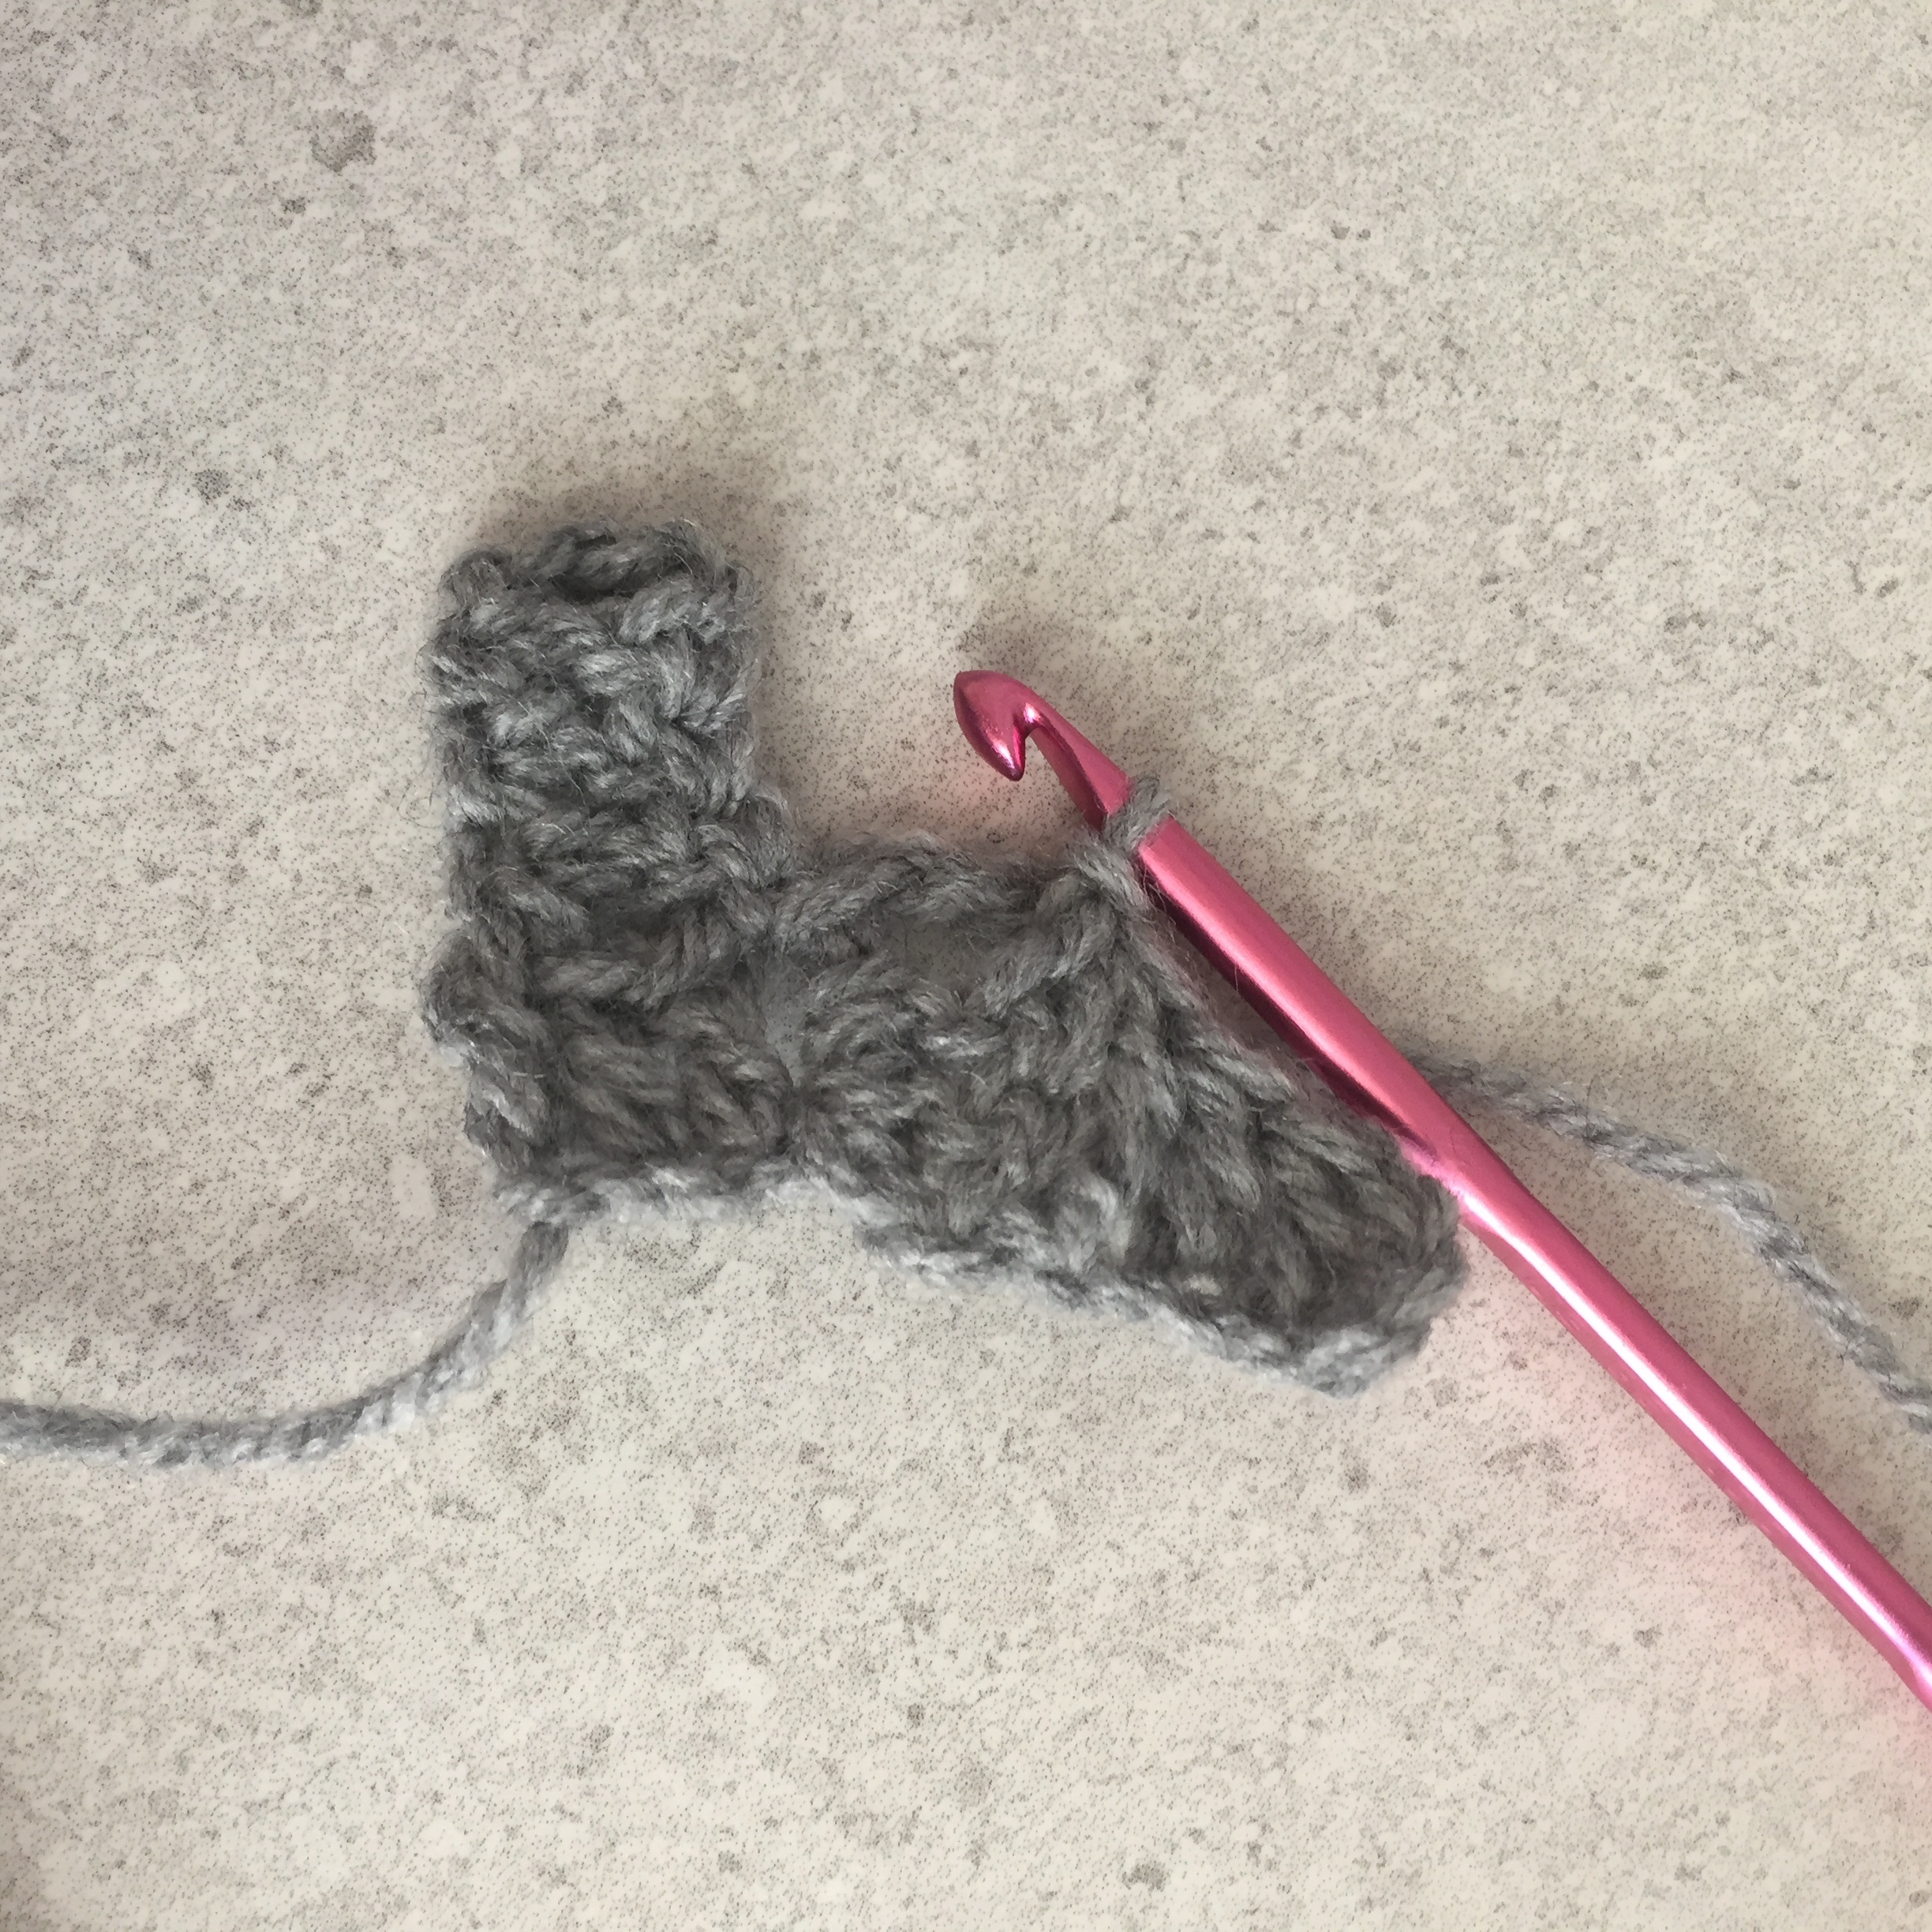
End of row 4.
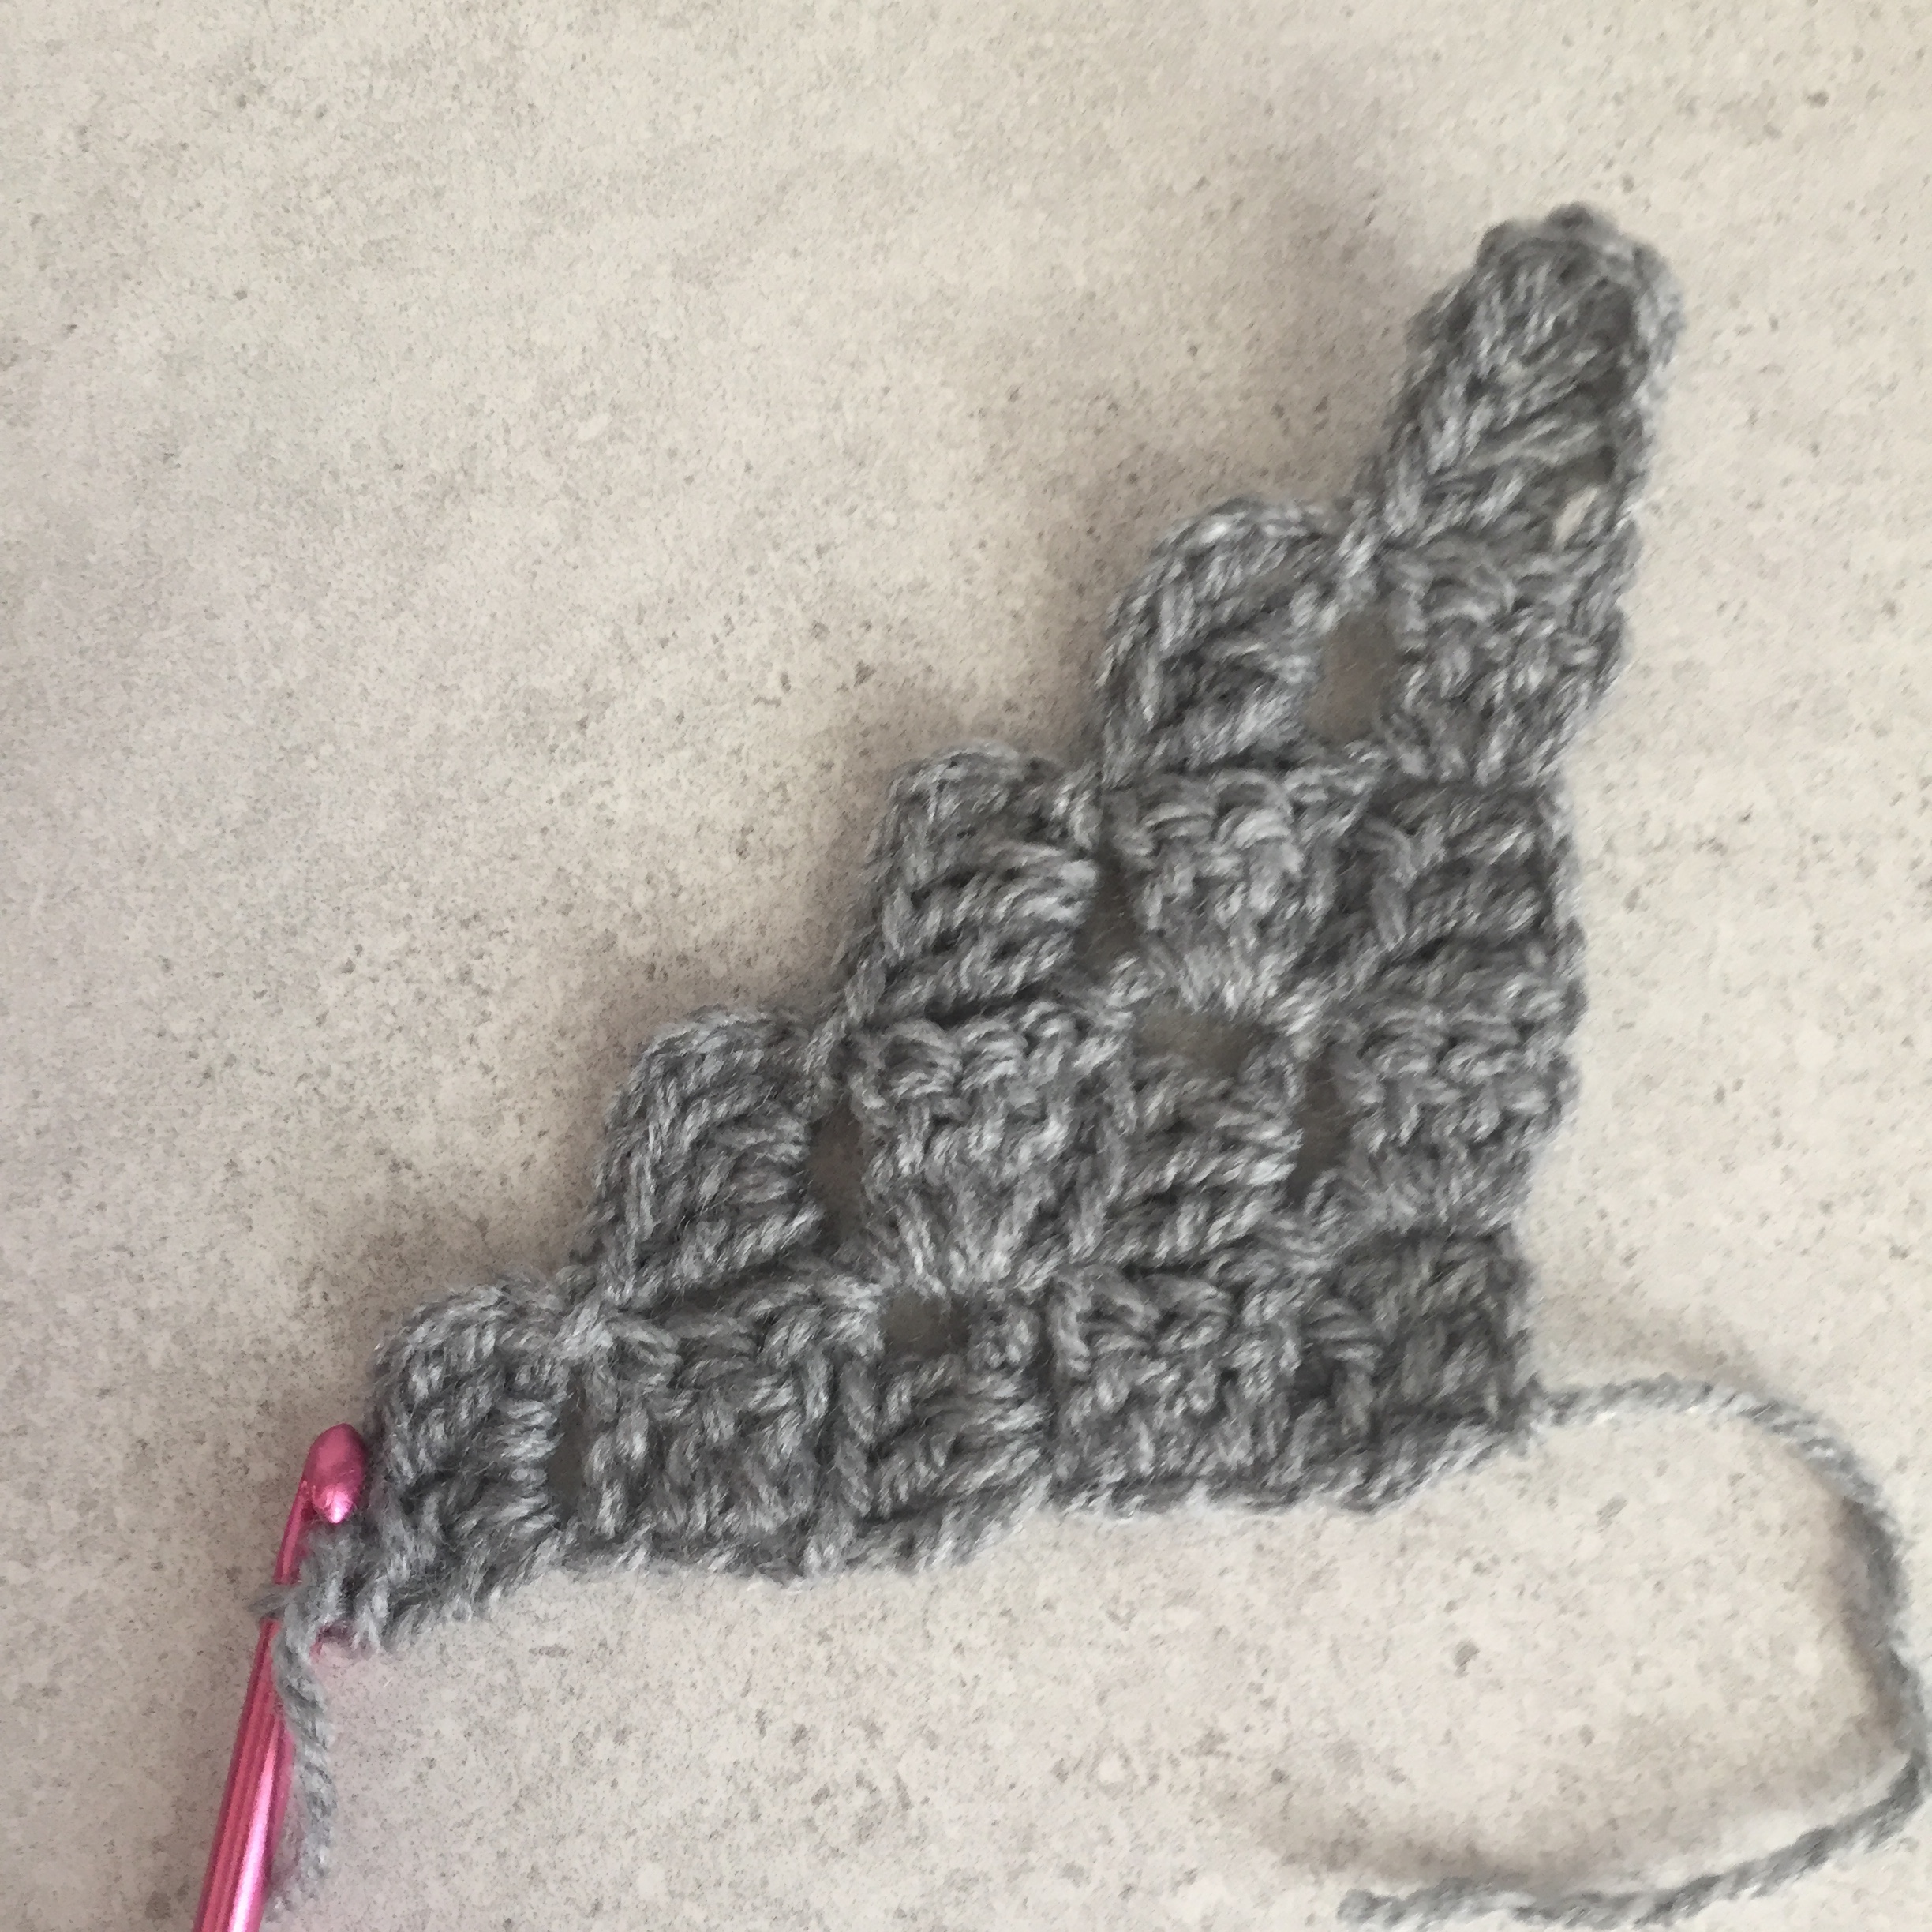
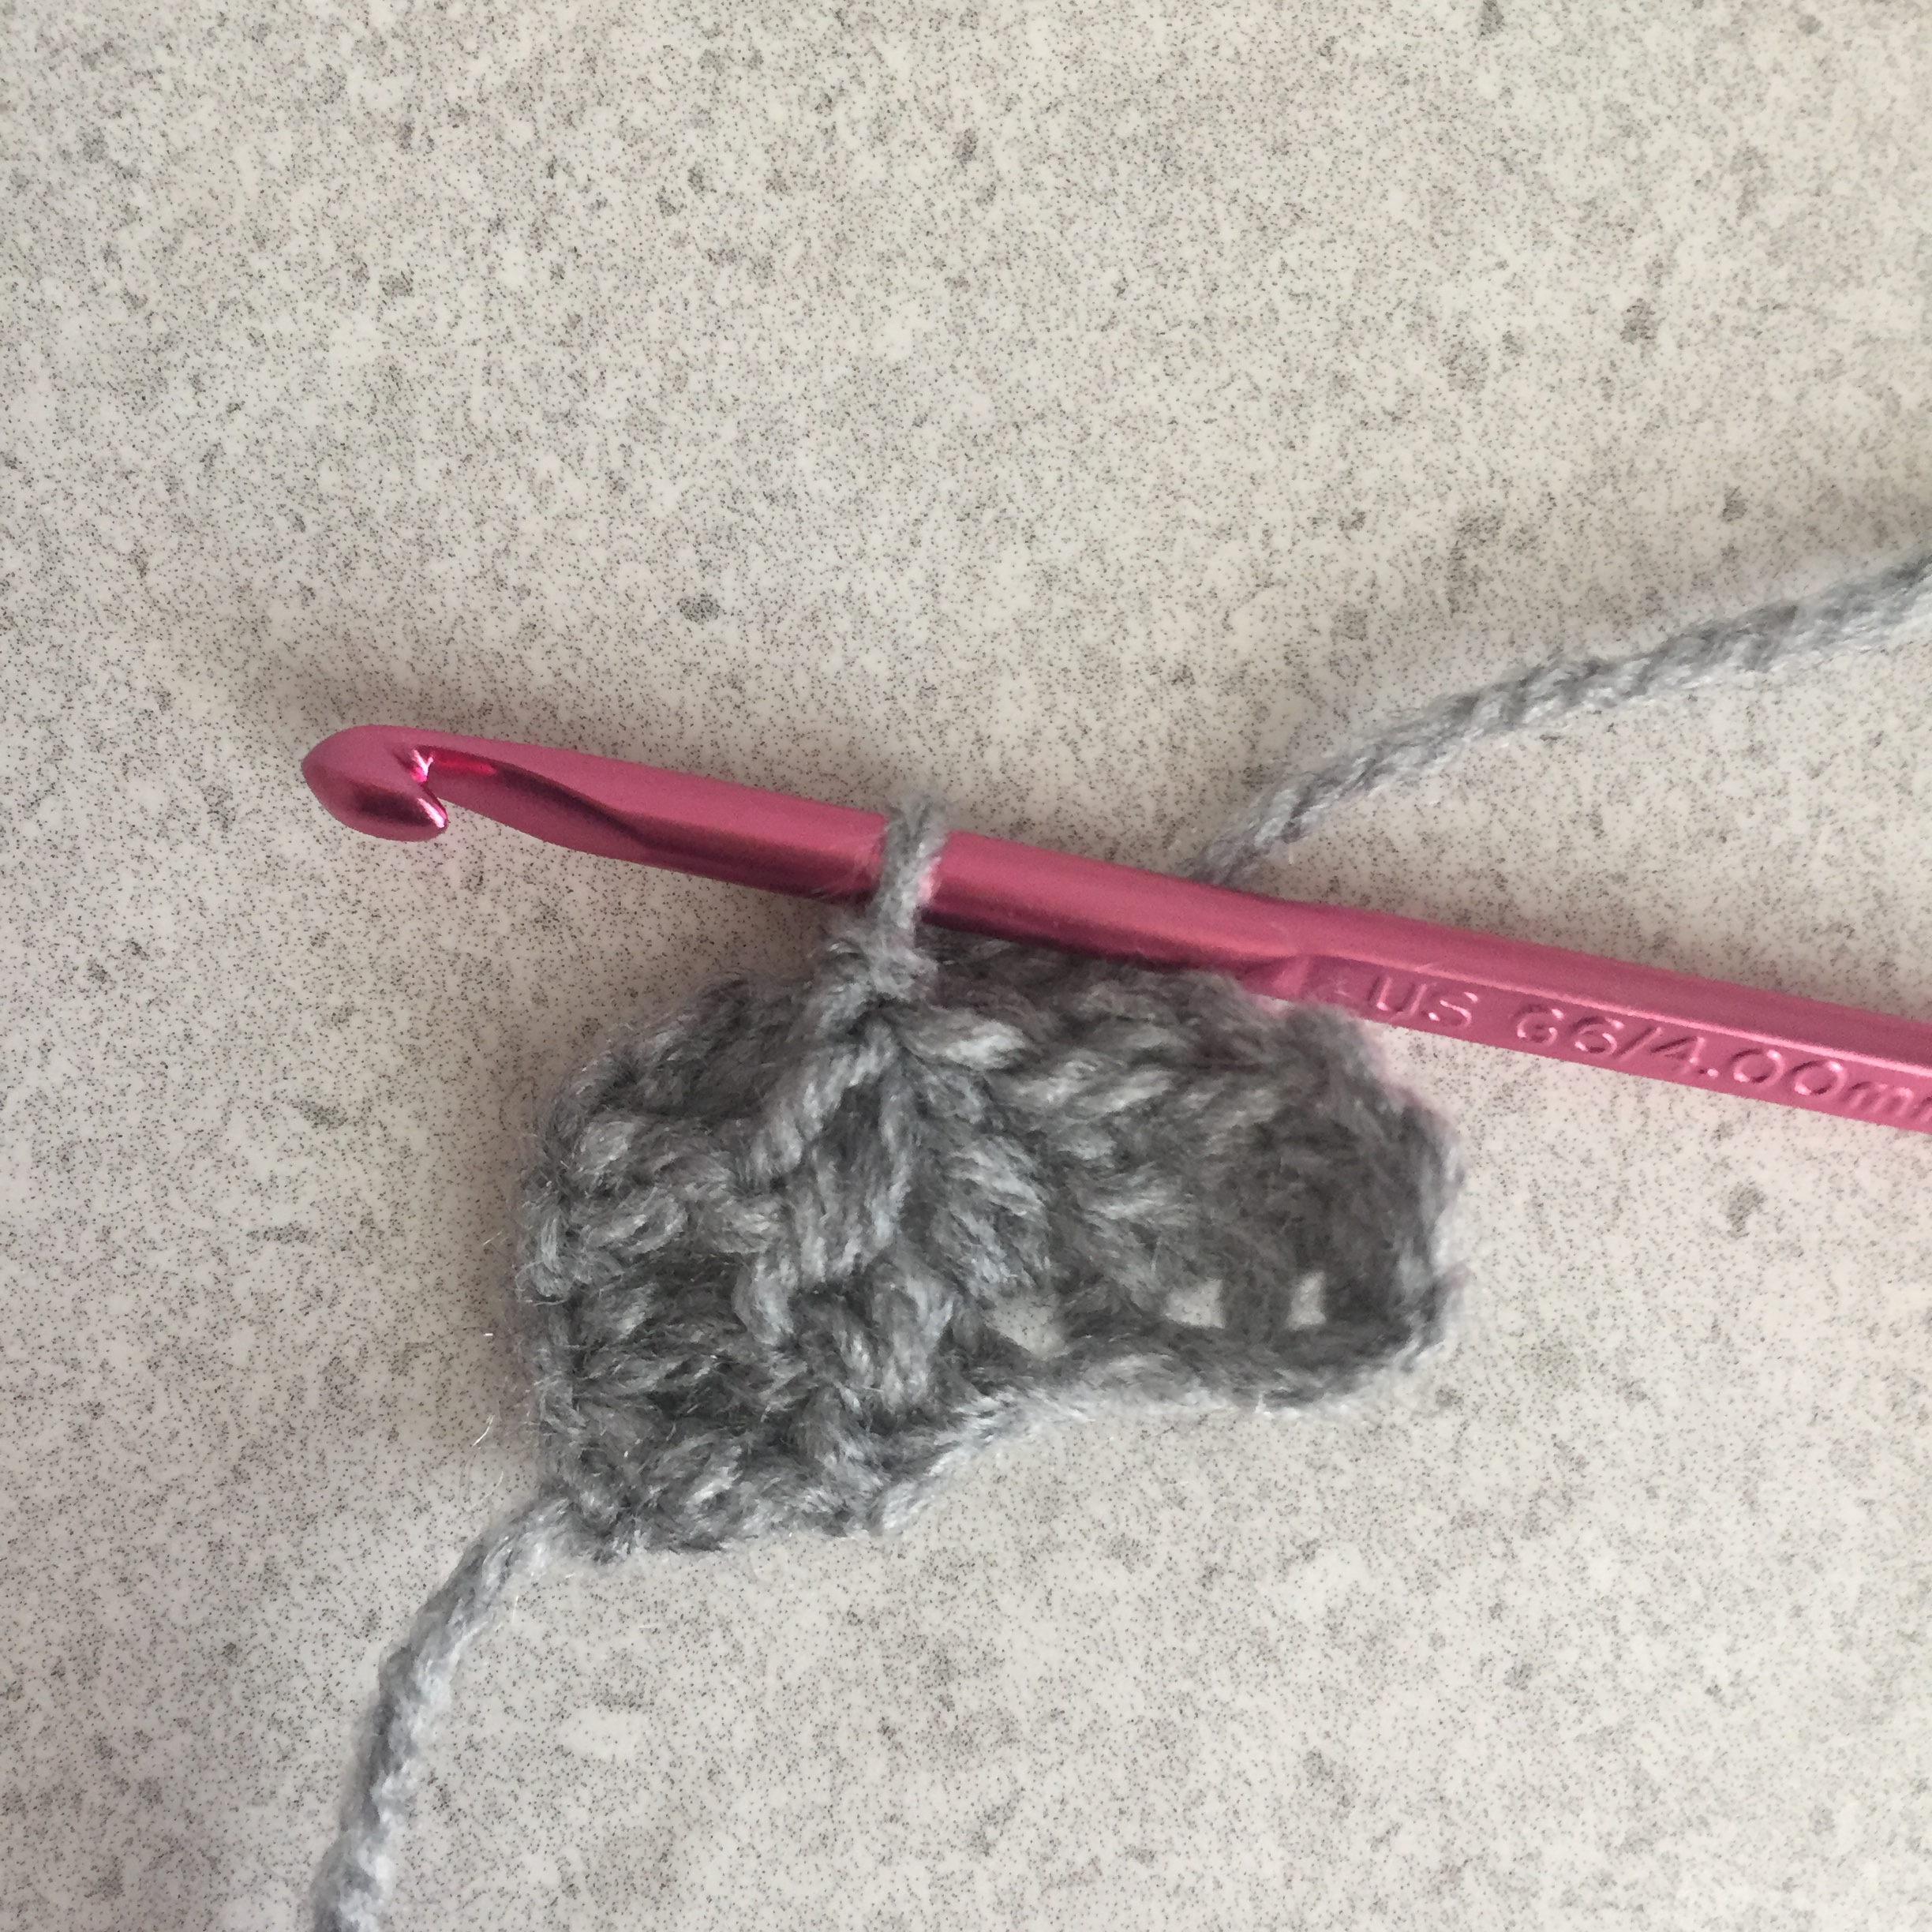
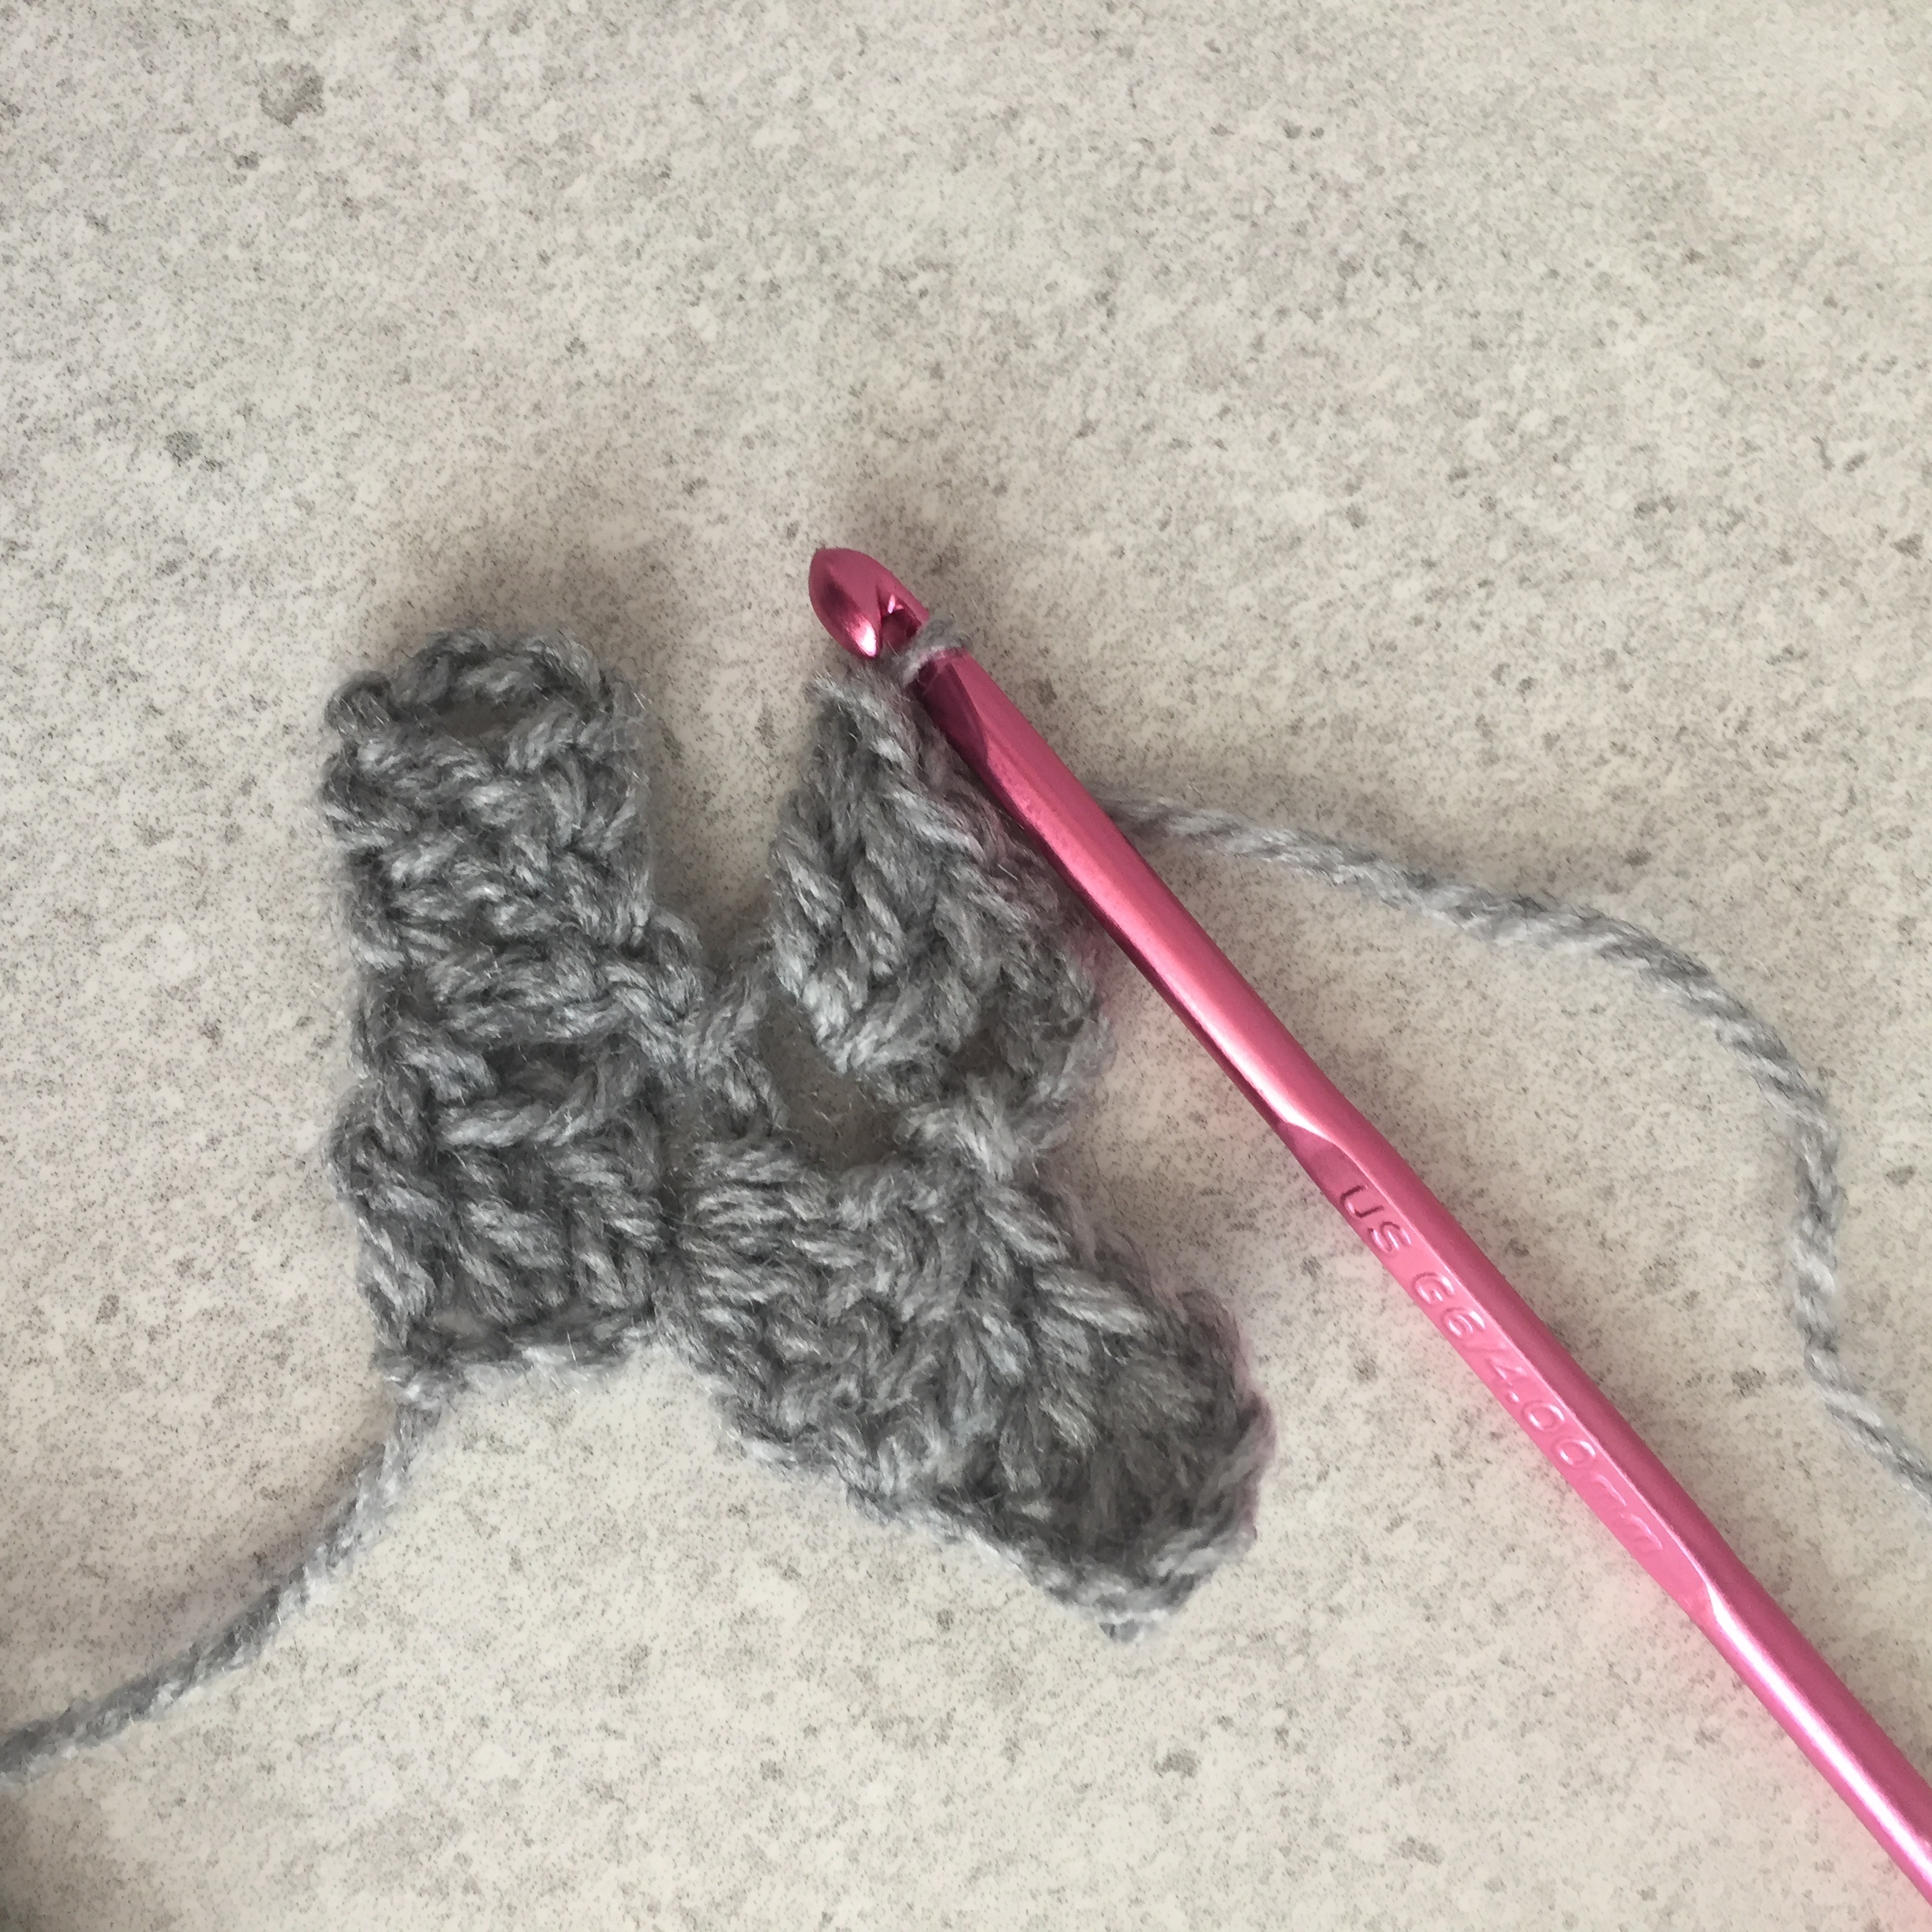
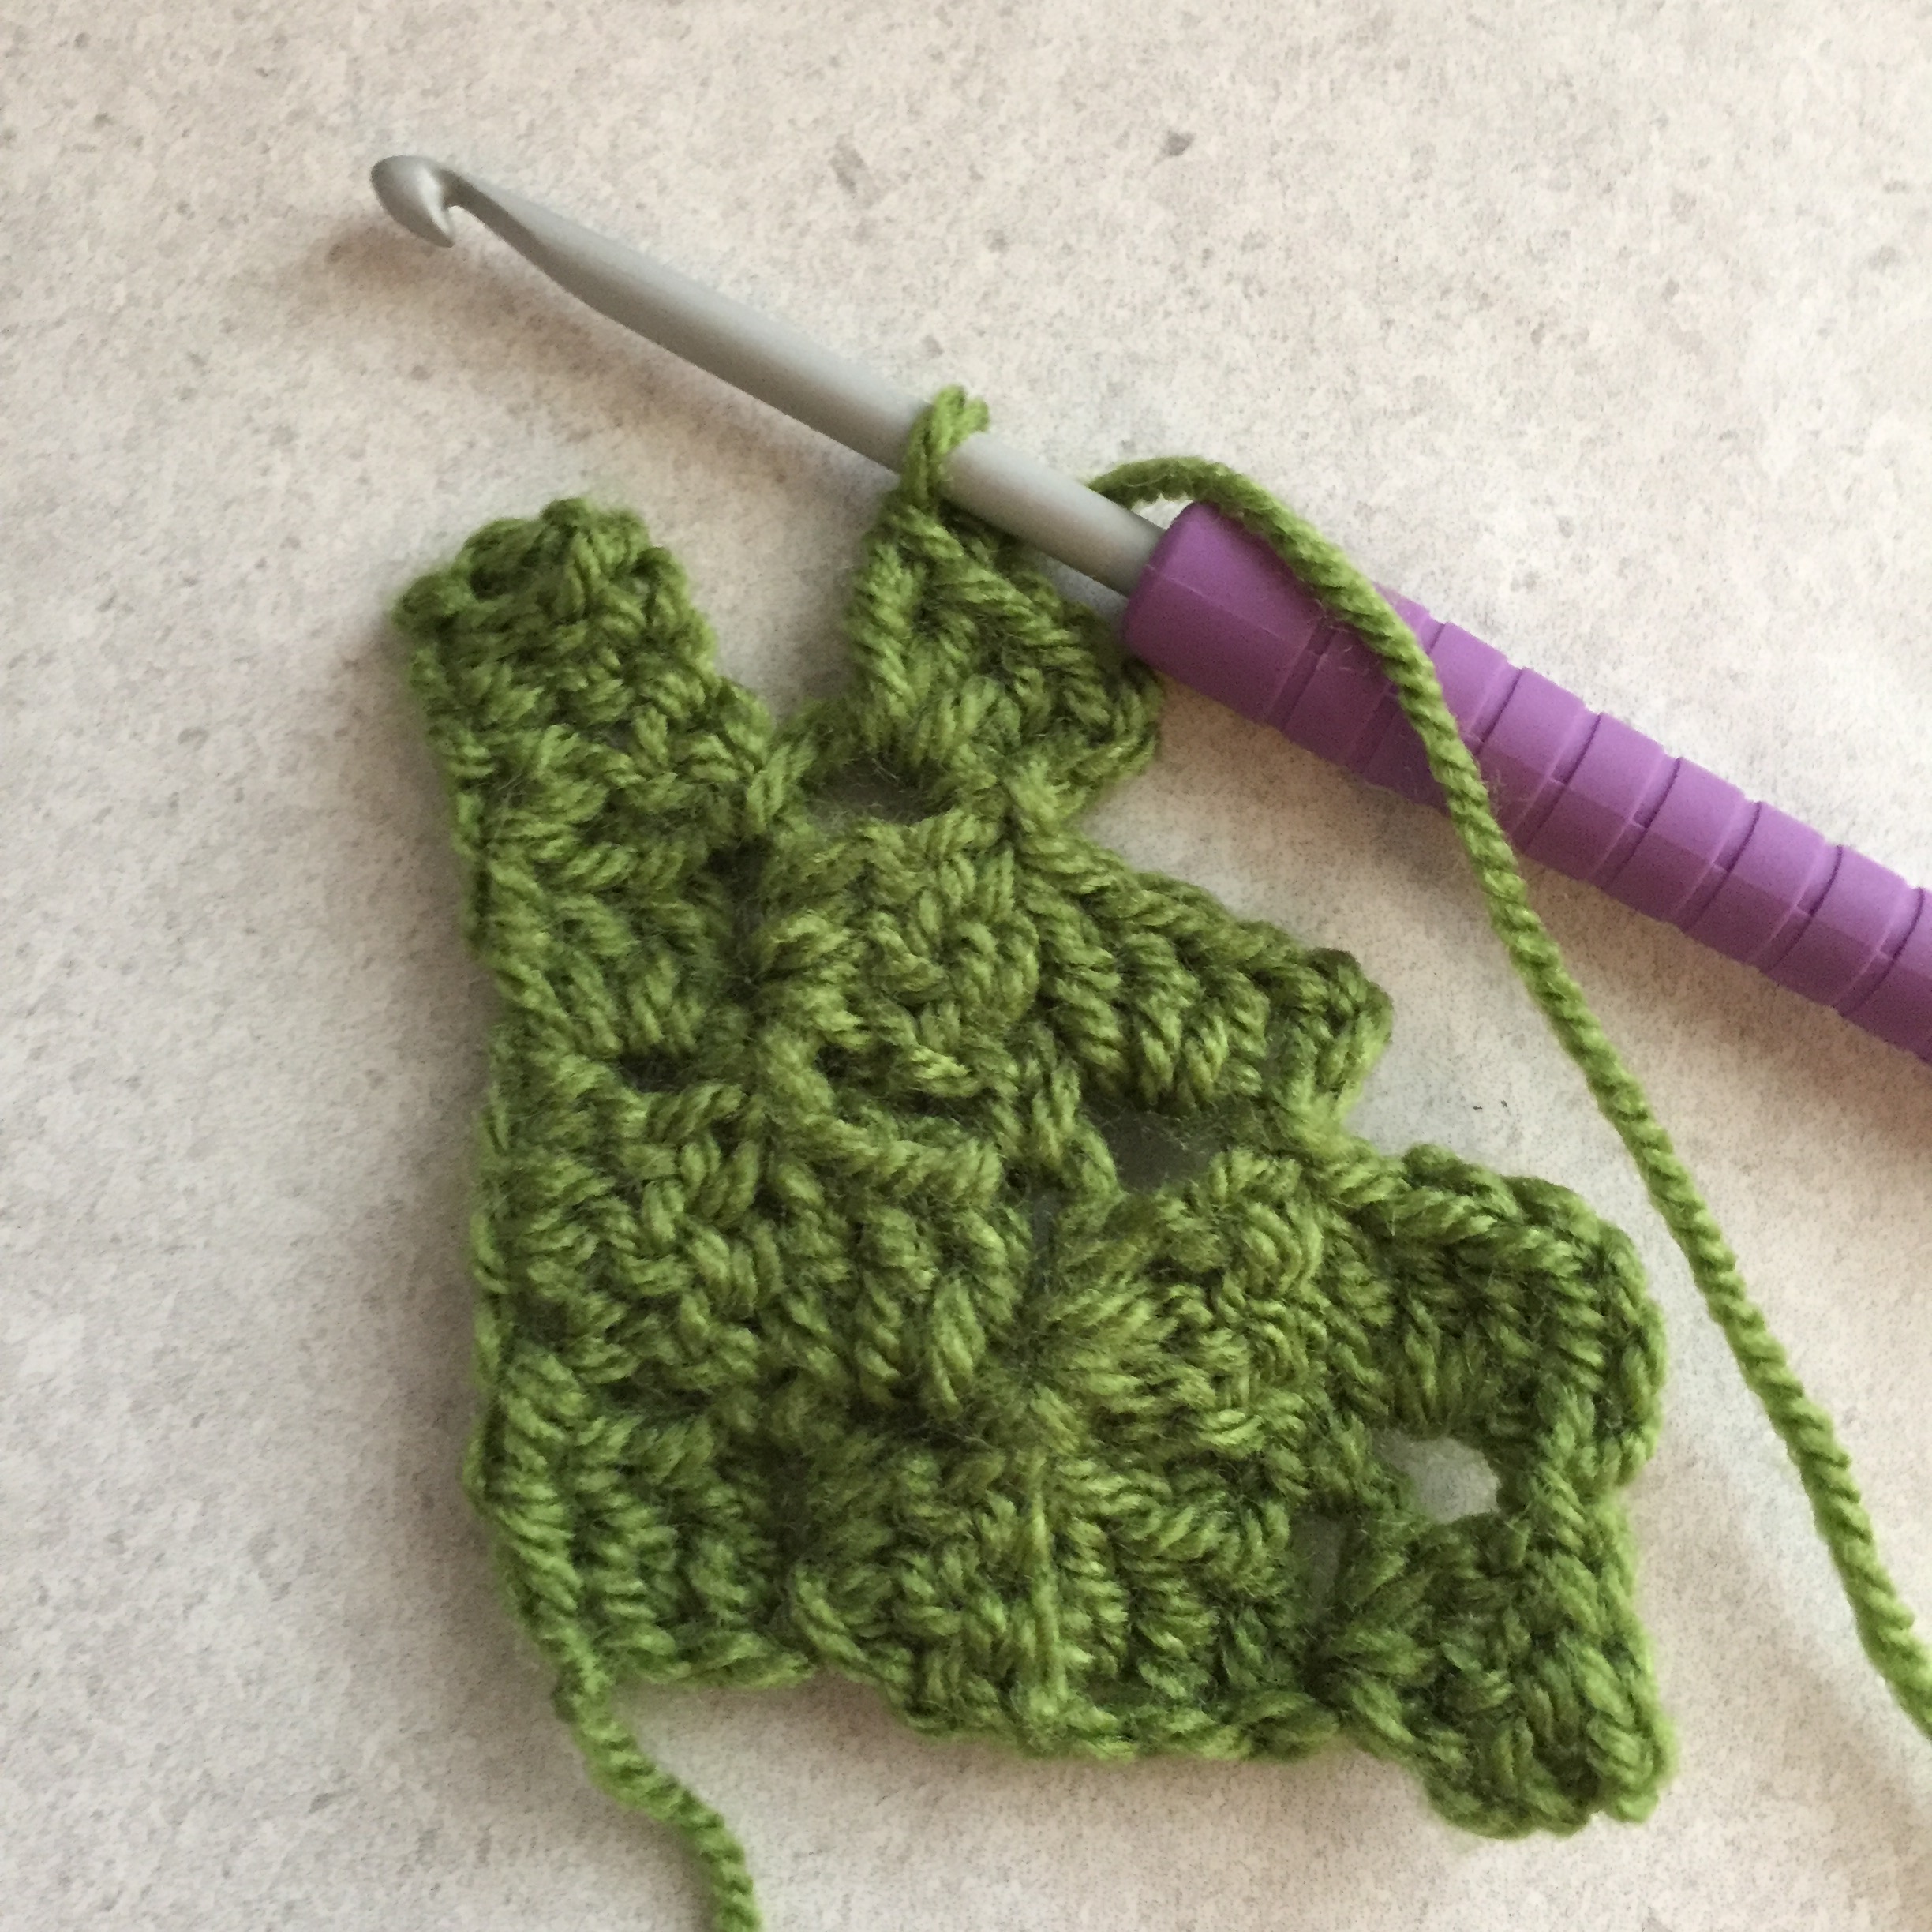
End of row 5.
Note: Each time you complete a row you will have one additional square.
Decreasing Rows:
There are two options for decreasing at the corners of the project and this depends on whether you end to corners on a upwards or downwards row.
- If the top right square of your pattern ends on an upwards row, or the bottom left square ends on a downwards row you will need to complete a decreasing corner and following the decreasing corner instructions, before continuing with the decreasing edges instructions.
- If the top right square of your pattern ends on a downwards row, or the bottom left square ends on a upwards row you do not need to complete a decreasing corner and can just follow the decreasing edges instructions.
Instructions – Decreasing Corner
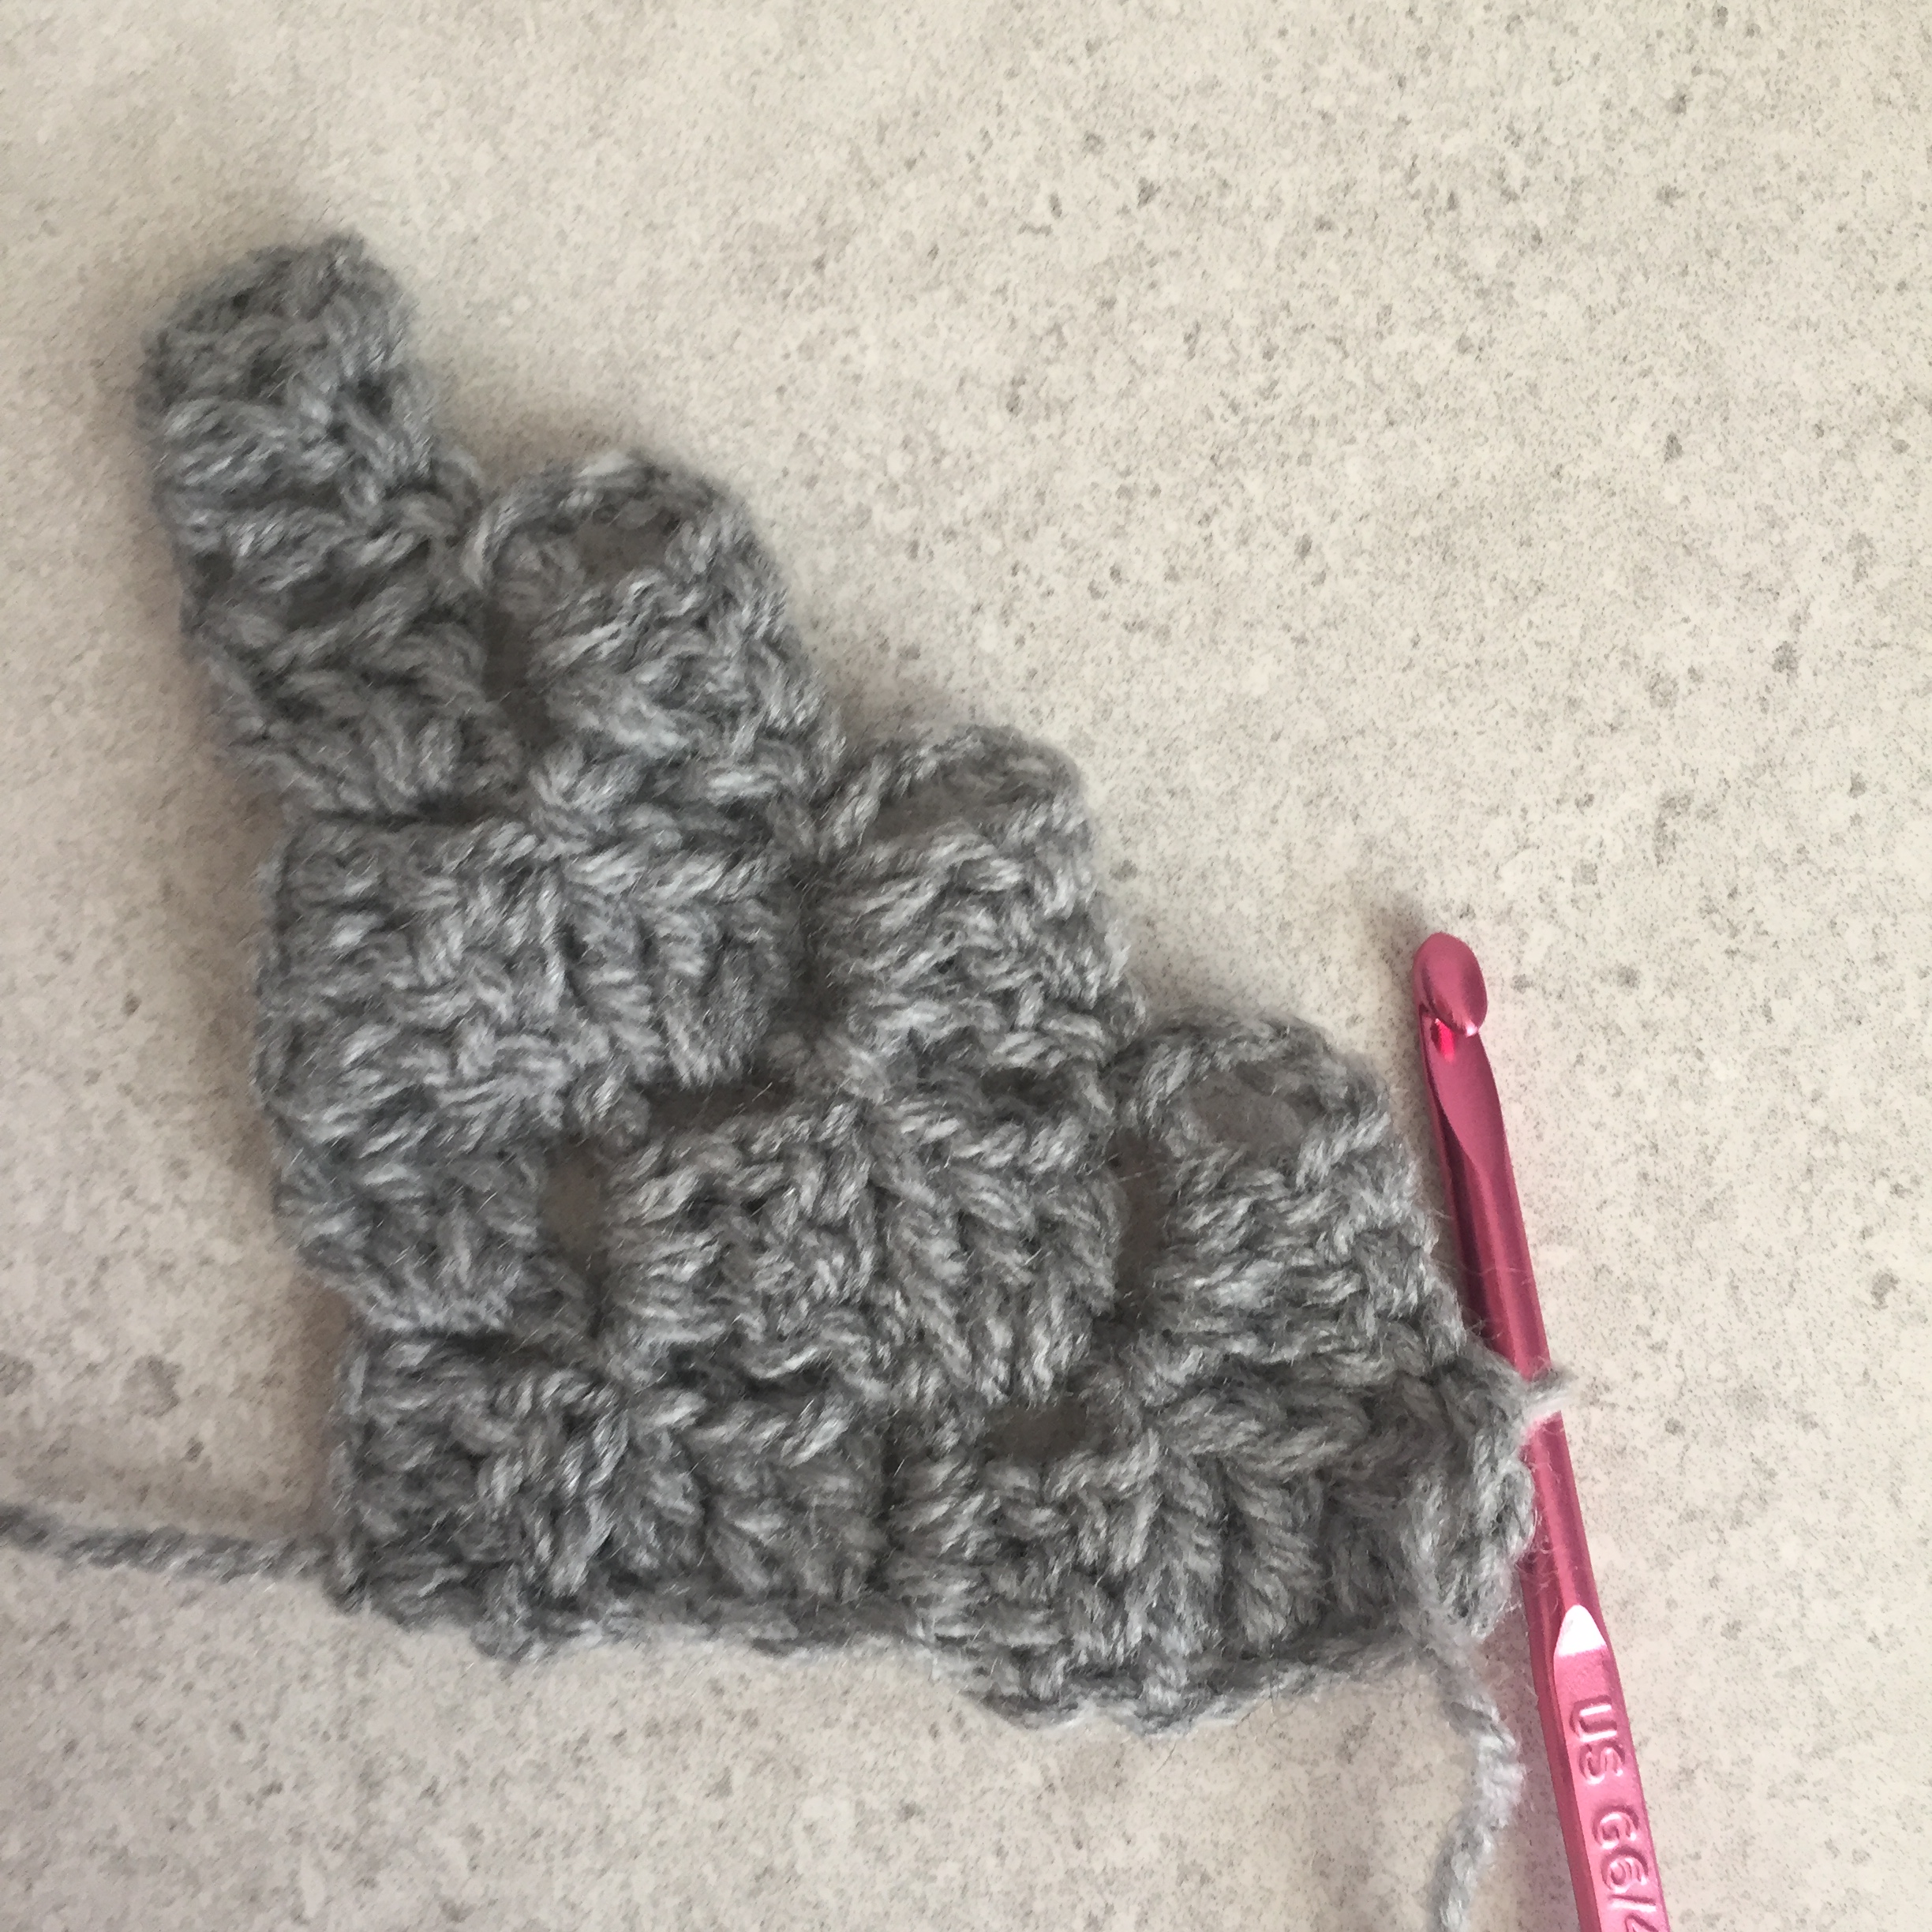
Decreasing Corners:
- When starting the next row instead of completing a ch6, complete slip stitches into the 3 tr(UK)/dc(US) ends and a slip stitch into the ch gap. Complete a ch3 and continue the row in the same way as row 2 completing a ch3 and 3tr(UK)/dc(US) into the ch gap.


Complete the remaining decreasing edges following the decreasing edges instructions below.
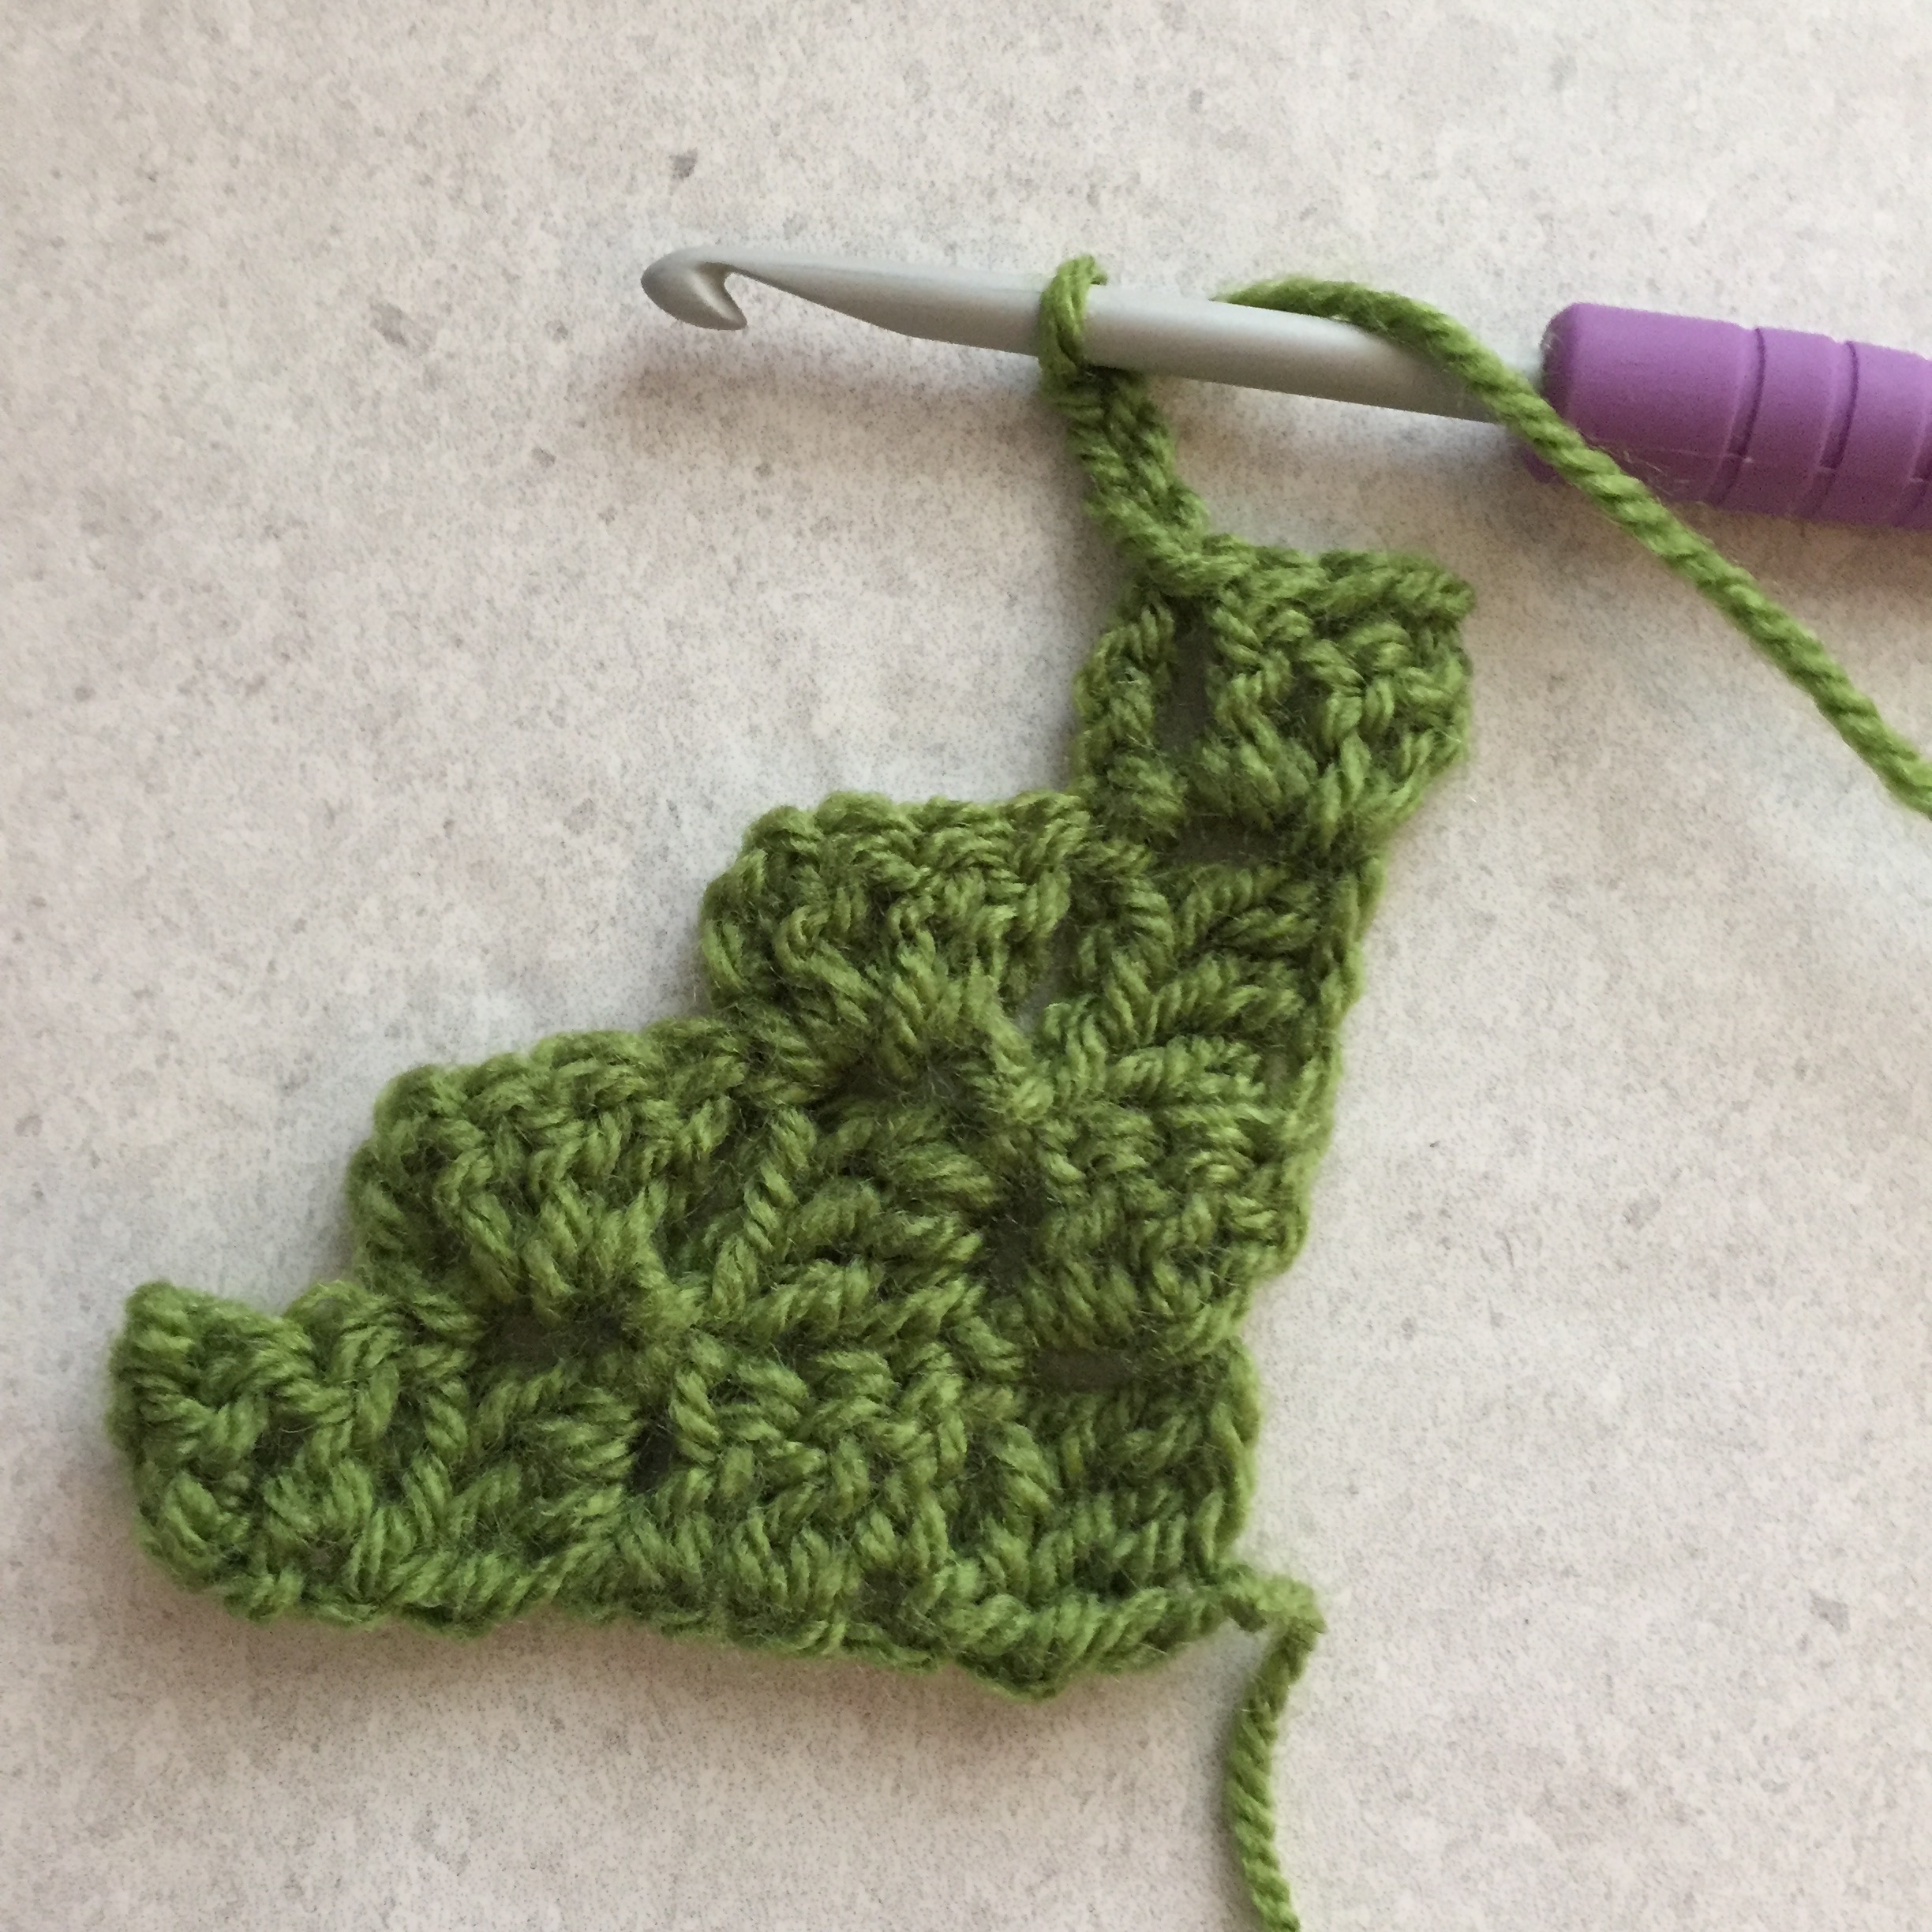
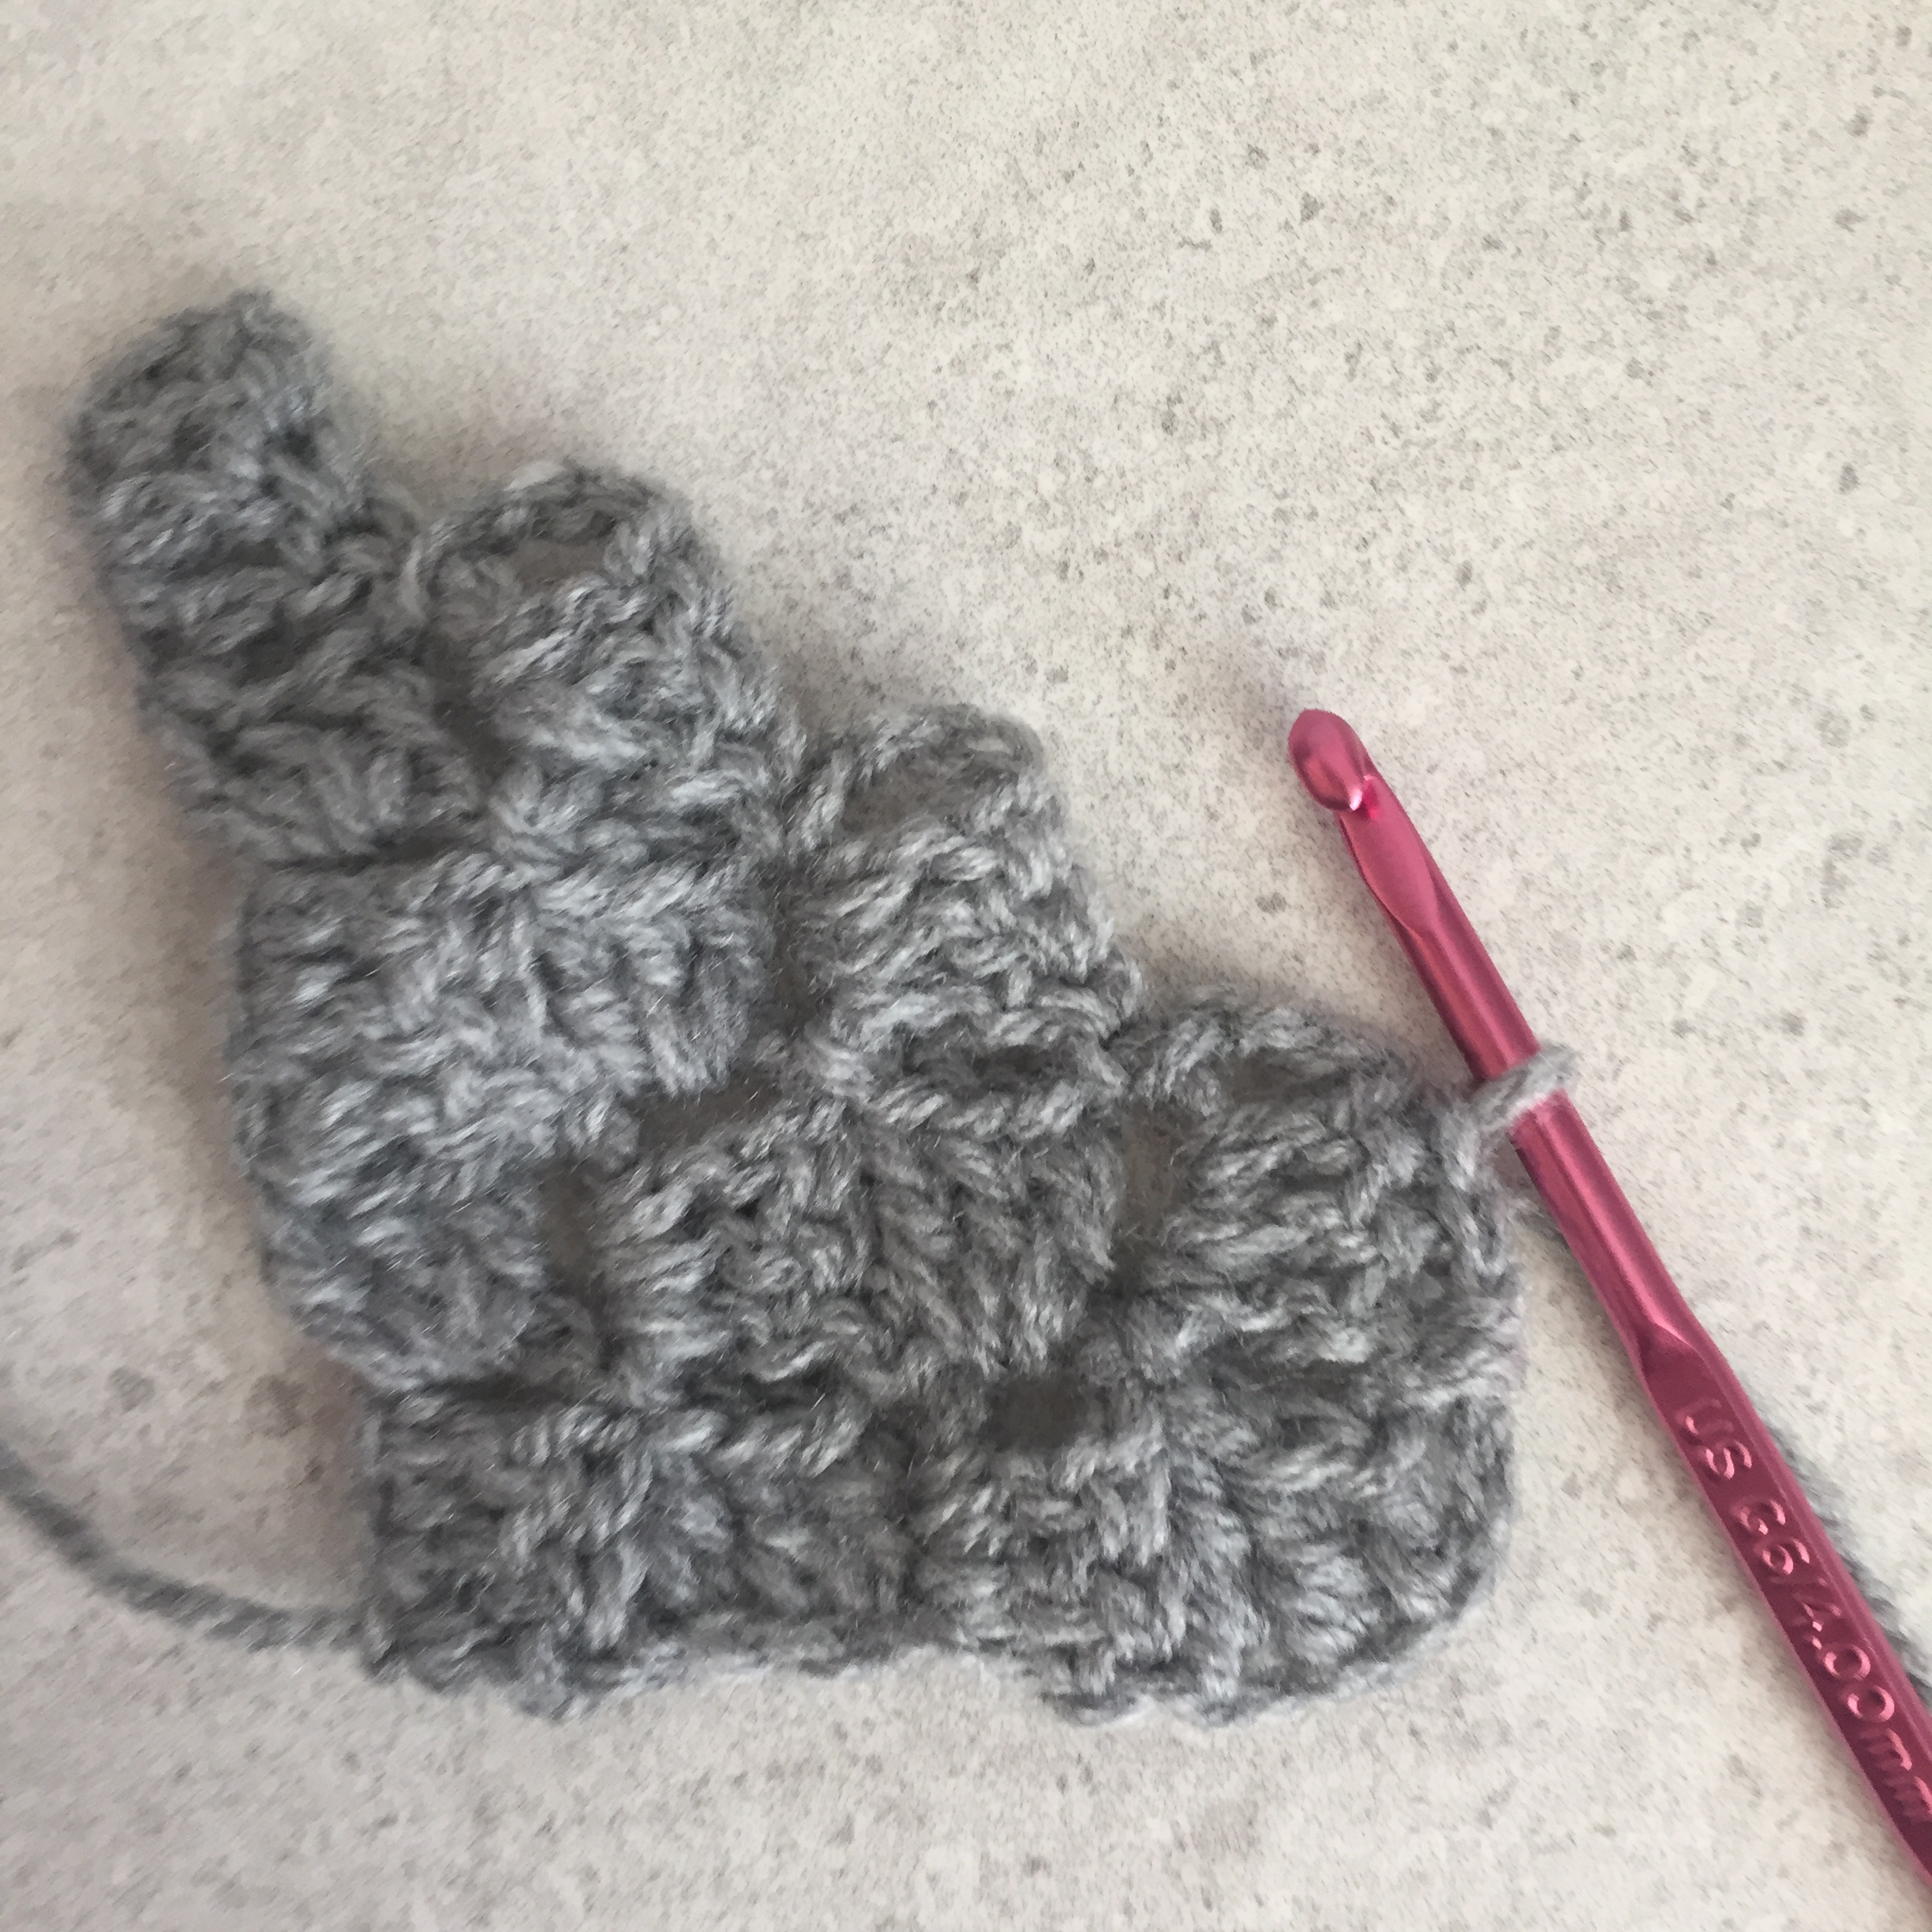
Decreasing edges (along top edge and left hand edge of pattern).
- When reaching the end of the row instead of completing a slip stitch, ch3, tr(UK)/dc(US) into the last ch gap complete a slip stitch into the ch gap and turn leaving the ch gap unworked. Turn.
- At the start of the next row complete slip stitches into the 3 tr(UK)/ dc(US) ends and a slip stitch into the ch gap. Complete a ch3 and continue the row in the same way as row 2 completing a ch3 and 3tr(UK)/ dc(US) into the ch gap.

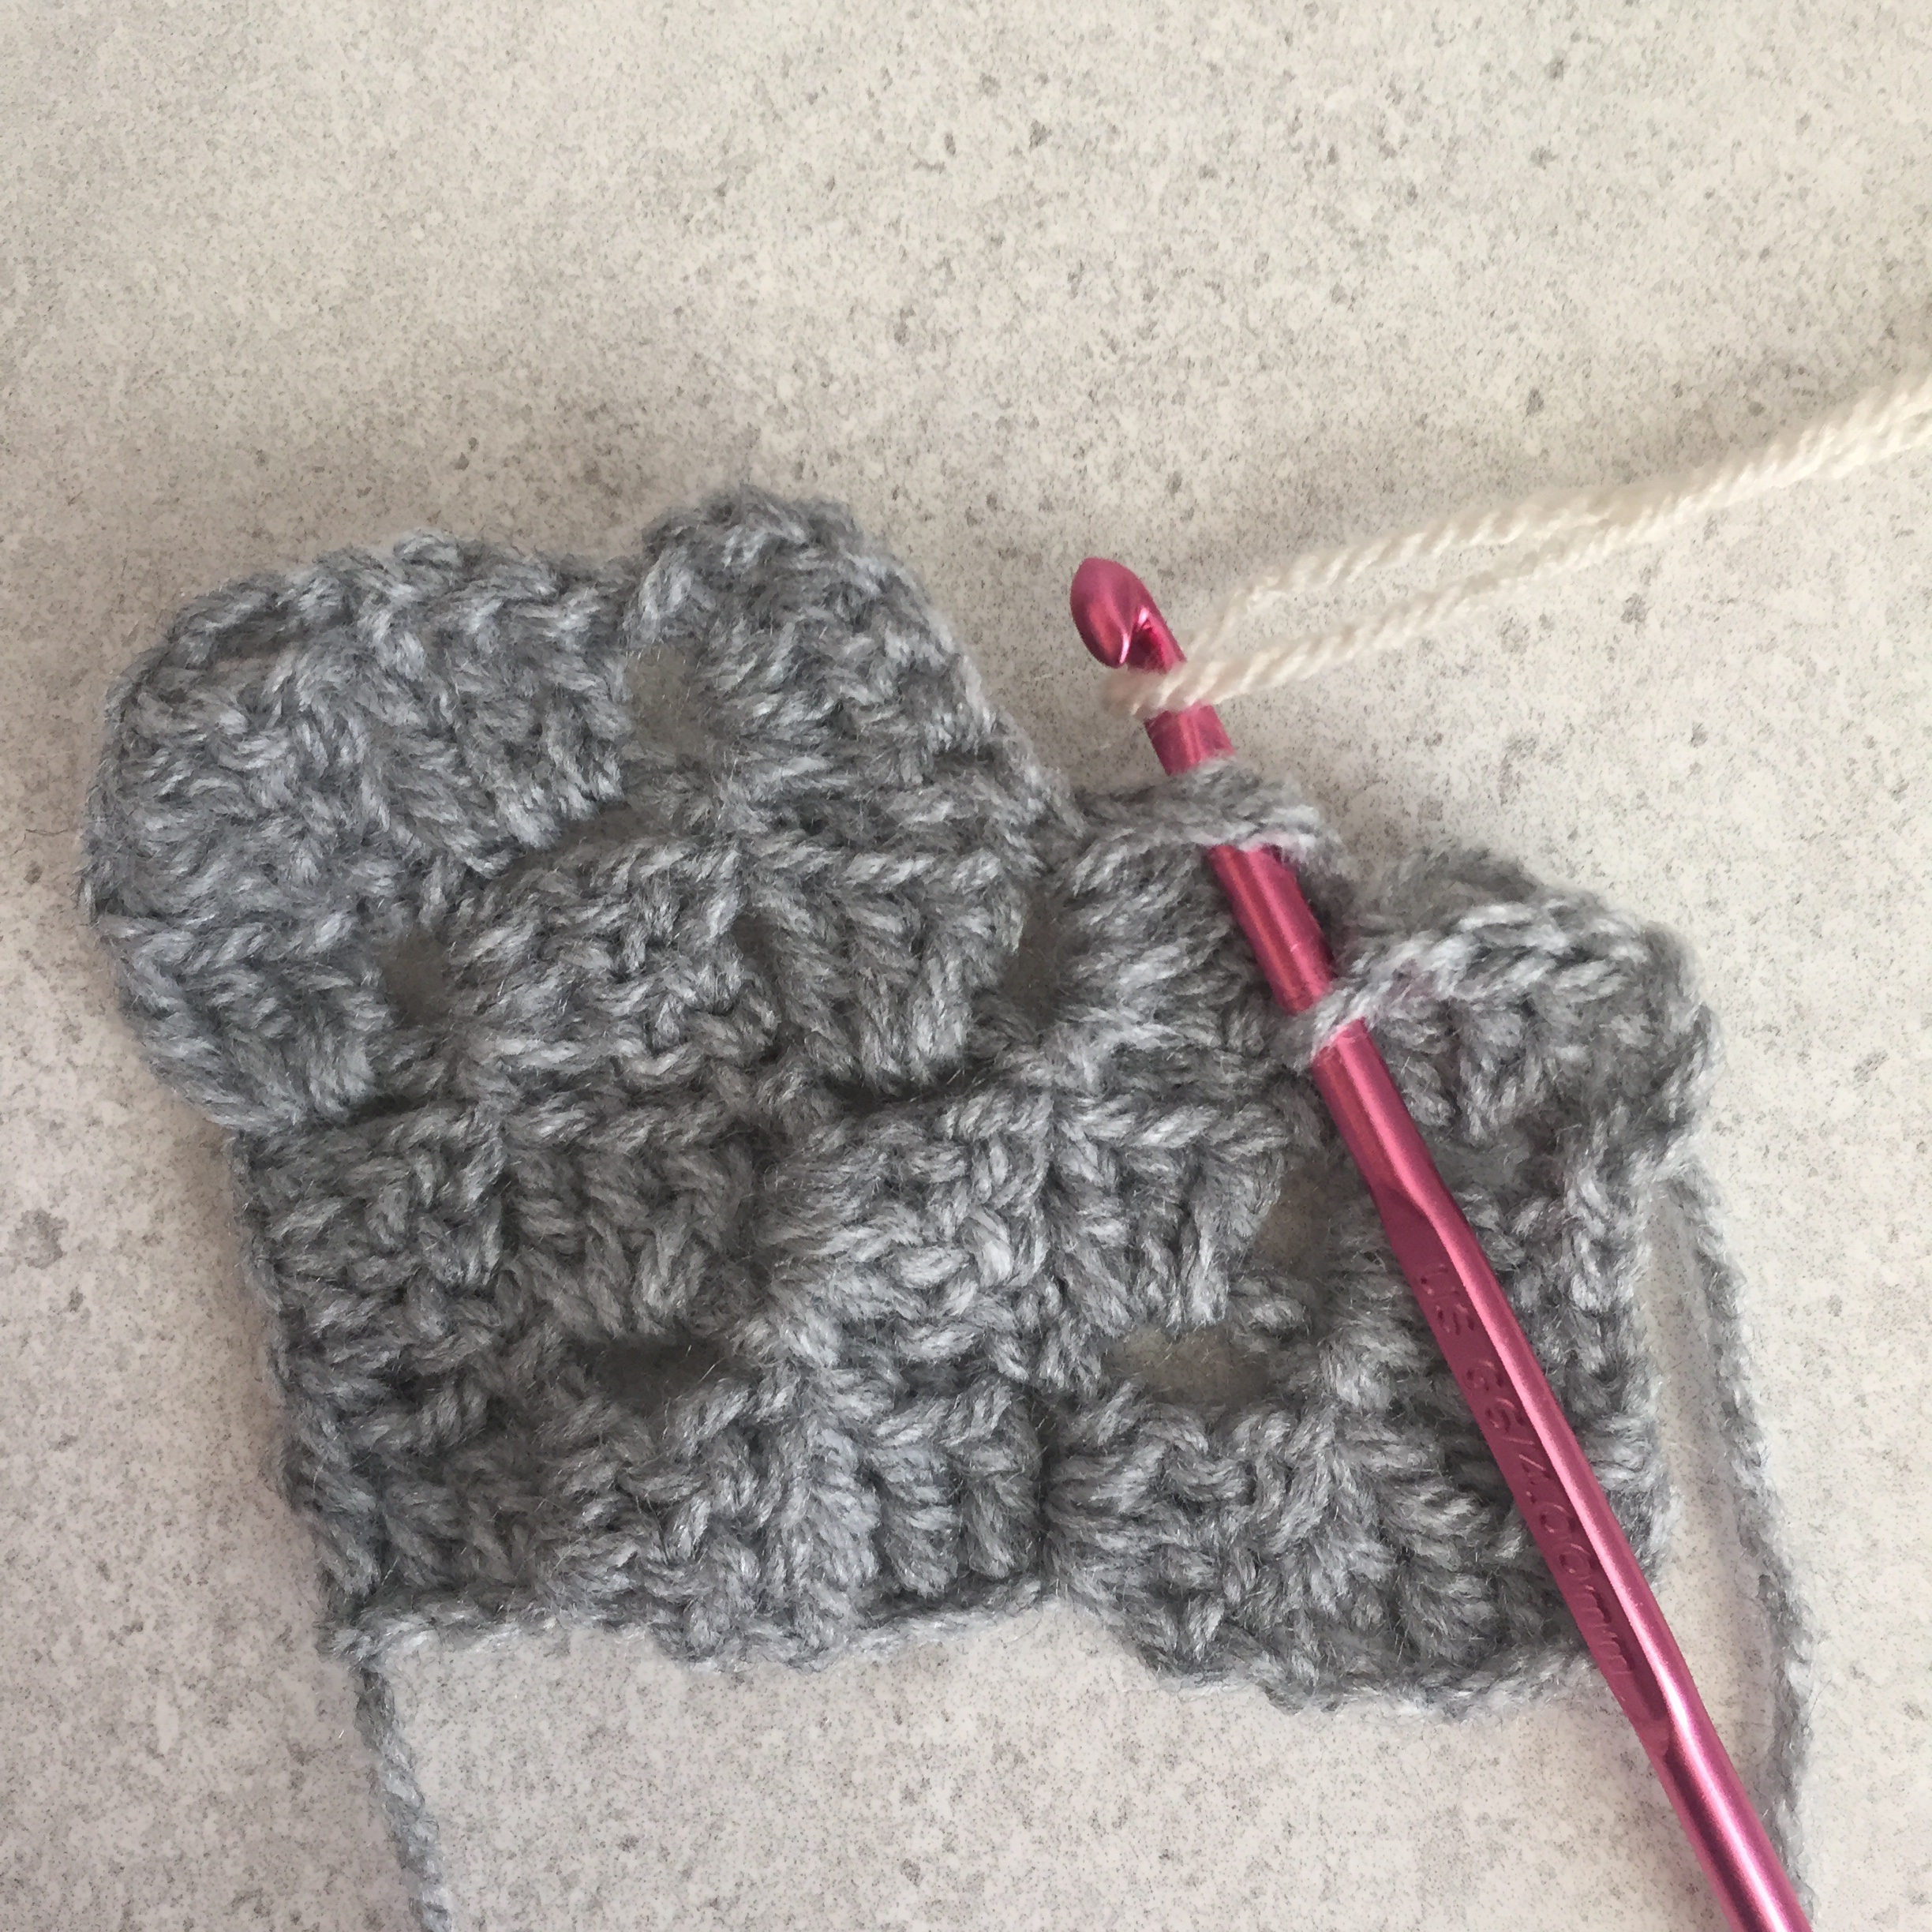
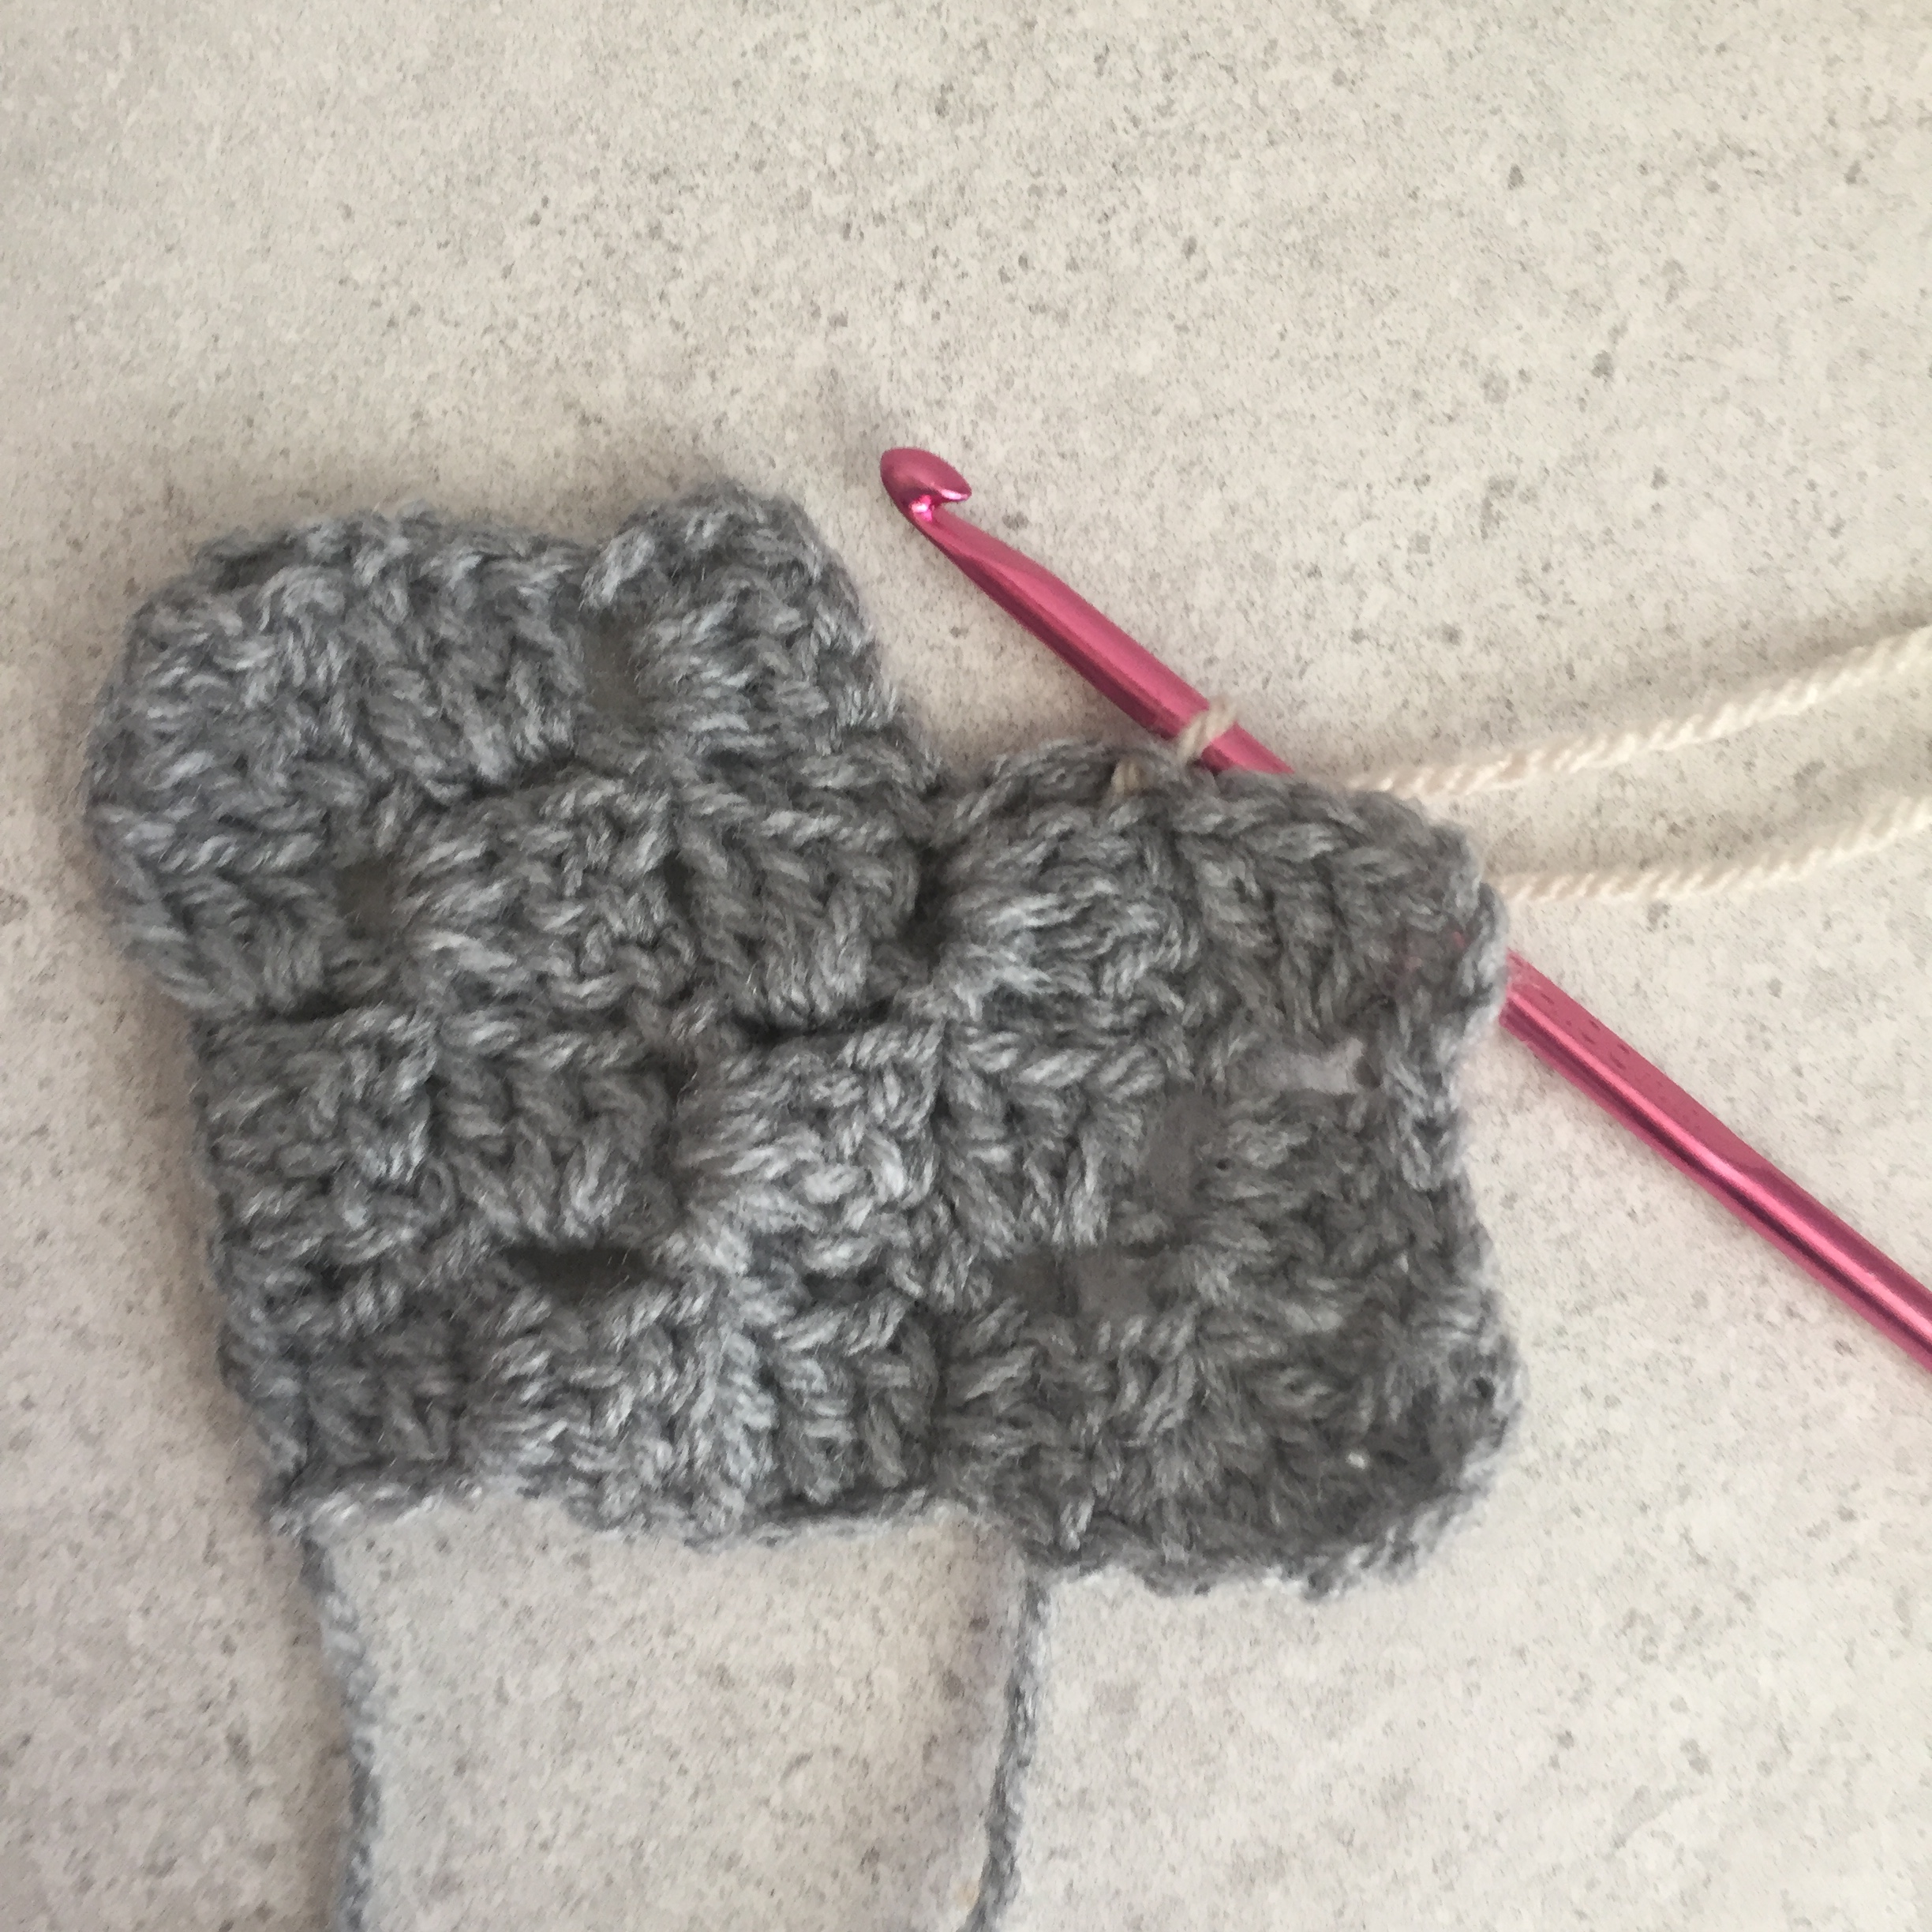
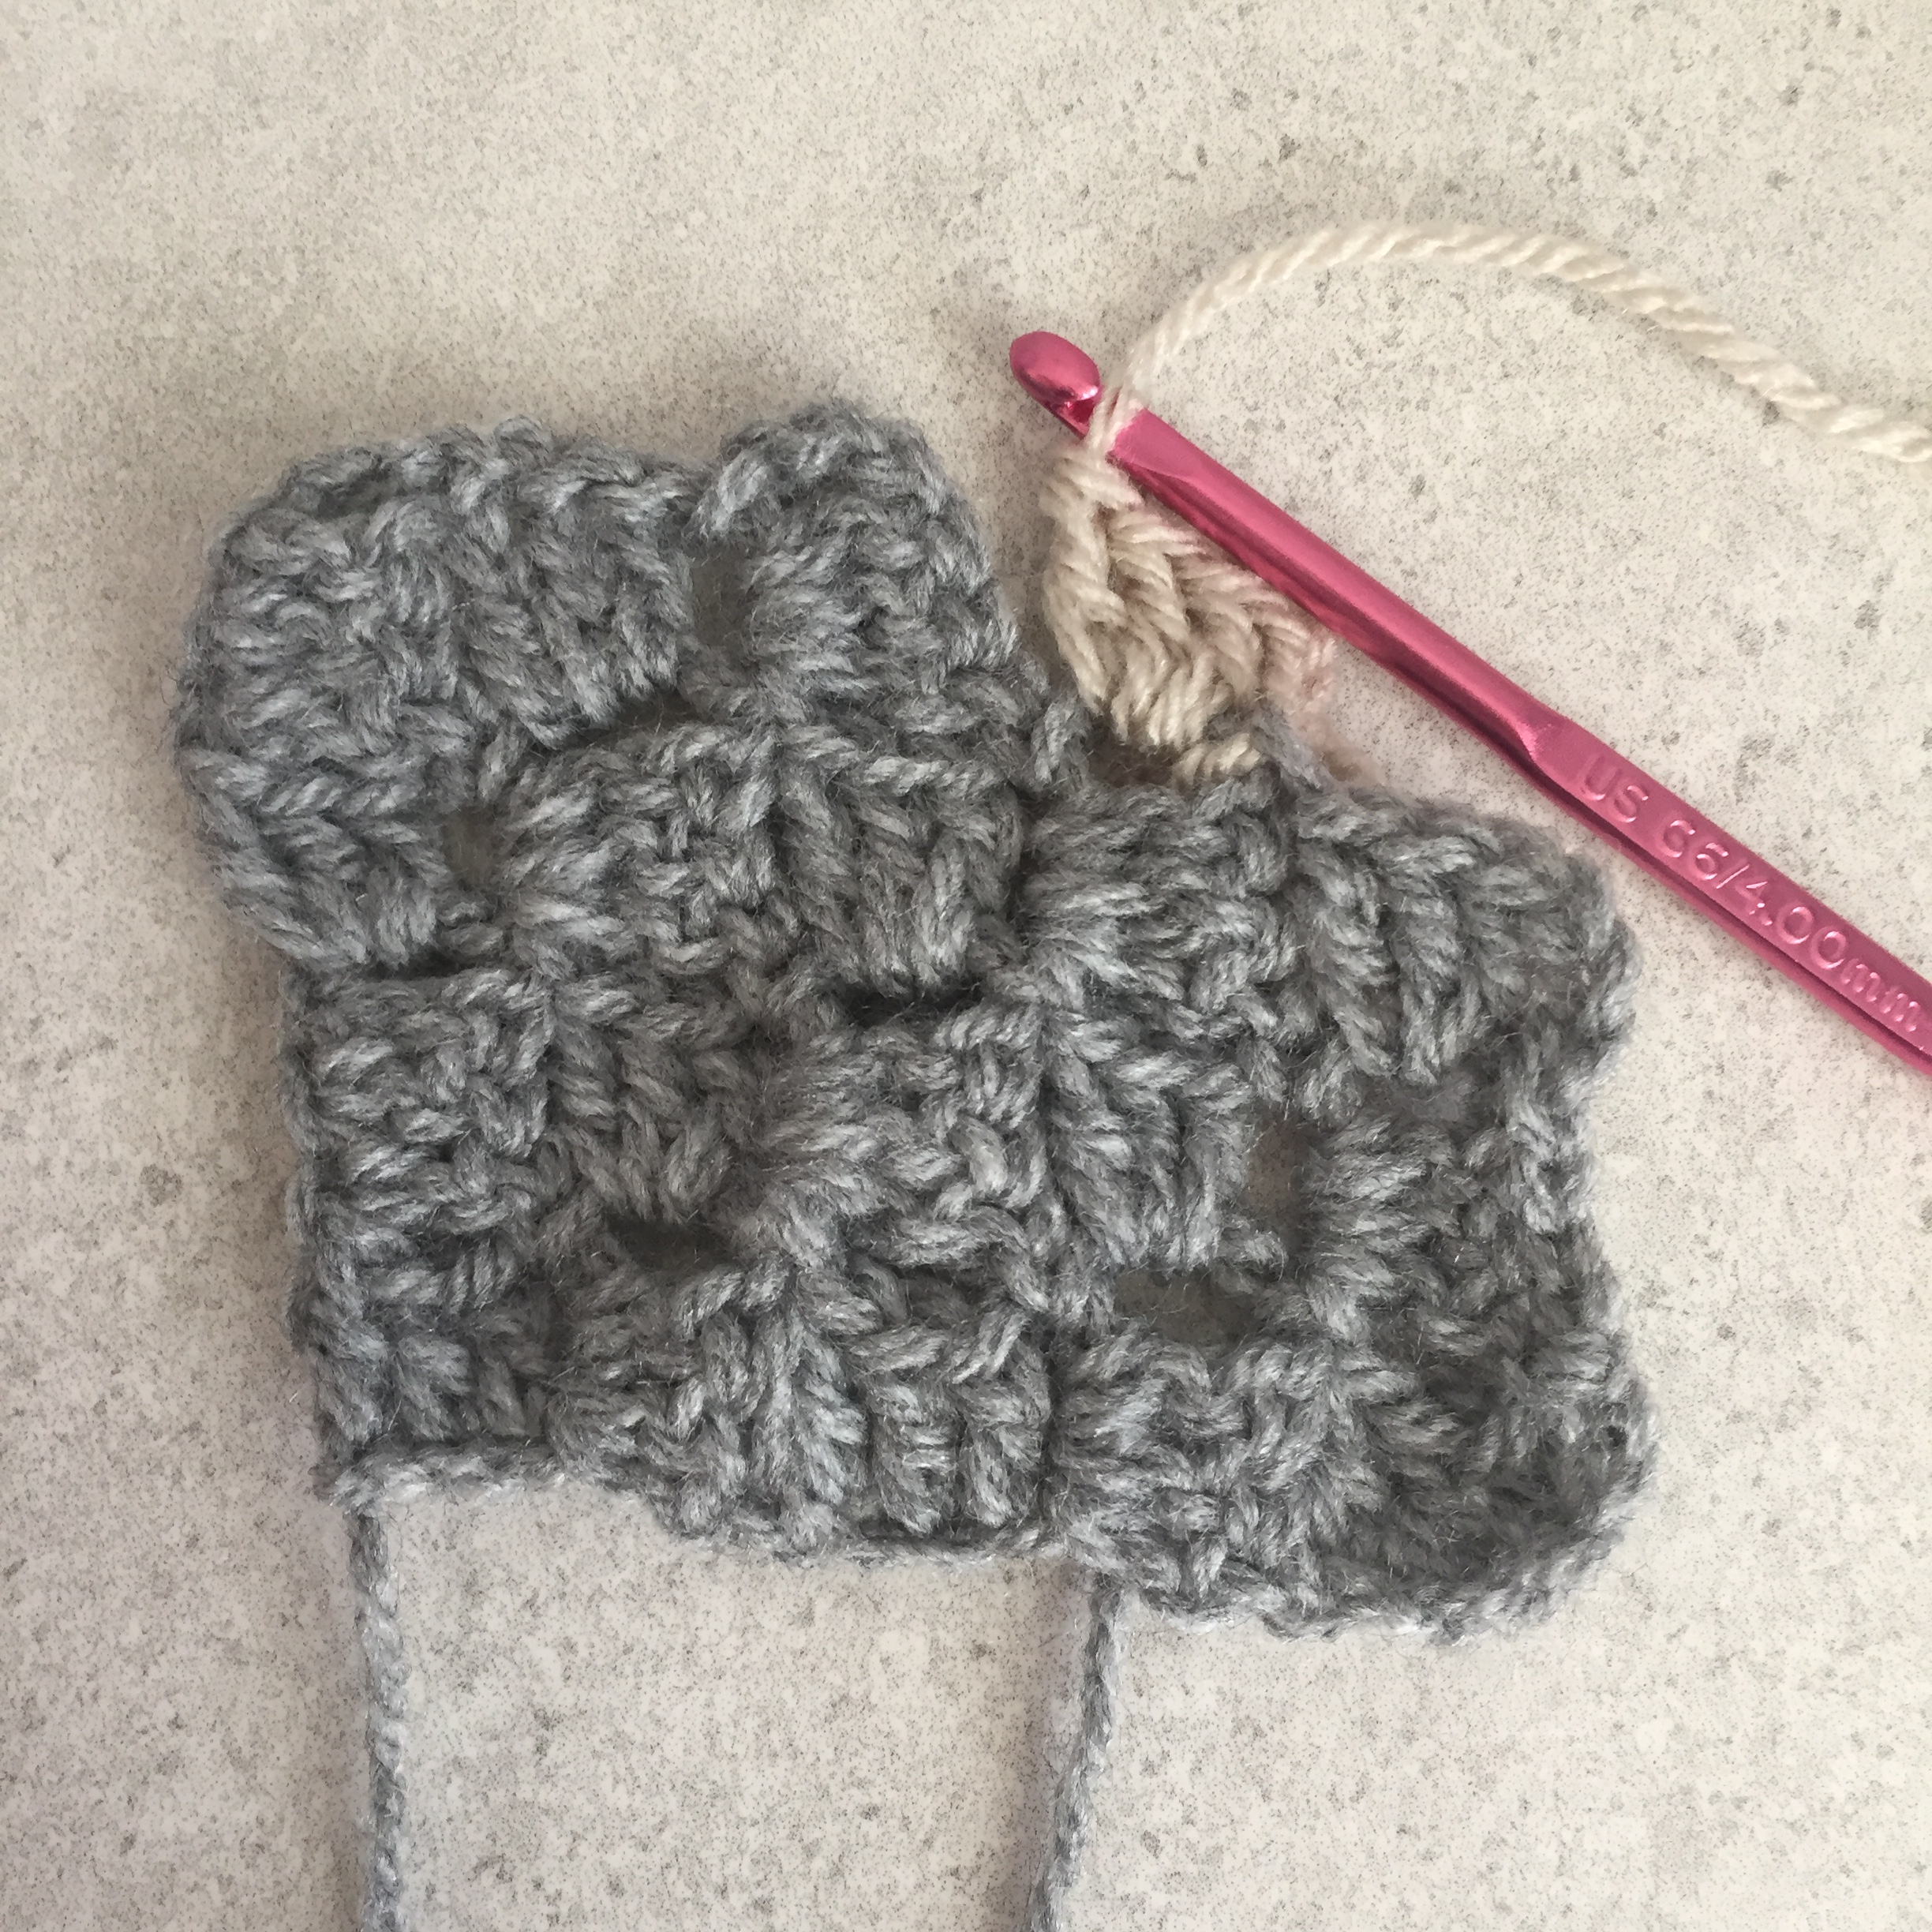
Instructions – Changing Colour
Change the colour on the slip stitch between two squares:
- Insert the hook into the ch gap, then using the new colour yo then complete the slip stitch. Leave the previous colour strand loose as this can be picked up again on the next row back. Continue row with the new colour.

Leave a comment