It’s the time of year when the Christmas themed makes start to take over and all other projects go on hold!
I’ve still got a few gifts I need to hurry up and finish but had some time to squeeze in a little tree decoration.
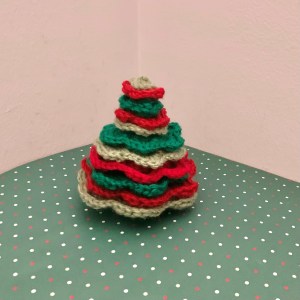
I love this stacked tree, I wasn’t too sure if the idea I had in mind would work but am really glad I stuck with it!
Crochet Stacked Tree Decoration Pattern
Finished size (approx.)
- 11cm tall, 11cm wide at its widest point.
Materials
- 4mm crochet hook.
- 1 x 25g ball of DK wool in red.
- 1 x 25g ball of DK wool in dark red.
- 1 x 25g ball of DK wool in light green.
- 1 x 25g ball of DK wool in dark green.
- 1 x 25g ball of DK wool in brown.
- Darning needle.
Notes
- Use the different red and green wools to make the stacked layers, making two of each size.
- You could use more shades of the red and green or even just make the tree in one colour.

Crochet Decoration Tree Layers: Extra Large
Make 2:
Make a magic ring, ch1, 6sc into ring.
Round 1: 2sc into each sc (12).
Round 2: 2htr/hdc into each sc (18).
Round 3: *ch4, skip 2 stitches, sc into next stitch. Repeat from * around.
Round 4: *into ch4 gap: sc, htr/hdc, tr/dc, htr/hdc, sc. ss into next sc. Repeat from *around.
Round 5: *ch8, skip 5, ss into ss. Repeat from *around.
Round 6: *into ch8 gap: 2sc, 2htr/hdc, 2tr/dc, 2htr/hdc, 2sc. Repeat from *around. ss into sc at the start of the round.
Fasten off.
Crochet Decoration Tree Layers: Large
Make 2:
Make a magic ring, ch1, 6sc into ring.
Round 1: 2sc into each sc (12).
Round 2: *ch3, skip 1 stitch, sc into next stitch. Repeat from * around.
Round 3: *into ch3 gap: sc, 2htr/hdc, sc. ss into next sc. Repeat from *around.
Round 4: *ch6, skip 4, ss into ss. Repeat from *around.
Round 5: *into ch6 gap: 2sc, 2htr/hdc, tr/dc, 2htr/hdc, 2sc. Repeat from *around. ss into sc at the start of the round.
Fasten off.
Crochet Decoration Tree Layers: Medium
Make 2:
Make a magic ring, ch1, 6sc into ring.
Round 1: 2sc into each sc (12).
Round 2: *ch2, skip 1 stitch, sc into next stitch. Repeat from * around.
Round 3: *into ch3 gap: sc, htr/hdc, sc. ss into next sc. Repeat from *around.
Round 4: *ch4, skip 3, ss into ss. Repeat from *around.
Round 5: *into ch4 gap: sc, 2htr/hdc, tr/dc, 2htr/hdc, sc. Repeat from *around. ss into sc at the start of the round.
Fasten off.
Crochet Decoration Tree Layers: Small
Make 2:
Make a magic ring, ch1, 6sc into ring.
Round 1: *ch2, sc into next stitch. Repeat from * around.
Round 2: *into ch2 gap: sc, 2htr/hdc, sc. ss into next sc. Repeat from *around. ss into sc at the start of the round.
Fasten off.
Crochet Decoration Tree Layers: Extra Small
Make 2:
Make a magic ring, ch1, 6sc into ring.
Round 1: *ch2, sc into next stitch. Repeat from * around.
Round 2: *into ch2 gap: ss, sc, ss. Repeat from *around. ss into sc at the start of the round.
Fasten off.
Crochet Decoration Tree Layers: Tree Top
Make 1:
Make a magic ring, ch1, into ring:
*ss, ch2. Repeat from * 5 more times. ss into sc at the start of the round.
Crochet Decoration Tree Layers: Tree Base
Brown wool.
Make a magic ring, ch1, 6sc into ring.
Round 1: 2sc into each stitch (12).
Round 2: into back loops only: sc around.
Round 3: sc around.
Fasten off, leaving long thread to attach.
Crochet Decoration Tree Layers: Tree Trunks
Brown wool:
Extra large – Make 2:
ch13, sc into 2nd ch from hook, sc along rest of the row.
Fasten off, leaving long thread to attach.
Large – Make 2:
ch11, sc into 2nd ch from hook, sc along rest of the row.
Fasten off, leaving long thread to attach.
Medium – Make 3:
ch9, sc into 2nd ch from hook, sc along rest of the row.
Fasten off, leaving long thread to attach.
Small – Make 2:
ch7, sc into 2nd ch from hook, sc along rest of the row.
Fasten off, leaving long thread to attach.
Extra small – Make 2:
ch5, sc into 2nd ch from hook, sc along rest of the row.
Fasten off, leaving long thread to attach.
Crochet Decoration Tree Layers: Tree Assembly
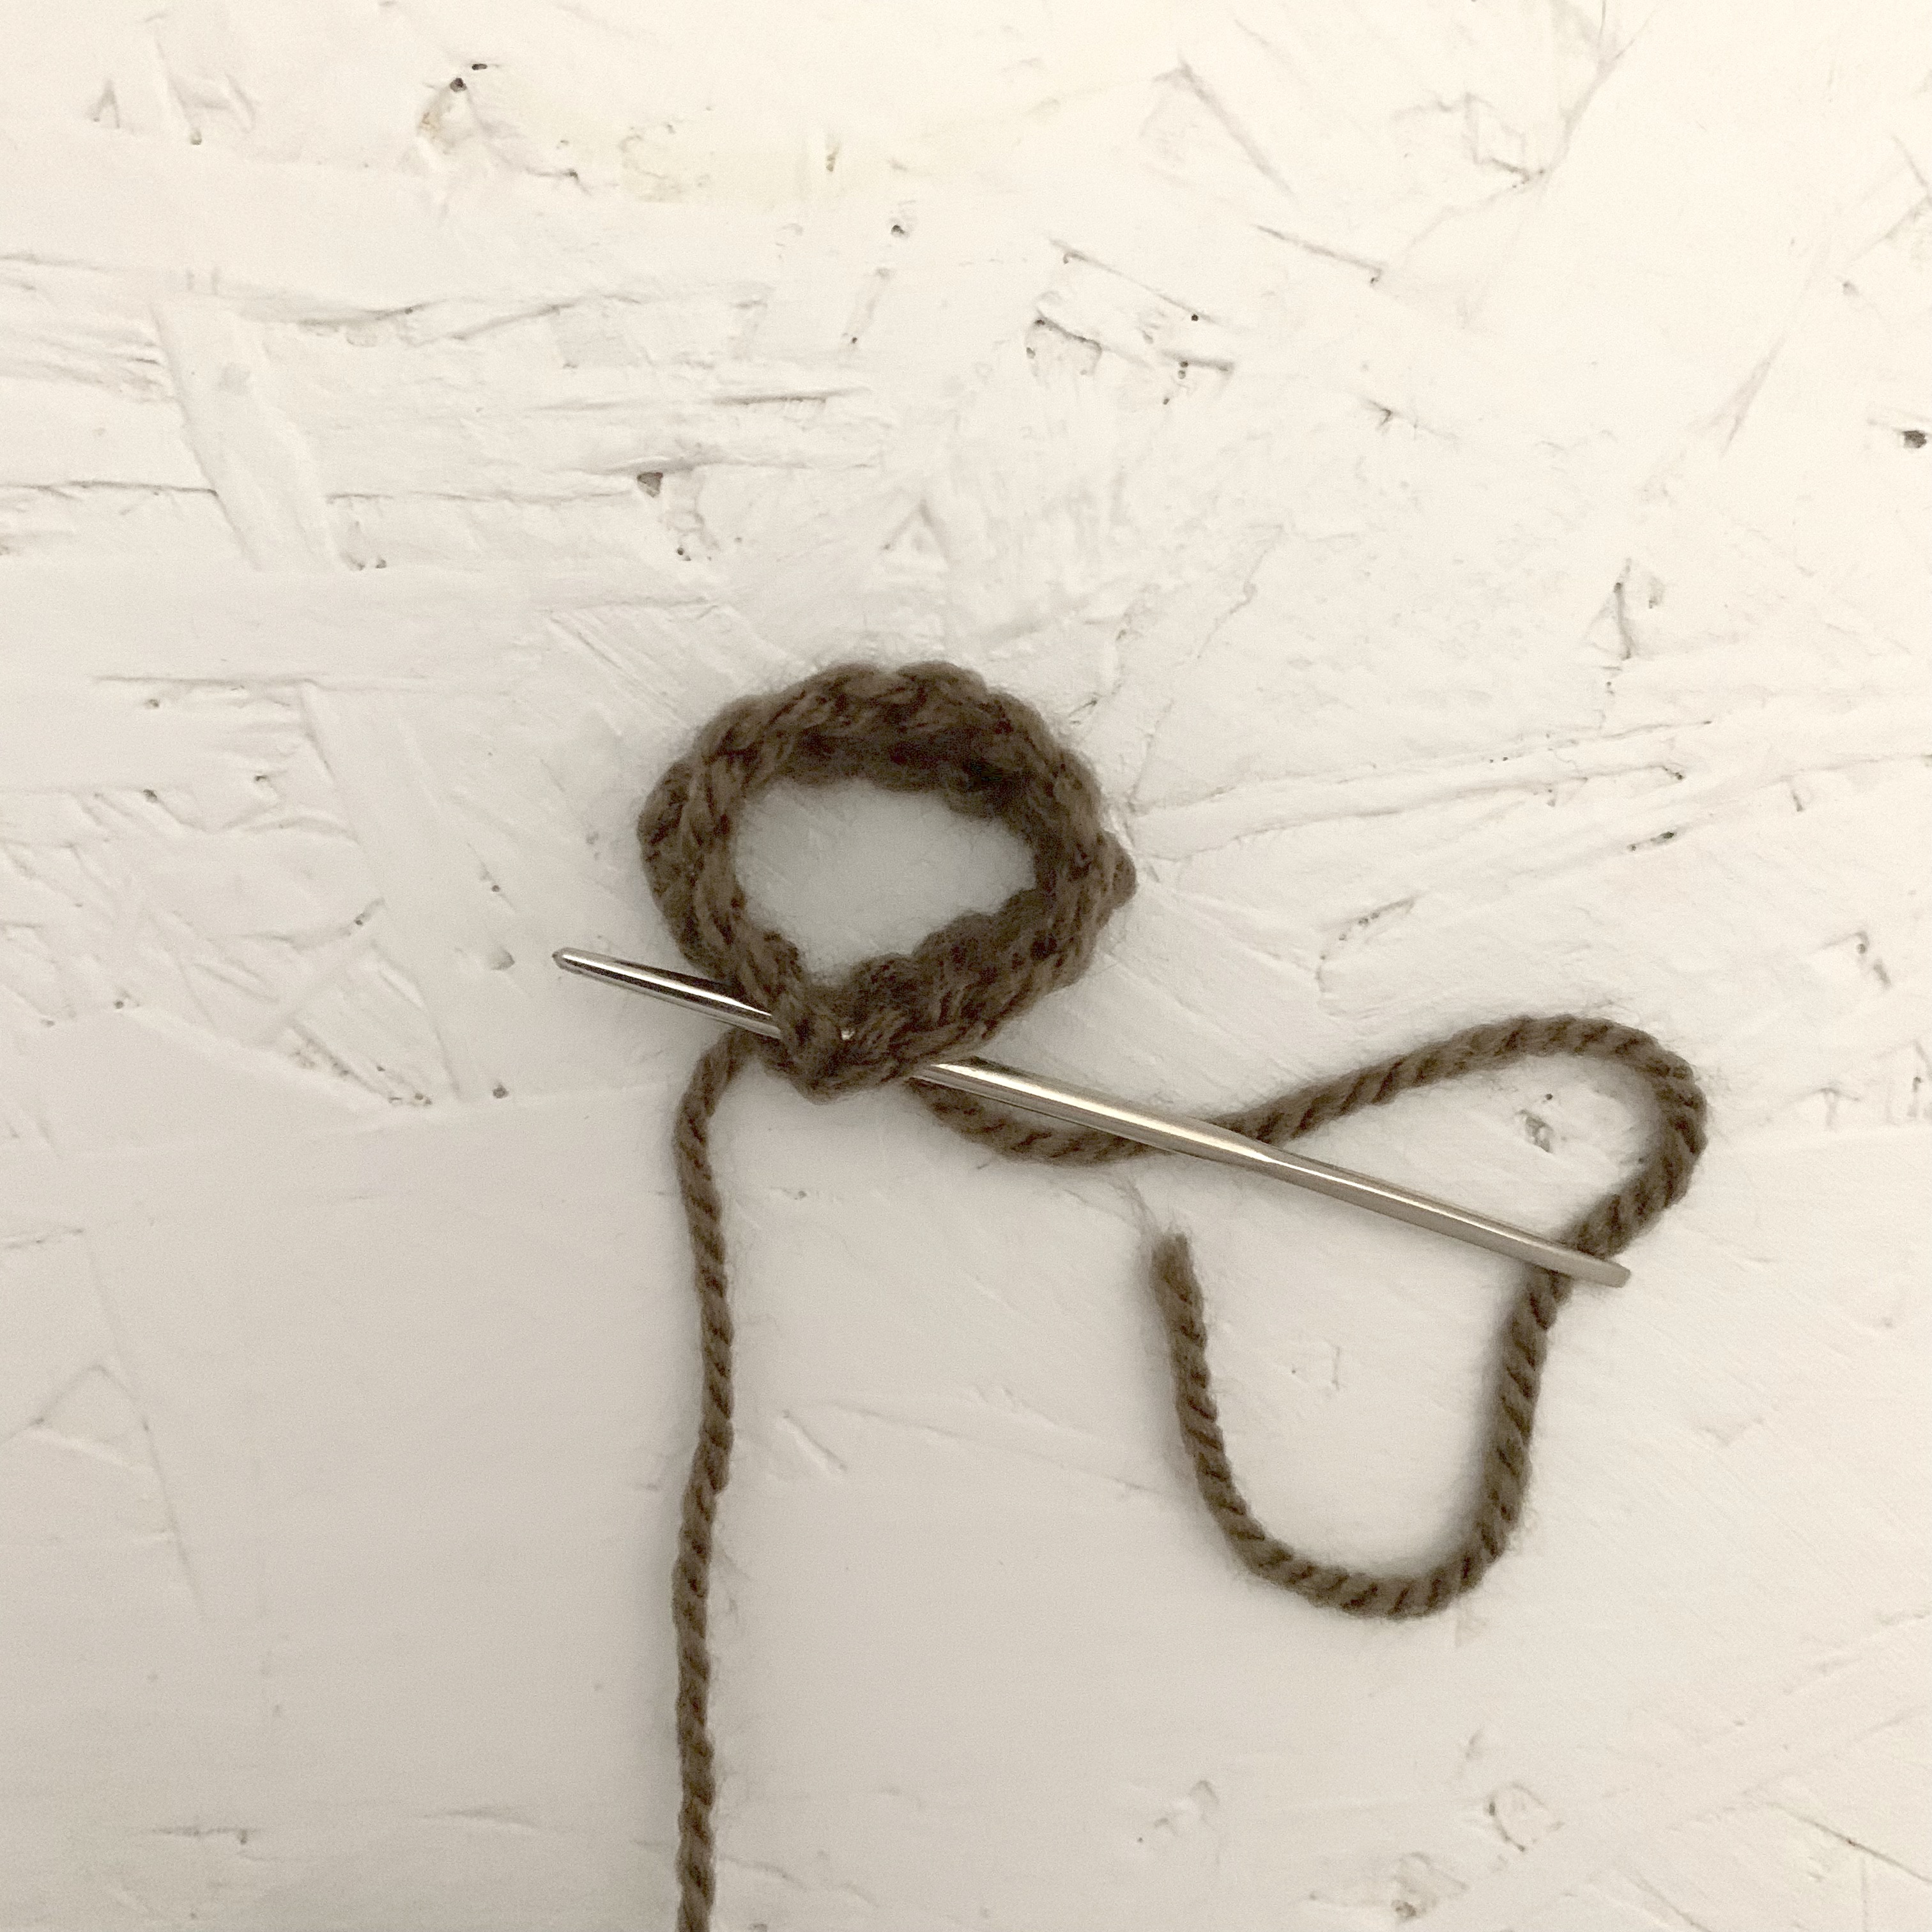

- Take one of the tree trunk pieces join the two ends together to form a circle, sew to secure.
- Repeat with the remaining trunks.
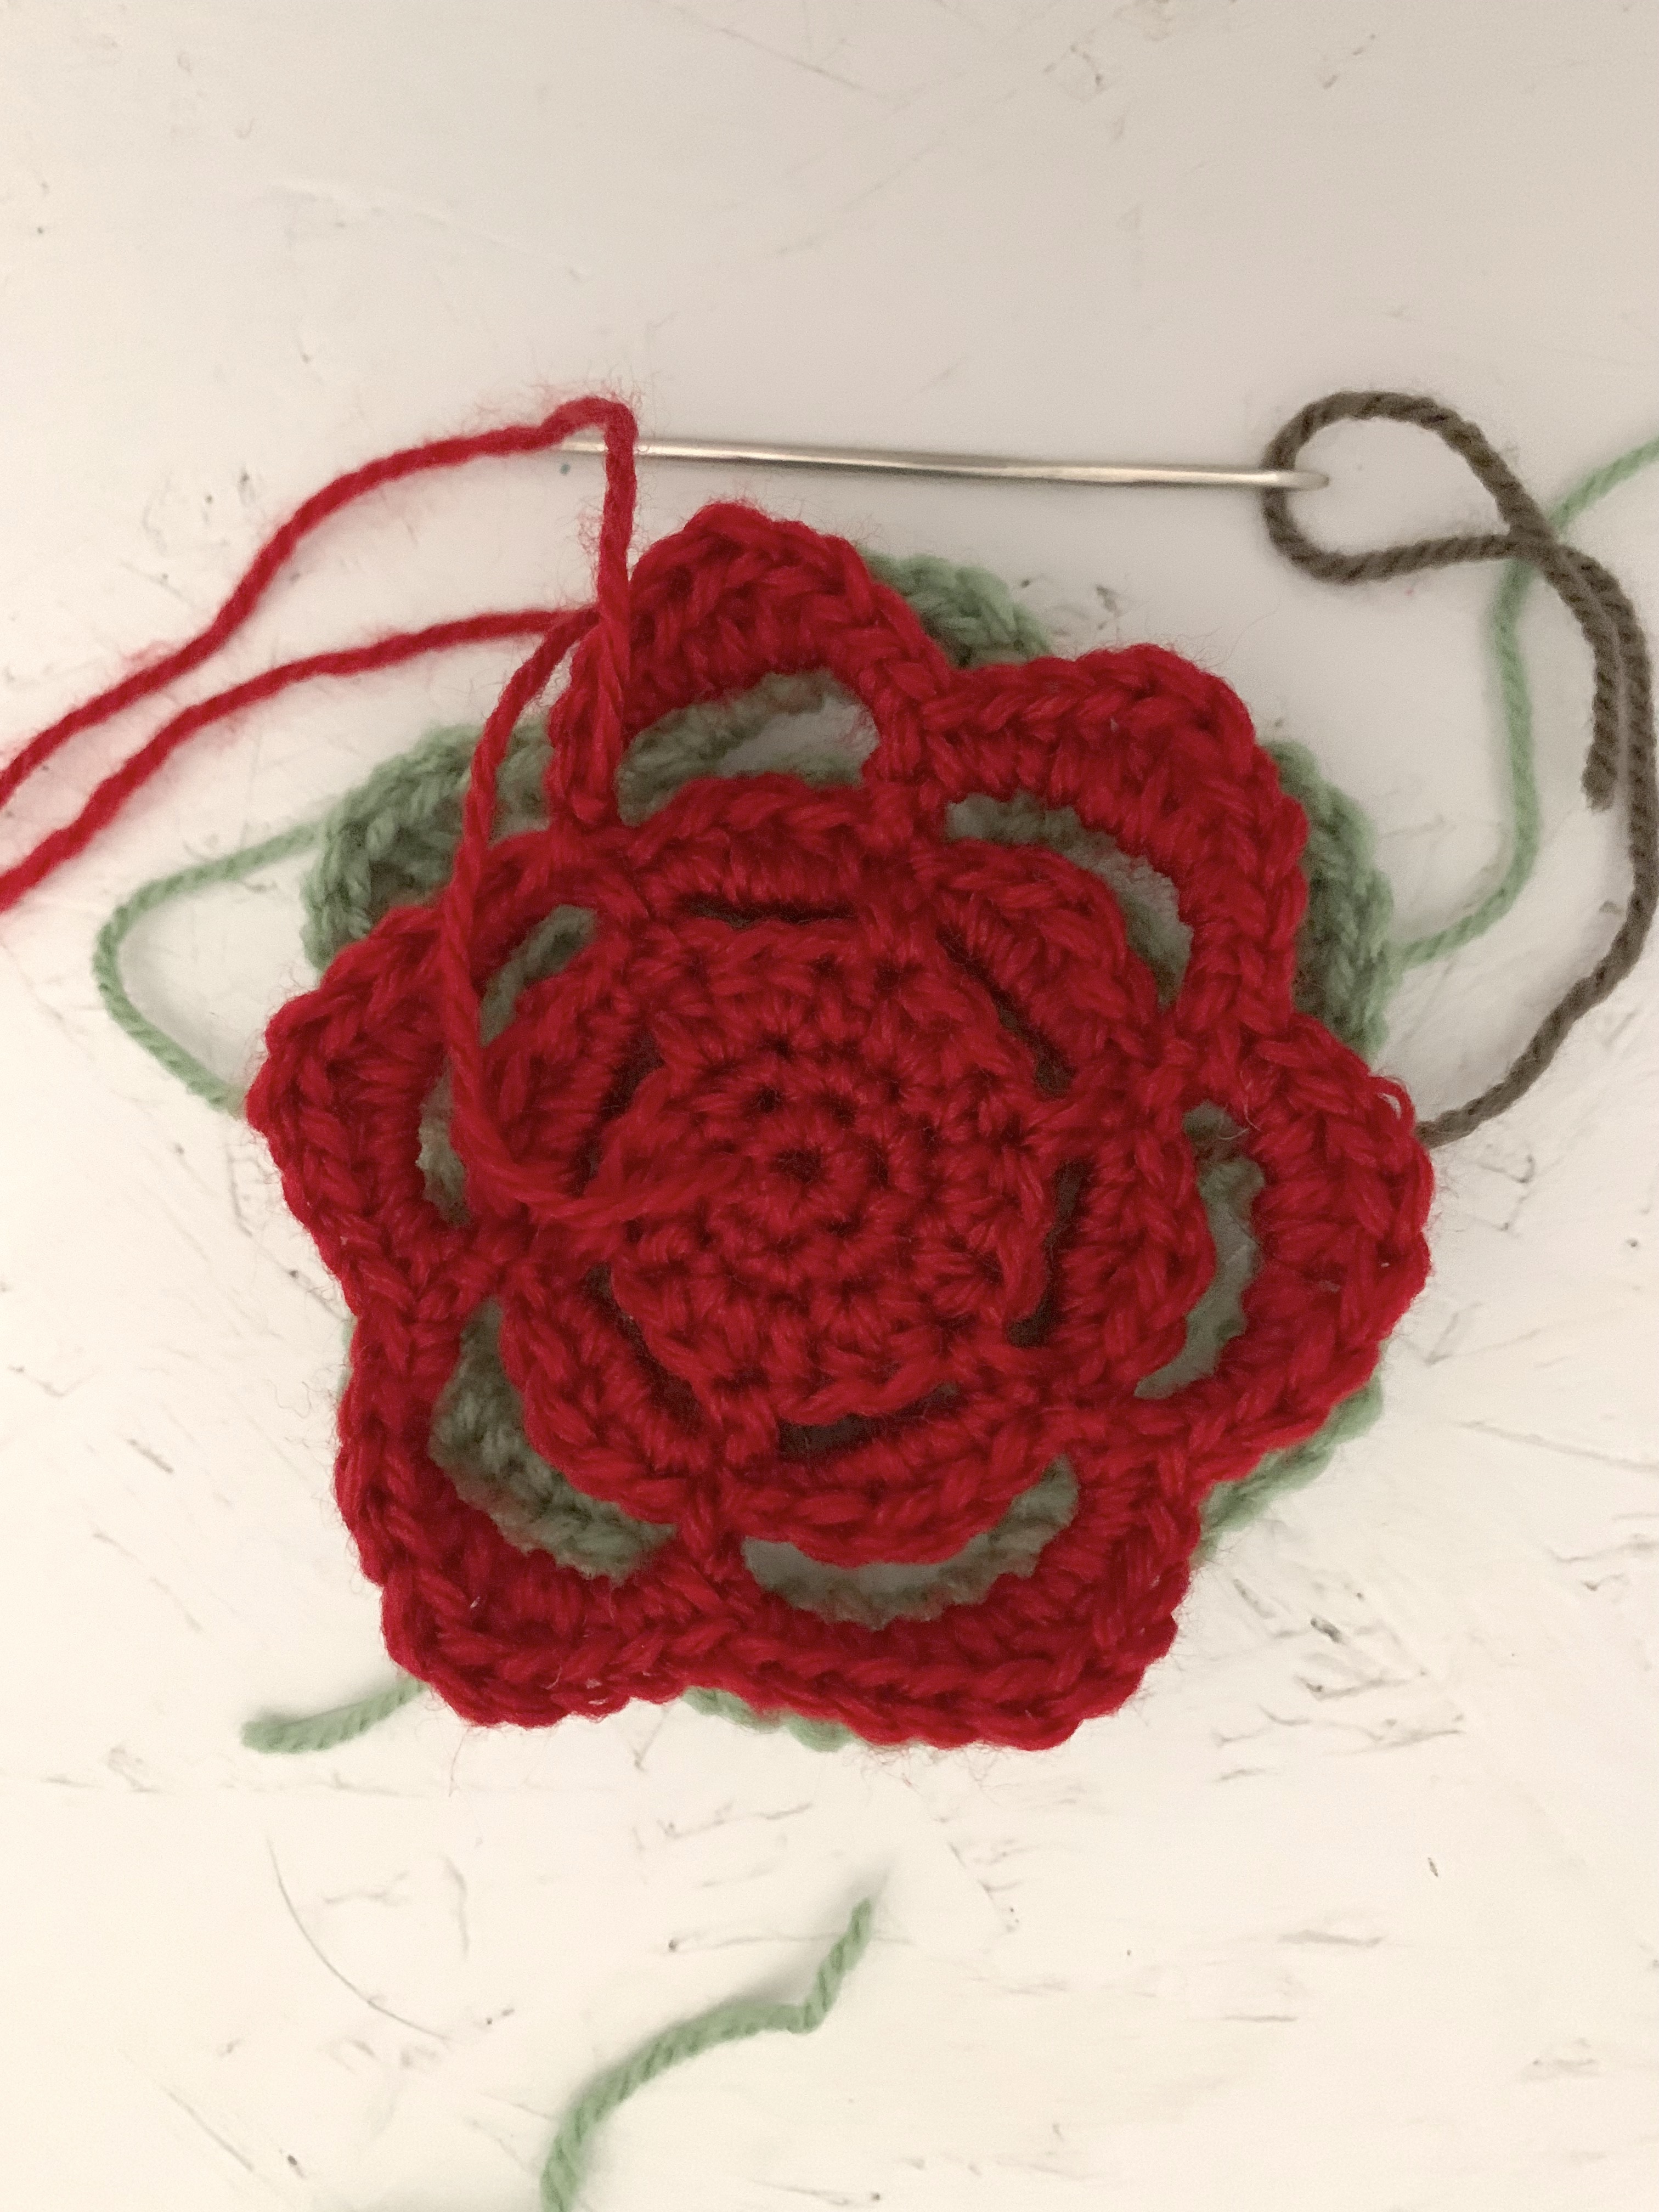
- Sew the tree base onto the bottom of one of the extra large tree pieces.
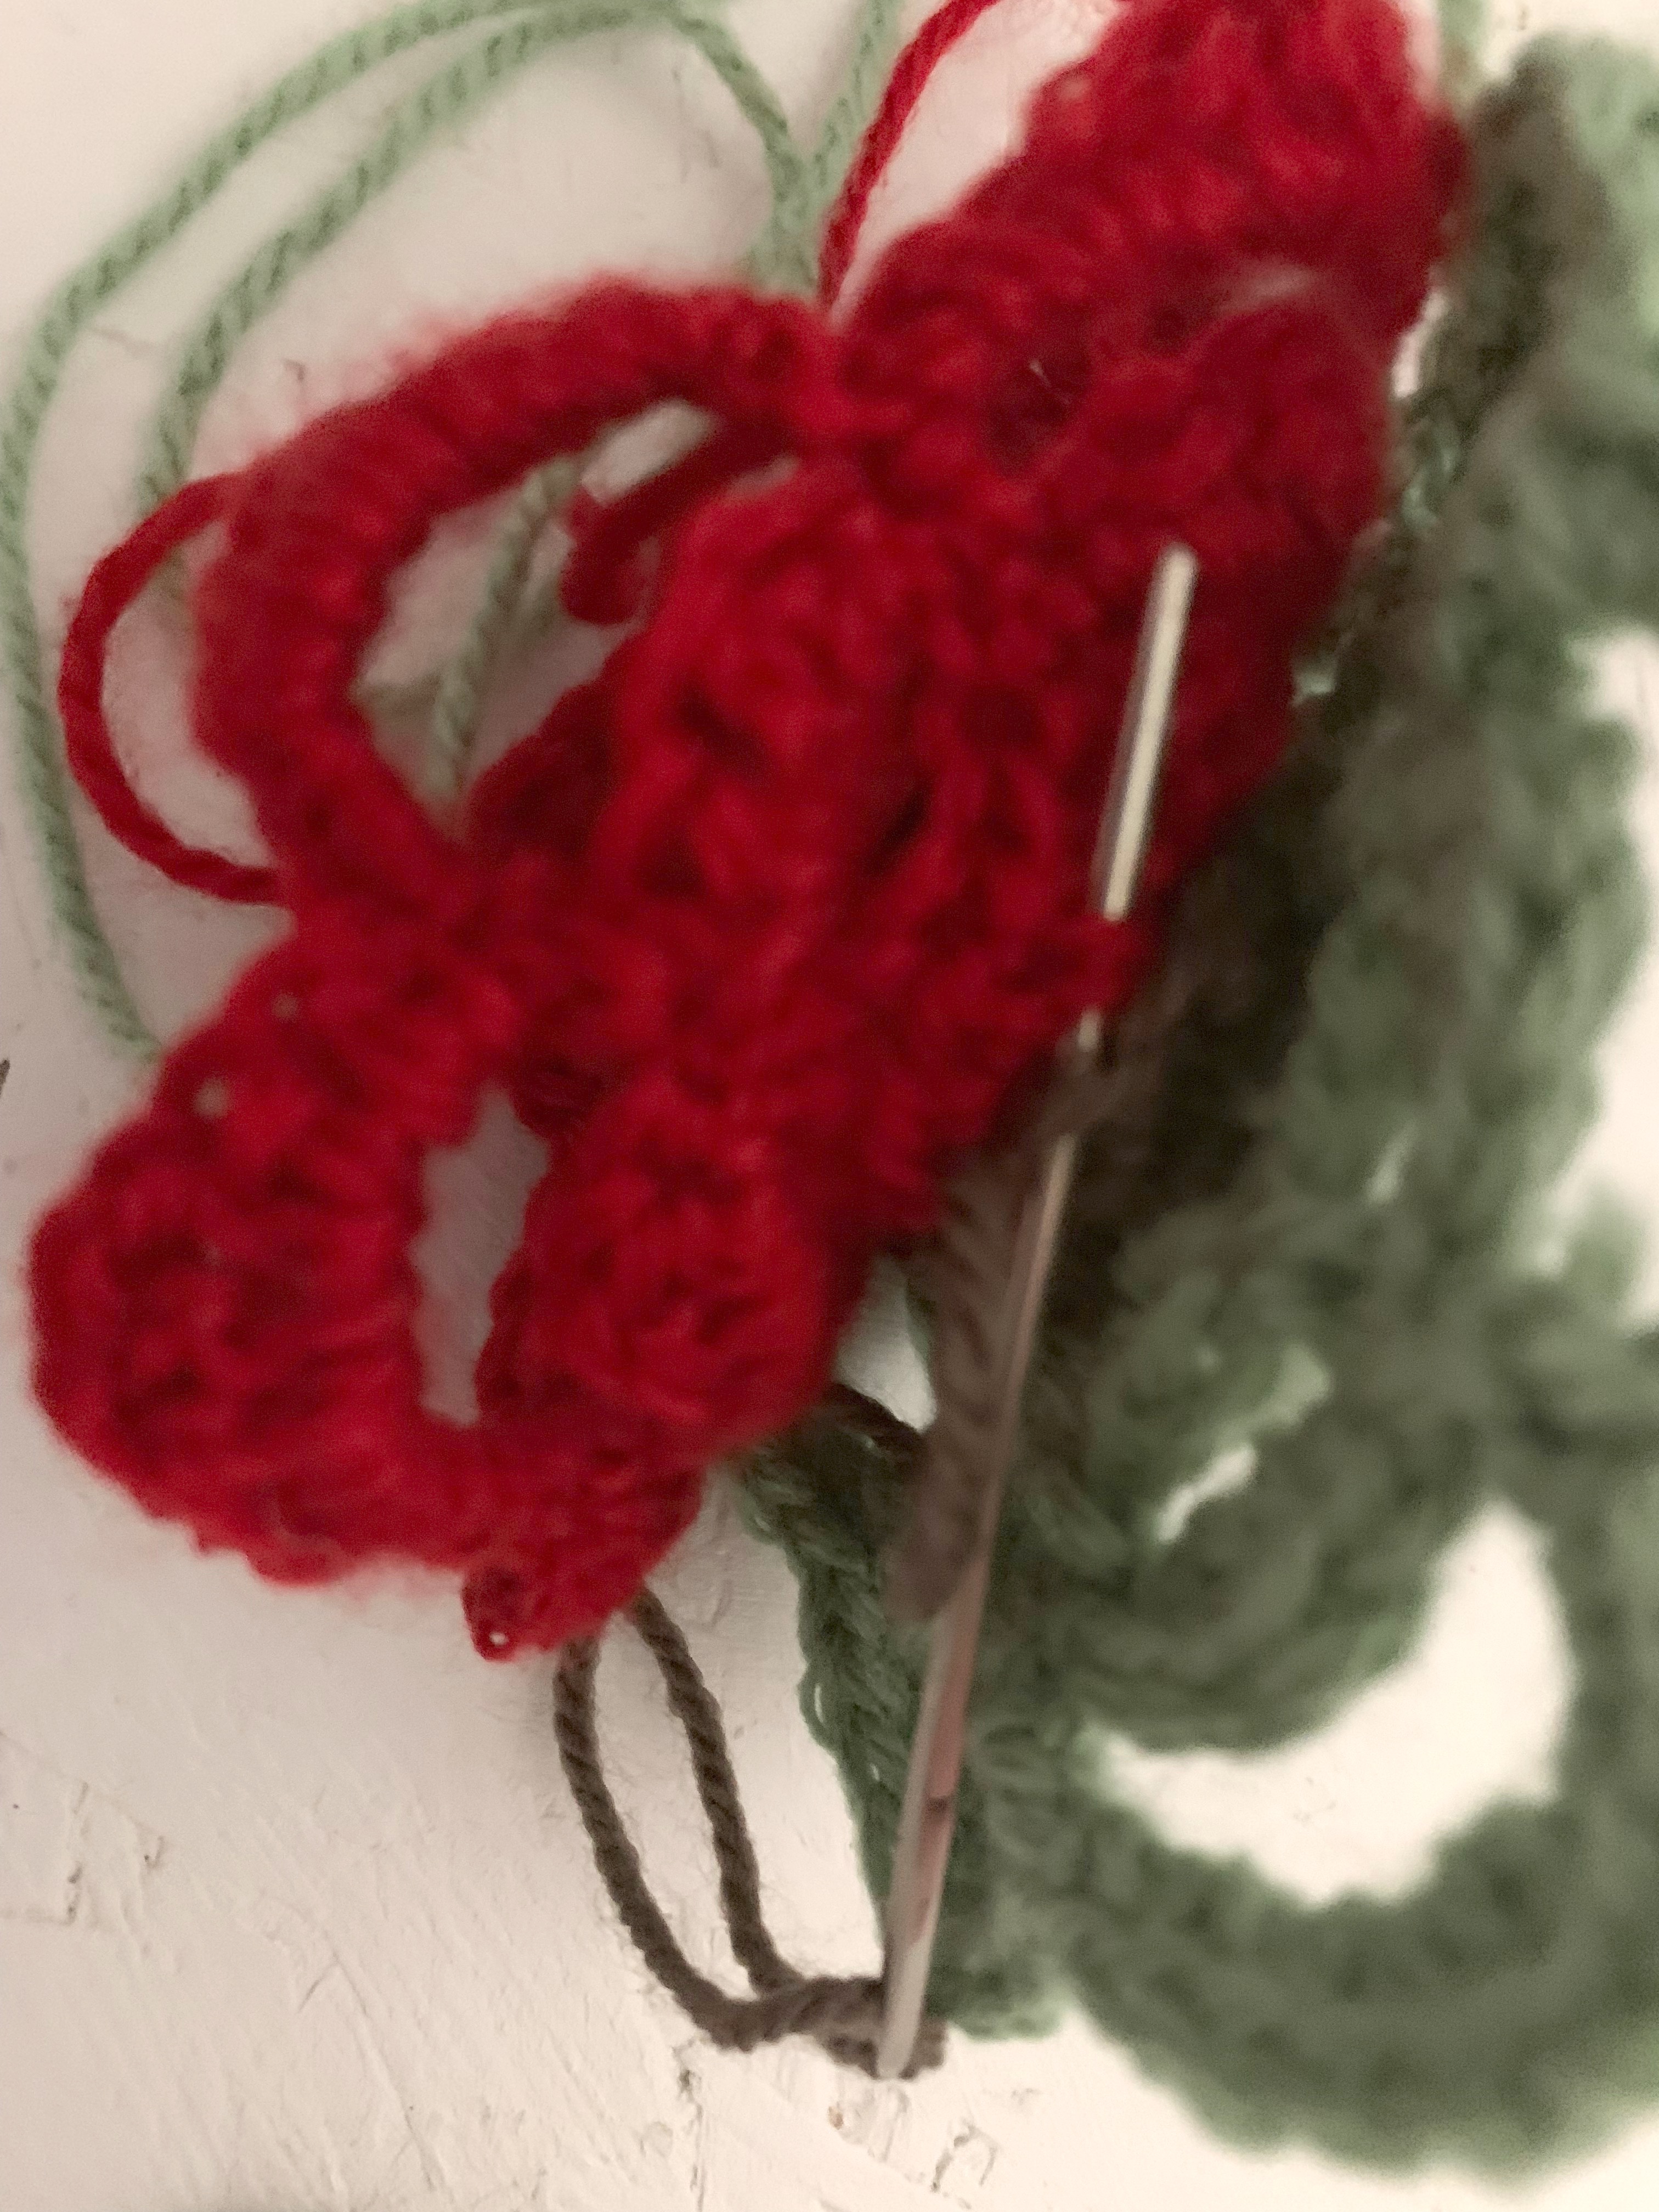
- Place one of the extra large tree trunks on top of this extra large piece with base attached. Sew to attach.
- Place the next extra large tree piece on top of this attached trunk and sew to secure.
- Repeat this process with the remaining tree pieces and trunks, decreasing the tree piece and trunk size as you go.
- The final top tree piece is sewn onto the last extra small tree piece without a trunk piece in-between.

Leave a comment