
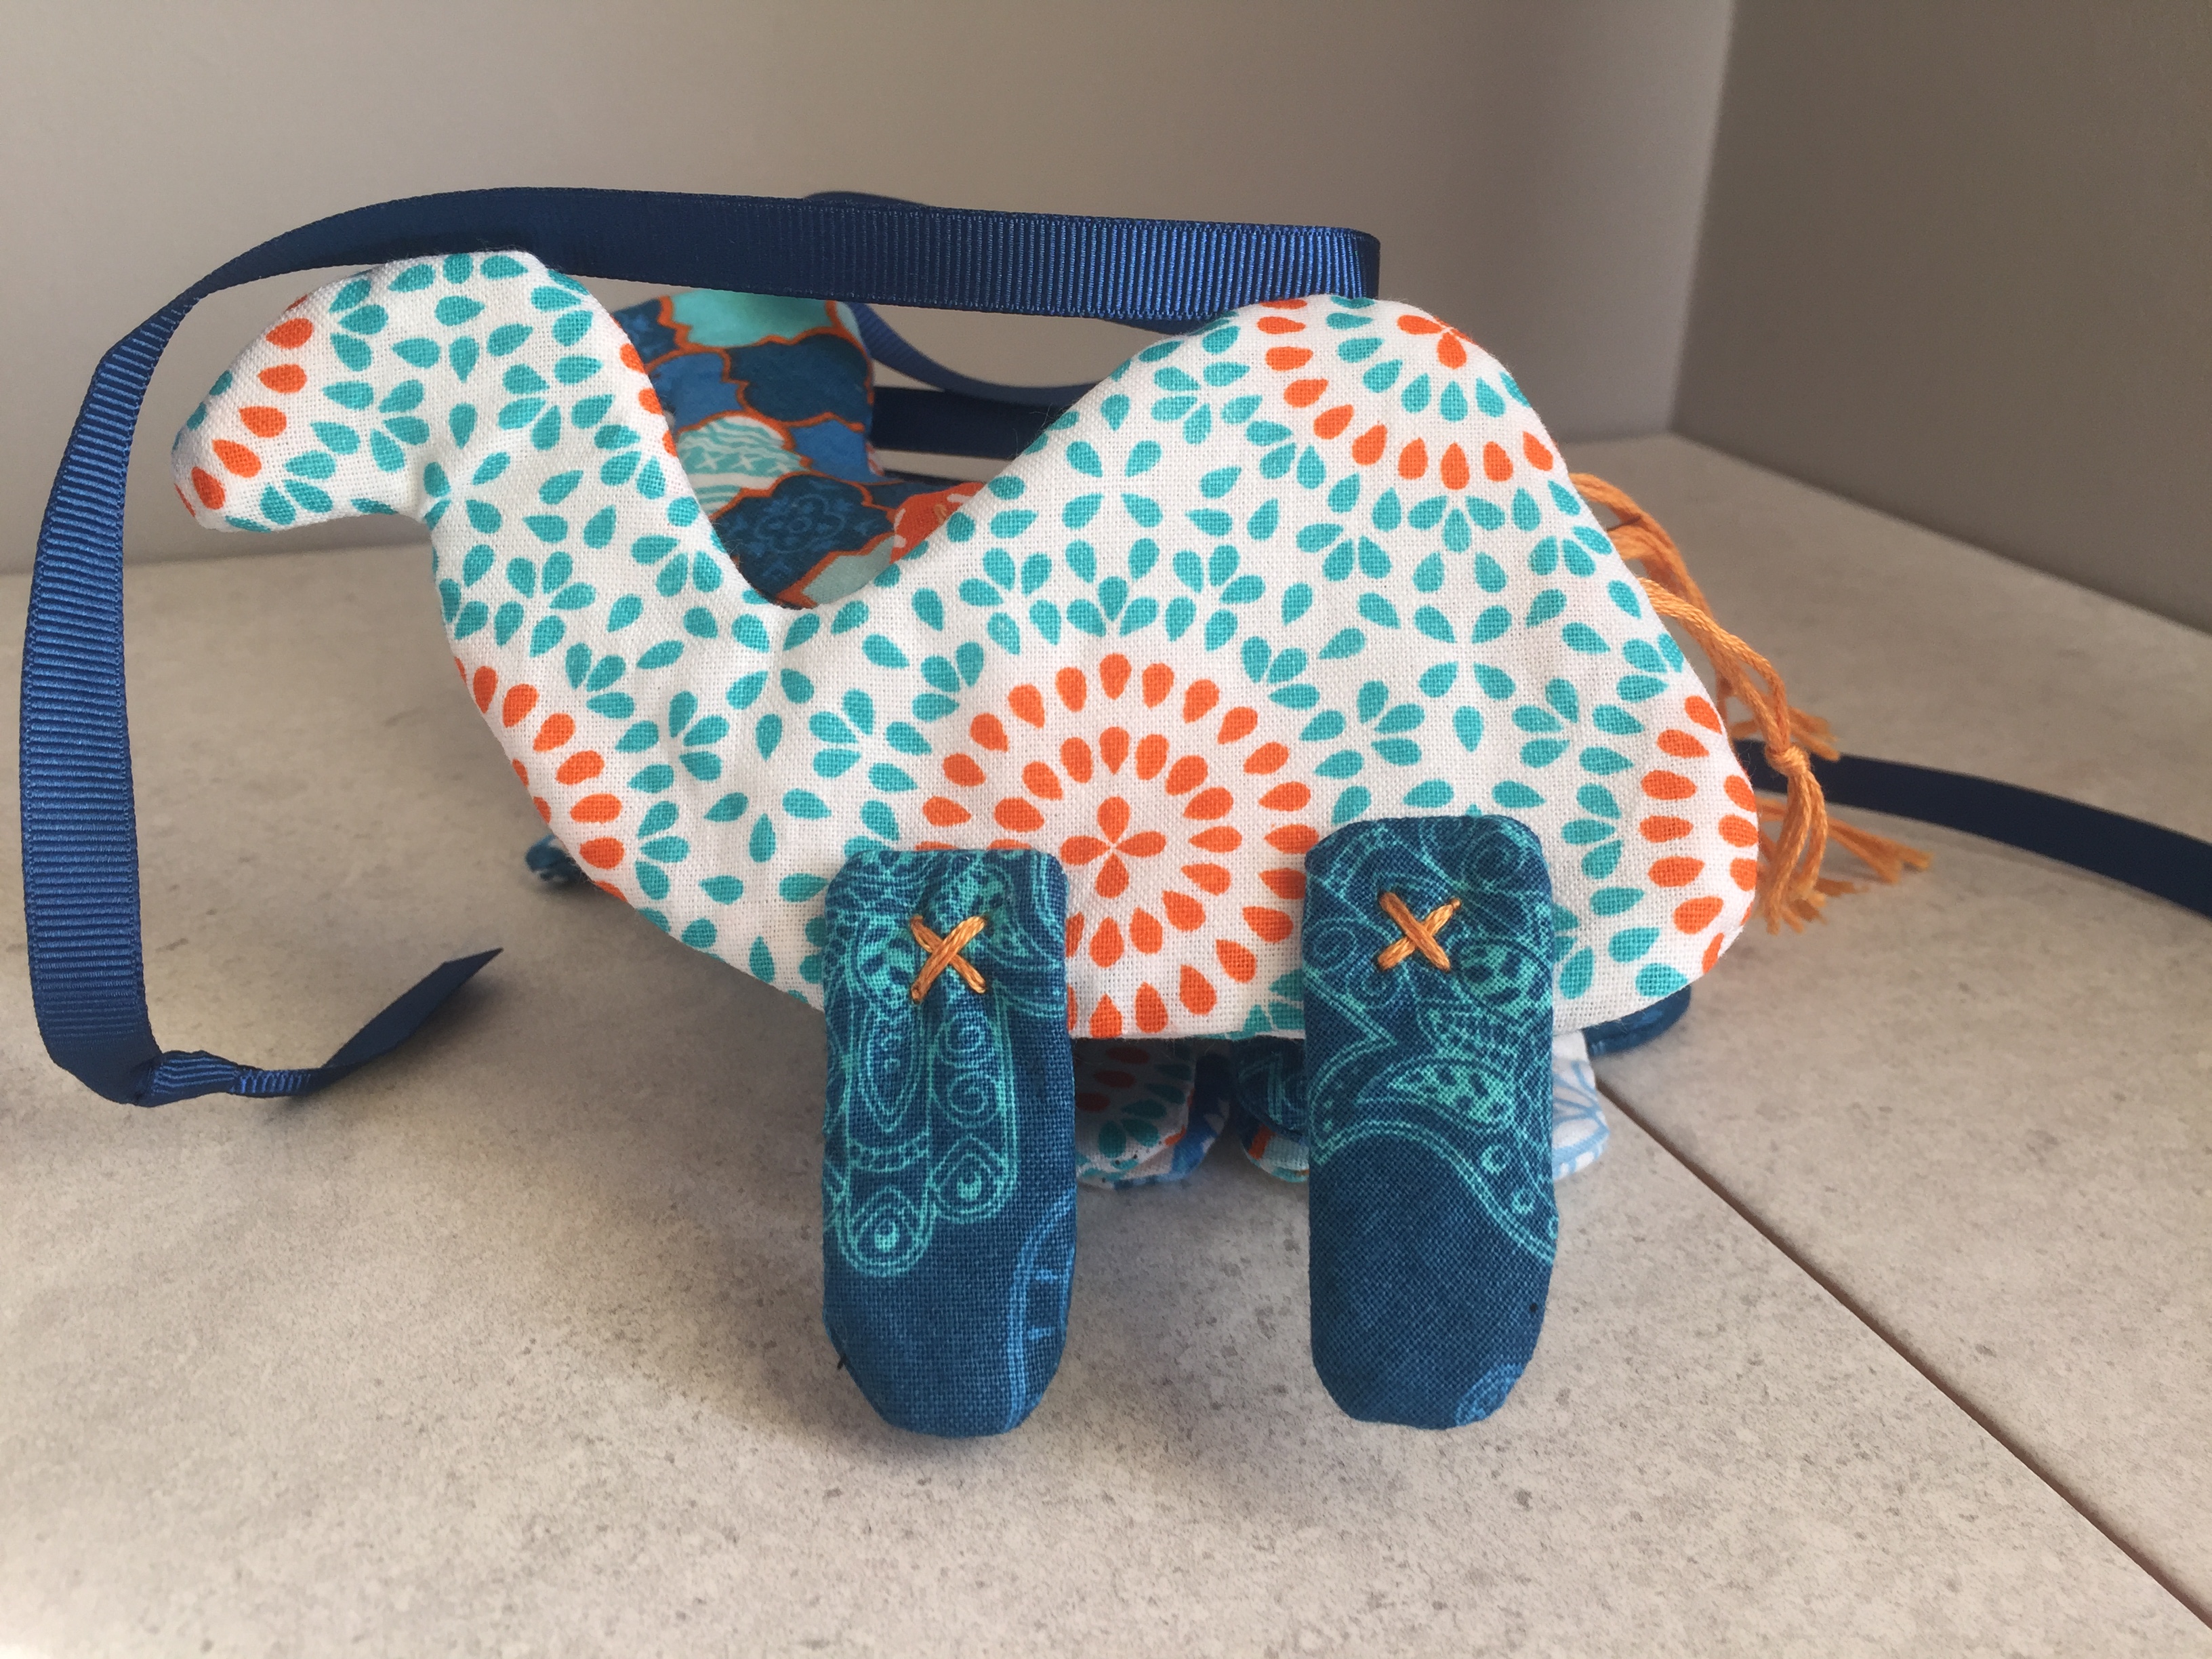
Following on from making the sprocket cushions and mosaic cushion using The Craft Cotton Company Moroccan Bazaar fabric range (gifted by The Craft Cotton Company) I also made some camel bunting – I wasn’t too sure if I could get it to work out as I wanted but after a few goes of different camel shapes and layouts I managed to get it exactly as I was wanting.
I opted to do separate legs as it looked much better than when I just did a solid camel shape, and the added bonus with these is that because they are sewn on separately and just with the cross stitch in the the middle the do wobble a little bit which I think really adds to them. A little embroidery thread tail really finishes them off – I did think of using ribbon, but it was just coming out too big for my liking so decided the use the thinner embroidery thread.
Sewing Tutorial: Camel Bunting Pattern
Materials
- Moroccan Bazaar fabric by The Craft Cotton Company.
- Embroidery thread.
- Batting (Optional – you can make these without using batting if you prefer).
- Thread.
- Ribbon or make some Fabric Binding using the left over fabric (the length you want your bunting to be).
- Needle.
- Pins.
- Pencil.
- Paper.
Sewing Tutorial: Camel Bunting Pattern
- Draw out the outline of a camel body (excluding the legs) on paper. Draw out a separate leg template.

- For each camel cut out (leaving a 0.5cm seam allowance):
- From the fabric:
- 2 body pieces.
- 4 Leg pieces.
- From the Batting:
- 1 body piece.
- 2 leg pieces.
- From the embroidery thread:
- A 7cm length piece of thread for the tail. Tie a knot at the end.
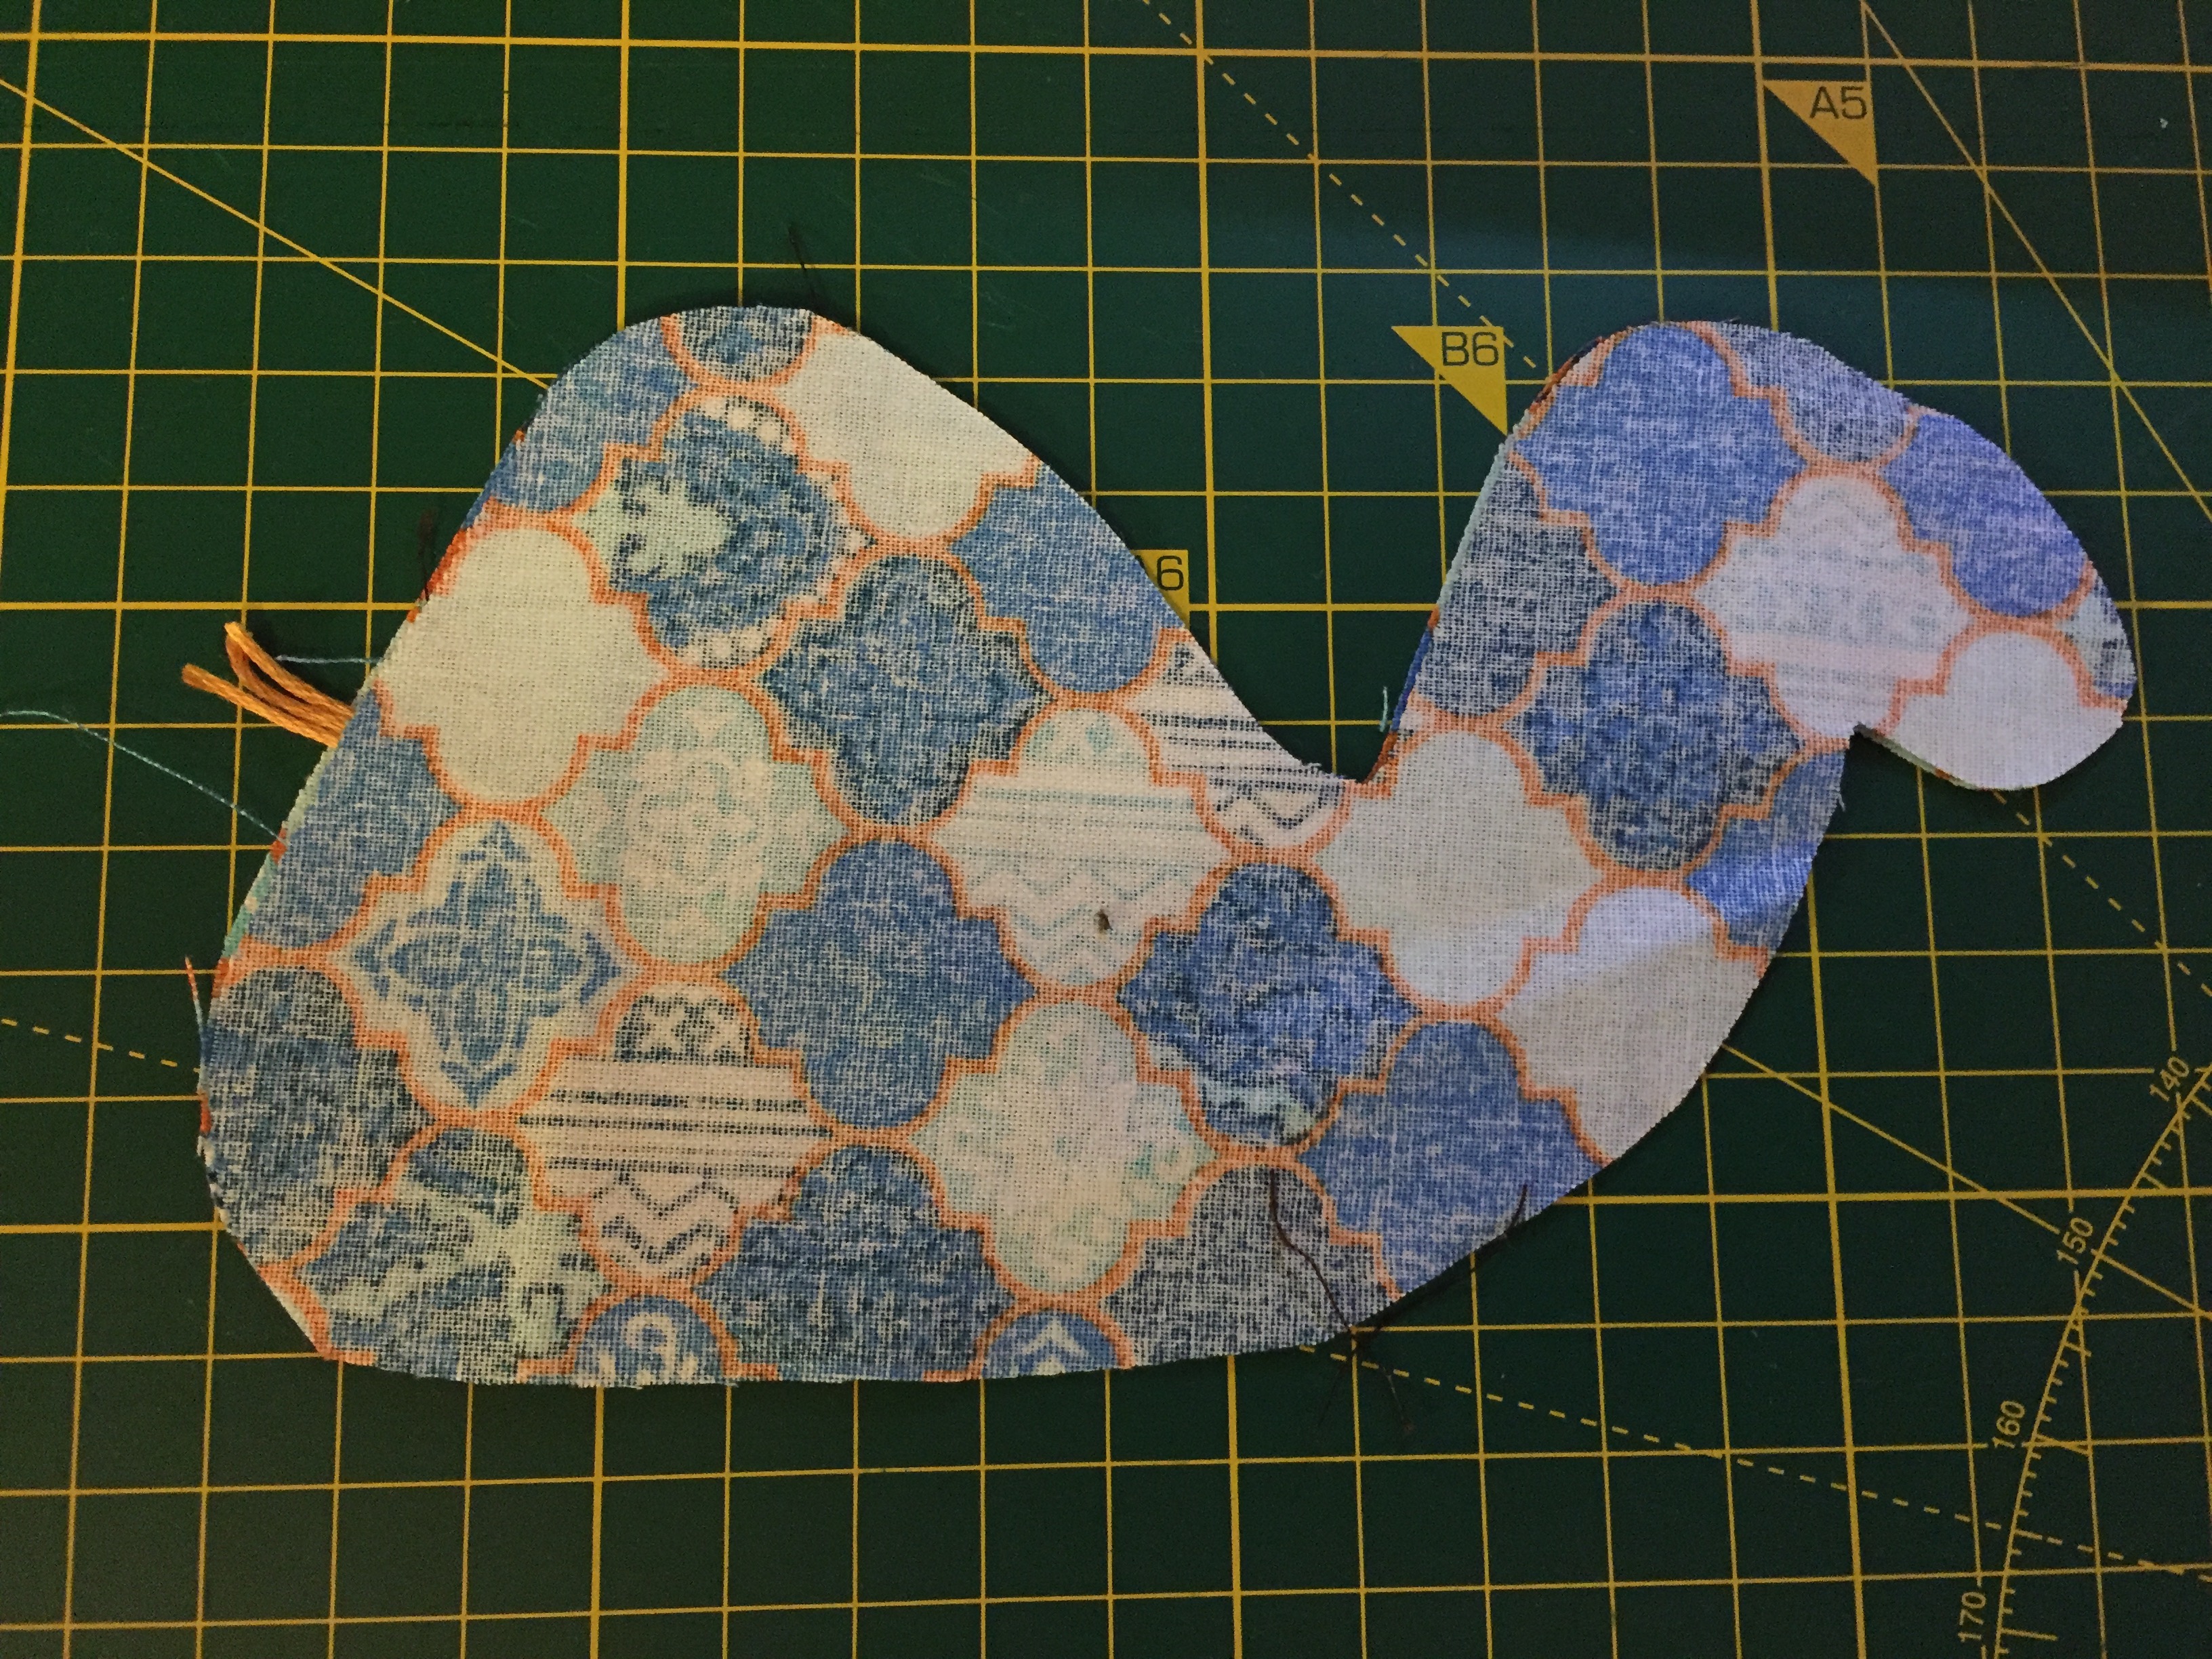
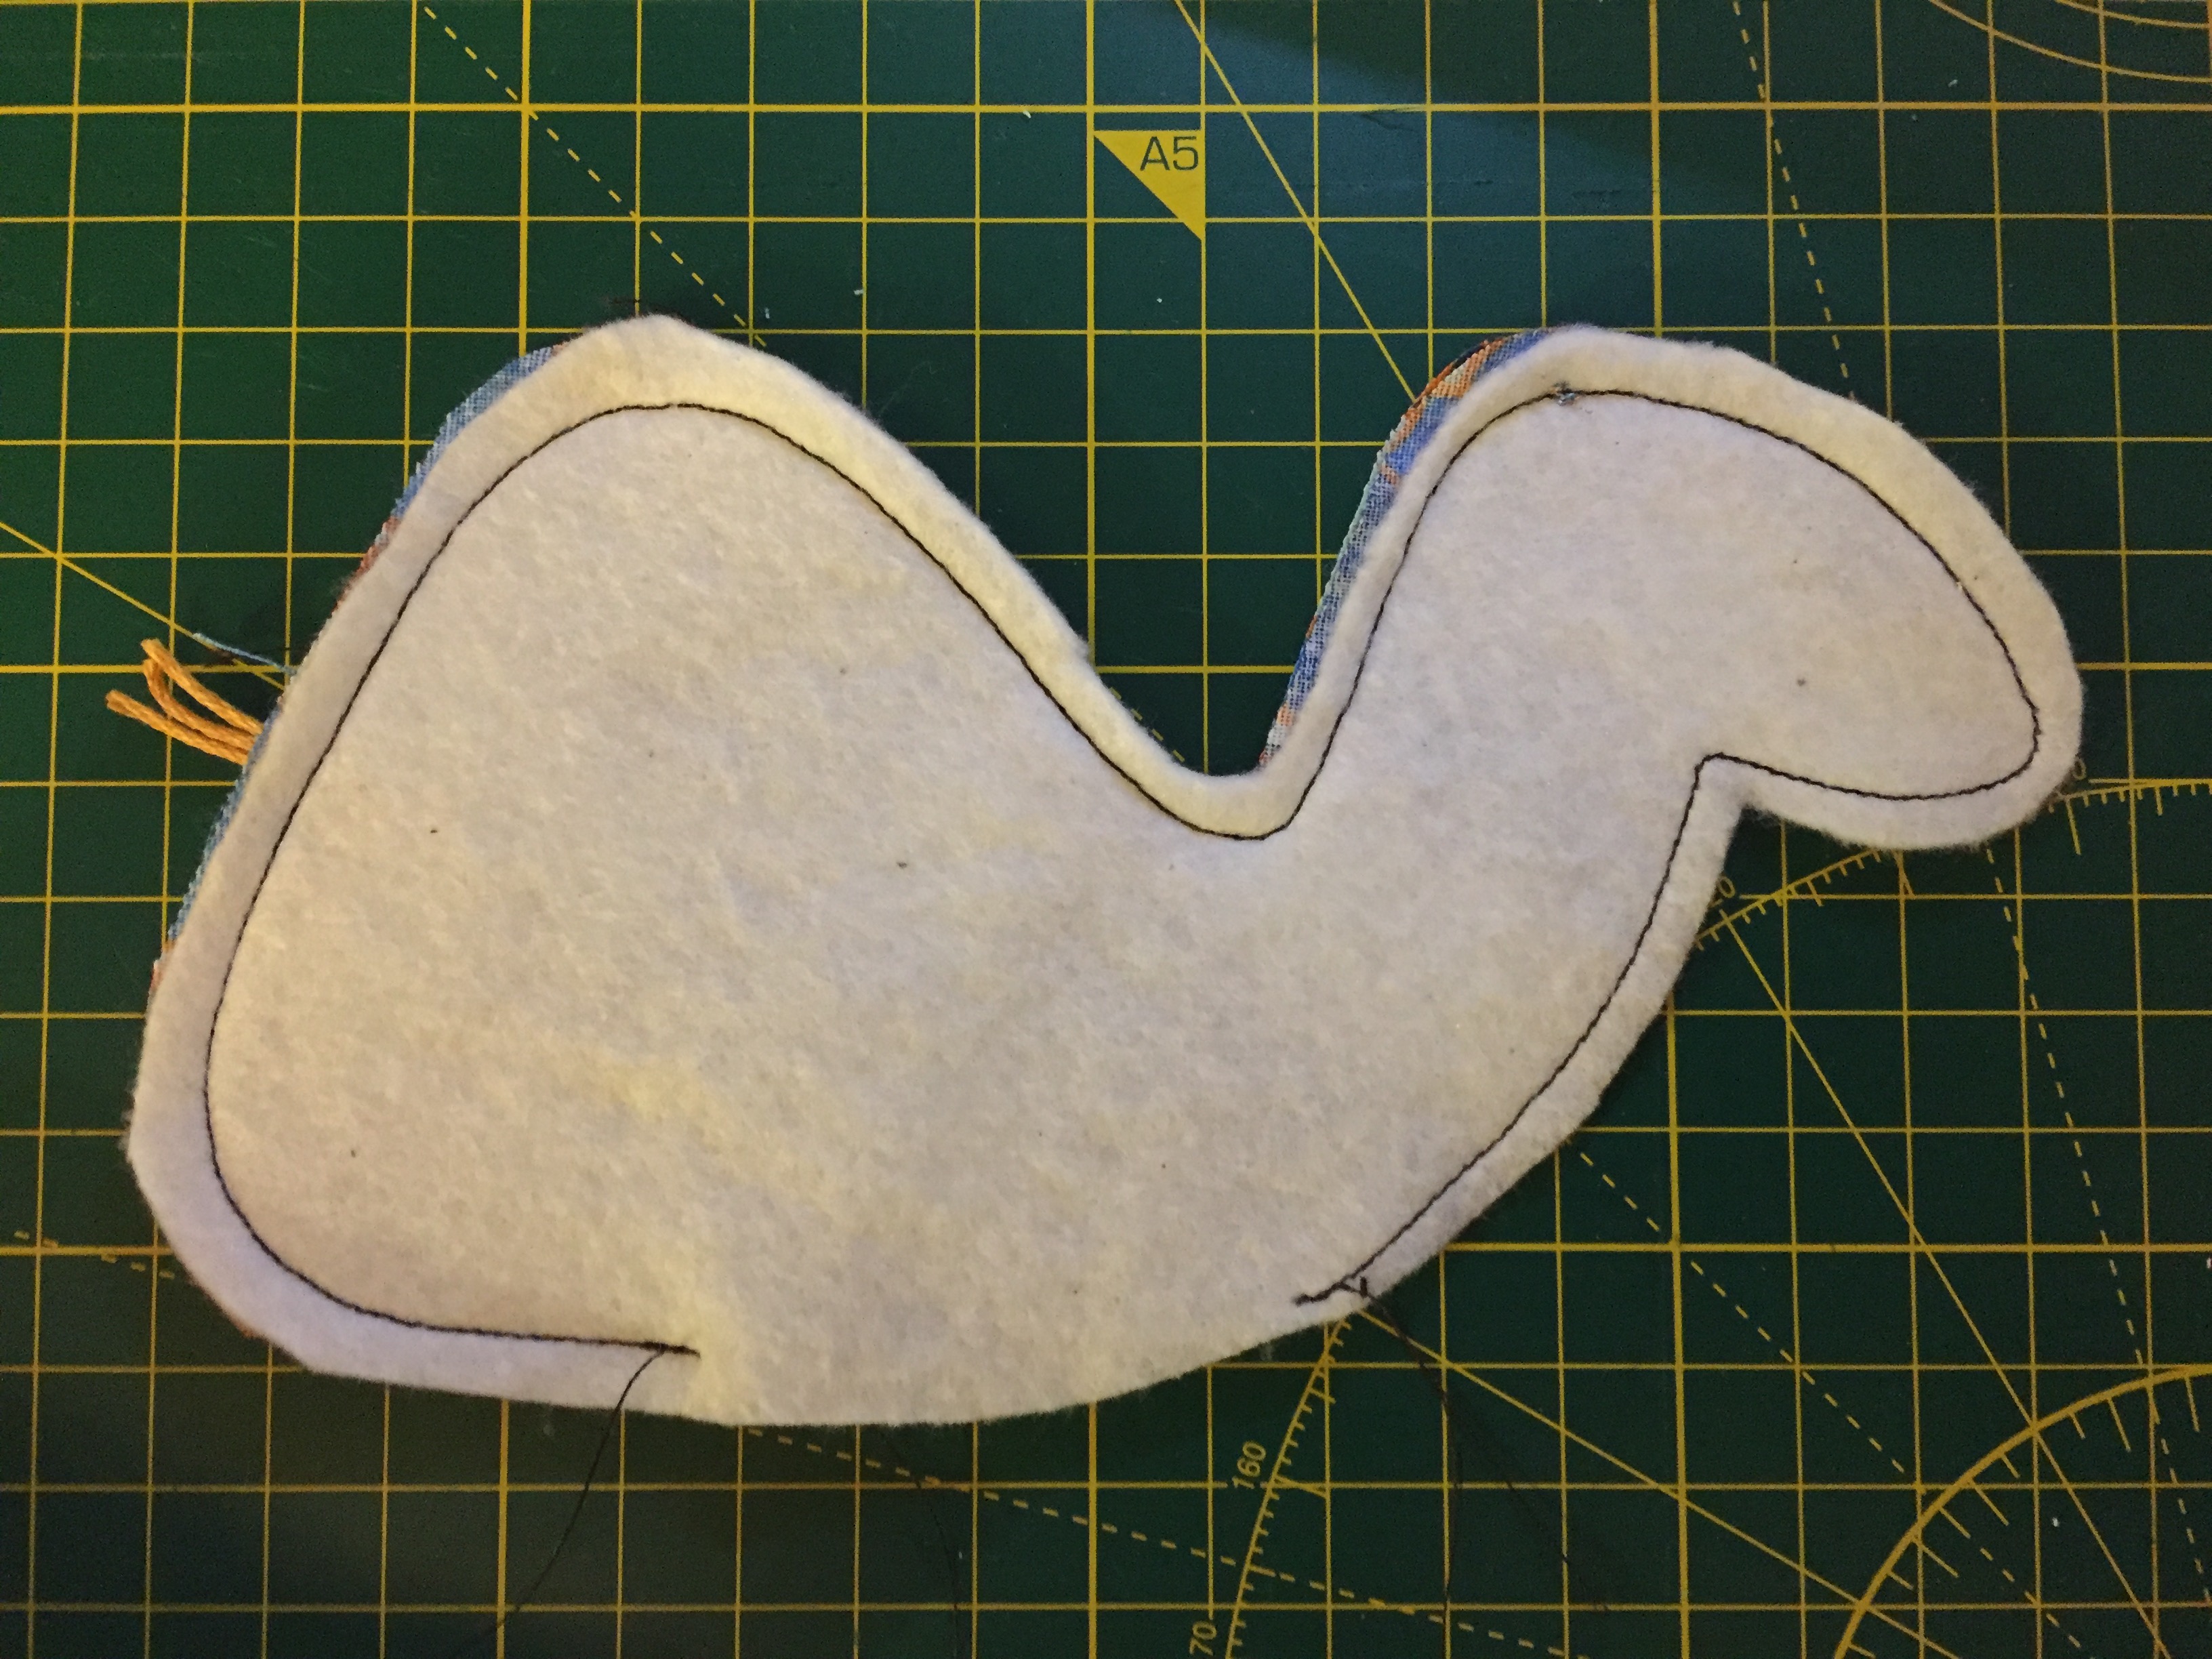
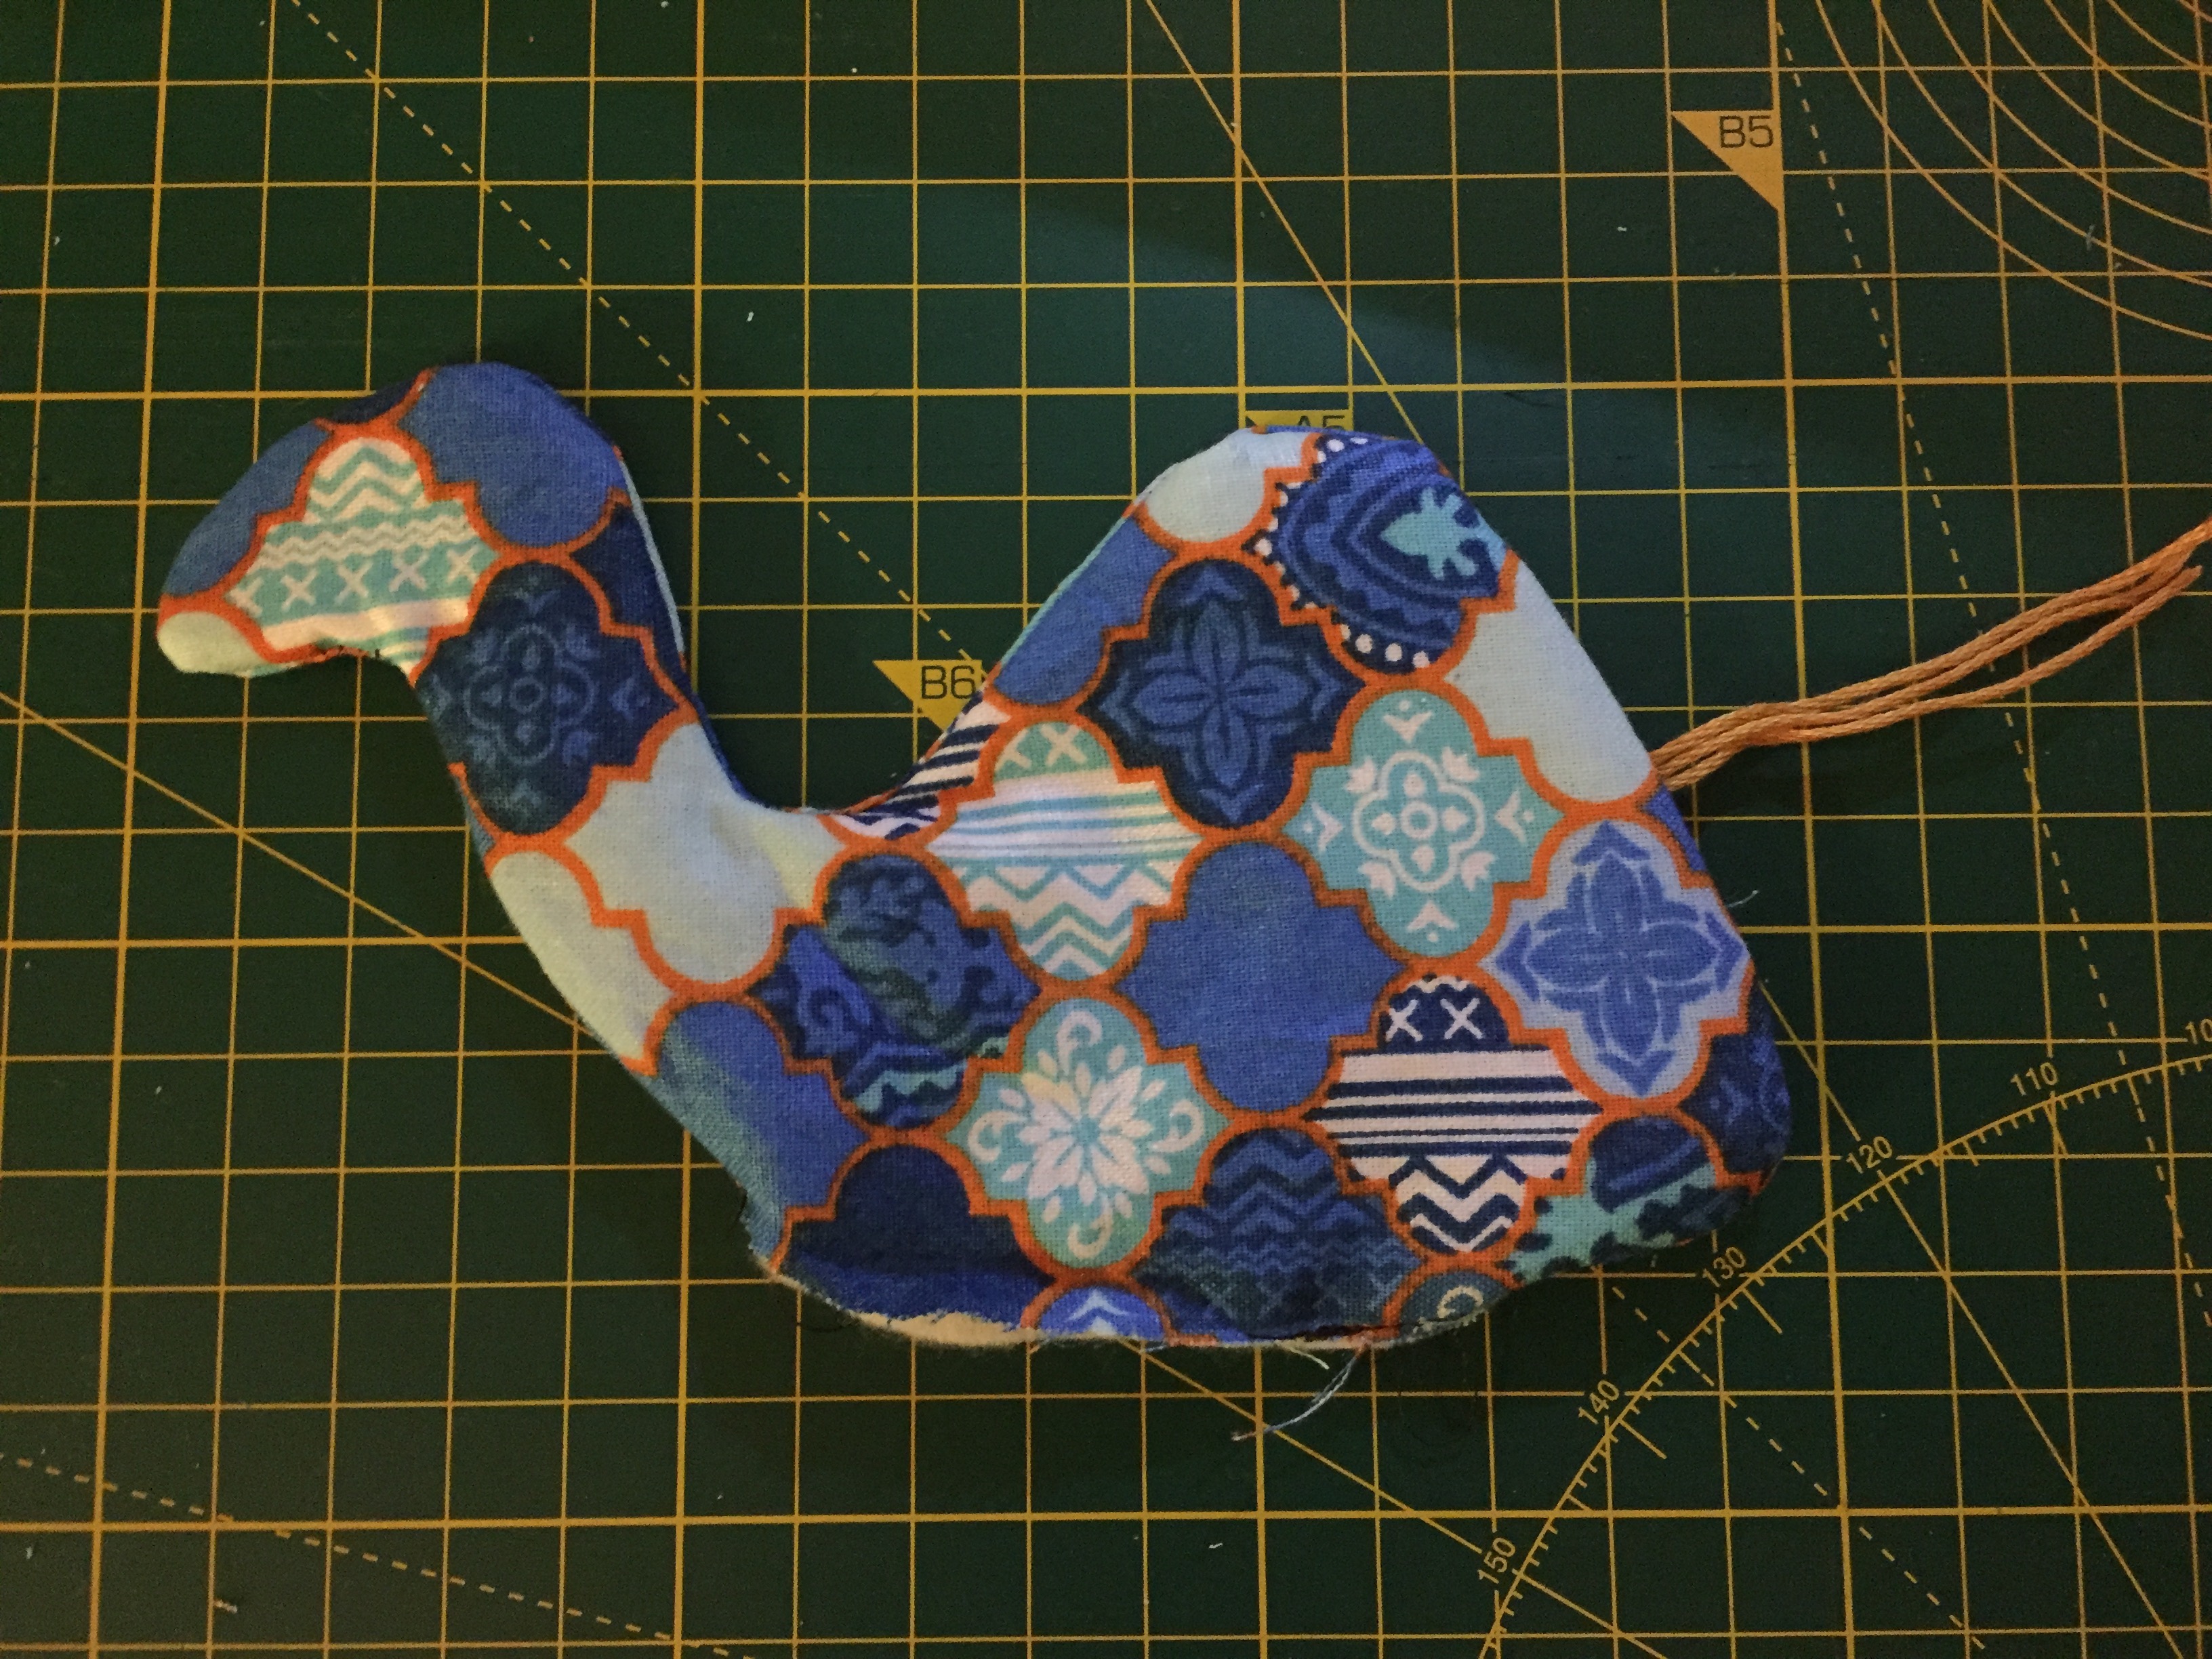
- Take 2 body pieces and one batting piece, place one of the fabric pieces right side up, put the tail on top with the raw edge of the tail against the raw edge of the fabric, place the second fabric piece right side own on top. Then put the batting piece on top. Sew around, leaving a 5cm gap for turning, turn the right way and slip stitch close the gap.

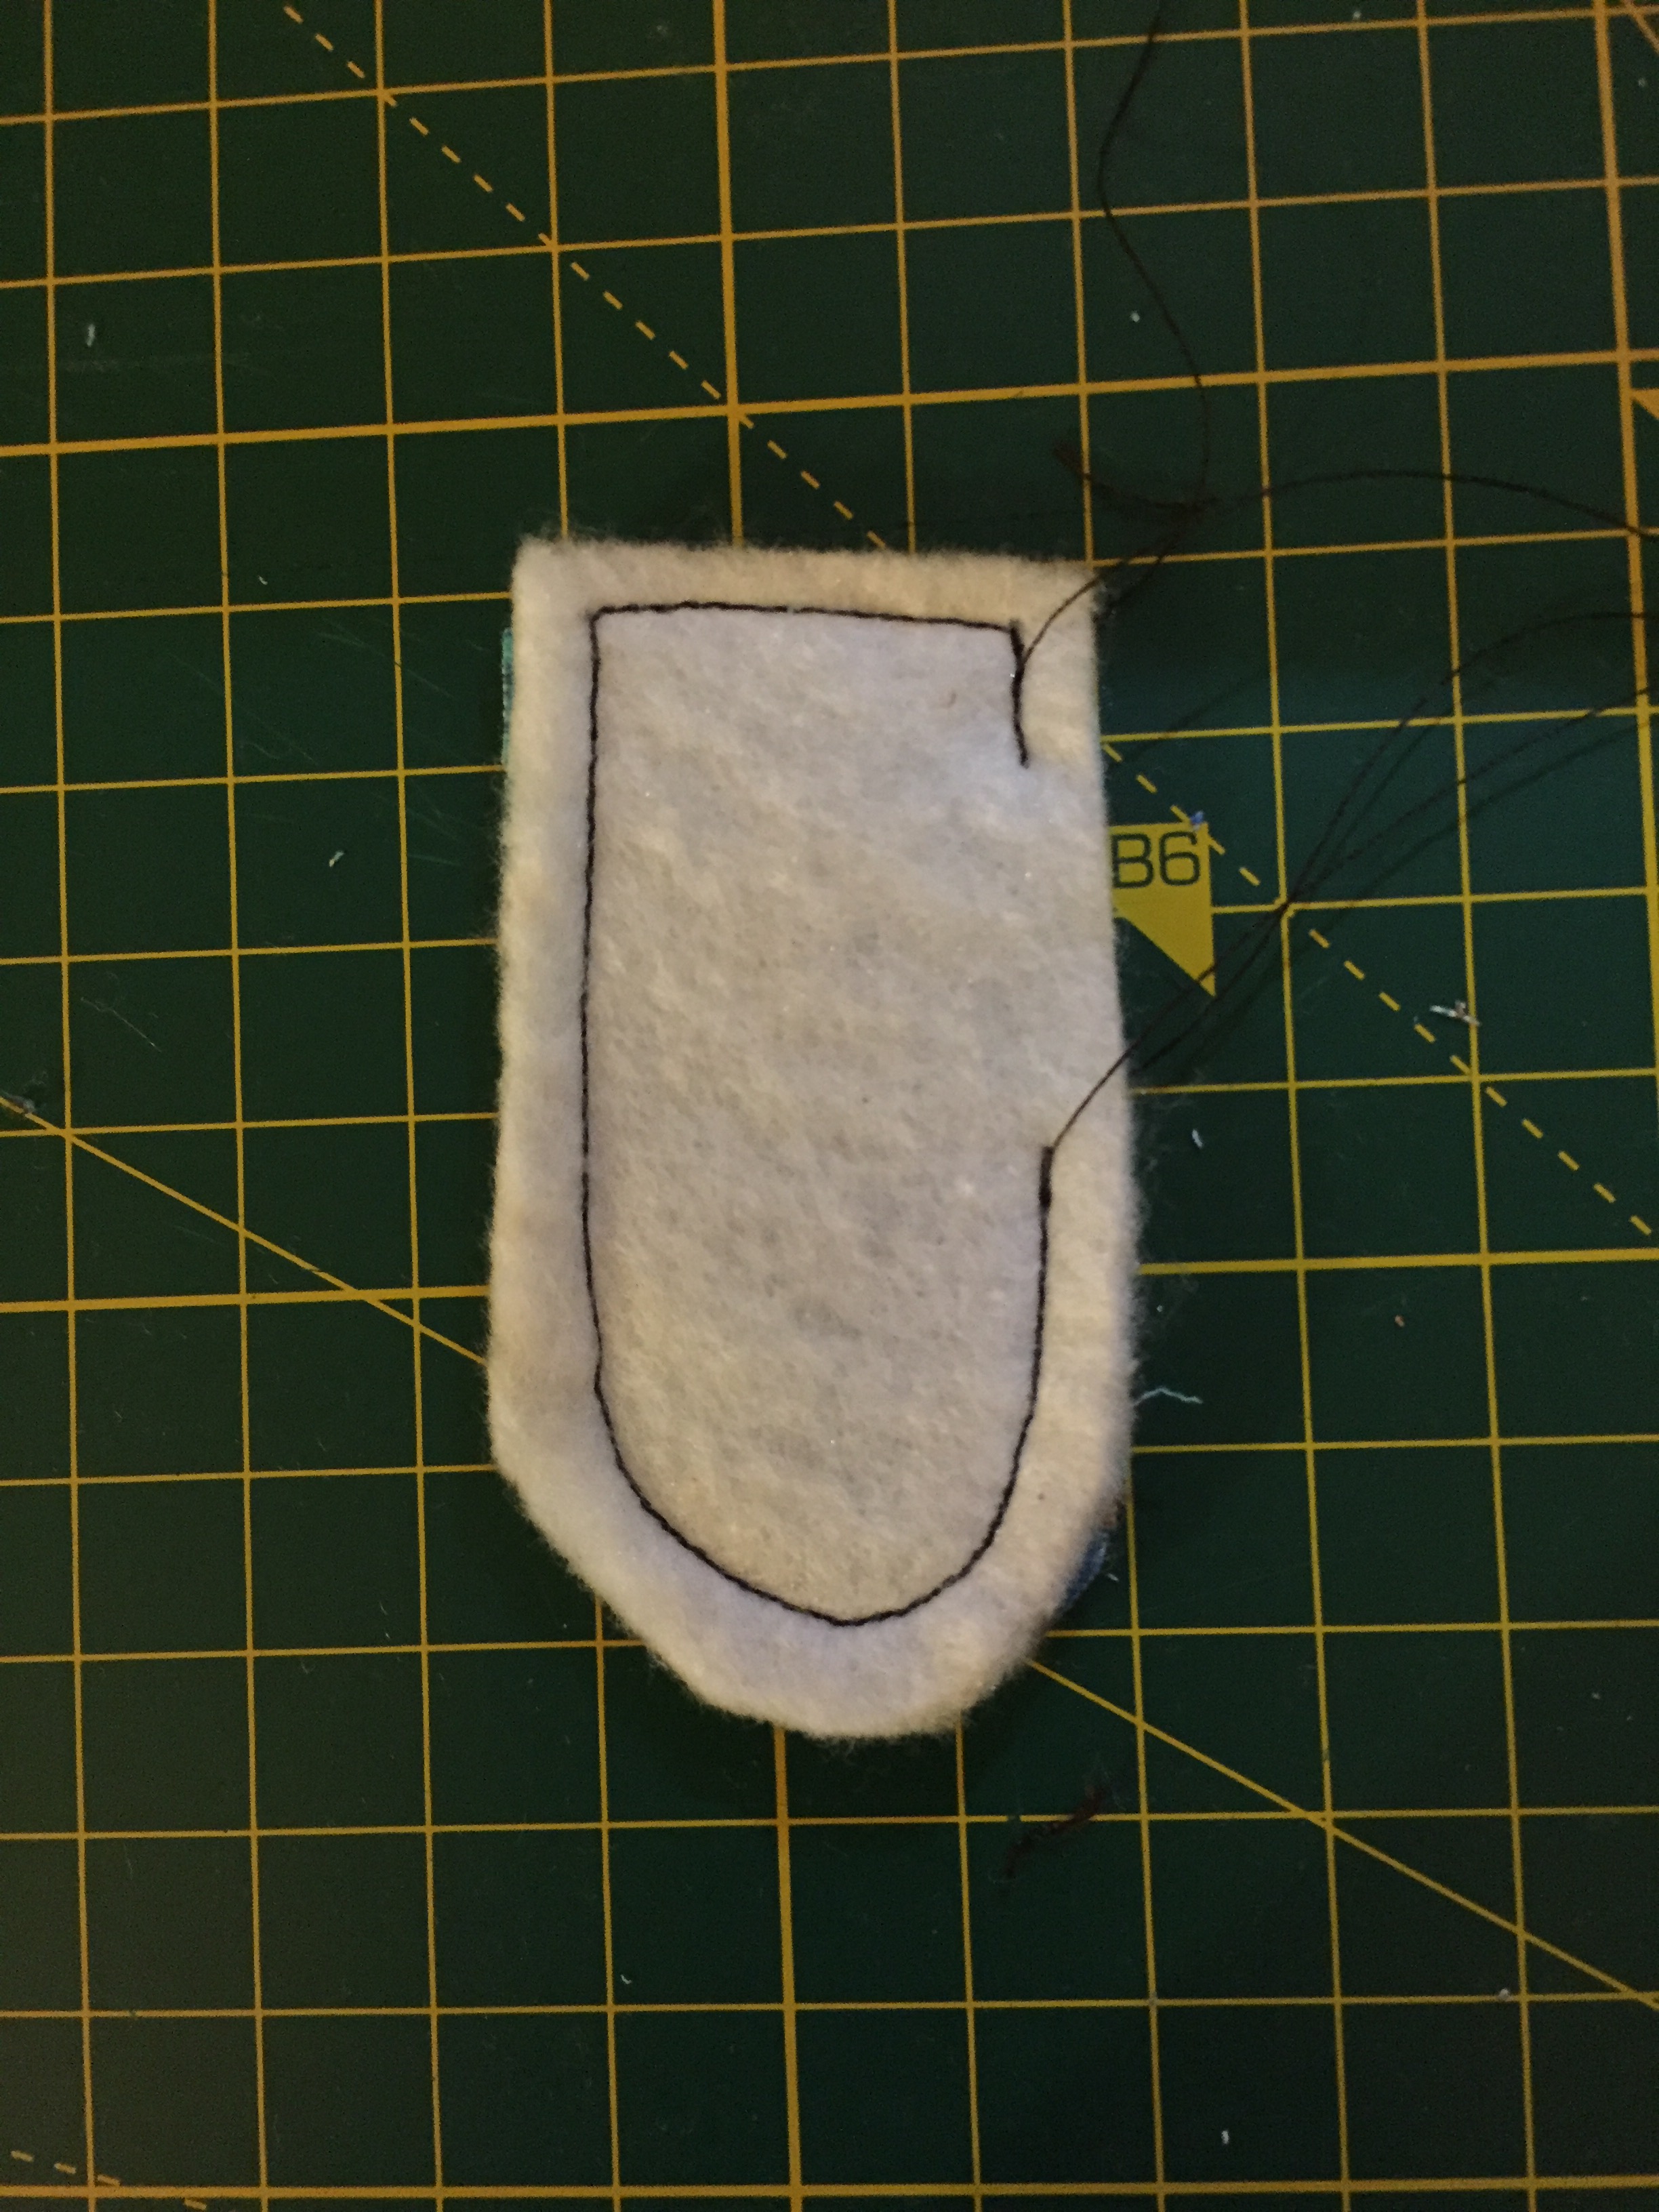
- Take 2 of the leg pieces, place right sides together and put a piece of batting on top. Sew around leaving a 3 cm gap for turning. Turn the right way and slip stitch close the gap.


- Sew the legs onto the body of the camel using the embroidery thread.

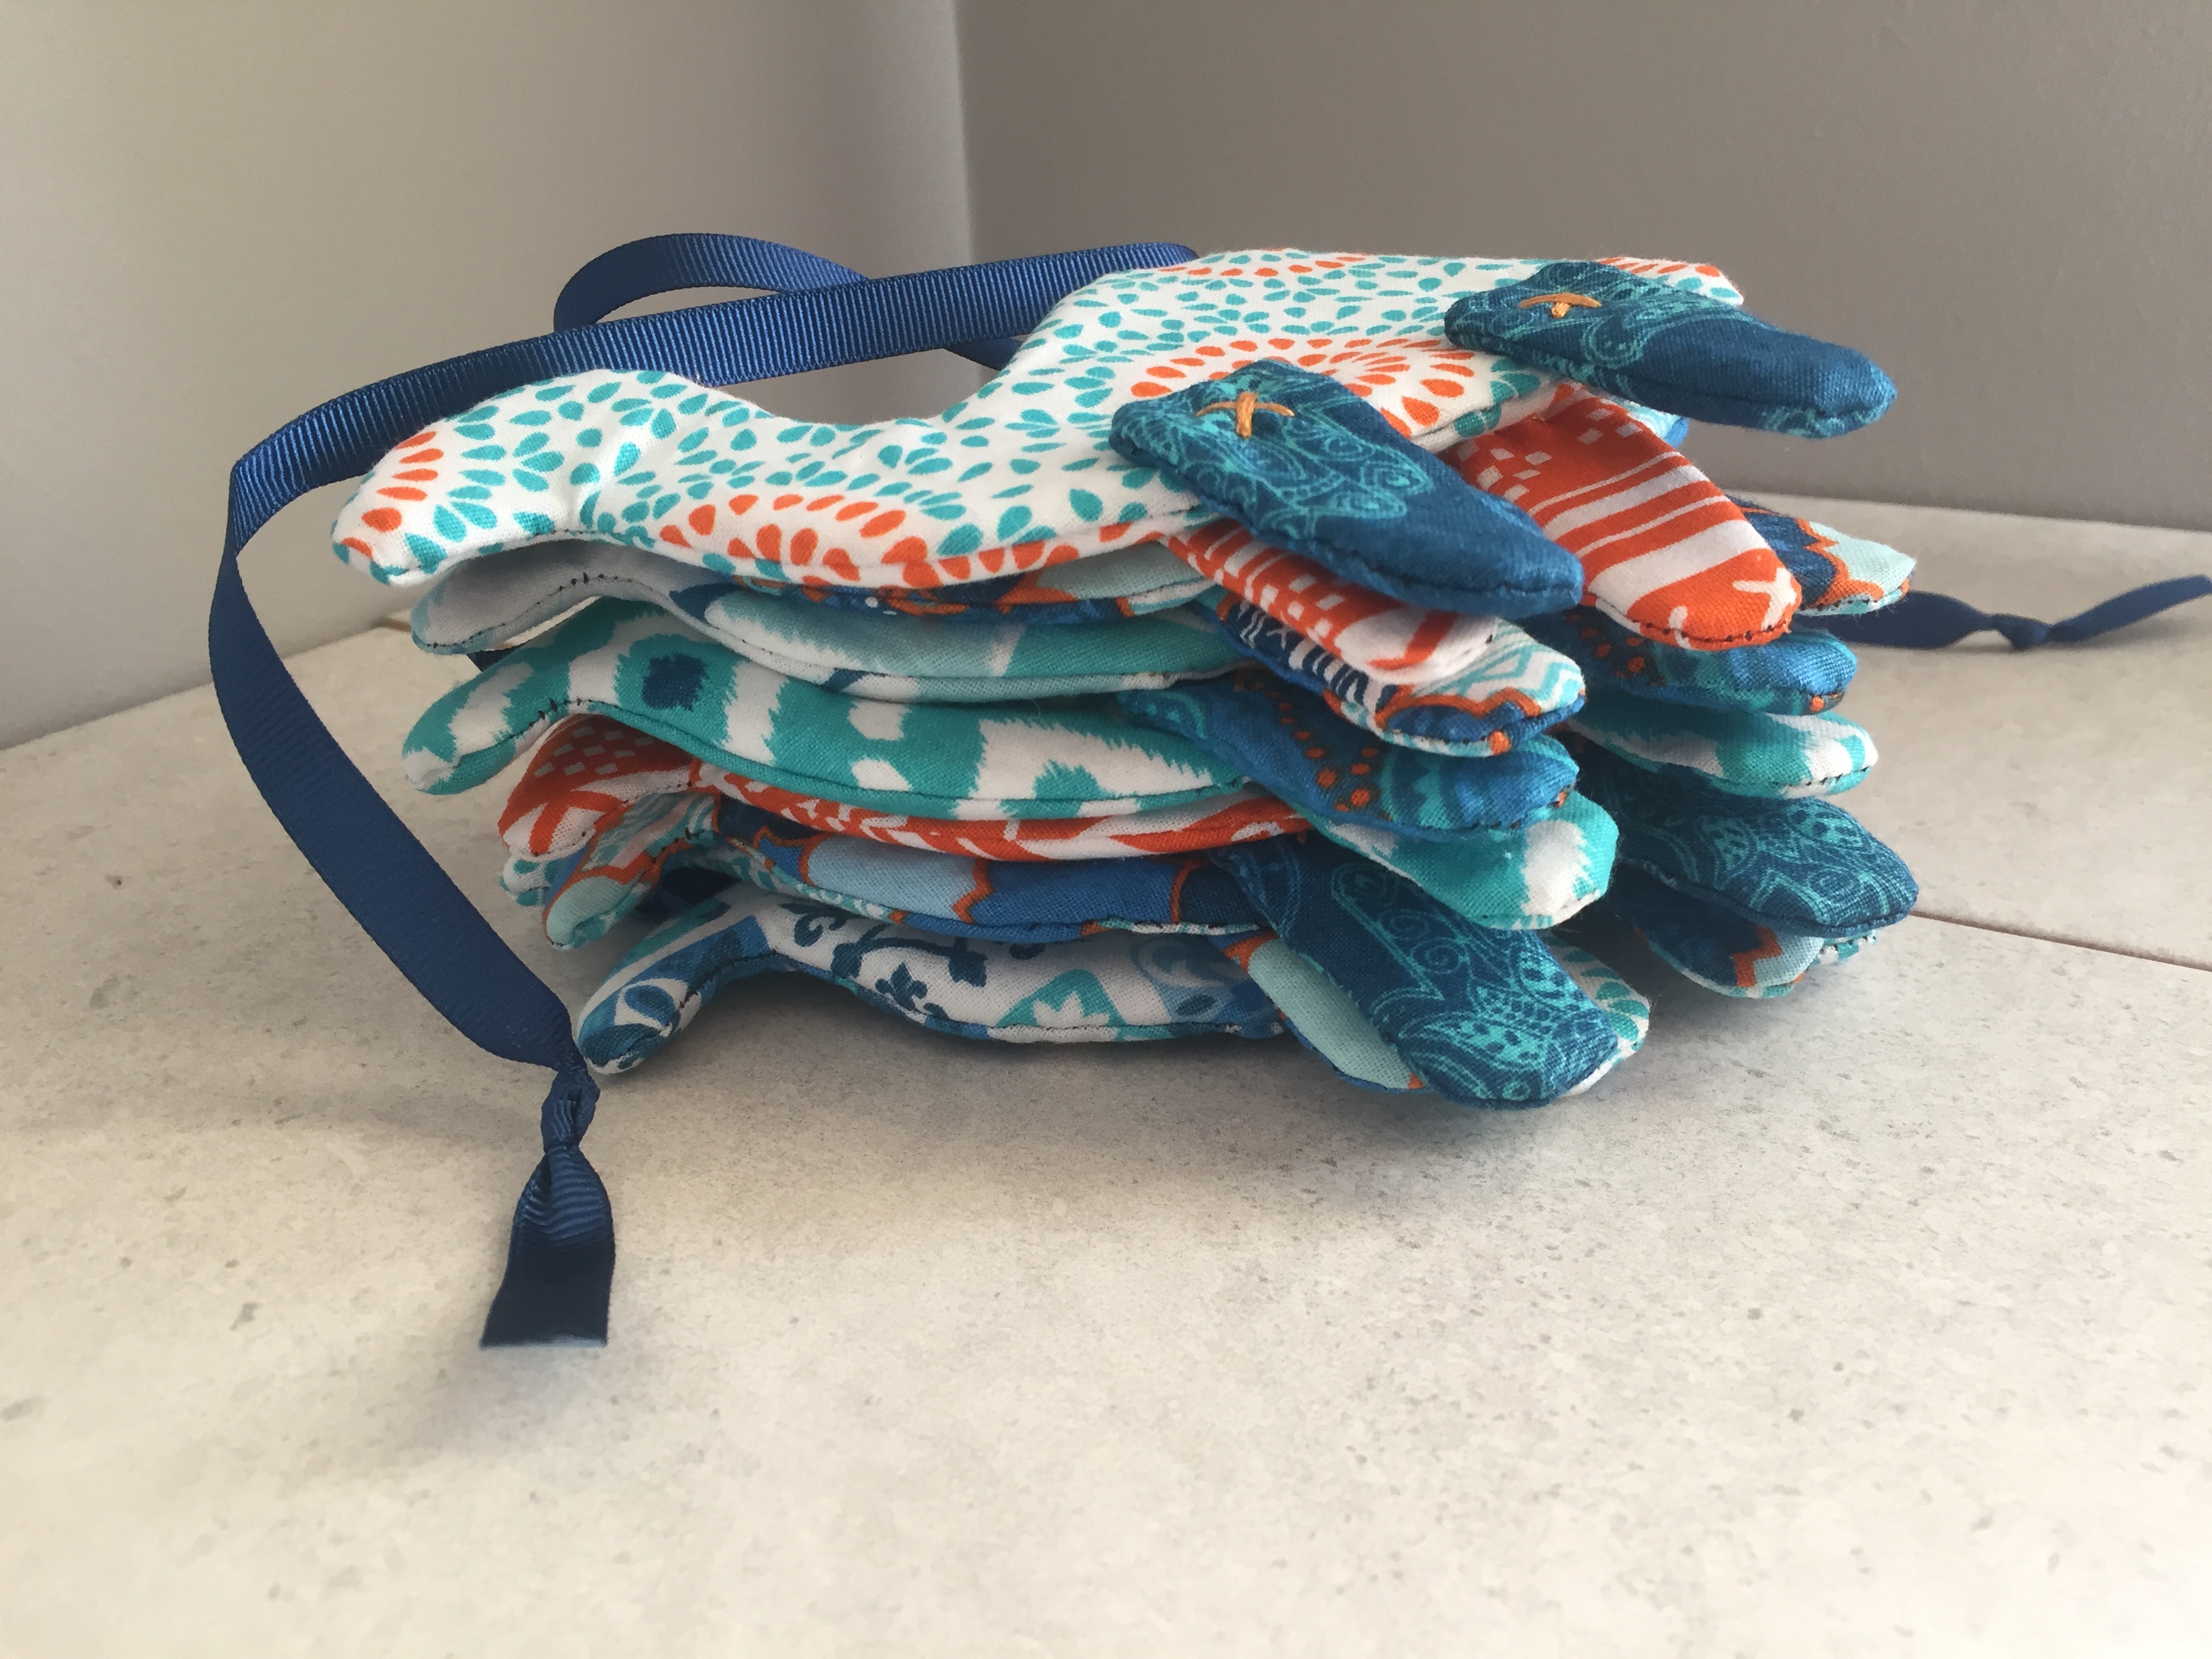
- Sew the camels onto your ribbon to complete the batting. You could also make fabric binding instead of using ribbon.

The tutorial to make these is available over on The Craft Cotton Company website.

Leave a comment