
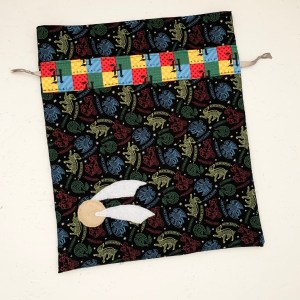
Making bags seems to have taken over at bit here at the moment and following on from my last minute quick make drawstring bag I focussed on making this quick and easy drawstring bag using some amazing Harry Potter fabric which was gifted to me by The Craft Cotton Company.
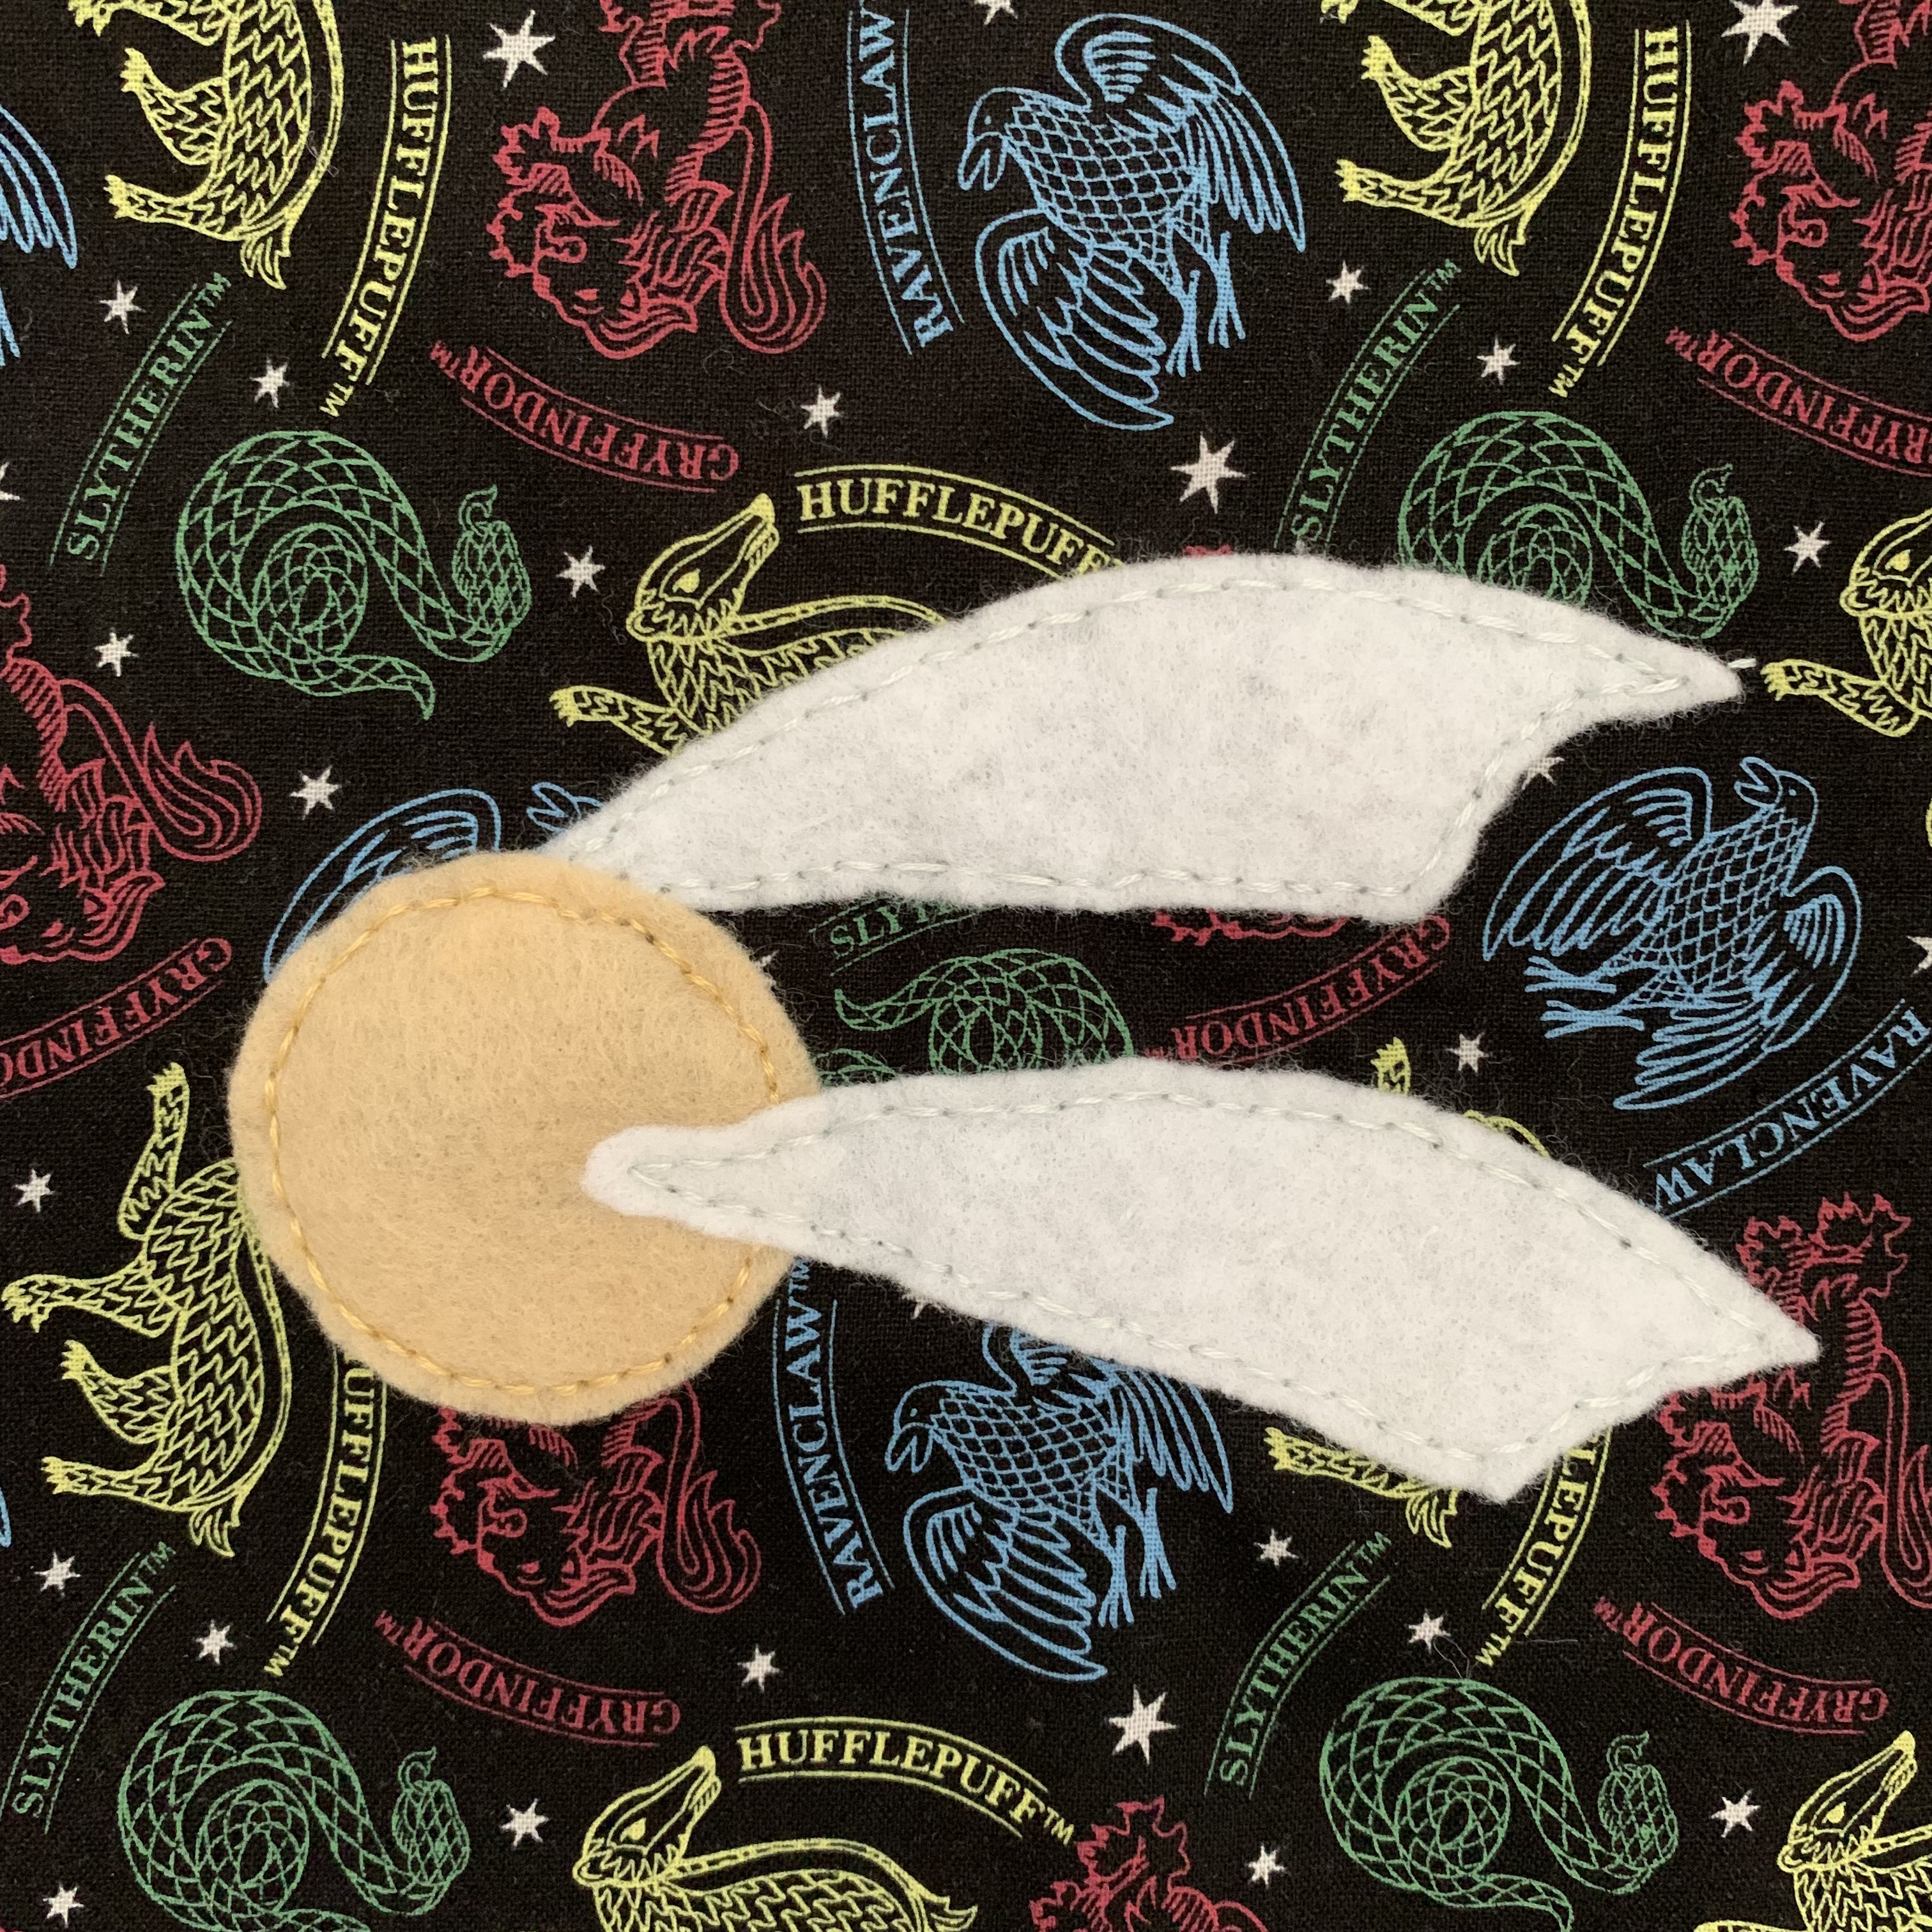
I wanted to add a little detail to the bag and knew I had to add a little golden snitch to the front of the bag. Luckily I had some golden and white felt in my stash and some matching embroidery threads – isn’t often I manage to have the right shades and normally have to rush out and by some to match!.
I love how this bag has turned out – I will definitely be making some more for gifting this Christmas.
Fabric gifted by The Craft Cotton Company.
Harry Potter Drawstring Bag Tutorial
Materials
- Harry Potter fat quarters set by The Craft Cotton Company.
- Scissors.
- Pins.
- Ruler.
- Felt.
- Gold/yellow.
- White/silver.
- Pencil.
- Paper.
- Needle.
- Thread.
- Ribbon.
- 70cm long, or two pieces 35cm long.
HARRY POTTER DRAWSTRING BAG TUTORIAL
- Using the two black fat quarters cut out two pieces of fabric 35x45cm. This gives you a front and a back bag piece.
- Using the squared pattern fat quarter cut out two pieces 35x10cm. This gives you a drawstring section for the front and back.
- On the piece of paper draw out a circle with a 5cm diameter, and draw out two wing shapes 10cm long. Cut out to make your templates.
- Use the yellow/gold felt and the circle template to cut out a ball, and the white/silver felt and the wing template to cut out the wings.
- Sew the ball and wings onto the bottom left corner of the front bag piece using a running stitch.
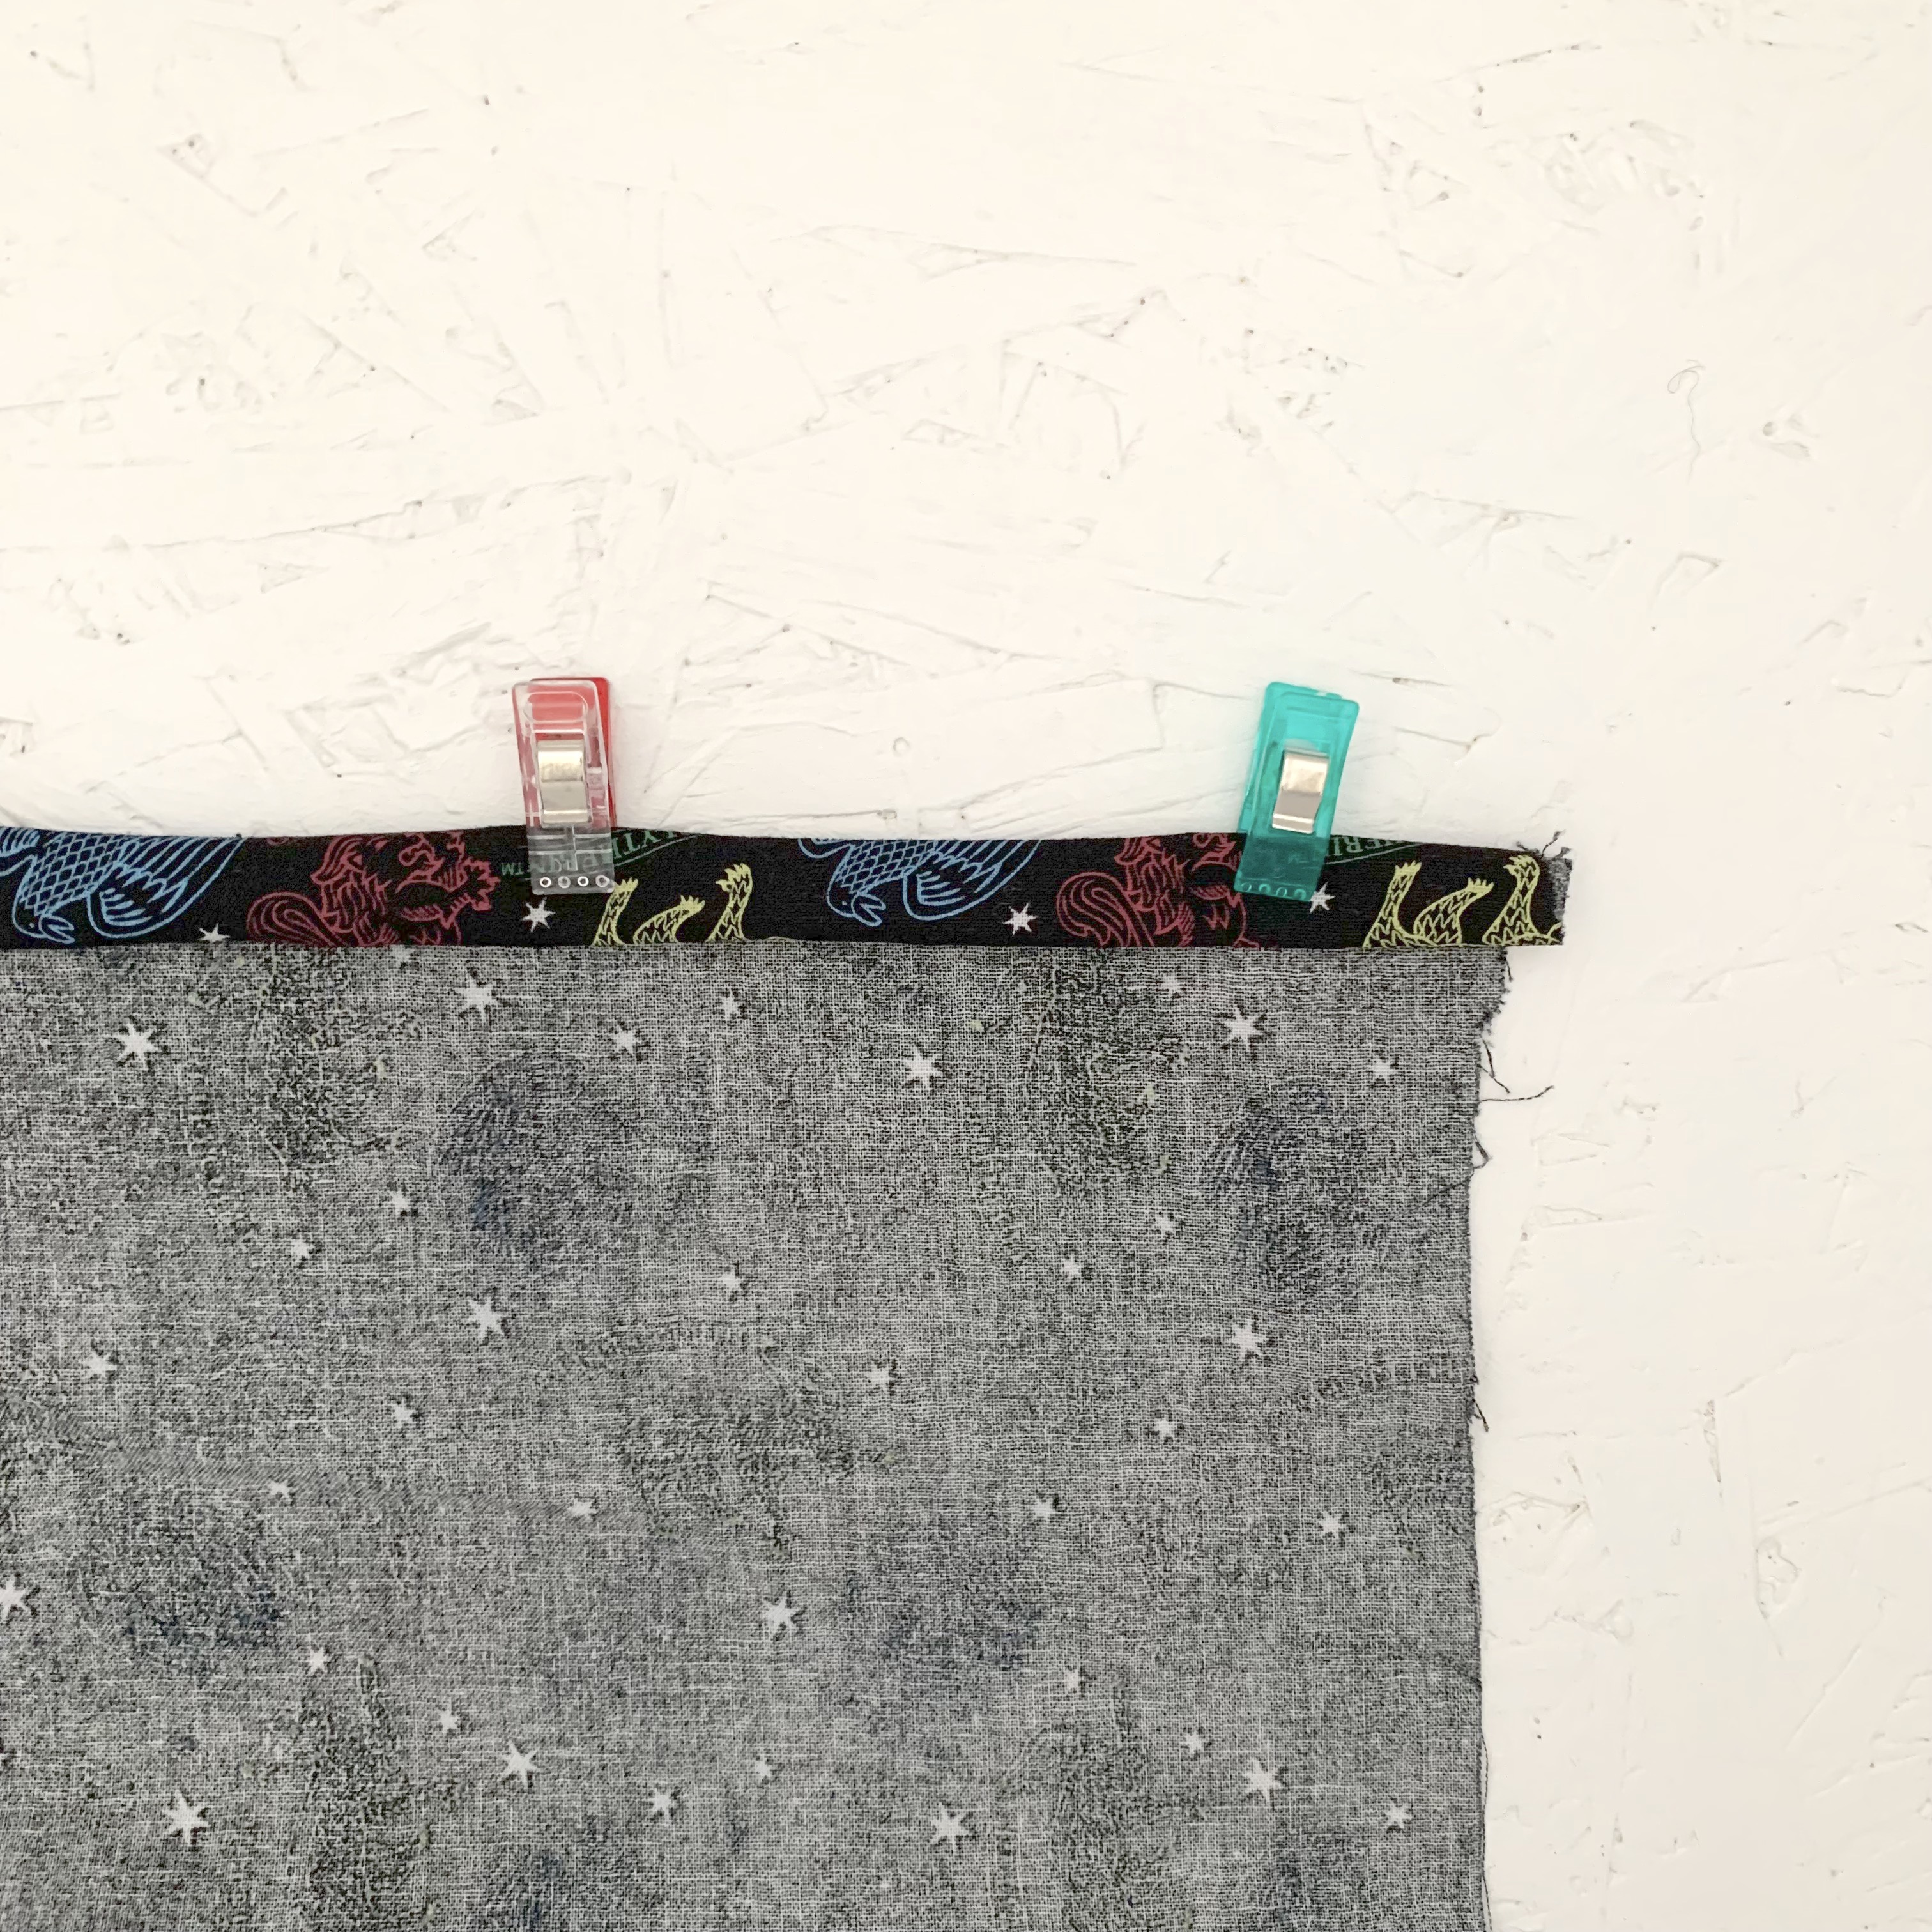
- Take the front bag piece and fold over the top edge to the back by 1cm and then 1cm again to create a hem. Sew along this edge to secure. Repeat with the back piece.
- Place the front and back pieces right sides together and sew down the sides and along the bottom.
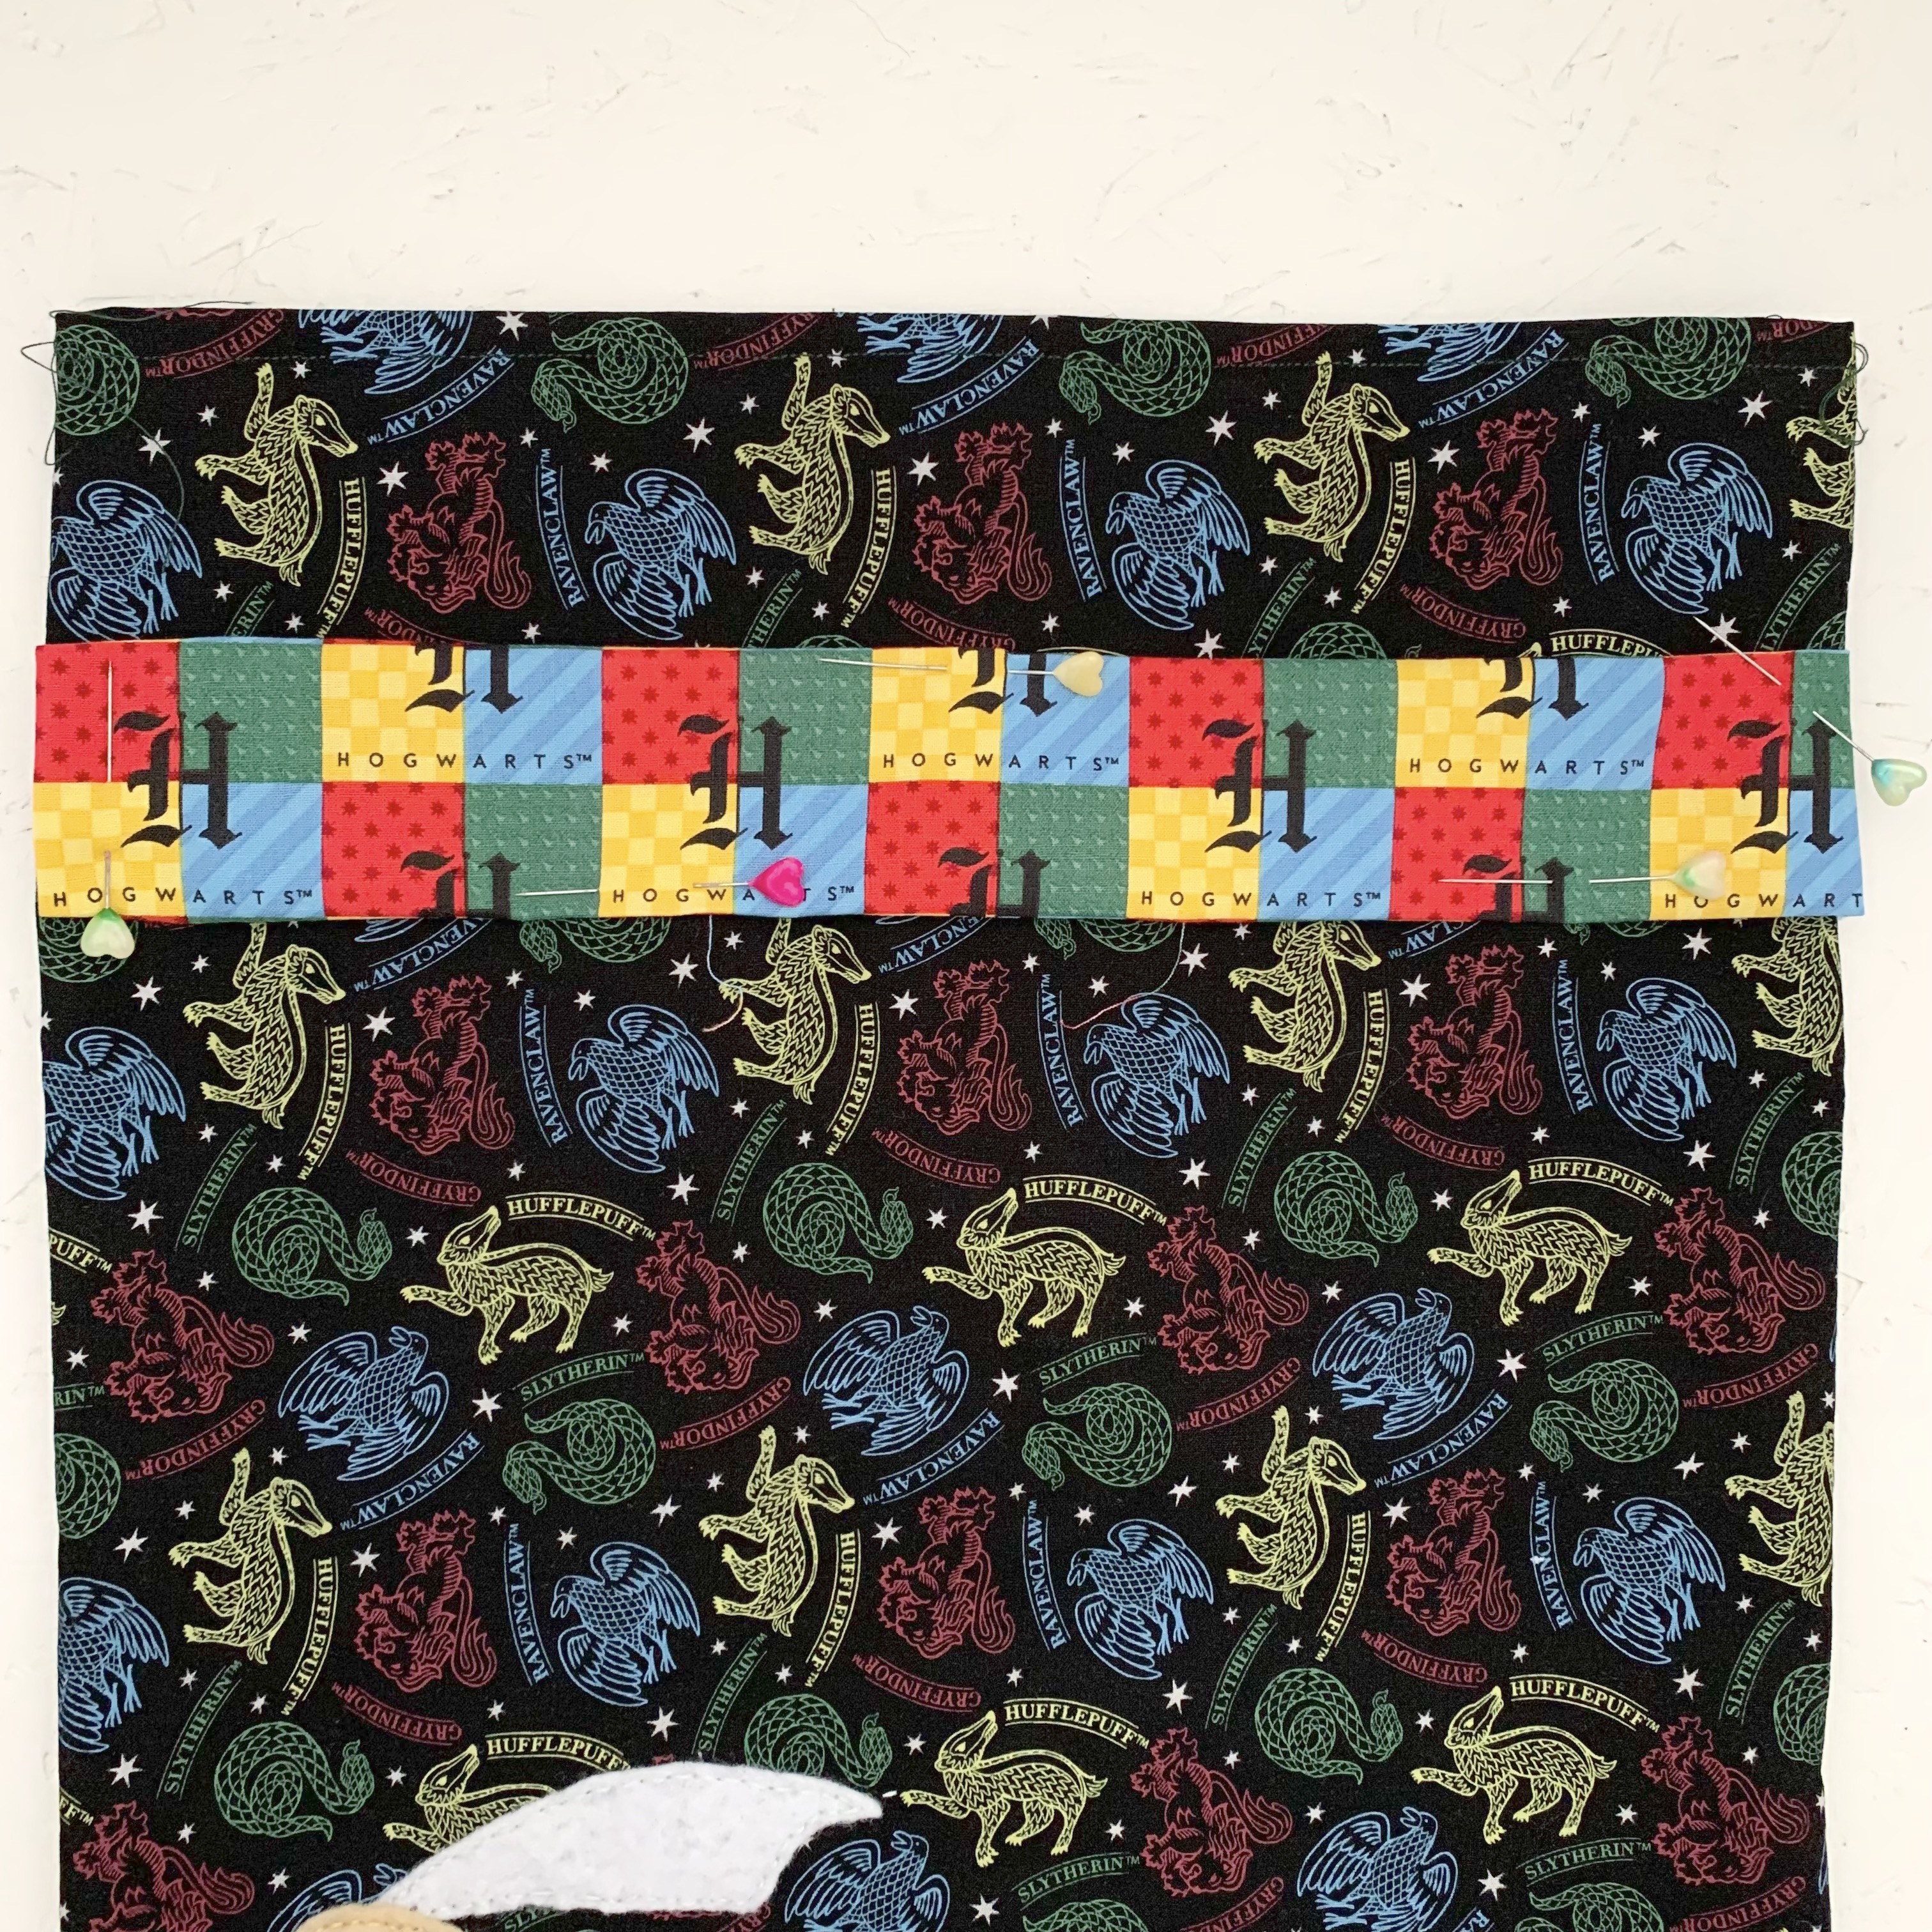
- Take one of the drawstring section fabric pieces and fold over the top and bottom edges to the back by 2.5cm. Place on top of the front of the bag and fold in the side edges to align with the edges of the bag. Pin to secure. Sew along the top and bottom to secure. Repeat with the other piece on the back of the bag.
- Thread the ribbon through the drawstring section.
The tutorial to make one is also available over on The Craft Cotton Company’s blog.

Leave a comment