
All was going nicely with my bobble jumper from issue 22 from Simply Crochet I mentioned in an earlier post, until I went for another ball of wool and to my horror there were no more left! I was sure I had bought the amount specified in the pattern so was a bit baffled as to why I had run out before finishing! So I dug out the wool label and checked it against that used in the original pattern and the problem came to light – the wool I was using did not have as much length on the ball as that used in the project. I really should have checked this before I started but I got a bit excited when I saw the wool I liked and got carried away buying it without checking!
Luckily the shop wasn’t too far away and I went and bought another 4 more balls – more than enough to finish it off, well I thought I had bought 4 more, again to my shock and horror I ran out of wool with only a few rows and a neck to do! I searched all over for the forth ball and finally checked my receipt to see how many I had got – in my hurried-ness to get the wool and some other wool for another project I had only picked up three balls!! So that project has come to an abrupt end until I manage to get back to the shop and get the last ball! On the positive side, it meant I could focus on another project I have been doing for a little while now and have been wanting to get finished – a Mike Wasowski from Monsters Inc.
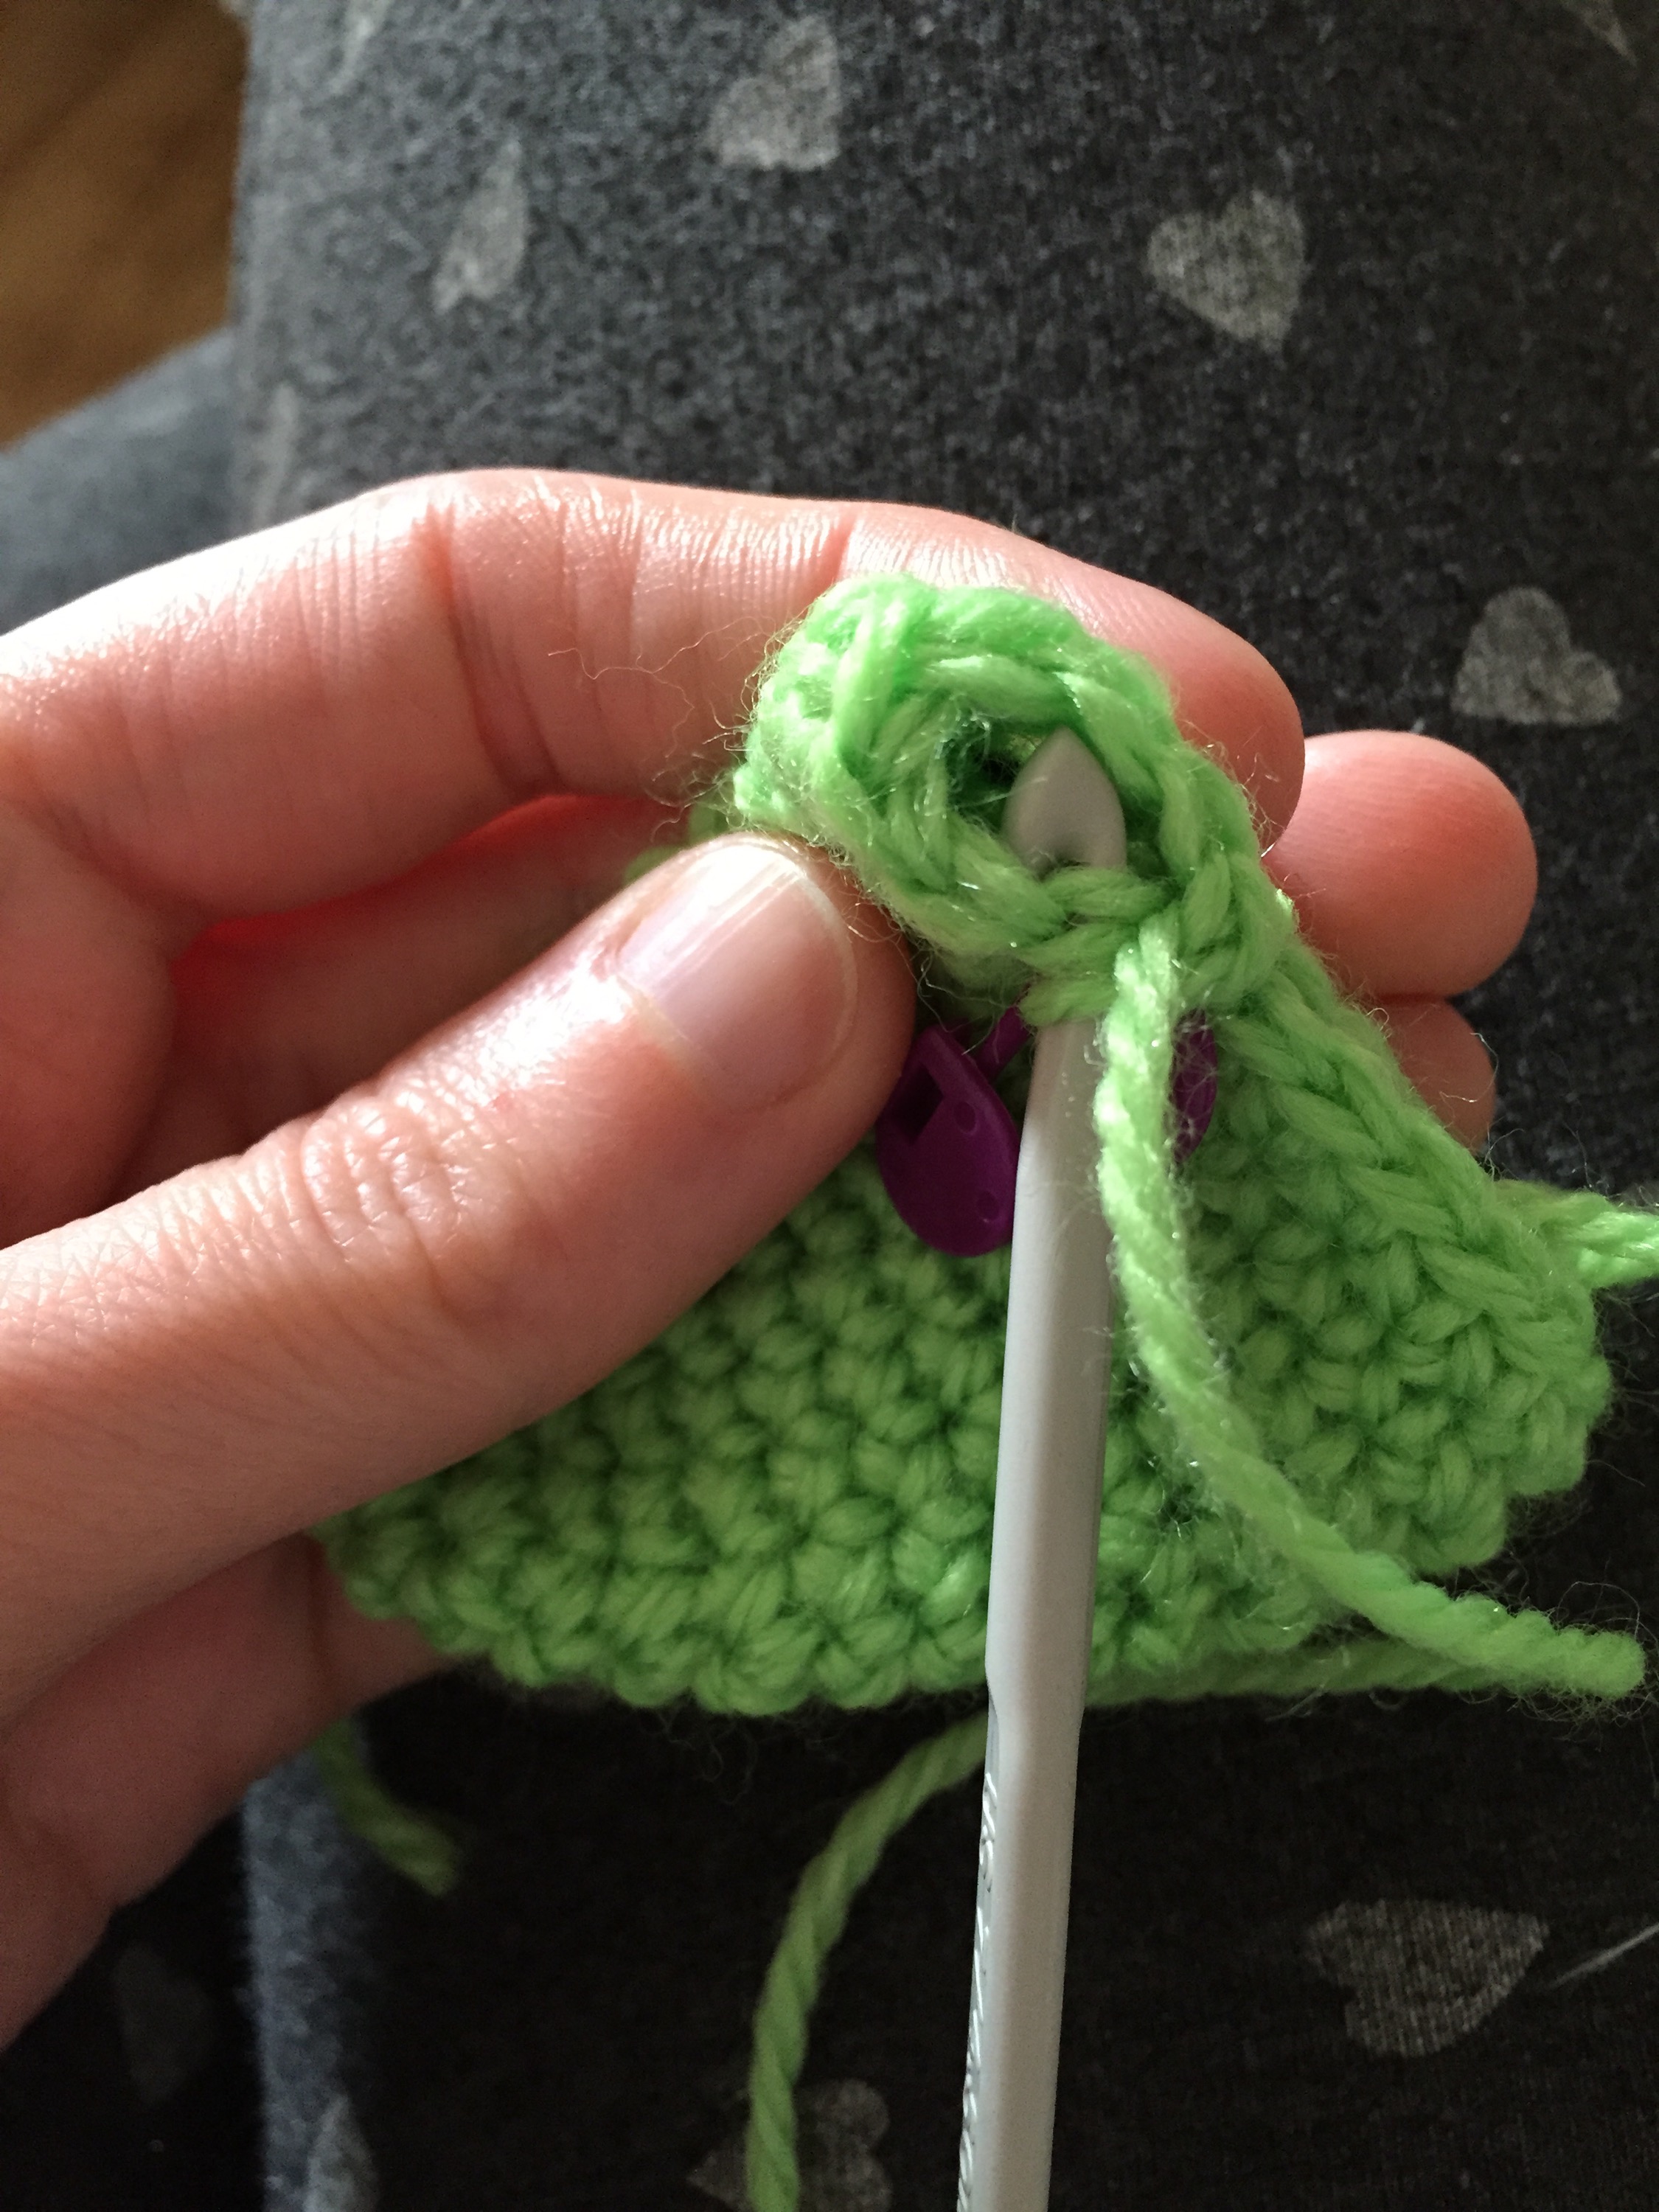
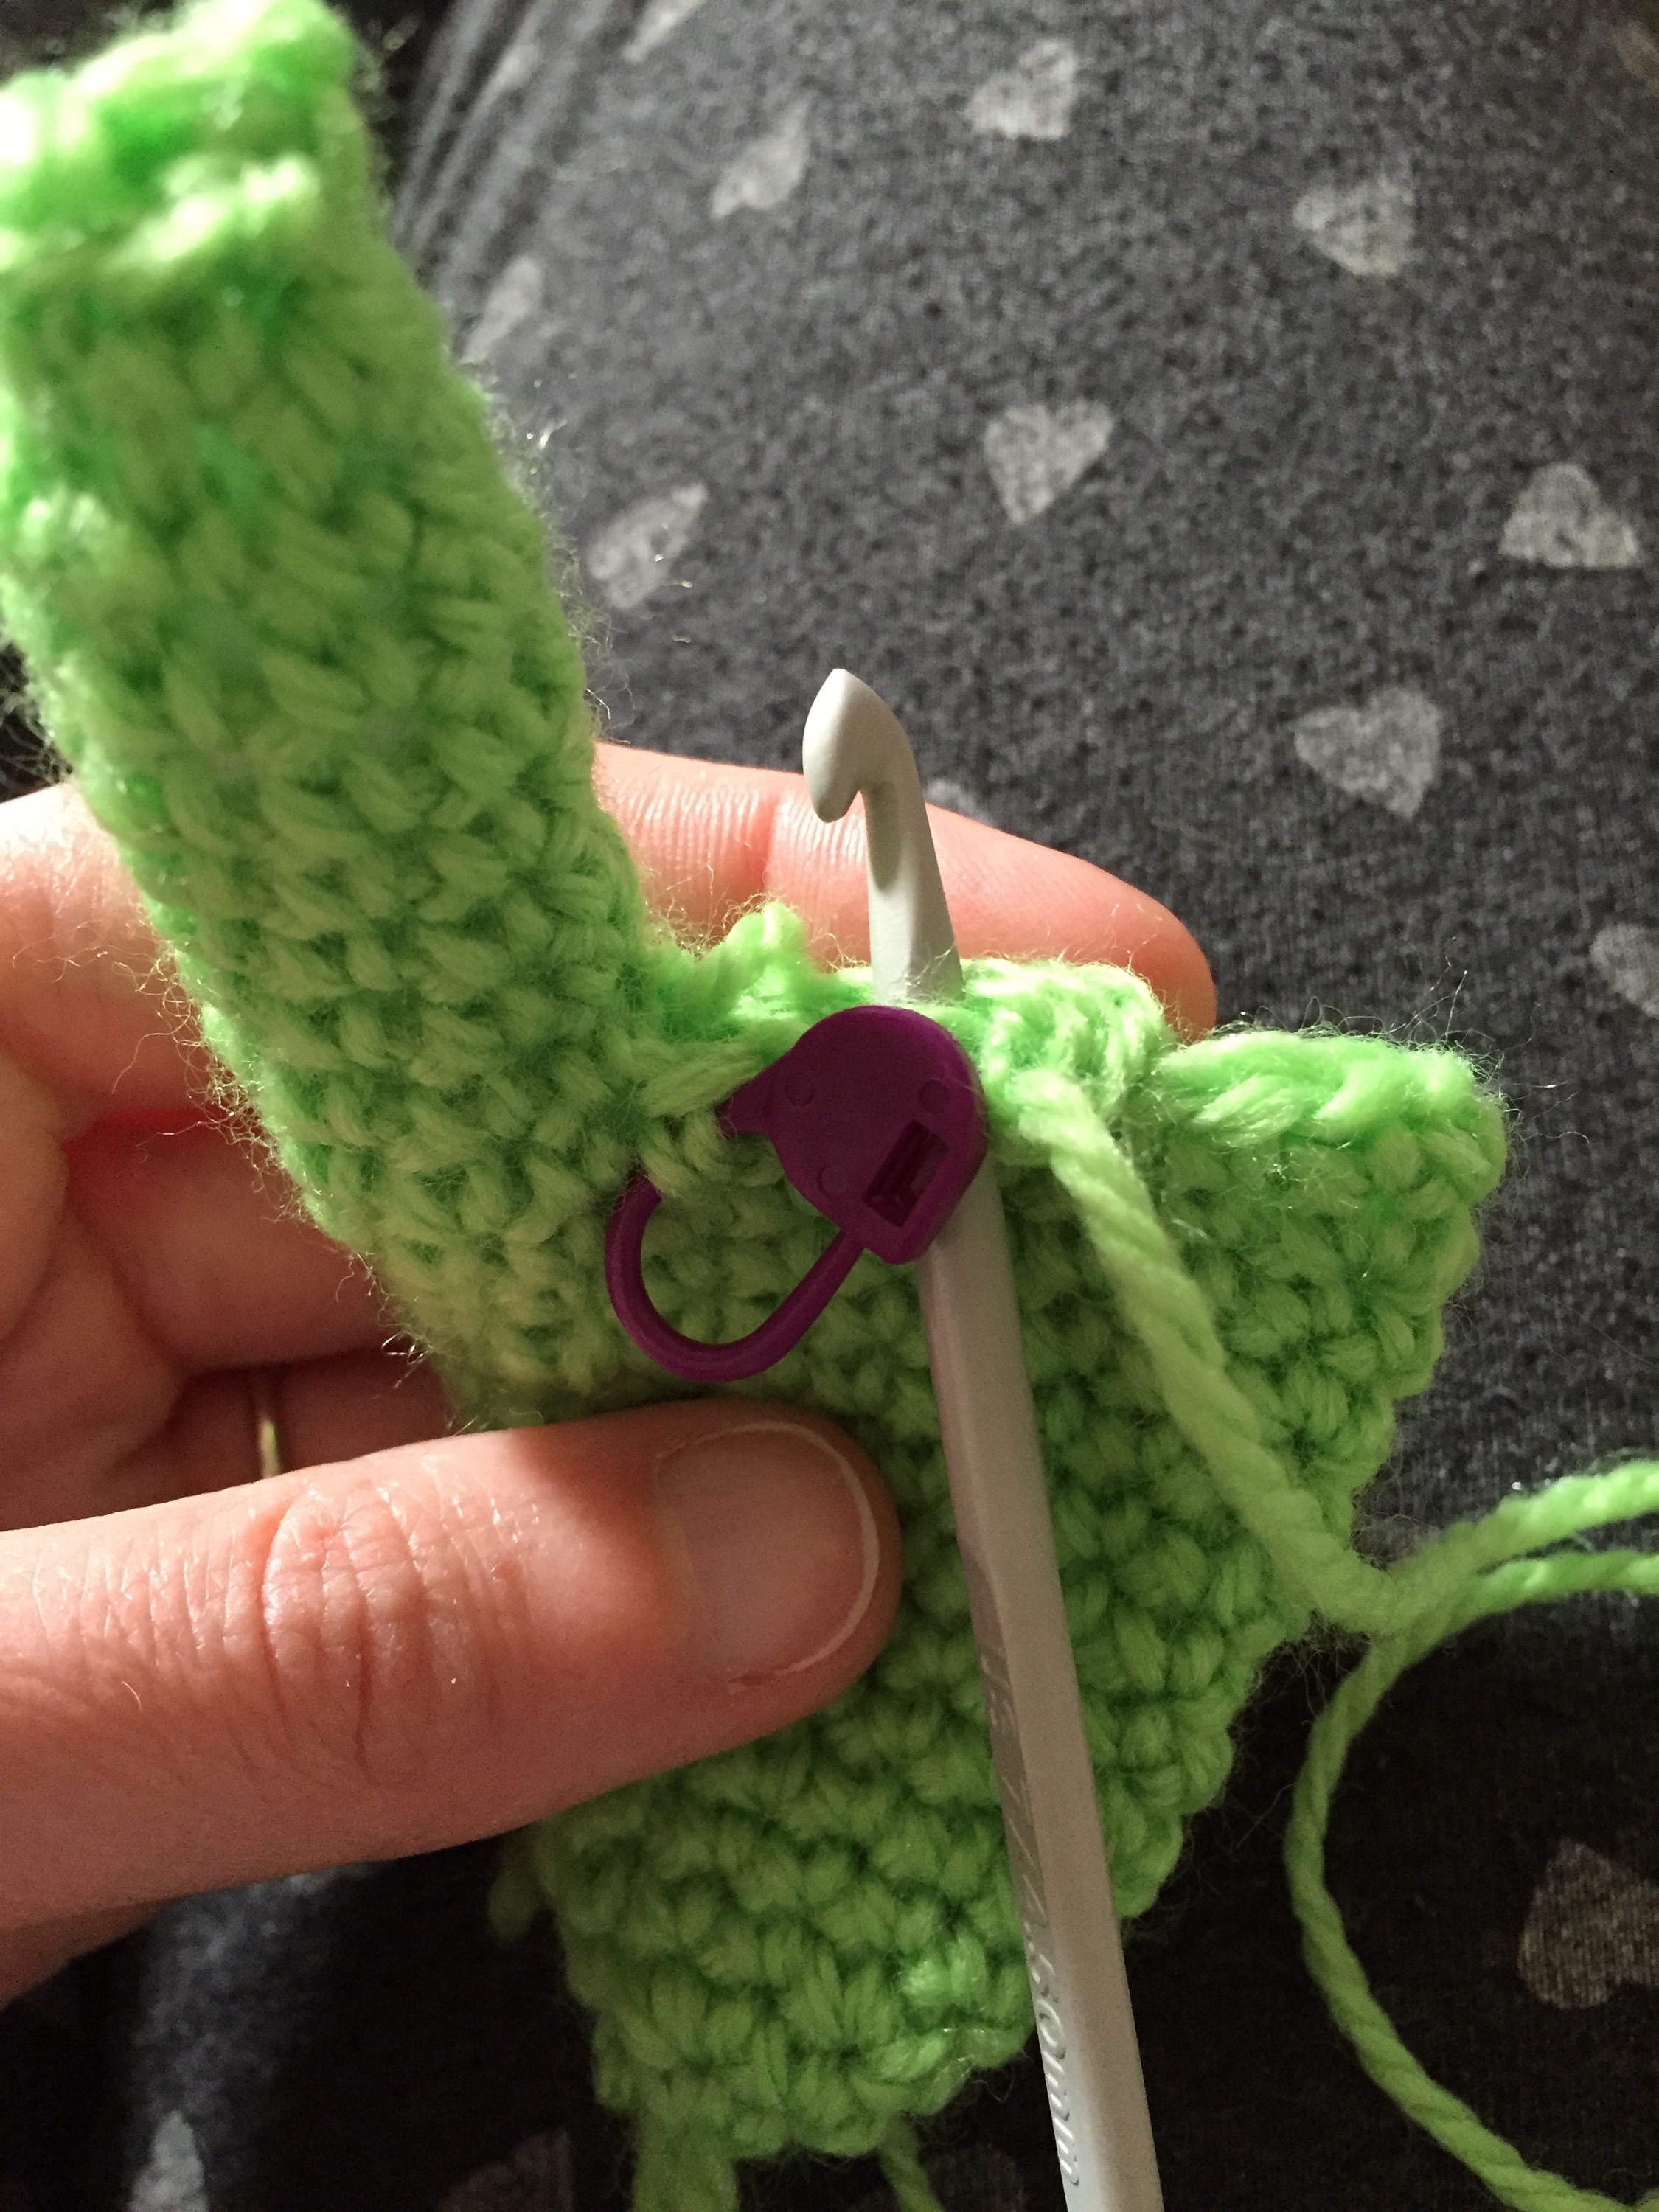
I know a little one who isn’t just a bit fond of Mike Wazowski but absolutely obsessed! I decided I had to make him a crochet one and set about doing a pattern myself to make him. As he basically only consists of a ball with arms and legs how hard can it be – well that’s what I thought! On a closer look at pictures of him he isn’t just a ball shaped monster, and those arms and legs have elbows and knee joints, not to mention the mouth and eye – with eye lid! So it was a little bit more complicated than I originally thought, and he had a lot more components than I had thought of to begin with! However, once I got going he came together quite easily it just took a while to get through all the separate bits to him especially with needling to do all the nails!.
I think the mouth was the hardest part to get right. I think he has come out really well, and I might venture into making him a baseball cap in the next few weeks! I know someone will be over the moon when they see this! I can’t blame them, I was pretty excited when I finished it myself!
Mike Wazowski Crochet pattern:
Materials:
- 2x 50g balls of DK wool in bright green, and leftovers of white, cream, black and blue/green.
- Hook: 4.5mm.
Body:
In green:
Round 1: Make a magic ring, ch1, 5sc into ring.
Round 2: 2sc into each stitch.
Round 3: 2sc into next same stitch sc, repeat around.
Round 4: 2sc into same stitch 2sc, repeat around.
Round 5: 2sc into same stitch 3sc, repeat around.
Round 6: 2sc into same stitch 4sc, repeat around.
Round 7: 2sc into same stitch 5sc, repeat around.
Round 8: 2sc into same stitch 6sc, repeat around.
Round 9: 2sc into same stitch 7sc, repeat around.
Round 10: 2sc into same stitch 8sc, repeat around.
Round 11: 2sc into same stitch 9sc, repeat around.
Round 12: 2sc into same stitch 10sc, repeat around.
Round 13: 2sc into same stitch 11sc, repeat around.
Round 14: 2sc into same stitch 12sc, repeat around.
Round 15: 2sc into same stitch 13sc, repeat around.
Round 16-30: sc around.
Round 31: sc2tog 13sc, repeat around.
Round 32: Sc around.
Round 33: sc2tog 12sc, repeat around.
Round 34: sc around.
Round 35: sc2tog 11sc, repeat around.
Round 46: sc around.
Round 47: sc2tog 5sc, repeat around until 4 stitches remain then; sc2tog 2sc.
Round 48: sc2tog, 22sc, sc2tog twice, 23sc.
Round 50: sc2tog 4sc, repeat around.
Round 51: sc around.
Round 52: sc2tog 3sc, repeat around.
Round 53: sc around.
Round 54: sc2tog 2sc, repeat around.
Round 55: sc around.
Round 56: sc2tog sc, repeat around.
Round 57: sc around.
Put in stuffing.
Round 58: sc2tog, repeat around.
Round 59: sc around.
Round 60: sc2tog, repeat around.
Legs – Make 2:
In green:
Round 1: Make a magic ring, ch1 8dc into ring.
Round 2: 2sc into same stitch sc, repeat around.
Round 3-21: sc around.
Round 22: 2sc into same stitch sc, repeat around.
Round 23-24: sc around.
Round 25: sc2tog sc, repeat around.
Stuff top part of leg.
Round 26-44: dc around.
Stuff lower part of leg.
Fasten off leaving long thread.
Feet – Make 2:
In green:
Round 1: Make a magic ring ch1 5sc into ring.
Round 2: 2sc into each stitch.
Round 3: 2sc, 2sc into same stitch, 4sc, 2sc into same stitch, 2sc.
Round 4: sc around.
Round 5: 3sc, 2sc into same stitch, 4sc, 2sc into same stitch, 4sc.
Round 6: 3sc, 2sc into same stitch, 6sc, 2sc into same stitch, 5sc.
Round 7-8: sc around.
Round 9: 3sc, 2sc into same stitch, 6sc, 2sc into same stitch, 7sc.
Round 10: sc around.
Round 11: 3sc, 2sc into same stitch, 9sc, 2sc into same stitch, 6sc.
Round 12: sc around.
Round 13: 3sc, 2sc into same stitch, 9sc, 2sc into same stitch, 8sc.
Round 14: sc around.
Making the first toe:
Round 15: 8sc, these 8sc form the basis for the first toe.
Round 16-21: working on the previous rows 8sc only, complete 6 rounds of sc.
Round 22: sc2tog sc twice, sc2tog.
Put stuffing into toe.
Fasten off.
Second toe:
Fasten on in the next dc after the first toe: 4dc, turn then complete the next 4dc on the opposite side, making a round of 8dc for the Middle toe.
Rounds 1-9: working on the 8dc created for the middle toe only complete 9 rounds of dc Put stuffing into toe Round 10: dc2tog dc twice, dc2tog
Third toe:
Stuff the foot.
Fasten on in the next sc after the Middle toe; 8sc, these 8sc form the basis for the last toe.
Round 1-6: working on the previous rounds 8sc only complete 6 rounds of sc.
Put stuffing into toe.
Round 7: sc2tog sc twice, sc2tog.
Fasten off.
Arms – Make 2:
In green:
Round 1: Make a magic ring, ch1 8dc into ring.
Round 2: 2sc into same stitch sc, repeat around.
Round 3-11: sc around.
Round 12: sc2tog 3sc three times, sc.
Round 13-22 : sc around.
Round 23: sc2tog 2sc three times, sc.
Round 24-25: sc around.
Round 26: 2sc into same stitch 2sc three times, sc.
Round 27-43: sc around.
Put stuffing into arm.
Round 44: 2sc into next stitch sc six times, sc.
Round 45-50: sc around.
Round 51: 2sc into next stitch 2sc six times, sc.
Thumb:
Round 52: 6dc: these 6dc are the basis for the round for the thumb.
Round 53-57: working in the previous rounds 6sc only complete 5 rounds of sc.
Put stuffing into thumb.
Round 58: sc2tog three times.
Fasten off.
Round 59: Fasten on in sc next to thumb, and complete two rounds of sc excluding the thumb.
Fingers:
Round 60: 3sc, then turn and do 3sc into the opposite side making a round of 6sc for the finger.
Round 61: working on the previous rounds 6sc only complete 7 rounds of sc.
Put stuffing into finger.
Round 62: sc2tog three times.
Fasten off.
Second finger:
Fasten on in sc next to previous finger.
Round 1: 3sc, then turn and do 3sc into the opposite side making a round of 6sc for the finger.
Round 2-11: working on the previous rounds 6sc only complete 9 rounds of sc.
Round 12: sc2tog three times.
Stuff finger and Palm of hand Fasten off.
Third finger:
Fasten on in sc next to previous finger.
Round 1: 3sc, sc2tog, 2sc making a round of 6sc for the finger.
Round 2: working on the previous rounds 6sc only complete 7 rounds of sc.
Put stuffing into finger.
Round 3: sc2tog three times.
Fasten off.
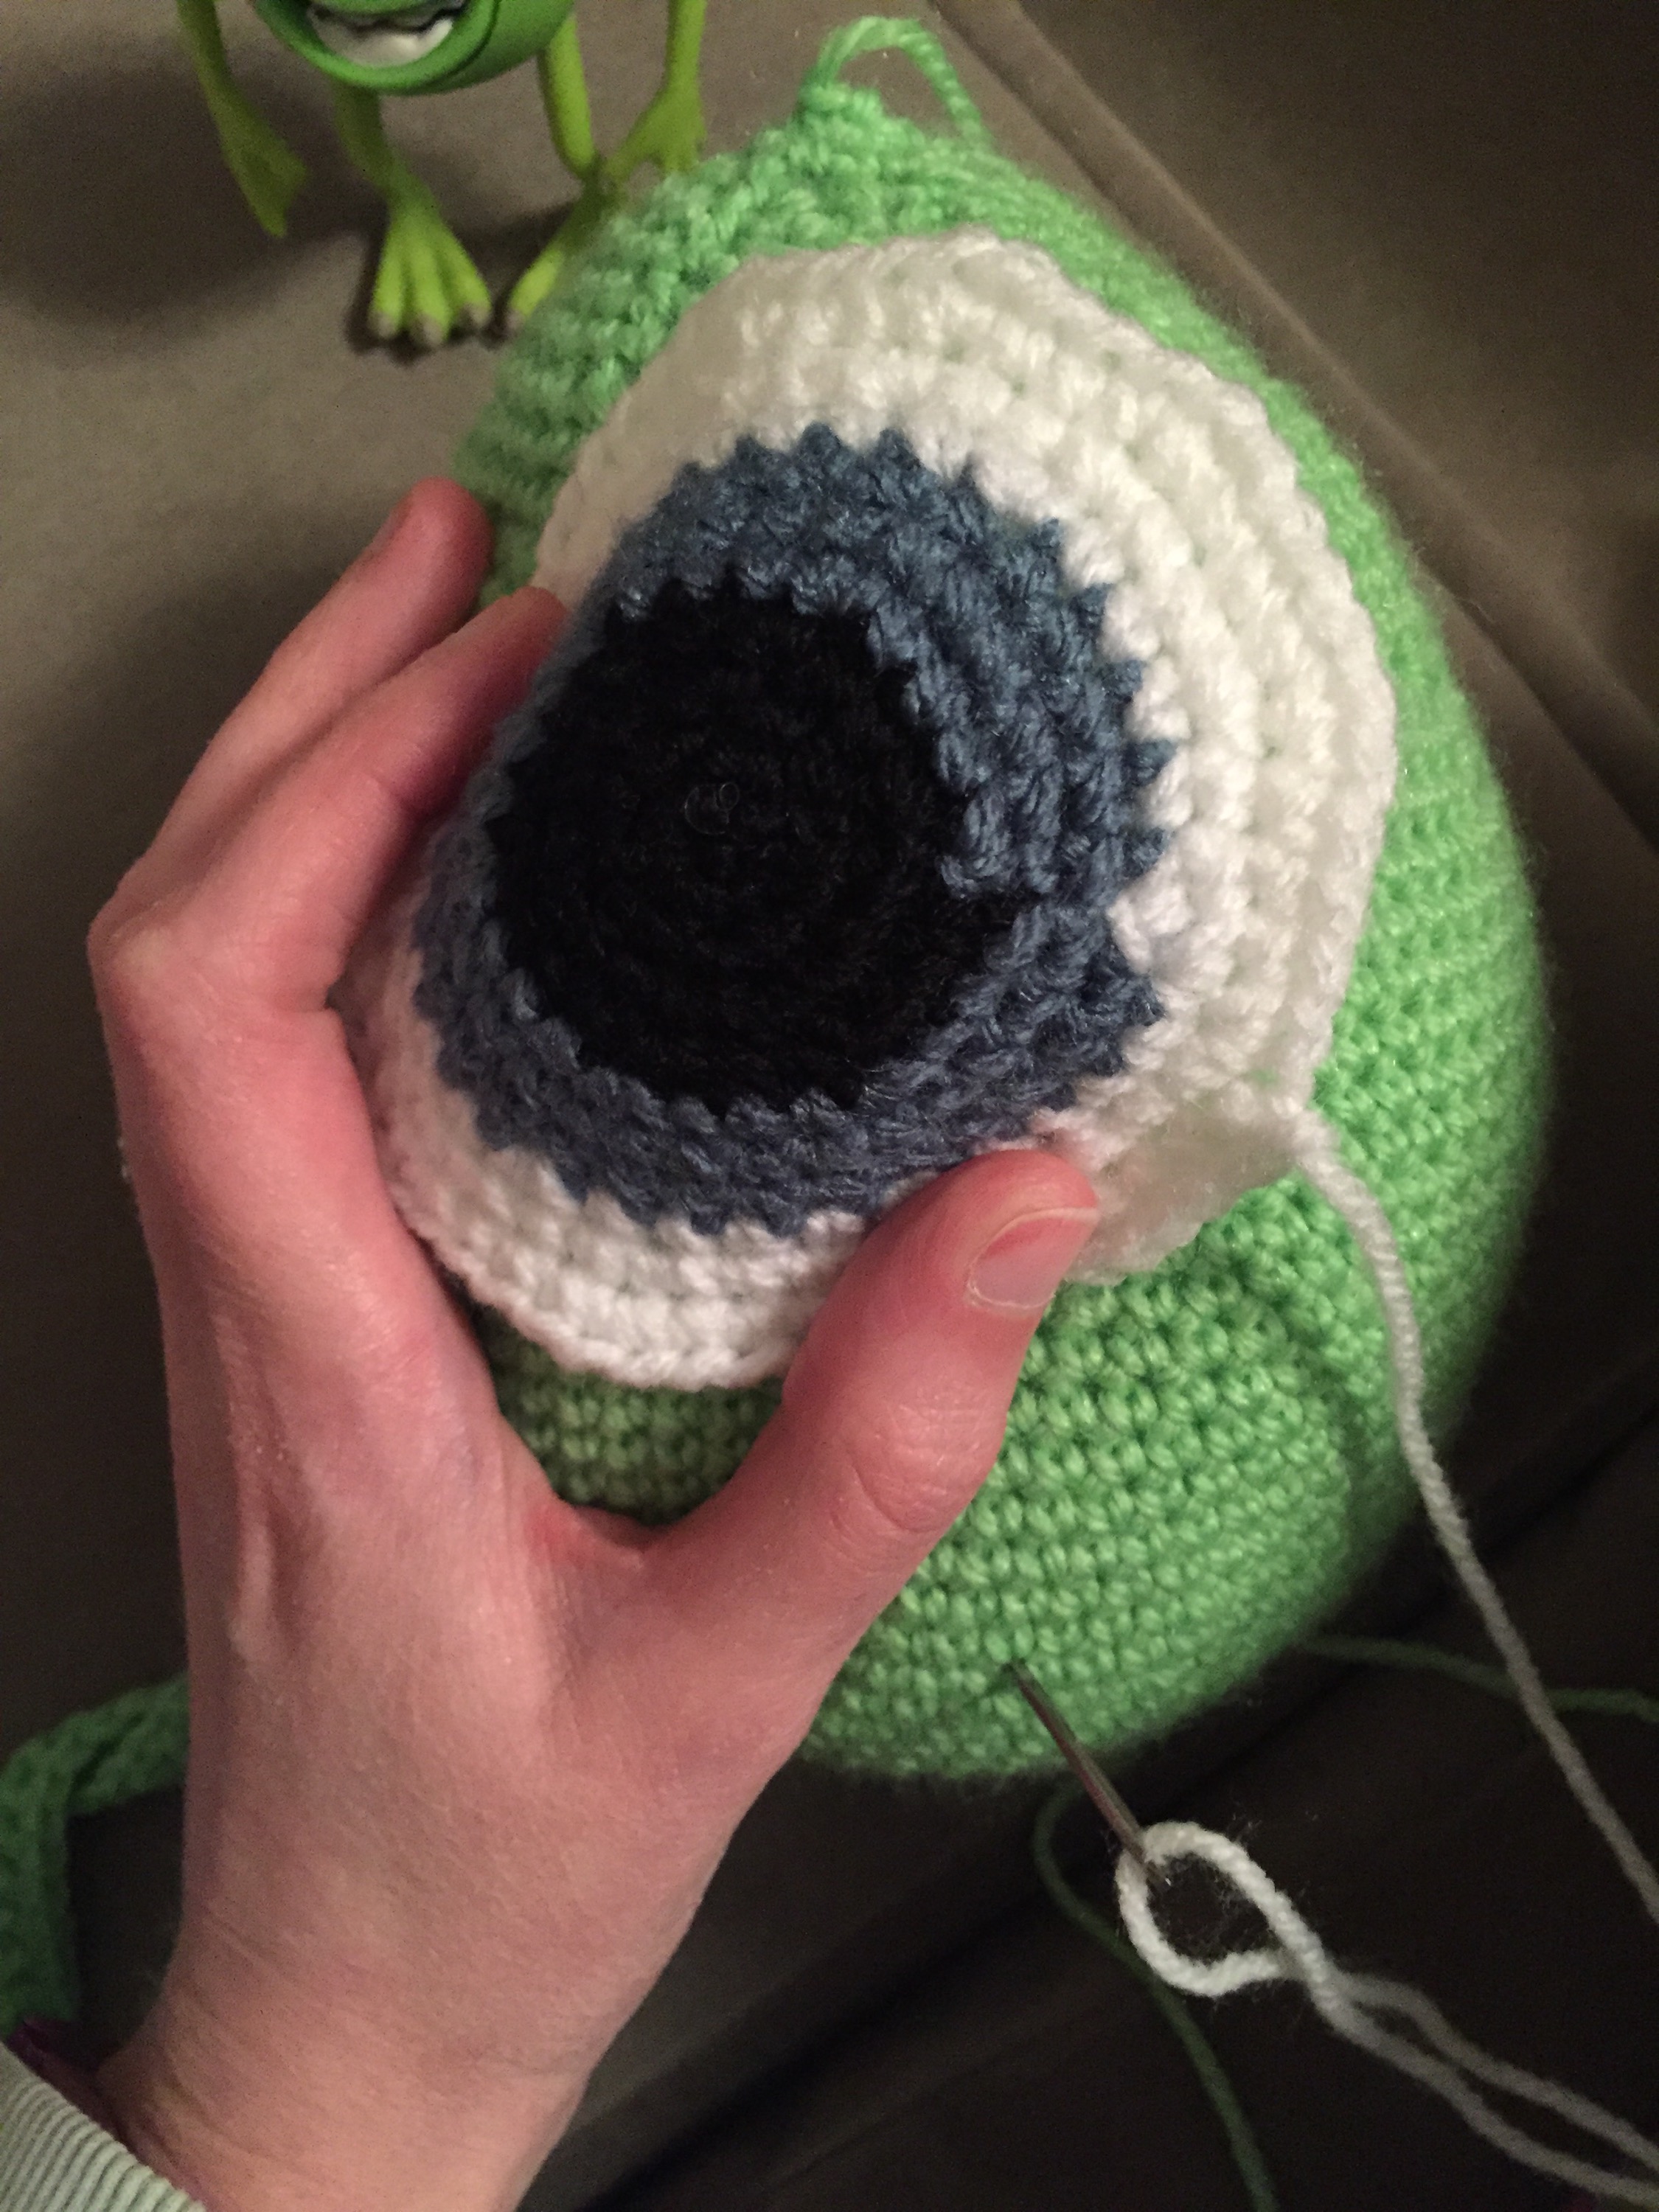
Eye:
In black:
Round 1: Make a magic ring, ch1 6sc into ring.
Round 2: 2sc into the same stitch, repeat around.
Round 3: 2sc into same stitch sc, repeat around.
Round 4: 2sc into same stitch 2sc, repeat around.
Change to blue/green:
Round 5: 2sc into same stitch 3sc, repeat around.
Round 6-7: sc around.
Change to white:
Round 8: 2sc into same stitch 4sc, repeat around.
Round 9: 2sc into next stitch 2sc, repeat around.
Round 10: 2sc into next stitch 3sc, repeat around.
Fasten off leaving a long tail for attaching.
Eye Lid:
In green:
Ch28.
Row 1: sc across.
Row 2-3: slip stitch into first two stitches sc across until last two stitches then leave last two stitches unworked.
Fasten off.
Fasten on at the first sc of the first row and complete a row of sc up and along the row and down the to the last sc in the first chain row.
Fasten off leaving long tail for attaching.
Mouth:
In black:
Ch18.
Round 1: sc into second chain from hook, then sc along row of foundation chain, then go back along the other side of the foundation chain.
Row 1: turn and sc along 17sc.
Row 2: turn, sc2tog twice, 8sc, sc2tog twice.
Row 3: turn, sc2tog twice, 4sc, sc2tog twice.
Row 4: turn, sc2tog 4sc, sc2tog.
Fasten off.
Lips:
In green:
Ch40.
Row 1: Sc into second chain from hook, sc along rest of the row.
Row 2: ch1 (does not count as a stitch) 18sc.
Row 3-5: turn, ch1 (does not count as a stitch) 18sc.
Fasten off leaving long thread to attach.
Teeth:
Big teeth – Make 4:
In white:
ch4.
Row 1: sc into second chain from hook, sc along rest of row.
Fasten off leaving long thread to attach.
Small teeth – Make 4:
In white:
Ch3.
Row 1: sc into second chain from hook, sc along rest of row.
Fasten off leaving long thread to attach.
Horns – Make 2:
In cream:
Round 1: make a magic ring, ch1 5sc into ring.
Round 2: sc around.
Round 3: 2sc into same stitch sc twice, sc.
Round 4: 2sc into the same stitch 2sc twice, sc.
Round 5: 2sc into next stitch 3sc twice, 2sc into same stitch sc.
Fasten off leaving long thread to attach.
Nails – Make 14:
In cream:
ch3.
Row 1: sc into second chain from hook, sc along row.
Row 2: ch1 (does not count as a stitch) sc2tog.
Fasten off leaving thread to attach.
To Assemble:
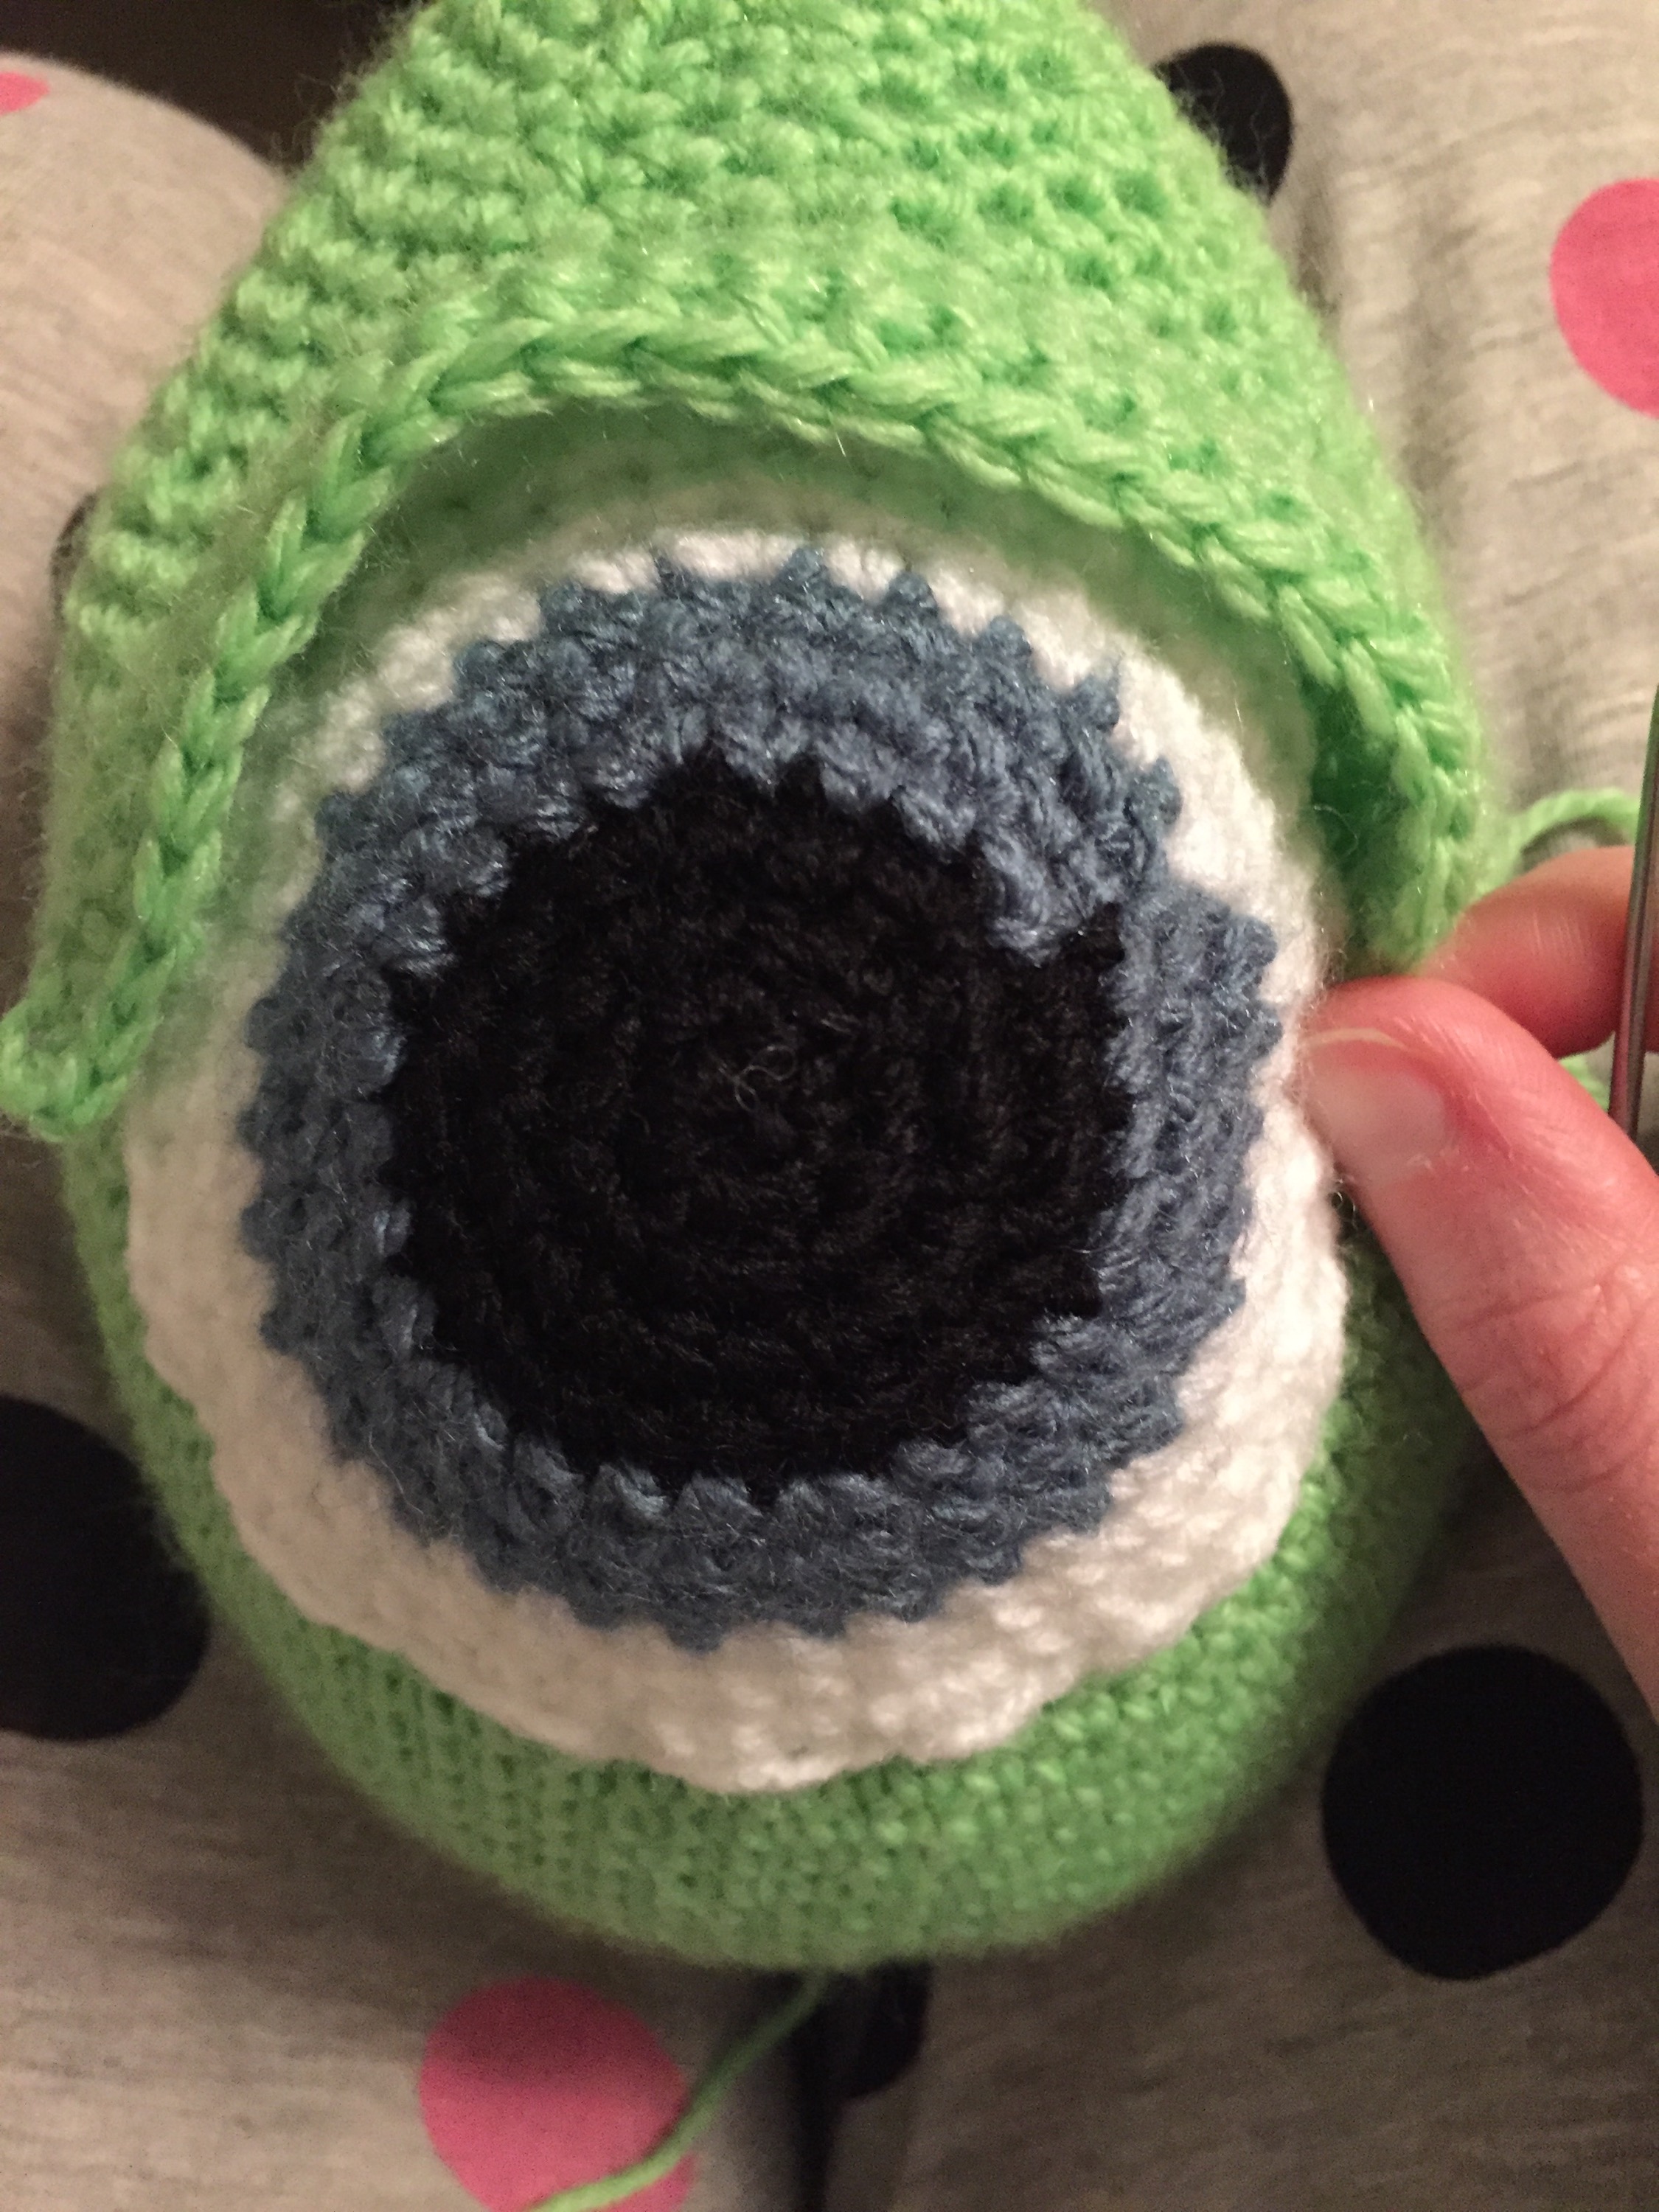
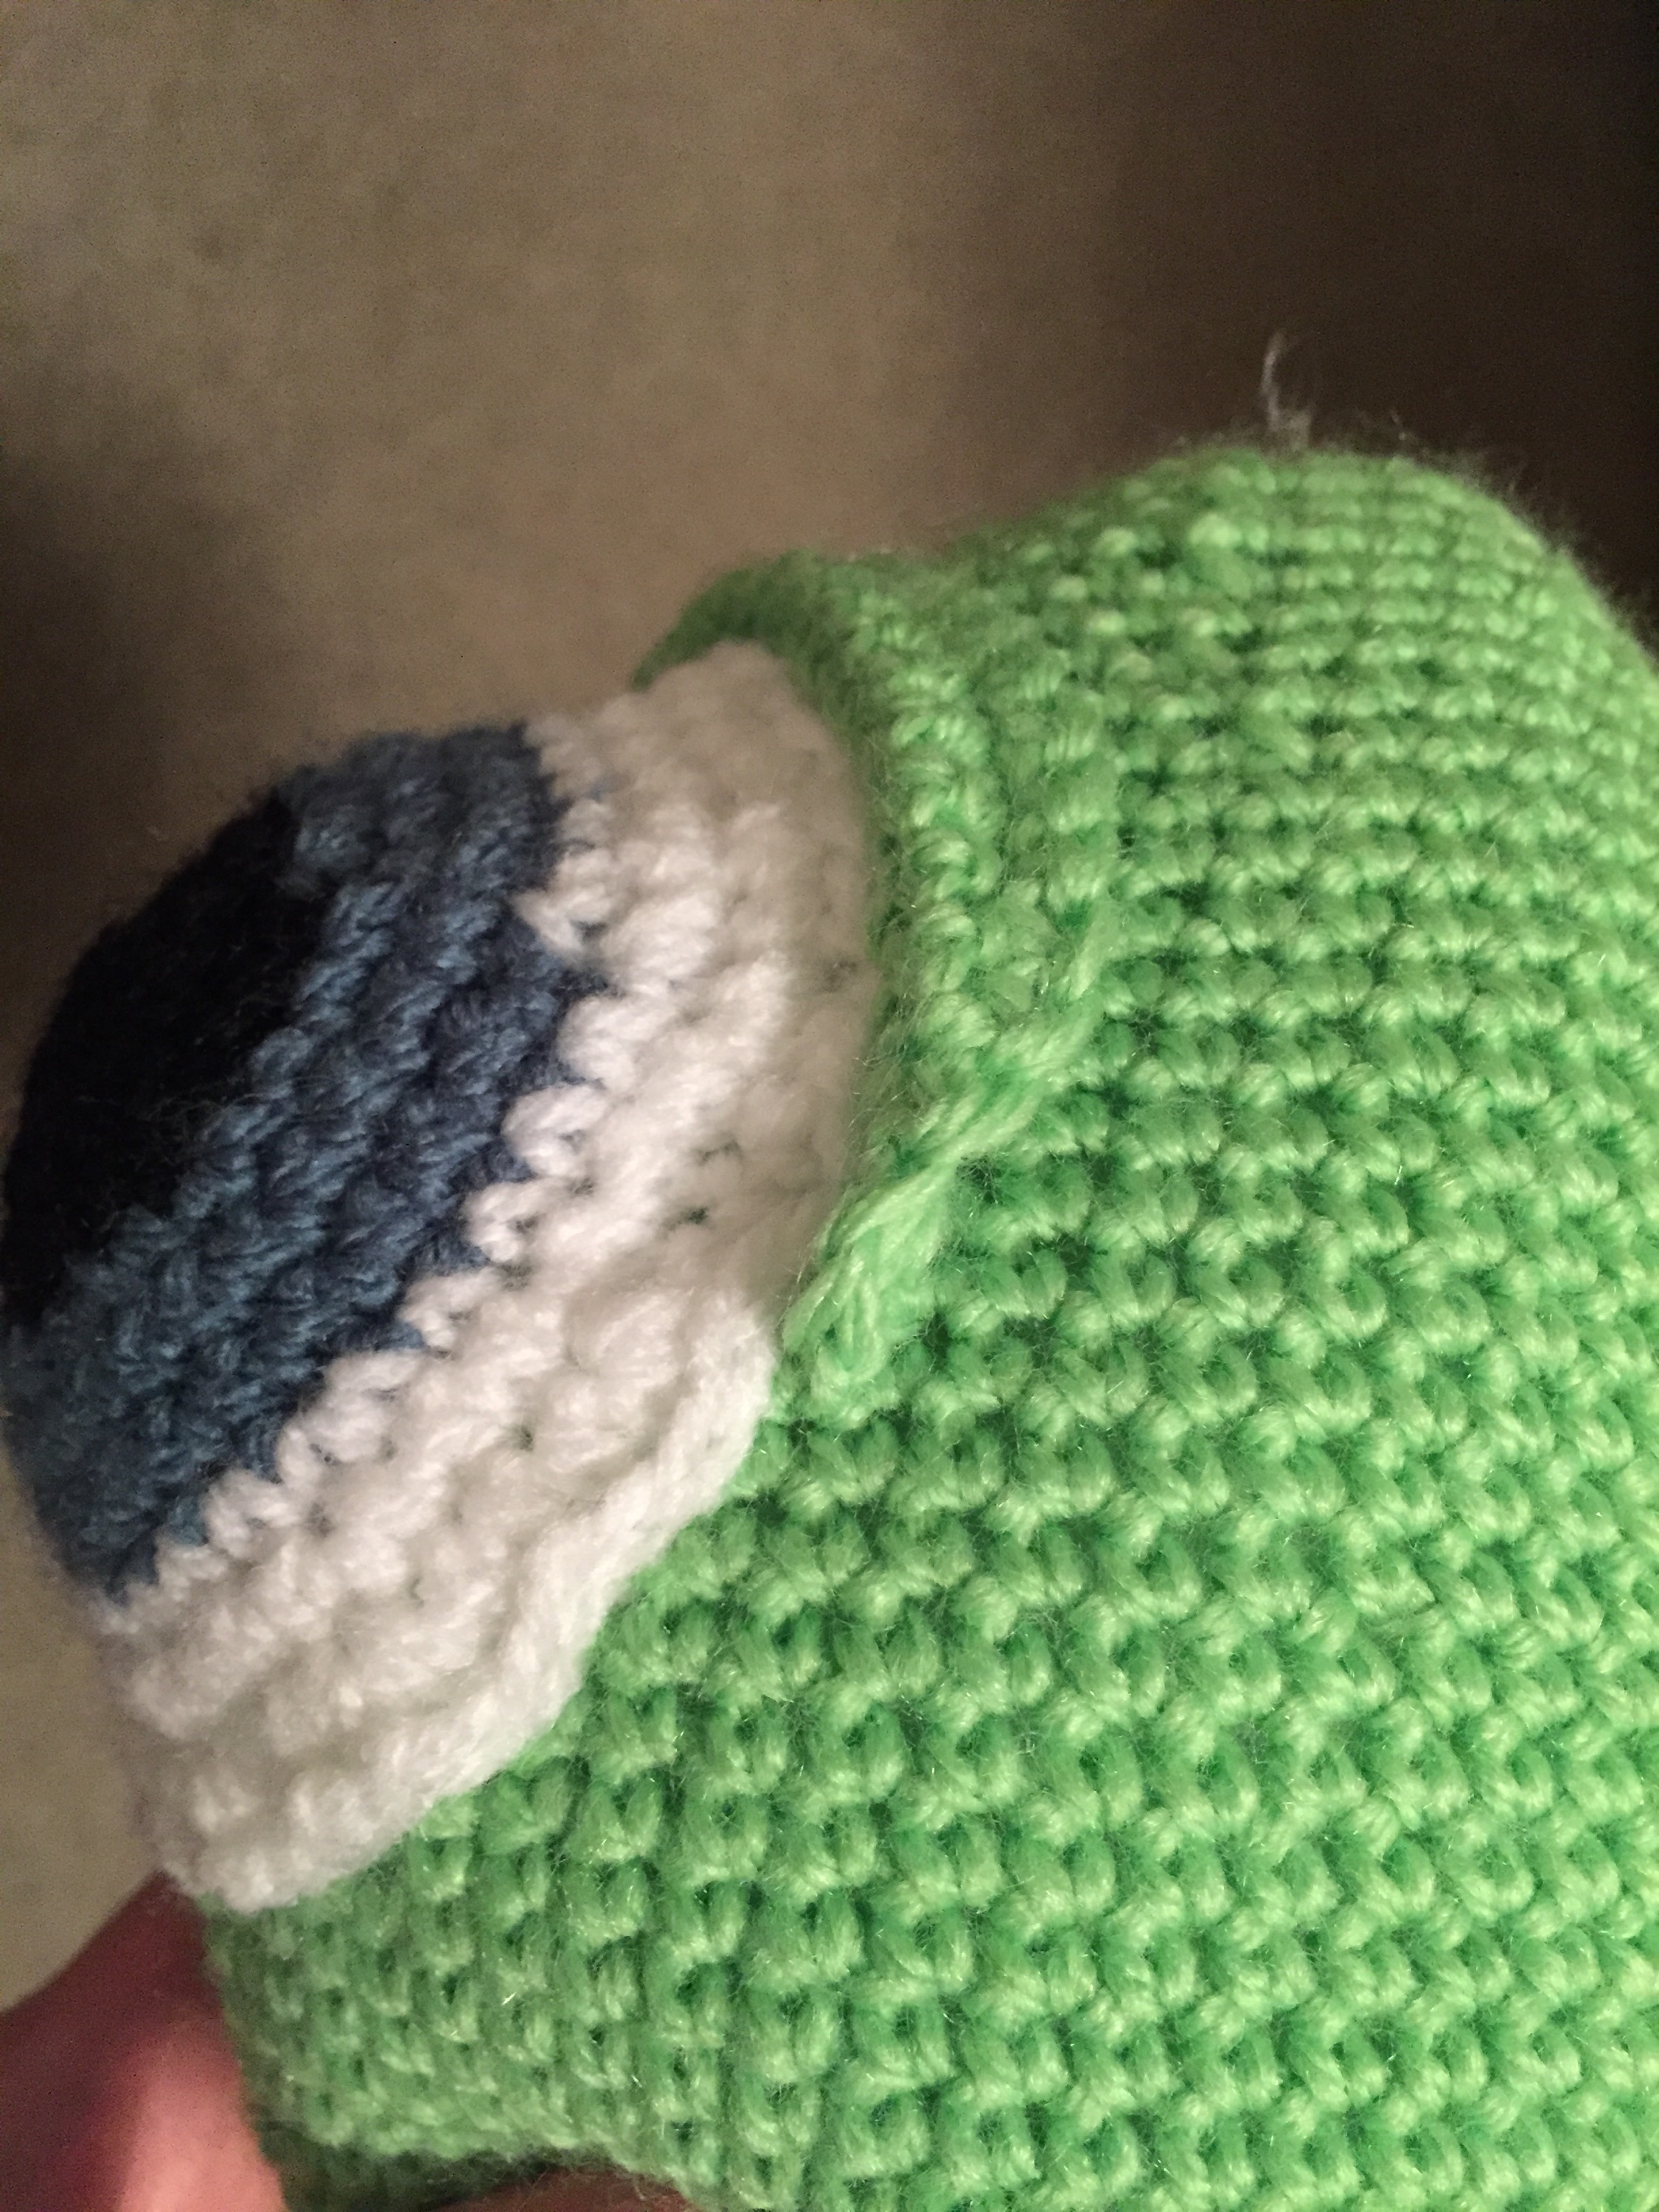
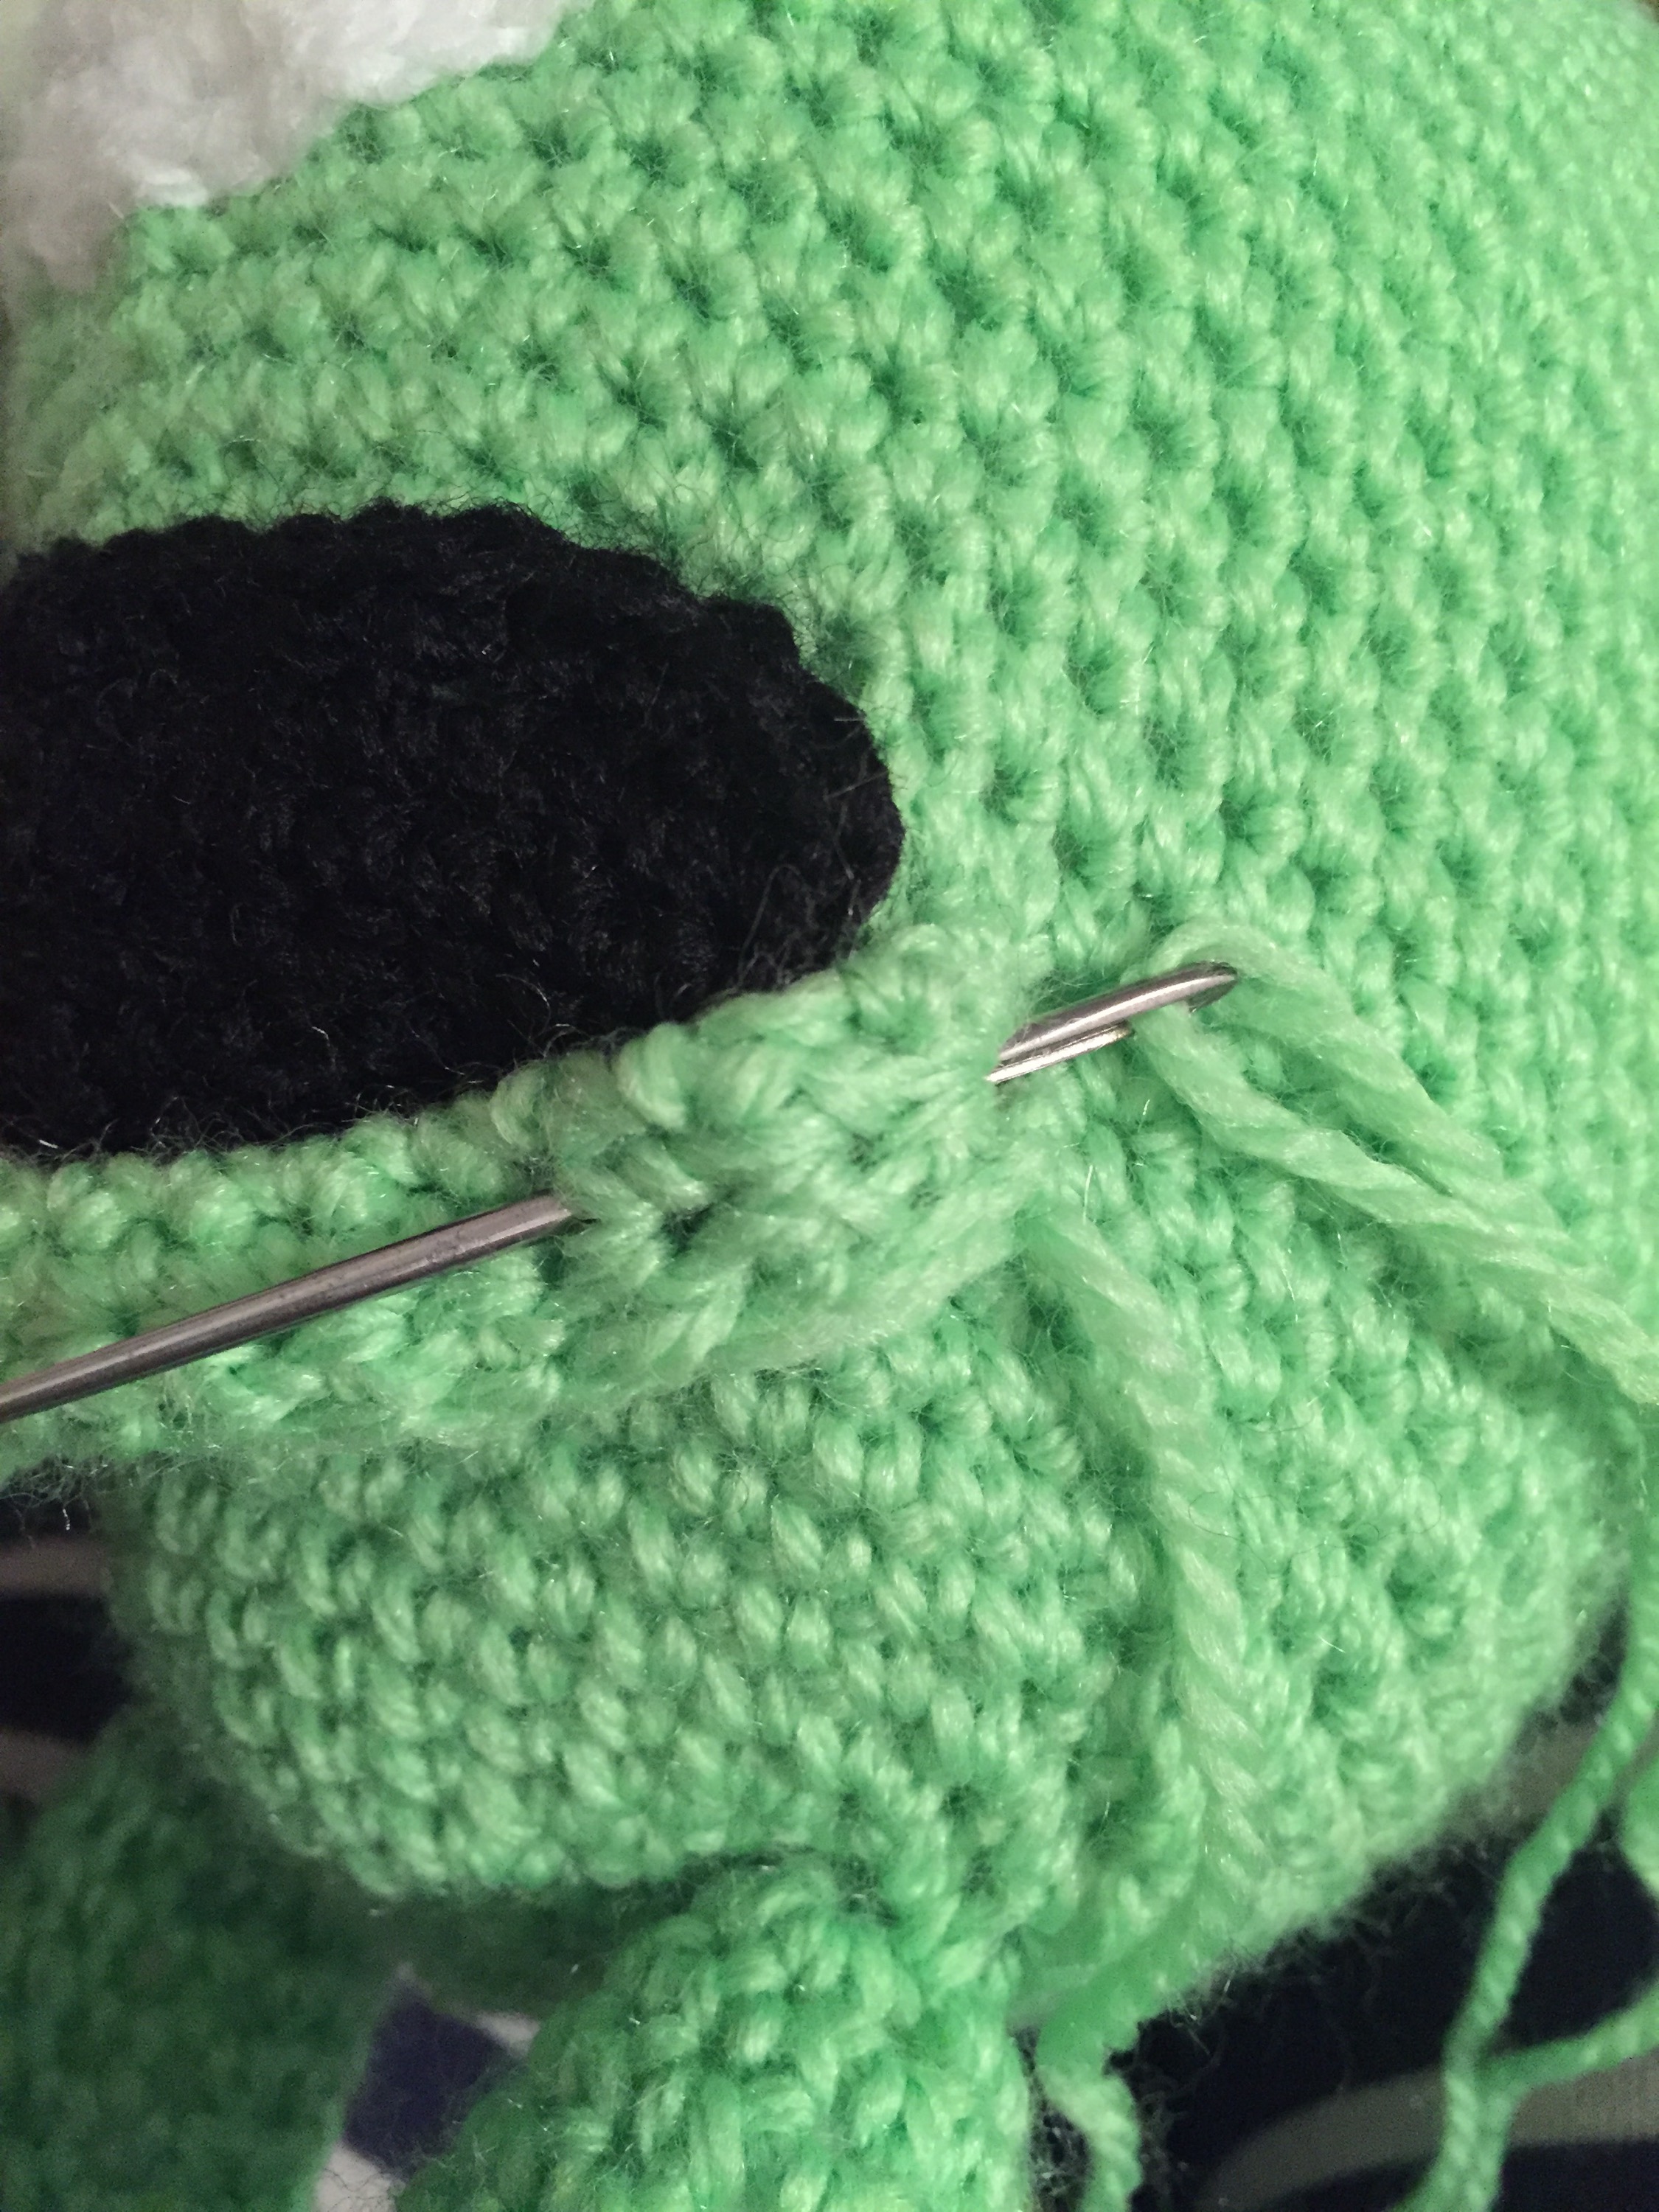
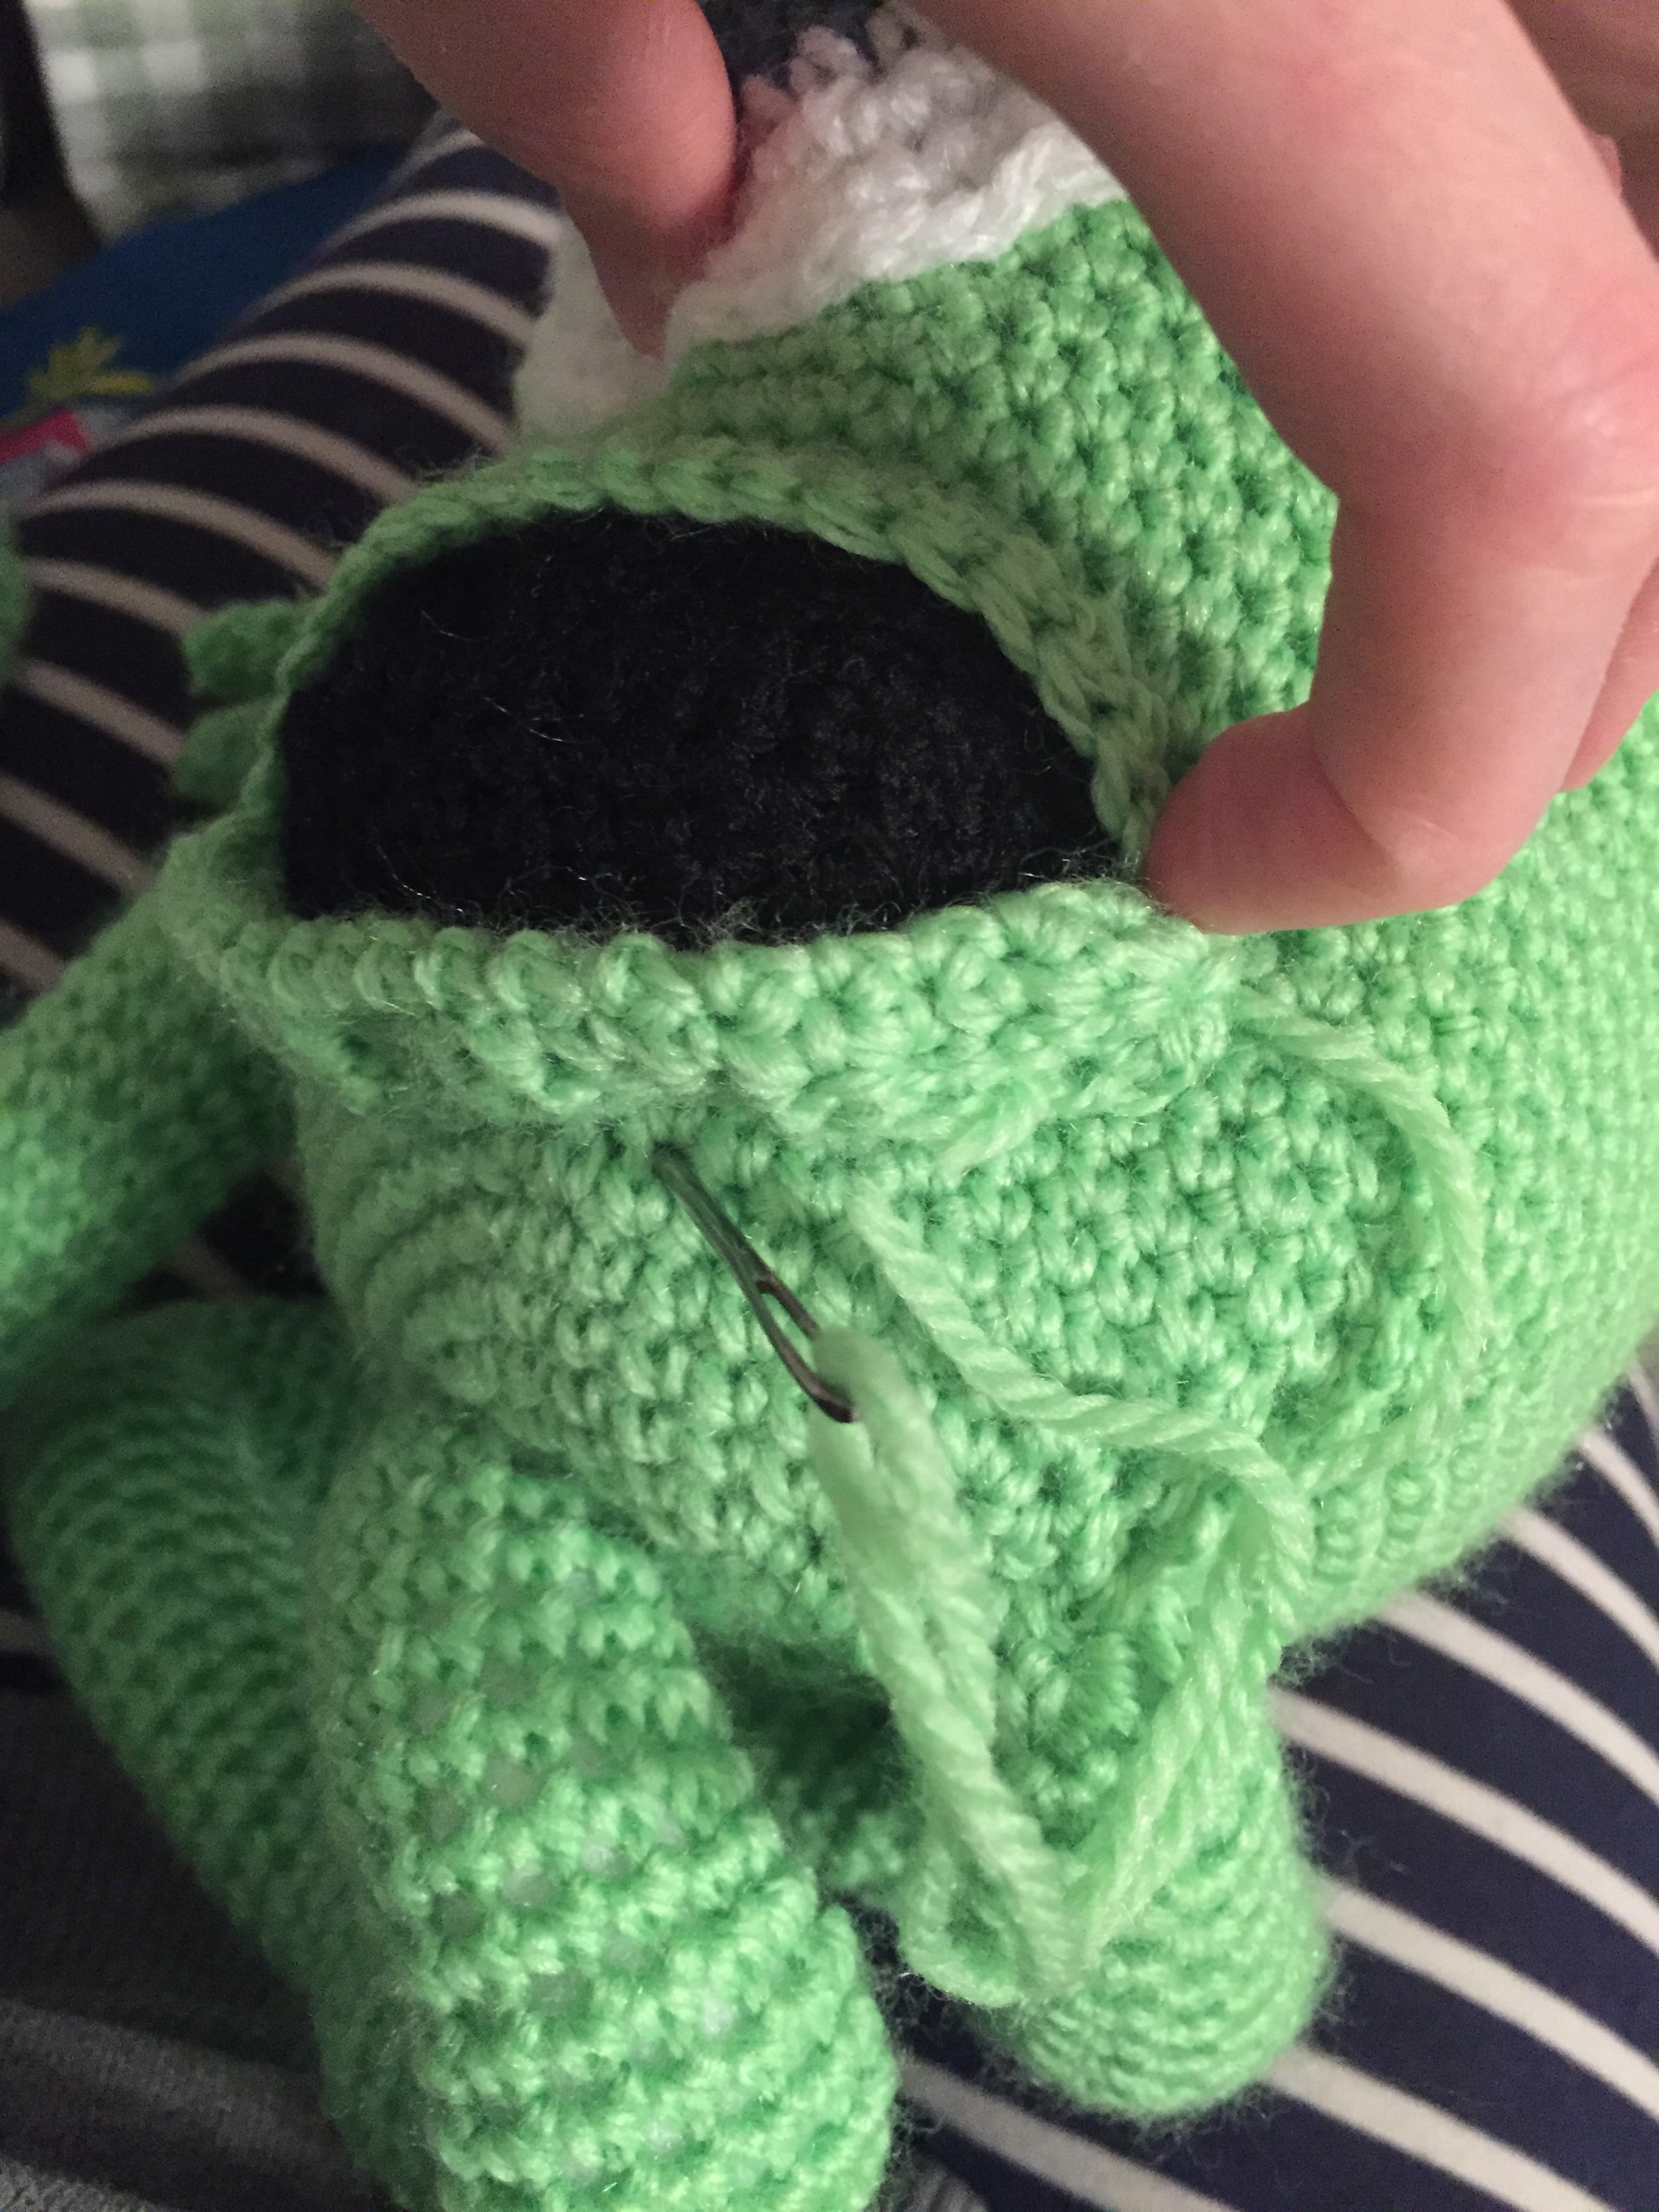
- The eye: Fasten off loose ends, leaving white wool for attaching. Place a small amount of stuffing behind eye and sew into place onto the body.

- Eyelid: Fasten off all loose ends, leaving one for attaching. Place around the edge of the top of the eye and sew to attach, then fold back the eyelid and see along the edge again to hold it back

- Arms and legs: Sew feet onto the base of the legs, and then sew into place at base of the body. Sew arms onto the side of the body.
- Horns: Place stuffing into horn then Sew onto head.
- Mouth: Sew black part of the mouth onto the face with the longest edge at the top.
- Then to sew the green lip area on; start with the wider section and place loosely along the bottom edge of the black mouth area and fold it in half so the folded edge is facing into the black mouth area creating a lip, then sew along the bottom edge of the green lip only, and then sew on the thinner green lip to along the top edge of the black mouth area.
- Teeth: Sew the 4 big teeth into the middle area of the mouth, 2 at the top, 2 at the bottom. Then sew on the remaining 4 smaller teeth with one next to each of the bigger teeth so there is one on the top left and right and bottom left and right.

Leave a comment