While making my cross stitch Christmas Gnome cutlery holder stockings I had an idea that these would also make great little mini stockings for decorating the tree and would also be perfect for little gifts – there’s plenty of room for a little treat to fit inside them!. You can even use different colours for the fabric and cross stitch for each recipient based on their favourite colours.
This project is great for using up leftover fabric too – I used some leftover fabric from The Craft Cotton Company. Fabric gifted by The Craft Cotton Company.

More Christmas sewing makes:
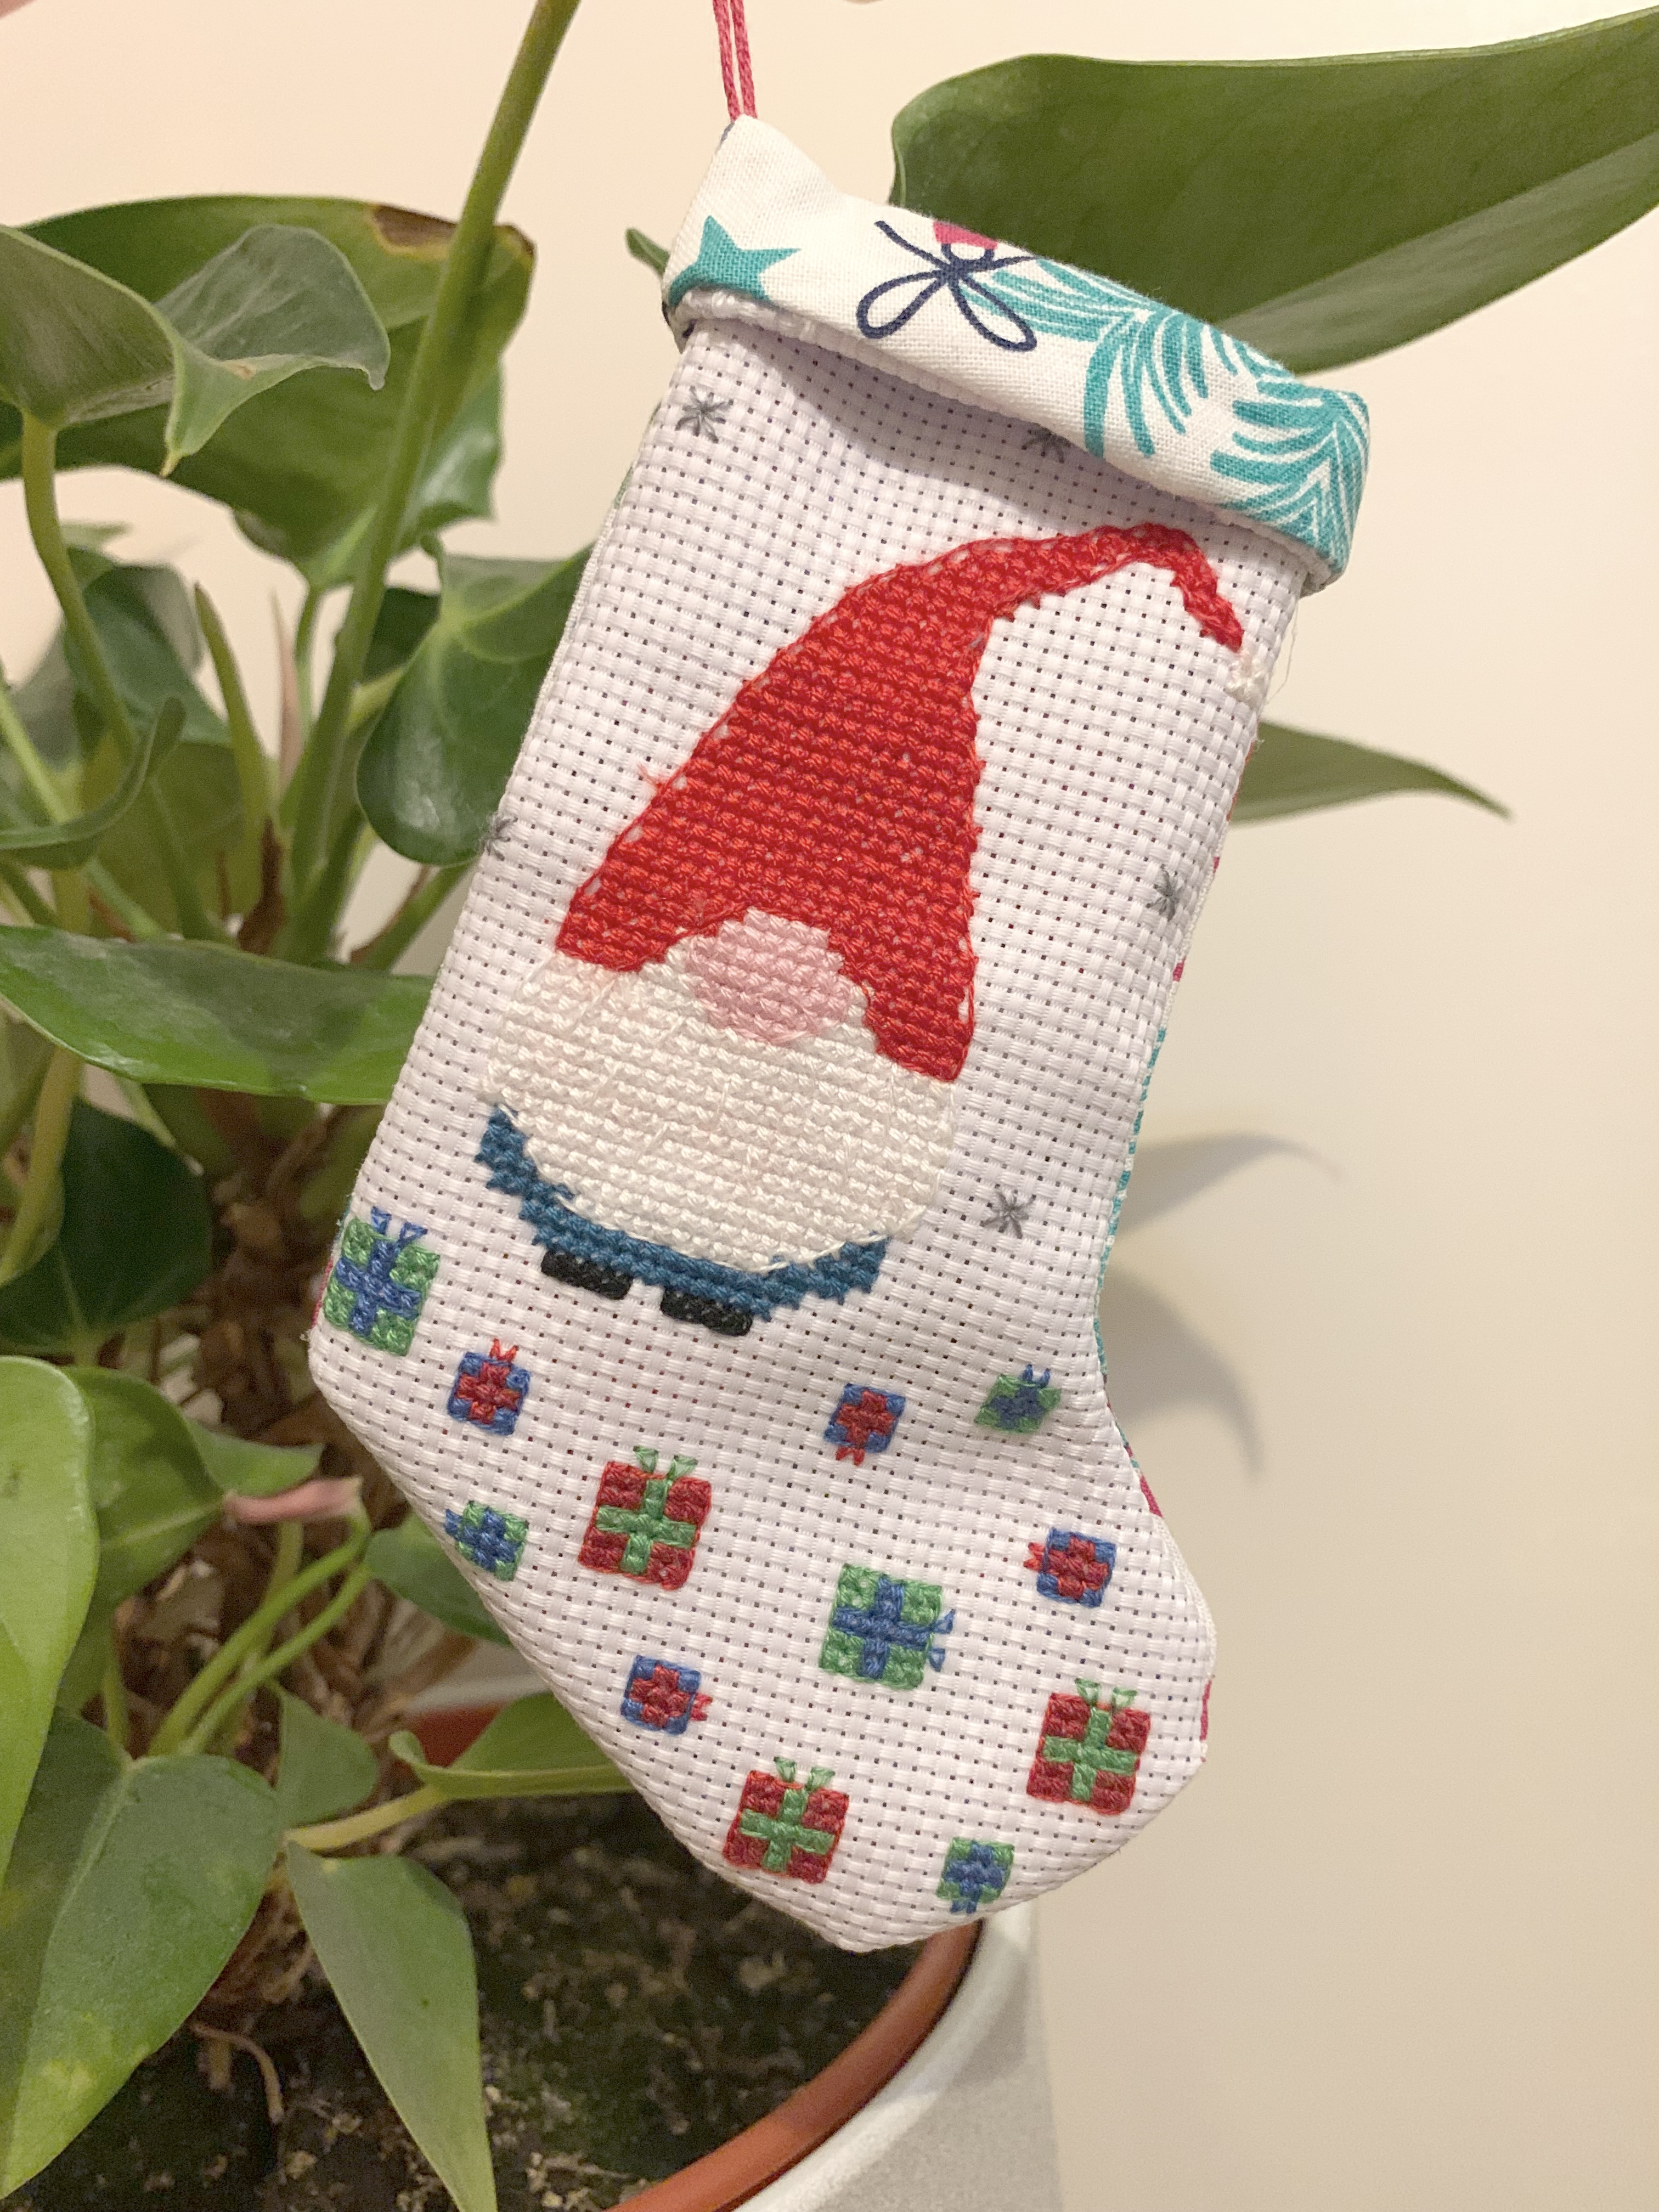
Sewing Tutorial: Cross Stitch Christmas Gnome Mini Stocking Decoration/Gift
Finished Size:
- 15cm high (from bottom of the foot to the top edge), 7cm wide (from the left side to the foot).
Materials:
- 14 count aida/28 count evenweave.
- Embroidery threads:
- Grey.
- Red.
- Green.
- Blue.
- Teal.
- Light Pink.
- Black.
- Sewing thread.
- Sewing needle.
- Embroidery needle.
- Fabric – for the lining and back of the stocking, you can use the same fabric for all of these or use a different fabric for the lining and the back.
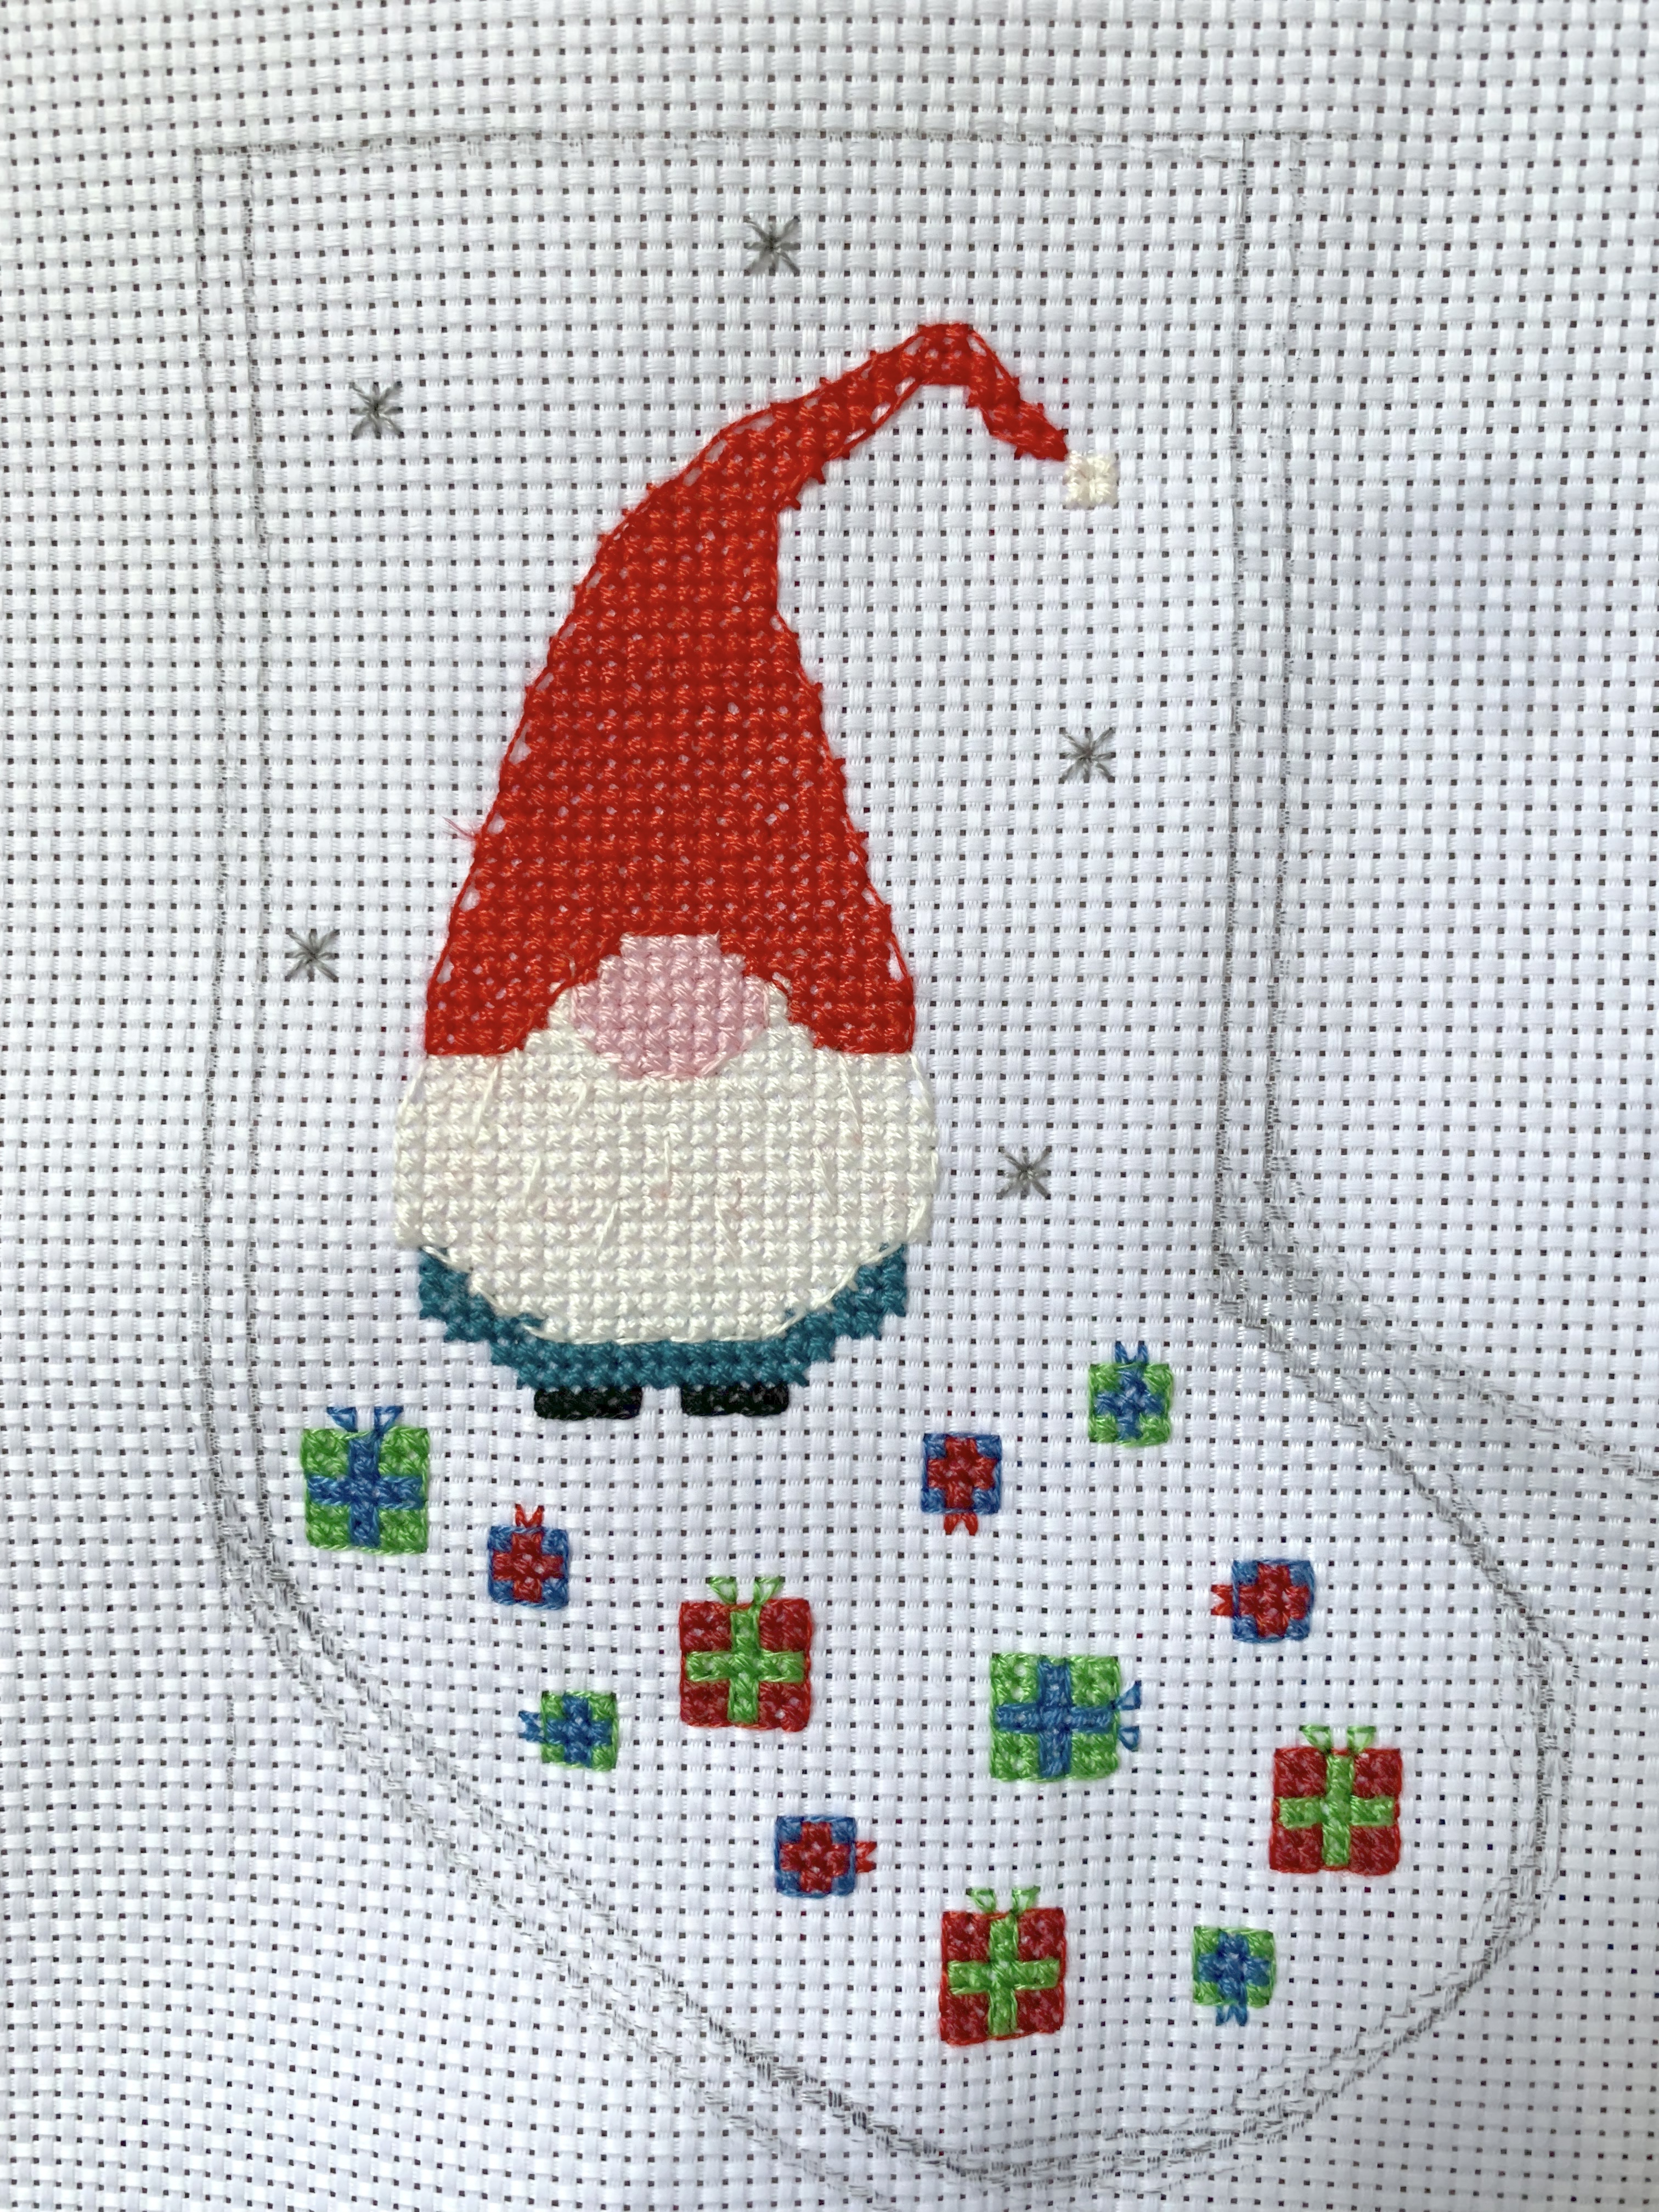
Sewing Tutorial: Cross Stitch Christmas Gnome Mini Stocking Decoration/Gift – Cross Stitch Pattern

Complete the cross stitch design to make the front of your stocking. You could also use the cross stitch design on the front and back of your stocking if you prefer. Colours use can also be altered to suit a recipient or other colour you prefer.
Sewing Tutorial: Cross Stitch Christmas Gnome Mini Stocking Decoration/Gift – Assembly
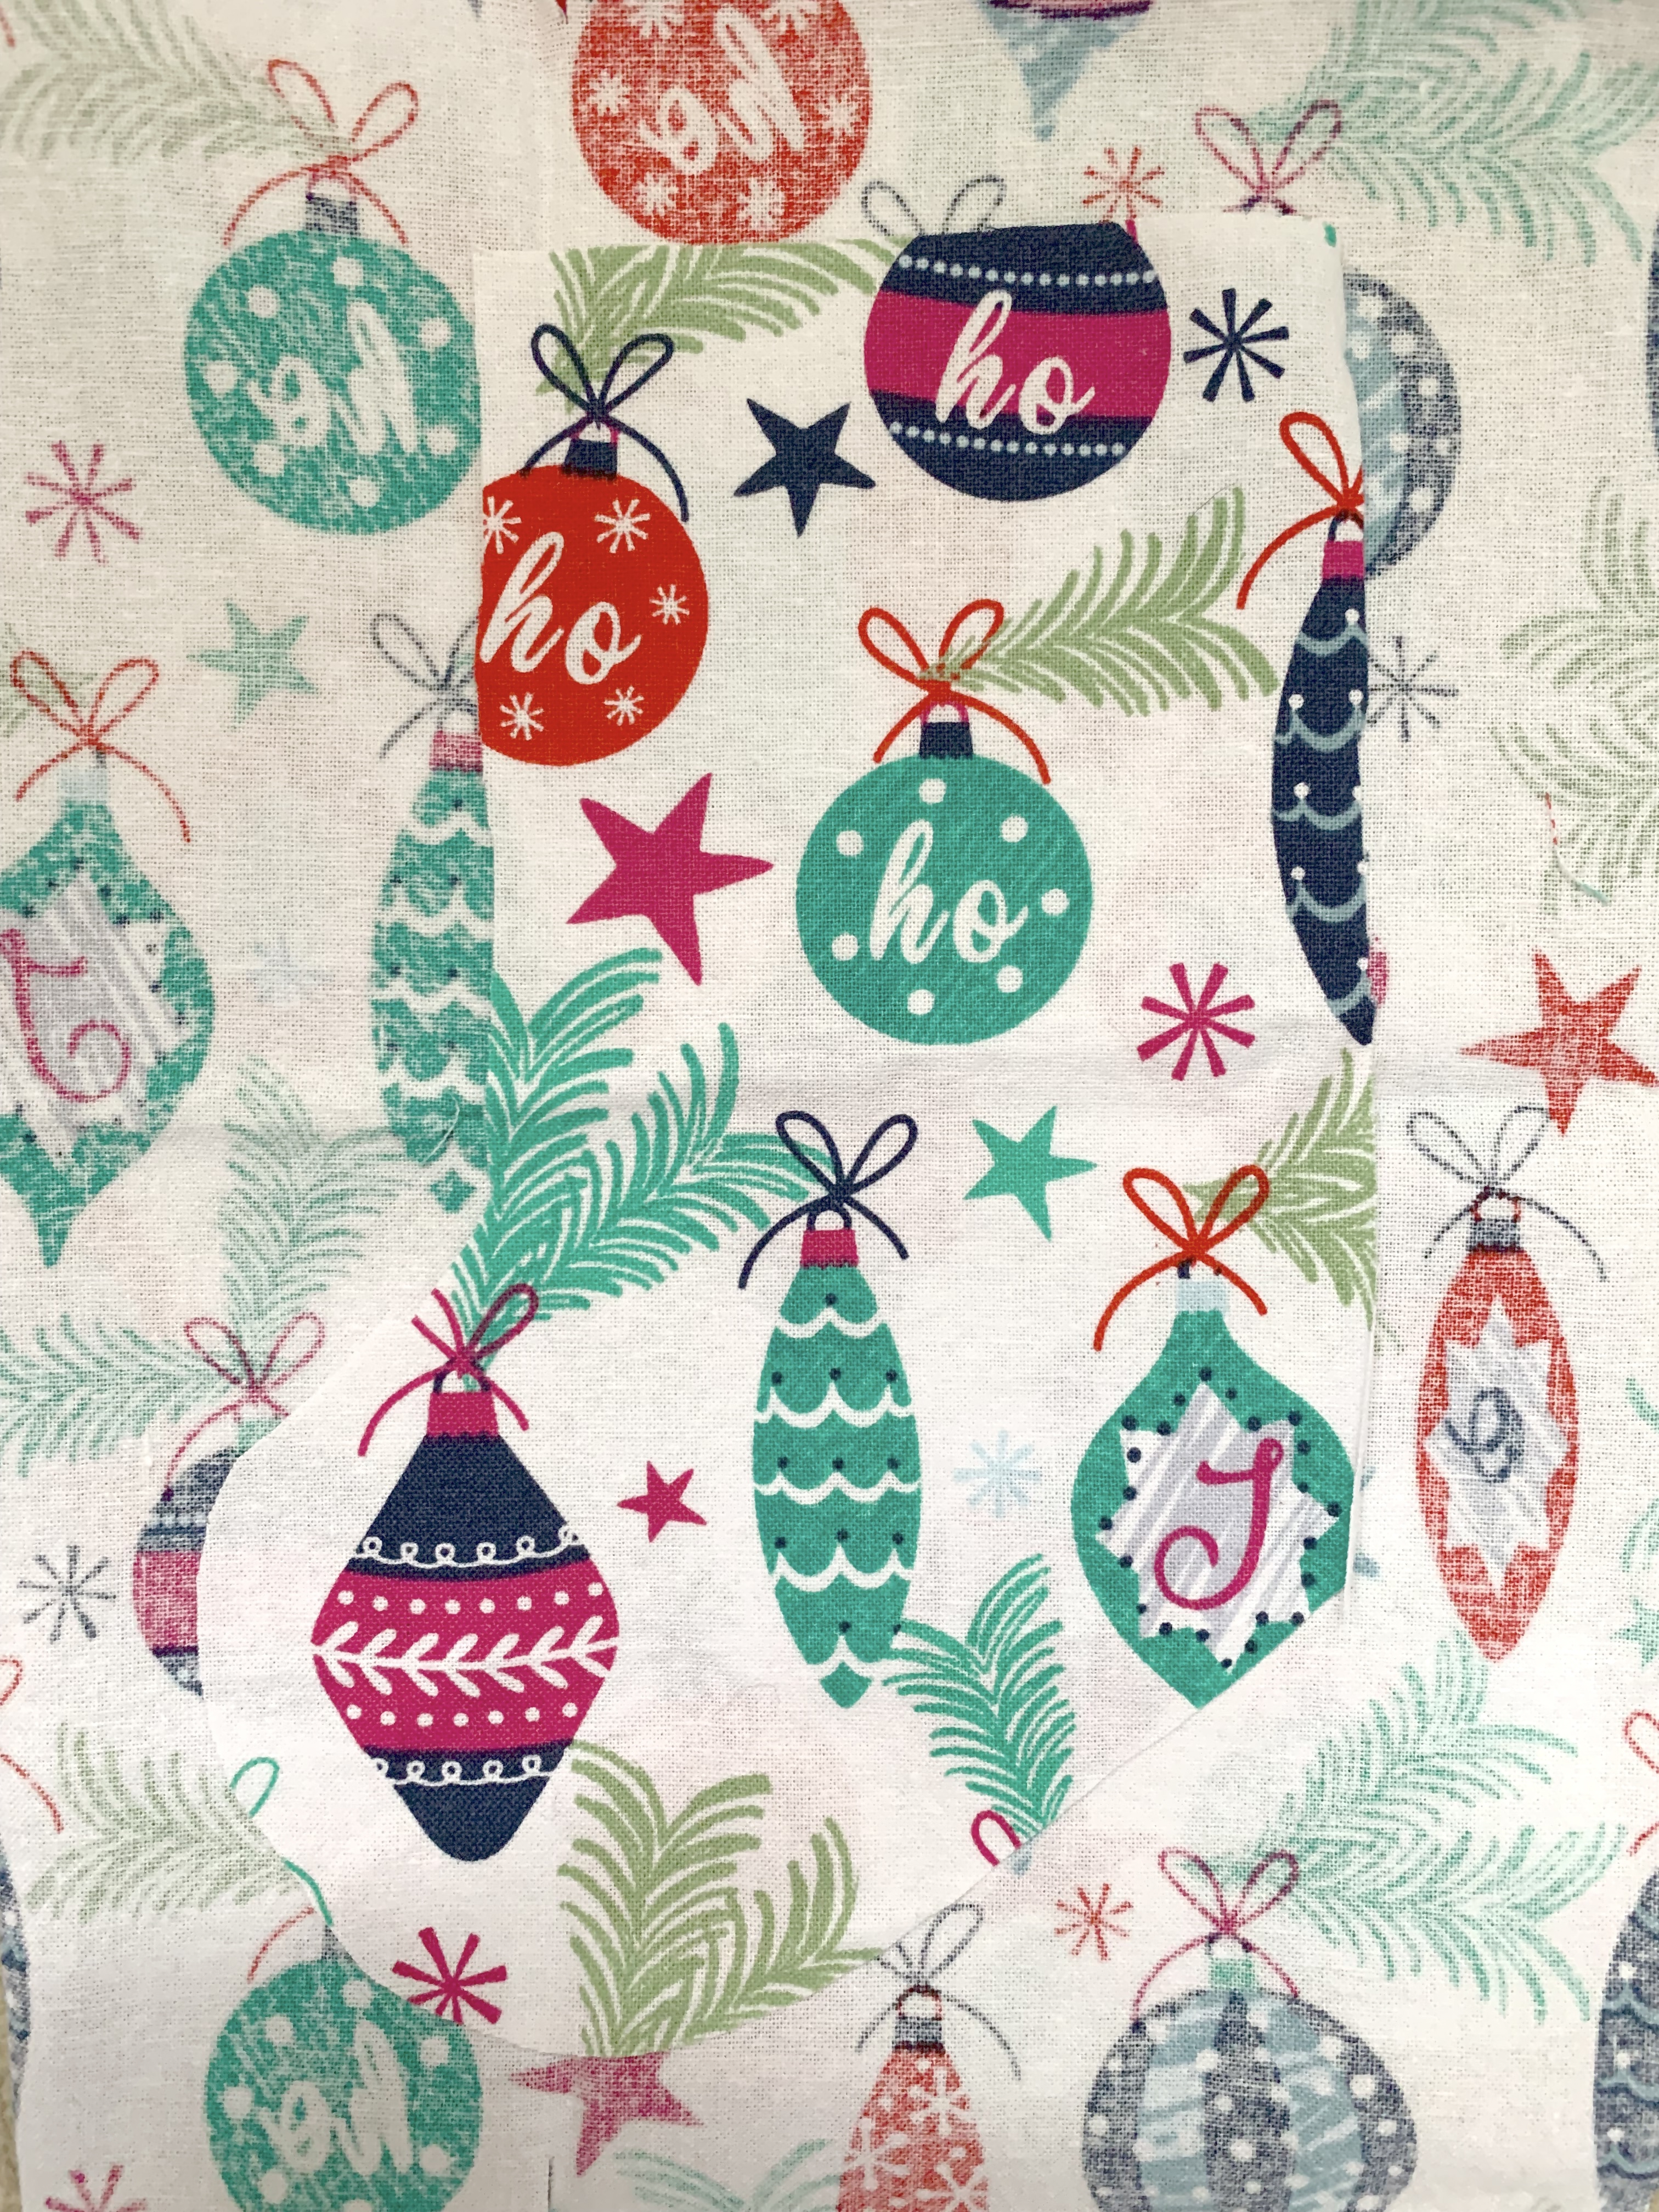
- Once you have completed the cross stitch design, draw a stocking outline around. Cut out leaving a 1cm seam allowance.

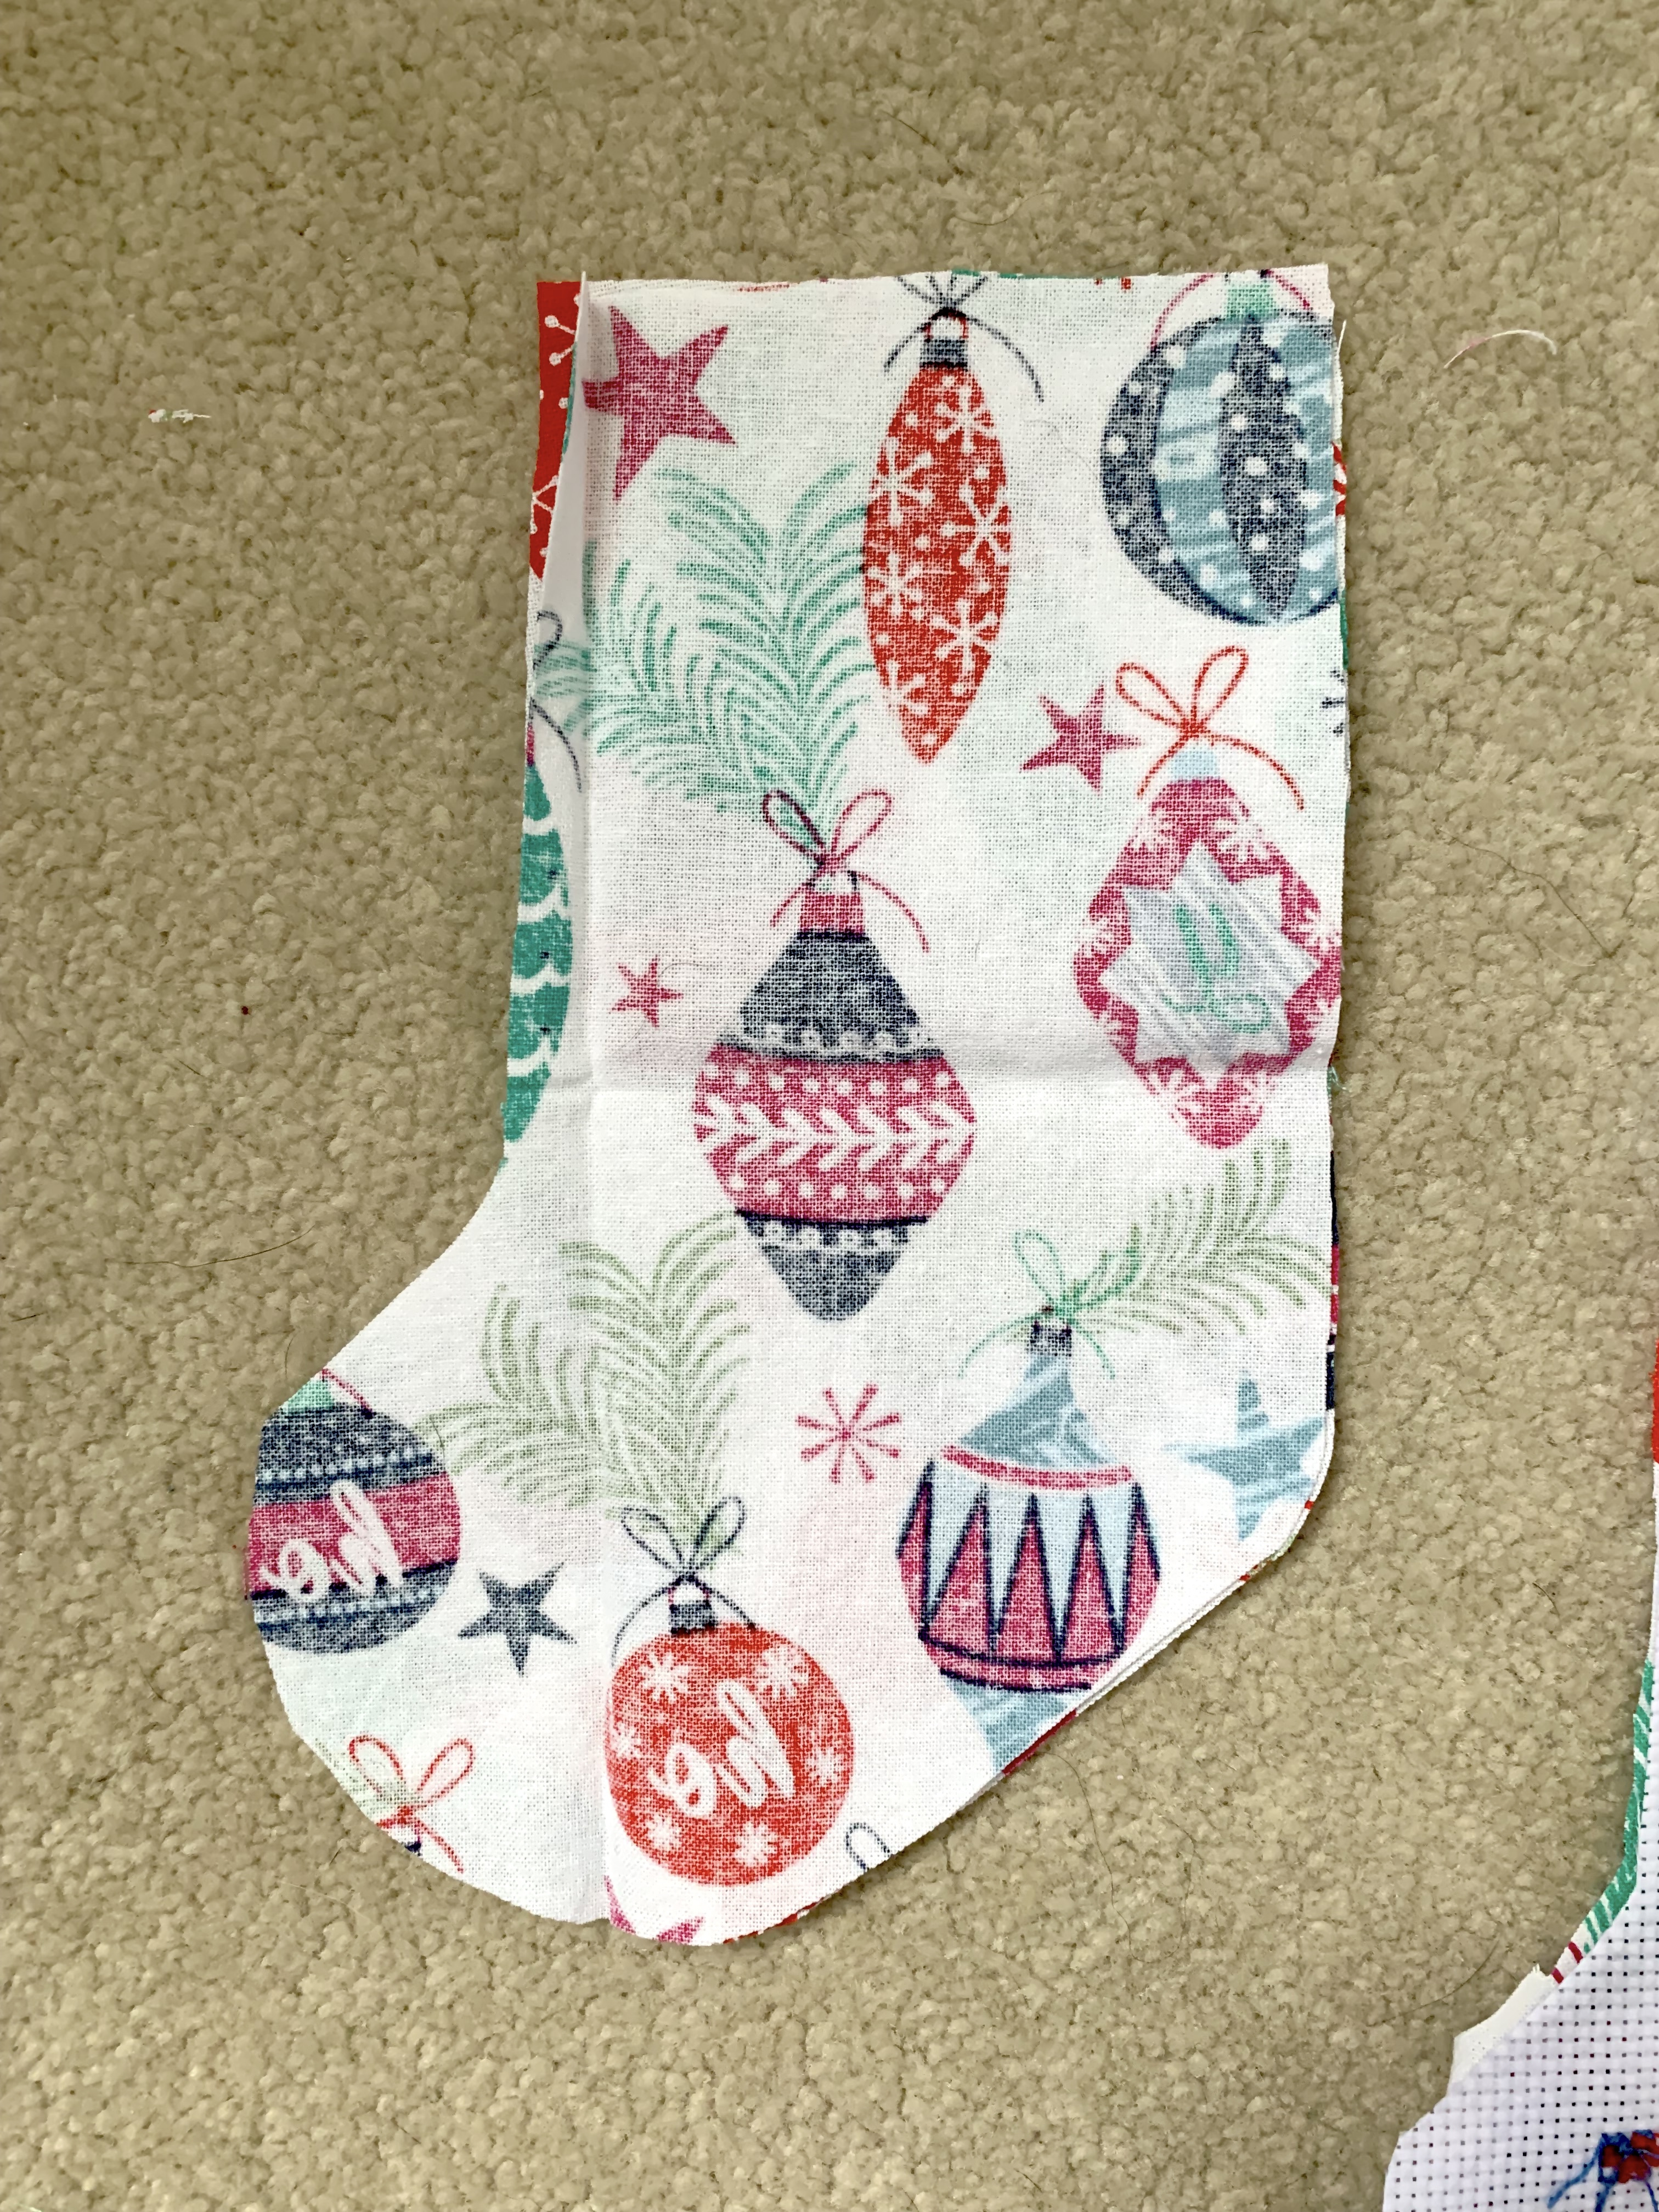
- Use this as a template to cut out 3 pieces of fabric to make the stocking back and 2 lining pieces. careful when cutting out to make sure that the fabric is in the correct orientation – for the lining fold the fabric in half right sides together before cutting out and for the backing piece make sure it is right side facing down and the cross stitch piece acting as the template is right side facing down before cutting out.

- Take the stocking front and back pieces and place right sides together, sew around leaving the top edge unsewn. Turn out the right way. Take the two lining pieces place right sides together and sew around leaving the top edge unsewn.


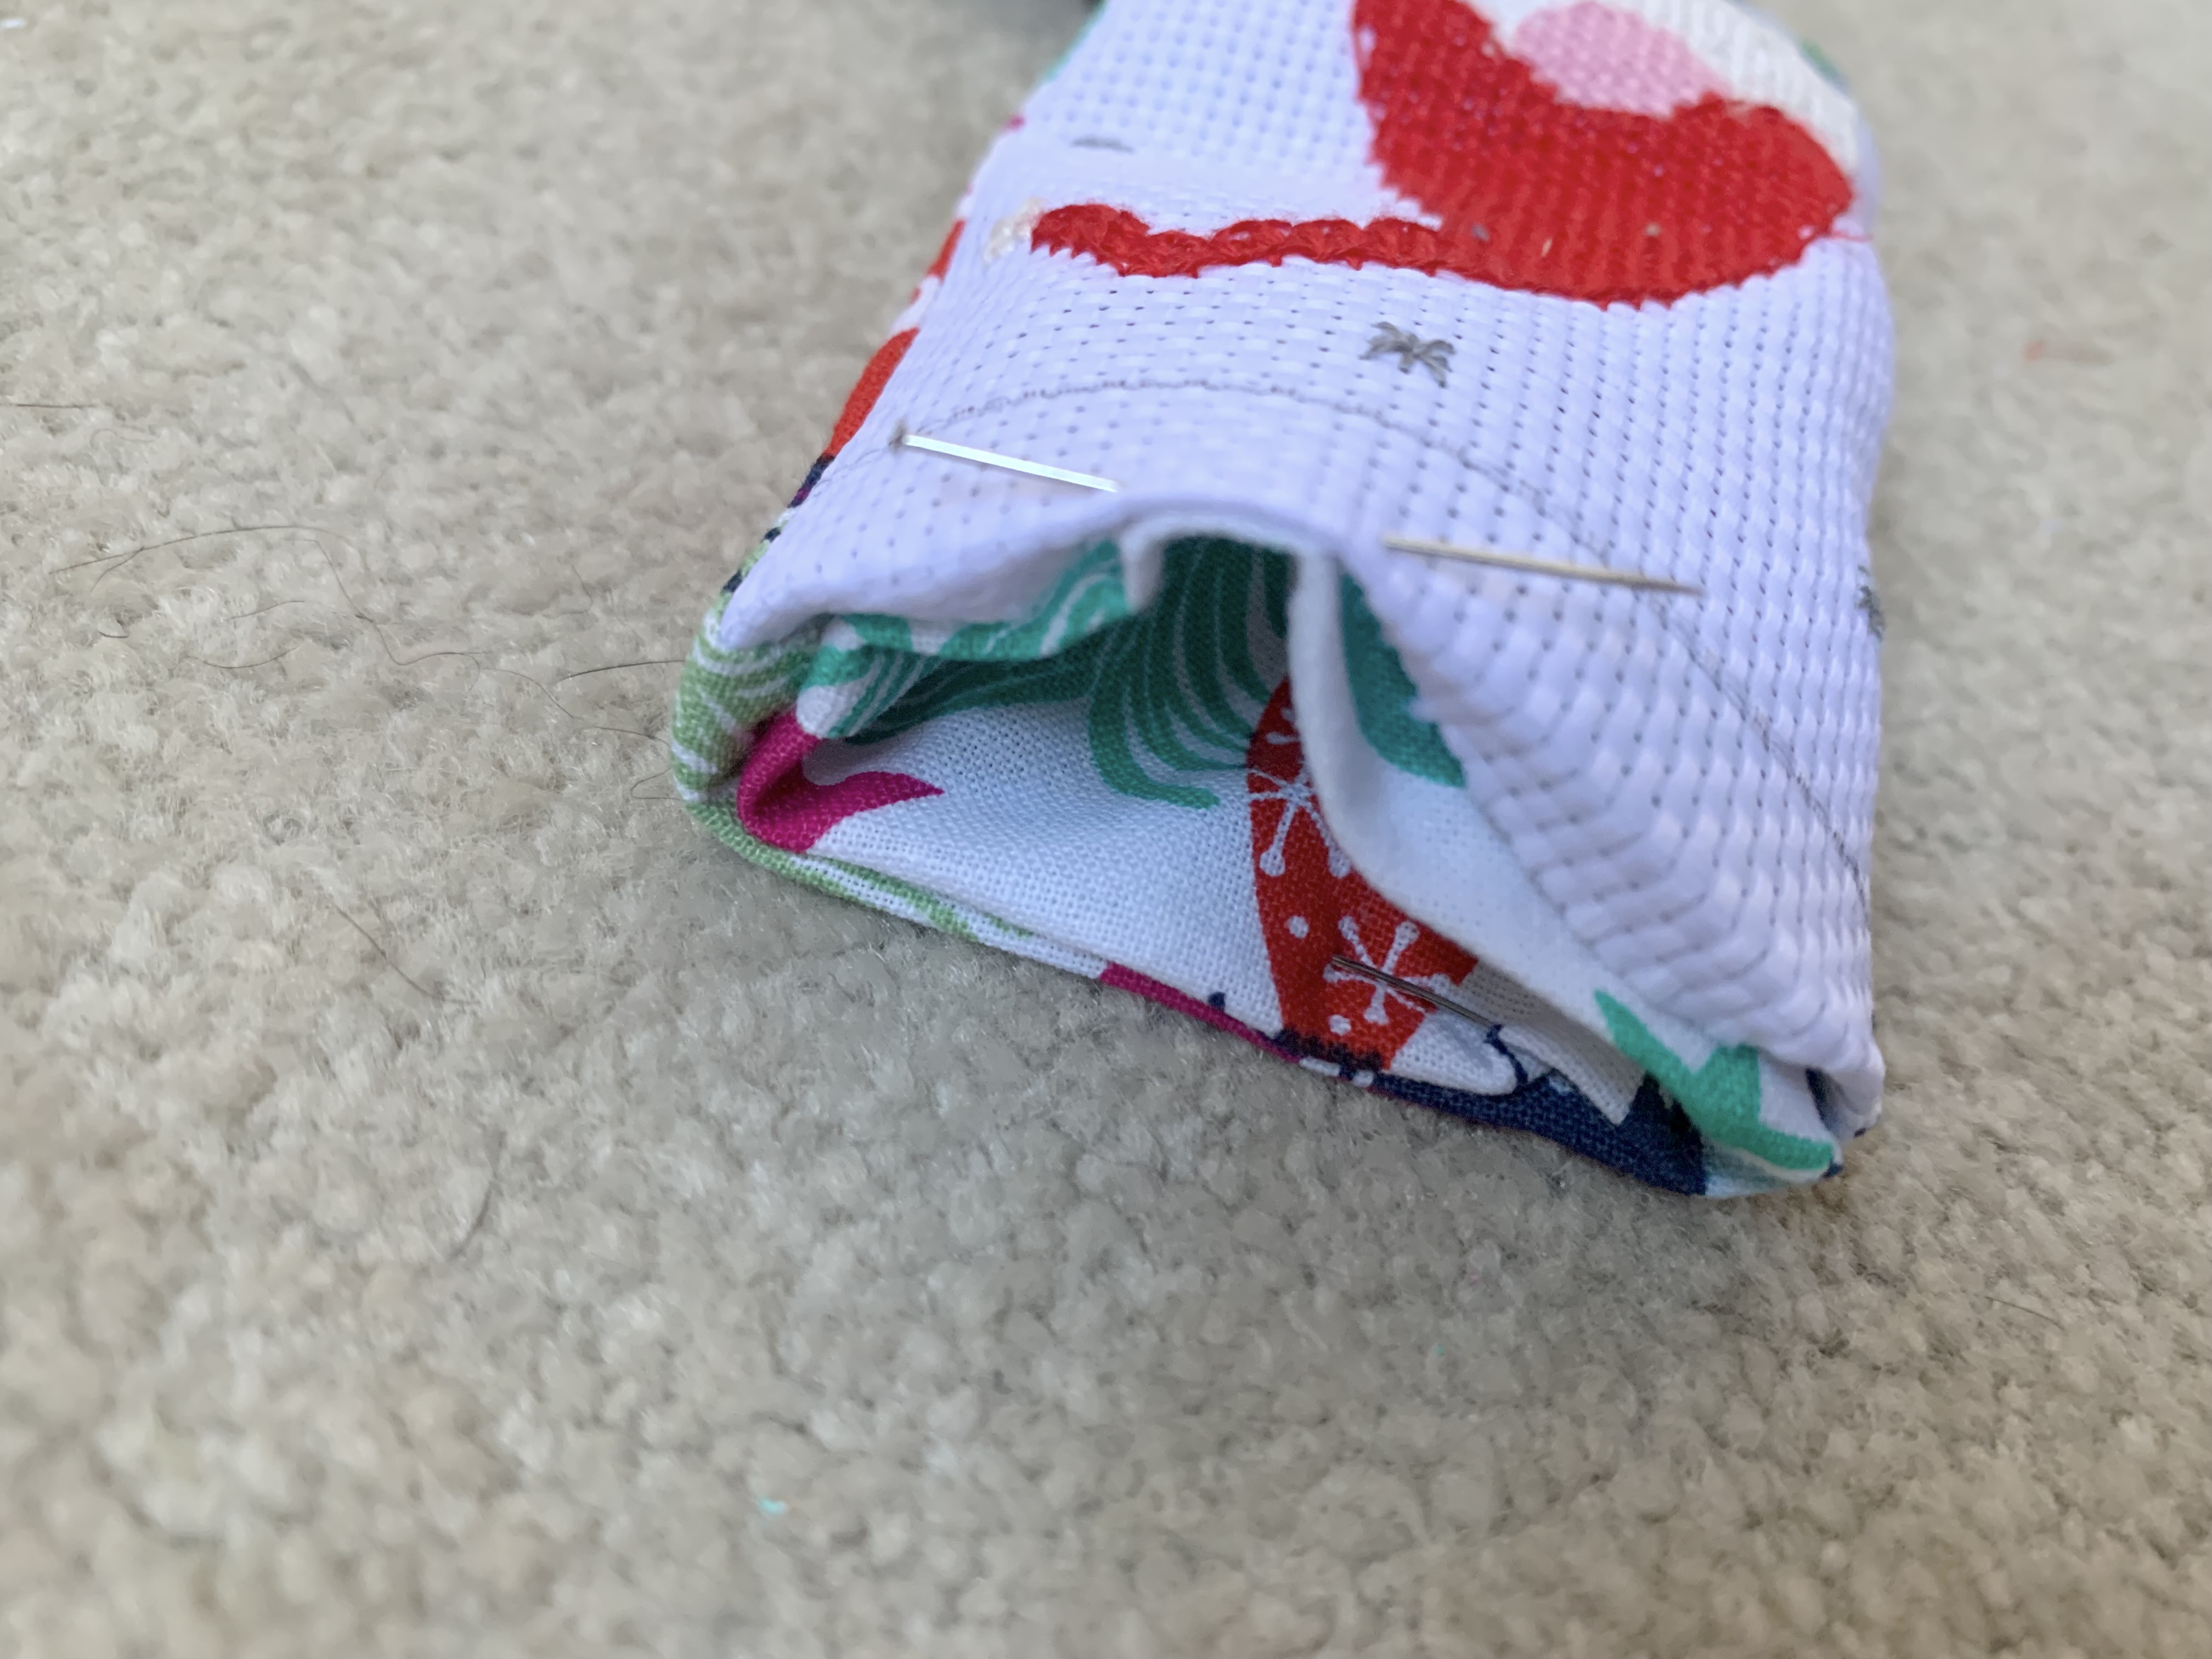
- Place the lining pieces inside the stocking, fold the top edge of the lining outwards by 0.5cm and fold the top edge of the the stocking inwards by 0.5cm and pin. Sew around using slip stitch to secure.
- Fold the top edge over by 1cm.
- To create a loop take 10cm of embroidery thread/ribbon, fold in half then sew to secure 1cm down inside the stocking.


Leave a comment