There is still a bit of time left to go to make some Easter themed decorations and this next Easter make is super quick to put together so makes a great last minute Easter project.
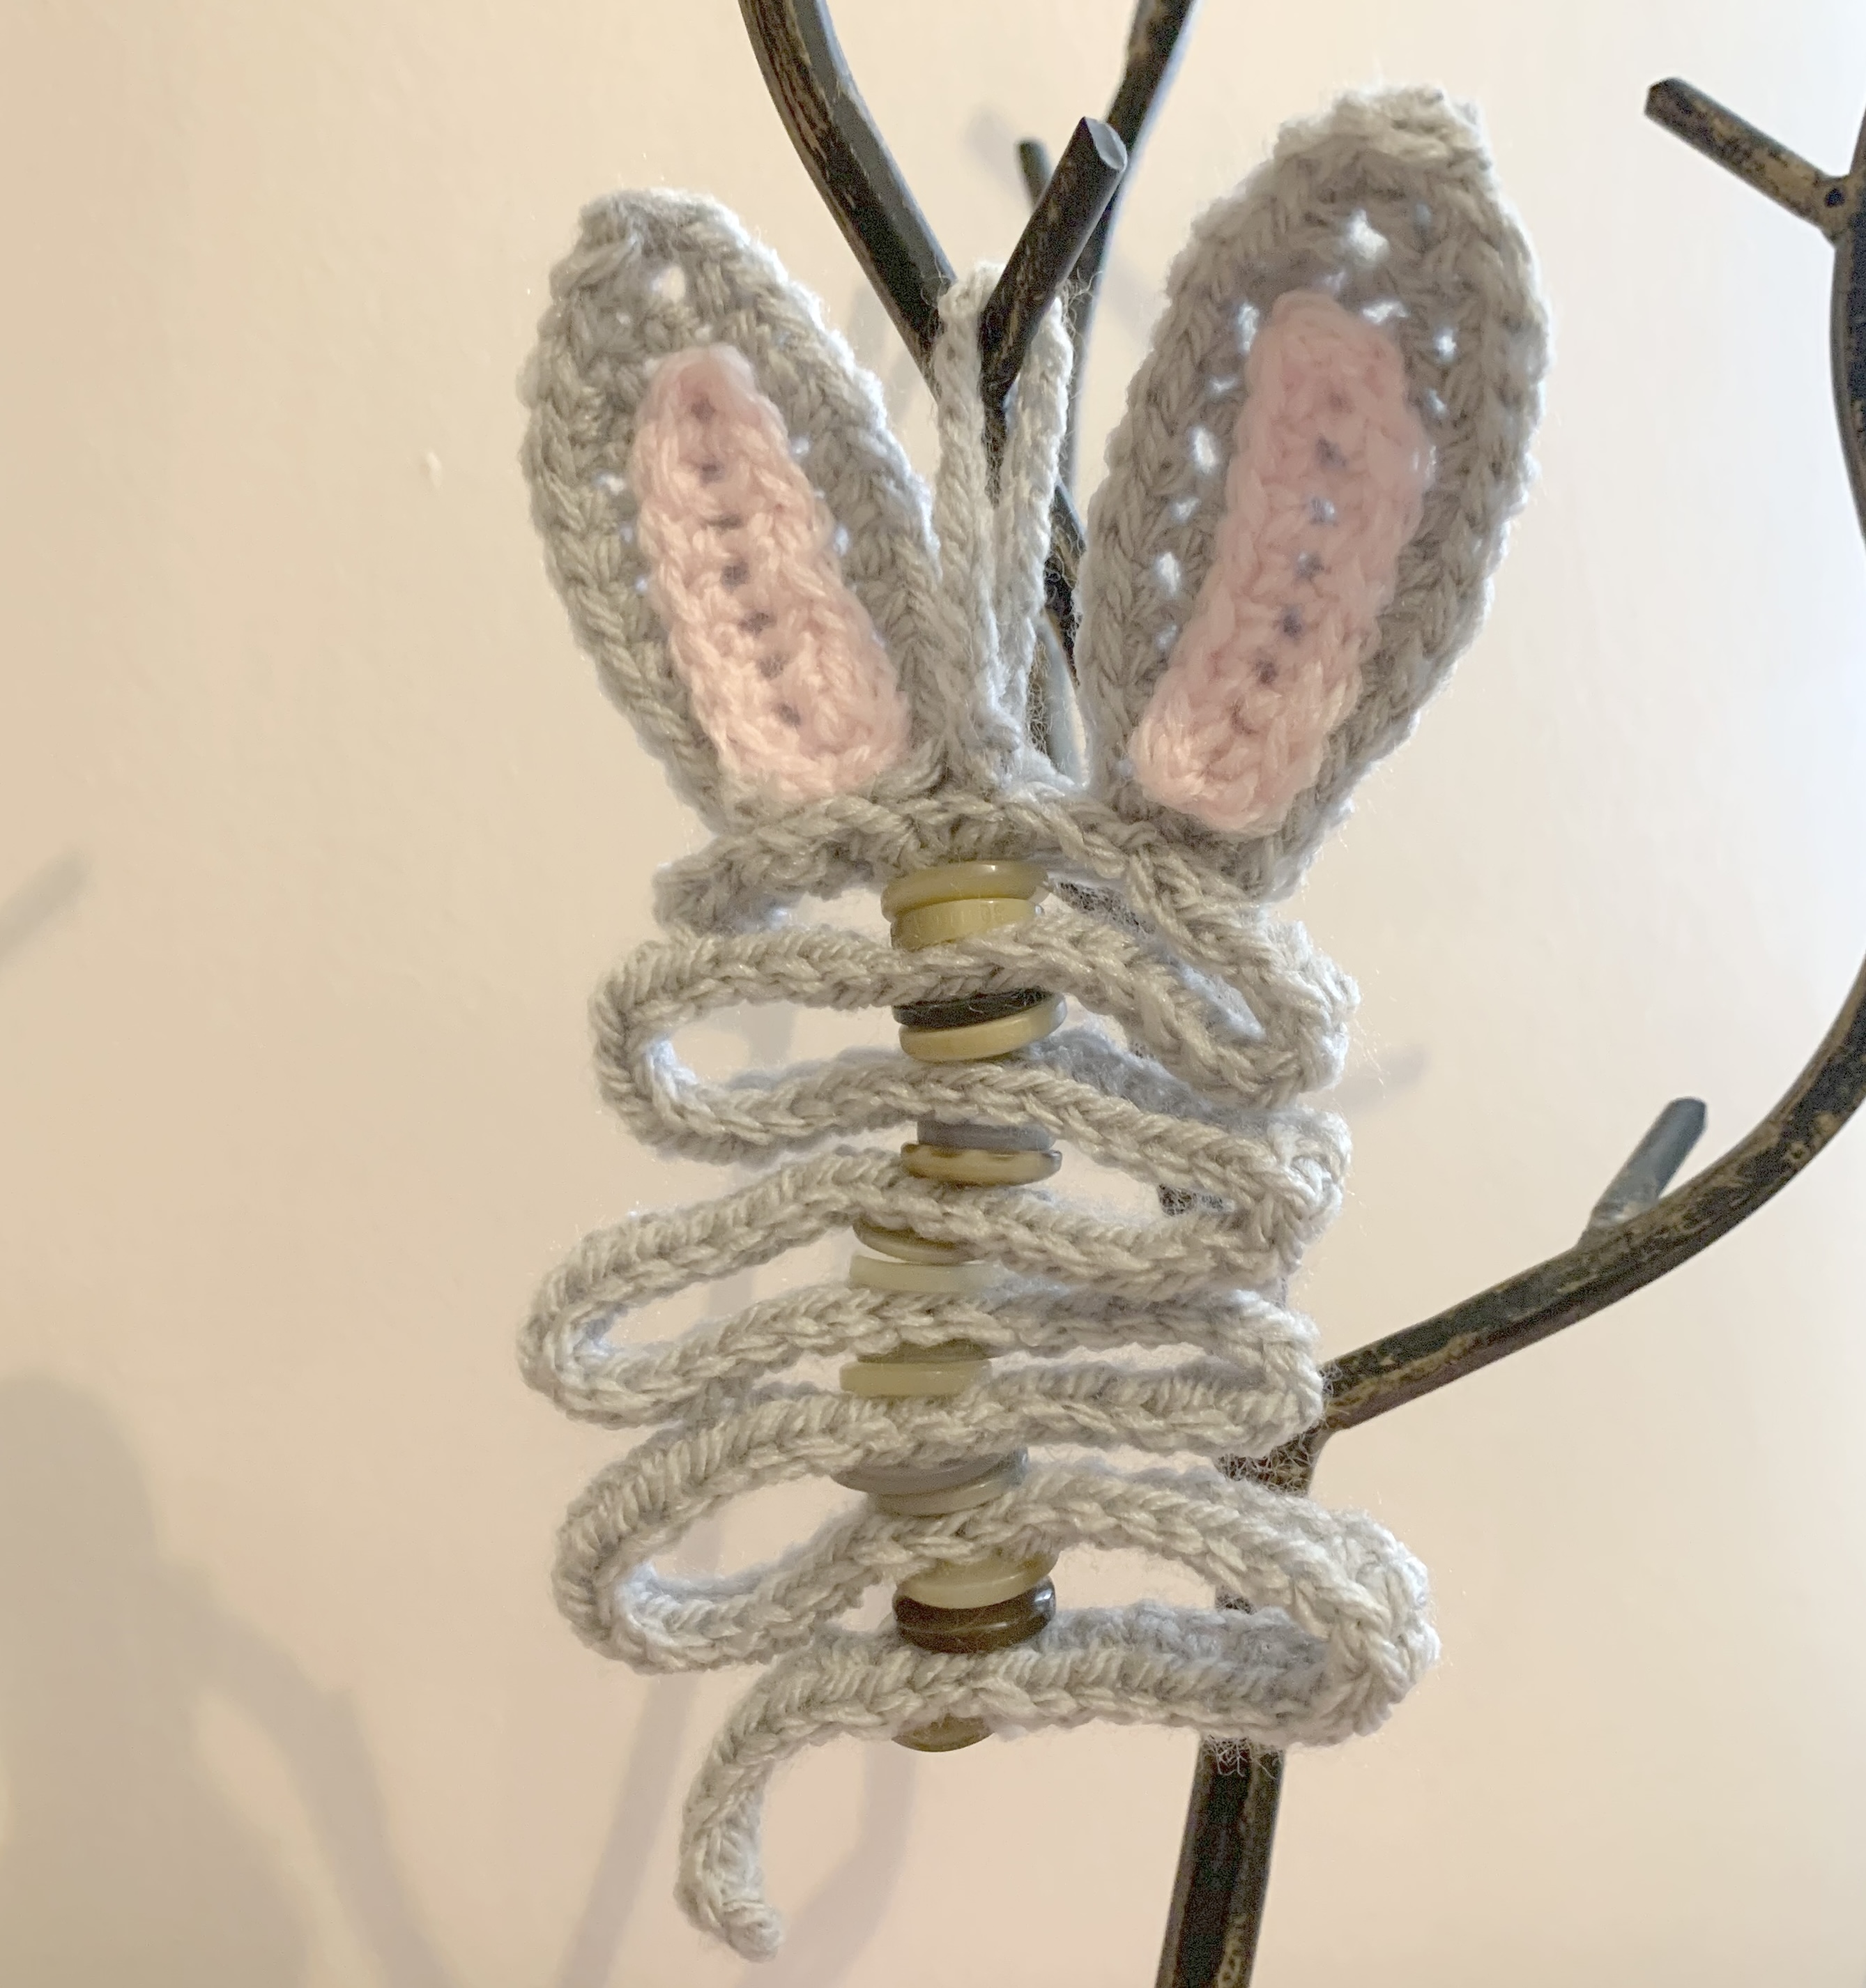
I wanted to make a Easter version of a similar make I completed at Christmas, where I used a crochet chain and some buttons to make a crochet folded Christmas tree with button details. Rather than using a tree for the shape I opted for making a rectangular shape that would look like the rabbits body and then added some rabbit ears. You could also add some feet to this if you wanted – for a feet pattern check out the rabbit feet used on this crochet Easter rabbit themed egg cover/cosy, you could attach them on the front or underneath the decoration.
I opted to use grey for this make but you could make these rabbits in any colour you like – perfect for customising for a gift.
Other Crochet Easter Makes:
- For more easter themed crochet makes check out my Easter crochet makes section, there are all sorts of fun Easter themed patterns available from bunting to easter egg covers/cosies.


Other Sewing Easter Makes:
- For some Easter themed sewing makes check out my Easter sewing makes section, with patterns for lots of Easter themed items including drawstring bags, chickens, rabbits and storages baskets.


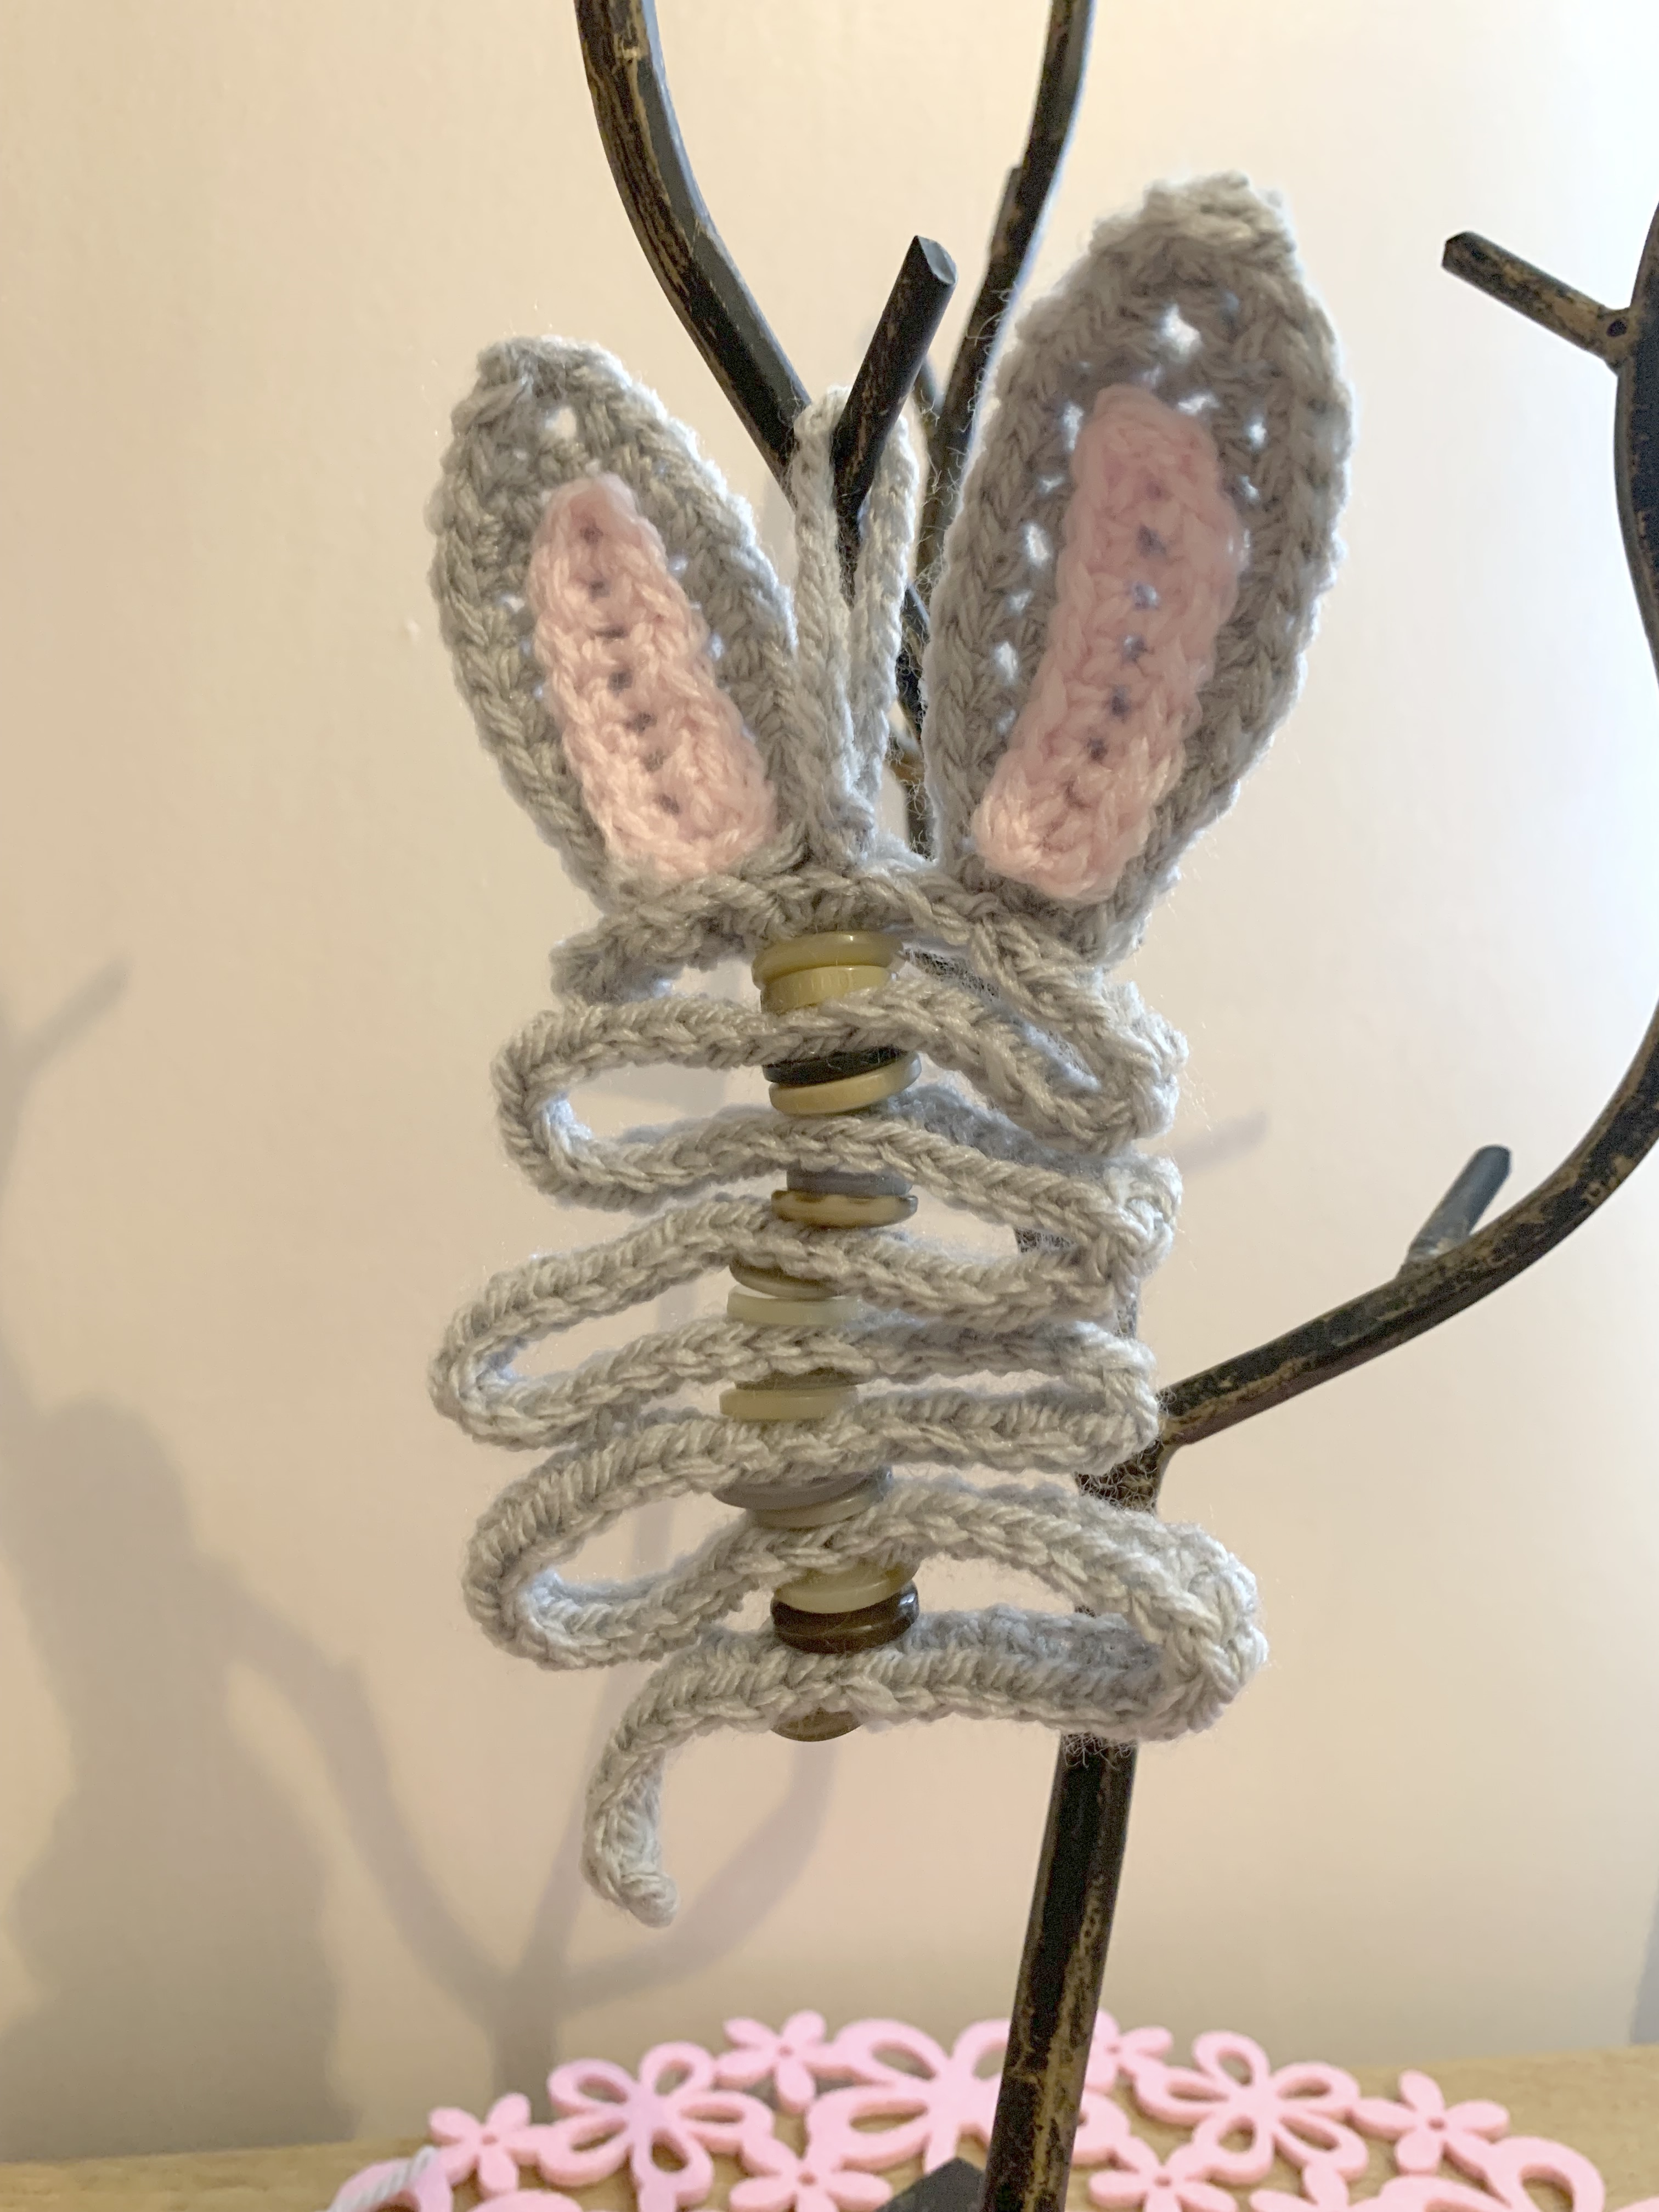
Folded Crochet Ribbon Rabbit Easter Decoration With Button Details
Materials
- 4mm crochet hook.
- 25g ball of DK wool in pink (or any other colour you would prefer for the inside of the ears.
- 25g ball of DK wool in grey (or any other colour you would like your rabbit to be).
- Small amount of white wool to make a pom pom for the tail.
- Darning needle.
- Scissors.
- 15 Buttons – grey or any other colour you choose.
Rabbit body:
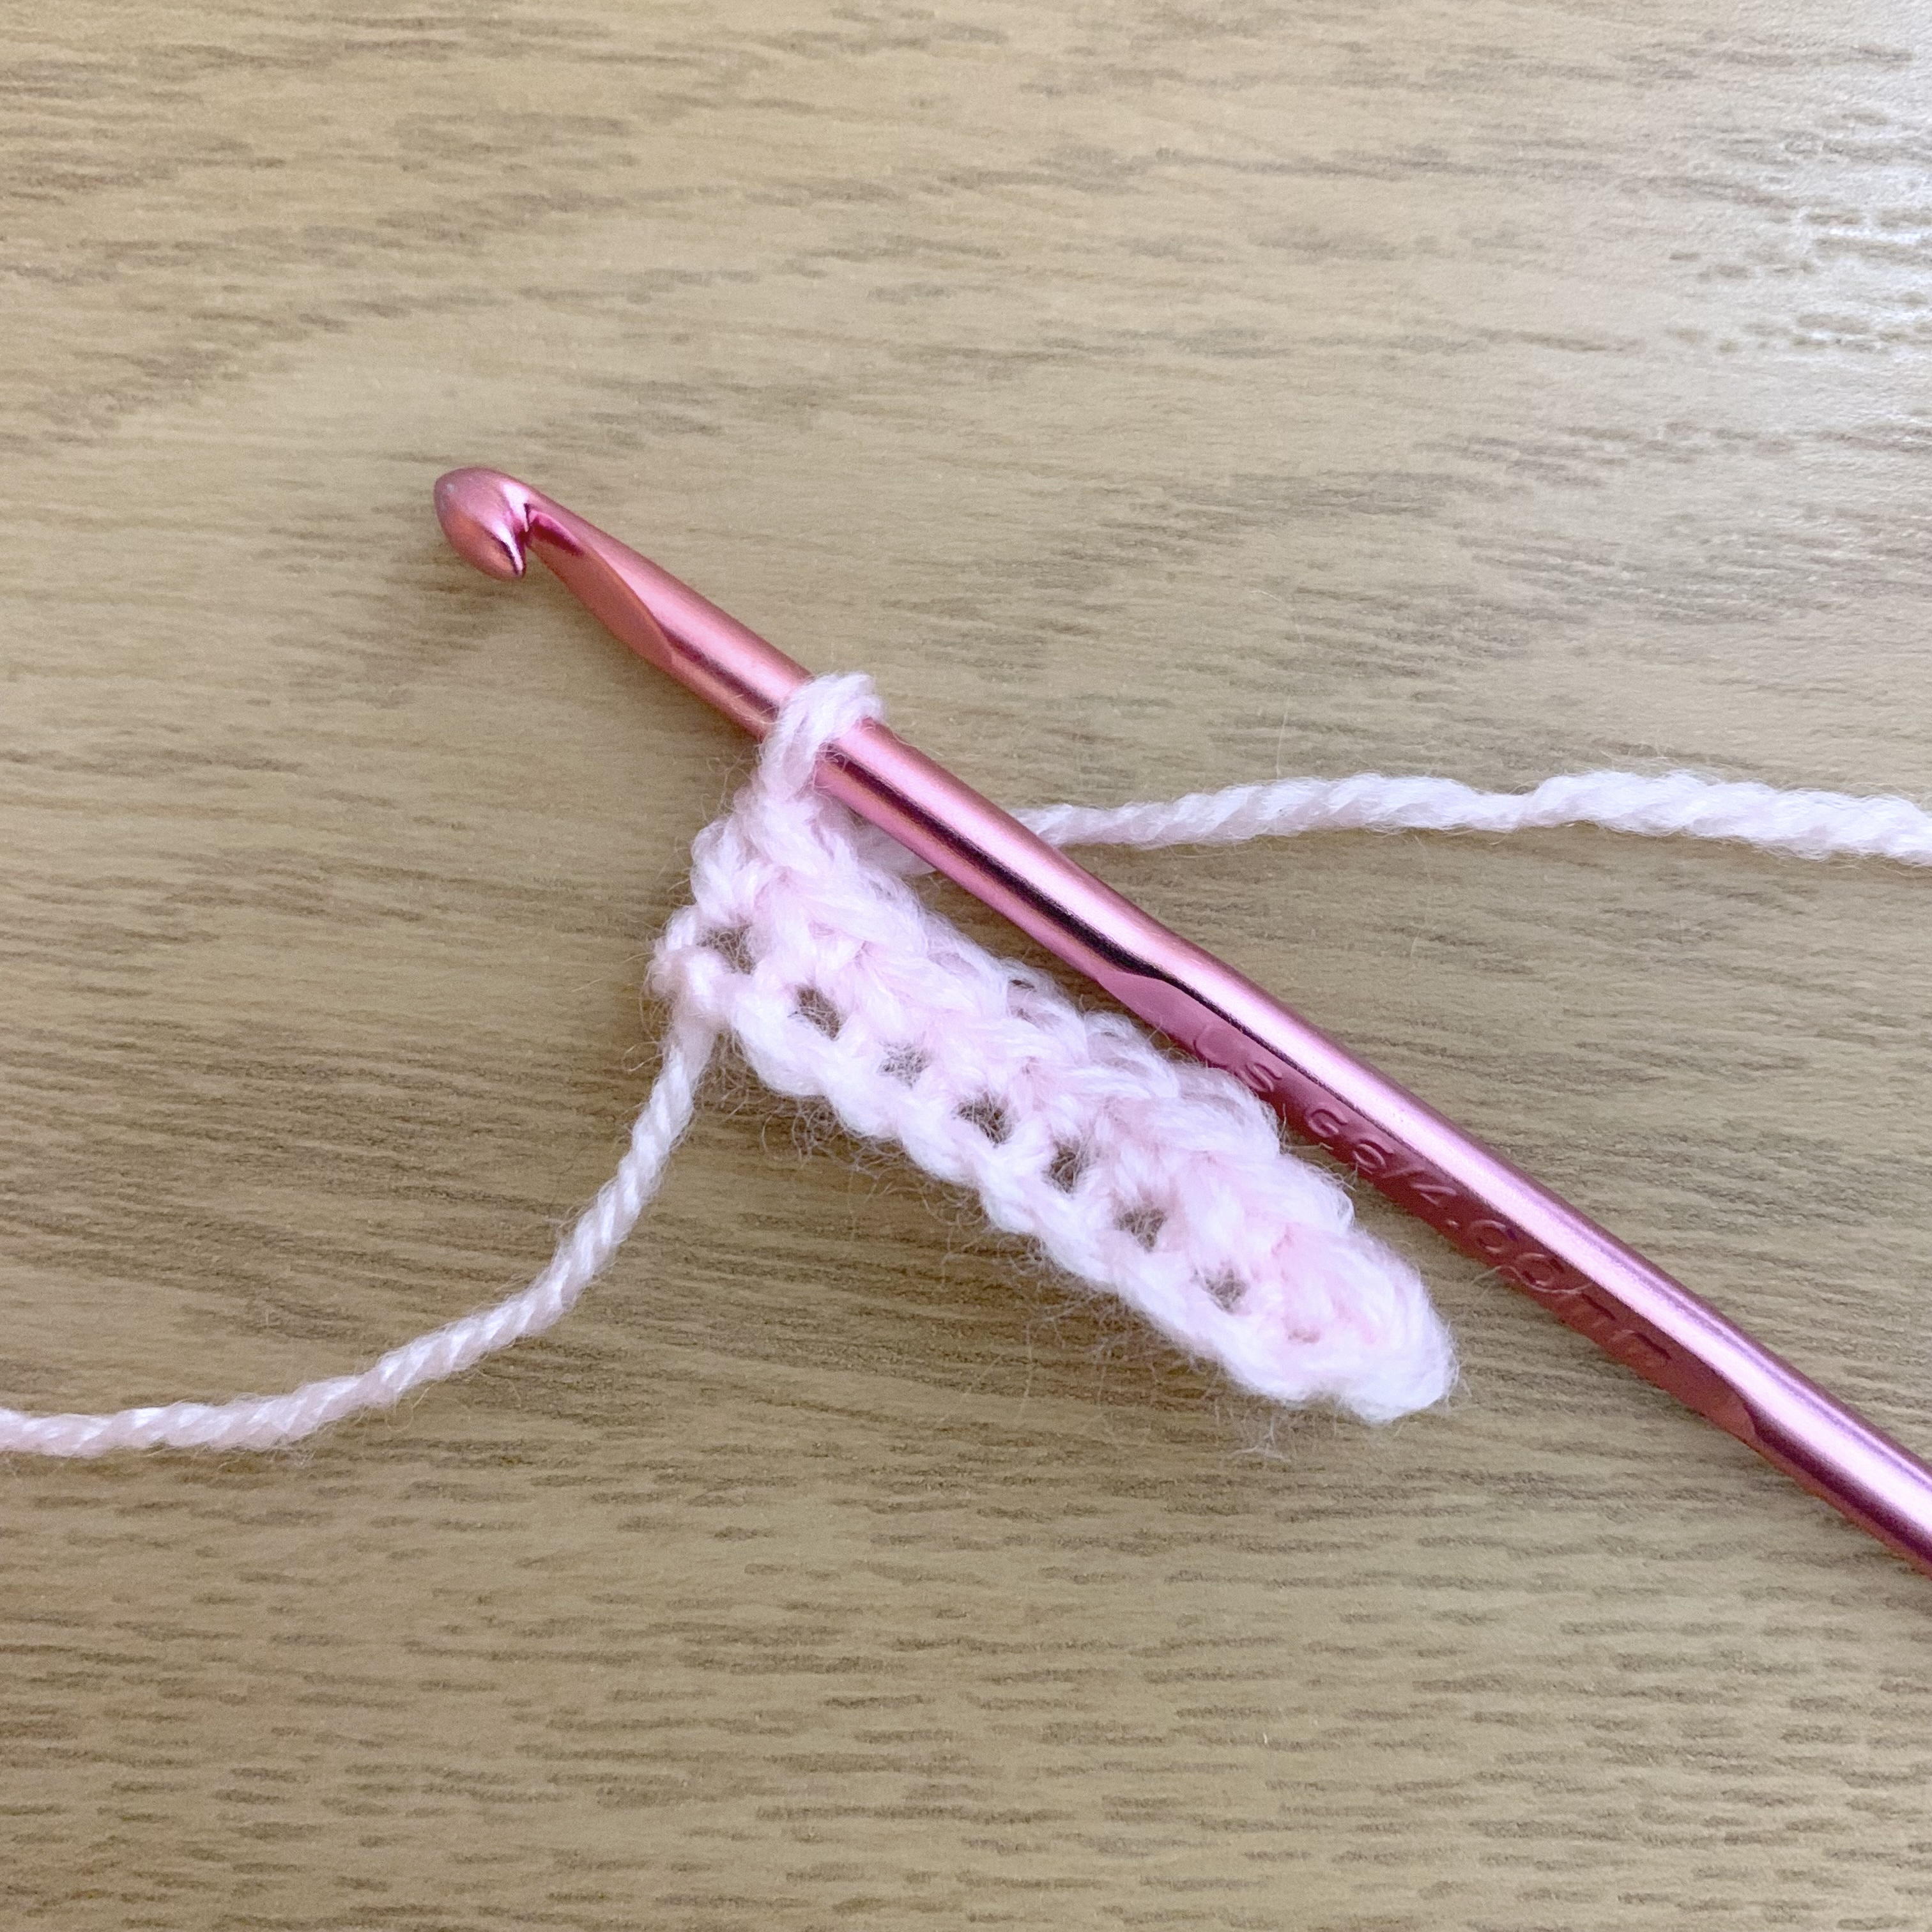
Using a 4mm crochet hook and grey wool:
ch131.
Fasten off.

Rabbit Ears – Make 2:
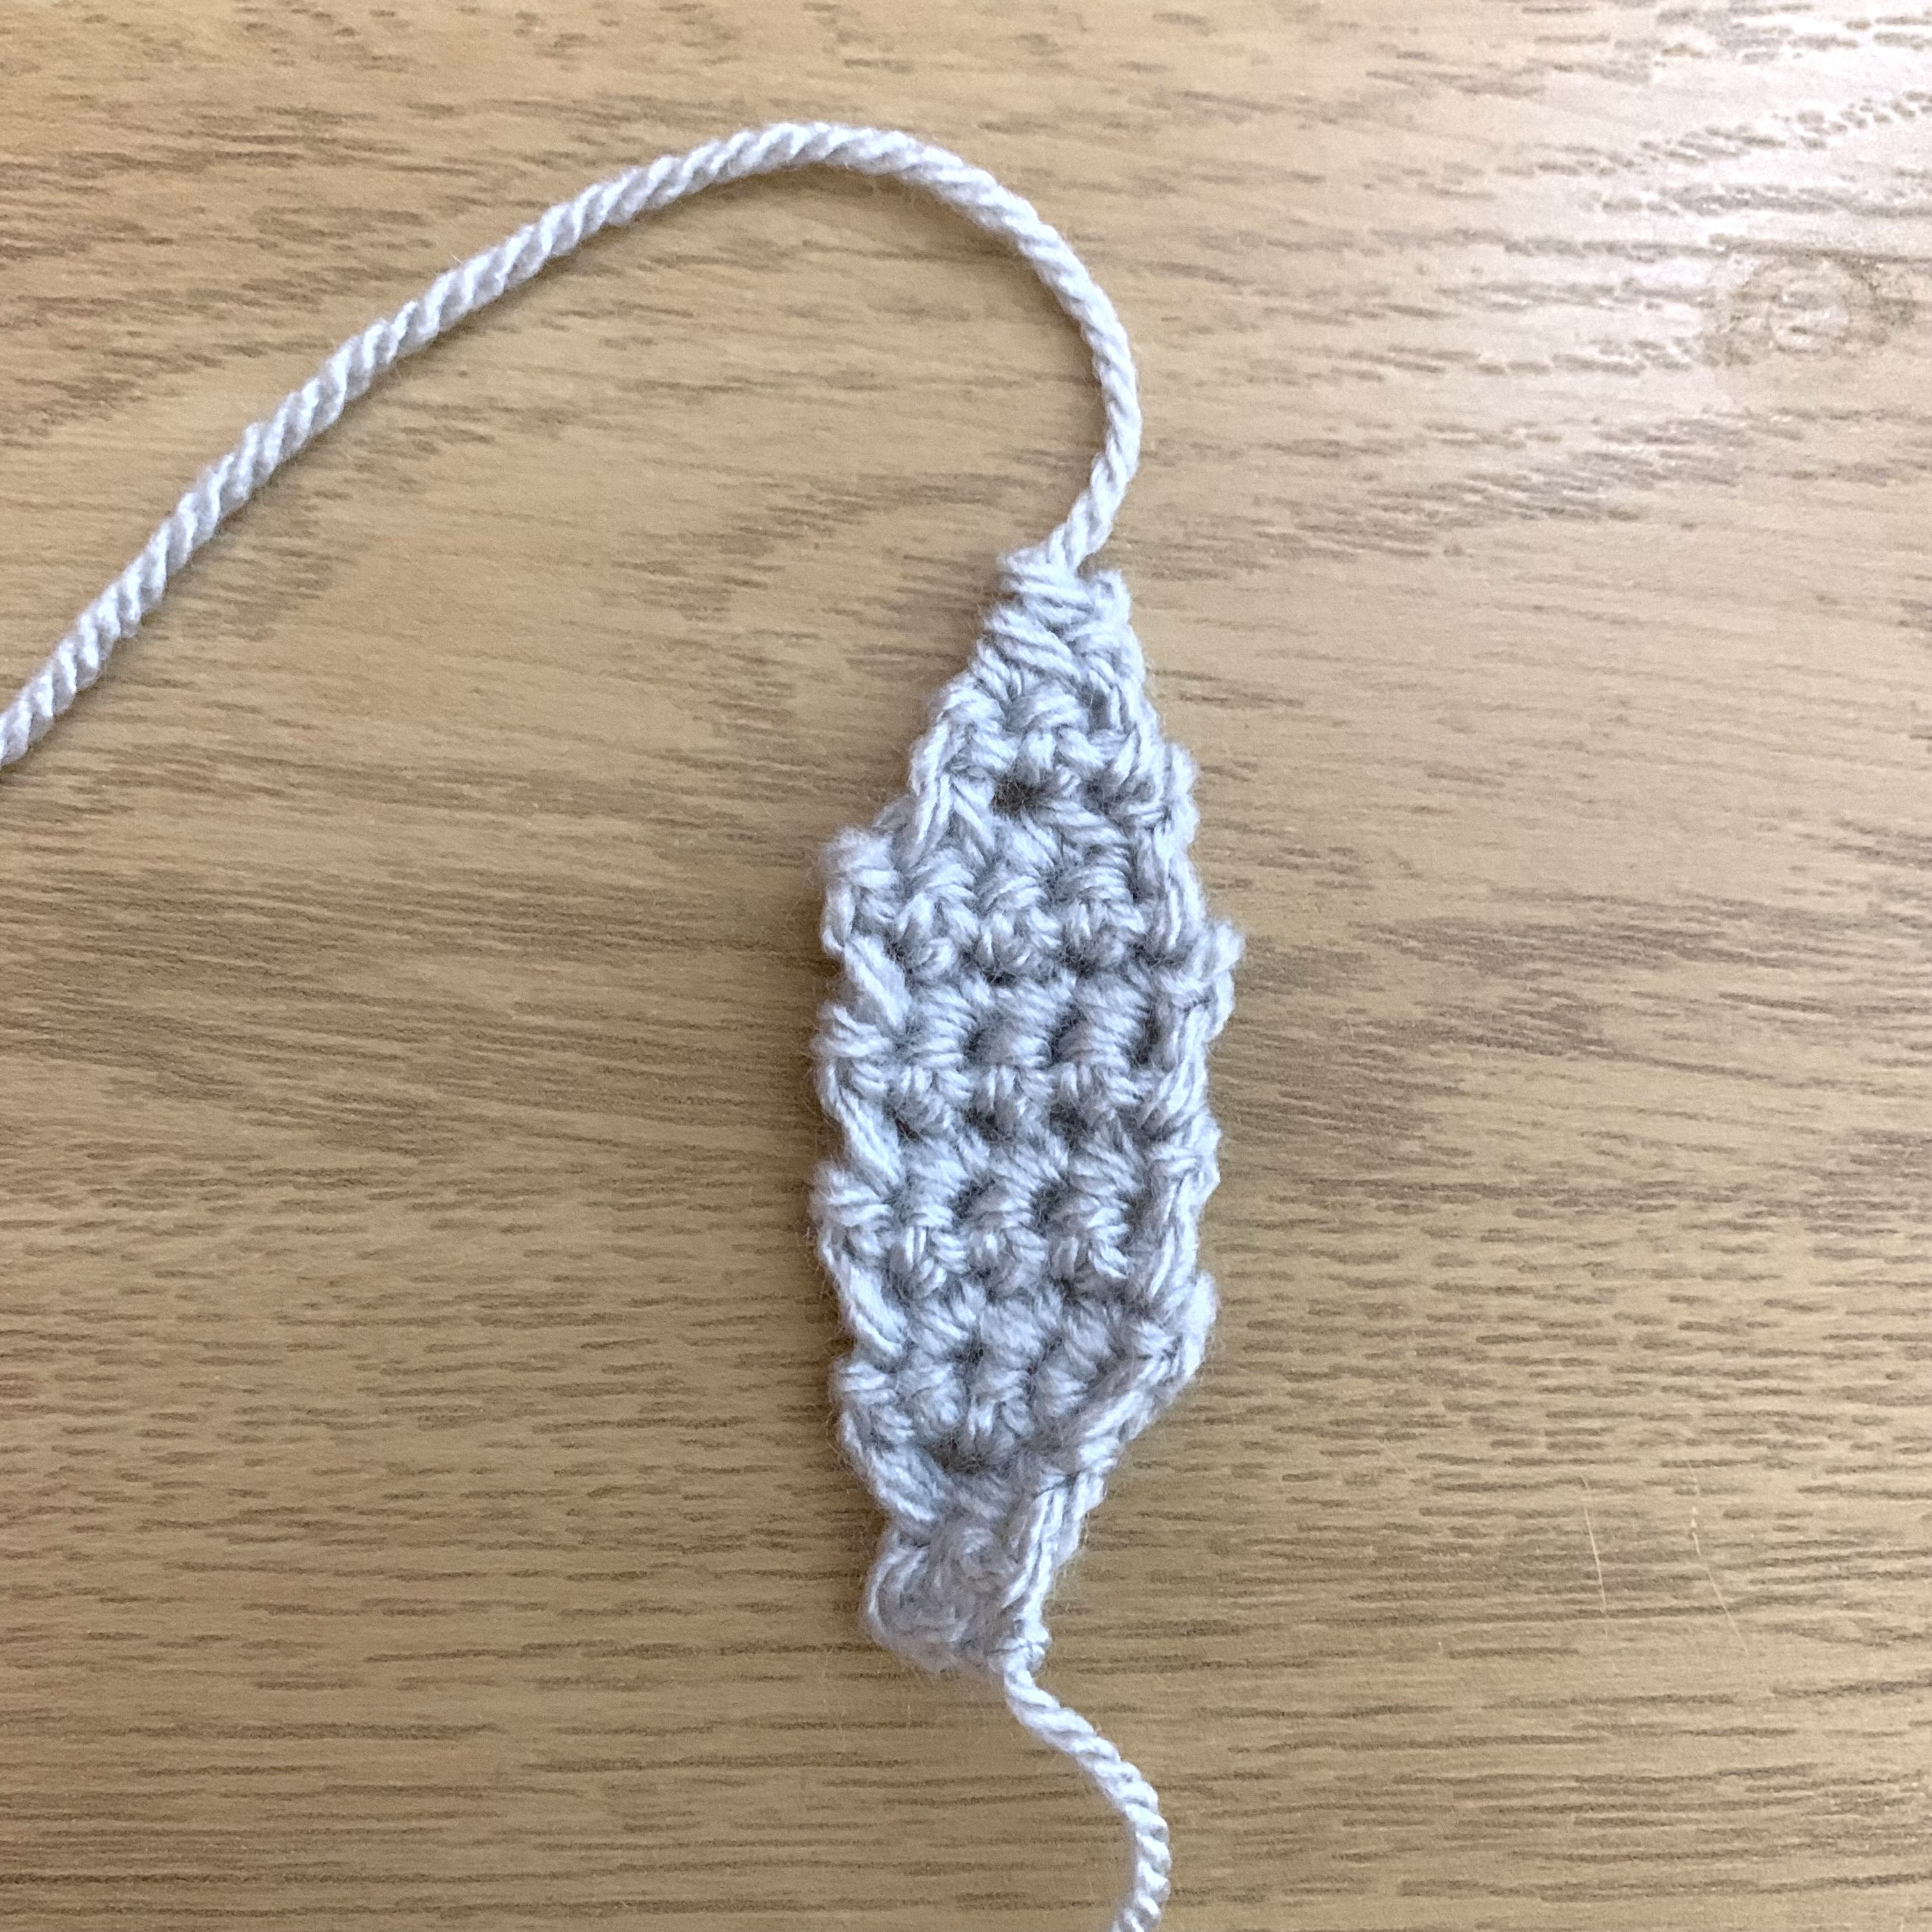
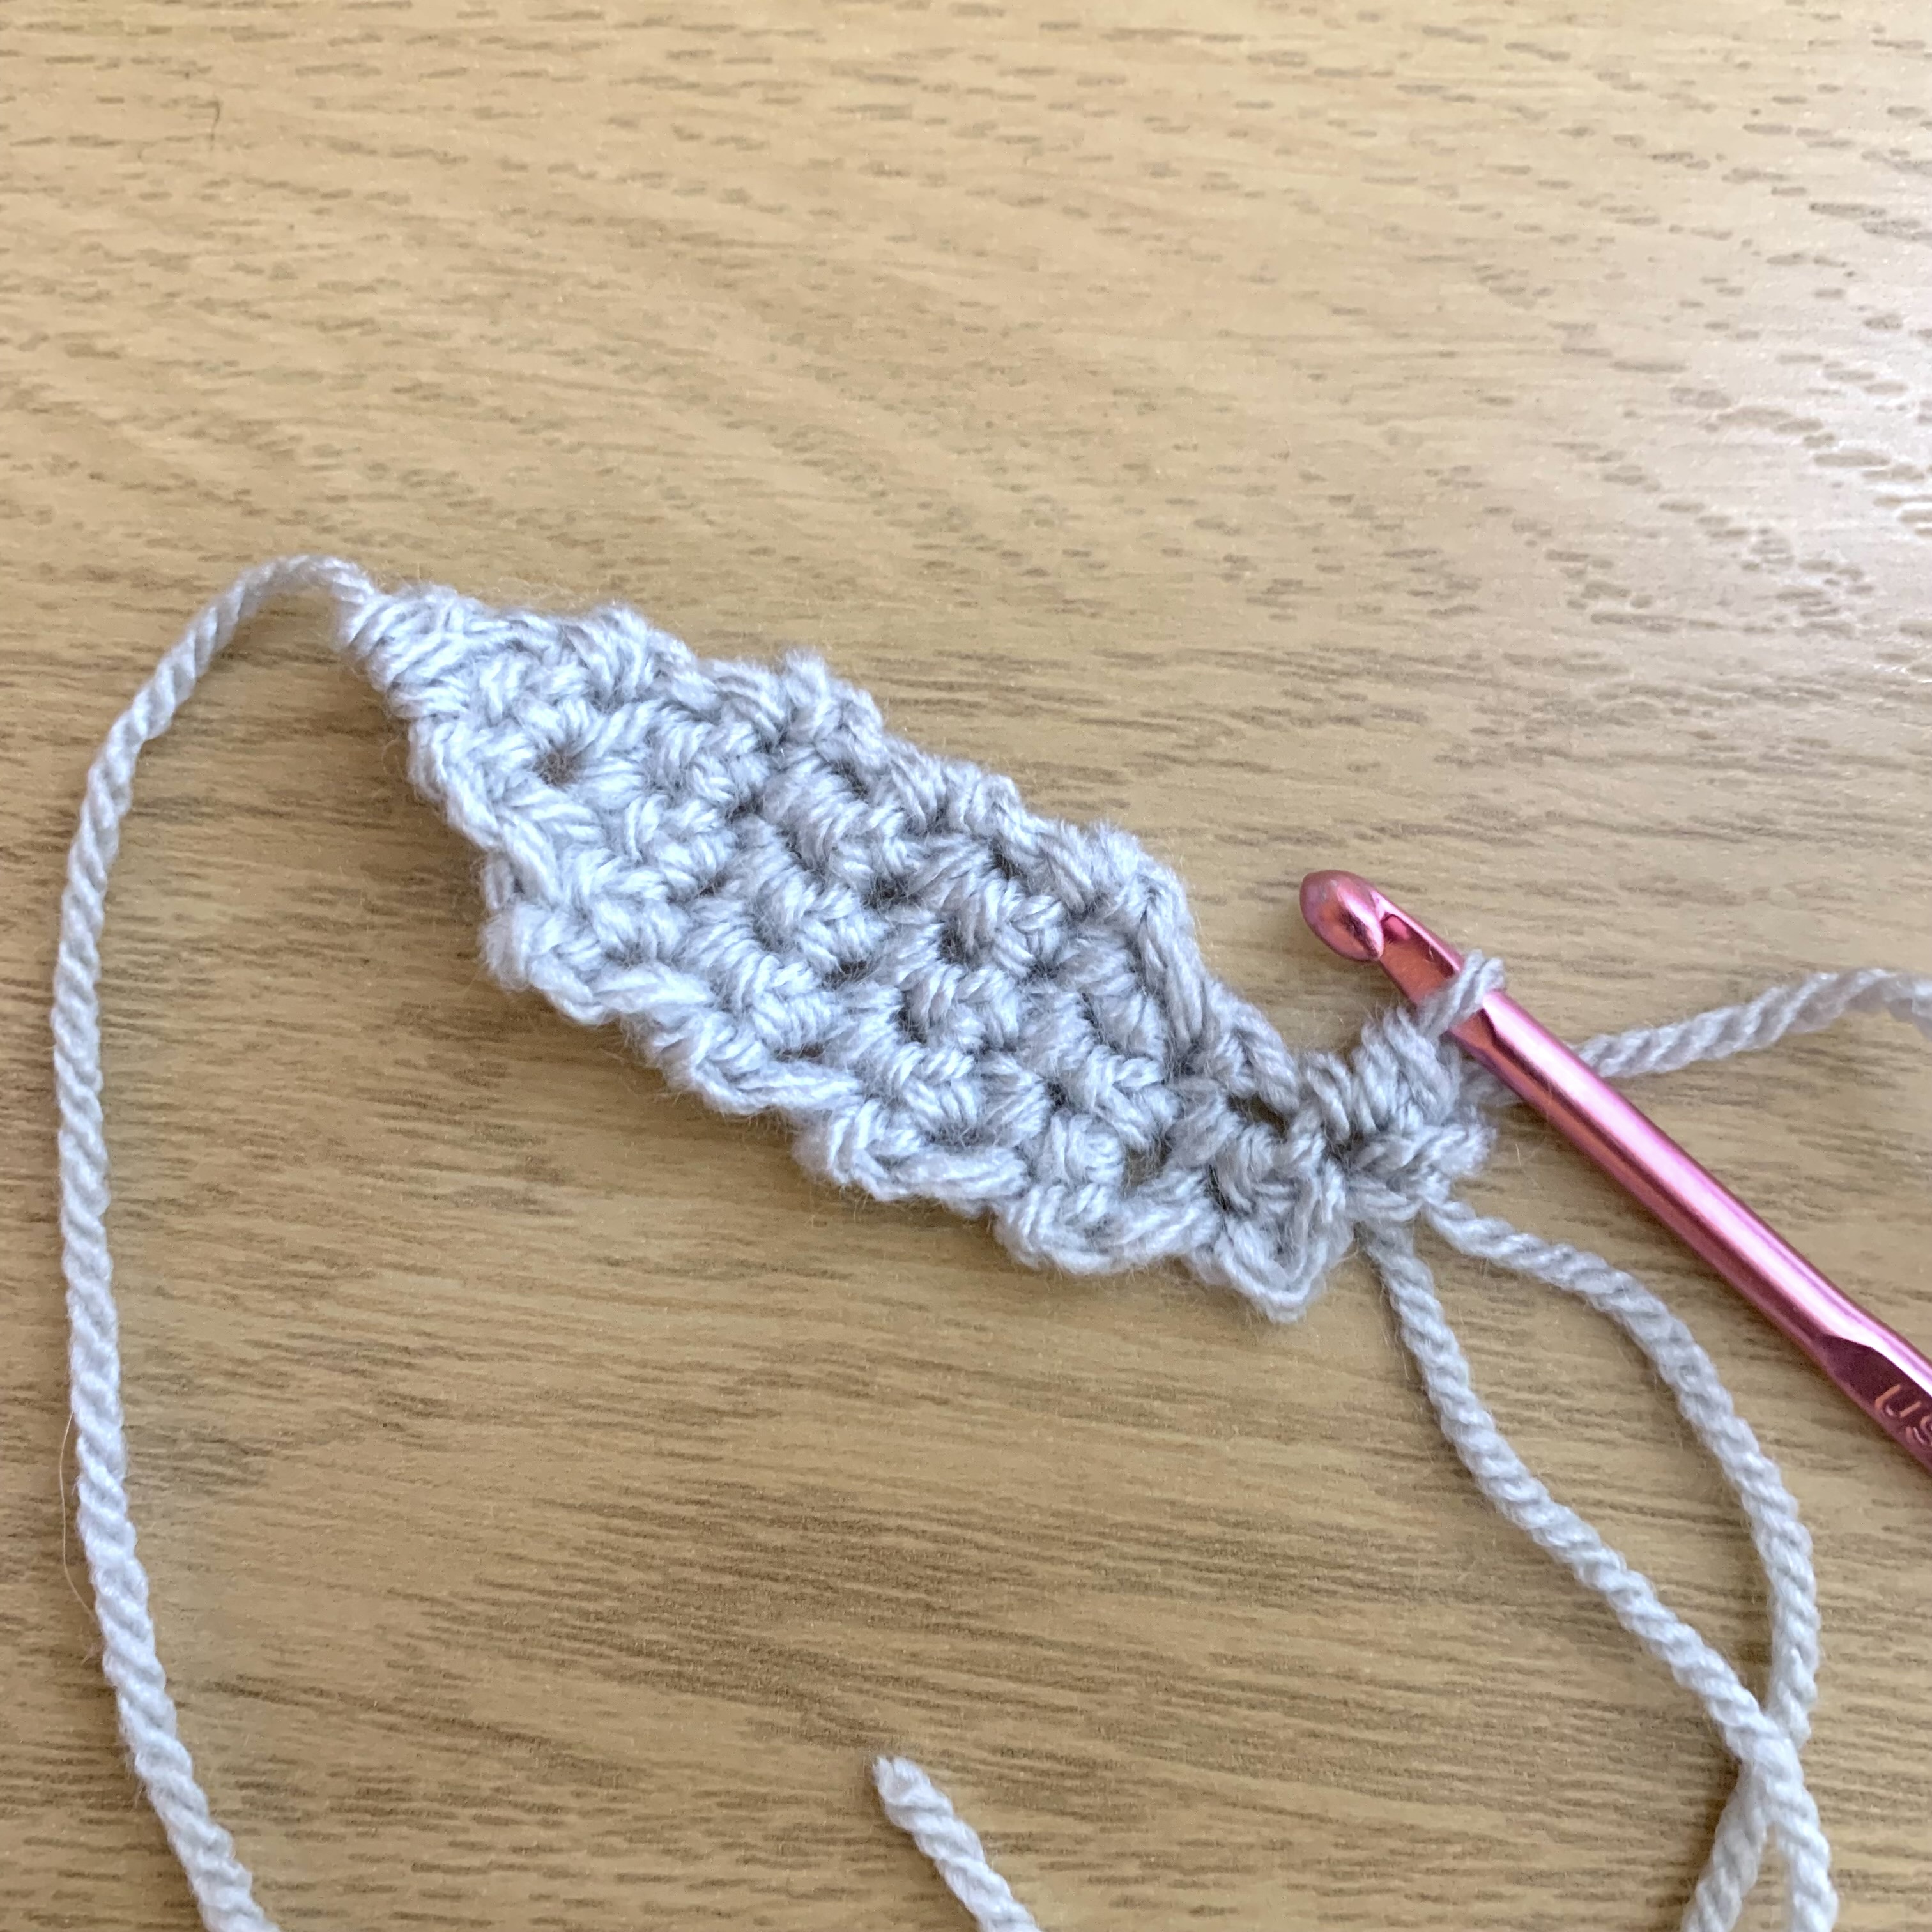
Outer Ear:
Using a 4mm crochet hook and grey wool:
Row 1: ch3, sc 2nd ch from the hook, sc along row (2).
Row 2: ch1 (doesn’t count as a stitch) sc along row.
Row 3: ch1 (doesn’t count as a stitch) 2sc into next stitch x2 (4)
Rows 4-9: ch1 (doesn’t count as a stitch) 4sc.
Row 10: ch1 (doesn’t count as a stitch) sc2tog x2 (2).
Row 11: ch1 (doesn’t count as a stitch) 2sc.
Row 12: ch1 (doesn’t count as a stitch) sc2tog.
Fasten off.
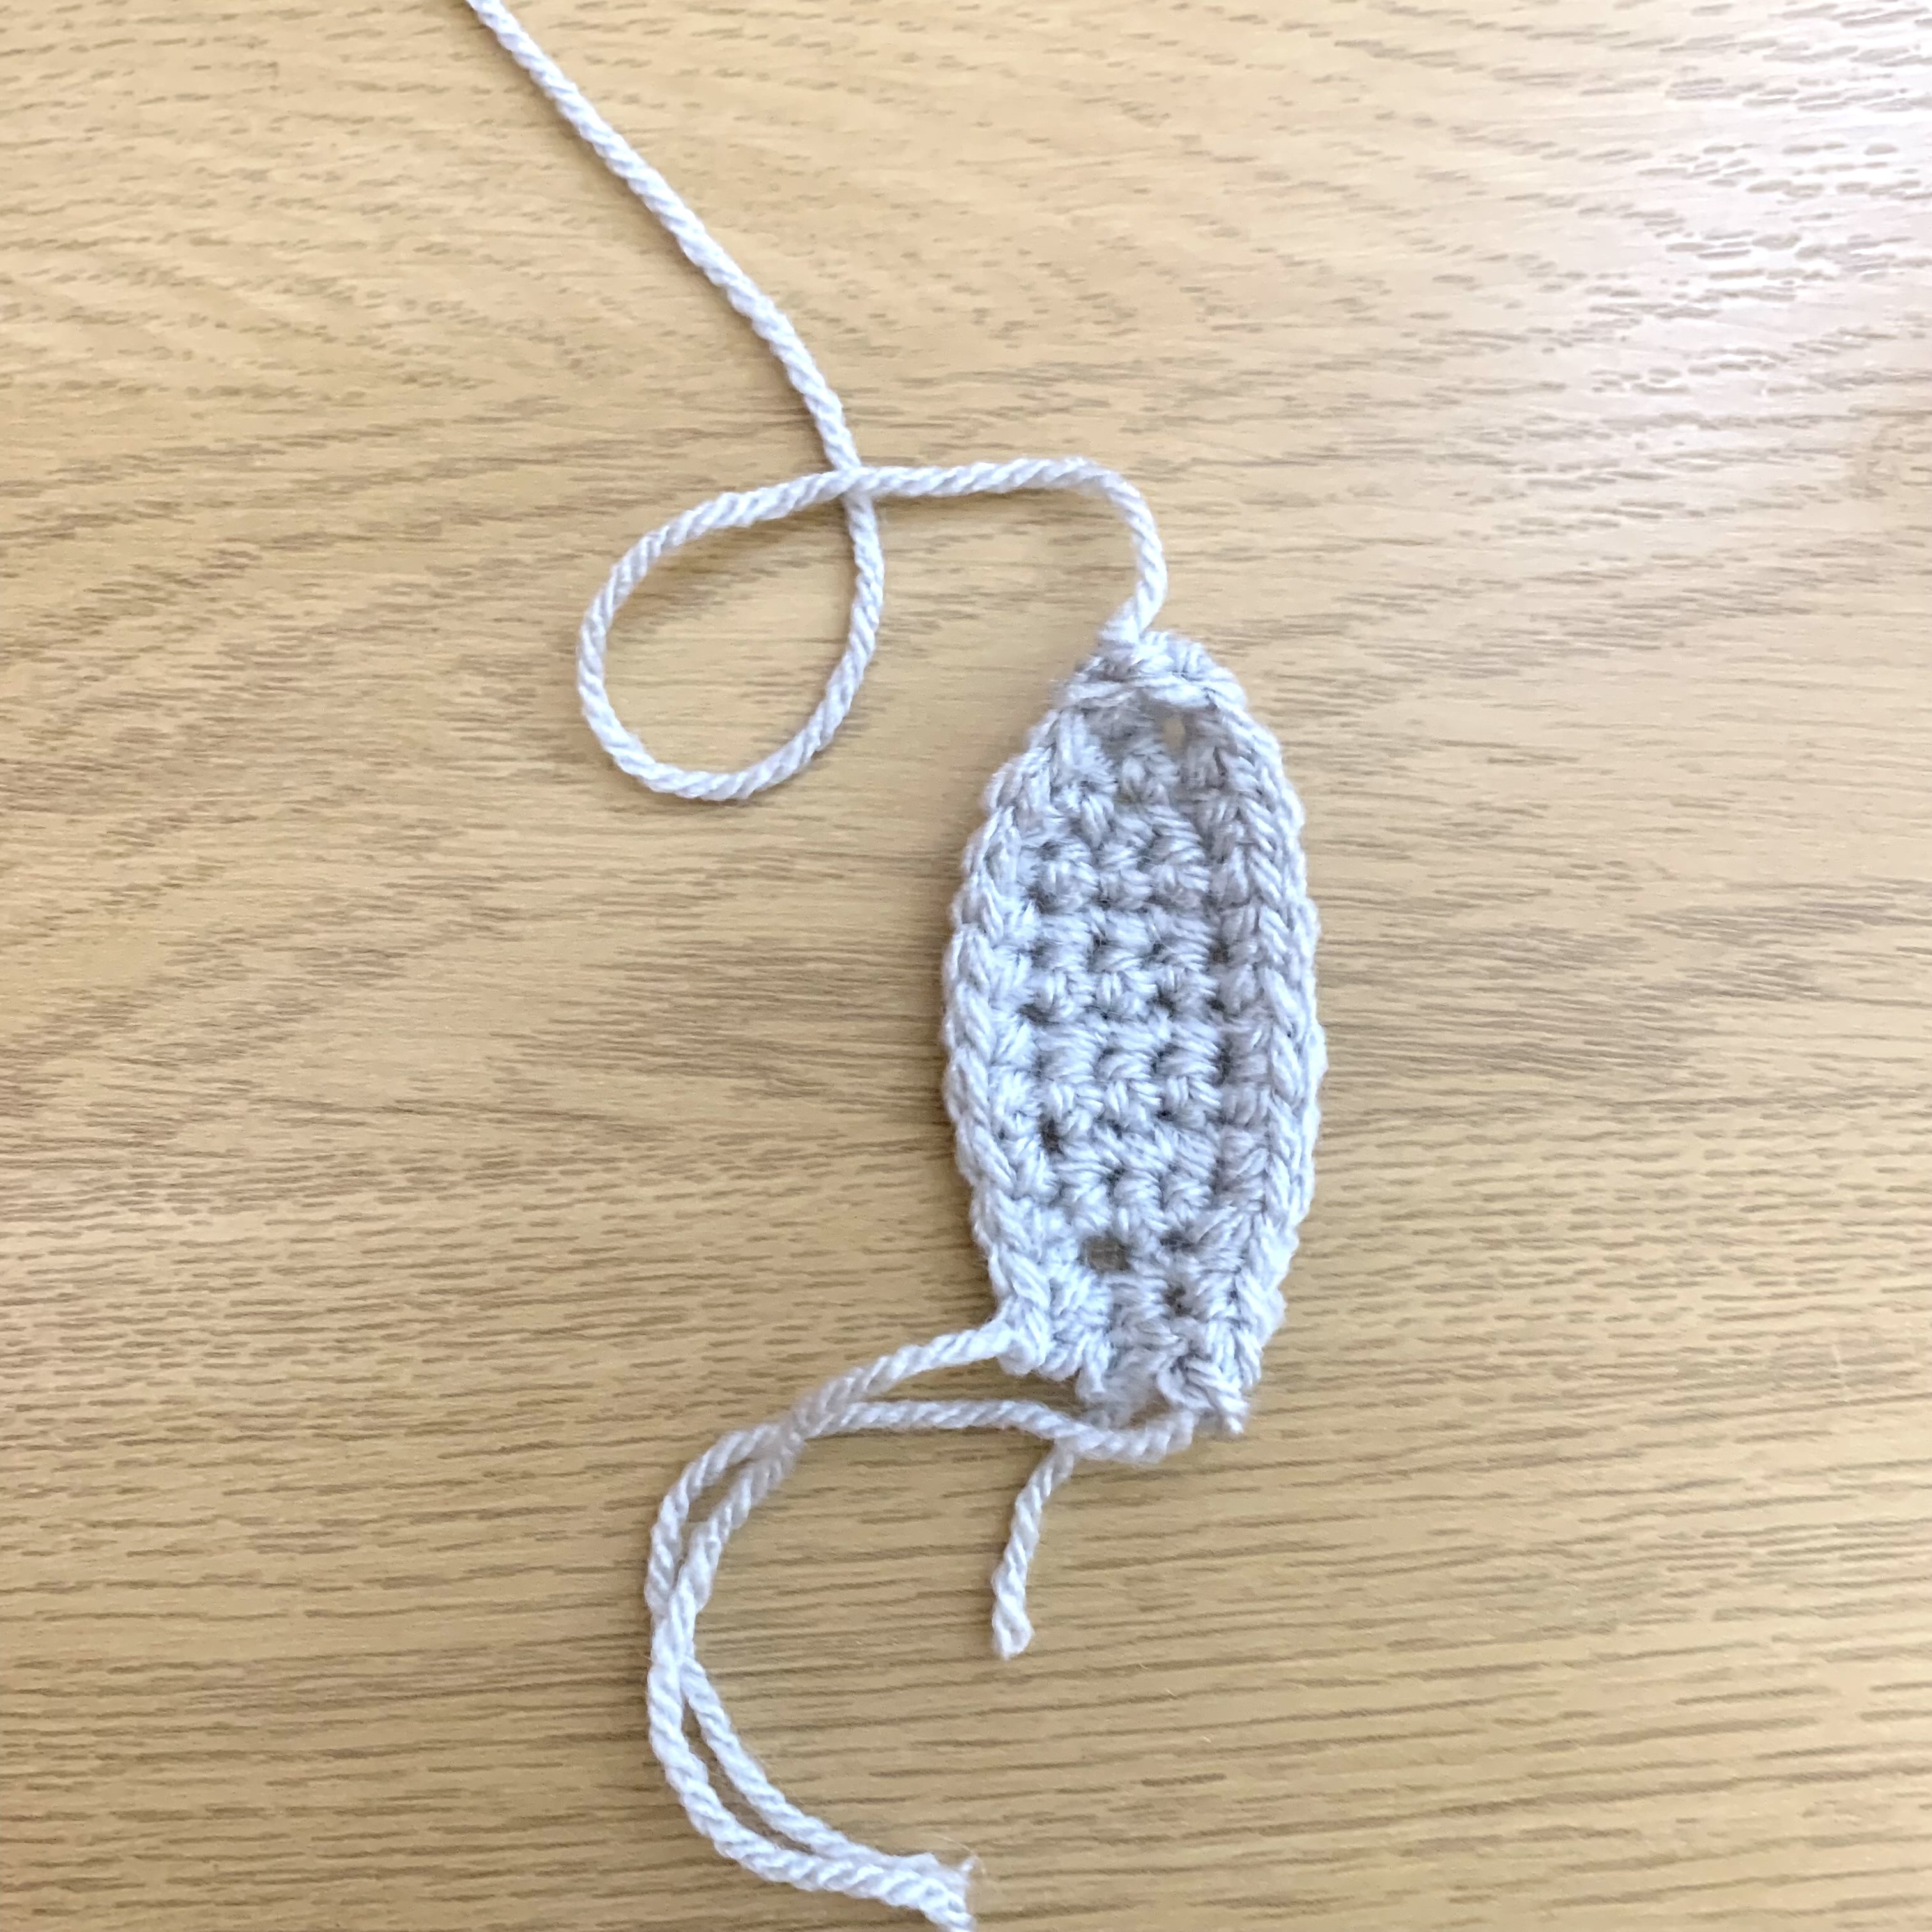
Cast on in bottom right of ear (pull up loop, ch, sc into same stitch) then sc around the edge of the ear (stitches going into the end of the rows).
Fasten off.

Inner Ear:
Using a 4mm crochet hook and pink wool:
ch10, sc into the 2nd ch from the hook, sc along rest of the row. Do not turn, then sc down the other side of the ch.
Fasten off.

Hanging Loop
ch15.
Fasten off, leaving long thread to attach.
Assembly
- Sew the pink inner ears onto the grey outer ears.
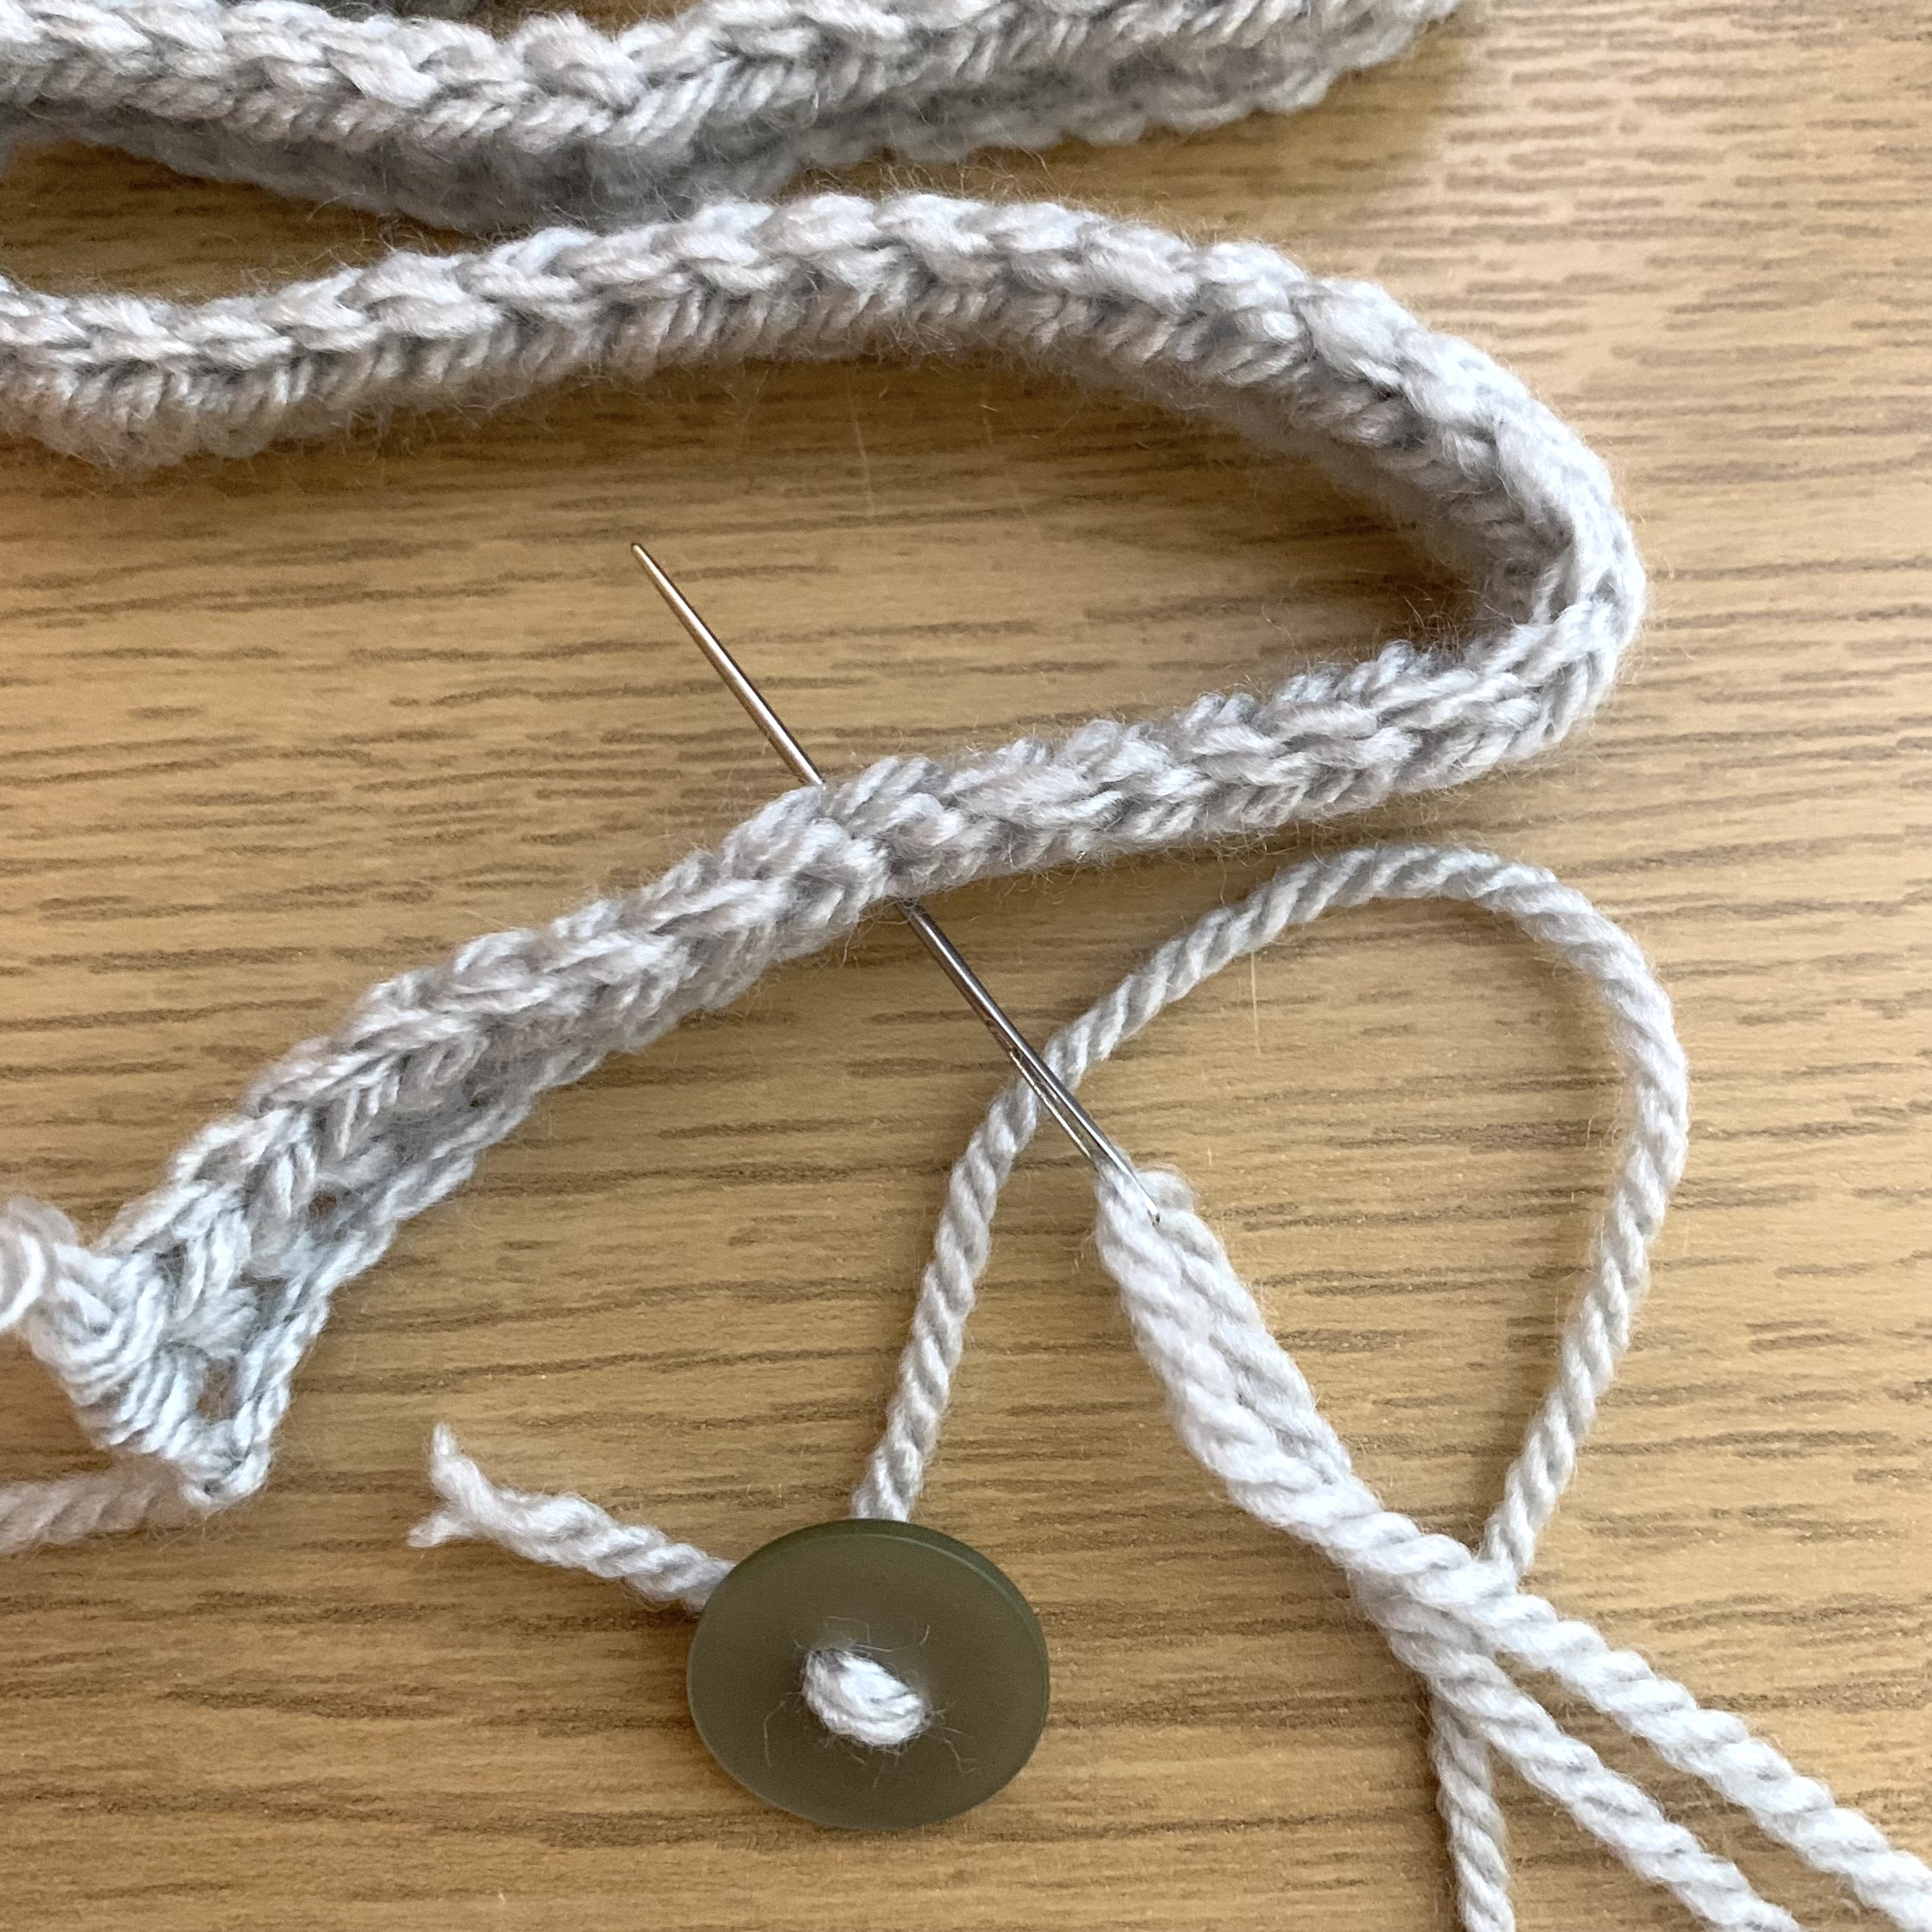
- Fold the crochet chain to create a rectangular shape.
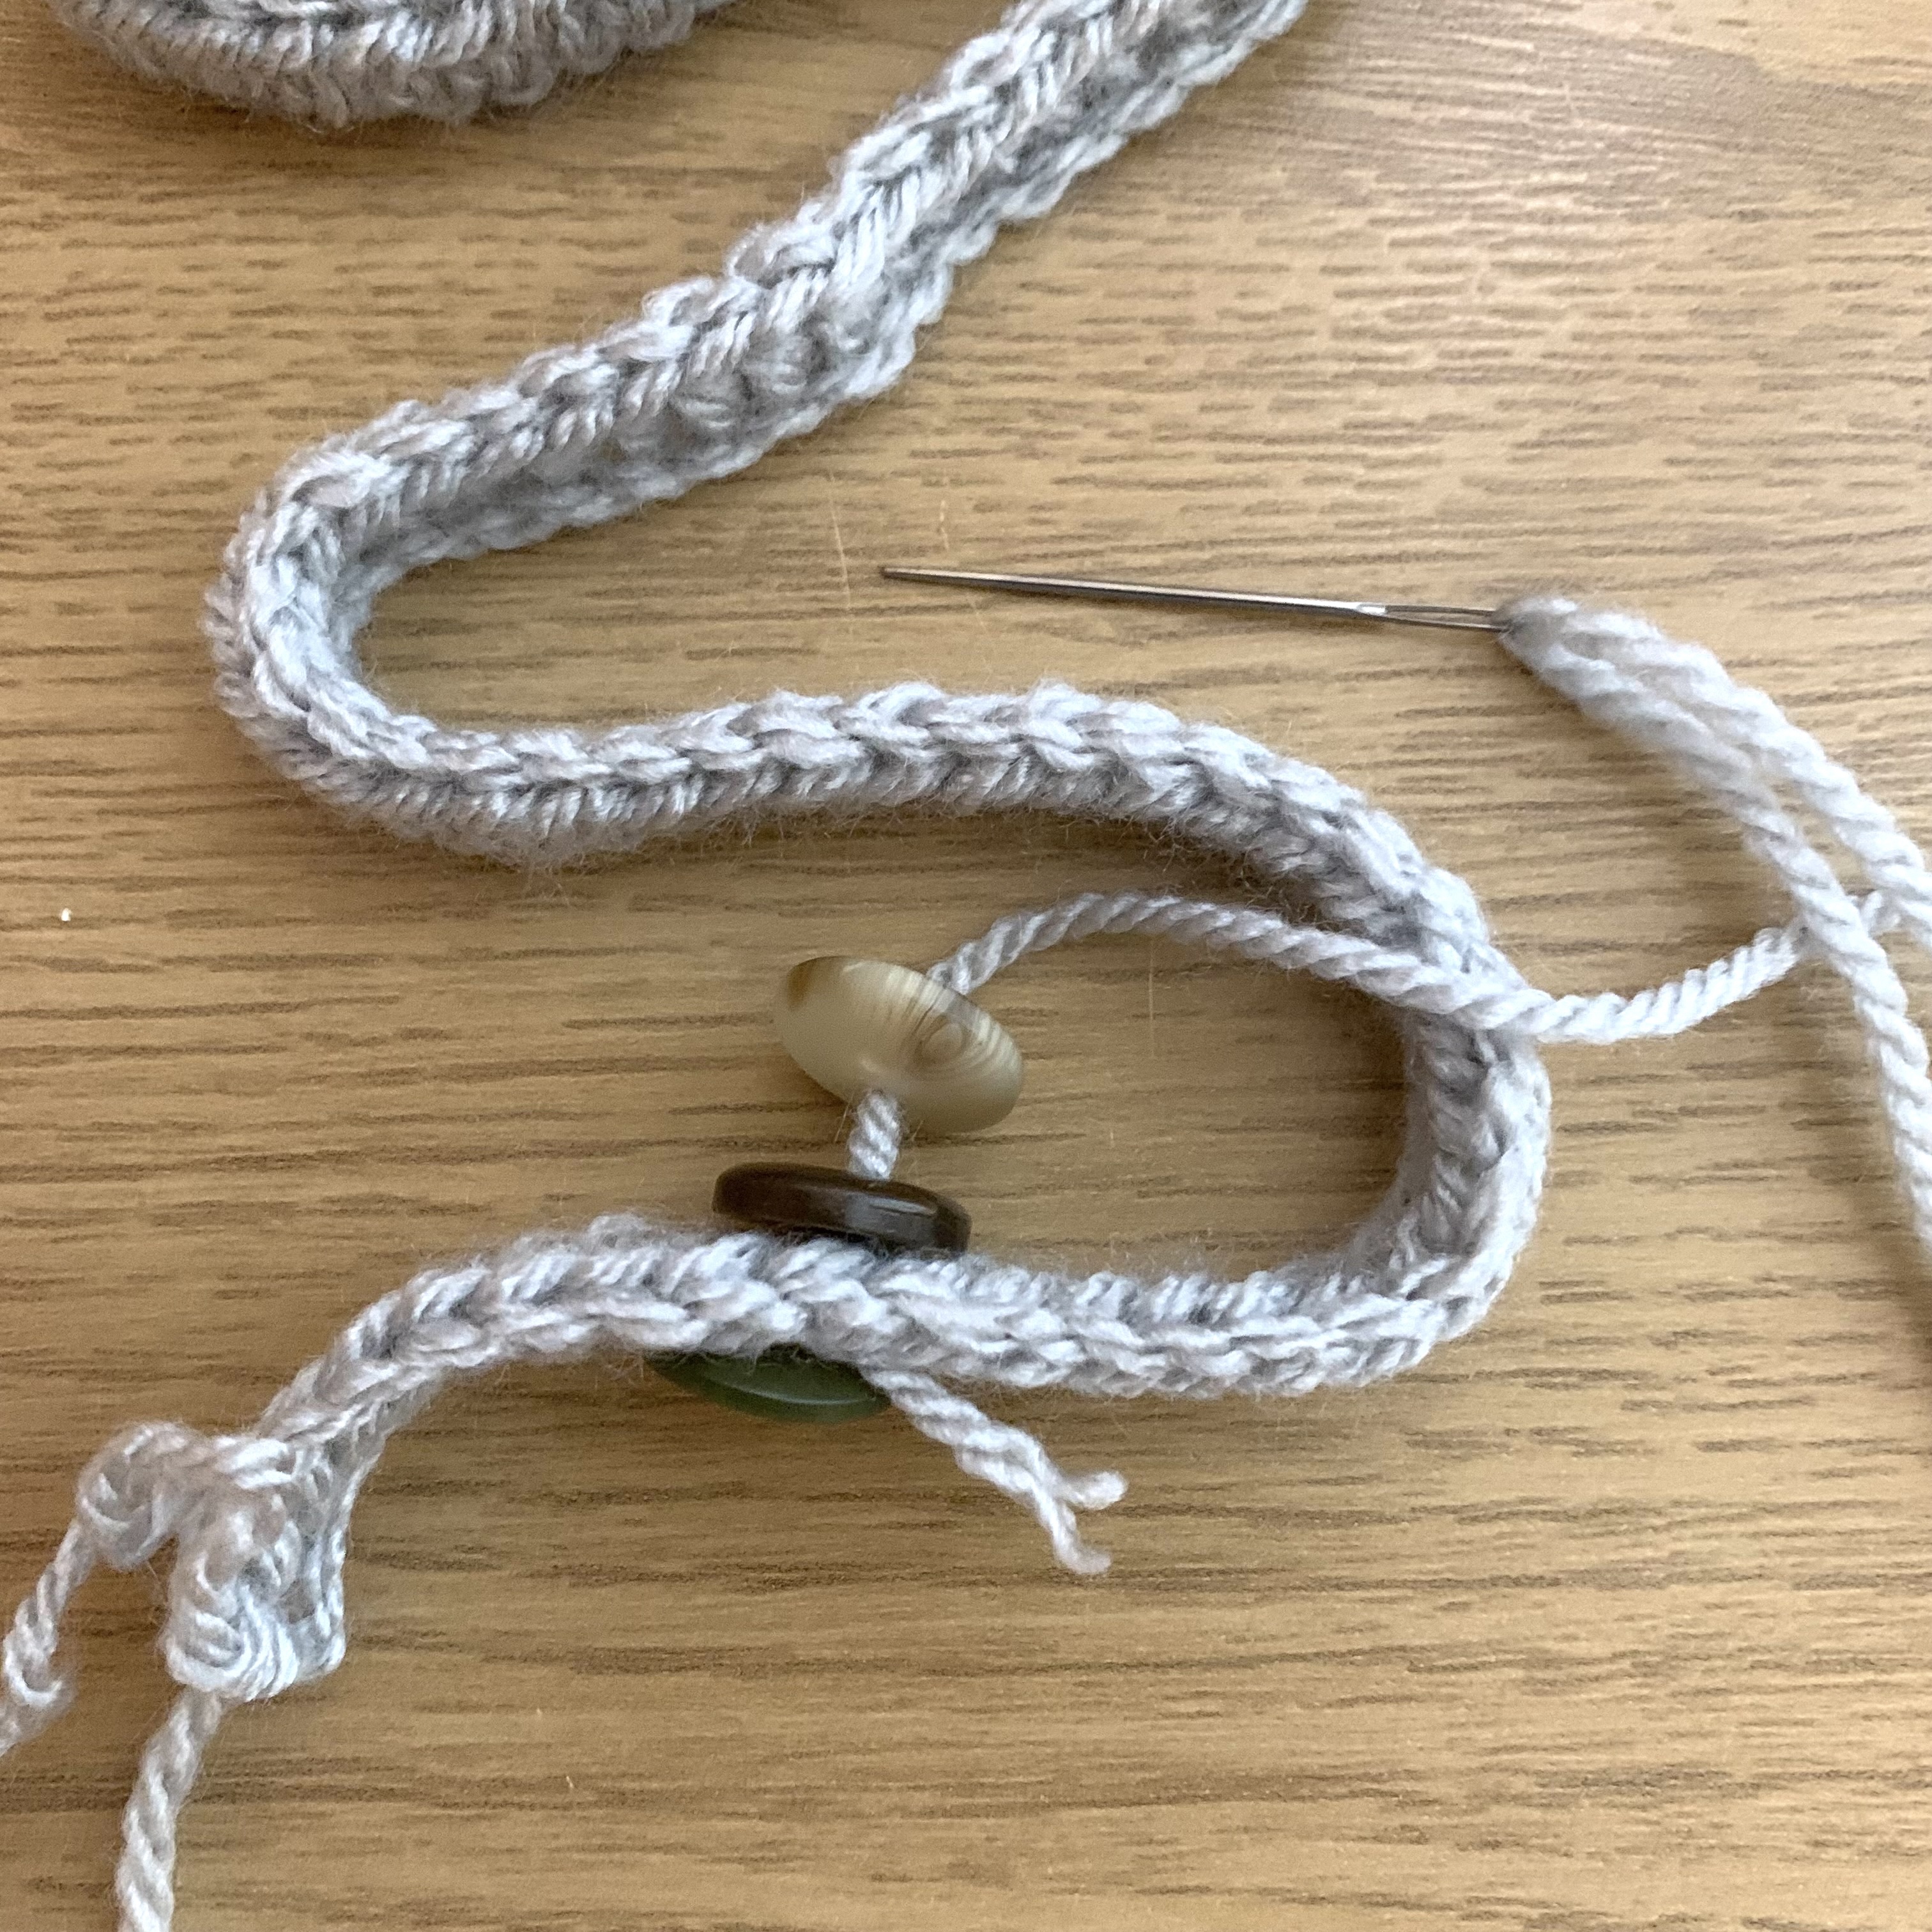
- Take one of the buttons and cast onto the middle of the bottom of the folded crochet chain. Pull up through the bottom row and sew the next 2 buttons in place. Repeat with the remaining buttons, pull up through the row to the next row after attaching 2 buttons. Cast off on the top edge.
- Sew the rabbit ears onto the top edge.
- Sew hanging loop on the top edge between the 2 ears.


Leave a comment