
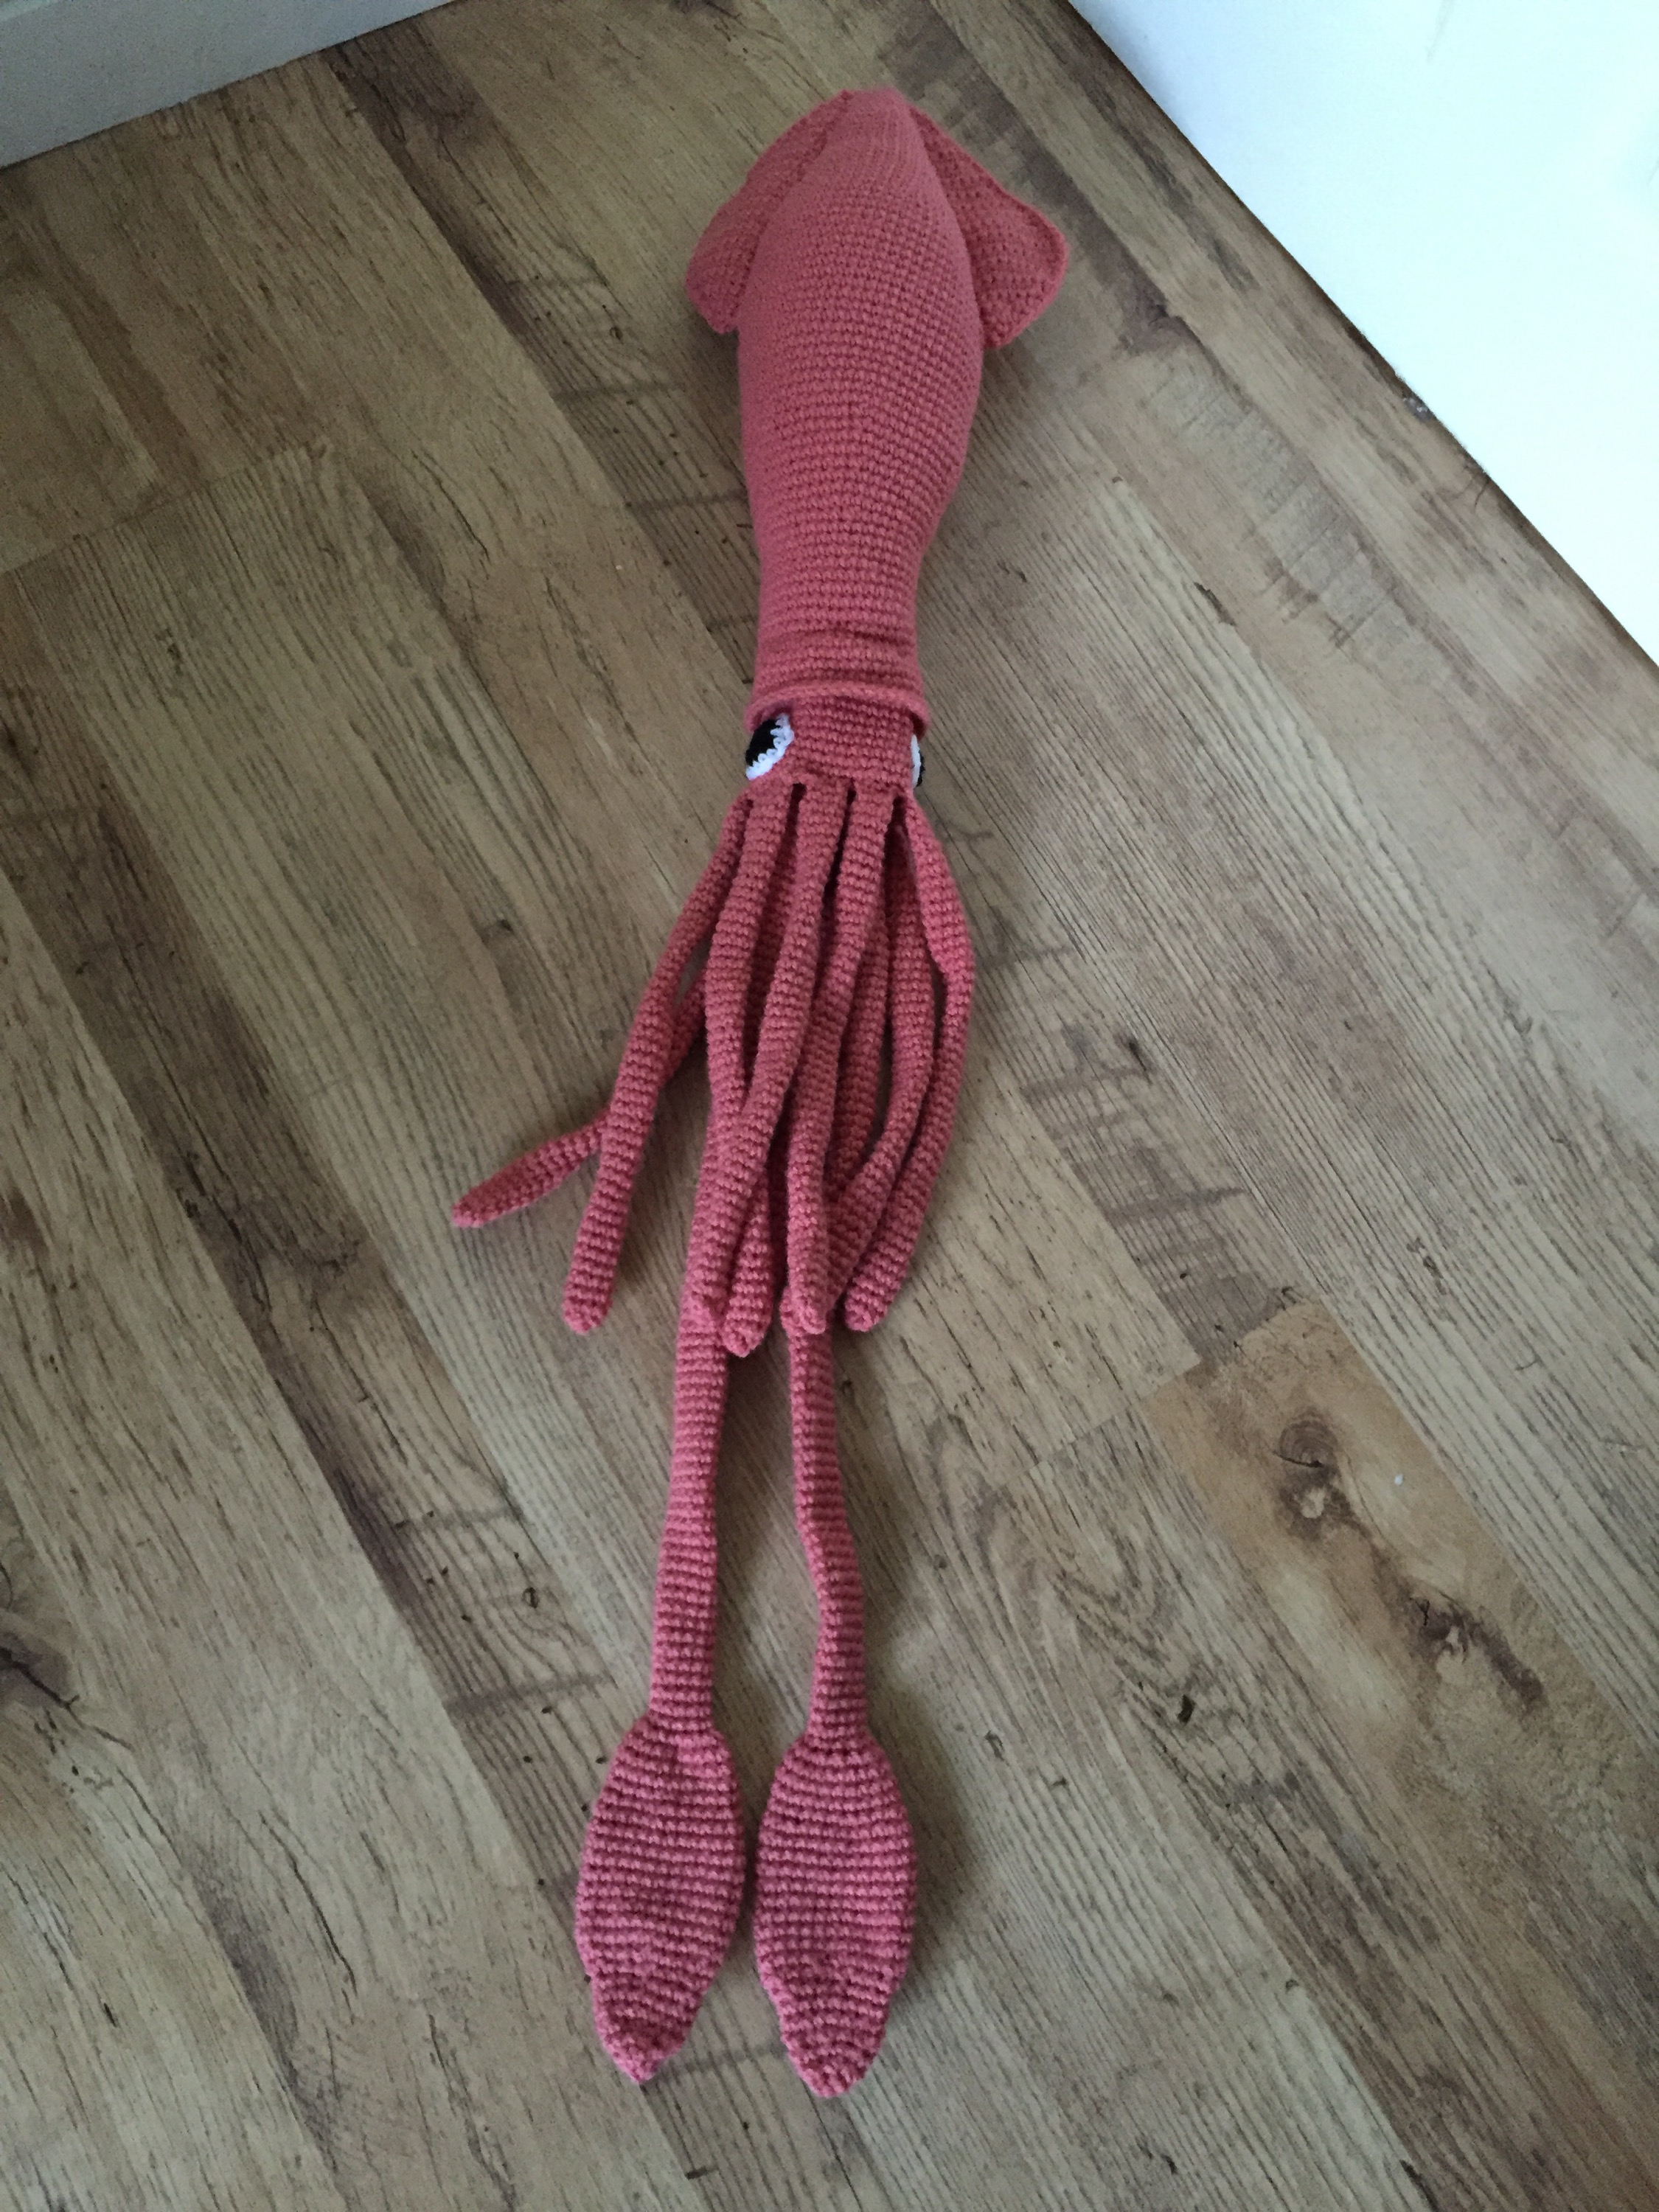
The pattern has taken me a while but finally it’s time to welcome to the sea Sidney the crochet giant squid!
Originally publish in 2015, this post has had a makeover and its new and improved version is here.
A friend of mines eldest child is completely obsessed with sea creatures and all things marine! So much so in fact they want to be a marine biologist when they are older, I think it would be a pretty cool job to do to be honest!
One of their favourite animals which they were telling me about in great detail the other day is a giant squid! Lovely and cuddly I know! It gave me an idea to make him one to add to his collection of sea creatures! I had some wool which was the perfect colour for it so I got started on it straight away! I was determined to make a nice cuddly squid for him!
The pattern I thought wouldn’t be too hard to do, just a long round dome with a pointy top, short body, long legs and two pieces to go on either side of the head. Off I went making up the pattern as I went, there were a few occasions while making it that I was a bit unsure of whether I was getting the shape right on the head but luckily these fears were unfounded and I think I have got it just right. So pleased when I had got him finished he looks even better than I thought he would, I will be very sad to see him go!
Now I know this one isn’t giant in real life terms, but it is pretty impressive! And what’s really quite cool is that his long paddle legs can be pushed up into his body so they are hidden out the way – just like his real life counterparts!
Small note on this: Be careful with this one around small children, the long legs could become tied around them.
Also if you want some more sea themed crochet makes check out Oscar the octopus.
You can also make a crochet mini Oscar the octopus too!.
If you want a smaller version of Sidney, check out my mini Sidney squid crochet pattern.
Sidney The Squid Crochet Pattern:
- 2x100g balls of salmon wool – I used a DK wool for this.
- Length from top of head to bottom of longest paddle arms: 109 cm
- 5mm hook – I tried this and a 4mm and preferred the result with the 5mm.
For The Head Cone:
Make a magic ring, ch1.
Round 1: 5sc into ring.
Round 2: 2sc into each sc.
Rounds 3-4: sc around.
Round 5: 2sc into same stitch, sc. Repeat around.
Round 6-7: sc around.
Round 8: 2sc into same stitch, 2sc. Repeat around.
Round 9-10: sc around.
Round 11: 2sc into same stitch, 3sc. Repeat around.
Rounds 12-13: sc around.
Round 14: 2sc into same stitch, 4sc. Repeat around.
Rounds 15-17: sc around.
Round 18: 2sc into same stitch, 5sc. Repeat around.
Round 19: 2sc into same stitch, 6sc. Repeat around.
Rounds 20-21: sc around.
Round 22: 2sc into same stitch, 7sc. Repeat around.
Round 23: sc around.
Round 24: 2sc into same stitch, 8sc. Repeat around.
Round 25: sc around.
Round 26: 2sc into same stitch, 9sc. Repeat around.
Round 27: sc around.
Round 28: 2sc into same stitch, 10sc. Repeat around.
Rounds 29-48: sc around.
Round 49: sc2tog, 10sc. Repeat around.
Round 50: sc2tog, 9sc. Repeat around.
Rounds 51-52: sc around.
Round 53: sc2tog, 8sc. Repeat around.
Rounds 54-56: sc around.
Round 57: sc2tog, 7sc. Repeat around.
Rounds 58-72: sc around.
Round 73: 2sc into same stitch, 7sc. Repeat around.
Fasten off.

Body And Leg Section:
Ch35 and slip stitch (doesn’t count as a stitch) into first ch to form a round (35).
Working in rounds:
Round 1-16: sc around. Do not fasten off
Now to work the legs:
Legs:
sc4, turn and ch4, then slip stitch into first sc on the opposite side. This makes a round of 8sc to work the first leg.
Working in these 8 stitches only:
Rounds 1-45: sc around.
Round 46: sc2tog 4times.
Fasten off.
Repeat the above for the next five legs, starting each leg in the next sc from the previous leg. For the final two legs repeat the above leg section but skip 1sc after the 6th leg before starting the 7th leg, skip 1sc after the 7th leg before starting the 8th leg then leave 1sc after the 8th leg.

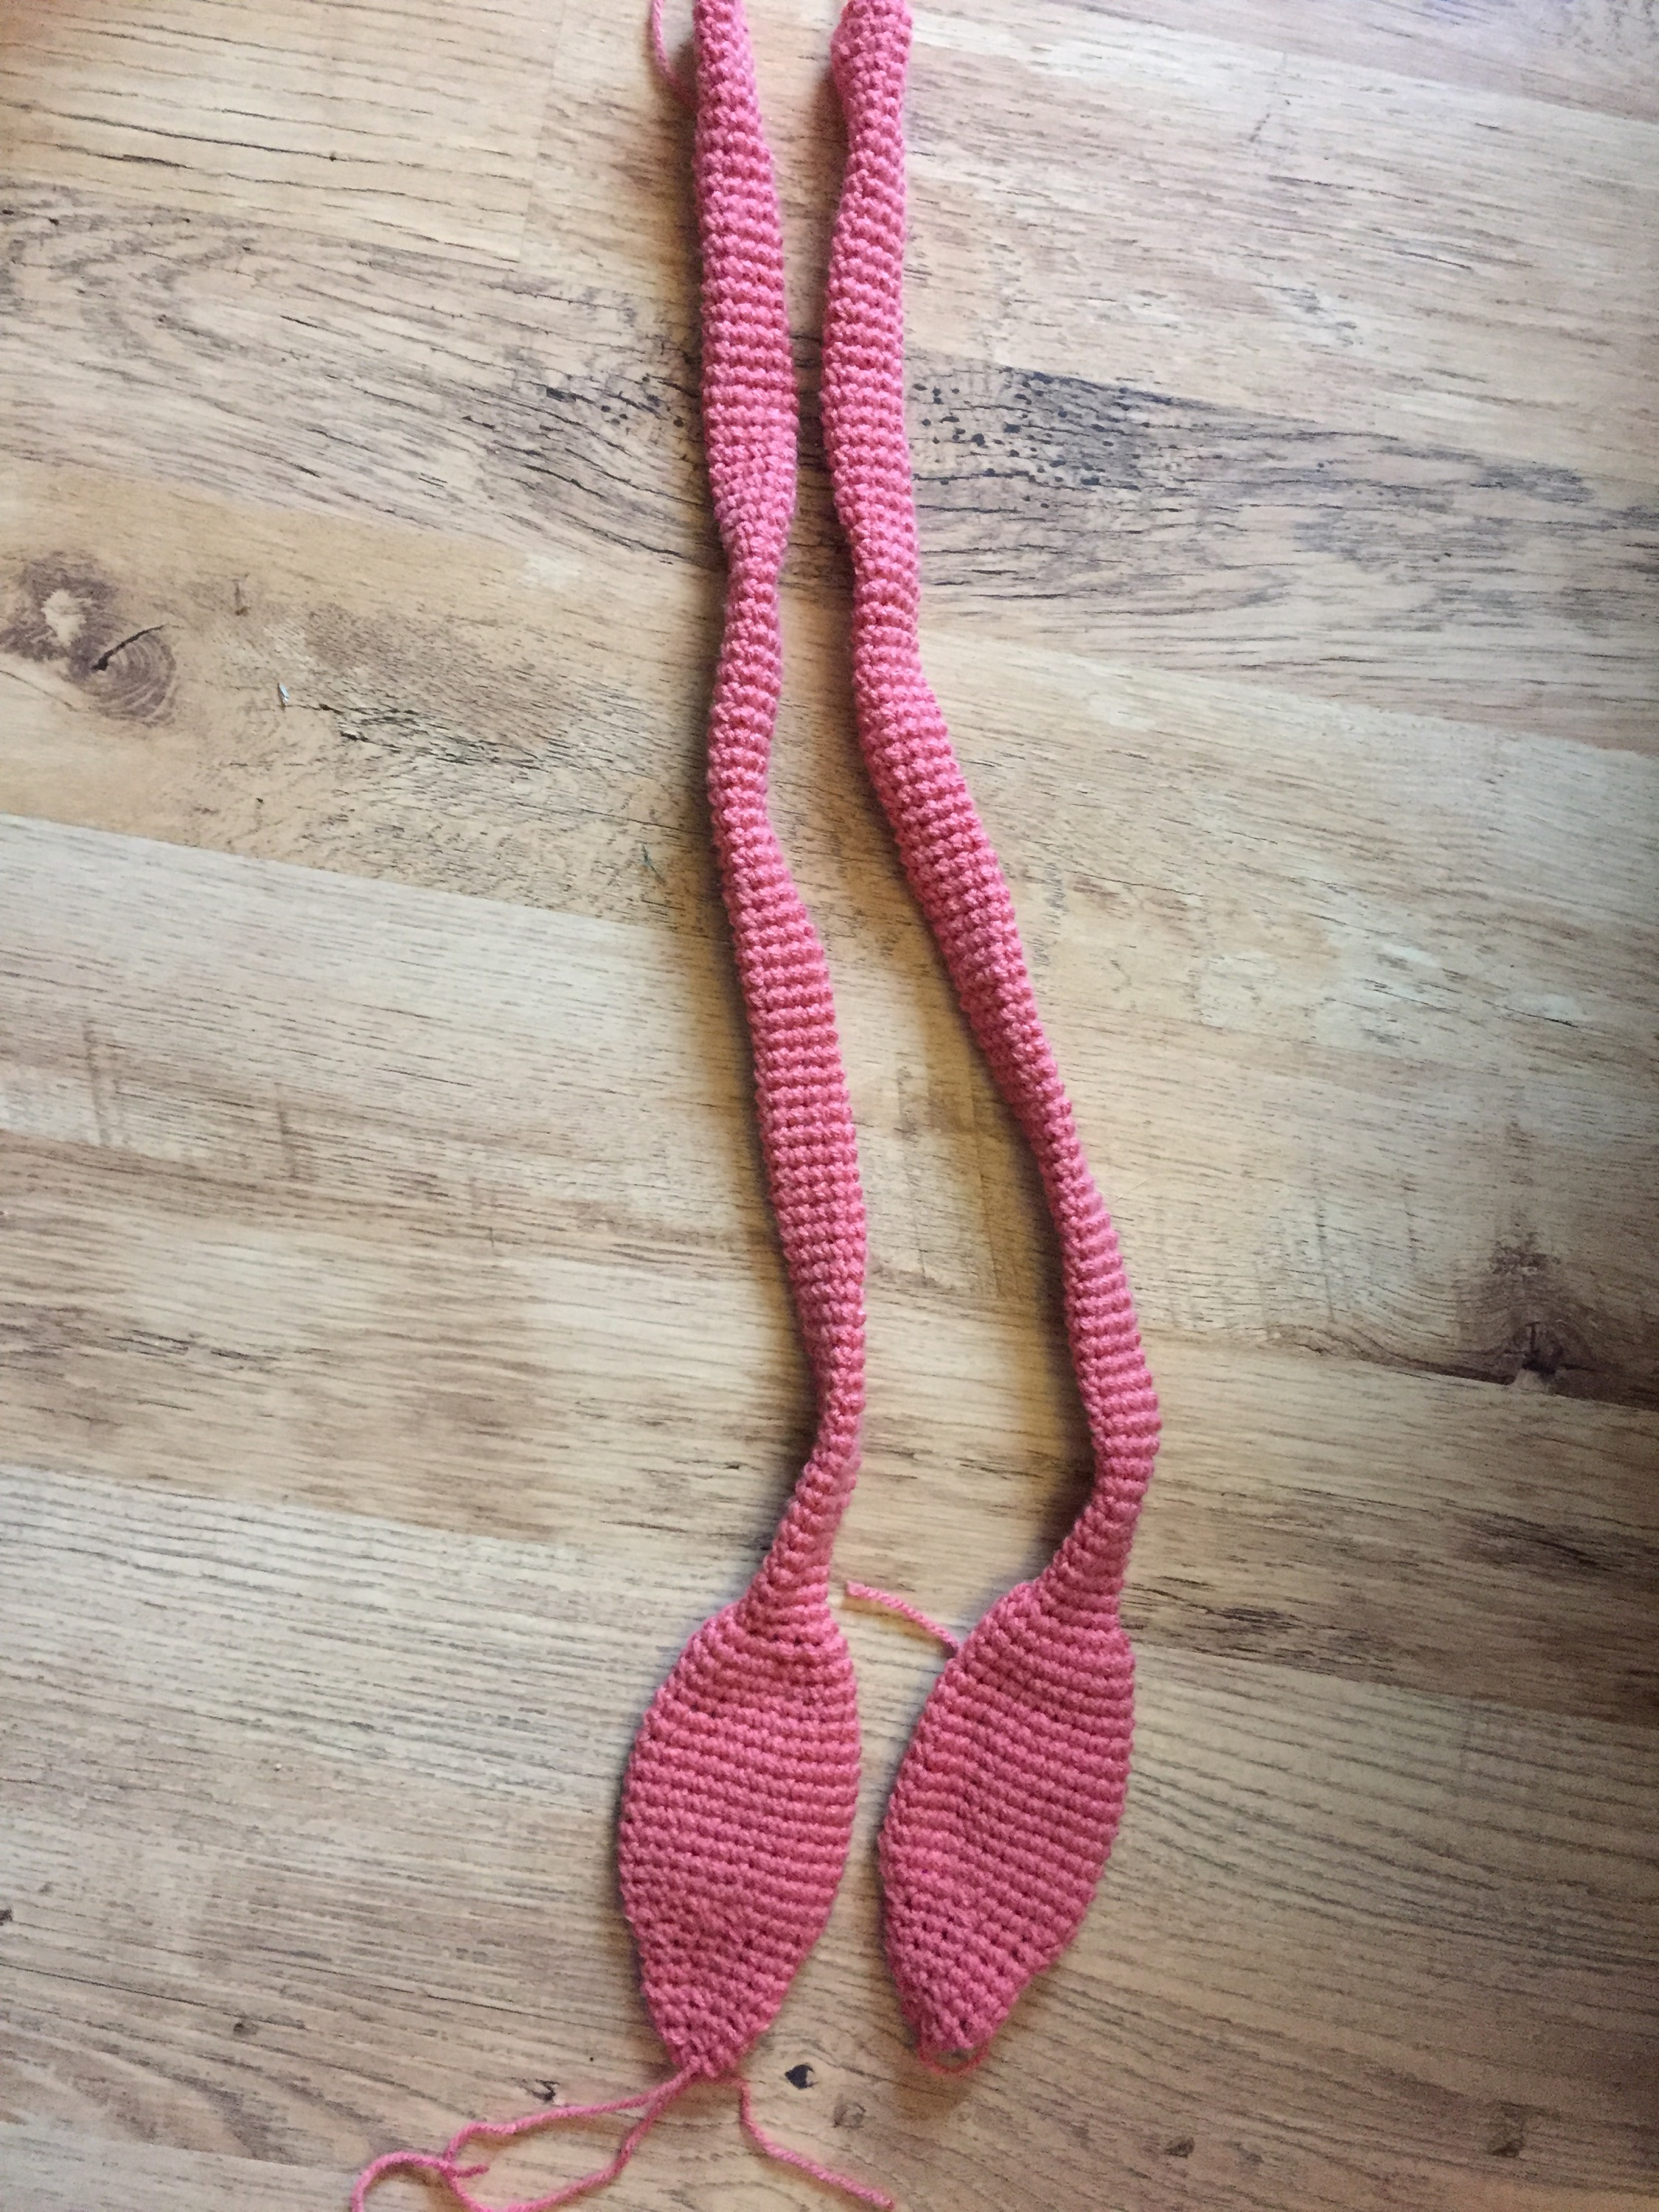
Long Paddle Arms – Make 2:
Ch 10, slip stitch into first ch to make a round.
Rounds 1-85: sc around.
Round 86: 2sc into each sc.
Rounds 87-90: sc around.
Round 91: 2sc into same sc, 3sc. Repeat around.
Rounds 92-100: sc around.
Round 101: sc2tog, 3sc. Repeat around.
Round 102: sc2tog, 2sc. Repeat around.
Rounds 103-105: sc around.
Round 106: sc2tog, 1sc. Repeat around.
Round 107: sc around.
Round 108: sc2tog, Repeat around.
Fasten off.
Head Side Pieces – Make 2:
Ch4, sc into second chain from hook, sc along rest of the row.
Row 1: ch1 (doesn’t count as a stitch), 2sc into same stitch, sc, 2sc into same stitch.
Row 2: ch1 (doesn’t count as a stitch), 2sc into same stitch, 3sc, 2sc into same stitch.
Row 3: ch1 (doesn’t count as a stitch), sc along row.
Row 4: ch1 (doesn’t count as a stitch), 2sc into same stitch, 5sc, 2sc into same stitch.
Row 5: ch1 (doesn’t count as a stitch), sc along row.
Row 6: ch1 (doesn’t count as a stitch), 2sc into same stitch, 7sc, 2sc into same stitch.
Row 7: ch1 (doesn’t count as a stitch), sc along row.
Row 8: ch1 (doesn’t count as a stitch), 2sc into same stitch, 9sc, 2sc into same stitch.
Rows 9-10: ch1 (doesn’t count as a stitch), sc along row.
Row 11: ch1 (doesn’t count as a stitch), 2sc into same stitch, 11sc, 2sc into same stitch.
Rows 12-13: ch1 (doesn’t count as a stitch), sc along row.
Row 14: ch1 (doesn’t count as a stitch), 2sc into same stitch, 13sc, 2sc into same stitch.
Row 15: ch1 (doesn’t count as a stitch), 2sc into same stitch, 14sc, 2sc into same stitch.
Row 16: ch1 (doesn’t count as a stitch), 2sc into same stitch, 17sc, 2sc into same stitch.
Rows 17-18: ch1 (doesn’t count as a stitch), sc along row.
Row 19: ch1 (doesn’t count as a stitch), 2sc into same stitch, 19sc, 2sc into same stitch.
Rows 20-22: ch1 (doesn’t count as a stitch), sc along row.
Row 23: ch1 (doesn’t count as a stitch), sc2tog, 19sc, sc2tog.
Row 24: ch1 (doesn’t count as a stitch), sc along row.
Row 25: ch1 (doesn’t count as a stitch), sc2tog, 17sc, sc2tog.
Row 26: ch1 (doesn’t count as a stitch), sc2tog, 15sc, sc2tog.
Row 27: ch1 (doesn’t count as a stitch), sc along row.
Row 28: ch1 (doesn’t count as a stitch), sc2tog, 13sc, sc2tog.
Row 29: ch1 (doesn’t count as a stitch), sc2tog, 11sc, sc2tog.
Row 30: ch1 (doesn’t count as a stitch), sc2tog, 9sc, sc2tog.
Row 31: ch1 (doesn’t count as a stitch), sc2tog, 7sc, sc2tog.
Row 32: ch1 (doesn’t count as a stitch), sc2tog, 5sc, sc2tog.
Row 33: ch1 (doesn’t count as a stitch), sc2tog, 3sc, sc2tog.
Row 34: ch1 (doesn’t count as a stitch), sc2tog, 1sc, sc2tog.
Fasten off
- Next fold in half with wrong sides together and sc along the edge to join. Fasten off.


Squid Assembly:
- Finish off all the loose ends, when finishing off the loose ends on the tentacles where they join the body, sew the tops of the tentacles closed.
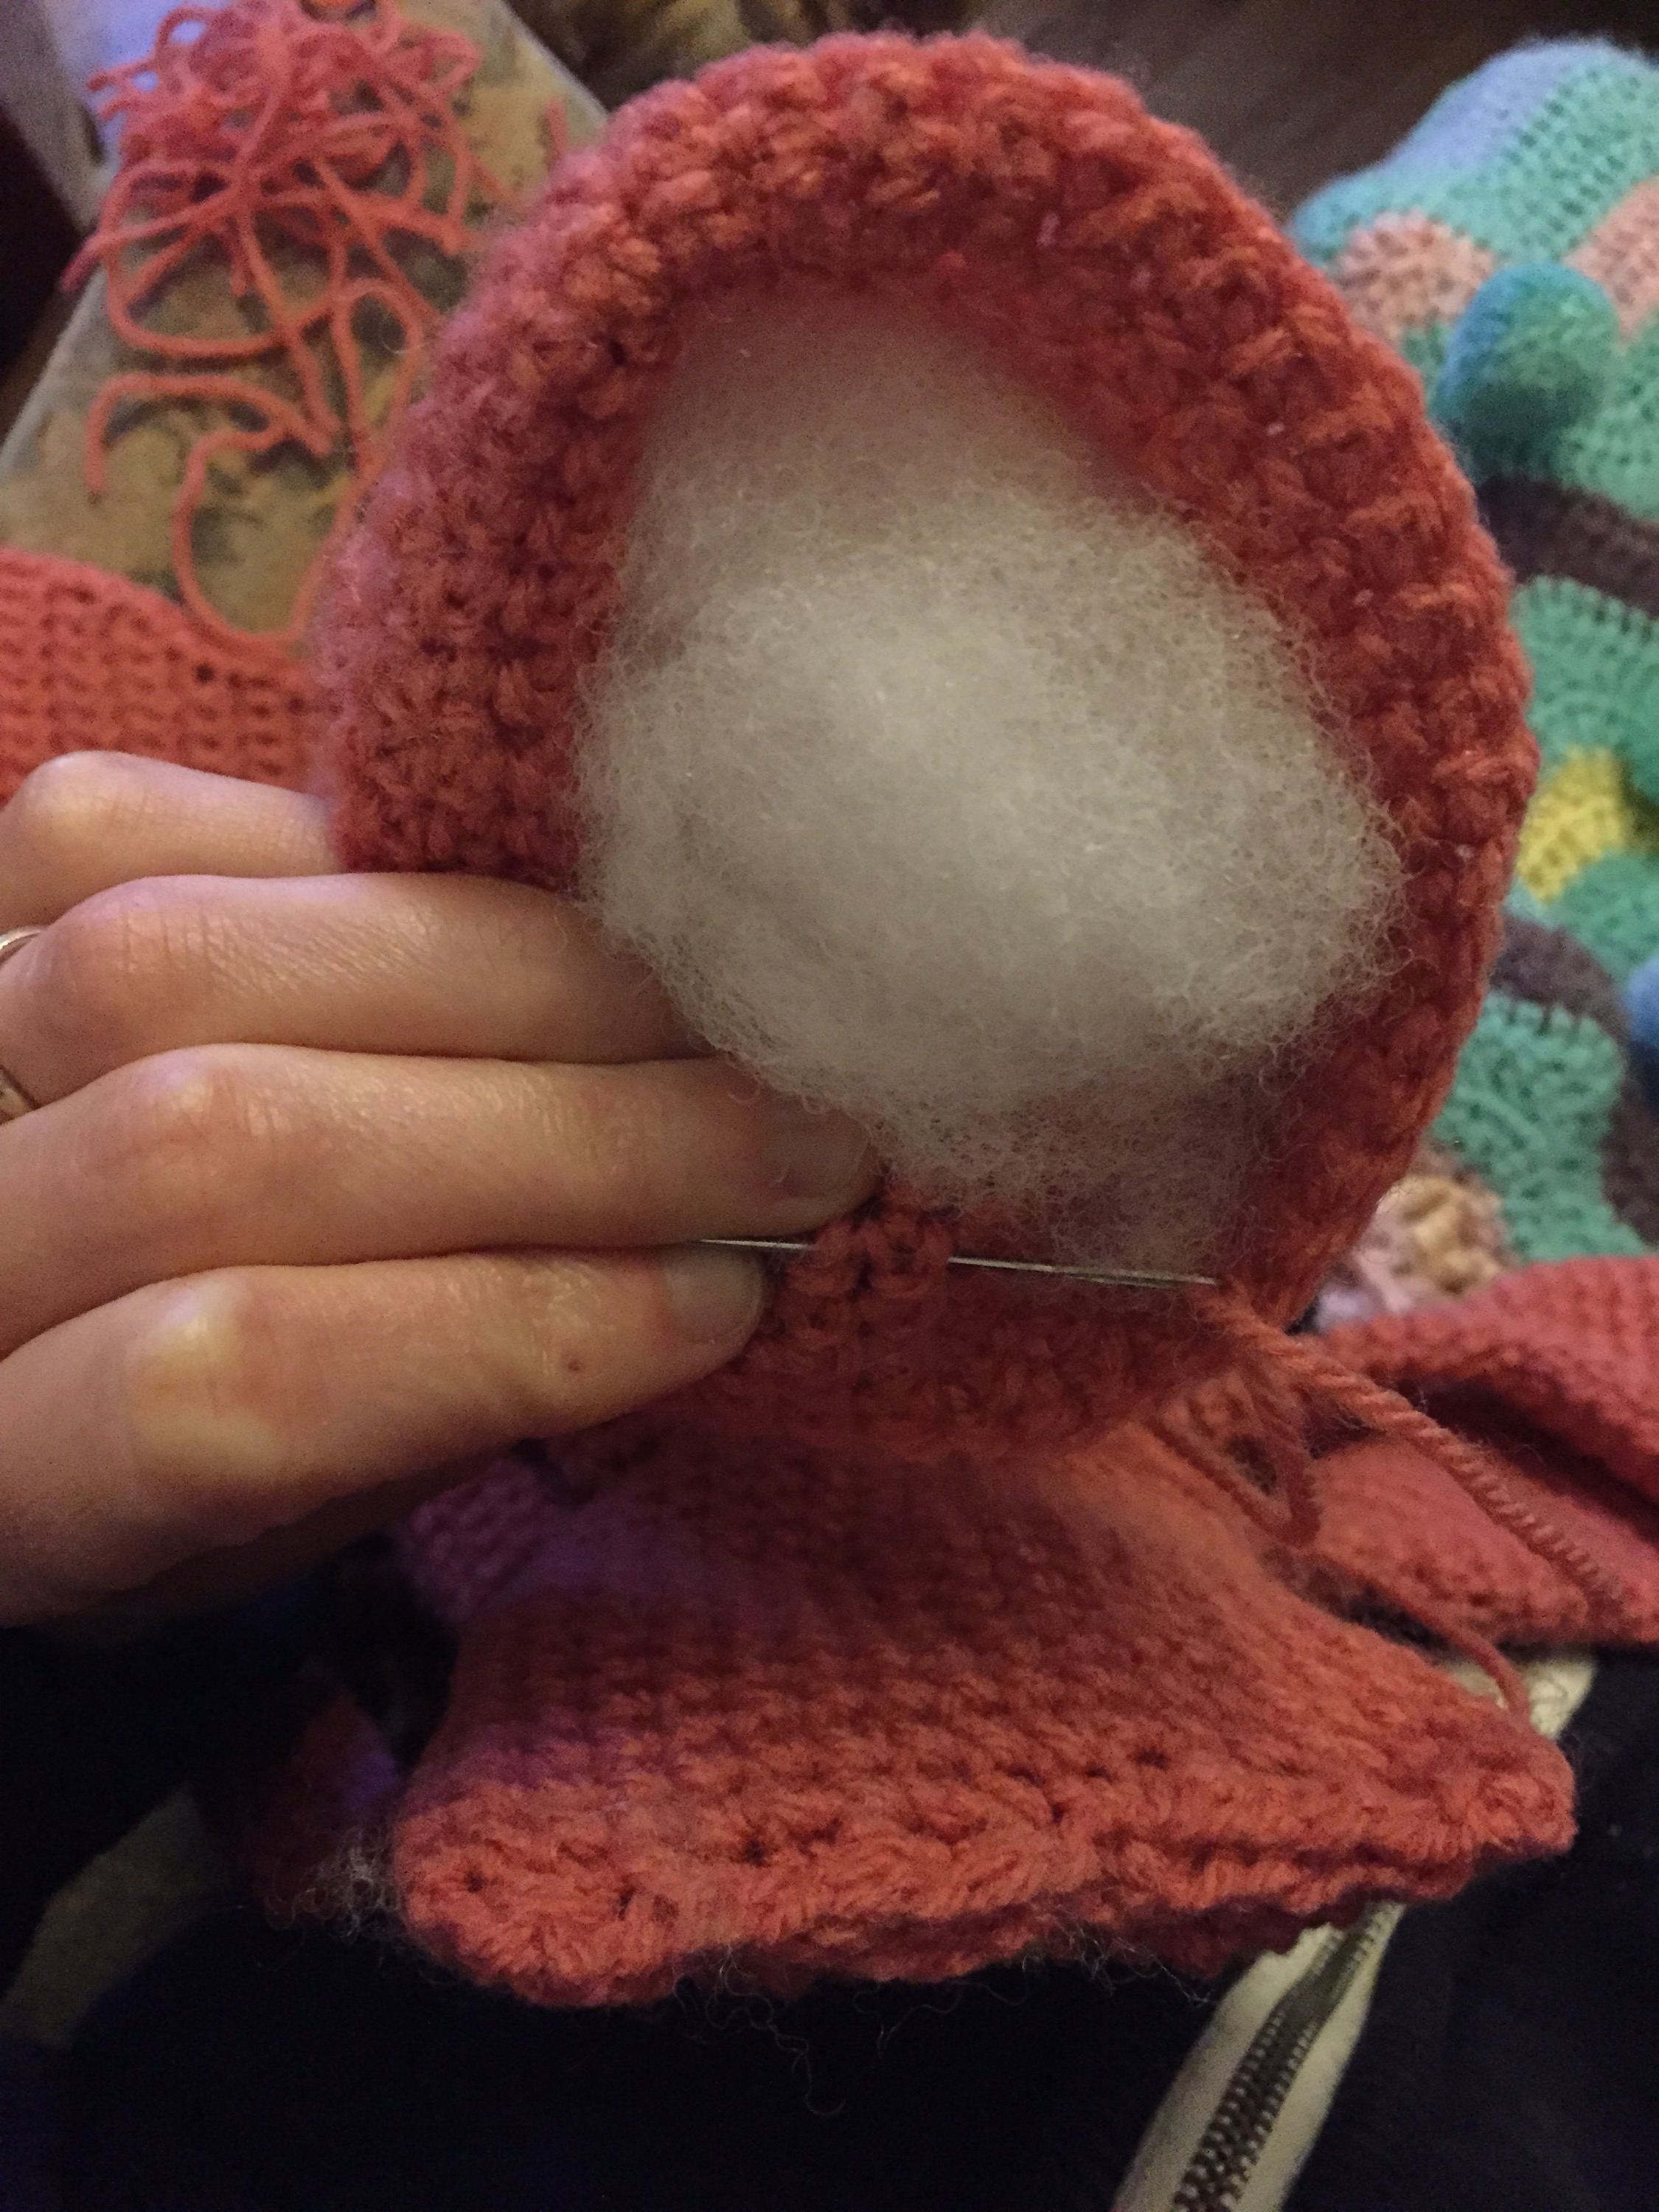
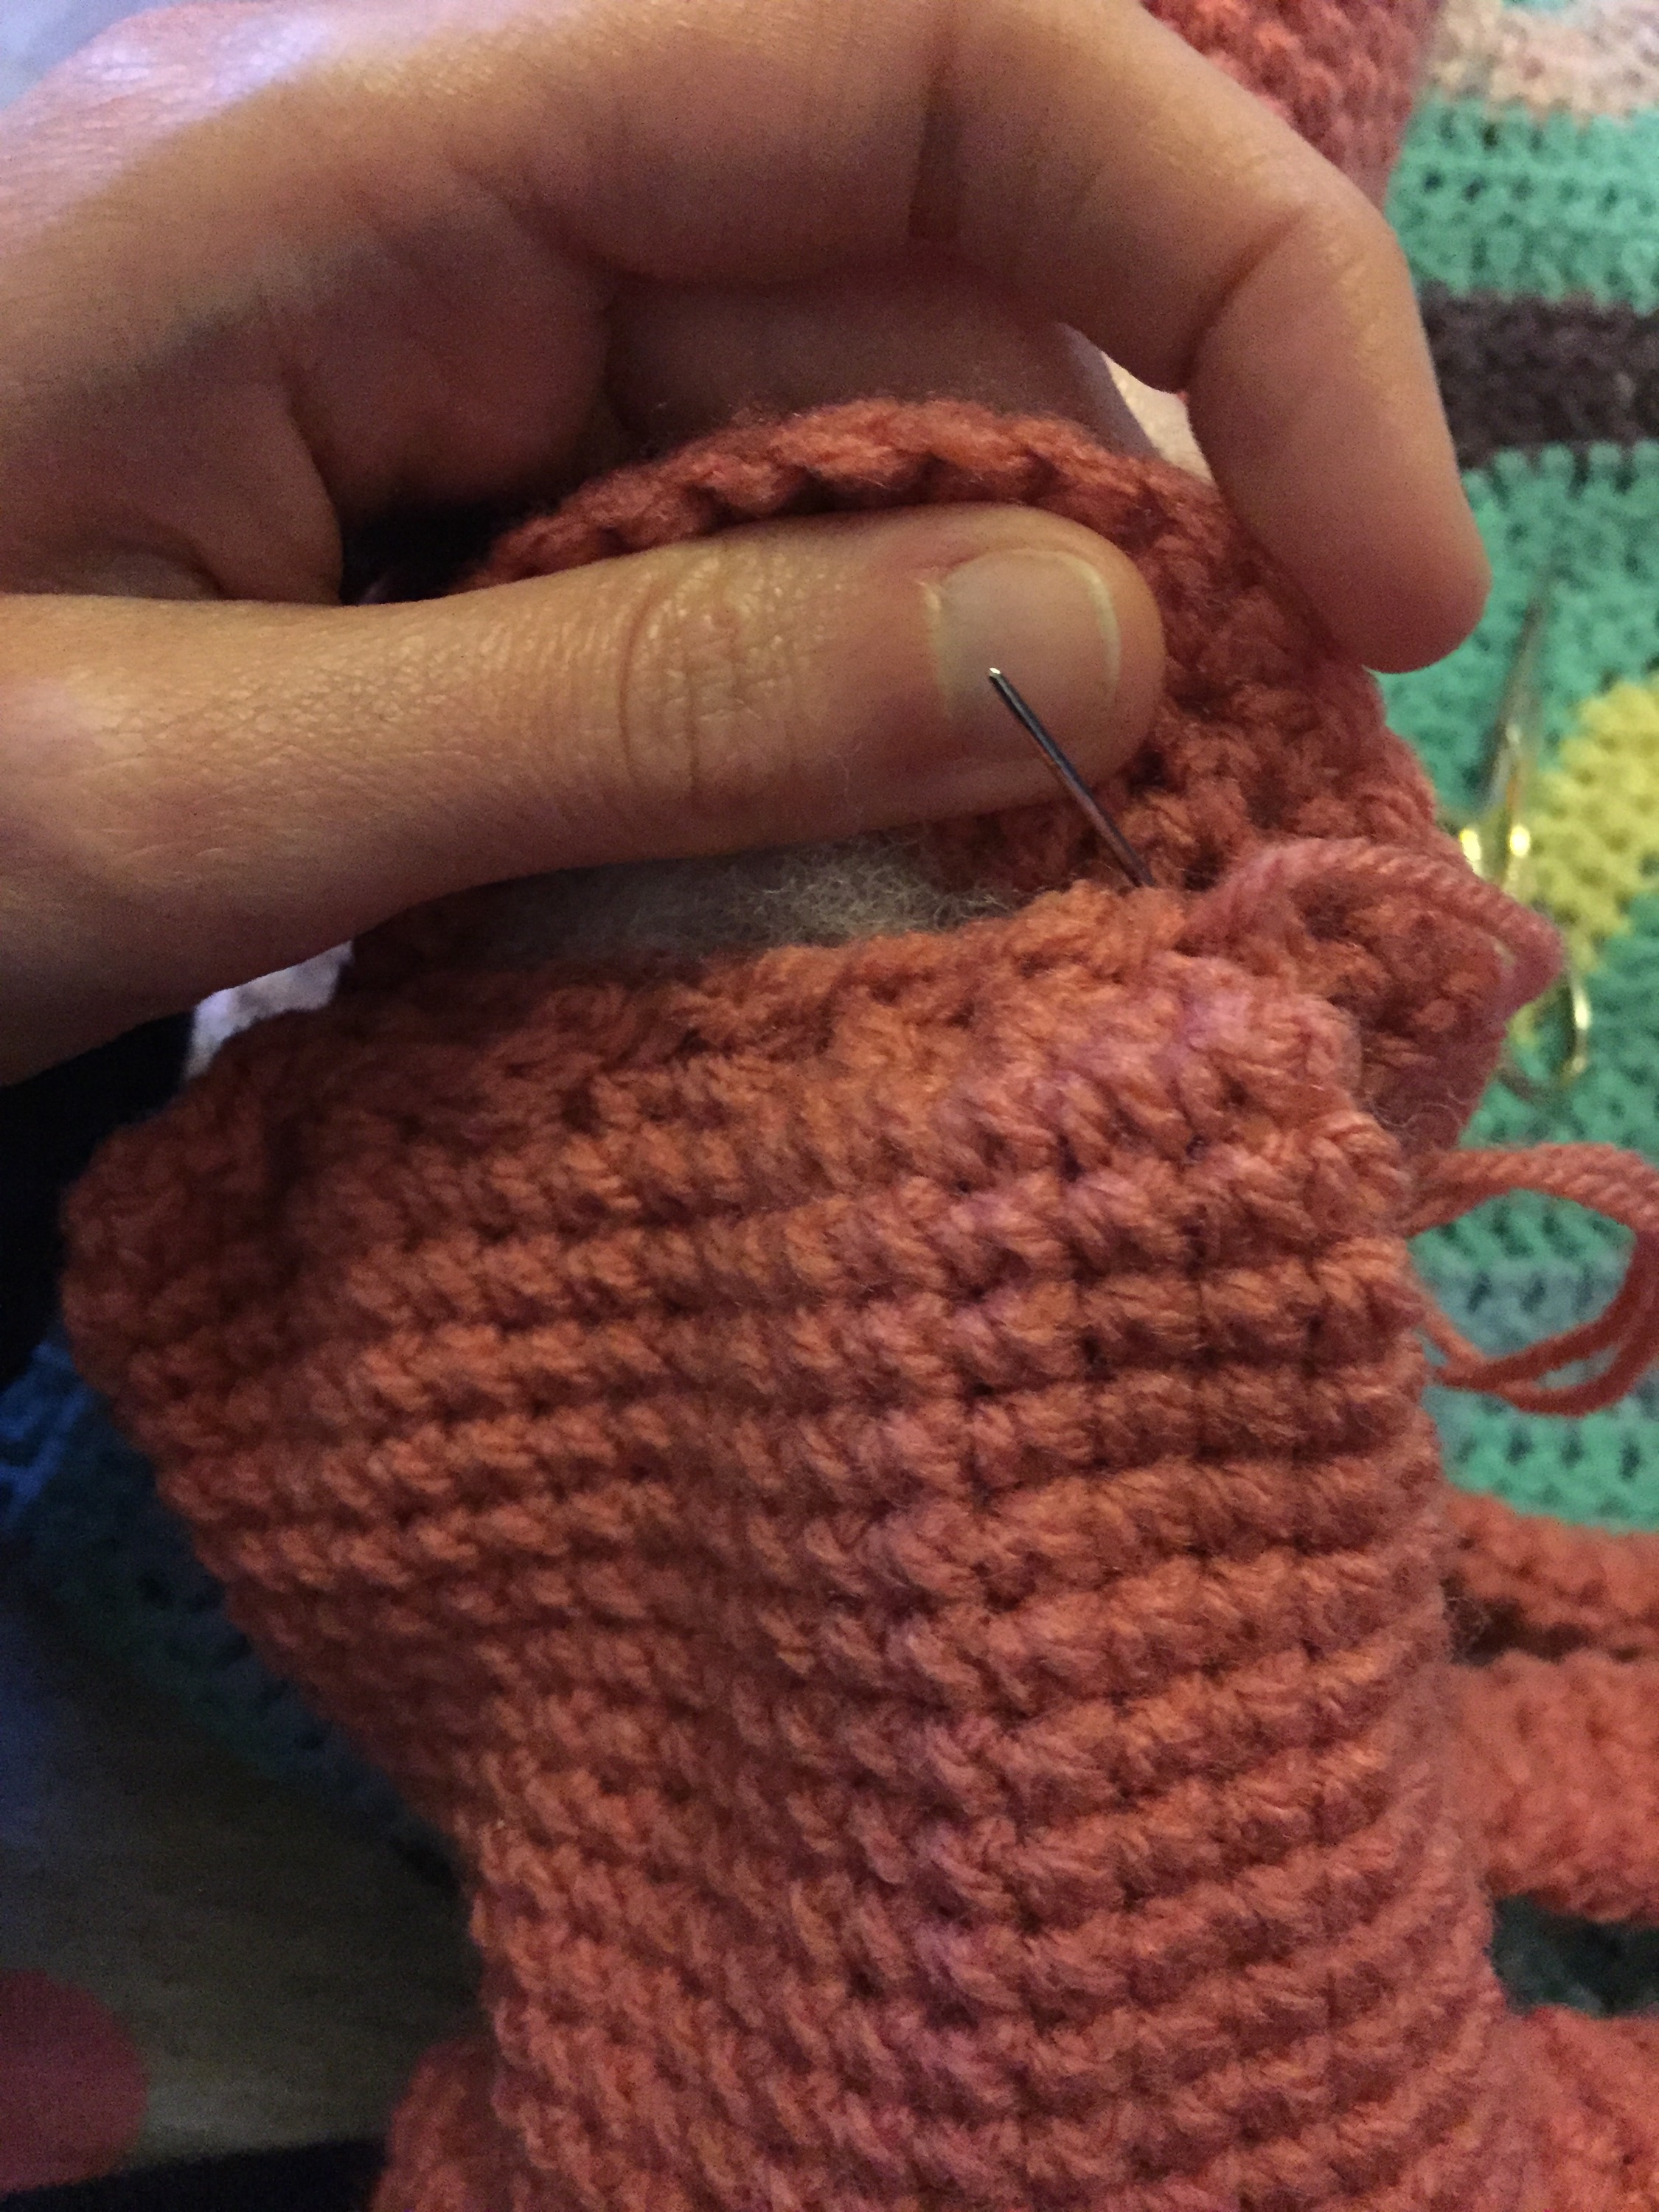
- Stuff the head, leaving the bottom inch unstuffed.


- Place the two long tentacle arms with paddles into the body section so the top of the tentacle is in line with the top edge of the body, sew the top of the body with these legs in closed. This will close the top of the body and hold the legs in place.
- Next sew the body into the head section: Attach a thread to the body piece 5 rows down from the top edge of the body, next sew the body piece into the head piece 5 rows up from the bottom edge of the head.
- Sew the side flaps to the side of the head.


Suckers On The Paddles
Make 10, 5 for each paddle.
In white, ch8, slip stitch into first chain to make a round.
Round 1: sc around.
Fasten off leaving a long thread to attach.
Sew 5 of these onto each of the paddles in random locations.

Eyes – Make 2:
In black.
Make a magic ring, ch1, 8sc into ring.
Round 1: 2sc into each sc.
Change to white.
Round 2: sc around.
Fasten off, leaving long thread to attach.
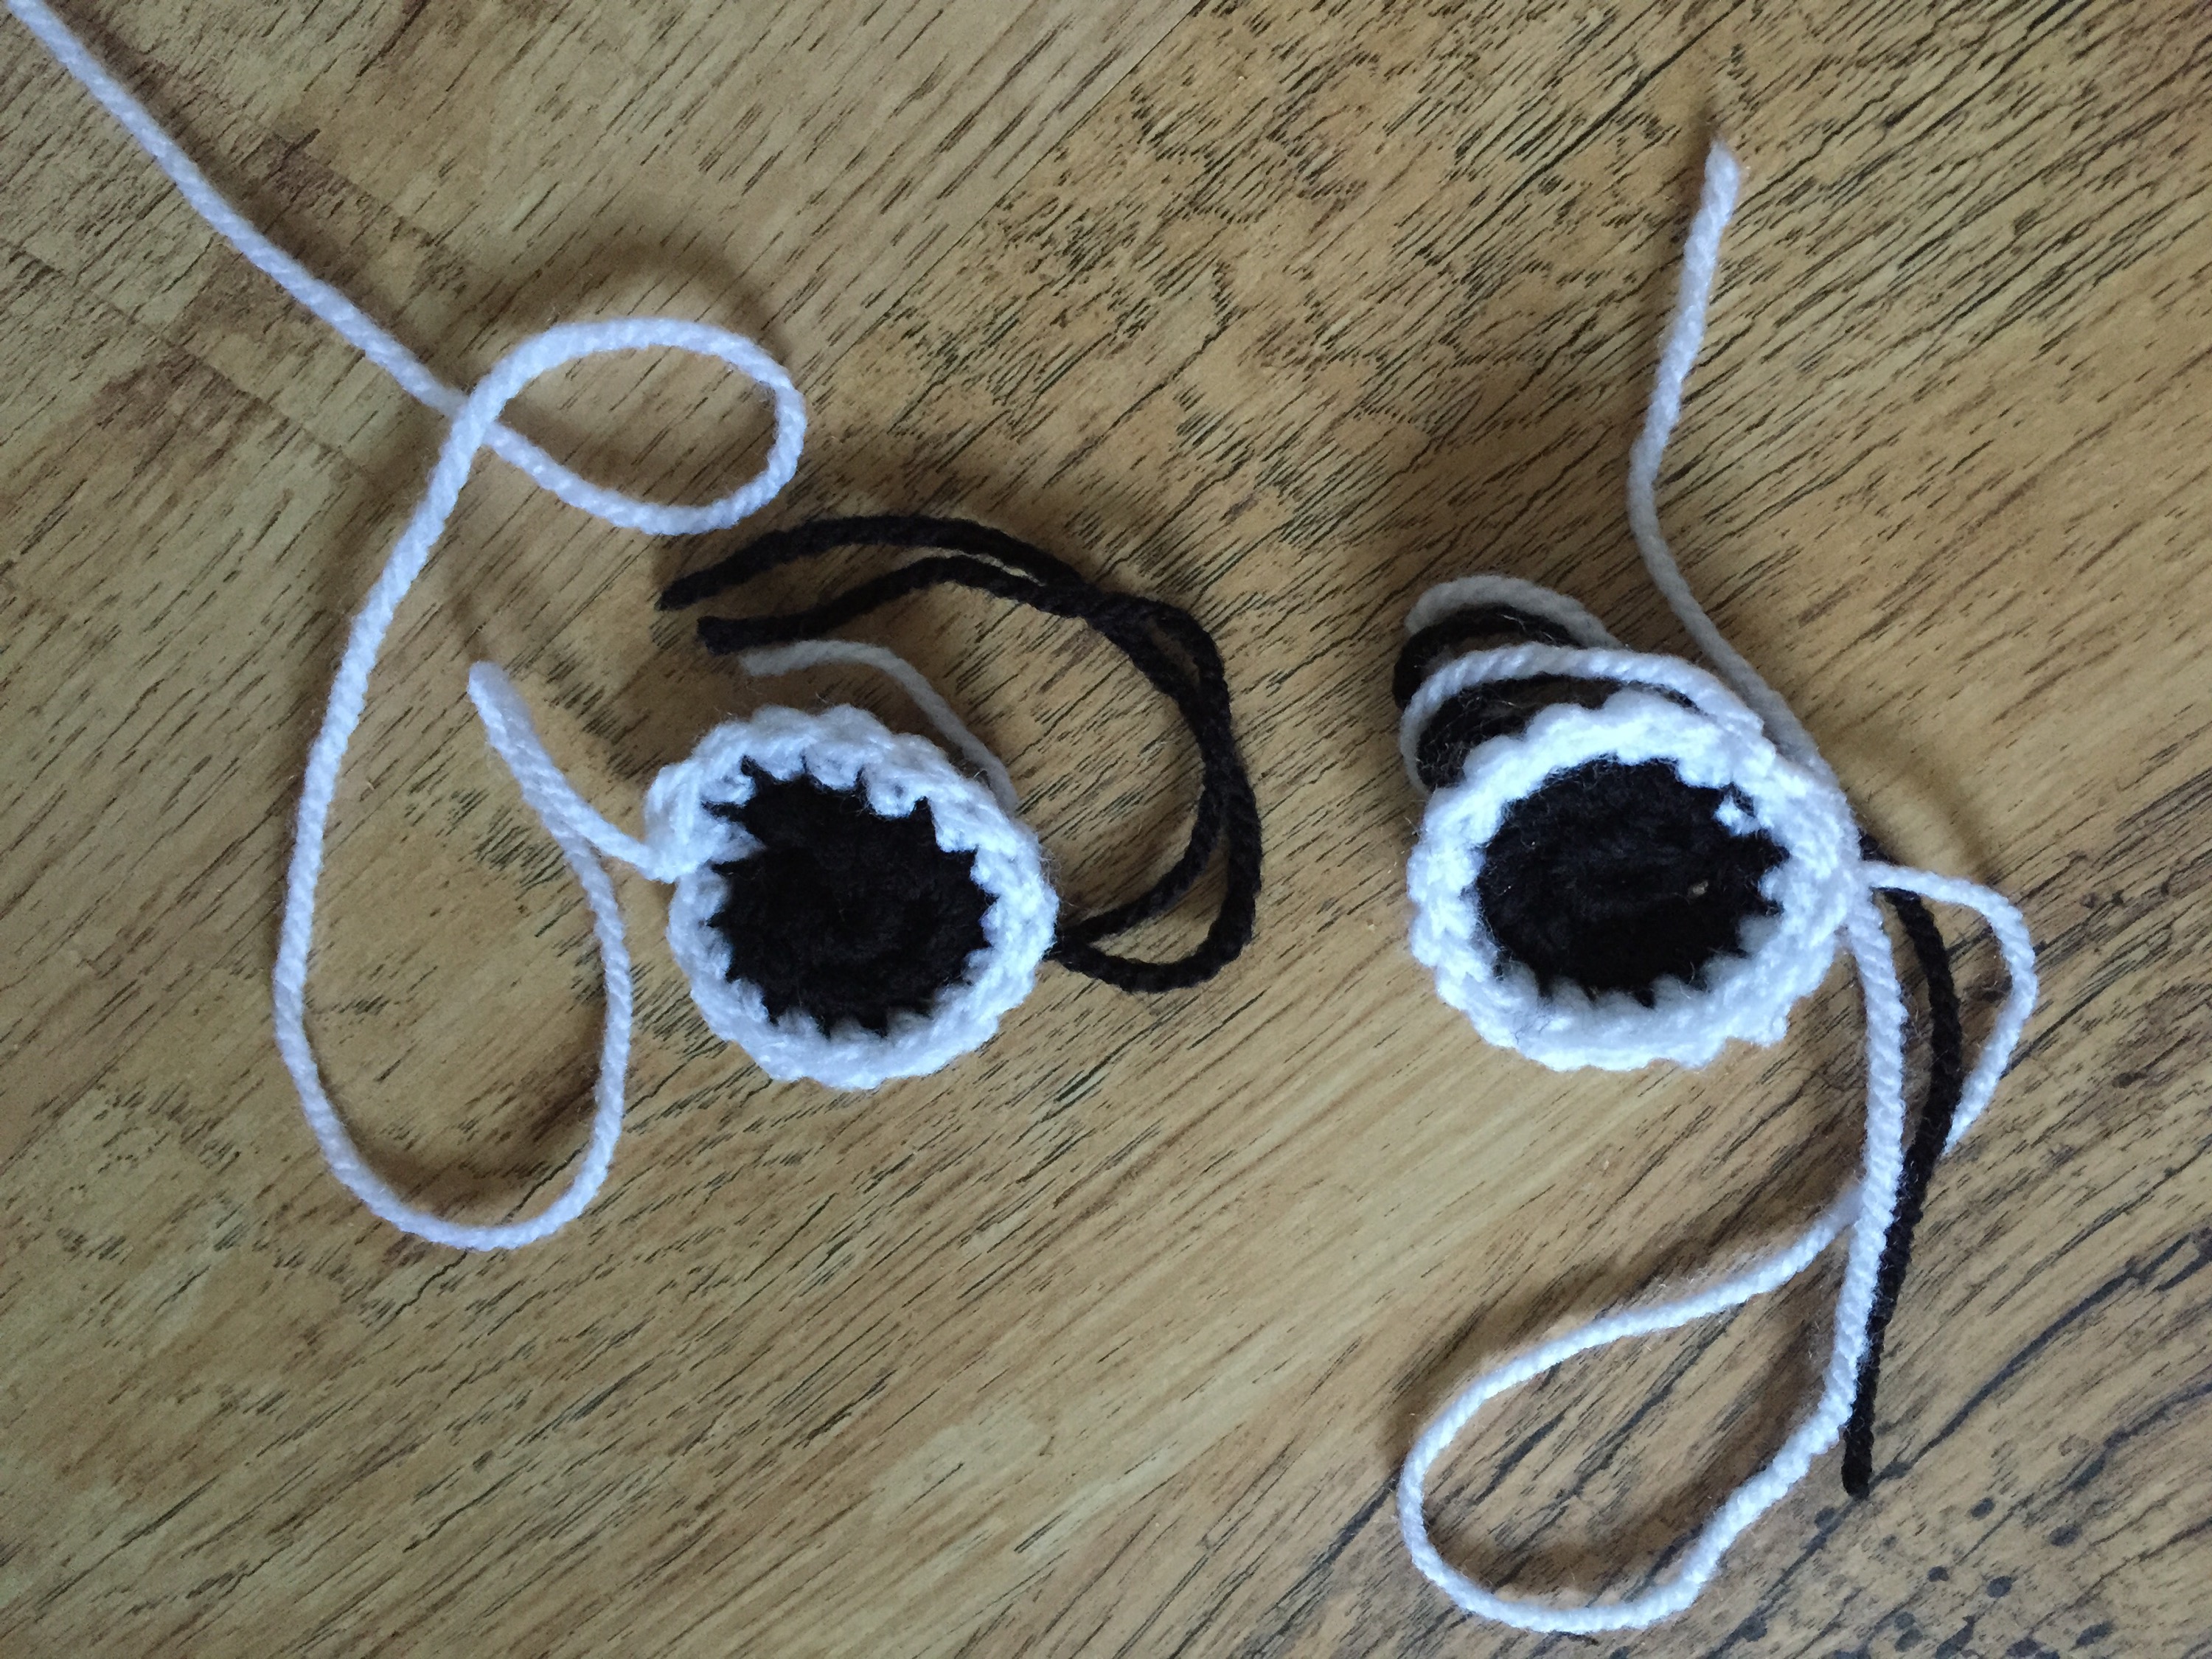
- To attach the eyes: sew them on to either side of the body, lining up their position with the position of the side flaps.

All Finished!


Leave a comment